
Muy buenos días!! tengan tod@as amig@s de hive , hoy les traigo una manualidad muy sencilla y practica para esta época tan alegre y hermosa ,.. a mi arbolito de navidad le faltaba la estrella y no poseo en estos momentos para comprar una,.. me fui por la wed a ver como se hacia una no tan difícil y rápida, y miren lo que encontré, estrellas 3D... Y puse manos a la obra,...
Very good morning!! Have all your hive friends, today I bring you a very simple and practical craft for this joyful and beautiful time,... my Christmas tree was missing the star and I don't have the money to buy one right now,... I went on the web to see how to make one that was not so difficult and fast, and look what I found, 3D stars... And I got to work,...
MATERIALES
Cartulinas metalizadas plateada y dorada.
Silicon liquido y en barra.
Punzón de alambre.
Tijeras.
Rollito de cartón reutilizado
MATERIALS
Silver and gold metallic cards.
Liquid and stick silicone.
Wire punch.
Scissors.
Reused cardboard roll
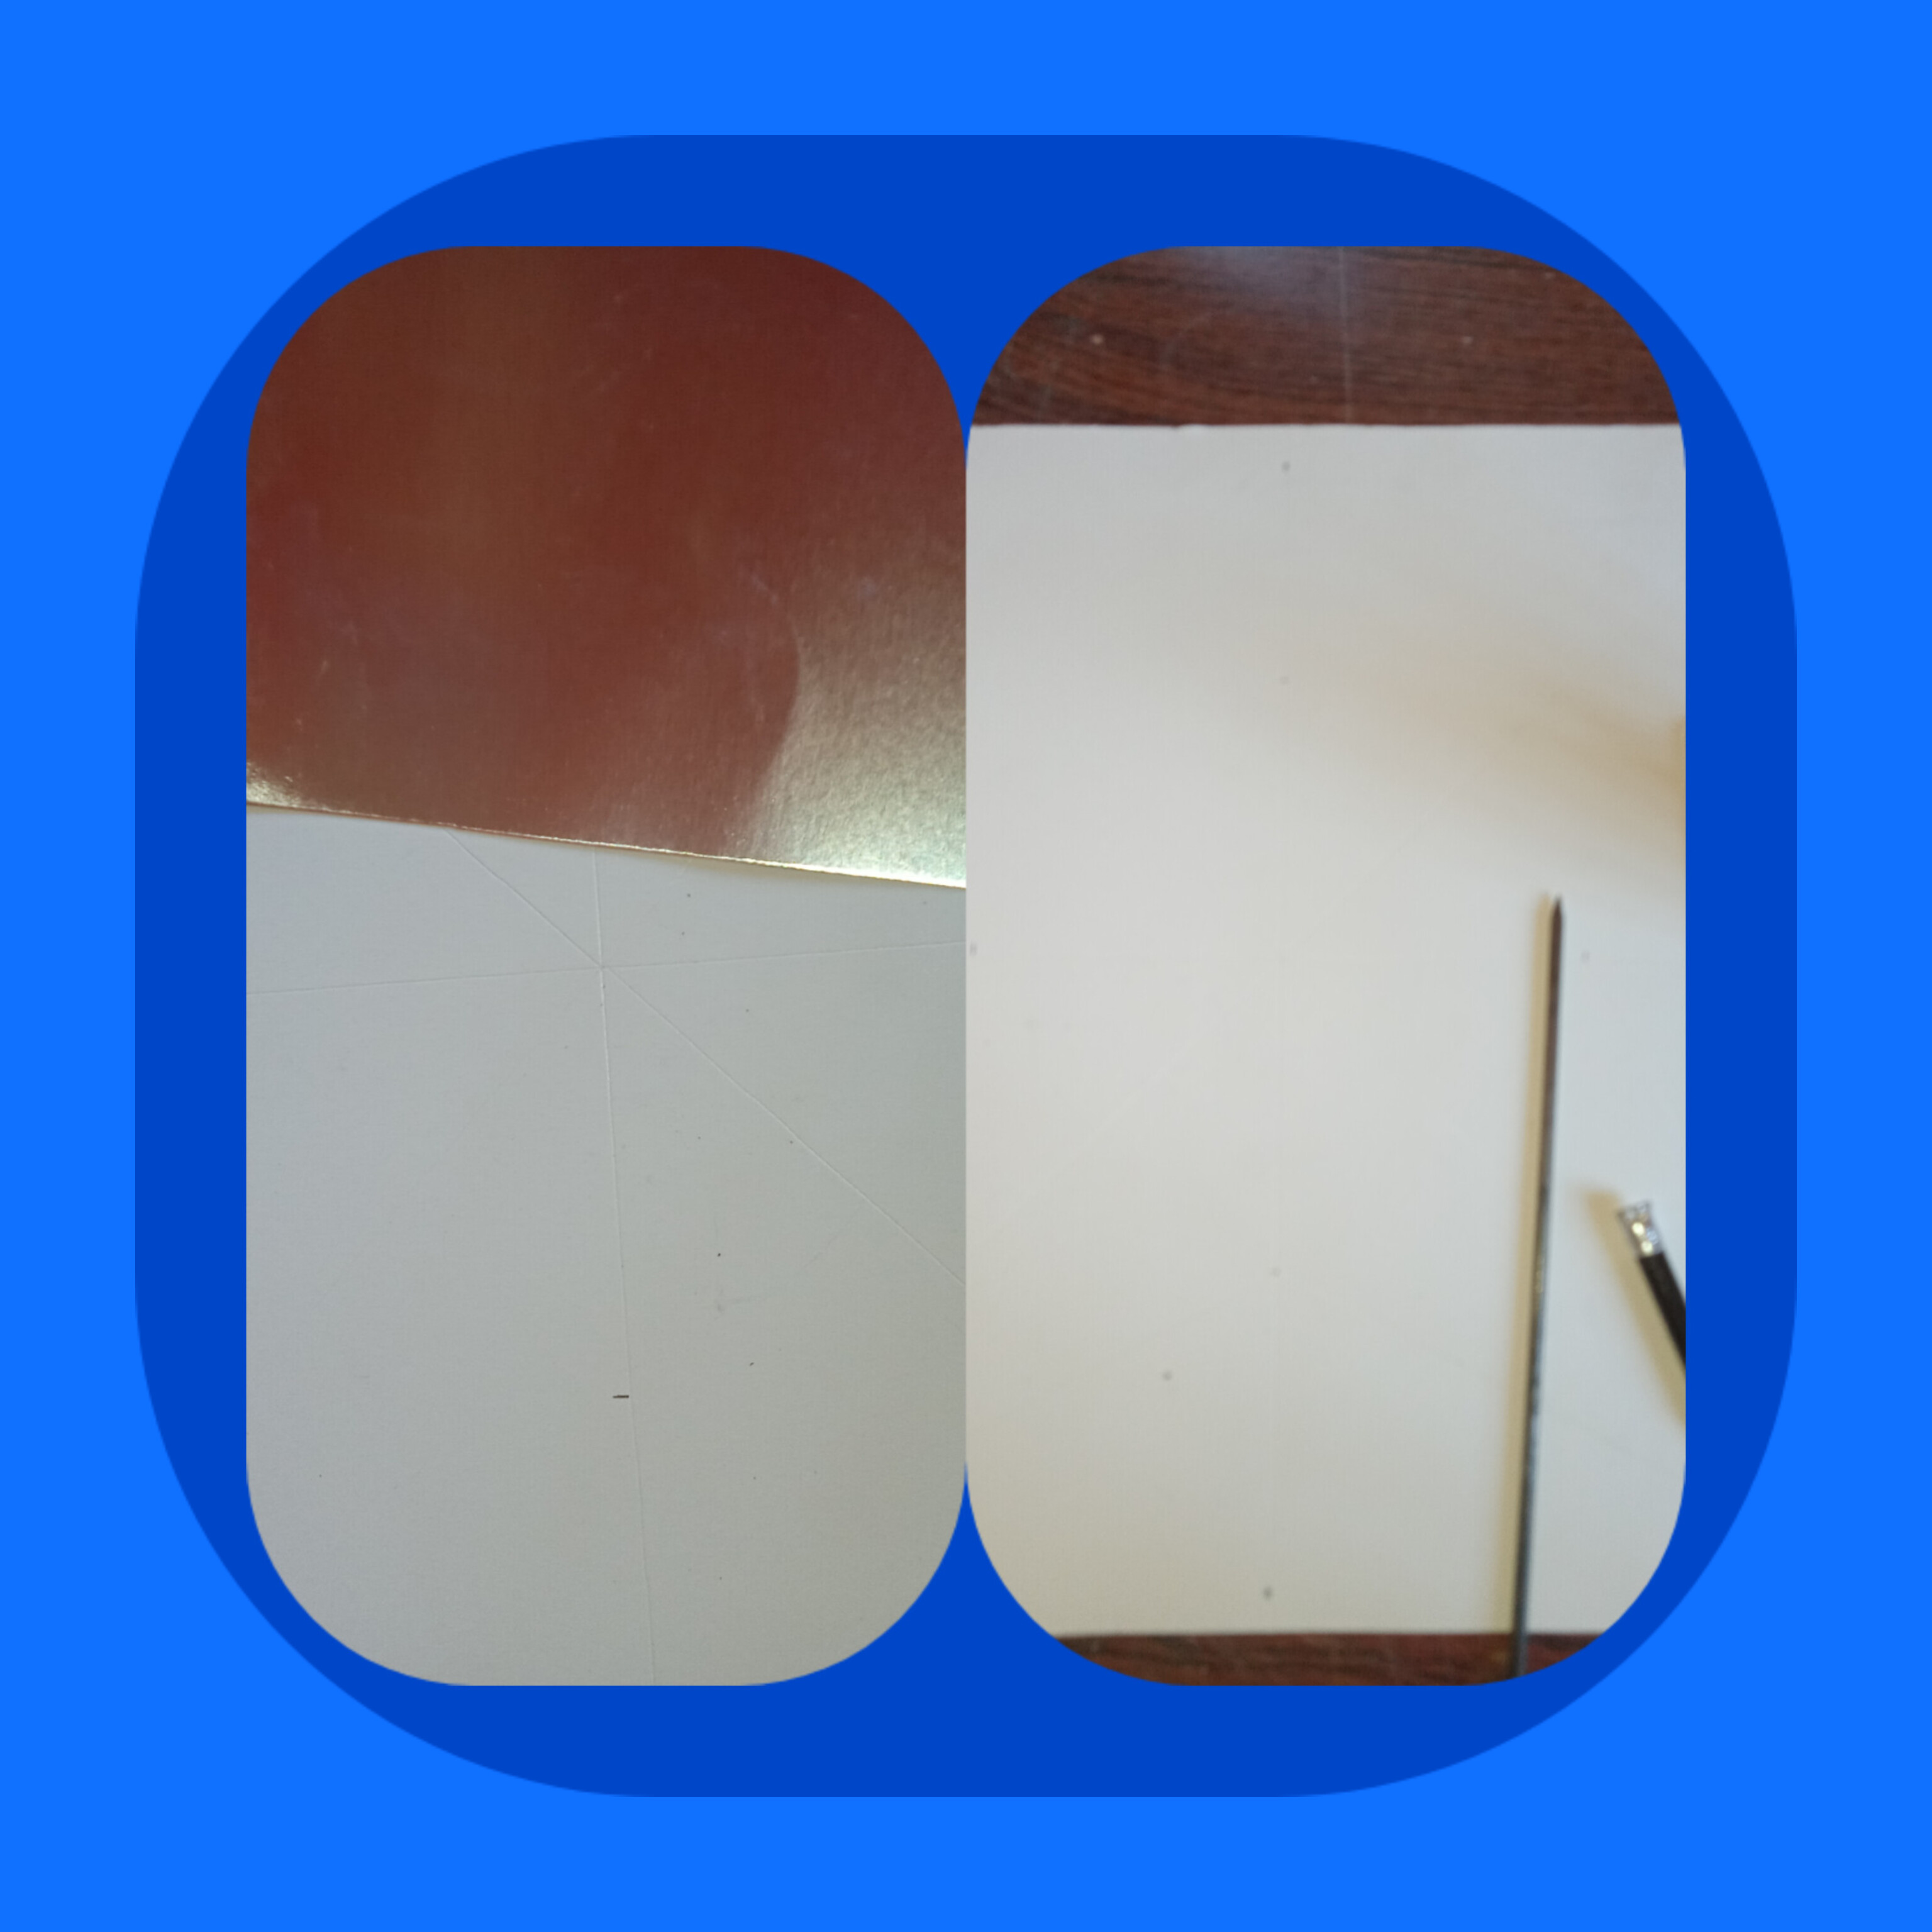
PASO 1.
Comenzamos cortando cuadros de 30cm /30cm, y marcamos de esquina a esquina buscando un centro y a partir de ese centro comenzamos a trazar las lineas por donde se va a cortar , hacemos lineas grandes y las de en medio de 5cm para hacer como especie de una solapa...
STEP 1.
We start by cutting 30cm / 30cm squares, and we mark from corner to corner looking for a center and from that center we begin to draw the lines where it is going to be cut, we make large lines and the middle ones of 5cm to make a kind of a flap...
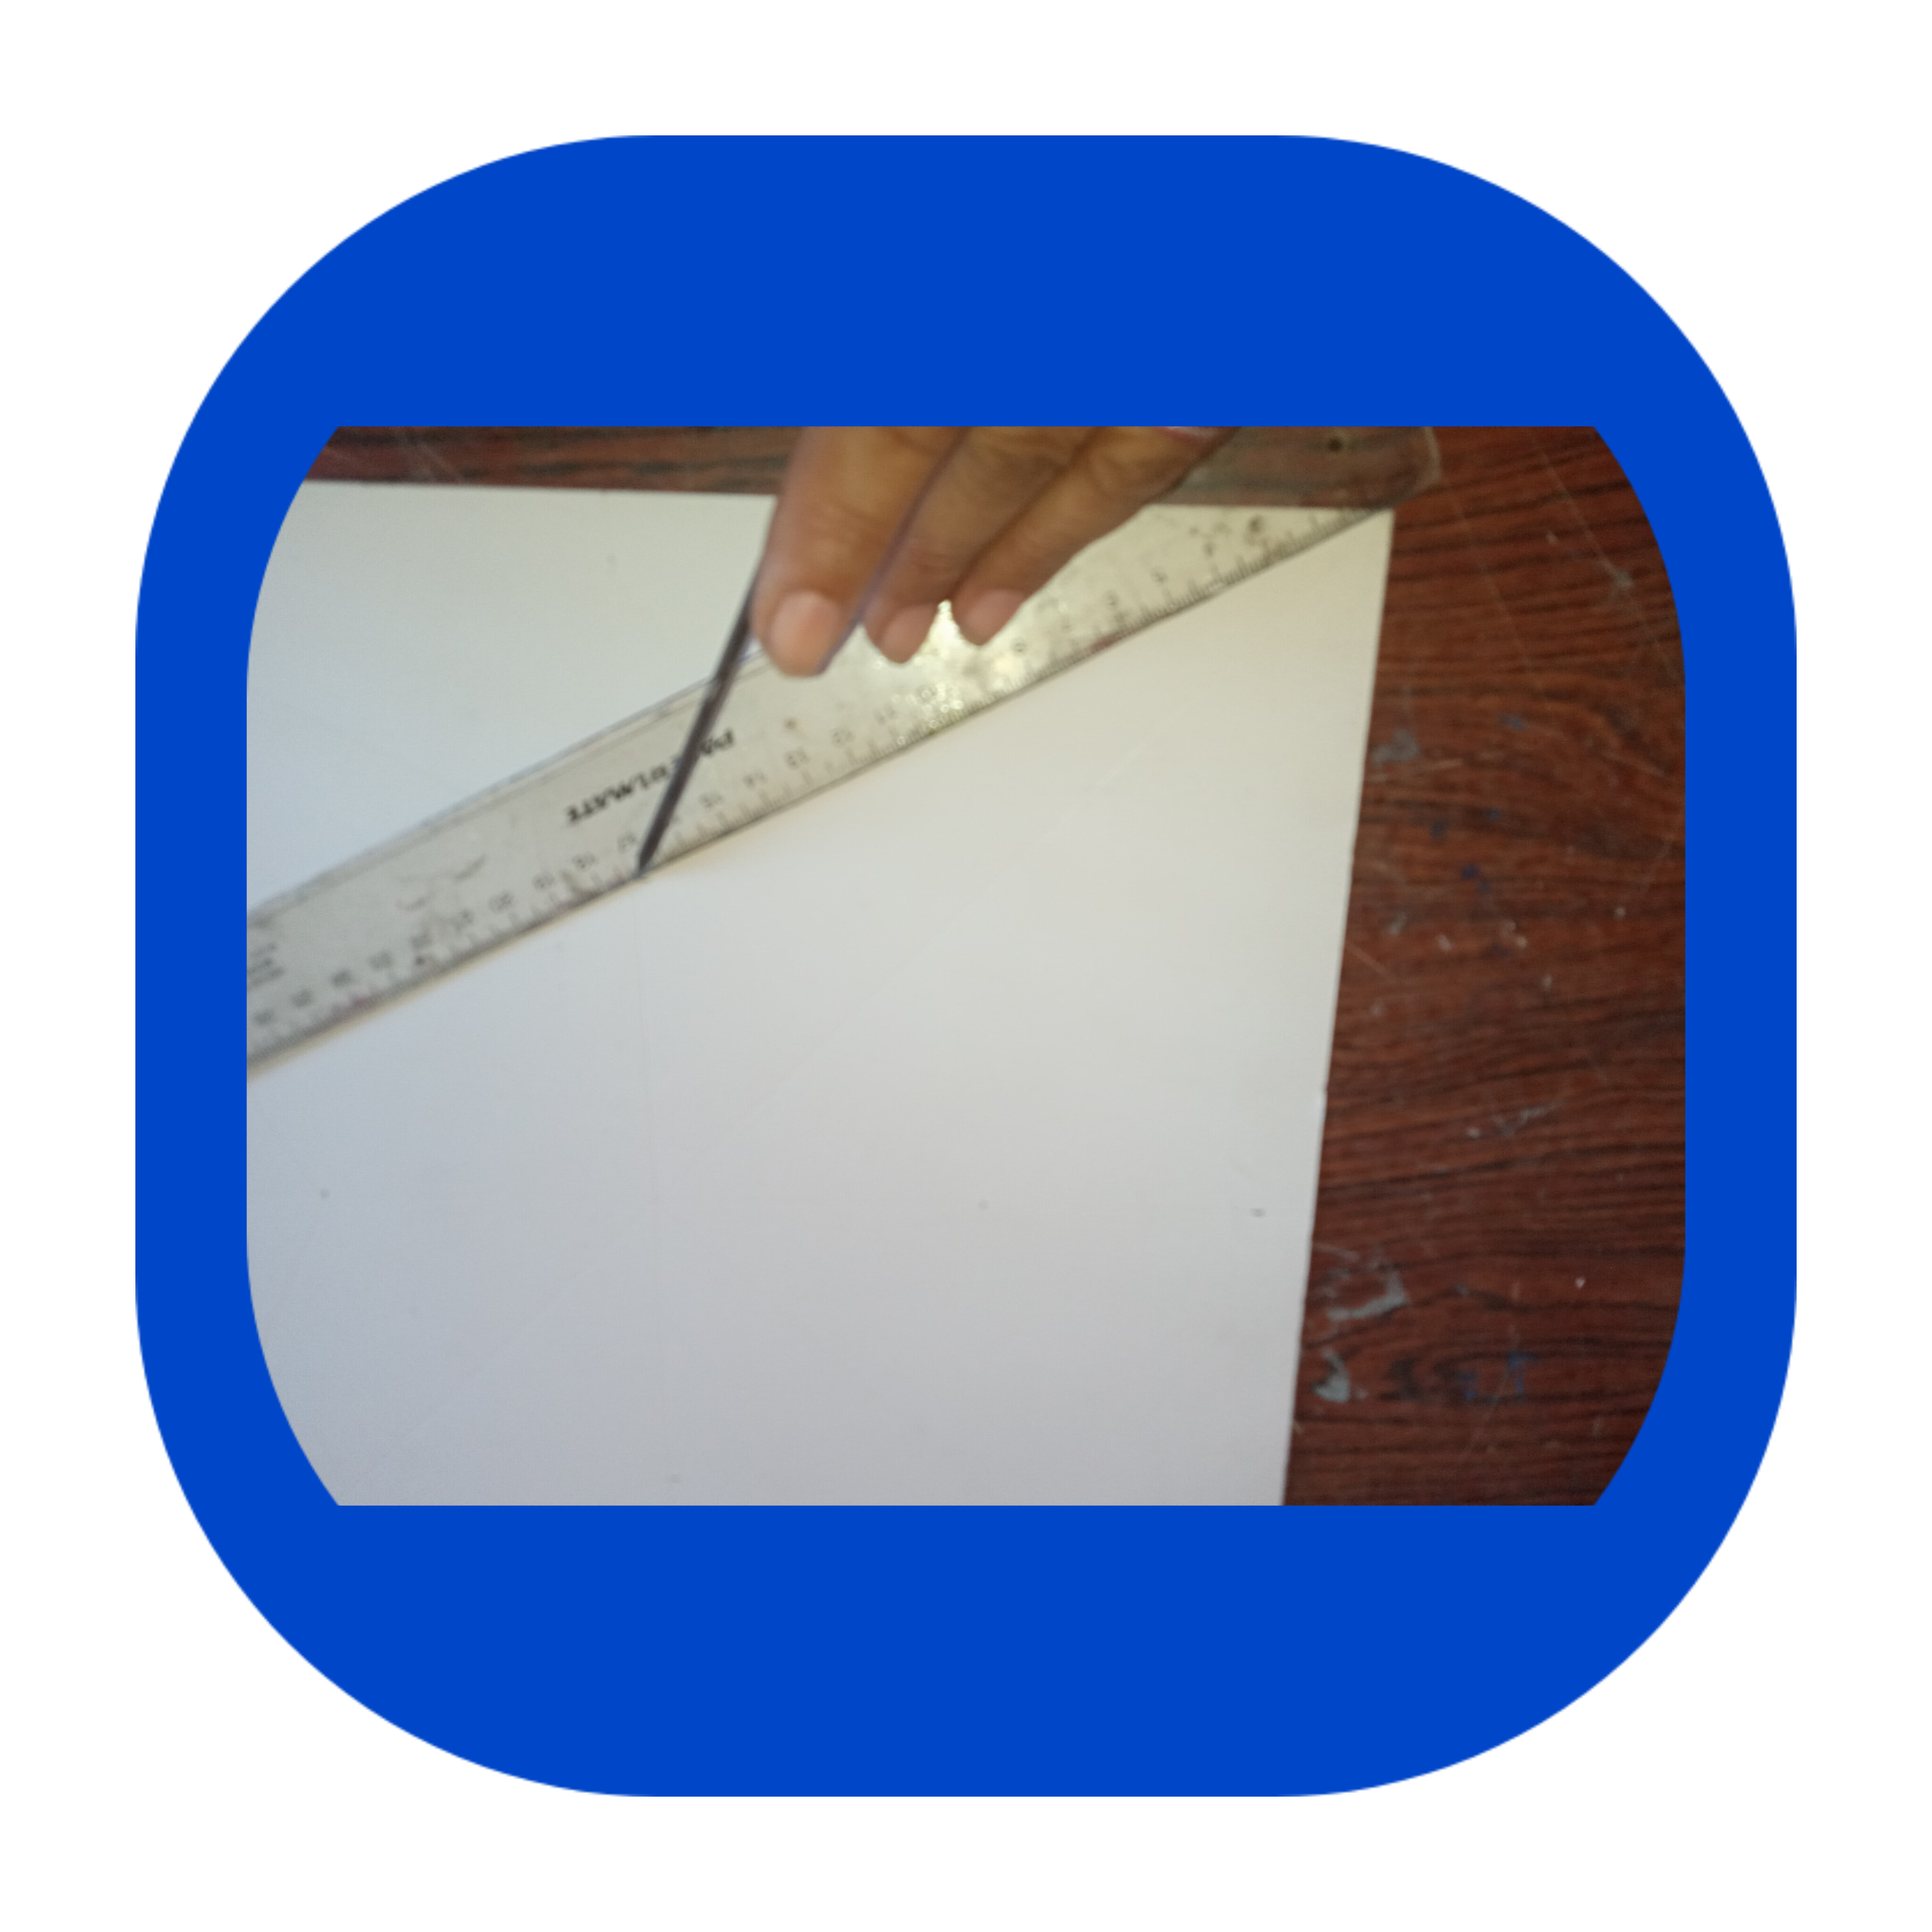
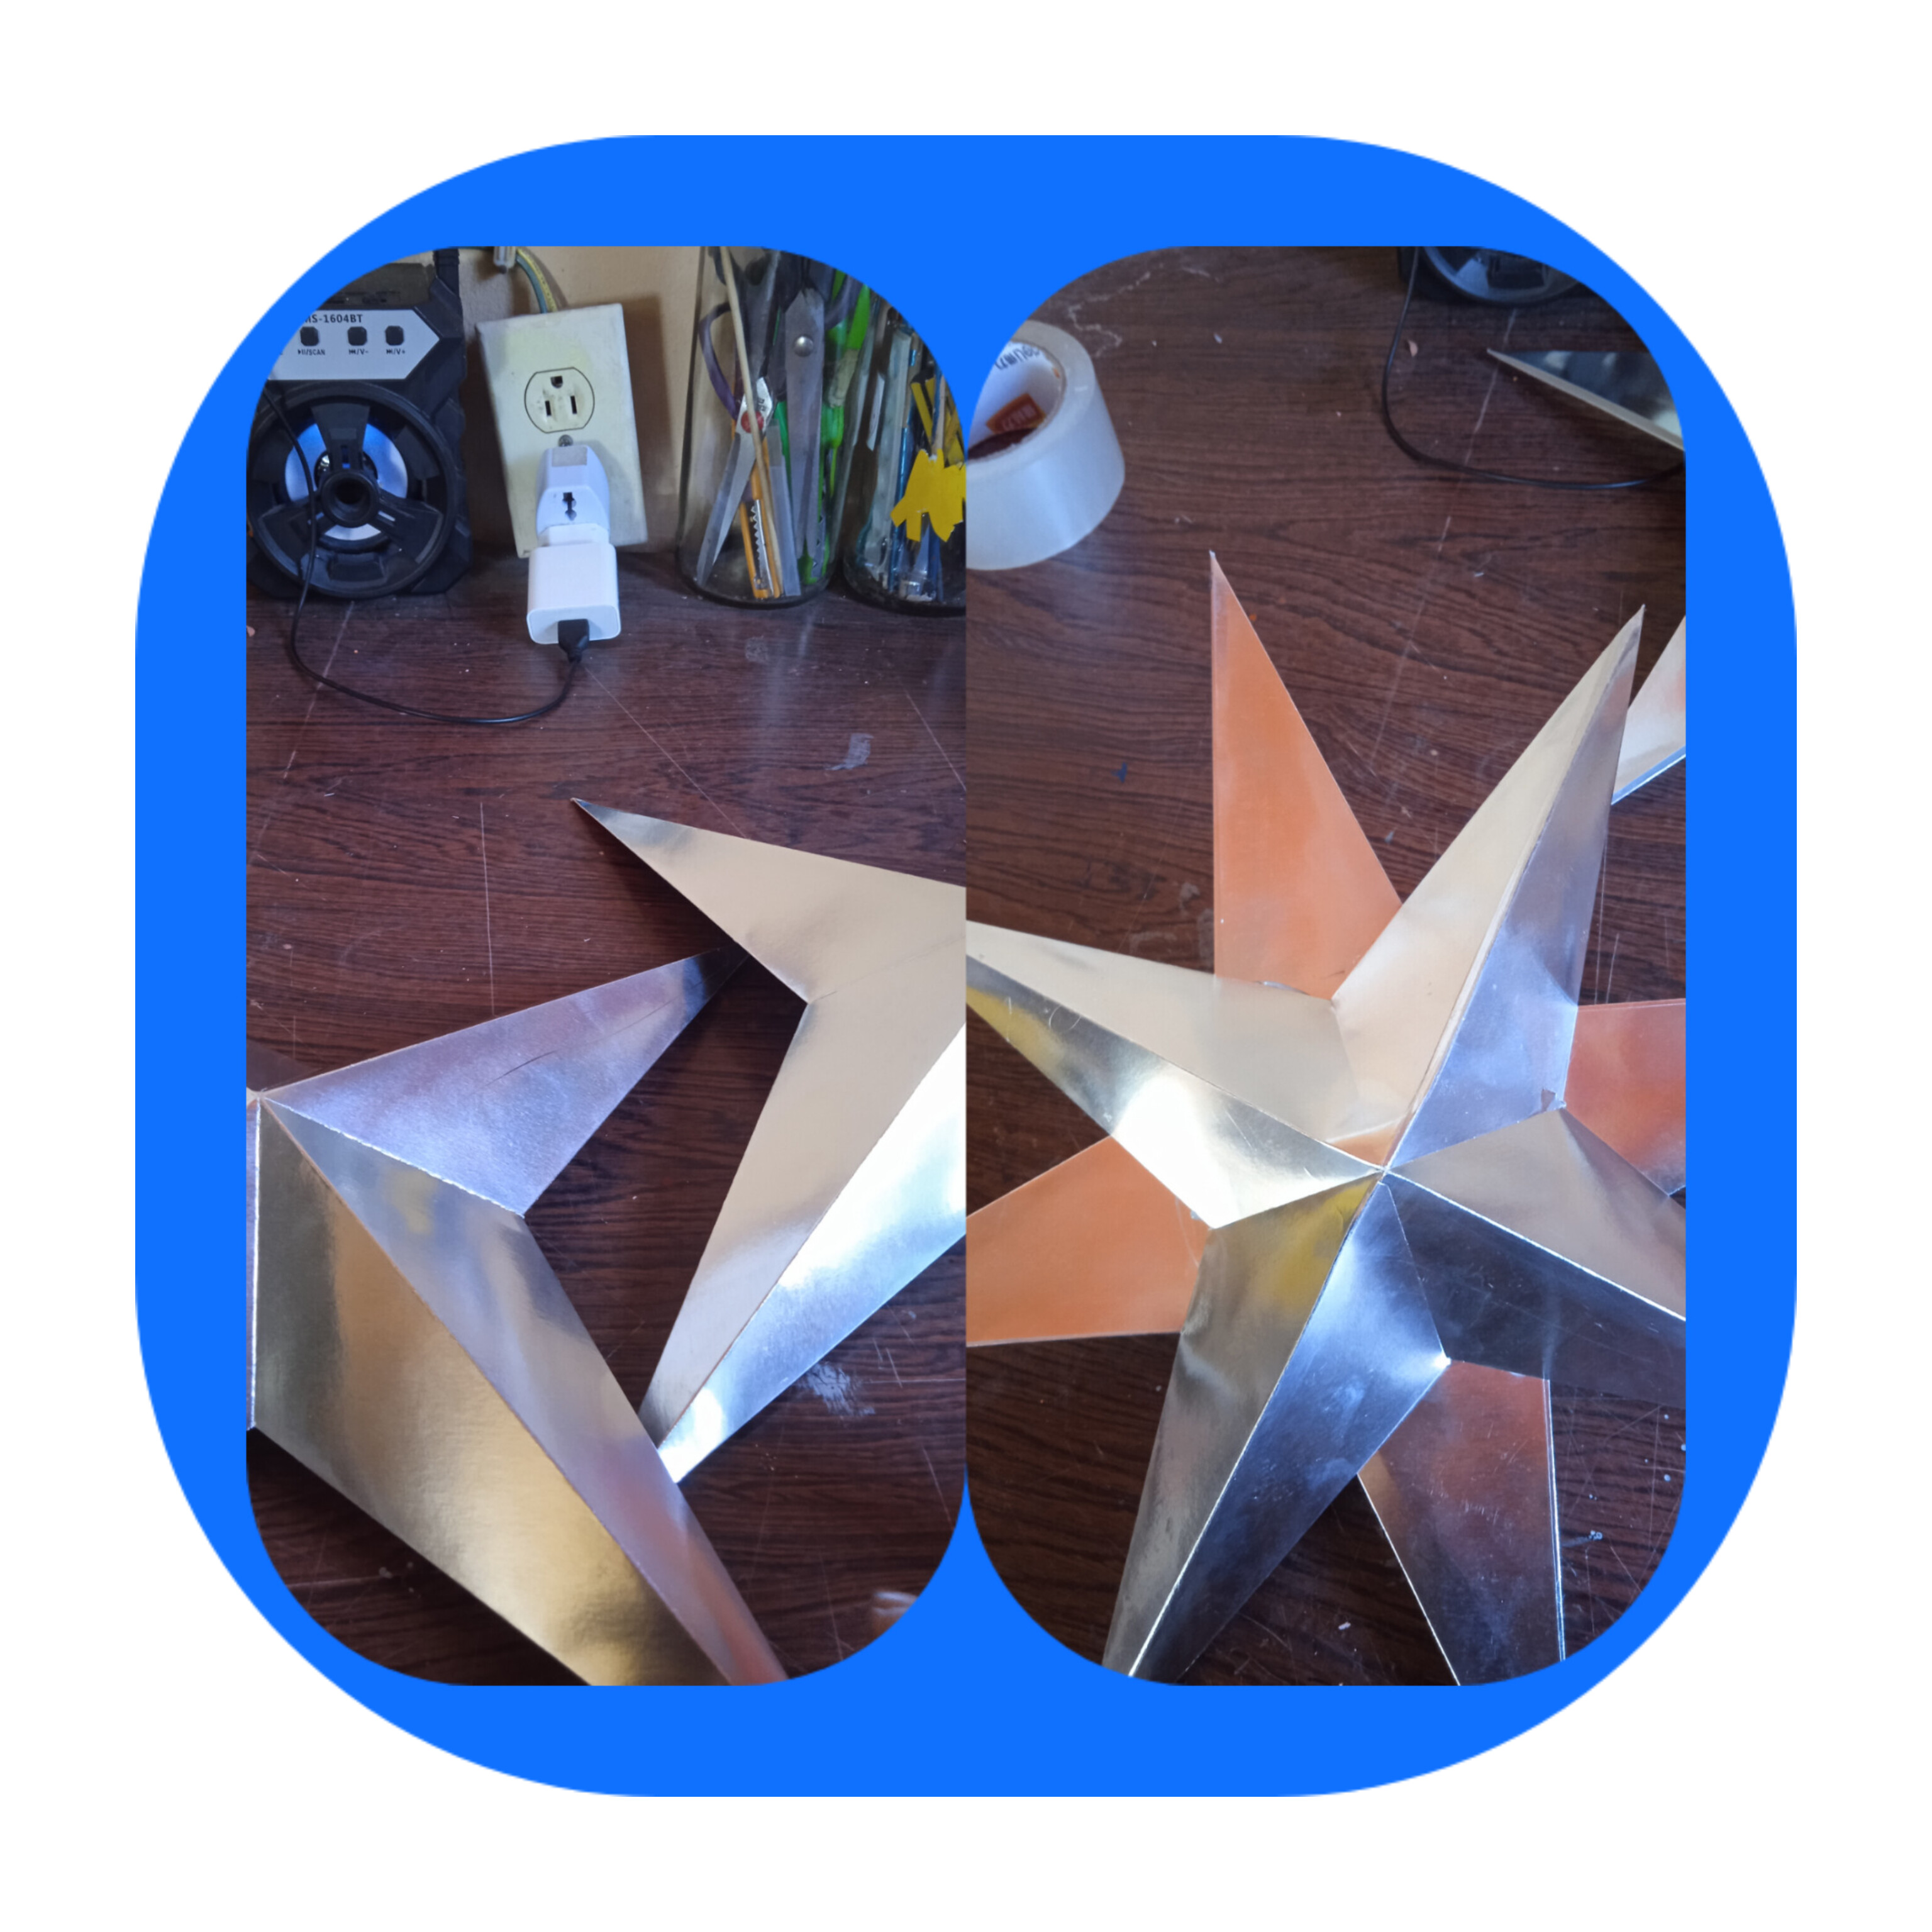
PASO 2.
Ya marcadas las lineas las remarcamos con el punzón y comenzamos a cortar y a doblar
,
midiendo por donde vamos a pegar, y se me olvido que con pinzas de embalar presionamos para que peguen rápido y uniforme
STEP 2.
Once the lines have been marked, we highlight them with the punch and begin to cut and fold, measuring where we are going to paste, and I forgot that with packing clamps we press so that they paste quickly and uniformly.
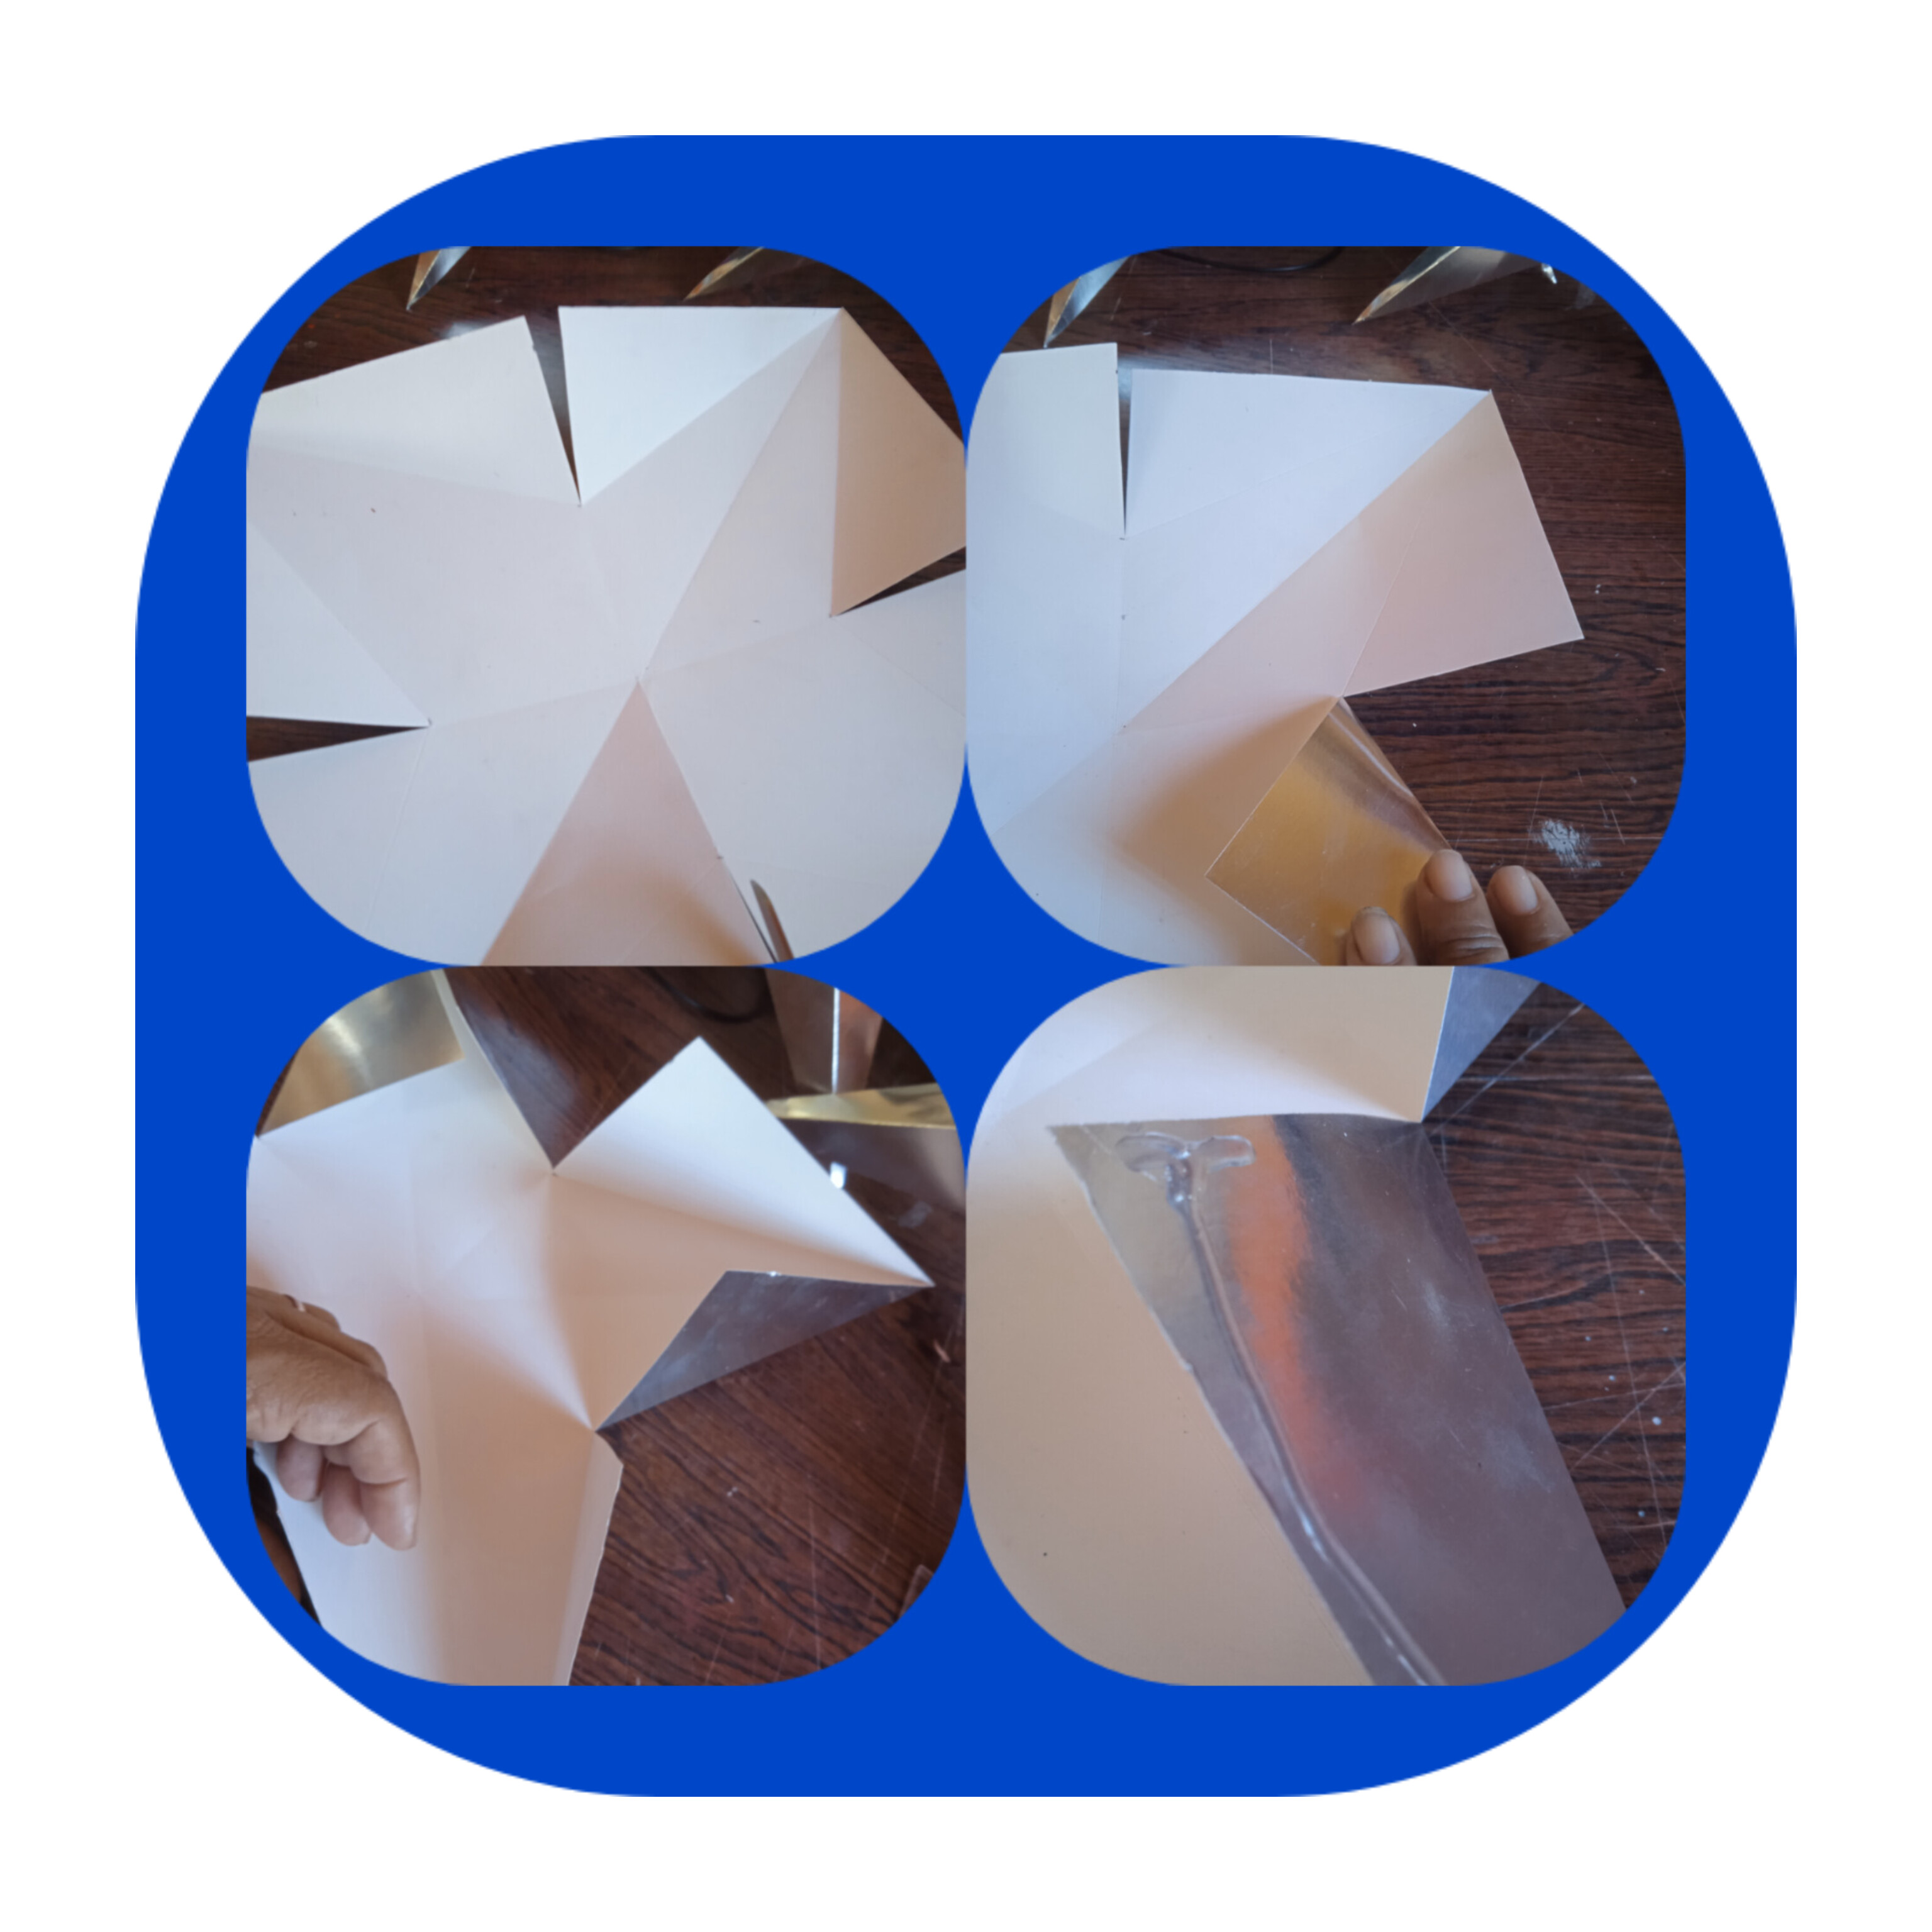
Ya cortadas, comenzamos a doblar y a ir pegando una por una punta hasta completar cuatro puntas por cada cuadrado, para hacer una estrella completa se necesitan dos cuadros.
Once cut, we begin to fold and glue one point at a time until we complete four points for each square. To make a complete star, two squares are needed.
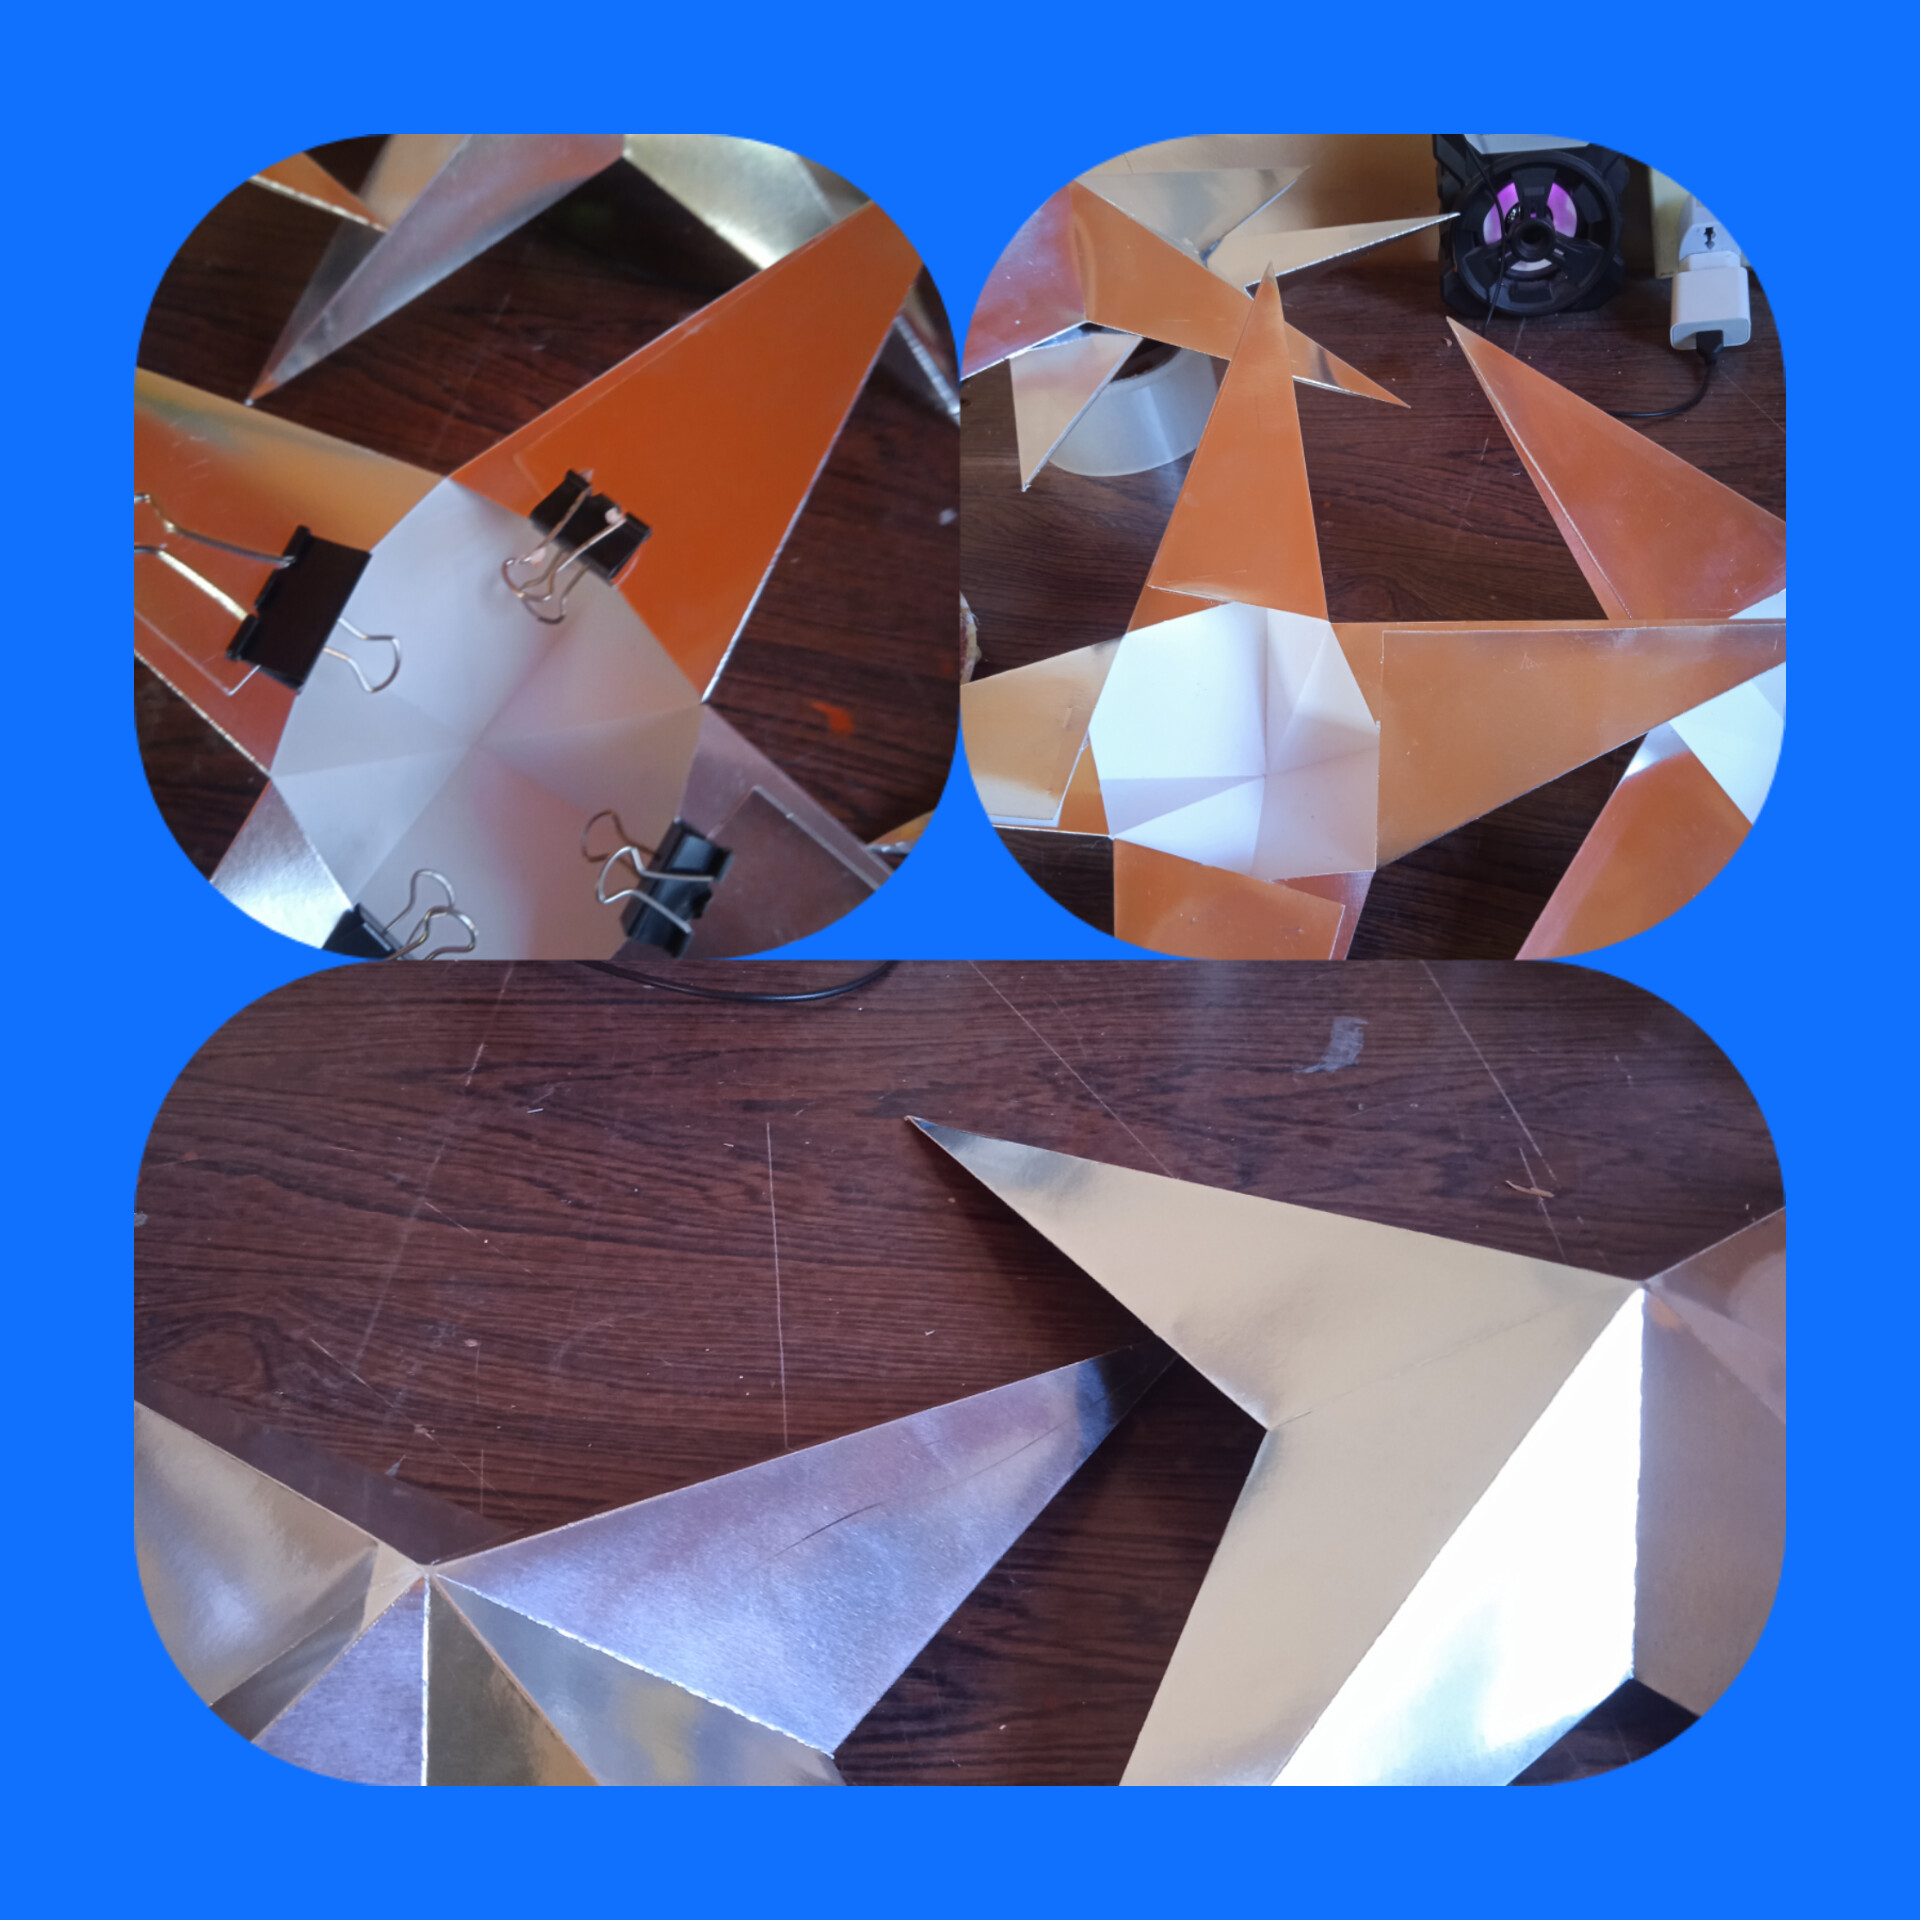
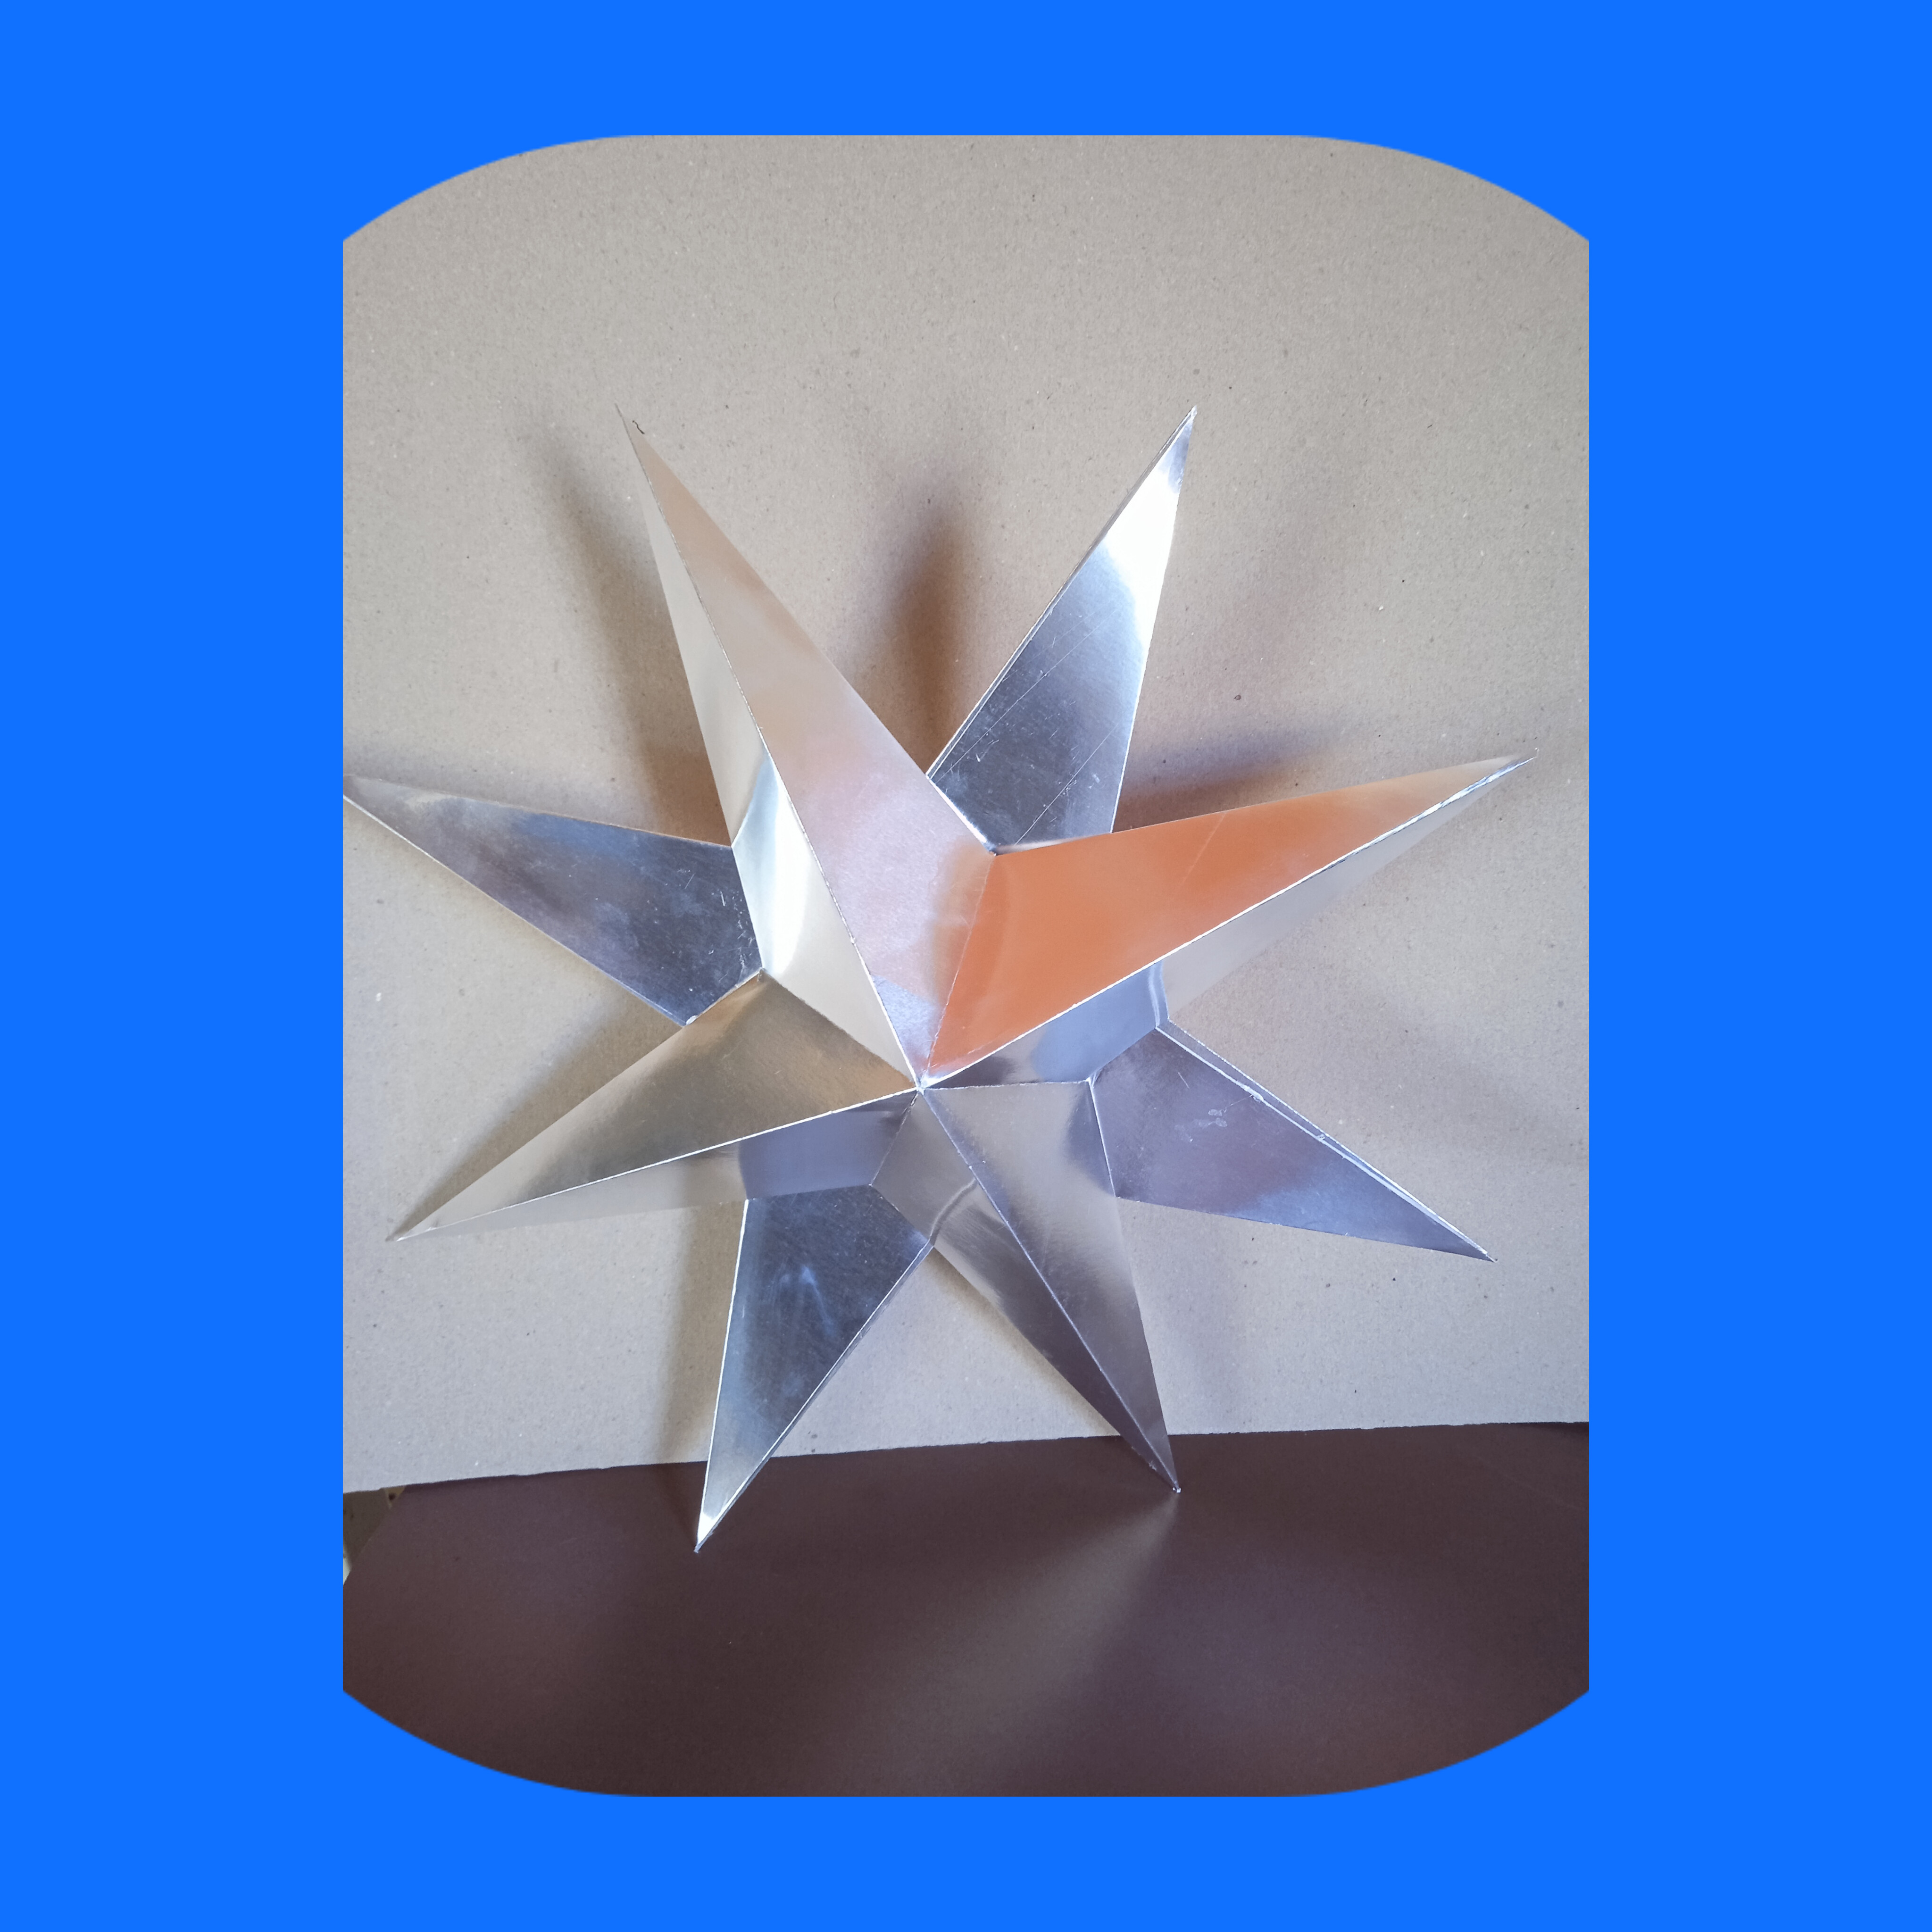
PASO 4.
Ya tenemos listas las dos piezas las pegamos con silicon en barra para asegurar su que queden bien pegadas y no se desbaraten al colocarlas.
STEP 4.
Now we have the two pieces ready, we glue them with a silicone stick to ensure that they stick well and do not fall apart when placing them.
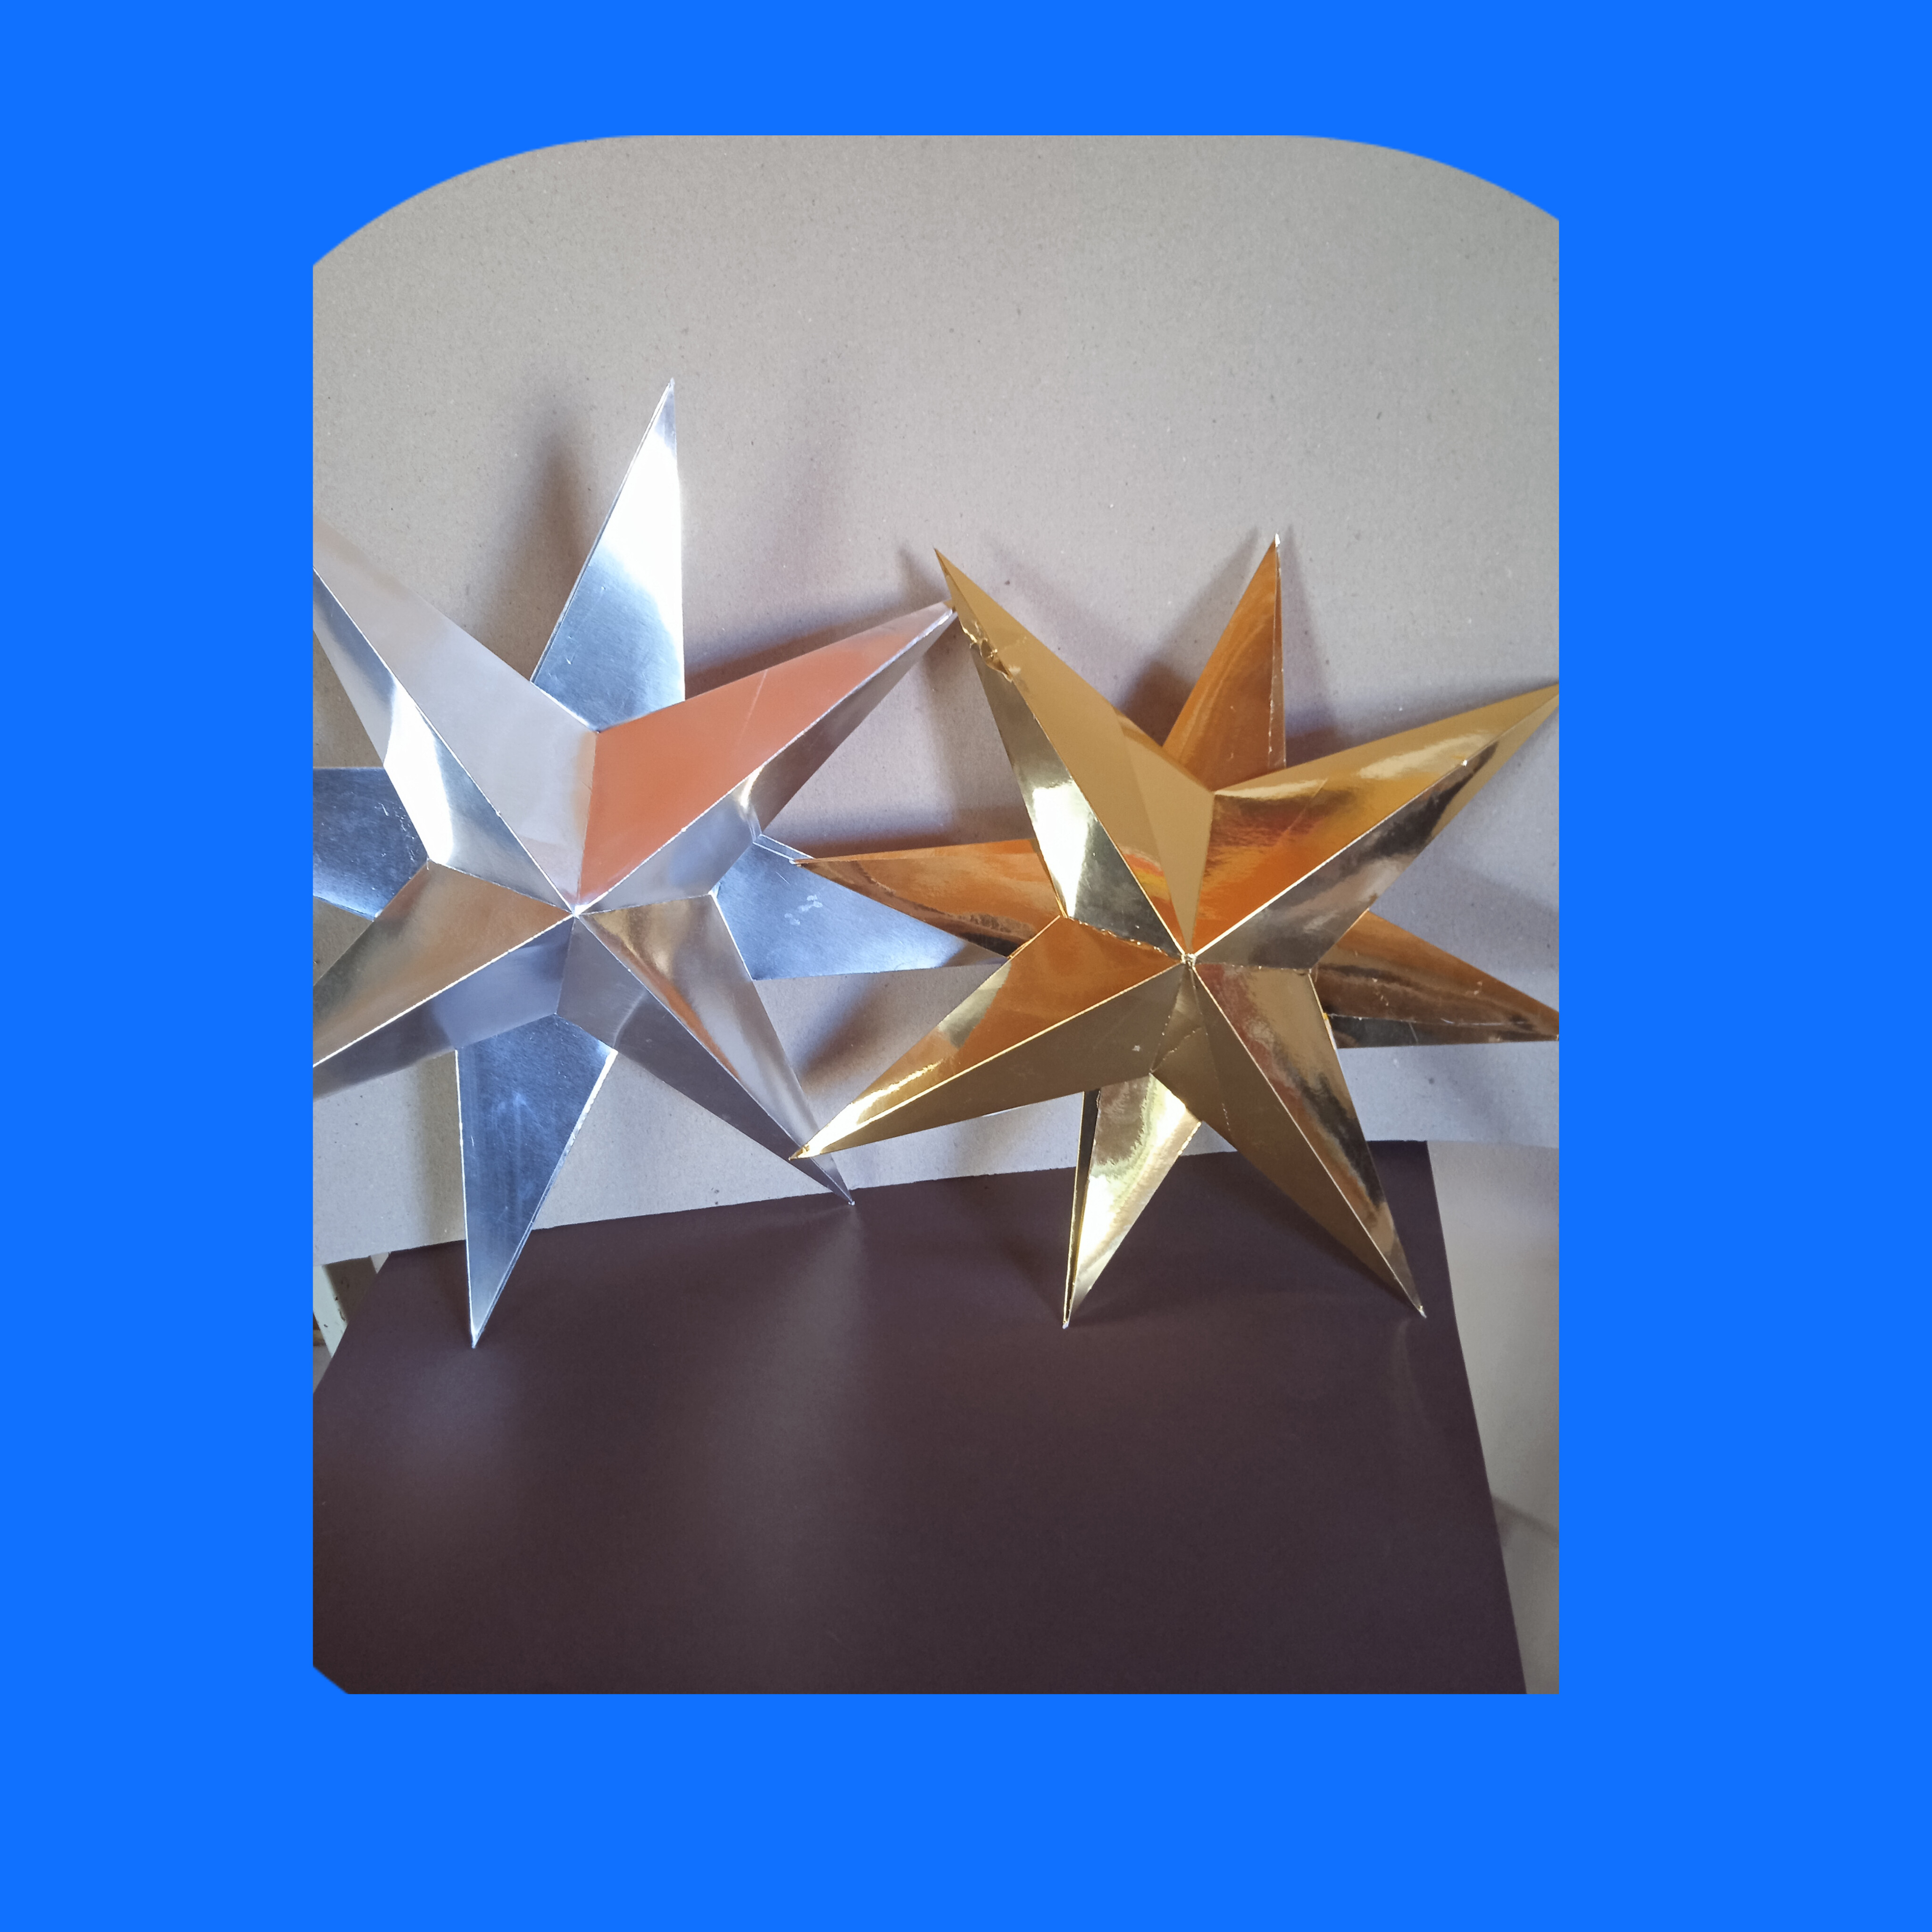
Y así queda , muy linda ... hice una dorada para mi arbolito
And that's how it looks, very pretty... I made a golden one for my little tree
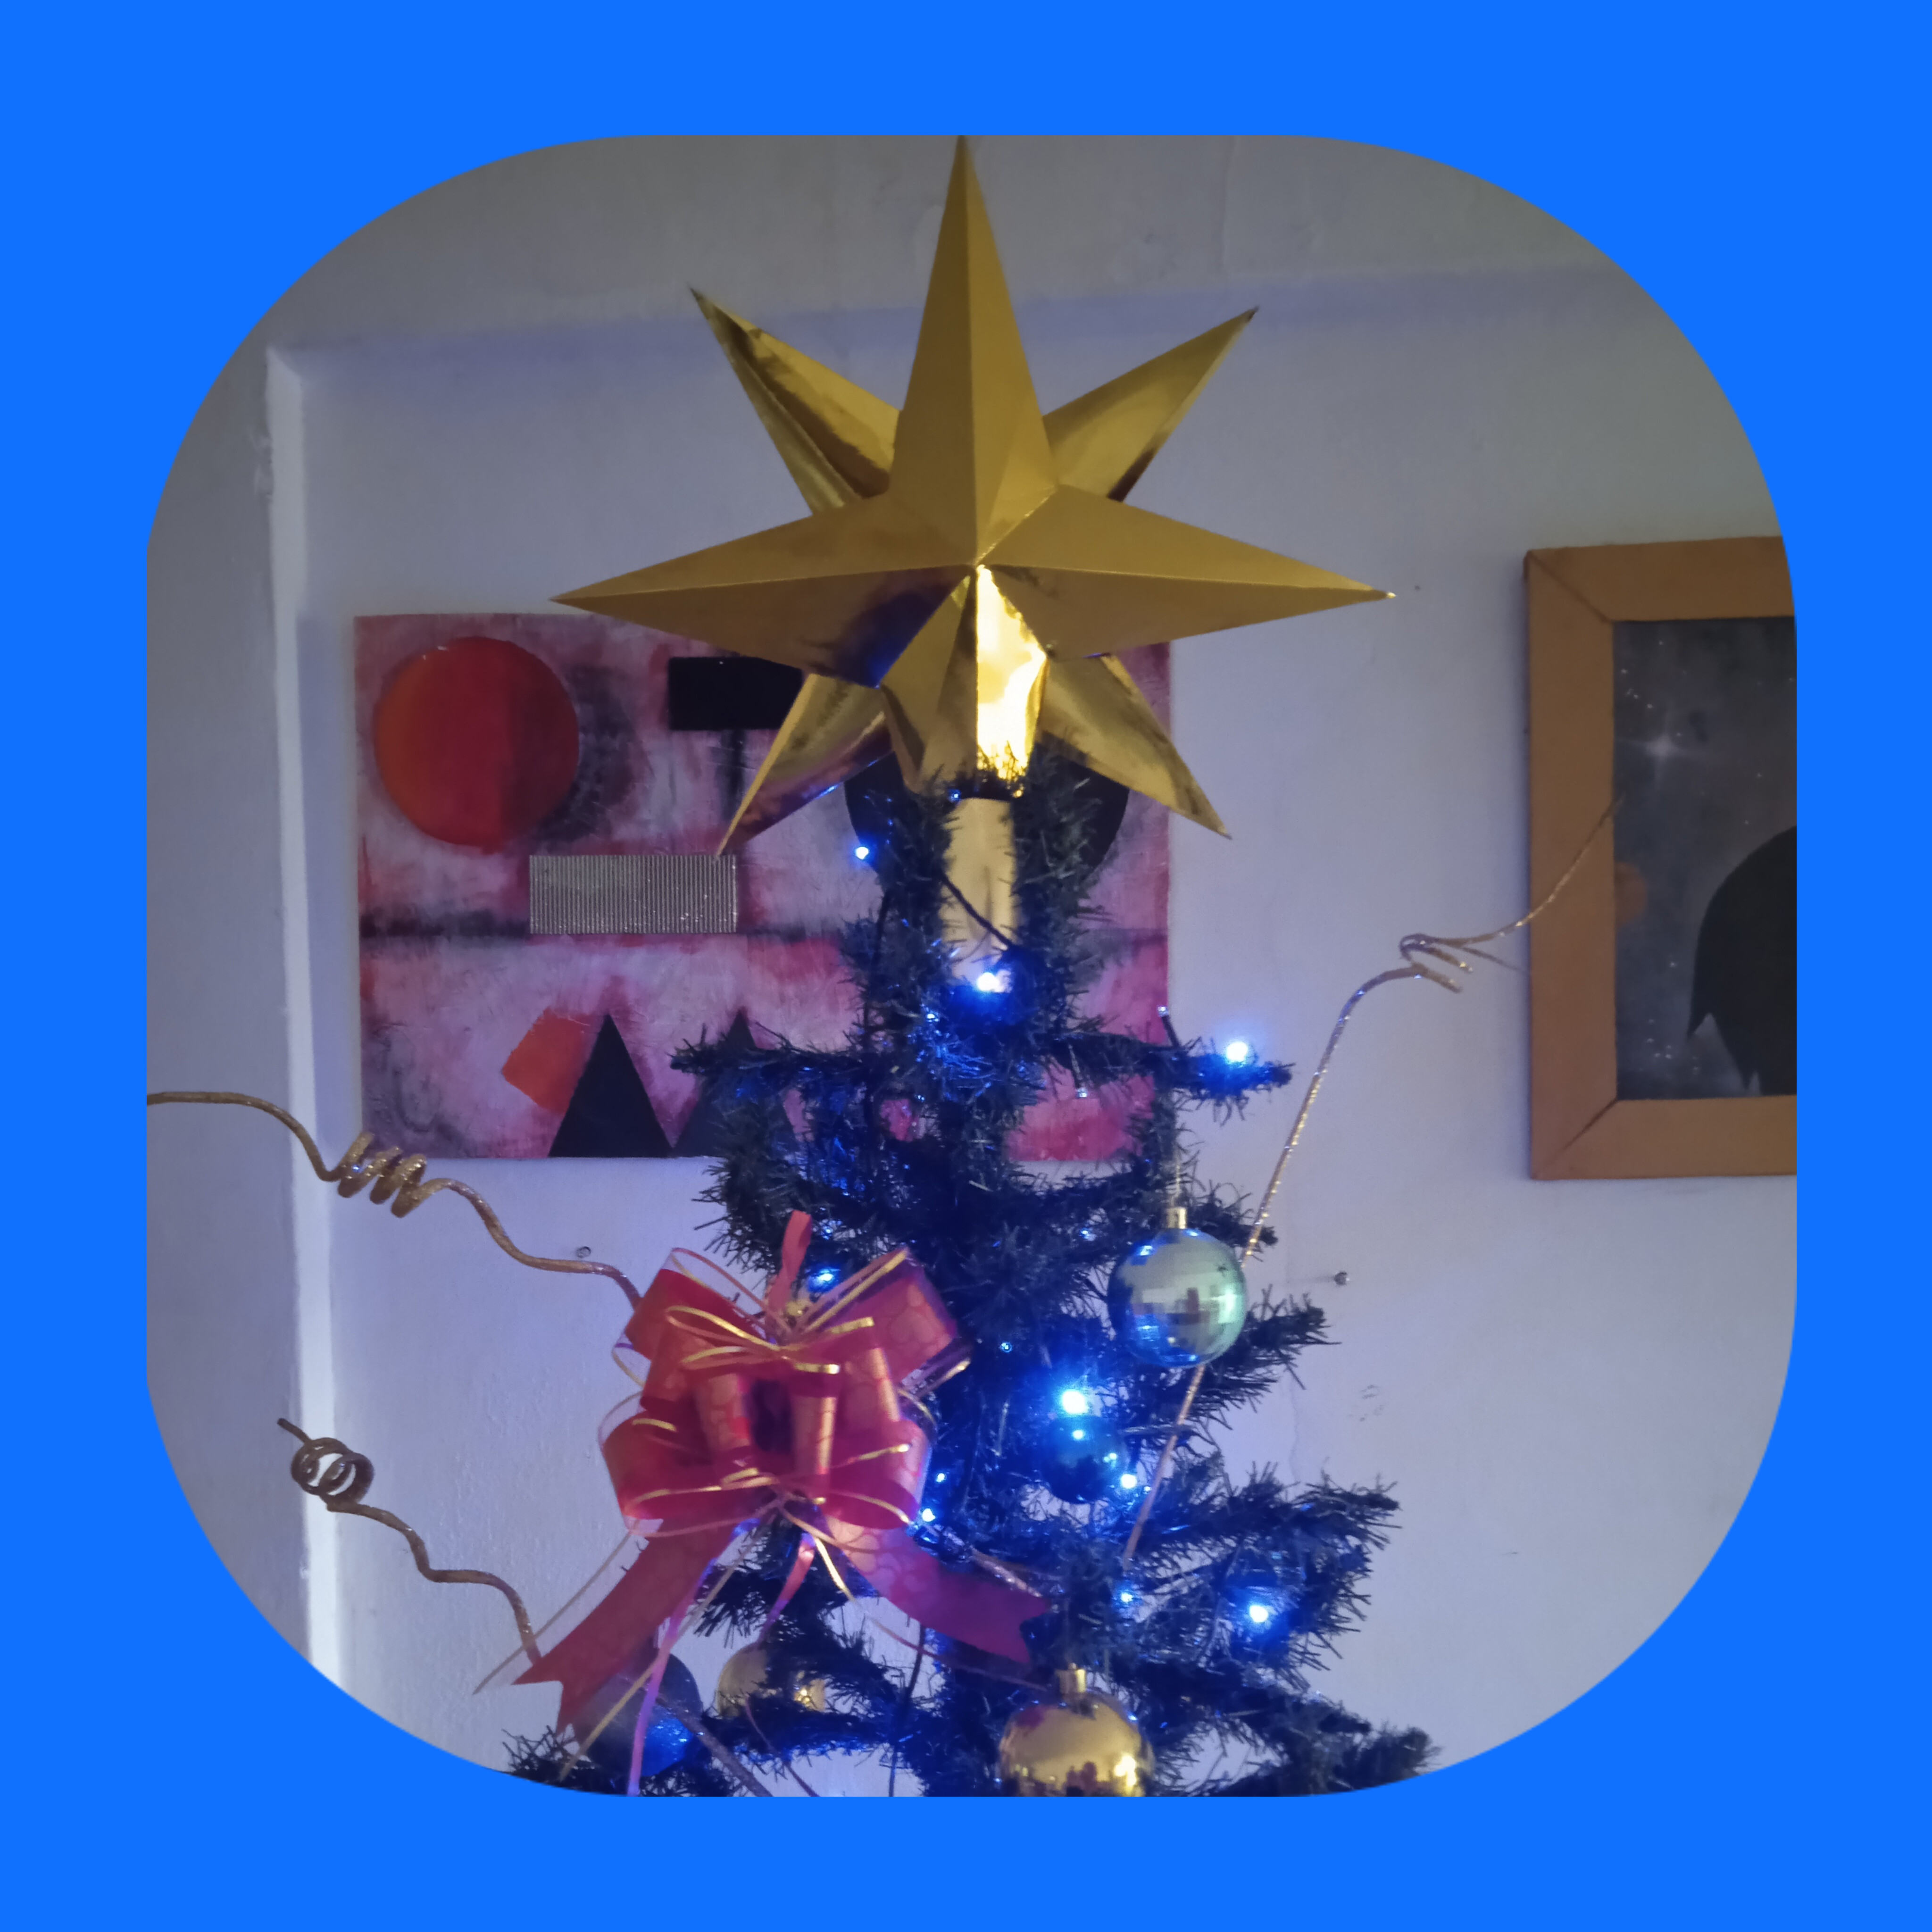
Miren como queda en el arbolito de navidad..
Look how it looks on the Christmas tree.
Espero que le saquen provecho a esta pequeña pero bonita manualidad que quise compartir con ustedes y las chicas que están decorando sus casa es una muy bonita opción.
Nos vemos en otra manualidad muy pronto tengo la cabeza llena de motivos hermosos que pronto compartire con ustedes see les quiere bay bay!
I hope you take advantage of this small but beautiful craft that I wanted to share with you and the girls who are decorating their homes, it is a very nice option.
See you in another craft very soon, I have a head full of beautiful motifs that I will soon share with you. I love you bay bay!
Las fotos fueron tomadas con mi teléfono xiaomi Redmi 9A y editadas por inshop.
The photos were taken with my xiaomi Redmi 9A phone and edited by inshop.
Te felicito te quedaron increíbles están hermosas
Muchas gracias!
Muchas gracias!
Me encanta! Y se ven muy elegantes
🤭🇻🇪🤭❤️🎄🤭
🤭🇻🇪🤭❤️🎄🤭