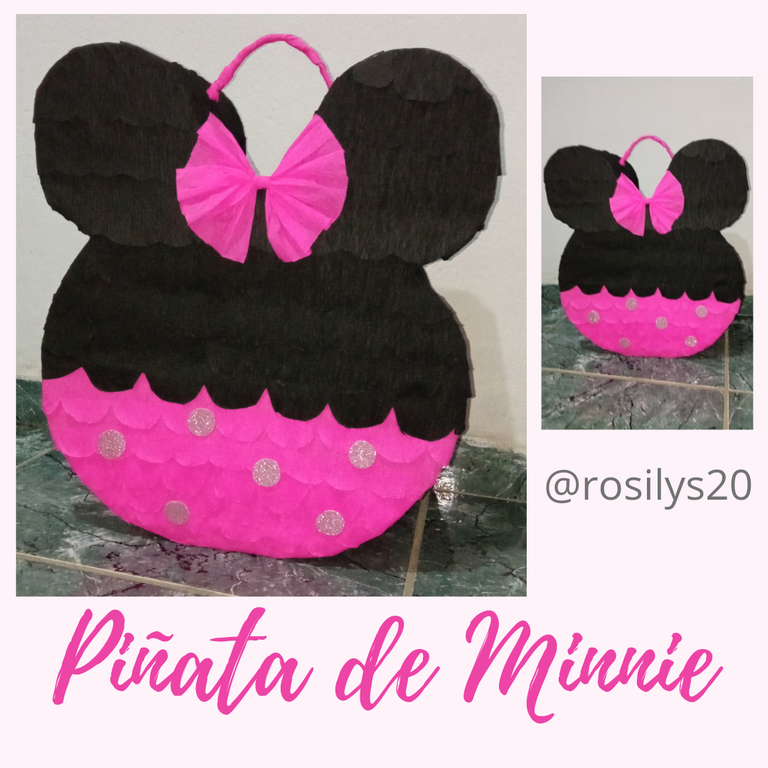
Hoy quiero compartir con ustedes cómo hacer una linda piñata de Minnie utilizando caja de cartón, espero les guste y se animen a realizarlo.
Hello friends of Hive I hope you are well and have a great time.
Today I want to share with you how to make a cute Minnie piñata using a cardboard box, I hope you like it and I encourage you to do it.
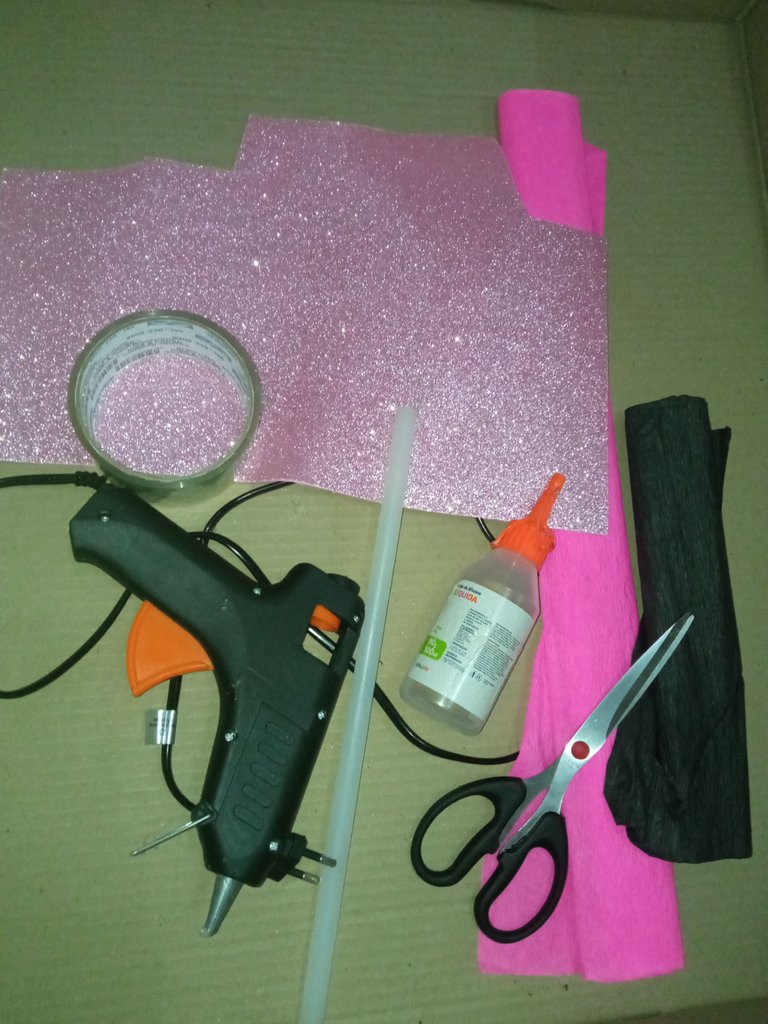
Materiales utilizados:
Caja de cartón
Cinta adhesiva
Papel crepé (Fucsia y negro)
Silicón en barra
Silicón líquido
Tijera
Cobre o alambre
Foami escarchado (Rosado)
Materials used:
Cardboard box
Adhesive tape
Crepe paper (Fuchsia and black)
Silicone stick
Liquid silicone
Scissors
Copper or wire
Frosted Foami (Pink)
Pasos a seguir | Steps to follow
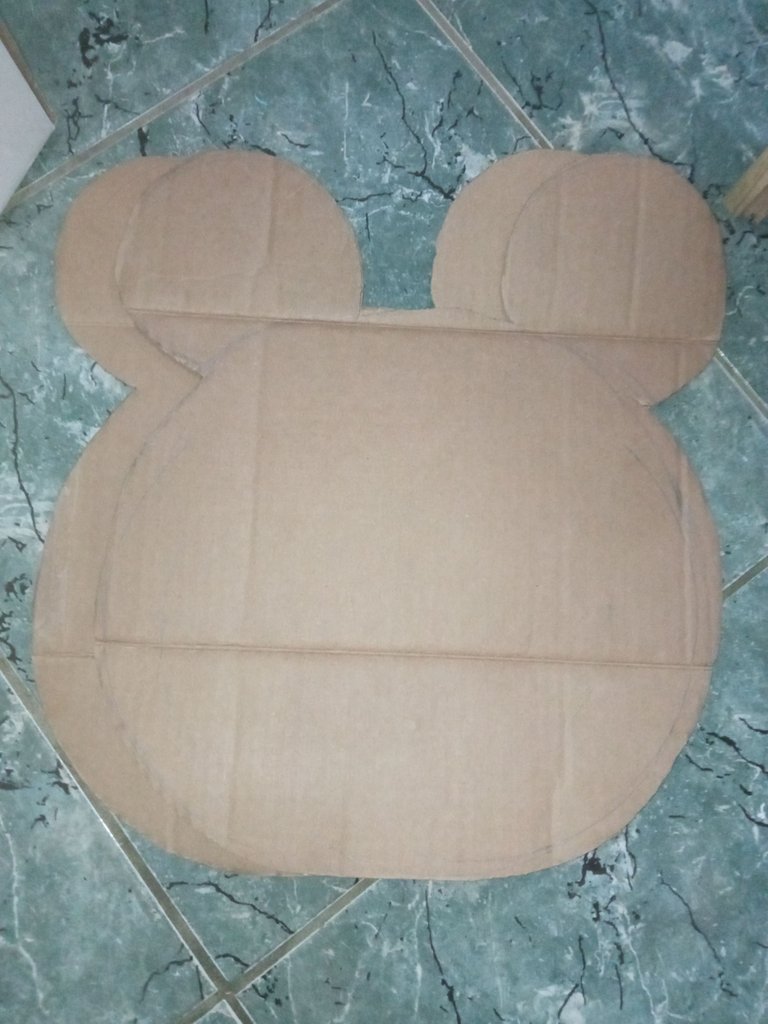
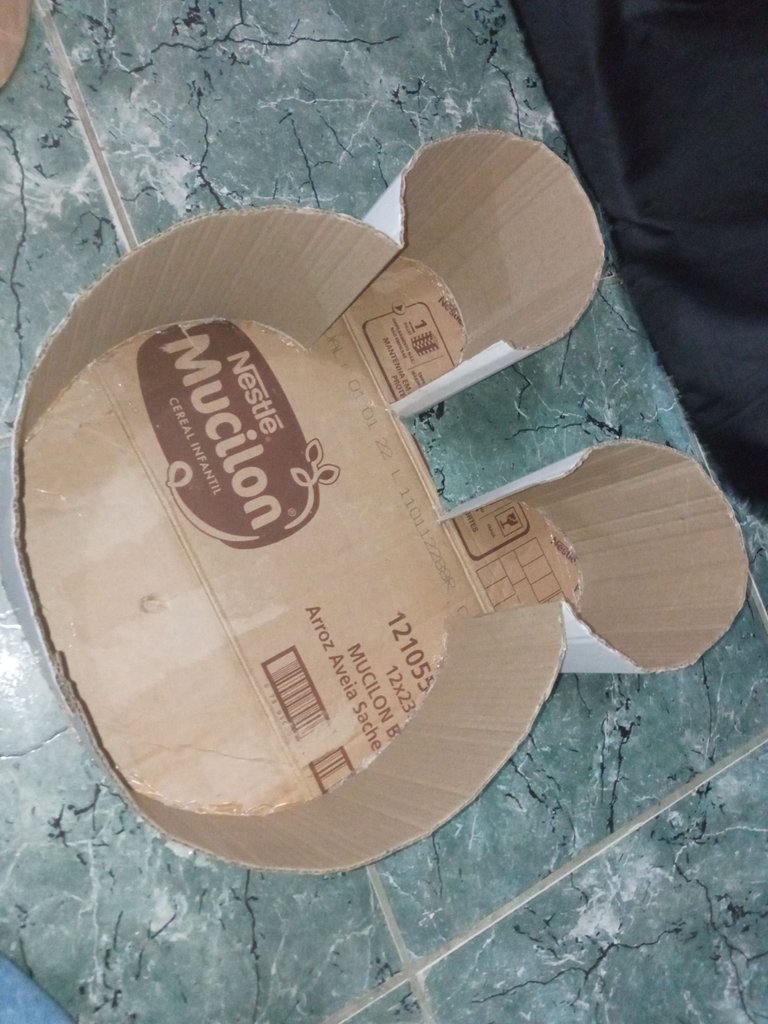
Iniciamos marcando dos silueta de la cabeza de Minnie en el cartón y recortamos.
We start by marking two outlines of Minnie's head on the cardboard and cut them out.
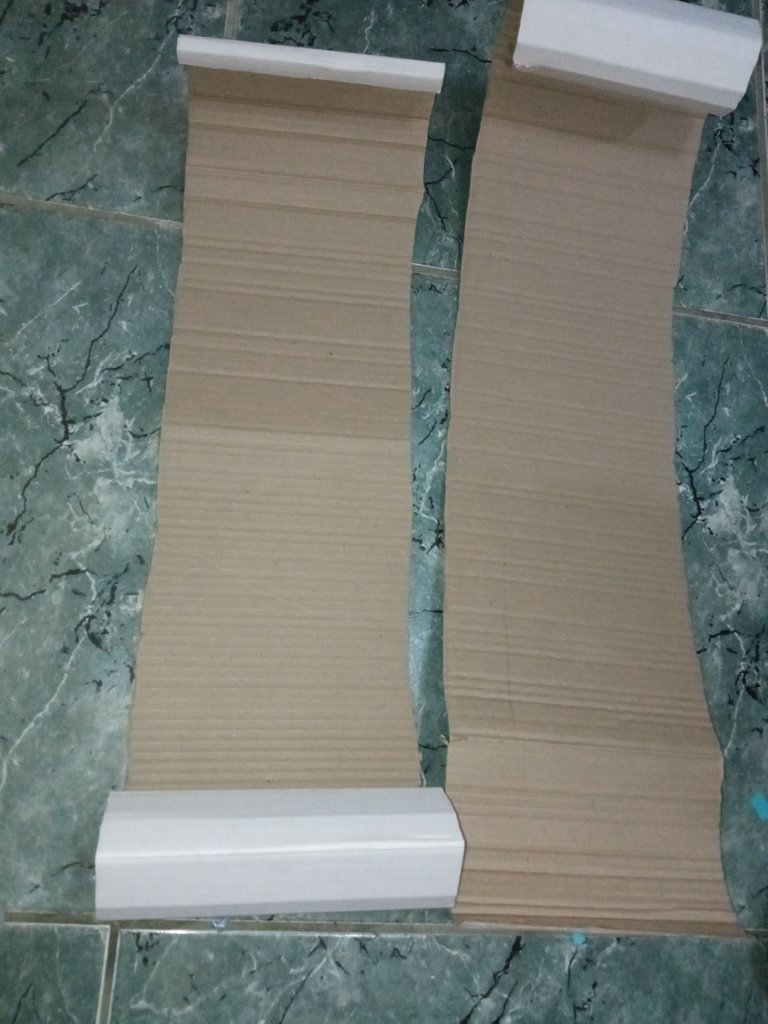
Recortamos una o dos tiras gruesas de cartón y enrollamos para que al realizar la piñata tenga mayor flexibilidad.
We cut out one or two thick strips of cardboard and roll them up to make the piñata more flexible.
Con el silicón caliente pegamos las tiras gruesas a una de las siluetas de la cabeza de Minnie y pegamos la otra silueta arriba.
With the hot silicone we glue the thick strips to one of the silhouettes of Minnie's head and glue the other silhouette on top.
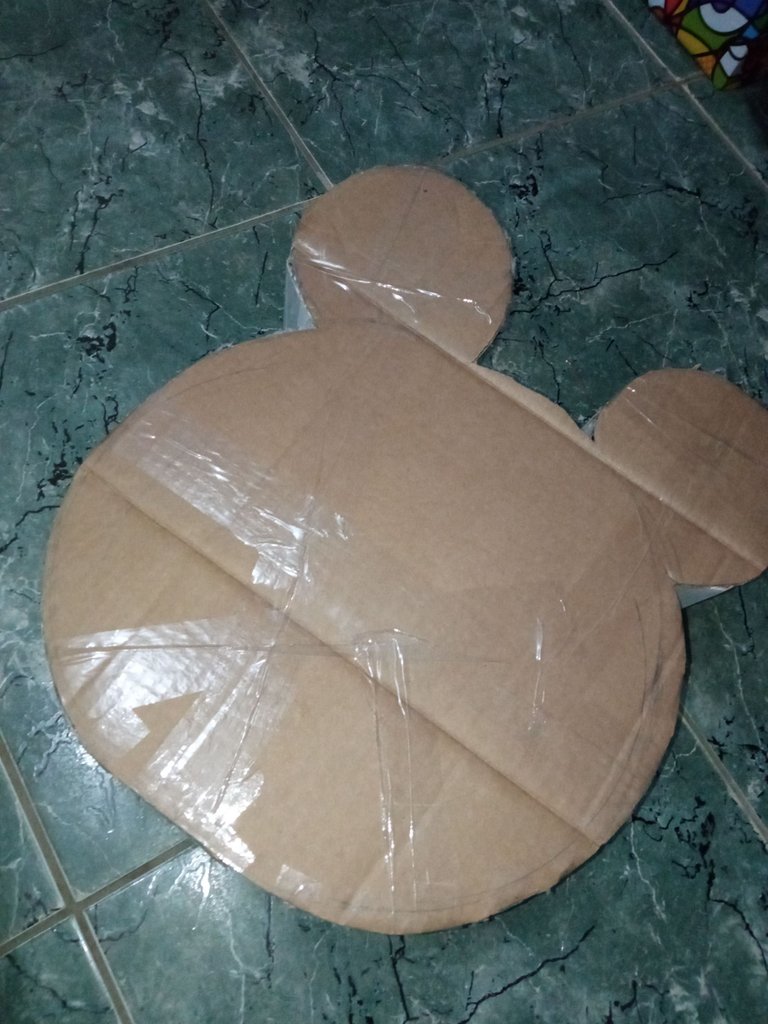
Aseguramos bien la base de la piñata con cinta adhesiva.
Secure the base of the piñata with tape.
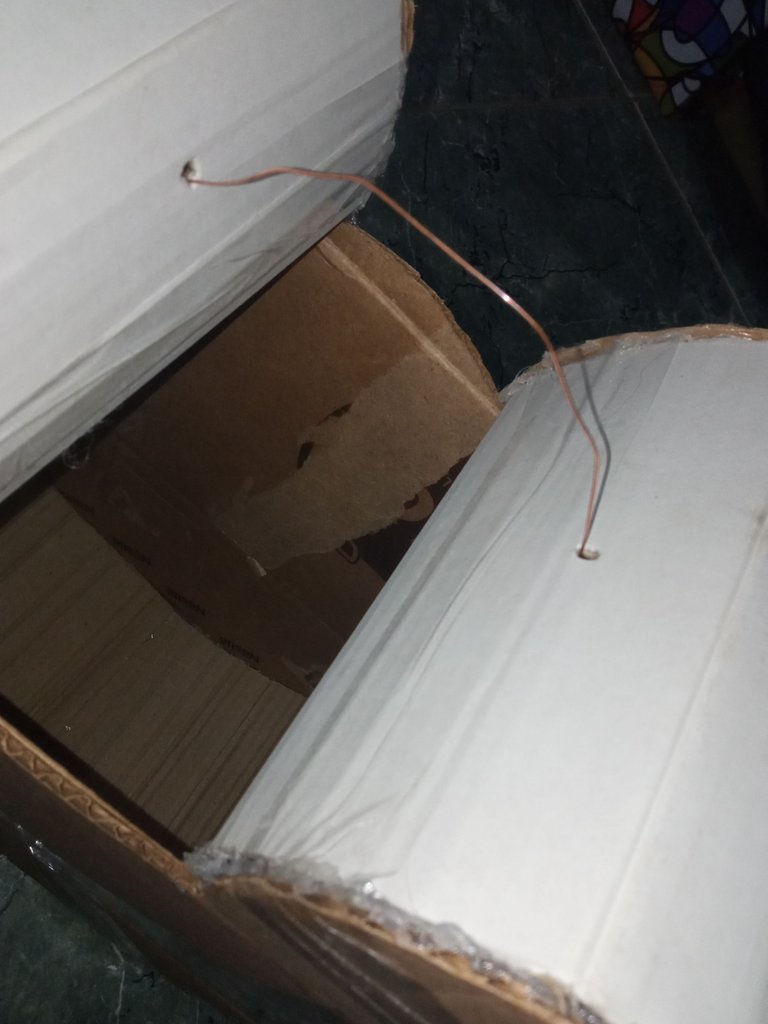
Abrimos dos agujeros e introducimos el cobre o alambre para que la piñata tenga aguante.
We open two holes and introduce the copper or wire so that the piñata has support.
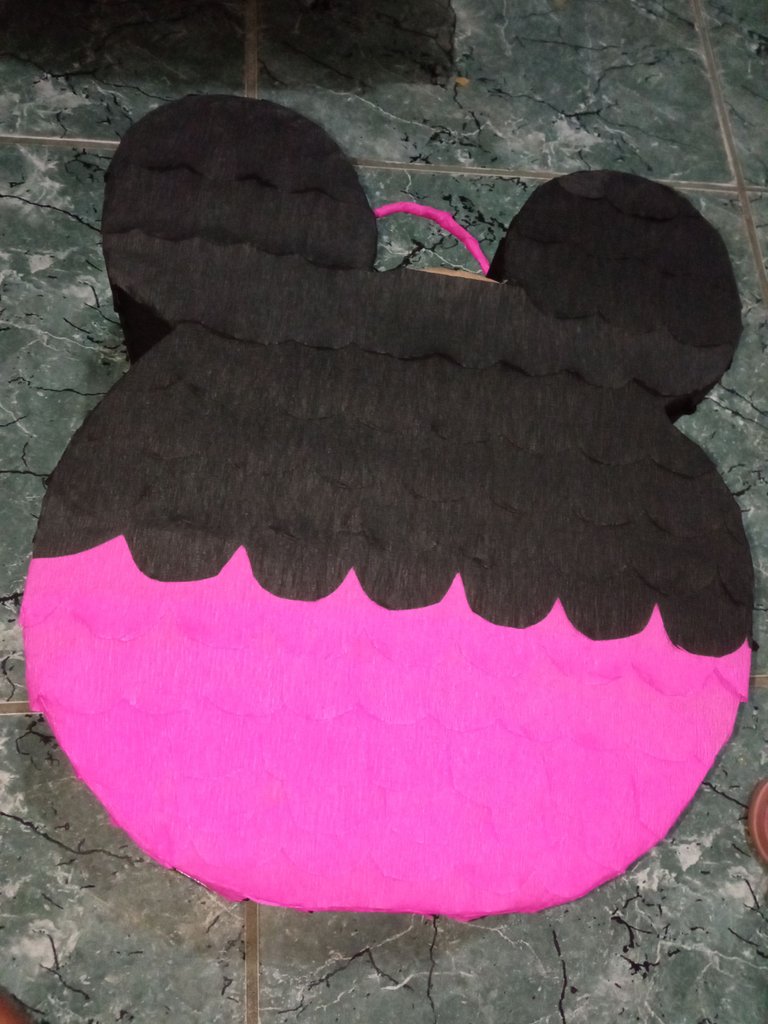
Recortamos tiras de papel crepé y le recortamos las esquinas, pegamos en la base de la piñata primero ponemos el fucsia abajo y el negro de la mitad para arriba y forramos el cobre o alambre con papel crepé Fucsia.
We cut out strips of crepe paper and cut the corners, glue on the base of the piñata first put the fuchsia at the bottom and the black from the middle up and line the copper or wire with crepe paper Fuchsia.
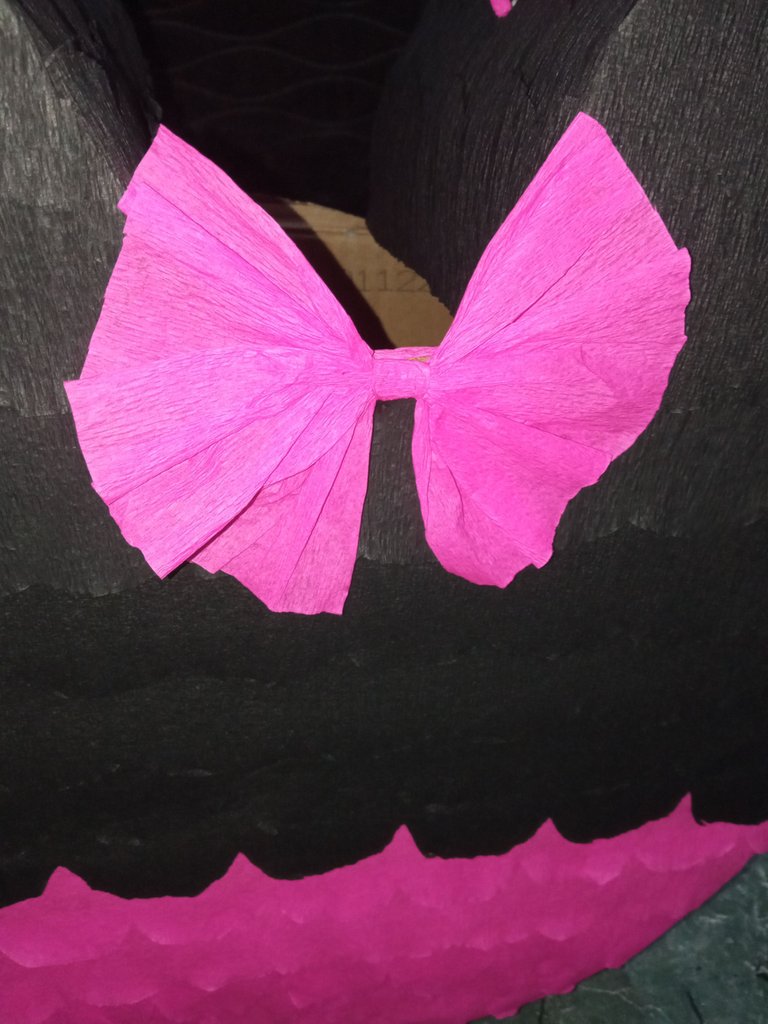
Luego recortamos una tira gruesa de papel crepé Fucsia, hacemos un lazo y pegamos en el medio de las orejas.
Then we cut a thick strip of Fuchsia crepe paper, make a bow and glue it in the middle of the ears.
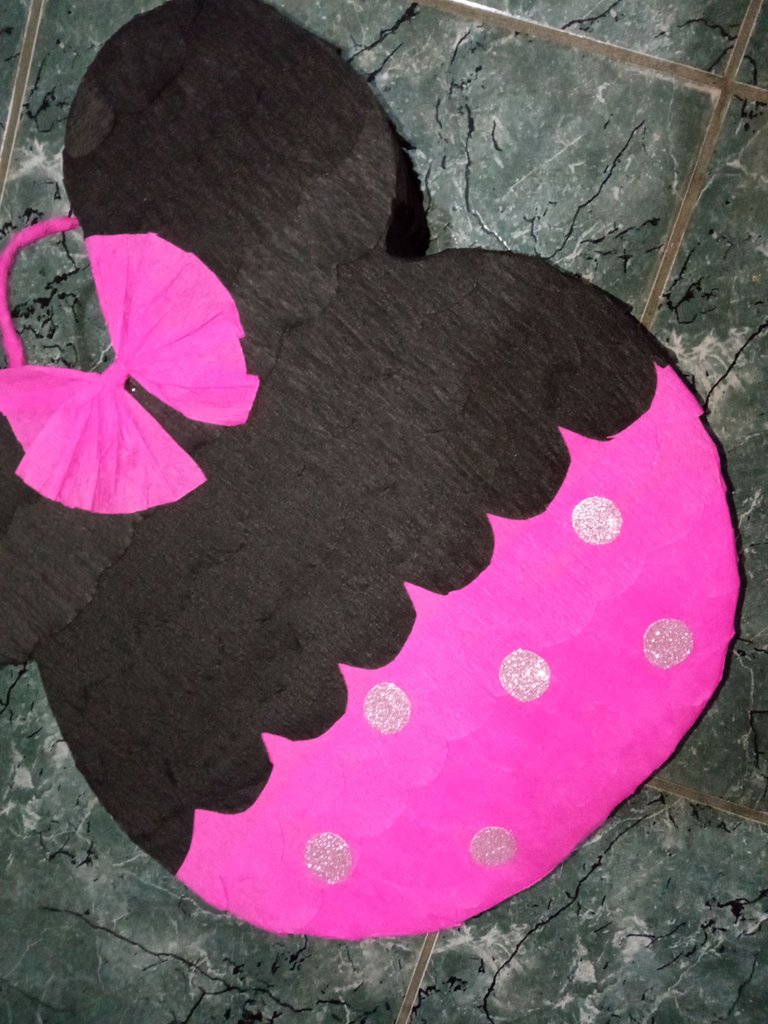
Para finalizar recortamos círculos de foami o goma eva escarchado y pegamos a la piñata en la parte fucsia.
Finally, we cut out circles of frosted foami or eva rubber and glue them to the piñata in the fuchsia part.
Espero les guste y se animen a realizar una hermosa piñata como esta para que marquen la diferencia en sus celebraciones.
I hope you like it and encourage you to make a beautiful piñata like this one to make a difference in your celebrations.
Me despido hasta un próximo post, siempre deseándoles los mejores éxitos.
I bid you farewell until a future post, always wishing you the best success.
¡Nos vemos!
¡See you!
@rosilys20