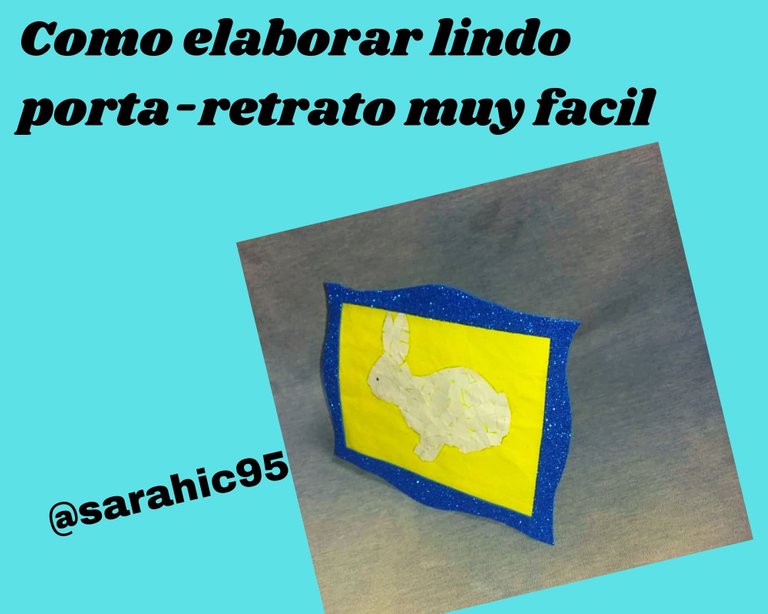
Hola amigos que tal se encuentran, el día de hoy les enseñare como elaborar un lindo porta-retrato de una manera mu sencilla y económica pero que la verdad queda muy bonito.
Hello friends, today I will show you how to make a nice portrait-holder in a very simple and economical way, but it really looks very nice.
Bueno aquí les enseño, los materiales que utilicé fueron los siguientes:
Foami escarchado
Pegamento
Tijera
Lápiz
Cartón
Well here I show you, the materials I used were the following:
Frosted Foami
Glue
Scissors
Pencil
Cardboard
Para la realización lo primero que haremos es marcar en el cartón el tamaño de la foto para saber las medidas del porta-retrato.
The first thing to do is to mark on the cardboard the size of the photo to know the measurements of the portrait-holder.
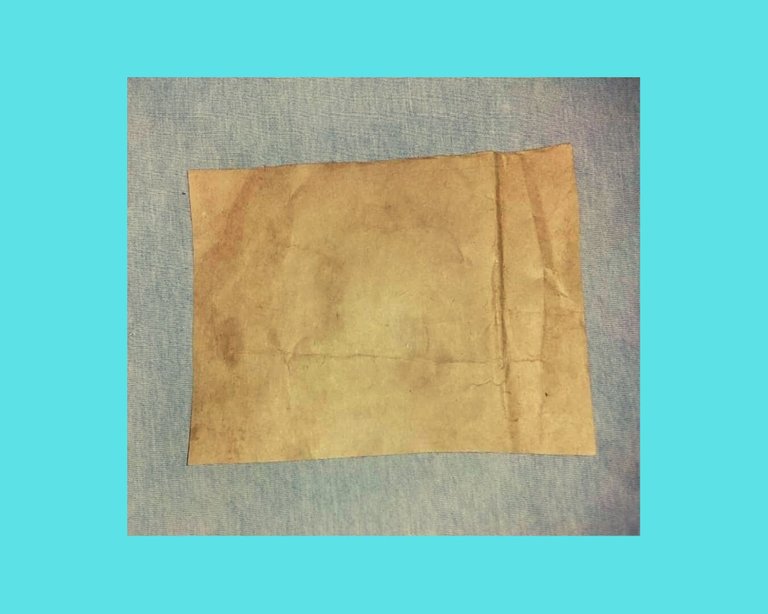
Luego en un pedazo de cartulina dependiendo las medidas sacamos el molde para el porta-retrato.
Then on a piece of cardboard depending on the measurements we take the mold for the portrait-holder.
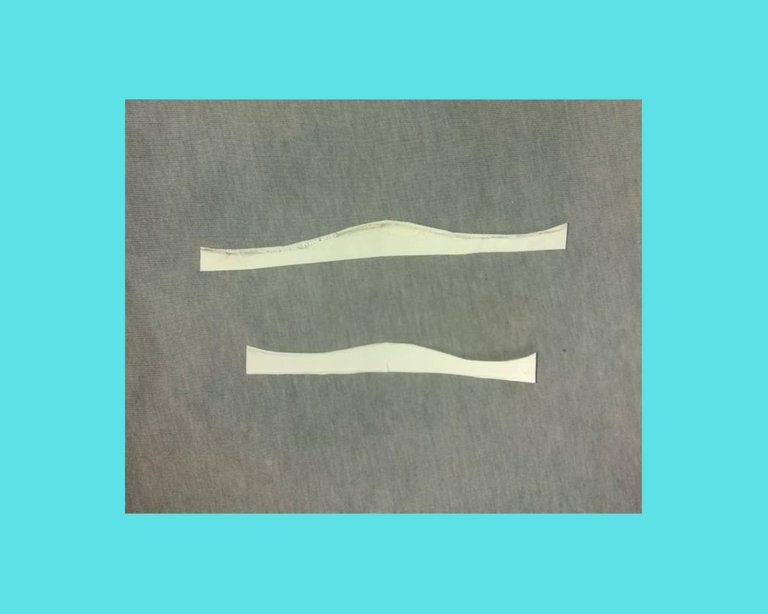
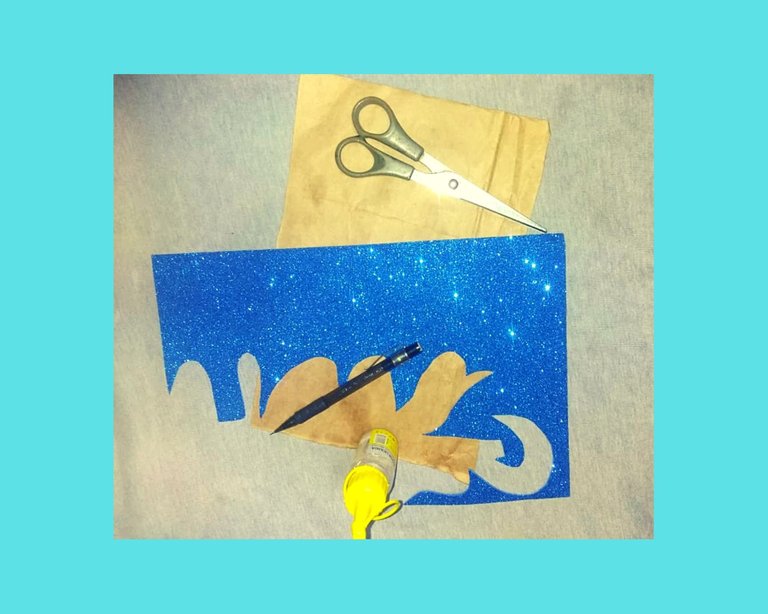
Ahora pasamos el molde y lo marcamos con el lápiz en el foami escarchado.
Now we pass the mold and mark it with the pencil on the frosted foami.
una vez tengamos marcadas las cuatro piezas recortamos con la tijera.
Once we have marked the four pieces we cut them out with the scissors.
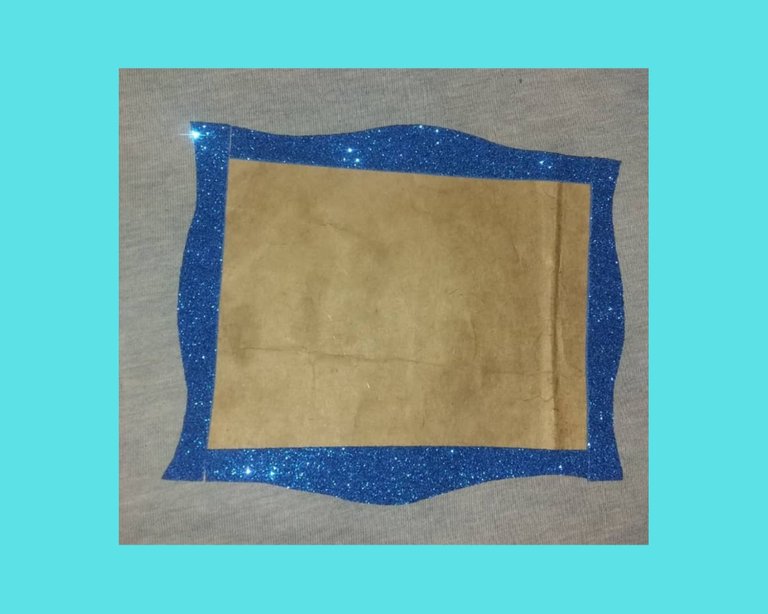
Tomamos el cartón donde marcamos la foto anteriormente que es la base del porta-retrato y pegamos las piezas que sacamos en el foami escarchado en los bordes.
We take the cardboard where we marked the photo previously which is the base of the portrait holder and we glue the pieces we took out of the frosted foami on the edges.
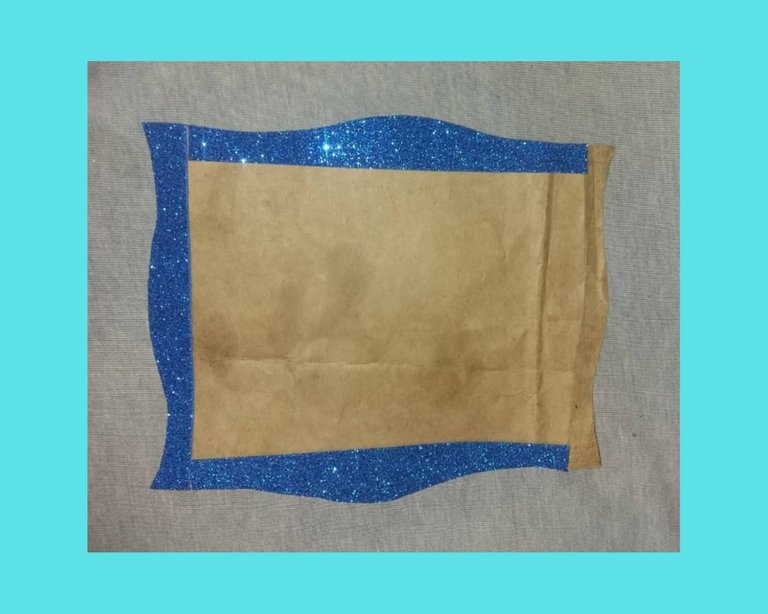
tenemos que tener en cuenta que solo pegamos los bordes con mucho cuidado recuerden que tenemos que meter la foto luego y no vaya a ser que no entre. el ultimo pedazo solo le pegaremos en las esquinas para que pueda entrar la foto.
We have to keep in mind that we only glue the edges very carefully, remember that we have to put the photo in later so that it doesn't fit. the last piece will only be glued on the corners so that the photo can fit.
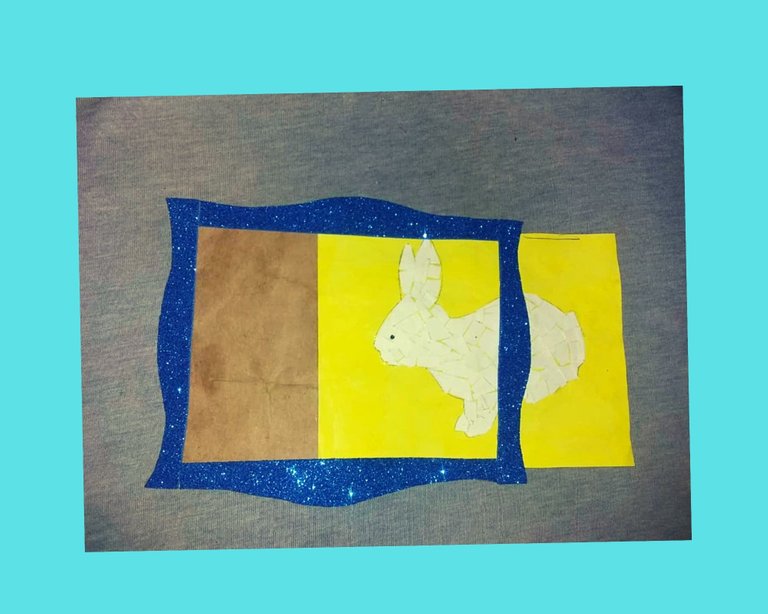
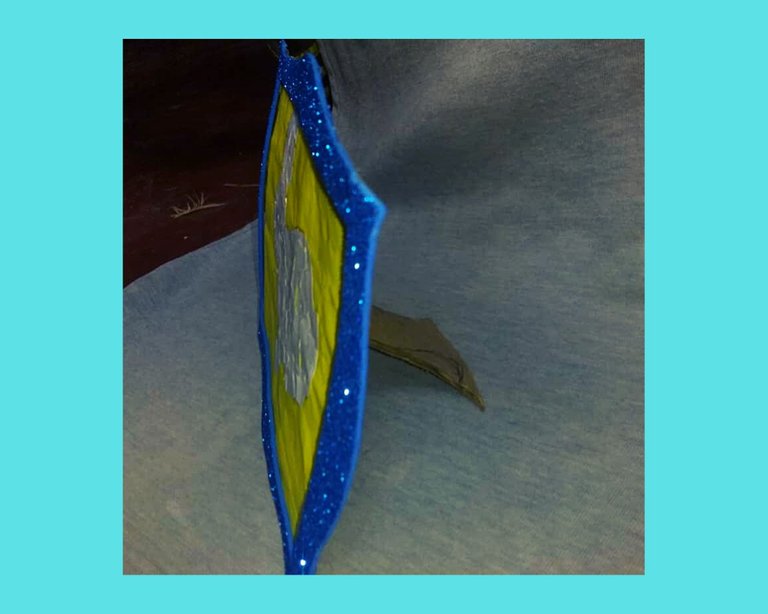
Cuando hayamos terminado de pegar los borde sacamos en otro pedazo de cartón una pieza que sera el paral del porta-retrato.
When we have finished gluing the edges we take out a piece of cardboard that will be the parallel of the portrait-holder.
Y se lo pegamos en la parte atrás y ya tendremos listo el porta-retrato.
And we glue it on the back and we will have the portrait-holder ready.
Congratulations @sarahic95! You have completed the following achievement on the Hive blockchain and have been rewarded with new badge(s) :
Your next target is to reach 200 upvotes.
You can view your badges on your board and compare yourself to others in the Ranking
If you no longer want to receive notifications, reply to this comment with the word
STOPCheck out the last post from @hivebuzz: