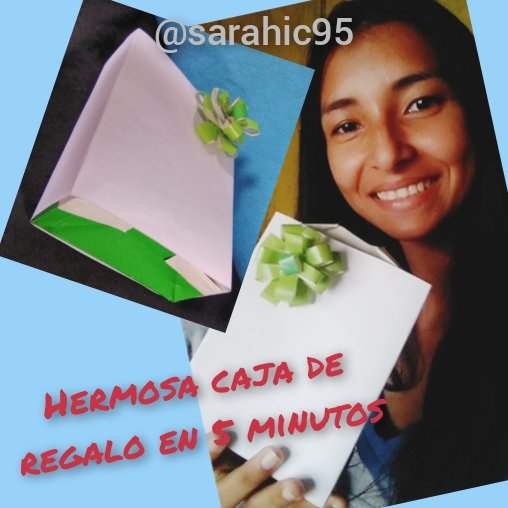
This time I want to show you how I made a nice gift box with colored paper.
En esta oportunidad les quiero enseñar cómo realicé una linda caja de regalos con papel de colores.
Greetings to the entire Hive community. I pray to God that you are not lacking in health.
Es muy fácil de realizar y la verdad les digo que es muy económica y la pueden realizar en pocos minutos.
It is very easy to make and the truth is that it is very economical and can be done in a few minutes.
Bueno sin más, vamos manos a la obra.
Without further ado, let's get down to work.
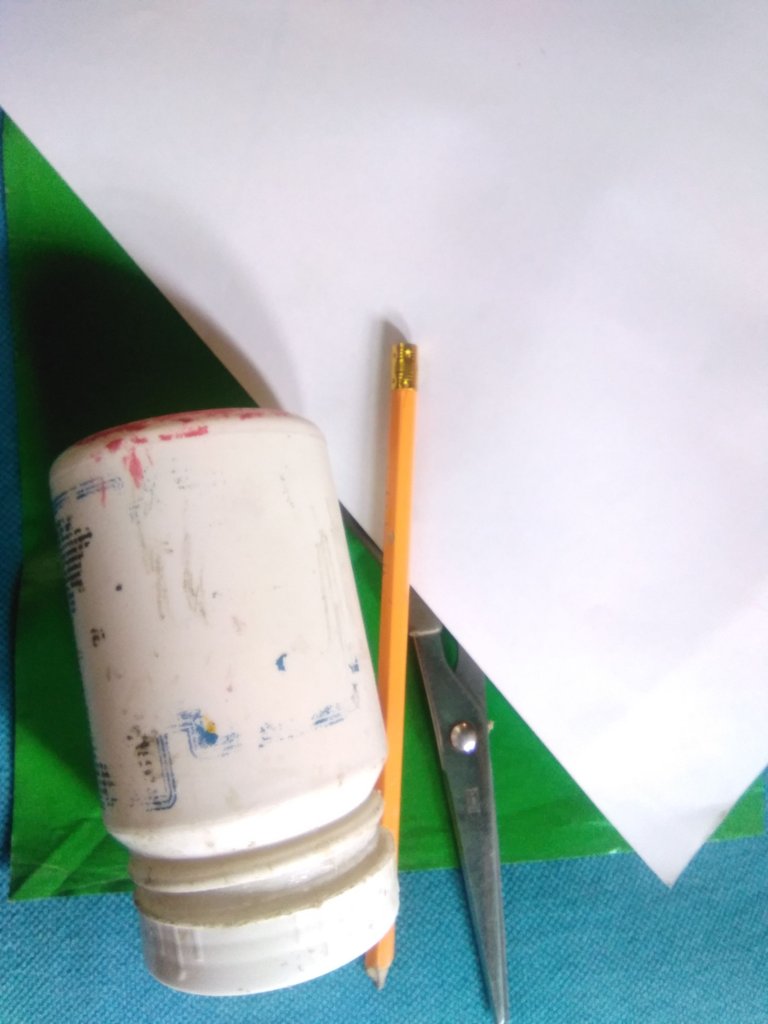
Materials:
Colored paper
Scissors
Pencil
Glue
Realización:
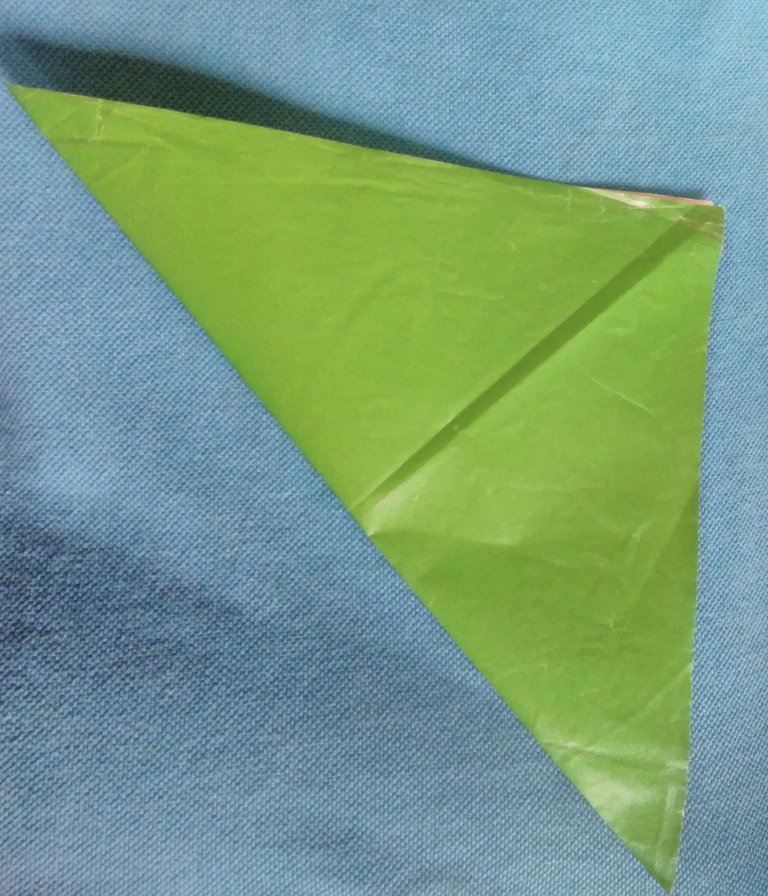
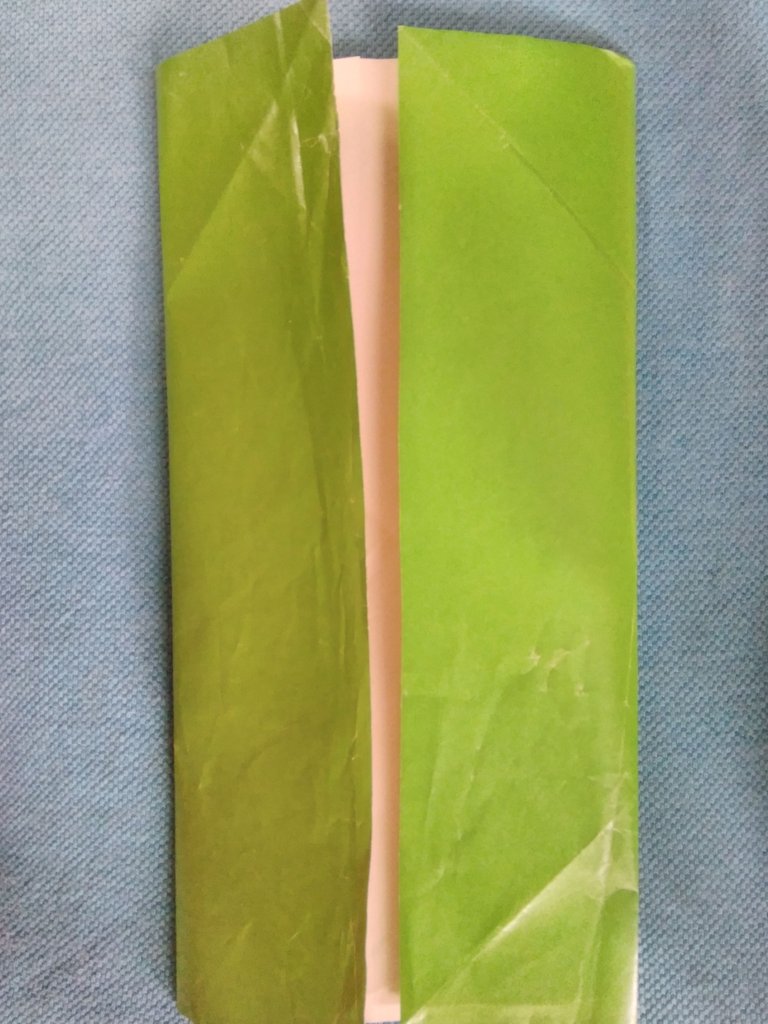
Tomamos nuestro papel de color verde, bueno fue el color que yo elegí, y lo cortamos que quede de 15 centímetros de largo y 15 centímetros de ancho
Accomplishment:
We take our green colored paper, well it was the color I chose, and we cut it so that it is 15 centimeters long and 15 centimeters wide.
Luego hacemos los doblez que necesitamos para elaborar la cajita.
El primer doblez que se hará es de esquina a esquina.
The first fold to be made is from corner to corner.
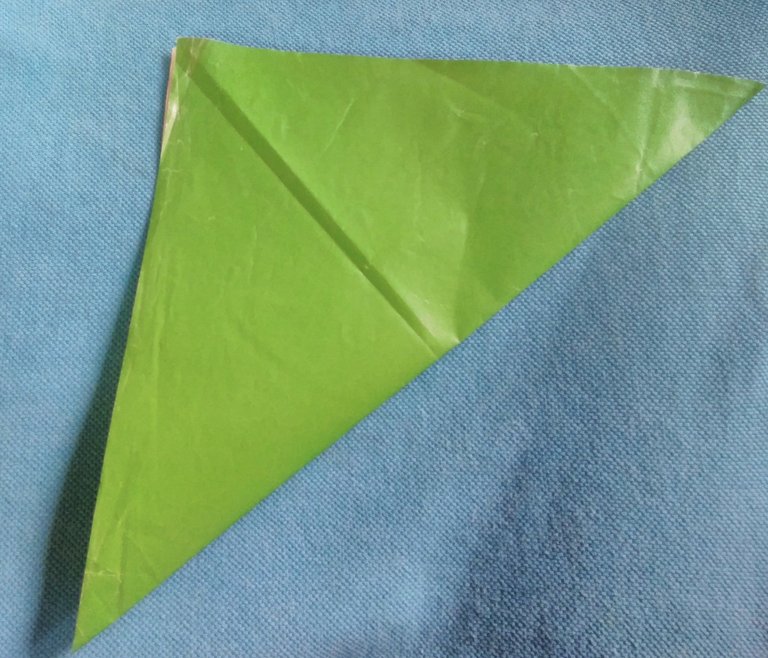
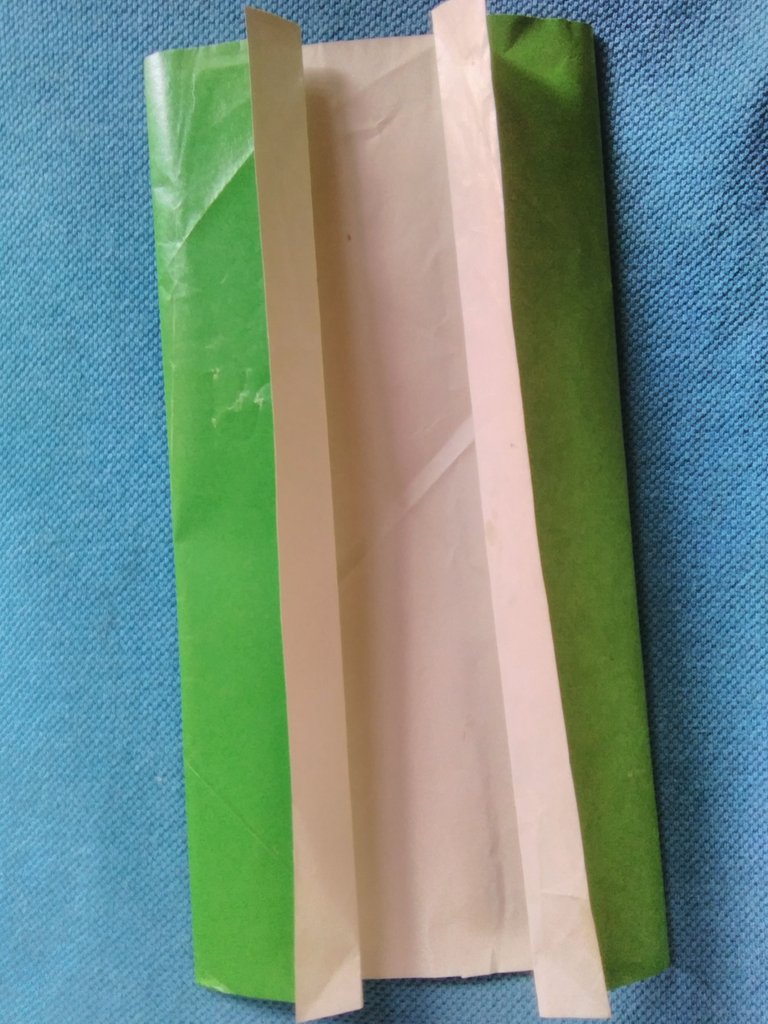
Luego se hace el mismo doblez pero con las otras esquina.
Then the same fold is made but with the other corners.
Después doblamos cada lado hacia el centro de la siguiente manera:
Then we fold each side to the center as follows:

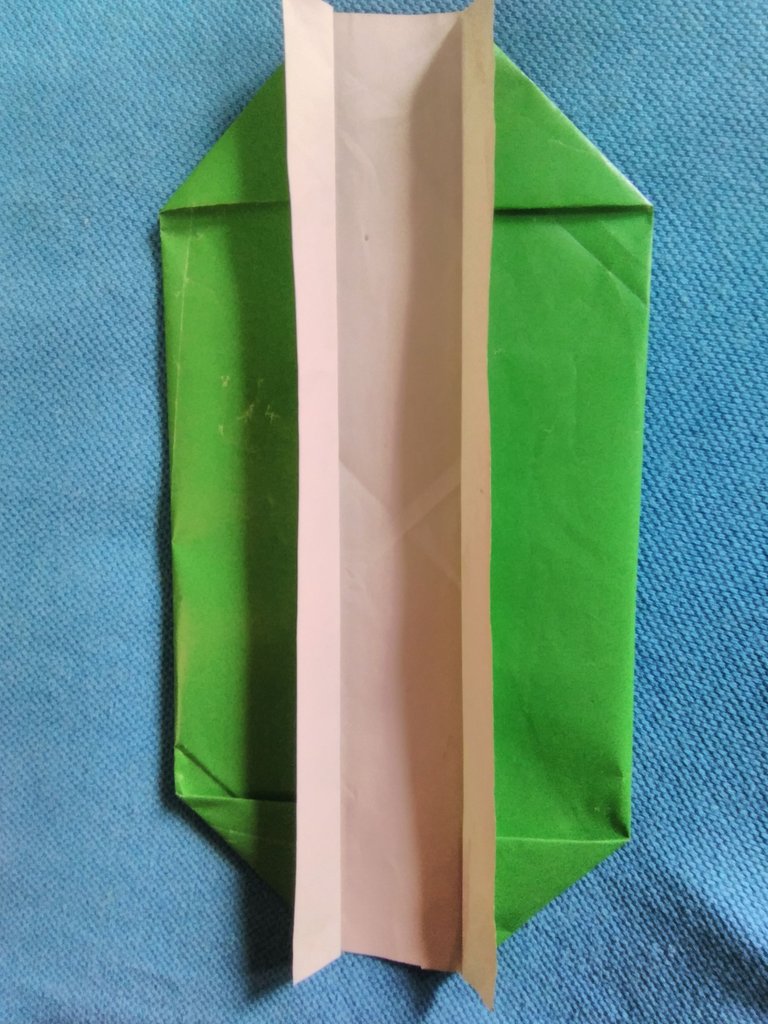
Los bordes los doblamos también hacia arriba:
The edges are also folded upwards:
Ahora doblamos cada esquina hacia adentro y quedará así:
Now we fold each corner inwards and it will look like this:
Y el último doblez que haremos será estos lados doblarlos hacia adentro y obtendremos esto:
And the last fold that we will make will be these sides folded inwards and we will get this:
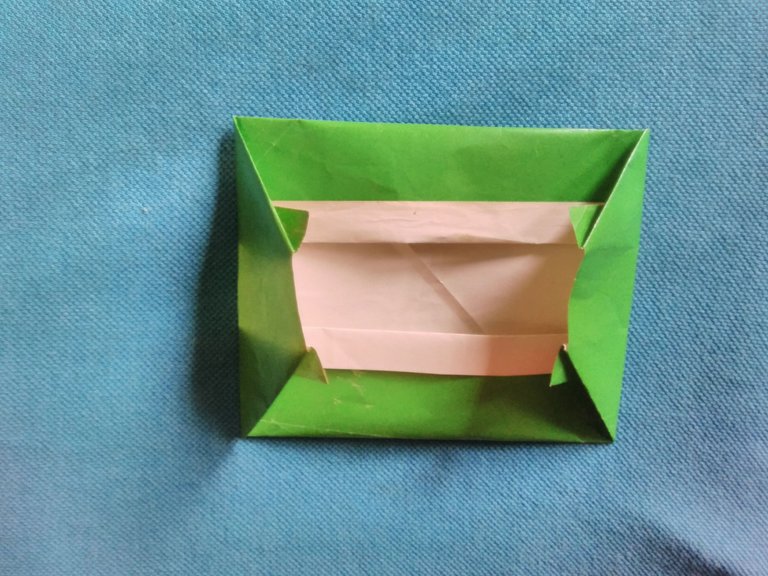
Y ahora sacamos hacia afuera y nos quedará nuestra cajita lista.
And now we take it out and we will have our little box ready.
Luego procedemos a elaborar lo que será la tapa de la caja.
Then we proceed to elaborate what will be the lid of the box.
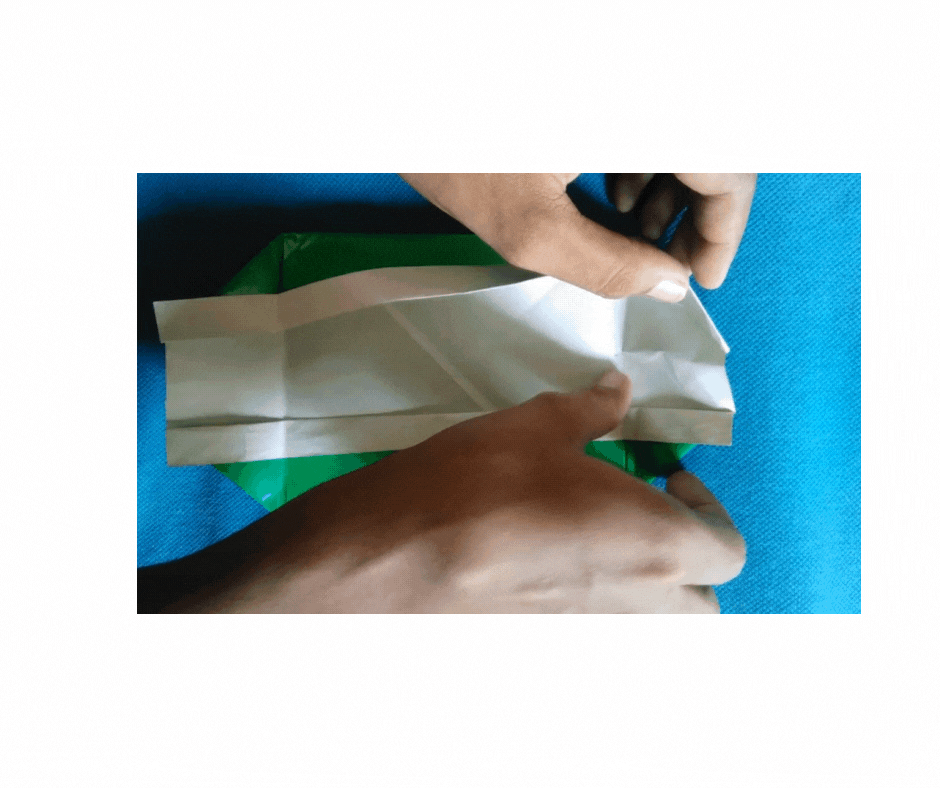
Tomamos nuestra hoja y envolvemos la caja para tomar las medidas y marcamos por donde doblaremos para envolver.
We take our sheet and wrap the box to take the measurements and mark where we will fold to wrap.
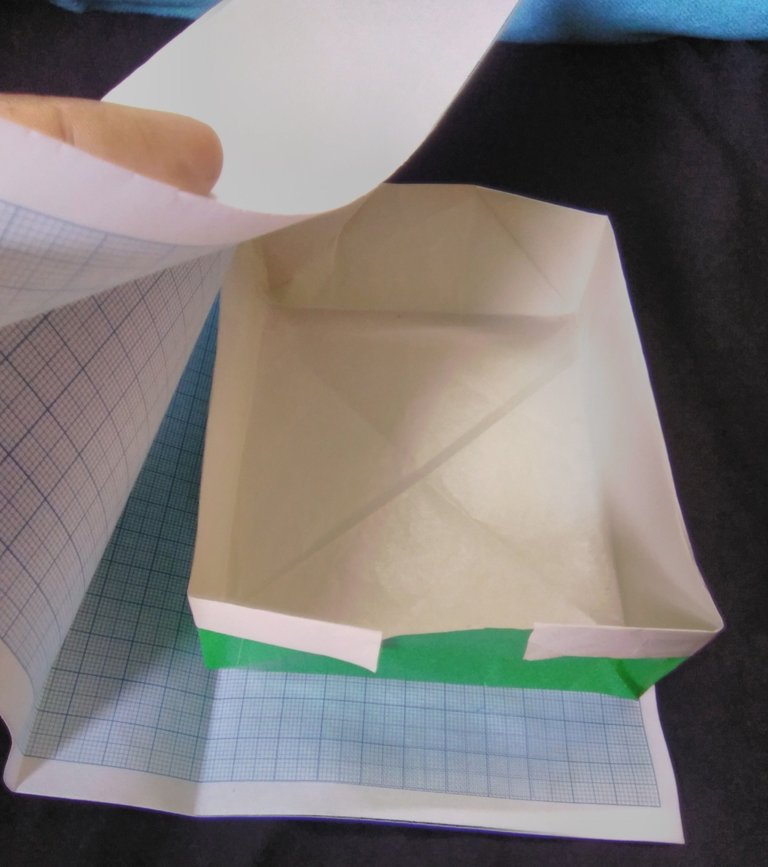
Ahora pegamos los lados, y nos quedará nuestra tapa lista.
Now we glue the sides, and we will have our lid ready.

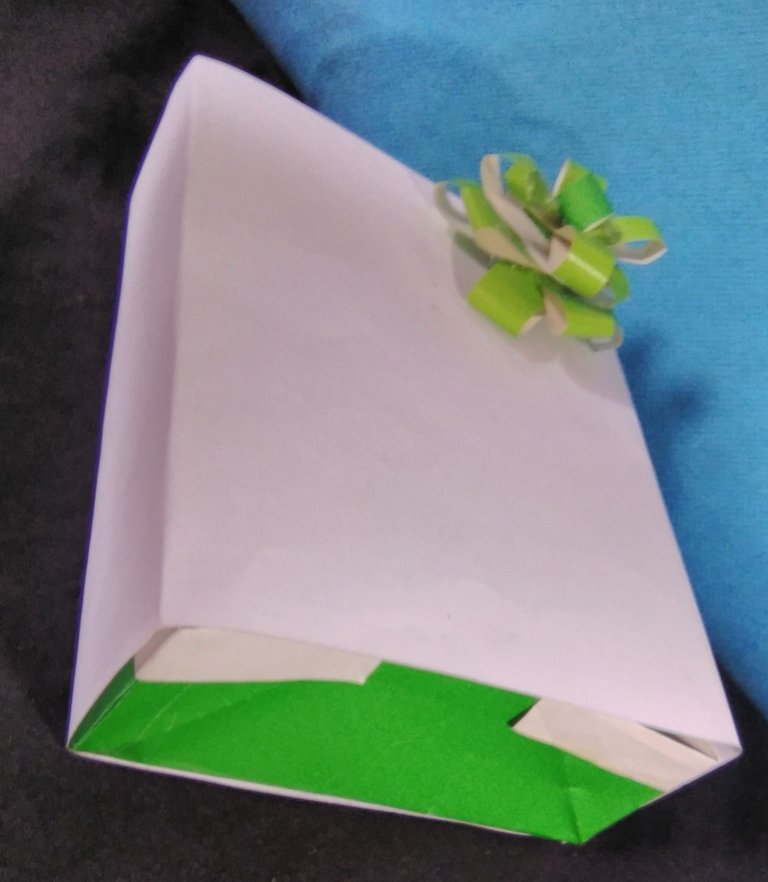
Y para finalizar le pego un lazo en la parte de arriba de la tapa y ya estará lista nuestra bella cajita, metemos el regalo, y listo
And finally I glue a ribbon on the top of the lid and our beautiful box is ready, we put the gift, and ready.
ya vieron que es como les decía muy sencilla de realizar y no tienen que hacer mucho esfuerzo.
As I said, it is very easy to make and you don't have to make much effort.
Espero que les guste.
I hope you like it.
Hasta la próxima. Saludos y Bendiciones.
See you next time. Greetings and Blessings.
@sarahic95