💙Español💙
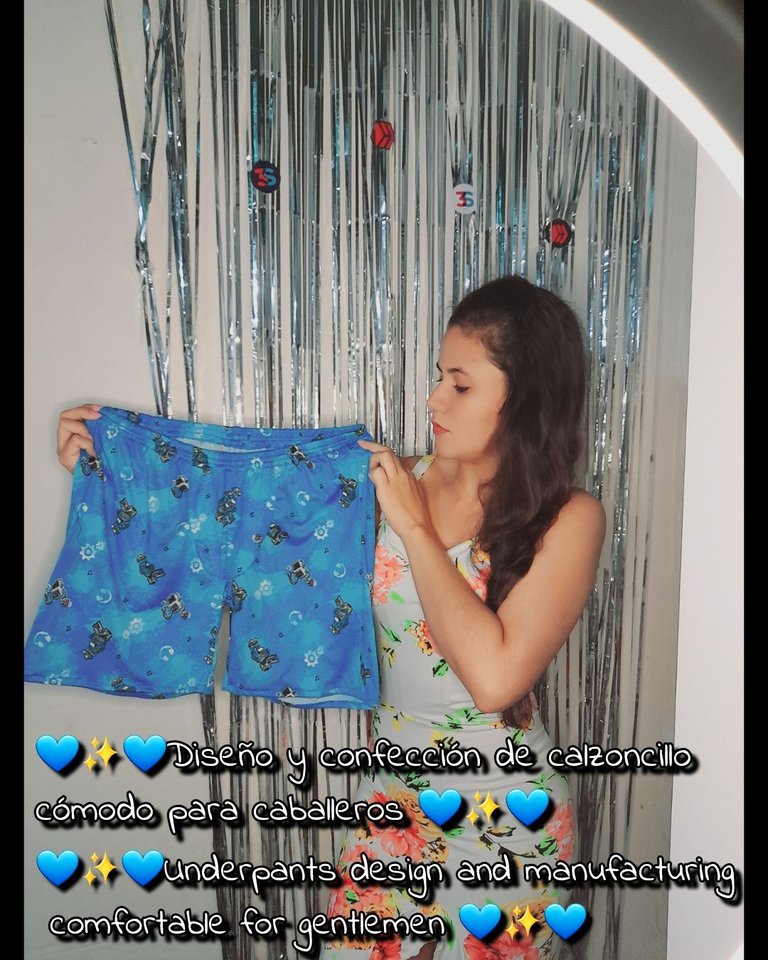
Hola hola mis queridos amigos de Hive ♥️ saludos especiales y muy buenas noches para todos en esta linda comunidad de #Diy 😊 siempre llena de grandes artistas con ideas muy interesantes y creativas ✨️ me complace mucho compartir con ustedes el diseño de un cómodo calzoncillo para caballeros y su elaboración me gustaría que me acompañen en todos y cada uno de los pasos a seguir 😊✨️.
Estos fueron los materiales que use
• Máquina de coser
• Tijera
• Hilo de coser
• Tela
• Prenda de medida
• Elástica
✨️Pasos✨️
•✨️Voy a iniciar cortando todas las piezas del calzoncillo usando una prenda de medida como método de referencia y de la cual voy a obtener dos piezas laterales y dos piezas para la parte frontal.

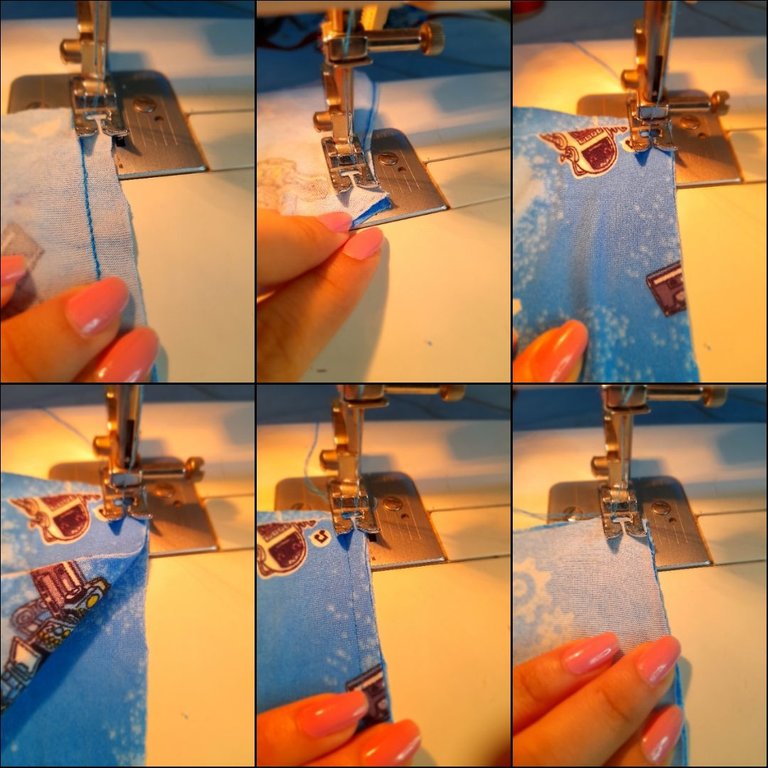
•✨️Voy a colocar cara a cara las piezas frontales y voy a doblar para coser justo a la mitad con un grado de inclinación o curvatura en la parte inferior y luego voy a coser con costura de zigzag para luego unir con costura recta en la parte trasera ambos laterales y luego con costura de zigzag.

•✨️En la parte frontal solo voy a coser a una longitud de 3 cm con costura recta y zigzag para luego coser la parte frontal con costura recta dos veces y luego zigzag para asegurar y continúo cosiendo la parte de la entrepierna con dos costuras rectas.
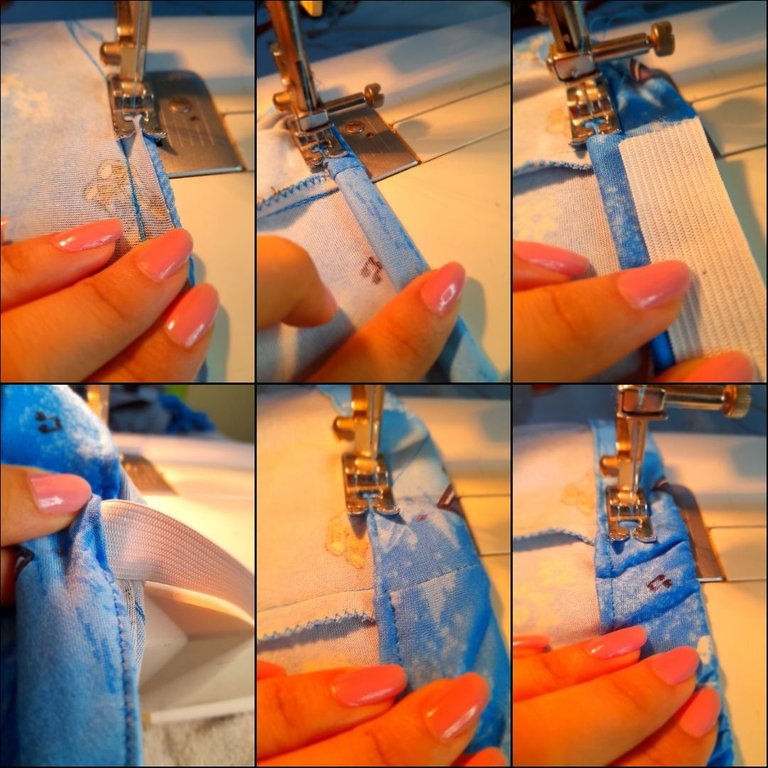
•✨️Voy asegurar con costura de zigzag y luego voy a coser con costura recta el ruedo doblando la tela y cosiendo. Luego voy a tomar en consideración el grosor de la elástica para coser el contorno de cintura con costura recta y dejando un pequeño espacio para introducir la elástica la cual aseguraré con costura recta en cada extremo para luego coser el espacio que había dejado y luego coser por encima con costura recta para formar más pliegues.
💙Resultados💙
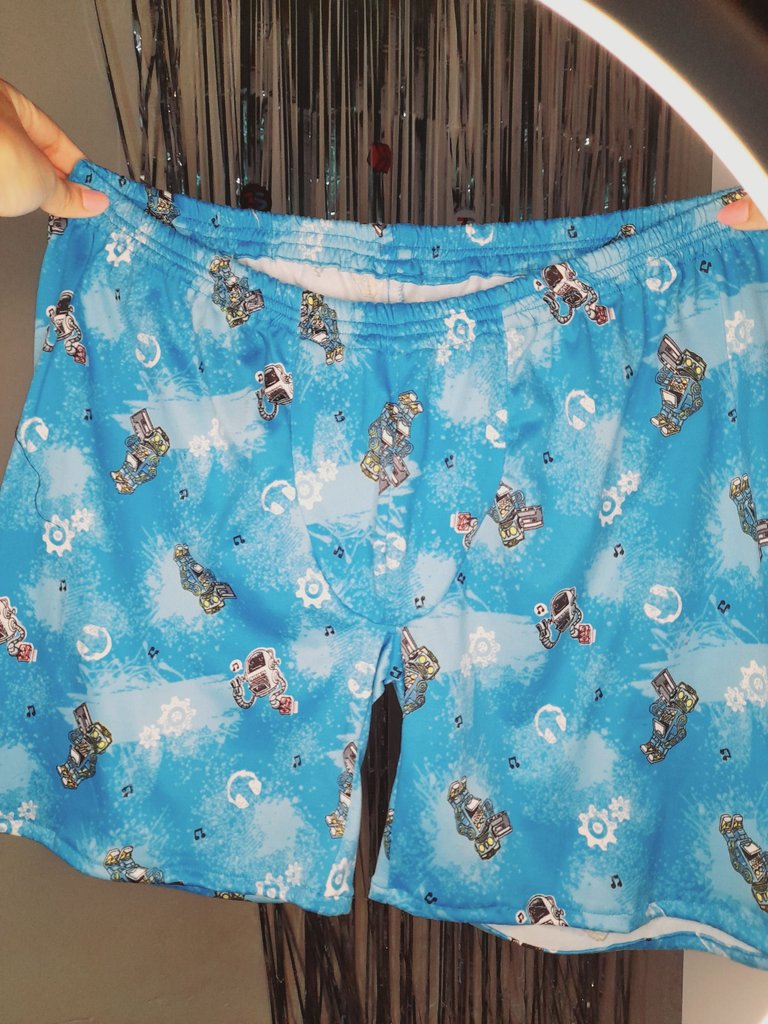
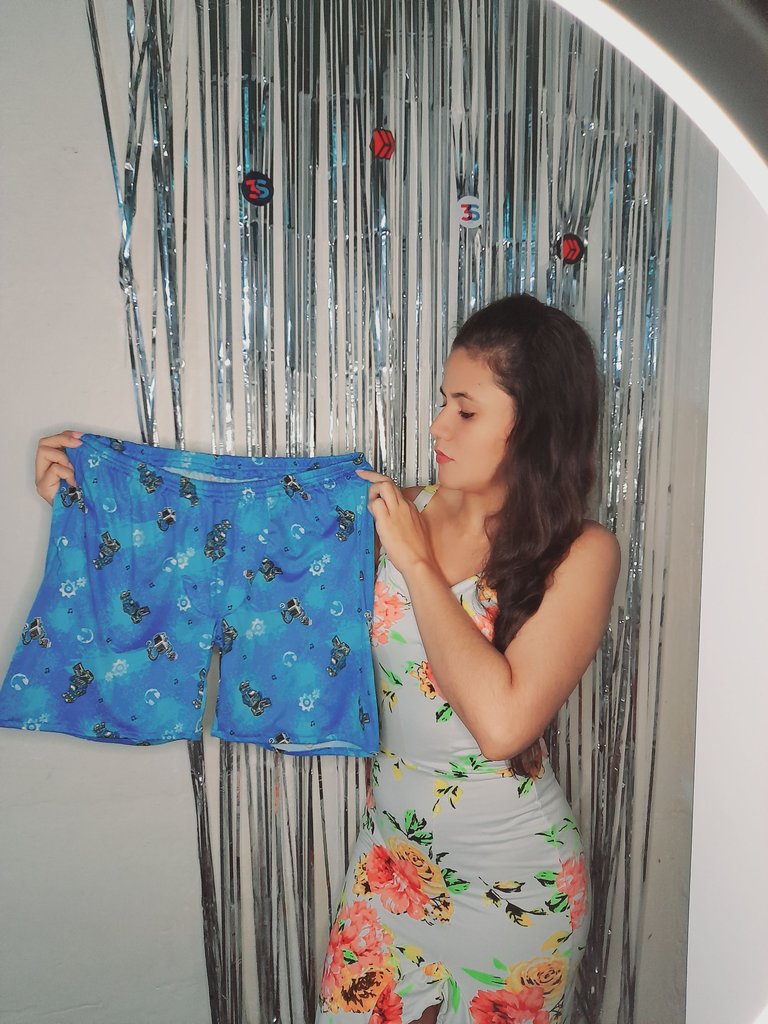
Es un diseño muy sencillo y cómodo para usar como pijama 😊 esta elaborado con tela de piel de durazno por lo cual es muy suave 😉 muchas gracias por haber tomado un minuto para leer mi post espero les guste 😊 un abrazo enorme y buenas noches para todos queridos amigos de Hive ♥️.
💙English💙
Hello hello my dear friends of Hive ♥️ special greetings and a very good evening to everyone in this beautiful #Diy community 😊 always full of great artists with very interesting and creative ideas ✨️ I am very pleased to share with you the design of a comfortable underwear for men and its preparation, I would like you to accompany me in each and every step to follow 😊✨️.
These were the materials I used
• Sewing machine
• Scissors
• Sewing thread
• Fabric
• Measurement garment
• Elastic
✨️Steps✨️
•✨️I am going to start by cutting all the pieces of the underwear using a garment measurement as a reference method and from which I am going to obtain two side pieces and two pieces for the front part.
•✨️I am going to place the front pieces face to face and I am going to fold to sew right in the middle with a degree of inclination or curvature at the bottom and then I am going to sew with a zigzag seam and then join with a straight seam on the part back both sides and then with zigzag seam.
•✨️On the front part I am only going to sew at a length of 3 cm with straight seam and zigzag and then sew the front part with straight seam twice and then zigzag to secure and I continue sewing the crotch part with two straight seams.
•✨️I'm going to secure with a zigzag seam and then I'm going to sew the hem with a straight seam, folding the fabric and sewing. Then I am going to take into consideration the thickness of the elastic to sew the waist contour with a straight seam and leaving a small space to insert the elastic which I will secure with a straight seam at each end and then sew the space that I had left and then sew along top with straight seam to form more folds.
💙Results💙
It is a very simple and comfortable design to use as pajamas 😊 it is made with peach skin fabric so it is very soft 😉 thank you very much for taking a minute to read my post I hope you like it 😊 a huge hug and good night to all dear friends of Hive ♥️.
💁♀️Todas las fotografías son de mi autoría capturadas con mi Samsung Galaxy A12 y editadas en GridArt.
El texto y resumen es totalmente de mi autoría.
Texto traducido en el traductor Google.💁♀️
💁♀️All the photographs are my own, captured with my Samsung Galaxy A12 and edited in GridArt.
The text and summary is entirely my own.
Translated text in Google translator.💁♀️
¡¡¡Buen trabajo!!! Gracias por publicar tu excelente contenido en Hive Diy, asombrosa colección amiga, te ha quedado muy bueno
Tu comunidad artesana ahora es testigo

Que bonito!! Se ve cómodo y fácil de hacer, que chulada. Gracias por compartirlo!!
¡Excelente!
Bendiciones para tus manos @selenediva