Making a Hylian shield keychain from recycled materials.
Haciendo un llavero de escudo Hyliano con material reciclado.
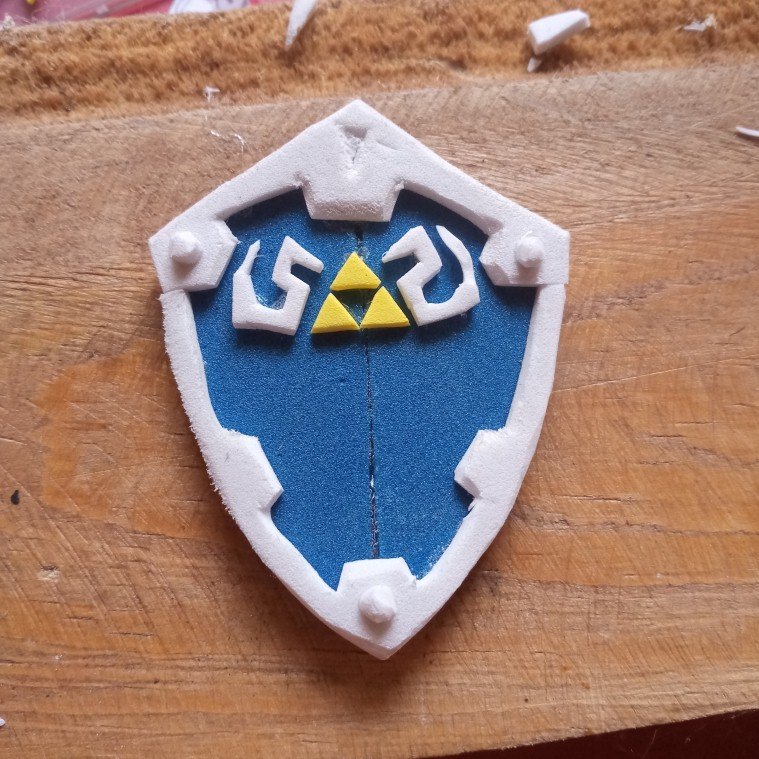
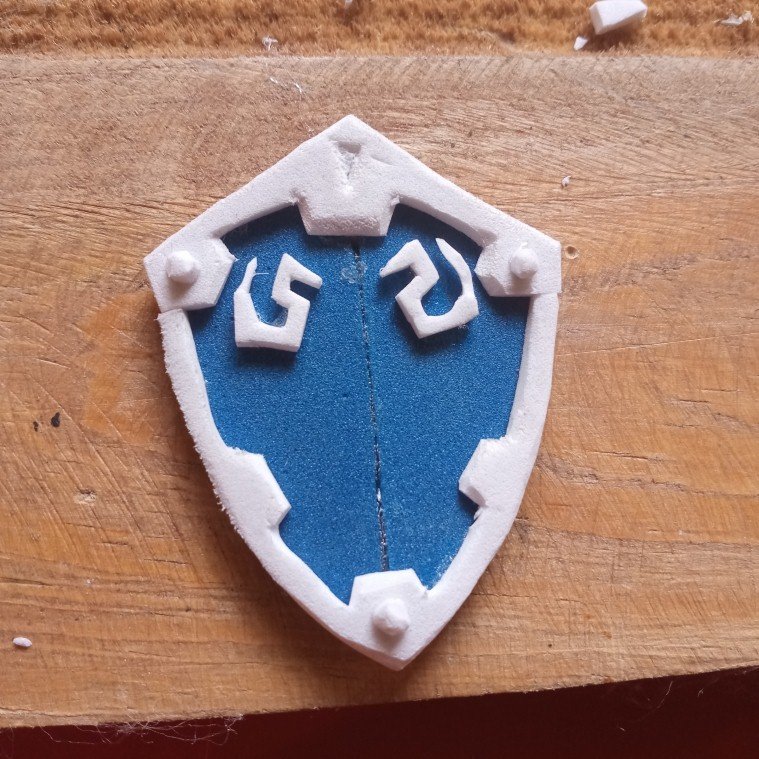
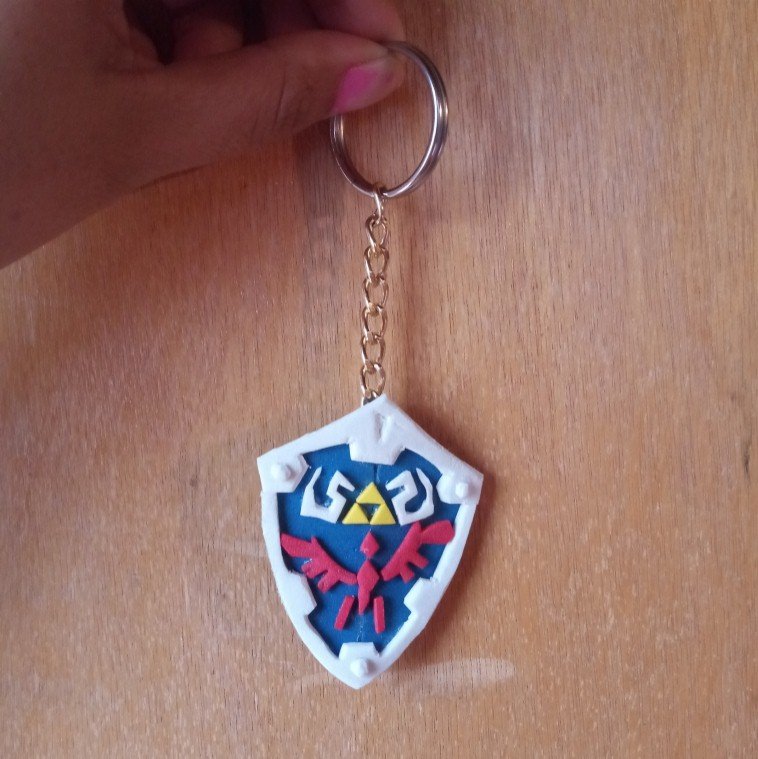
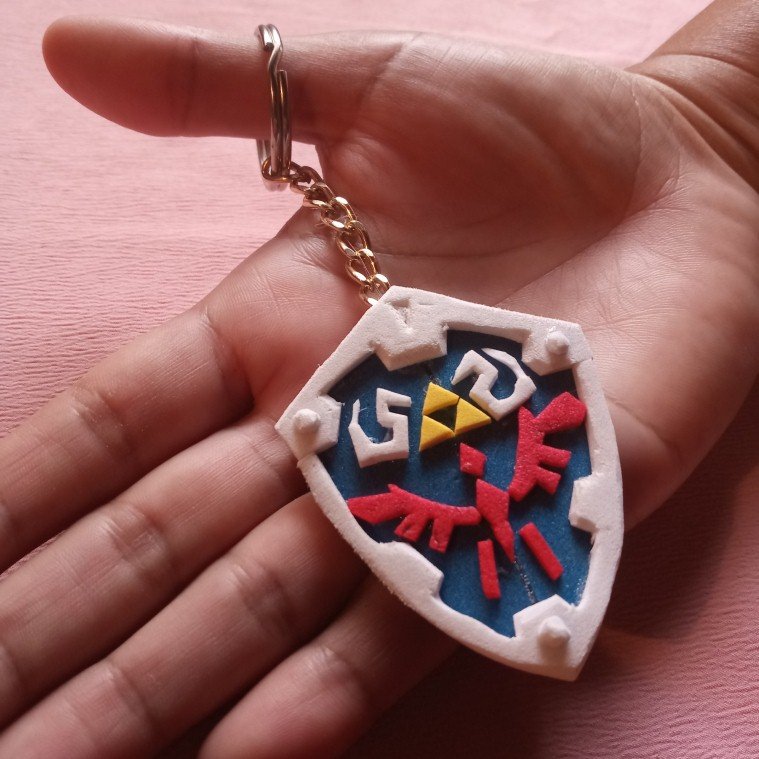
Greetings my dear reader friends and craft lovers, today I want to present you the hylian shield used by the character of the video game series The Legend of Zelda in its keychain version made with totally reused eva rubber.
Saludos mis queridos amigos lectores y amantes de las manualidades, el día de hoy quiero presentarles el escudo hyliano que usa el personaje de la saga de video juegos de The Legend of Zelda en su versión para llavero realizada con goma eva totalmente reutilizada.
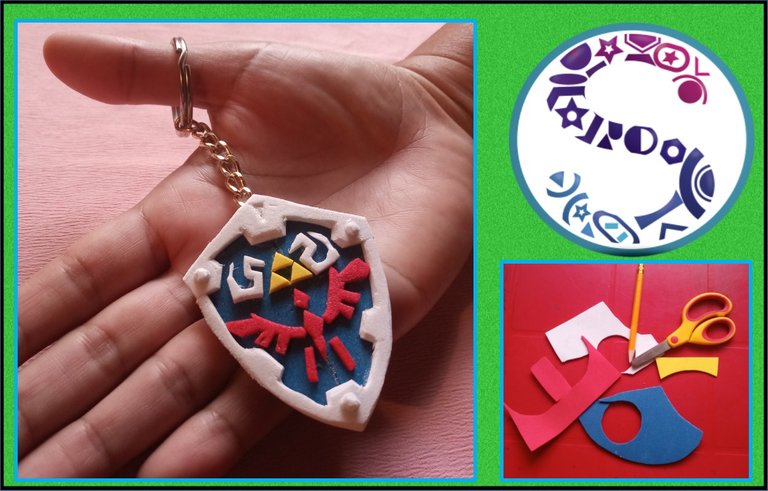
This shield is iconic for the franchise and especially for the character as it is totally indestructible and has the blessing of the goddess (if I remember correctly), that's why I thought to make it as a keychain as it would be interesting and representative, because we need something to protect our most precious asset ... the keys of the house ;)
Este escudo es icónico para la franquicia y sobre todo para el personaje ya que es totalmente indestructible y posee la bendición de la diosa (si mal no recuerdo), es por ello que pensé que hacerlo como un llavero ya que sería además de interesante, representativo, debido a que necesitamos algo que proteja nuestro bien más preciado… las lleves de la casa ;)
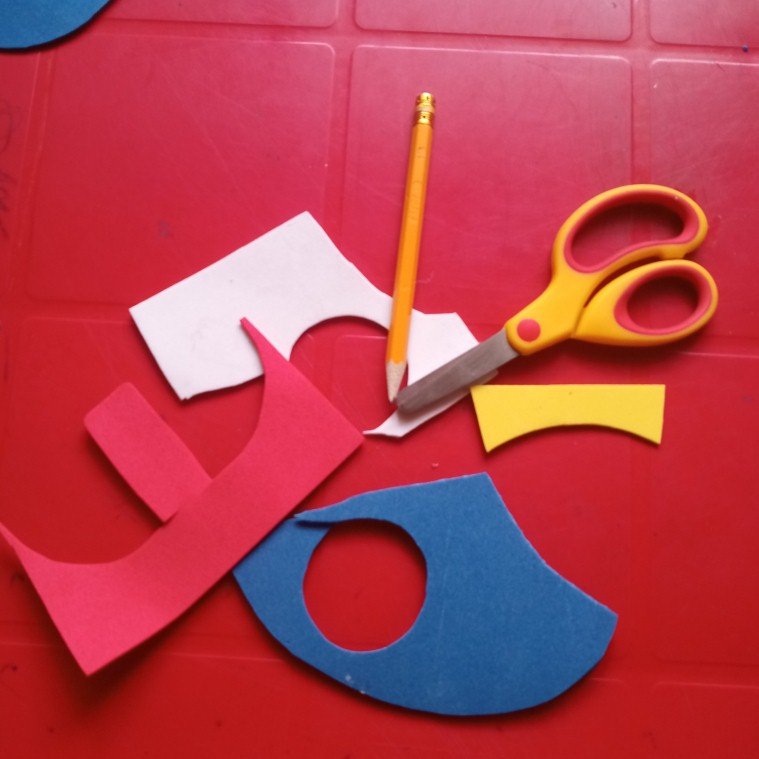
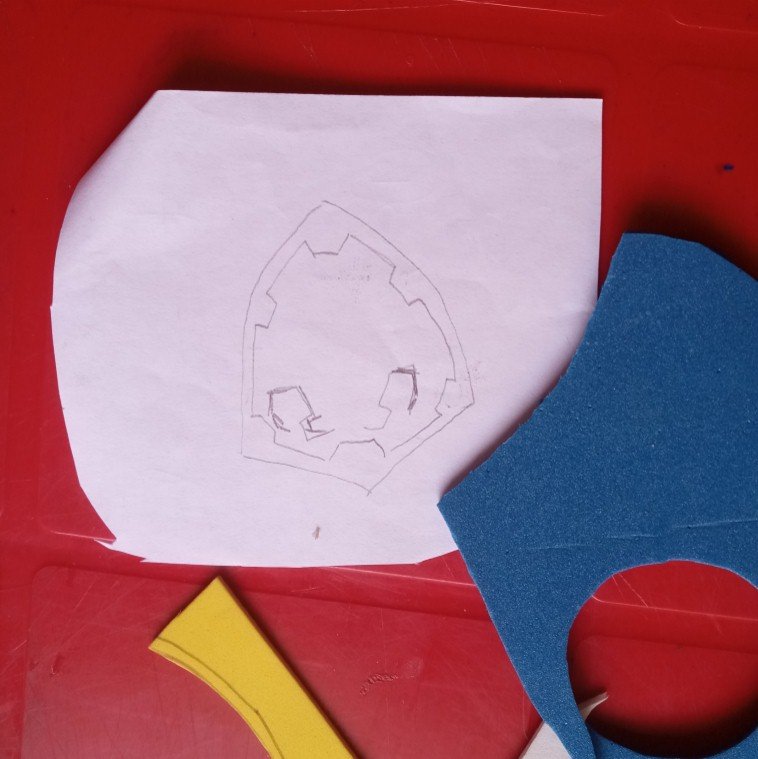
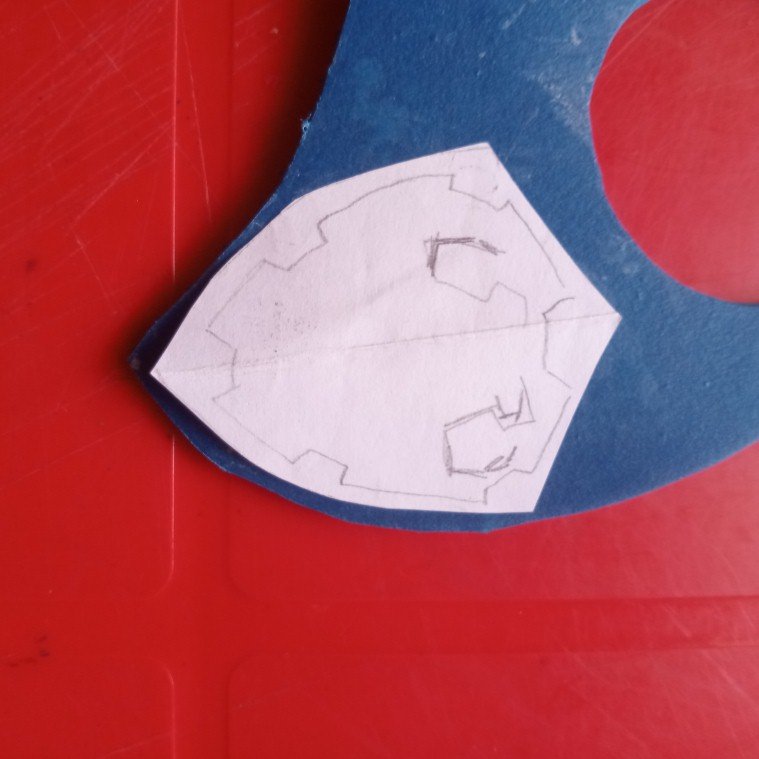
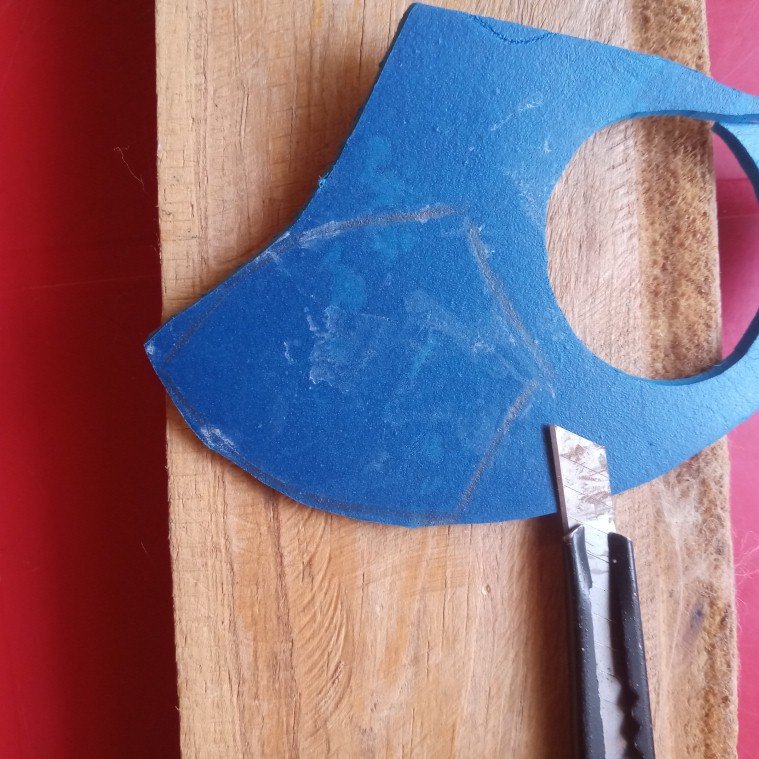
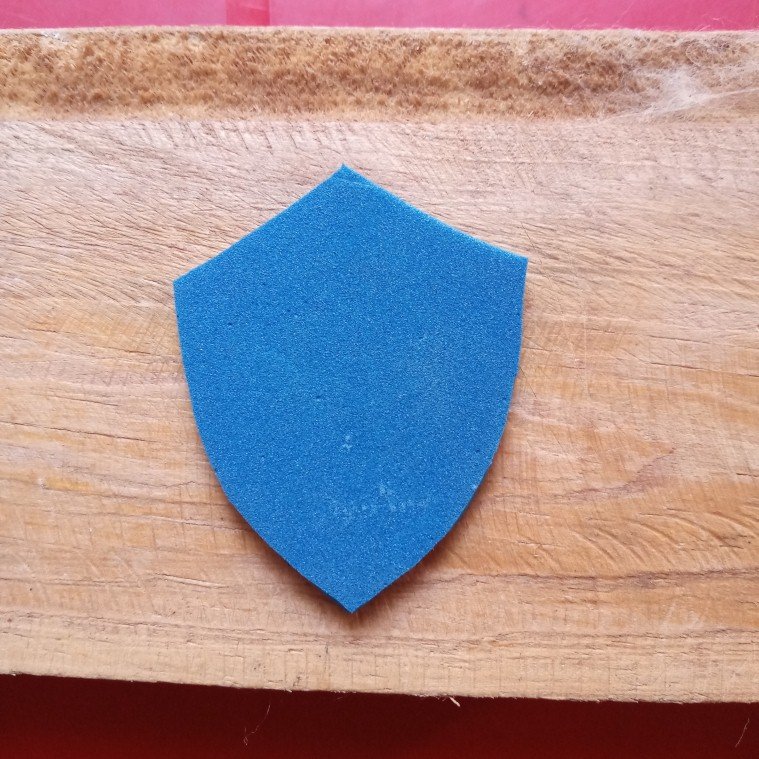
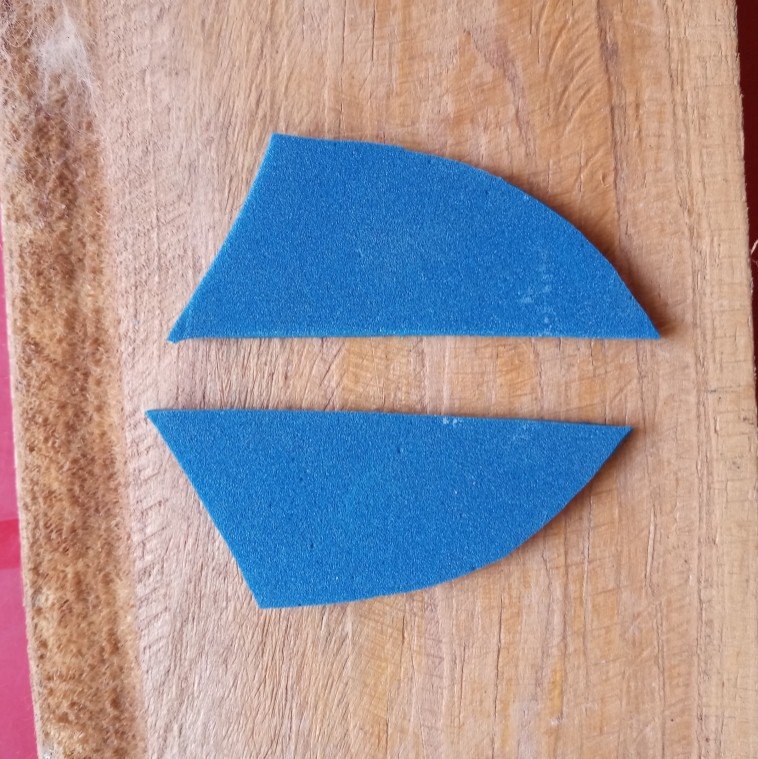
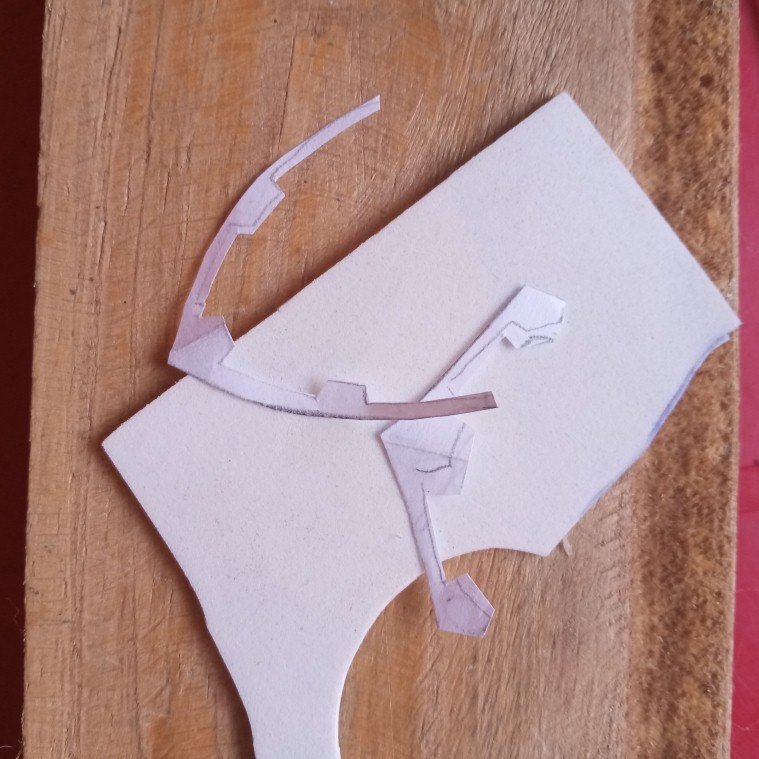
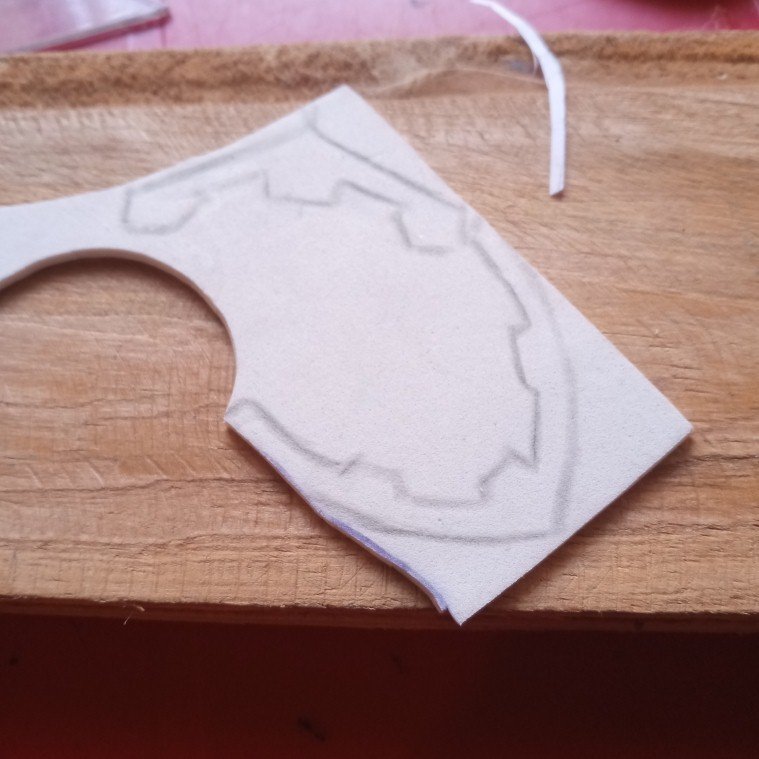
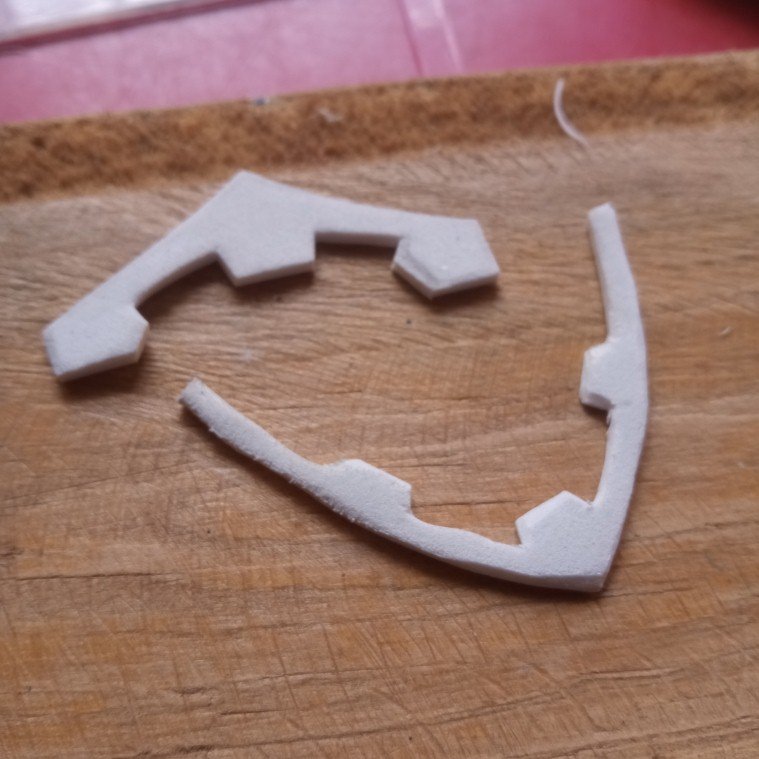
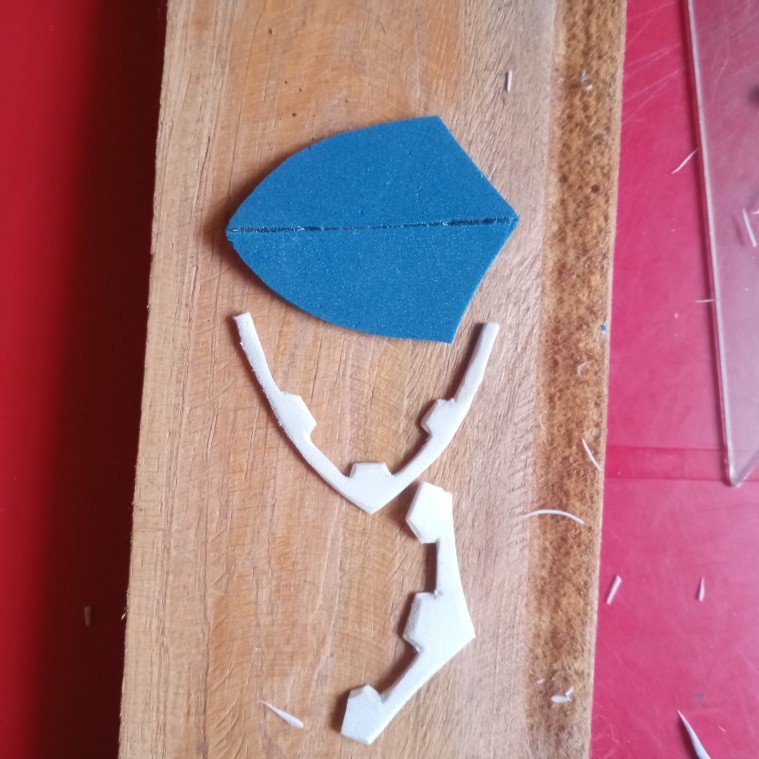
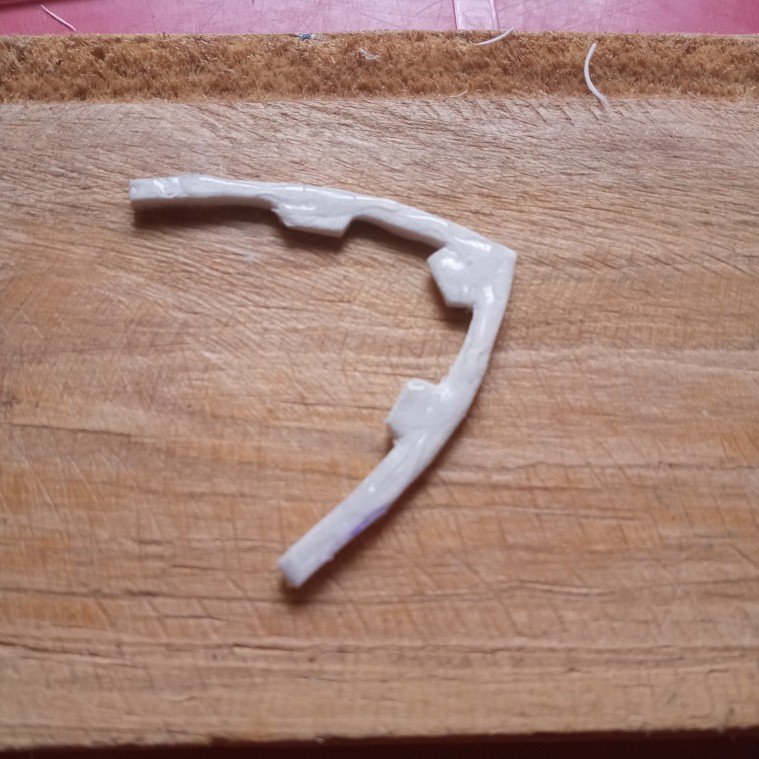
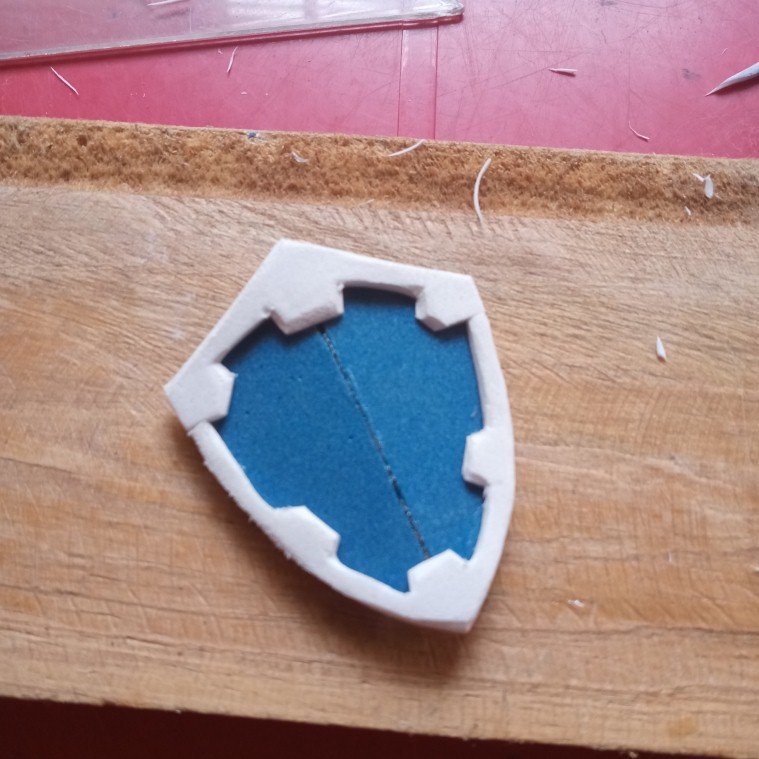
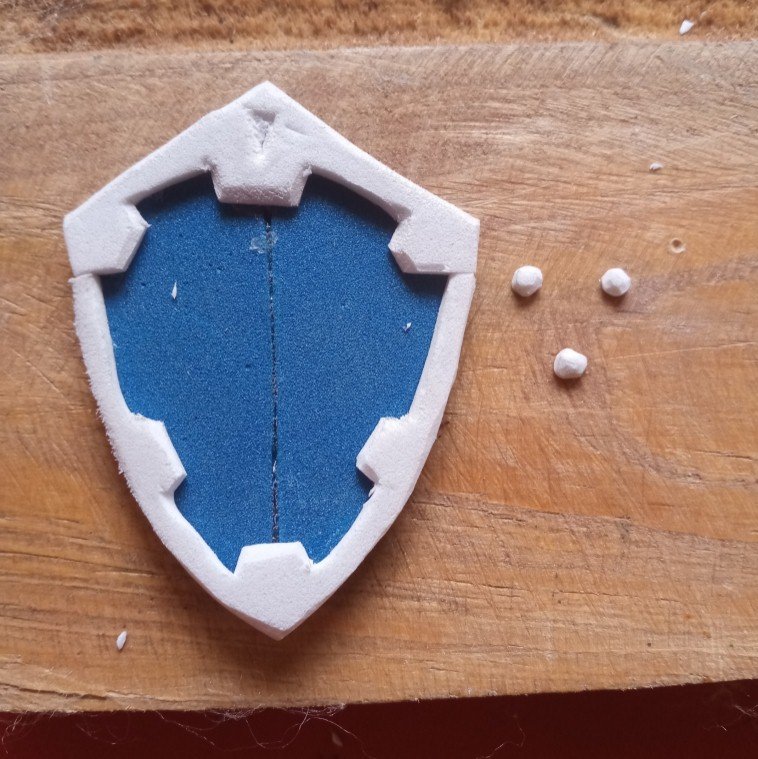
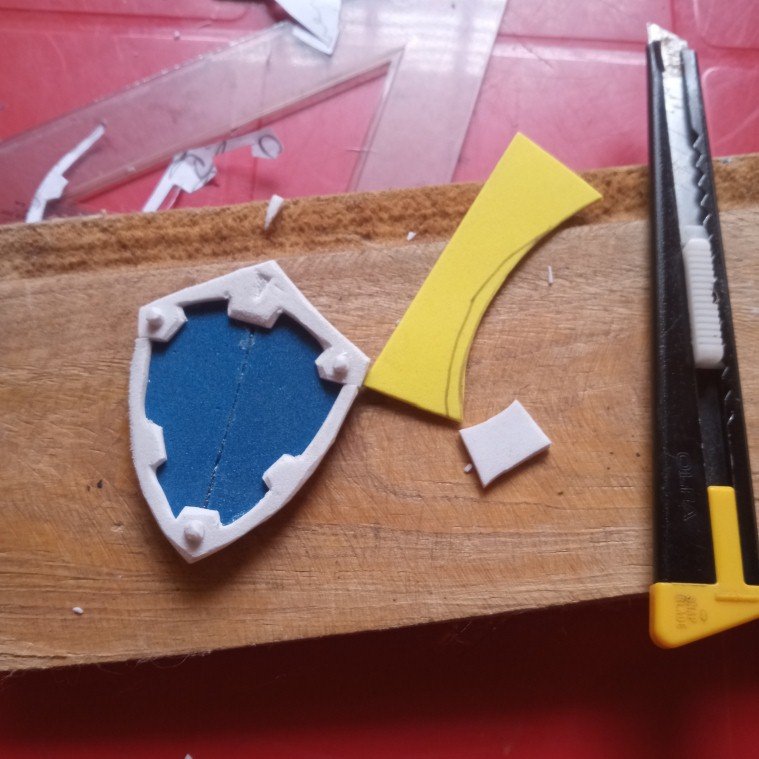
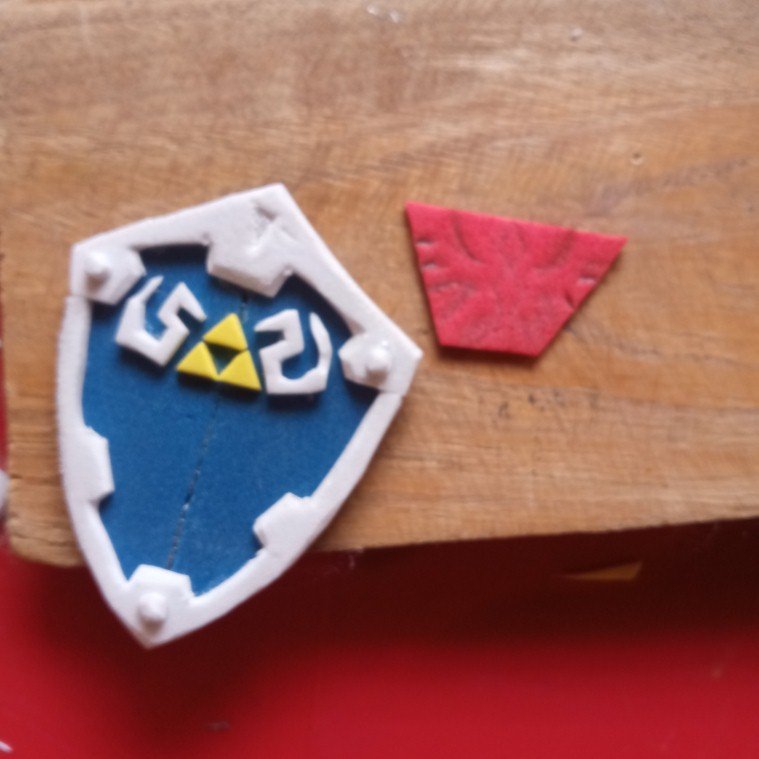
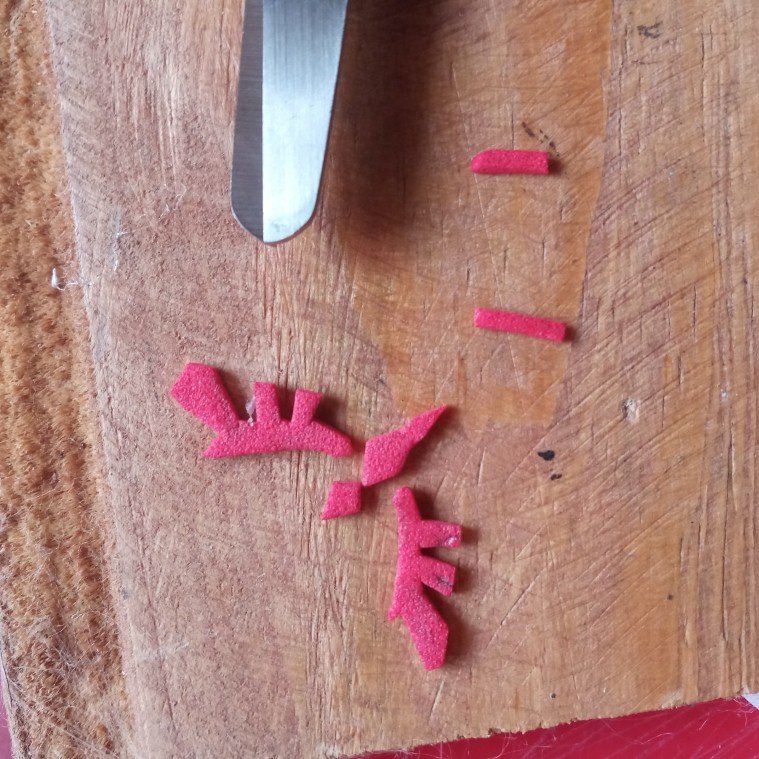
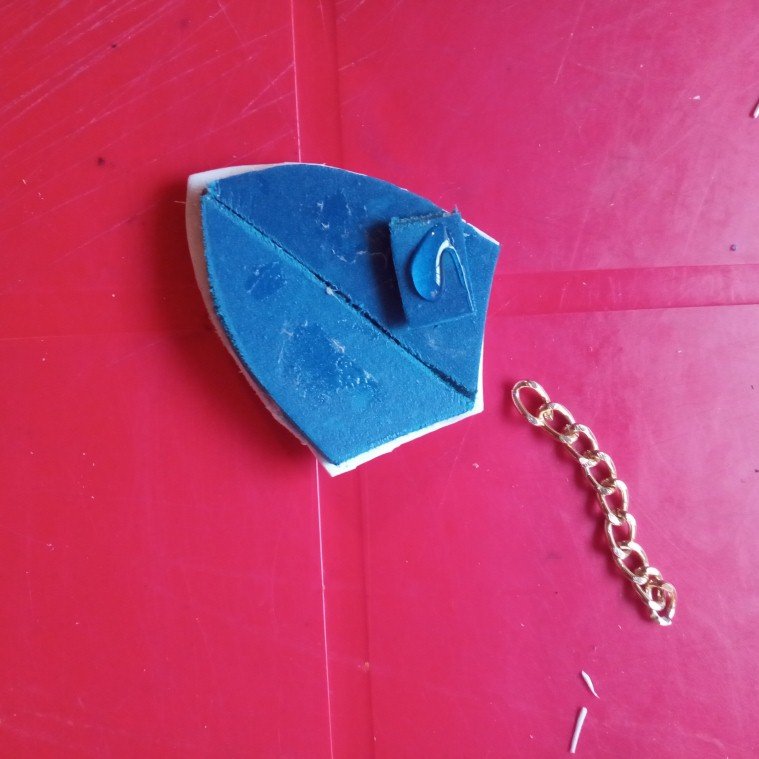
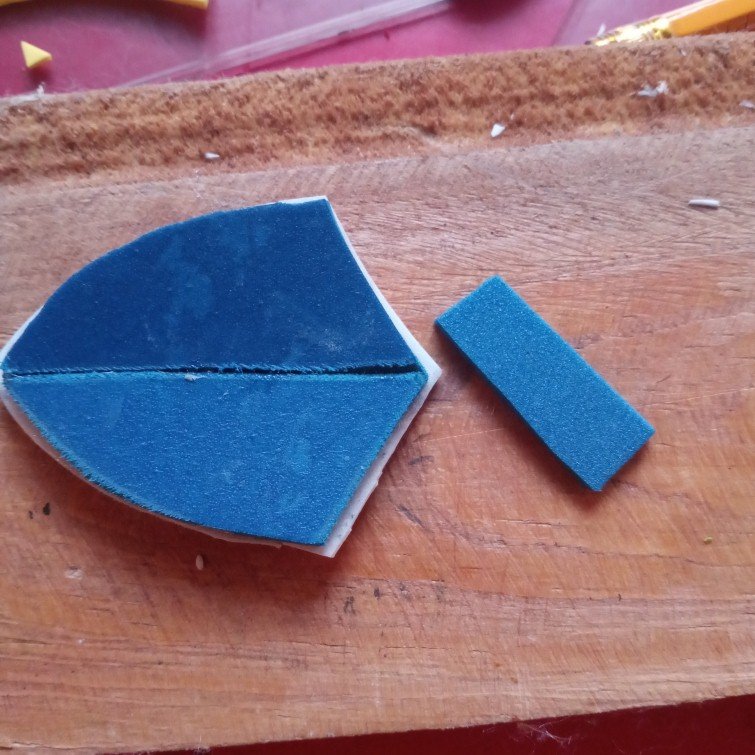
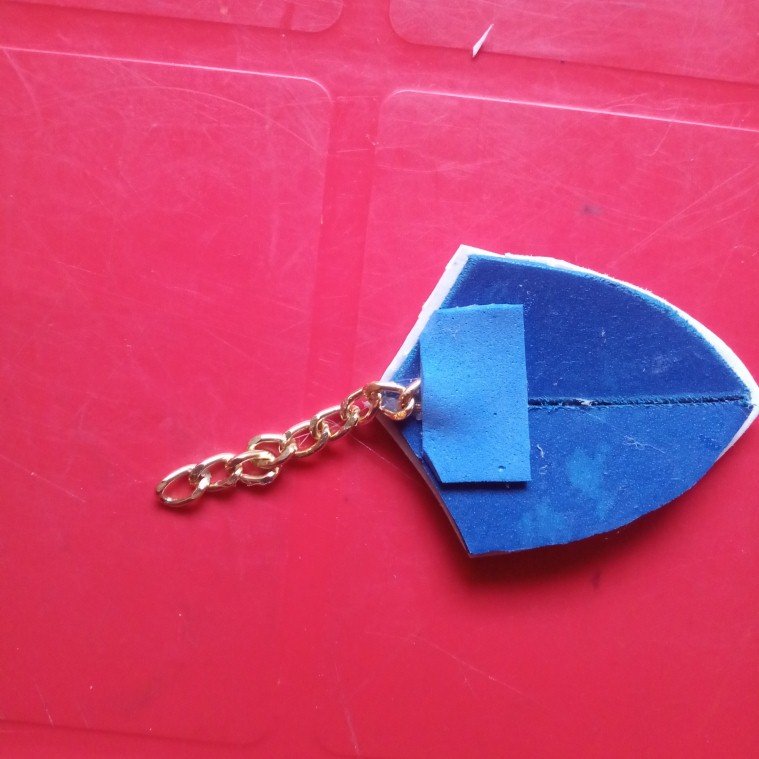
To make it I used only some scraps of eva rubber from previous projects, liquid silicone, chain for the keychain and its respective ring. In the step by step I will show you how was my experience making this curious craft.
Para realizarlo utilice solo algunos retazos de goma eva de proyectos anteriores, silicón líquido, cadena para el llavero y su respectivo aro. En el paso a paso les mostrare como fue mi experiencia realizando esta curiosa manualidad.


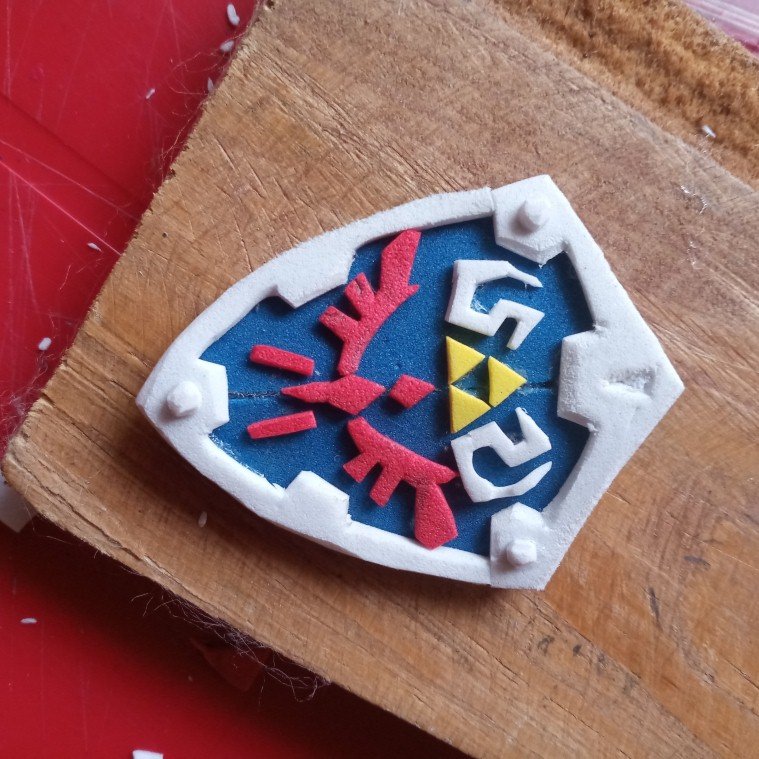

I hope you liked a lot this mini Hylian shield, thanks for visiting my Blog, love you @shorahoshi and I hope to see you in a next opportunity.
Espero que les gustara mucho este mini escudo Hyliano, gracias por visitar mi Blog, los quiere @shorahoshi y los espero en una próxima oportunidad.
The photographs are my own and were taken by me with a Redmi 9 and were edited in powerpoint.
Las fotografías son de mi autoría y fueron tomadas por mí con un Redmi 9 y se editaron en powerpoint.
The Step by Step Gif was made by me in AdobePhotoshop CC2014.
El Gif de Paso a Paso fue realizado por mi en AdobePhotoshop CC2014.
The logo was designed by me in Adobe Illustrator CC 2015 and its animated version was made in After Effects CC 2017.
El logo fue diseñado por mí en Adobe Illustrator CC 2015 y su versión animada la realice en After Effects CC 2017.
Language corrector used Deepl.
Guao! ese escudo está espectacular. Tuviste mucha paciencia para recortar cada pequeña piecita.
En lo que vi el escudo se me hizo muy conocido, cuando leí tus líneas explicaste de quien es, ufff! era lo que estaba pensando, le pertenece a Link, genial porque amo ese vídeo juego. Nos encantó tu idea como siempre, super creativa. Seguro los fanáticos de La Leyenda de Zelda lo amarán también.
Quedó genial, me encantó
WOOO el escudo legendario de tan fantástico videojuego, a demás lograste colocar incluso el símbolo de la trifuerza!, muy buen trabajo realizado y hermoso, me encanto, espero ver otra creación de estas amiga , saludos