Making a mini Christmas boot in felt.
Haciendo una mini bota de navidad en fieltro.
Hello friends readers today I want to show you how to make a Christmas boot for the tree, it was super cute and very striking, I hope you like this post and you can join me until the end so you can see how beautiful this craft was.
Hola amigos lectores el día de hoy quiero mostrarle cómo hacer una bota de navidad para el árbol, quedó super linda y muy llamativa, espero que esté post sea de su agrado y puedan acompañarme hasta el final y así puedan observar lo hermosa que quedó está manualidad.
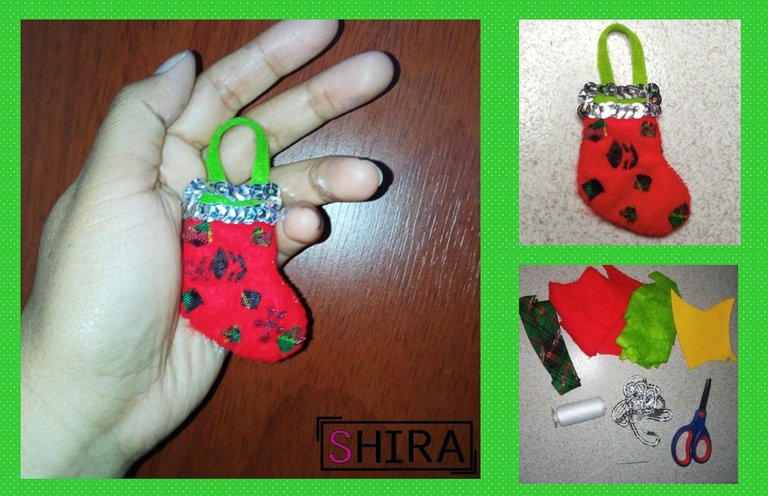
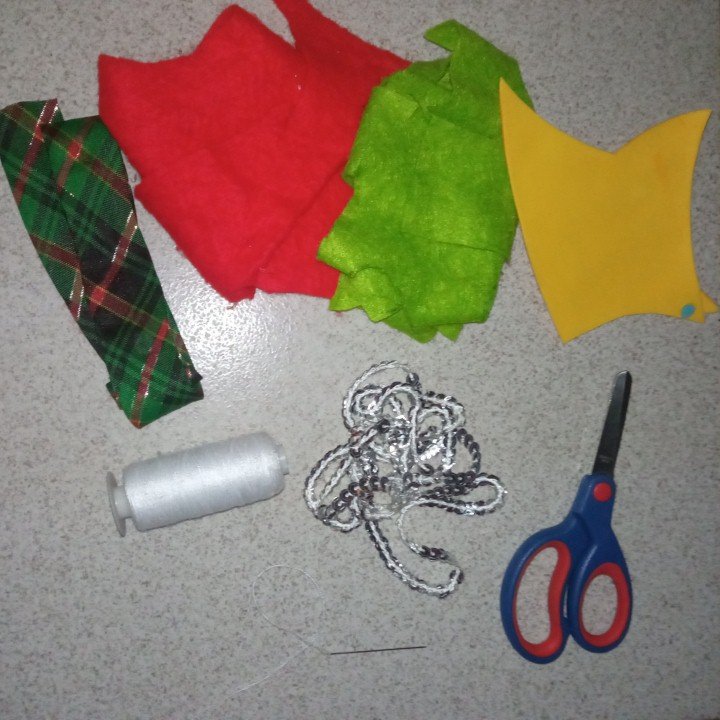
The materials that were used were the following:
- Christmas ribbon
- Sequins
- Red and green felt.
- Thread.
- Needle.
- Scissors.
Los materiales que fueron utilizados fueron los siguientes:
- Cinta navideña
- Lentejuelas
- Fieltros rojo, verde.
- Hilo.
- Aguja.
- Tijera.

Here I begin the great journey of making this mini Christmas boot, it is very easy to make and the materials are easy to find. Do not stay with the desire to join me, come and learn how to make an ornament for your Christmas tree. Love, dedication and patience are three important and very relevant elements in the life of a human being. I always say that if you do things with love, dedication and patience, everything will be great.
Aquí comienzo el gran paseo de elaboración de esta mini bota de navidad, es muy fácil de realizar y sus materiales son fáciles de encontrar. No te quedes con las ganas de acompañarme acércate y aprende cómo realizar un adorno para tu árbol navideño. El amor, la dedicación y la paciencia son tres elementos importantes y muy relevantes en la vida del ser humano. Siempre digo si haces las cosas con amor, dedicación y paciencia, todo te saldrá de maravilla.

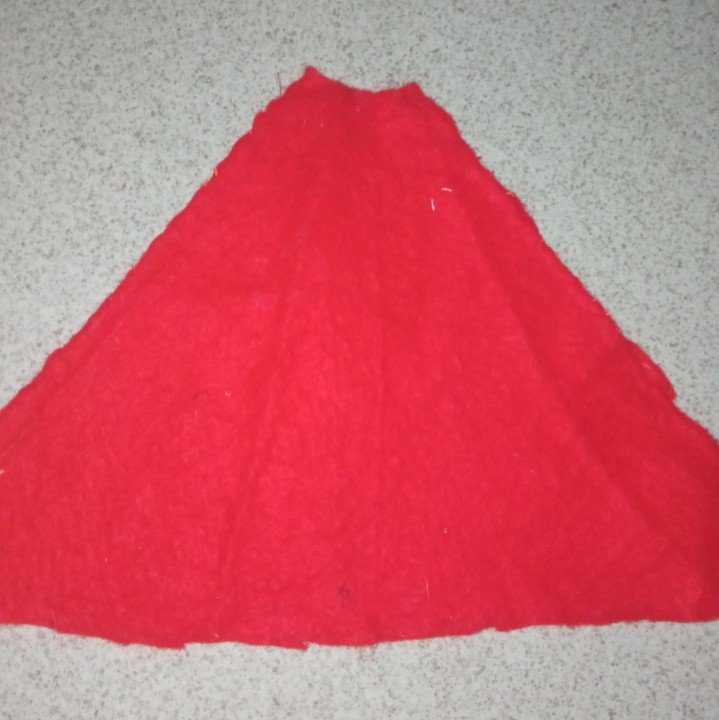
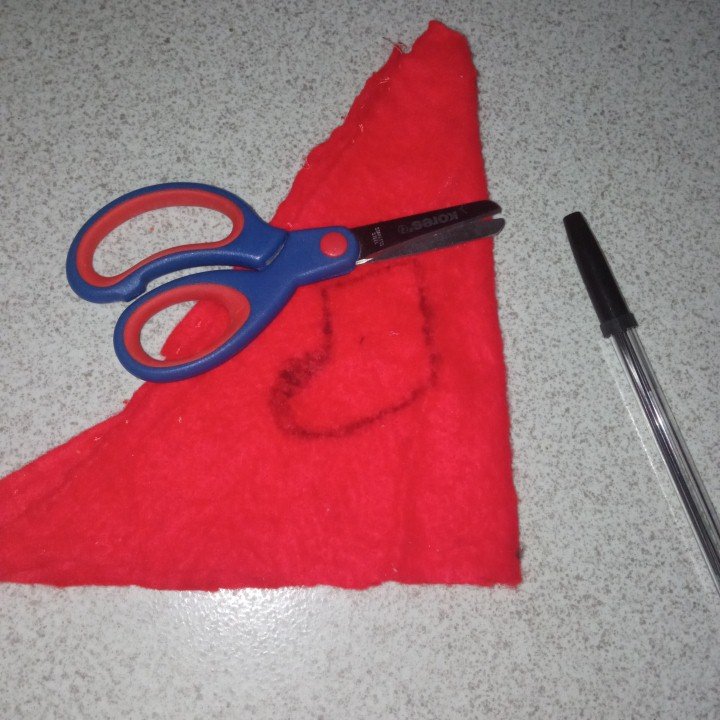
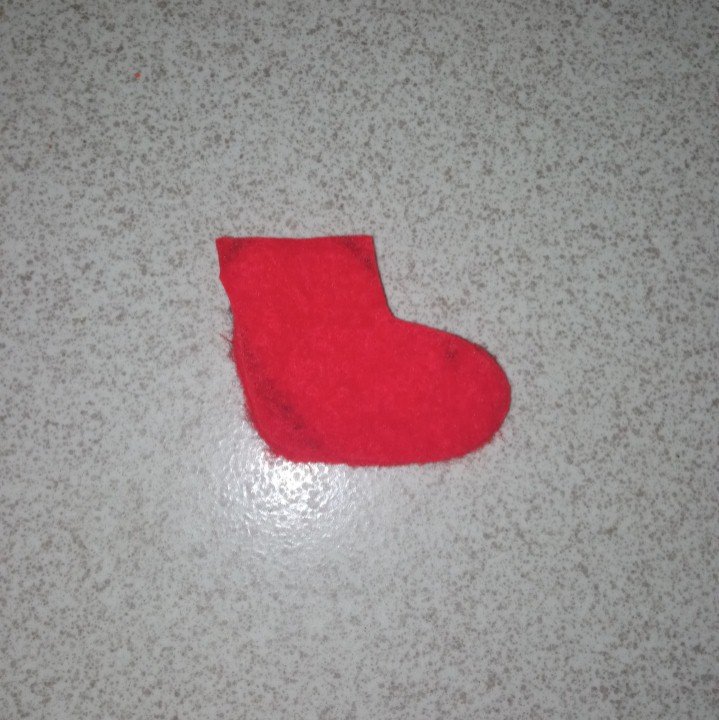
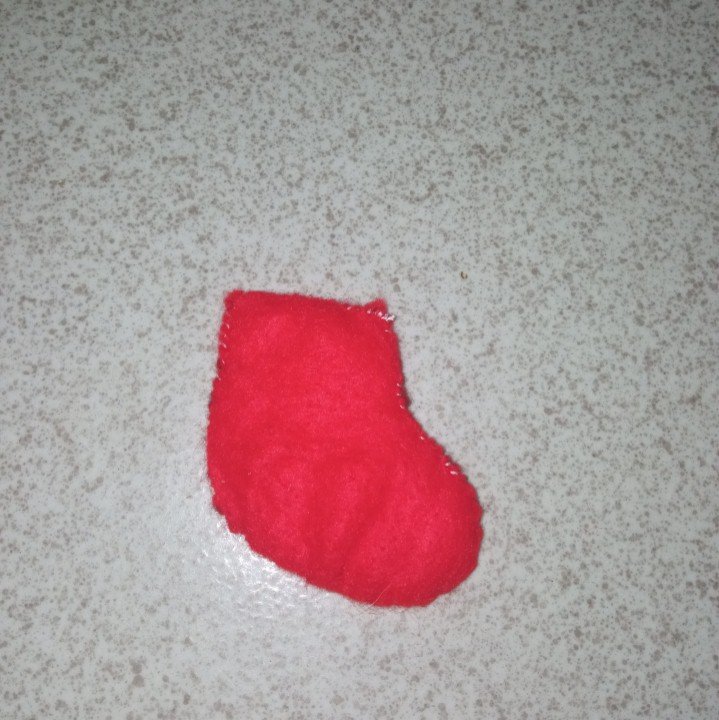
The first step to be taken is to take the red felt and there shape the boot you want to make, then cut it out with the scissors.
El primer paso que se debe dar es agarrar el fieltro rojo y allí plasmar la bota que se desea hacer, luego con la tijera se recorta.

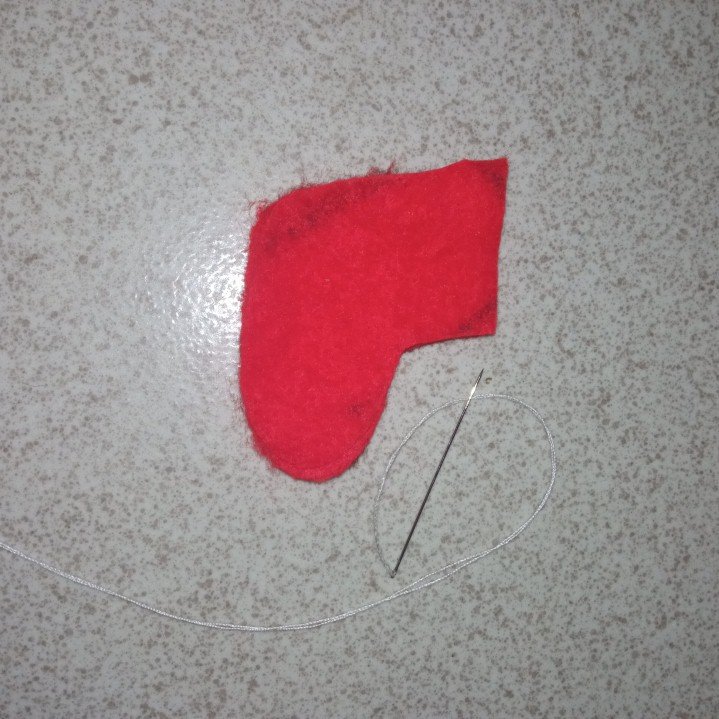
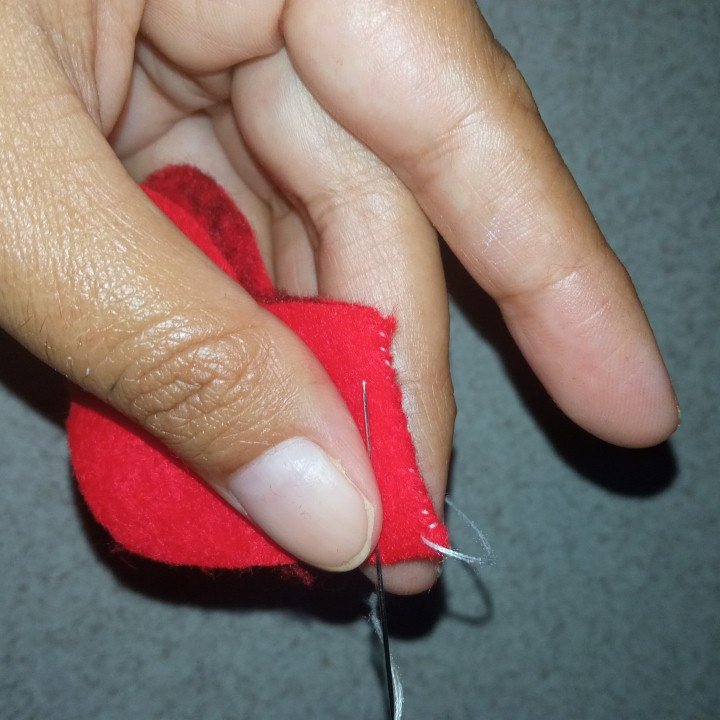
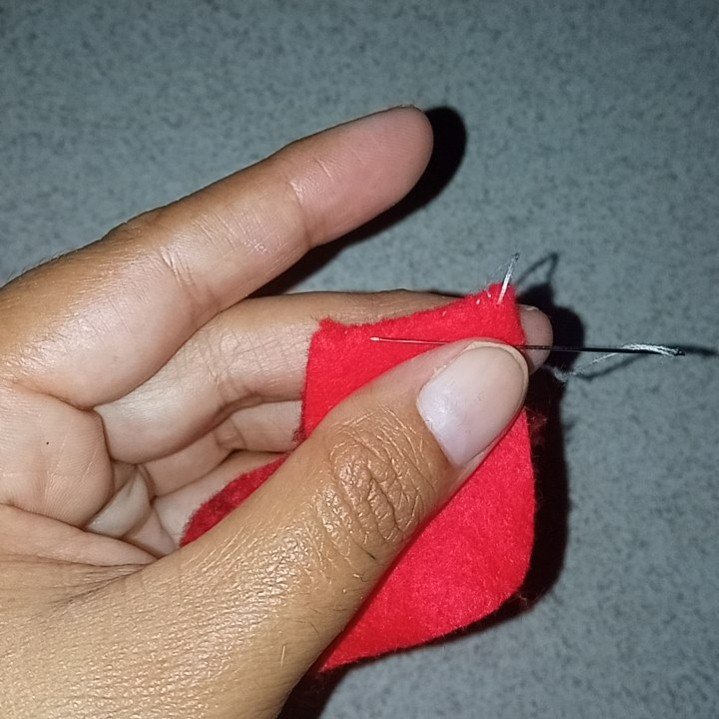
Two pieces of boots were taken out and joined together and the needle and thread were sewn around the edge of the boot, as you can see in the pictures.
Se sacaron dos piezas de botas las cuales se unirán y con la aguja con hilo se cose por todo el borde de la bota, así como podrán observar en las imágenes.
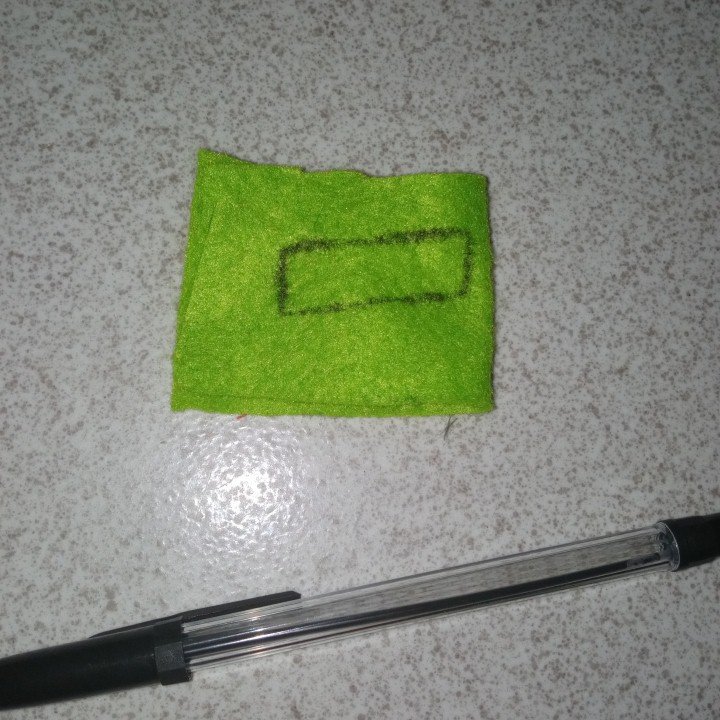
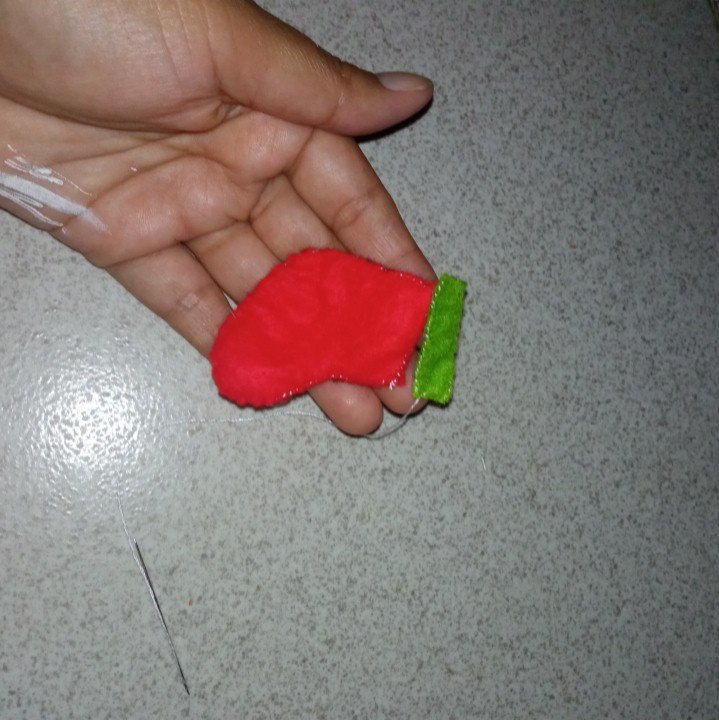
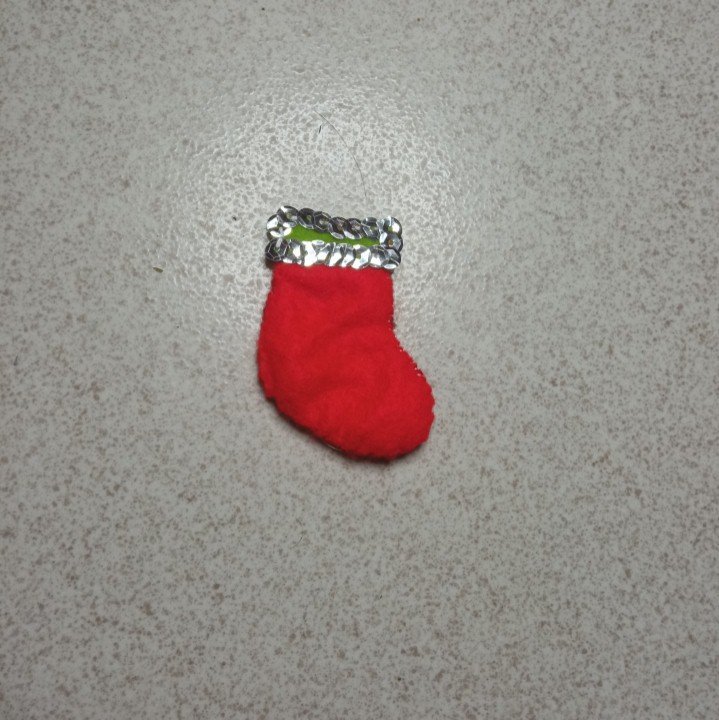
Once the boot was sewn, I took out a green double flange and started sewing.
Ya cosida la bota, le sacó una pestaña doble de color verde y comienzo a coser.
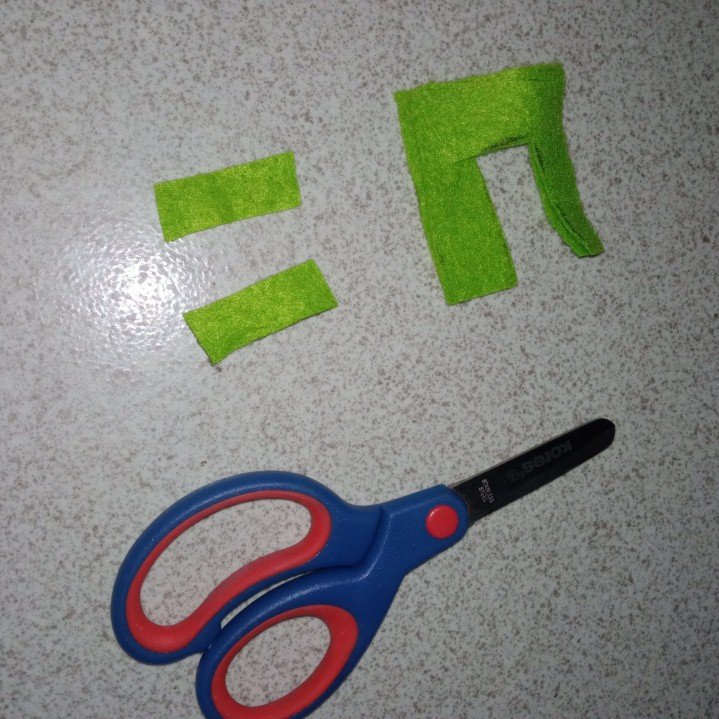
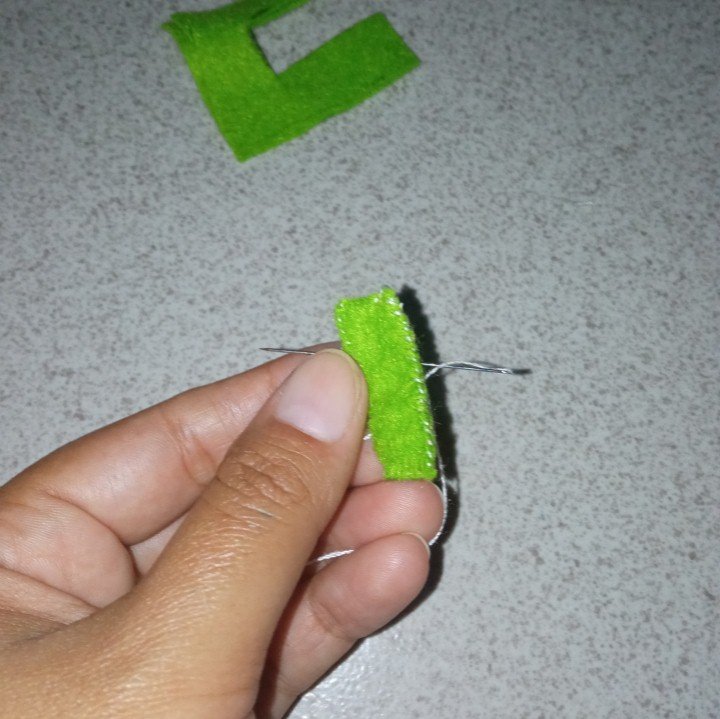
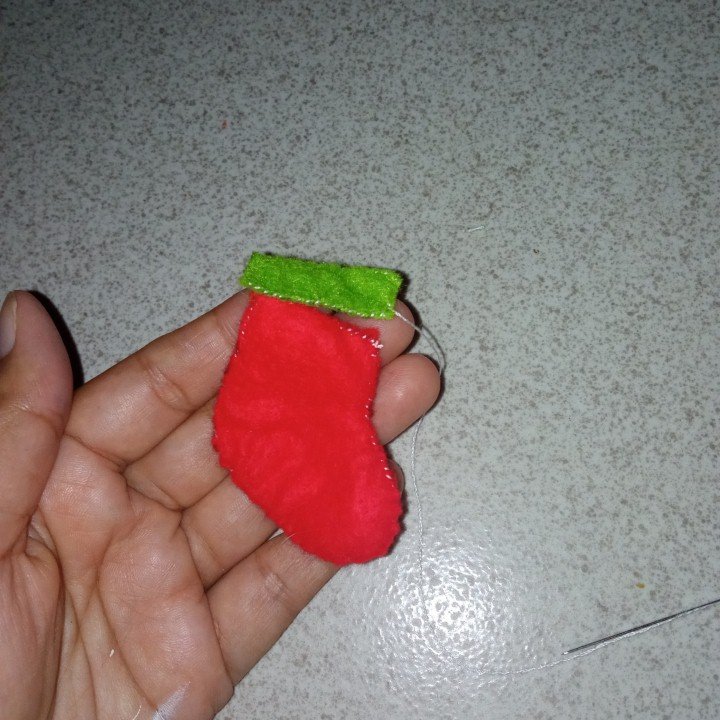
He then grabbed and threaded the green tab onto the red mini-boot.
Seguidamente agarró y con hilo ajustó la pestaña verde a la mini bota roja.


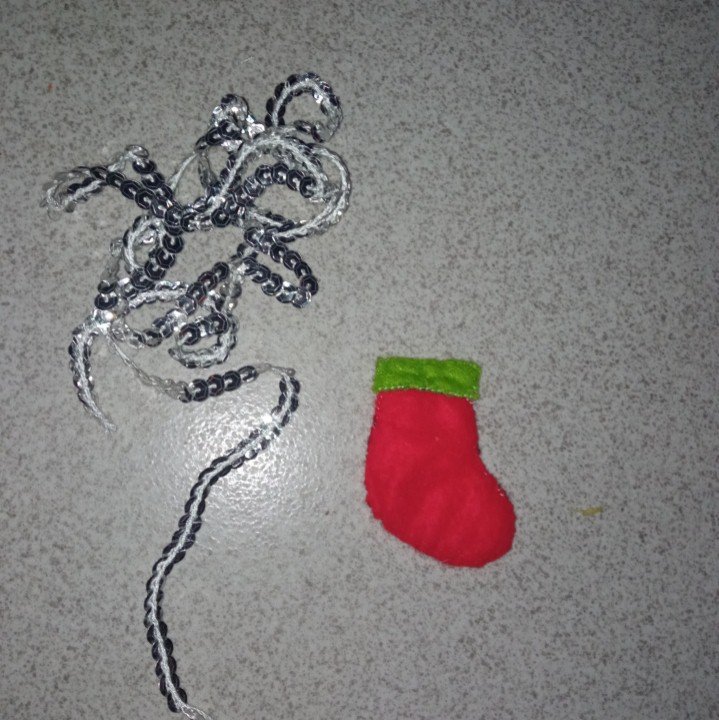
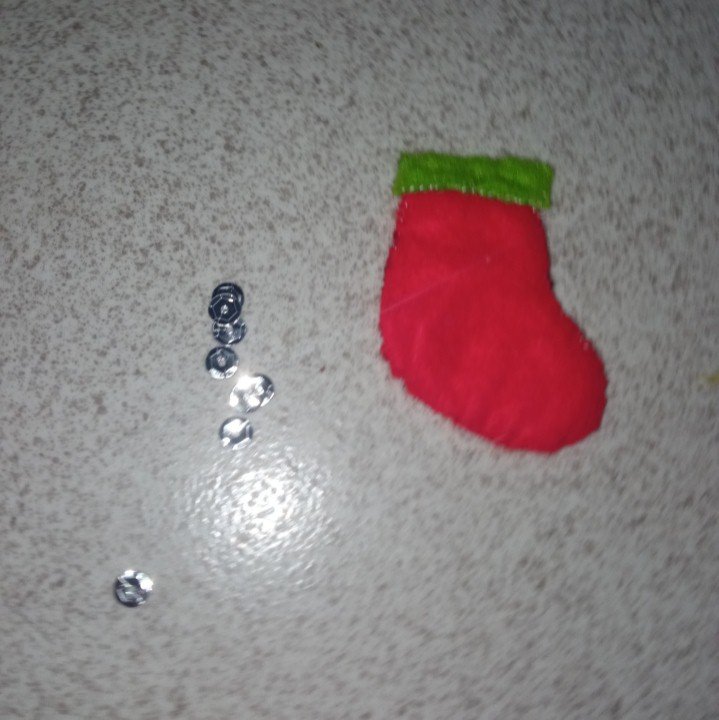
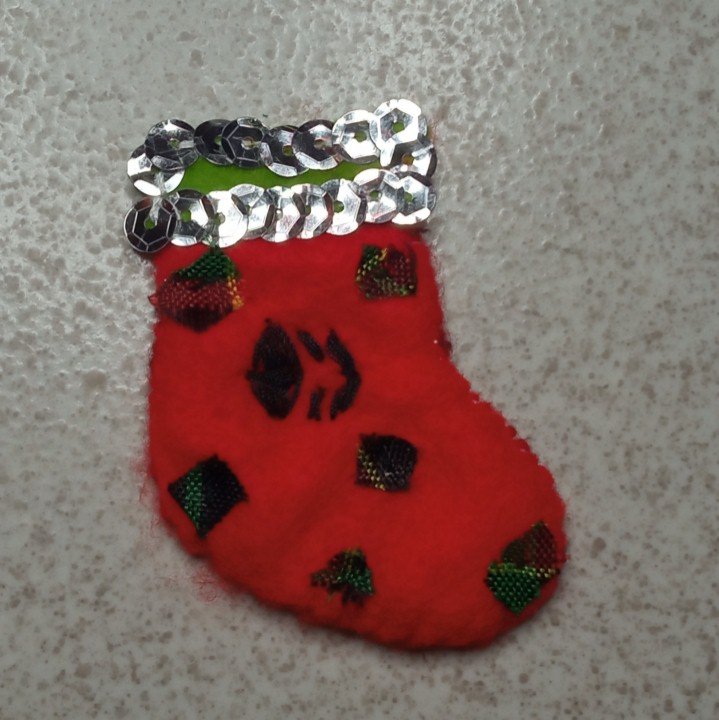
She also glued sequins to the edge part of the green eyelash. It looks super cool and very shiny.
También le pegó lentejuelas a la parte del borde de la pestaña verde. Quedando súper genial y muy brillante.
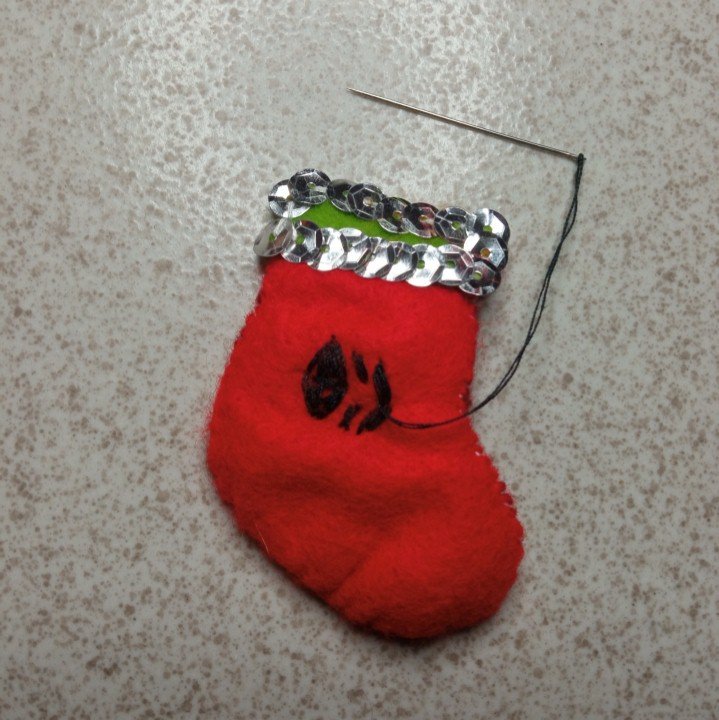
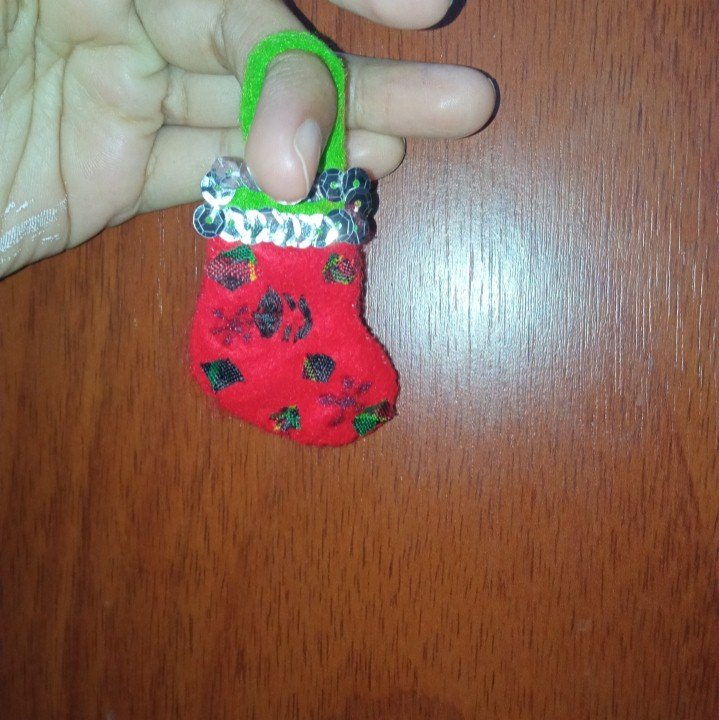
I decided to make a small embroidery of the Hive logo and with black sewing thread I managed to do it, being very Cuchi this small but beautiful mini boot.
Para no dejar pasar el momento decidí hacerle un pequeño bordado del logo de Hive y con hilo de coser negro lo logré realizar, quedando muy Cuchi está pequeña pero hermosa mini bota.
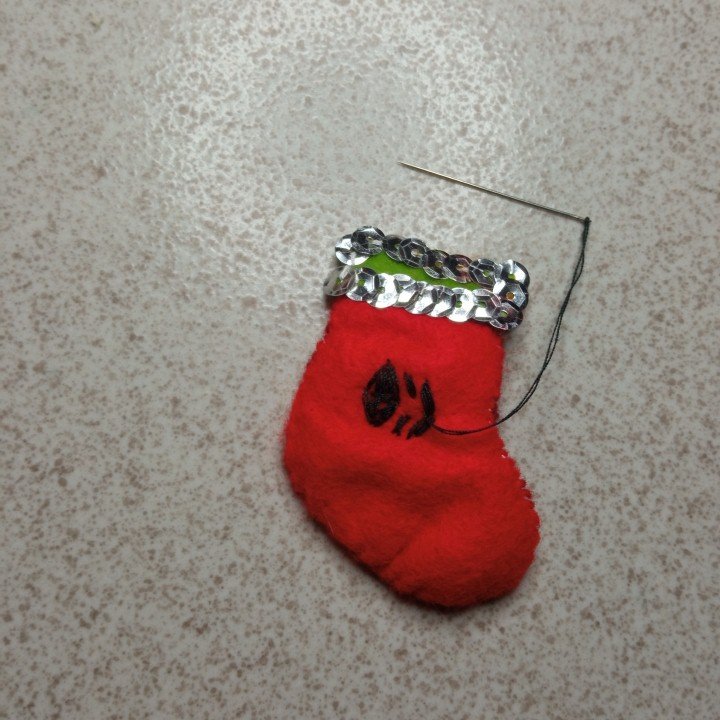
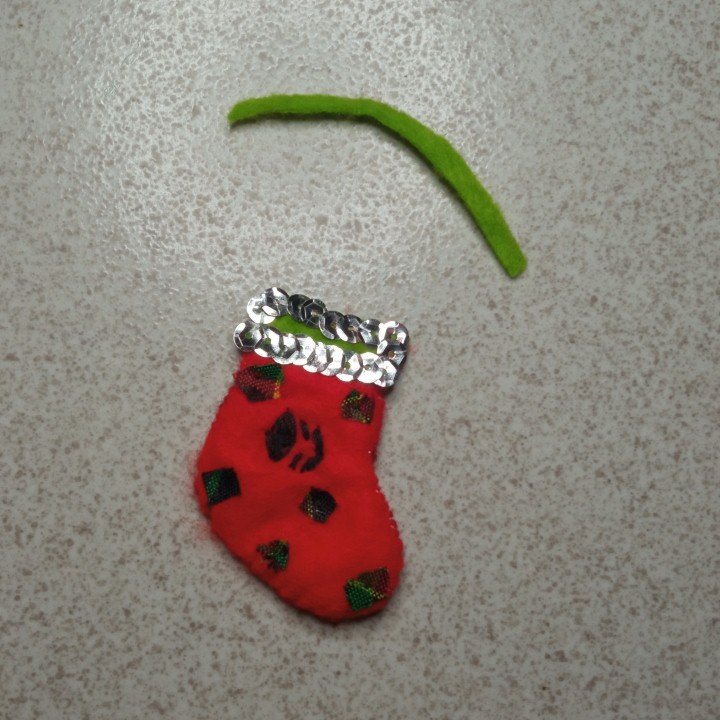
Use a piece of very thin green felt to hang it.
Para colgarla utilice un pedazo de fieltro verde muy delgado.
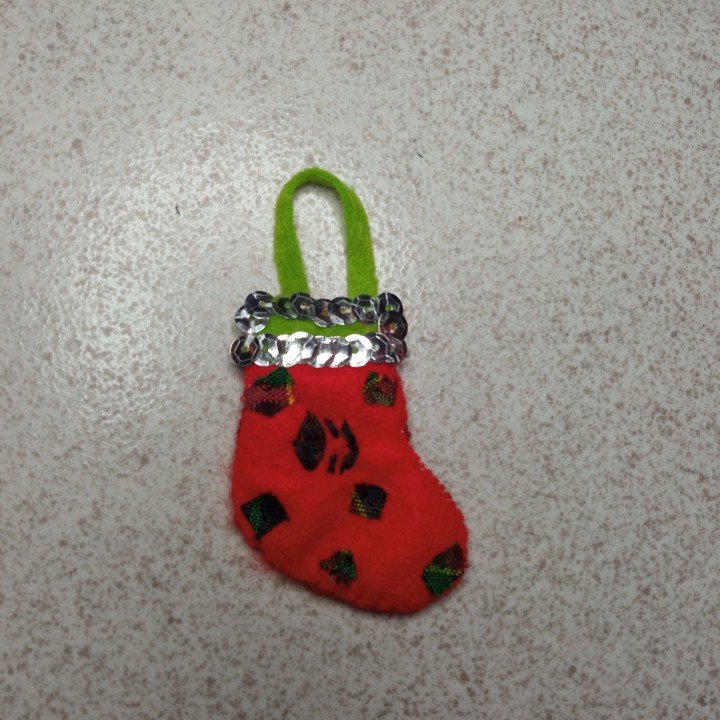
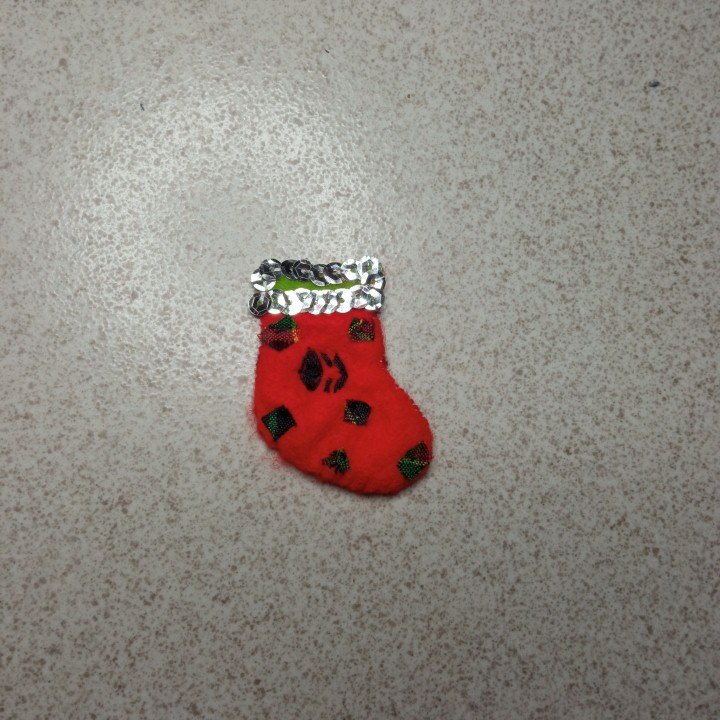
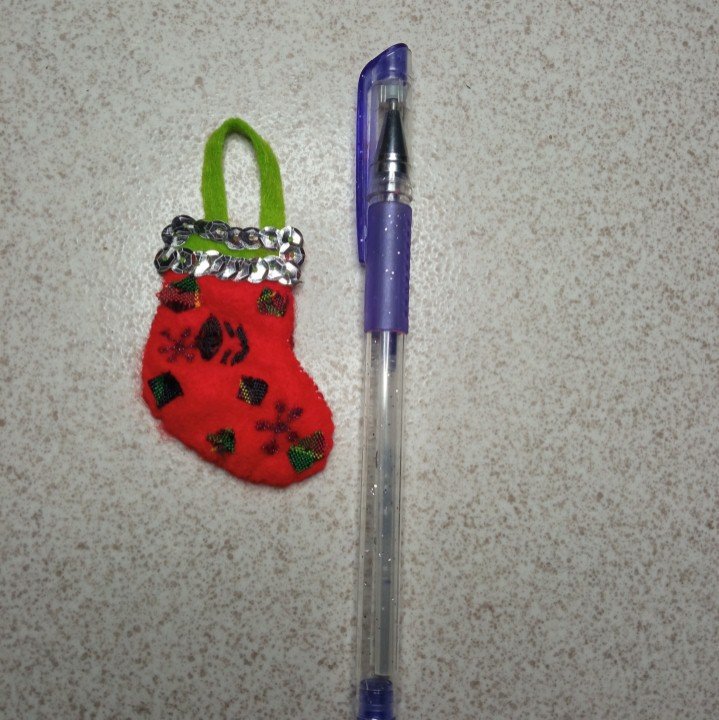
Also with a frosted marker I put snowflakes, making this beautiful craft very attractive and cute. I hope that each of the readers and friends who always accompany me in every presentation I make will like it.
También con un marcador escarchado le coloque copos de nieve, quedando muy llamativa y linda está hermosa manualidad. Espero que sea del agrado de cada uno de los lectores y amigos que siempre me acompañan en cada presentación que realizó.

Without more to say I say goodbye with a hug, love you @shirahoshi!
Sin más que decir me despido con un abrazo, los quiere @shirahoshi!

The photographs are my own and were taken by me with a Redmi 9 and were edited in powerpoint.
Las fotografías son de mi autoría y fueron tomadas por mí con un Redmi 9 y se editaron en powerpoint.
The Step by Step Gif was made by me in AdobePhotoshop CC2014.
El Gif de Paso a Paso fue realizado por mi en AdobePhotoshop CC2014.
The logo was designed by me in Adobe Illustrator CC 2015 and its animated version was made in After Effects CC 2017.
El logo fue diseñado por mí en Adobe Illustrator CC 2015 y su versión animada la realice en After Effects CC 2017.
Language corrector used Deepl.


~~~ embed:1597571085058416641 twitter metadata:MTI2Mzg2OTAxMzM0OTgwNjA4MHx8aHR0cHM6Ly90d2l0dGVyLmNvbS8xMjYzODY5MDEzMzQ5ODA2MDgwL3N0YXR1cy8xNTk3NTcxMDg1MDU4NDE2NjQxfA== ~~~
The rewards earned on this comment will go directly to the people( @mariajcastro28, @shirahoshi ) sharing the post on Twitter as long as they are registered with @poshtoken. Sign up at https://hiveposh.com.
Que linda y adorable quedó esa botita 🎄☃
Gracias! si realmente quedo muy tierna y sobre todo muy cute por su tamaño.
Gracias por comentar!
Hermosa esa bota, son muchos los detalles navideños que nos brindan aquí en esta comunidad
Si todos en la comunidad estan dando ideas geniales para decorar cada ricon de nuestro hogar!