Making a nice recycled organizer.
Haciendo un lindo organizador reciclado.
Hello friends of Hive, happy and blessed Tuesday that this beginning of the week comes loaded with very good vibes for each participant, today I want to show you a beautiful organizer I made to have the most essential things at hand as some pencils, concealer, markers and mechanical pencils, I almost always have everything in the room I have with the craft stuff, but this time I decided to make this nice organizer to be forewarned and have everything closer if I am the computer and I need to do something on a sheet or just gives me to write to have pencils on hand.
Hola amigos de Hive, feliz y bendecido martes que este comienzo de semana venga cargado de muy buena vibra para cada participante, hoy les quiero mostrar un hermoso organizador que hice para tener lo más esencial a la mano como algunos lápices, corrector, marcadores y portaminas, casi siempre tengo todo en el cuarto que tengo con las cosas de manualidades, pero esta vez decidí hacer este lindo organizador para estar prevenida y tener todo más cerca por si estoy en la computadora y necesito hacer algo en una hoja o simplemente me da por escribir tener los lápices a la mano.
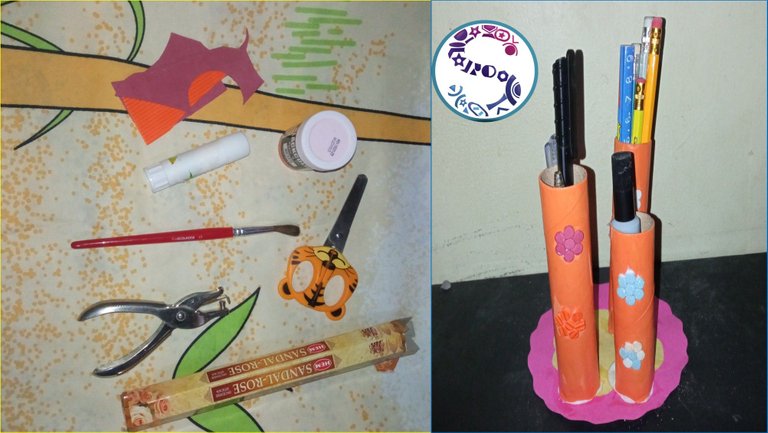
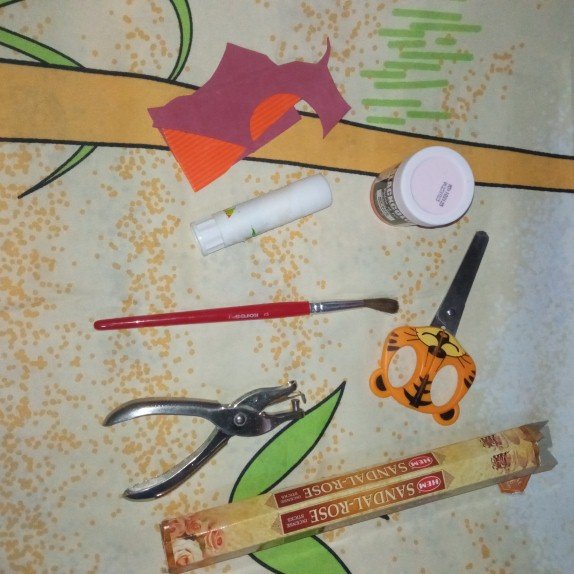
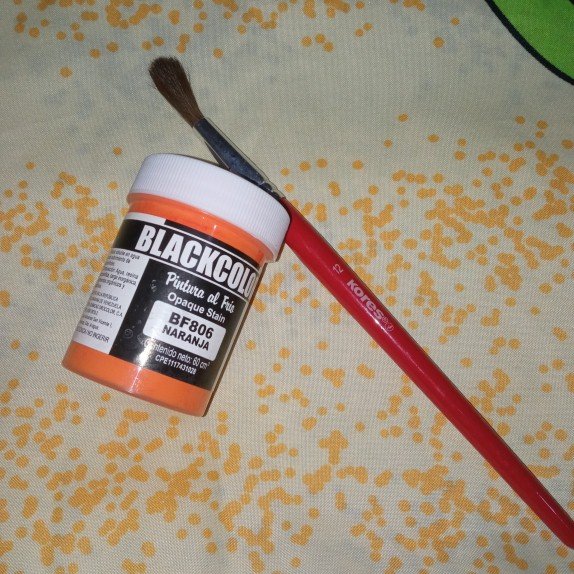
The materials I used were the following:
- Scissors.
- Eva rubber.
- Cold paint.
- Glue stick and white glue.
- Brush.
- Hole openers.
- And some hard cardboard cylinders that come in the incense.
Los materiales que utilice fueron los siguientes:
- Tijera.
- Goma Eva.
- Pintura al frio.
- Pega en barra y blanca
- Pincel.
- Abre huecos.
- Y unos cilindros de cartón duros que vienen en los incienso.

Don't miss this wonderful craft that you will surely love and will be very useful, join me and enjoy each step by step that I will give to reach the end of the organizer. It is very easy to make and the materials are easy to find.
No te pierdas está maravillosa manualidad que seguro te encantará y será de mucha utilidad, acompáñame y disfruta de cada paso a paso que daré para llegar al final del organizador. Es muy fácil de realizar y los materiales fáciles para encontrarlos.

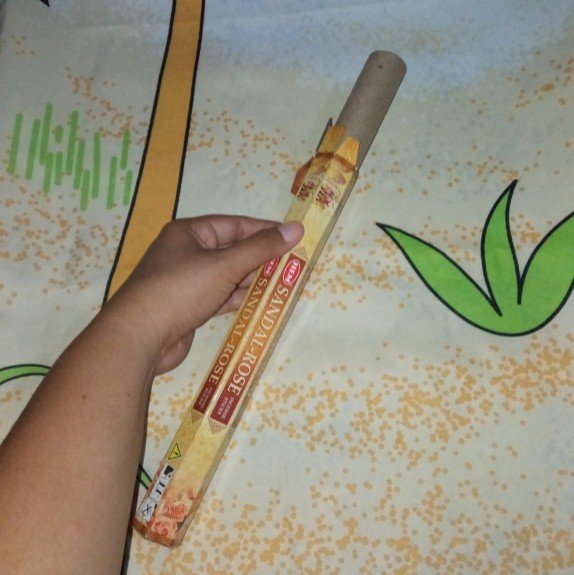
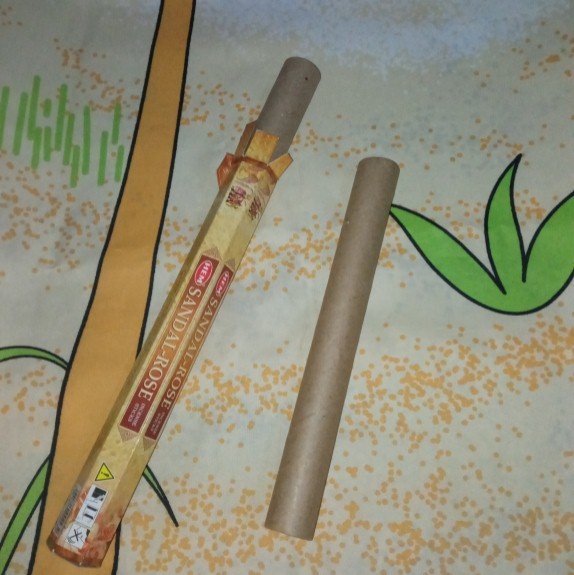
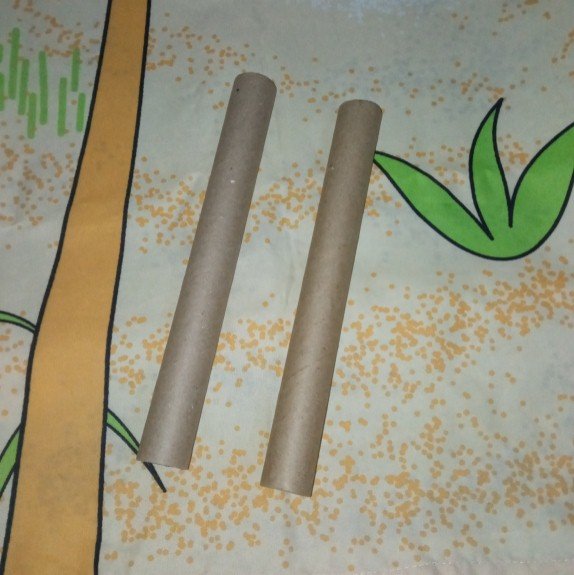
Here I begin by taking out of the incense boxes the cylinders.
Acá comienzo sacando de las cajas de incienso los cilindros.

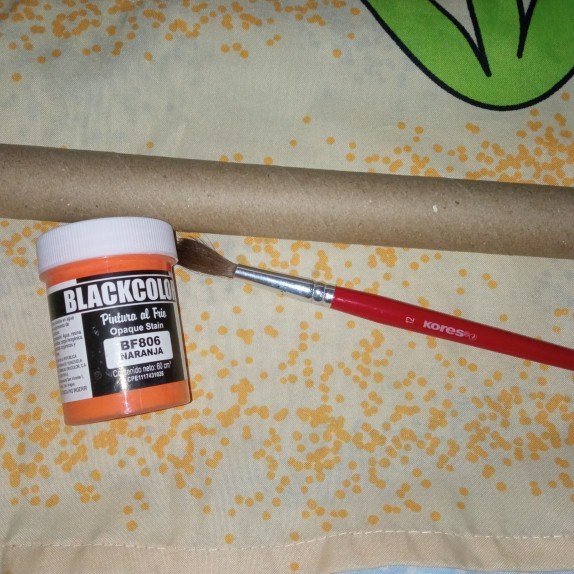
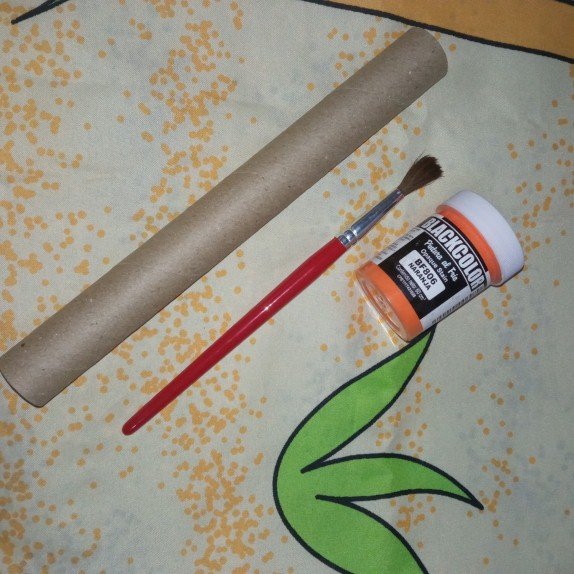
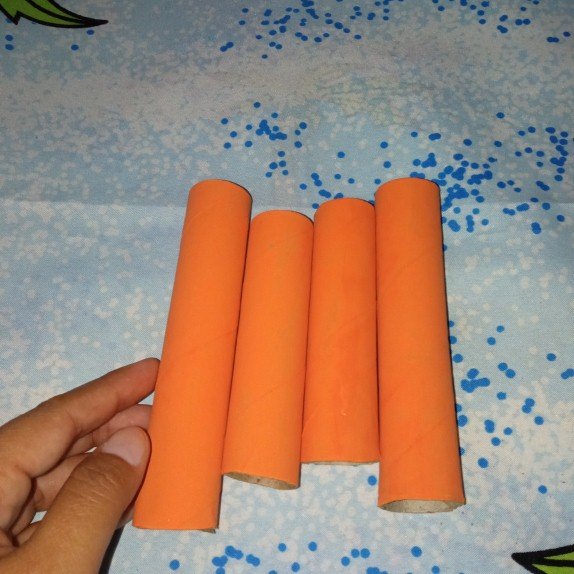
After I have the cylinders out of the box I start painting them with the orange cold paint.
Luego de tener los cilindros fuera de la caja comienzo a pintarlos con la pintura al frío de color anaranjada.

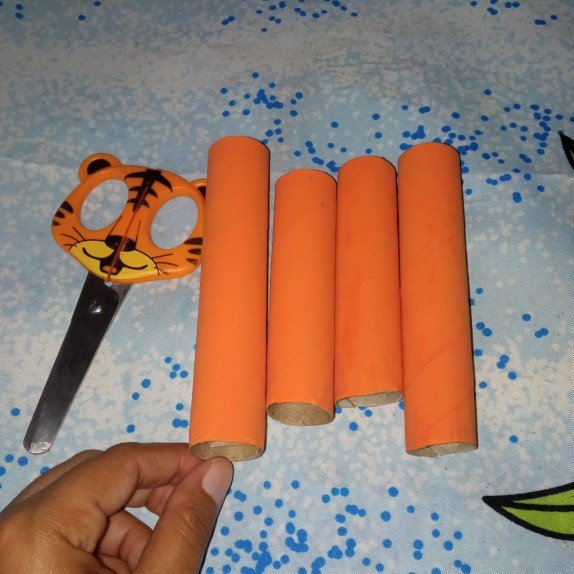
After they are painted I take the two cylinders and cut them with the scissors, one bigger than the other, forming 4 cylinders. As you can see in the image.
Luego de estar pintados agarro los dos cilindros y los recortó con la tijera, uno más grande que otro, formando 4 cilindros. Así como lo pueden observar en la imagen.
Here I start making the base where the cardboard cylinders will be glued to construction paper, as I will show you.
Aquí comienzo hacer la base donde irán pegados los cilindros de cartón en cartulina de construcción quedando así como les mostraré.
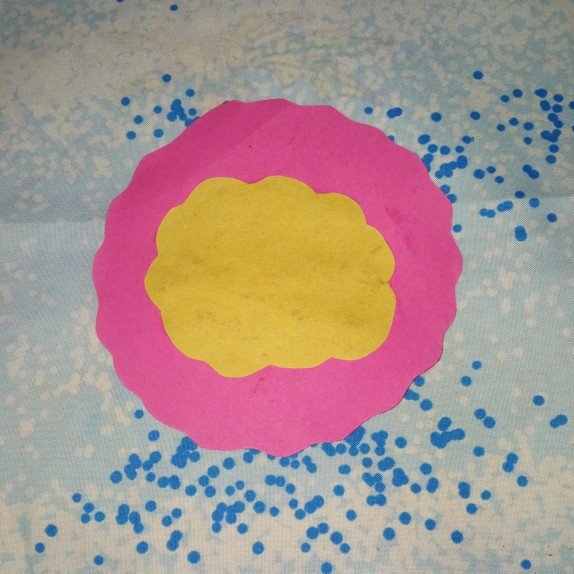
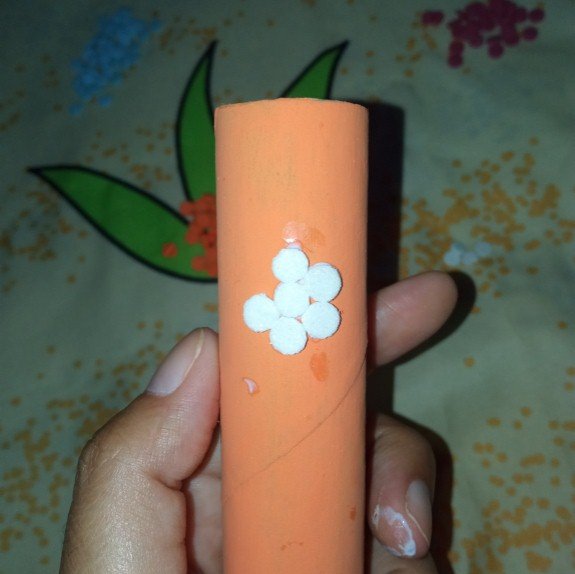
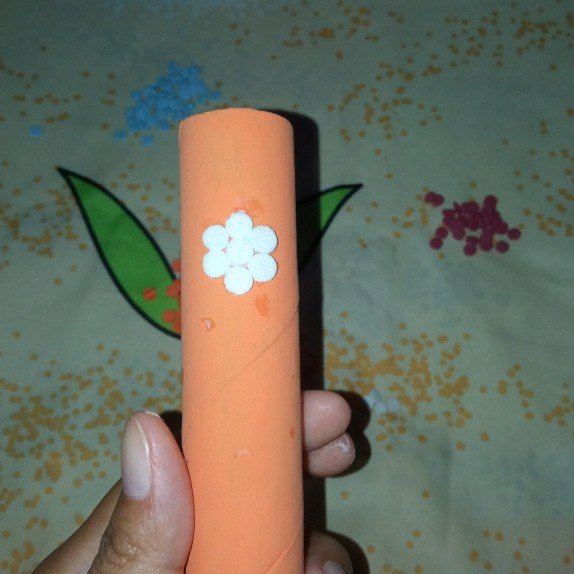
With the hole opener I start making circles in blue, white, red and orange eva rubber and then begin to assemble the flowers that will be glued to the cylinders.
Con el abre huecos comienzo hacer círculos en goma eva de color azul, blanco, rojo y anaranjado para luego comenzar armar las flores que quedarán pegadas en los cilindros.
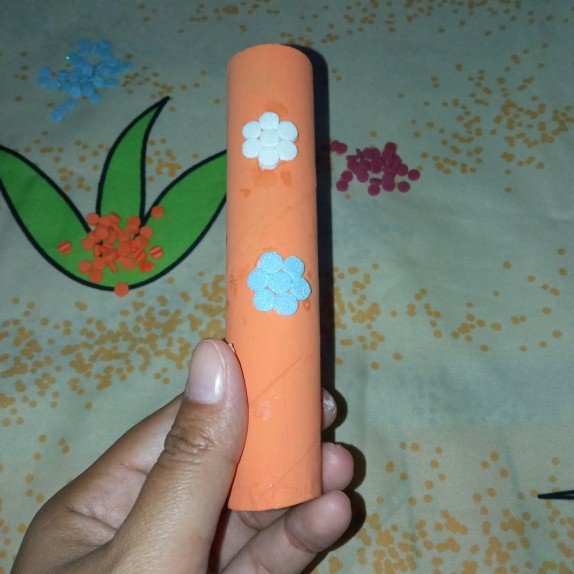
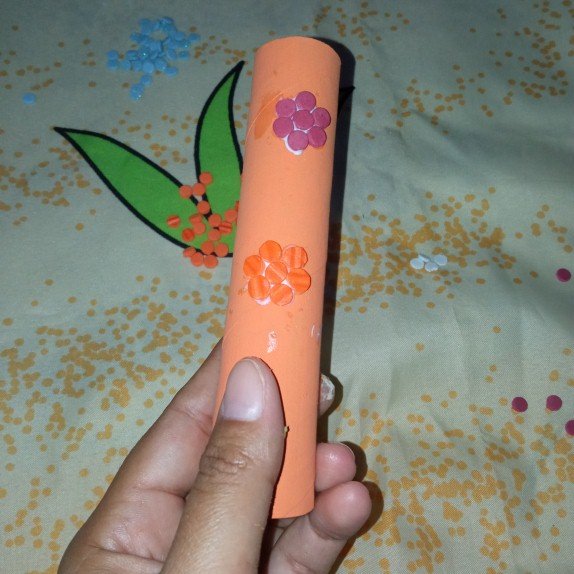
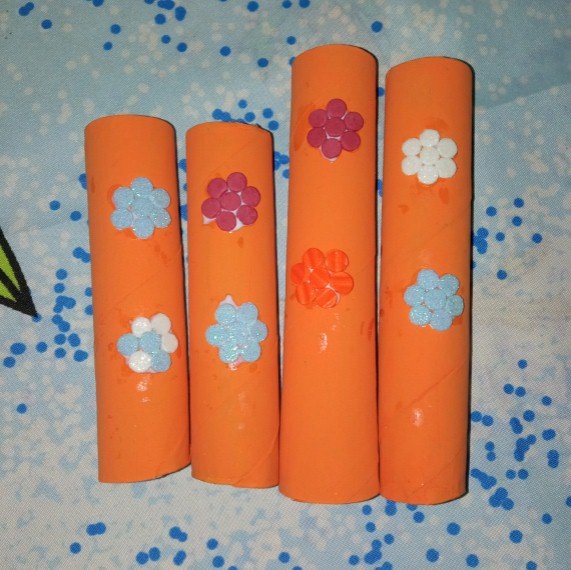
Once all the flowers are glued on the cardboard cylinders, I grab and flatten a little on the bottom where the glue will go and go to glue to the base of the construction paper.
Ya pegadas todas las flores en los cilindros de cartón agarro y aplano un poco por la parte de abajo donde irá el pegamento y me dirijo a pegar a la base de la cartulina de construcción.
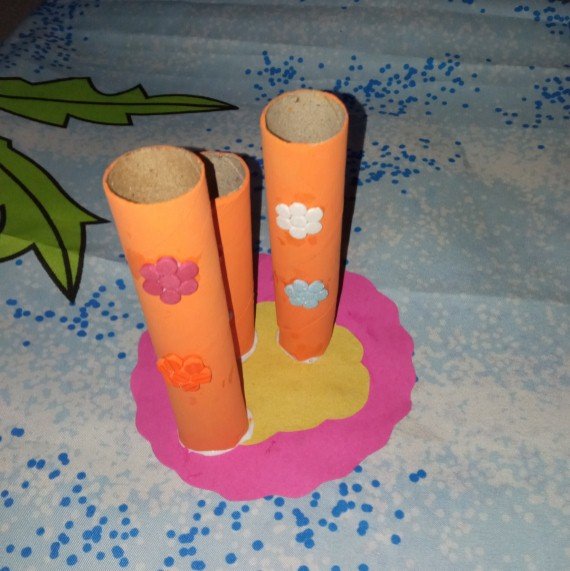
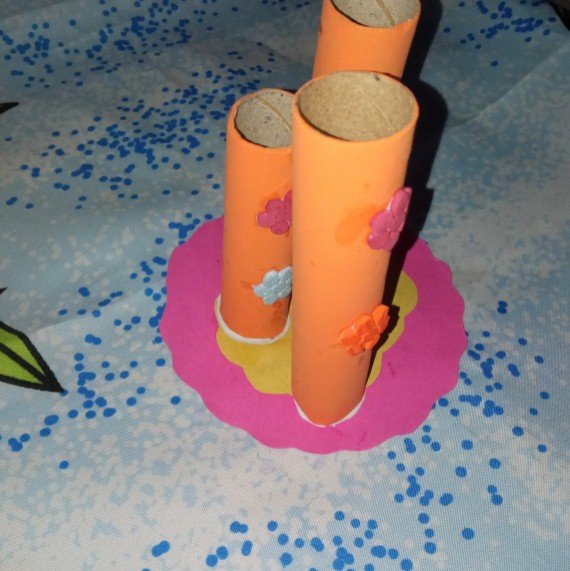
Once the four cylinders are ready and stable, I start to put some glue on the cylinders to brighten up the orange color so that this organizer can look great.
Ya listos los cuatro cilindros y estables, comienzo a colocarle un poco de pega a los cilindros para darle más brillo al color anaranjado para que este organizador pueda verse genial.
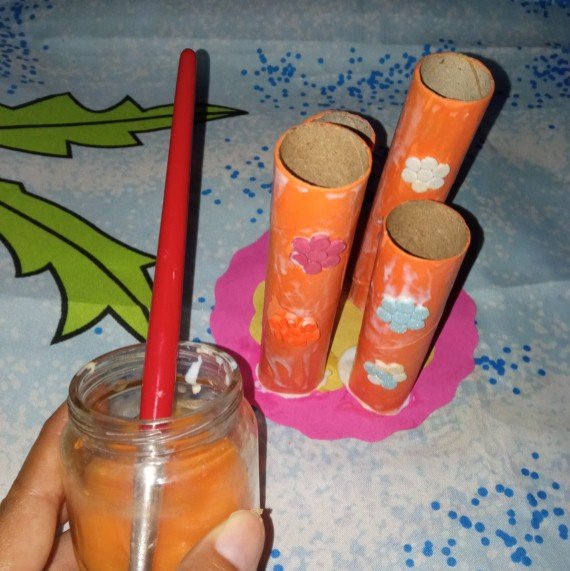
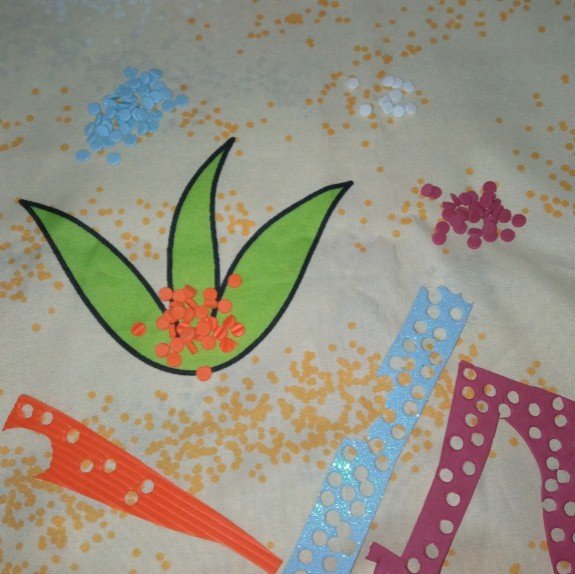
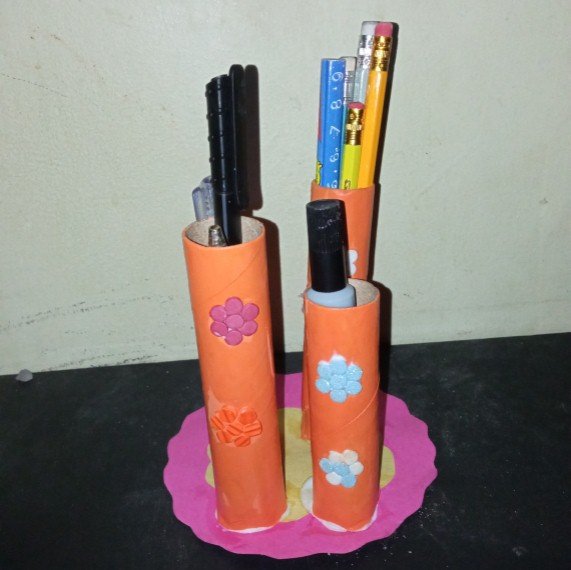
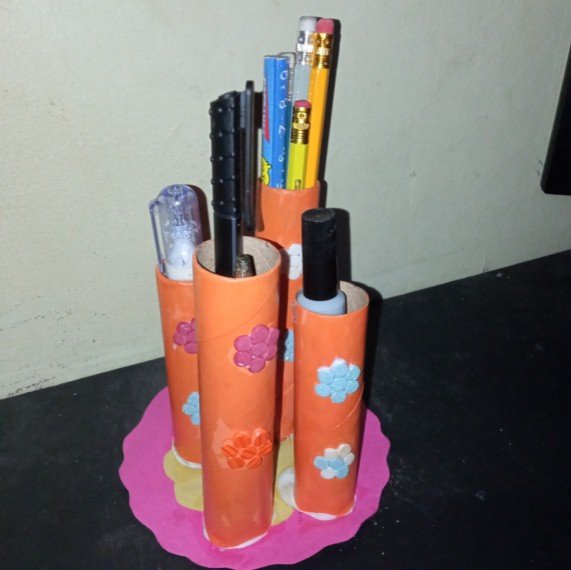
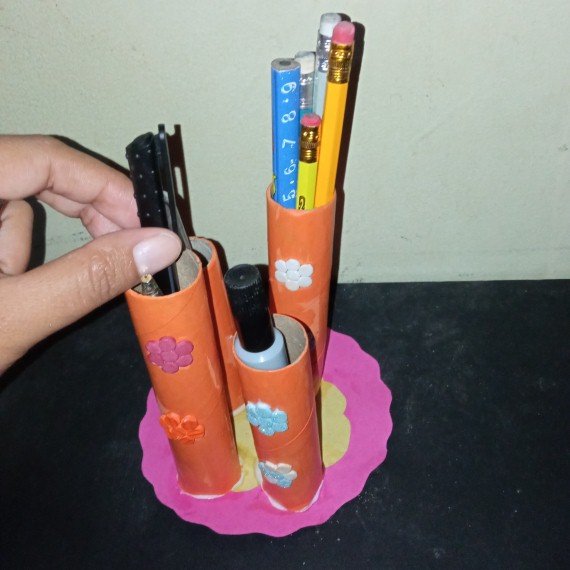
After finishing it I took some pictures on the computer table and I really loved the work and was fascinated with the result. Here are the pictures of the organizer and the implements I used inside it to take the pictures. I hope you have fun with this post and that you learn that things that we think are not useful can be put to a new use and someone could use it.
Luego de terminarlo le tome unas fotos en la mesa de computadora y realmente me encantó el trabajo y quedé fascinada con el resultado. Aquí les dejo las fotos del organizador e implementos que utilice dentro de el para tomar las fotos. Espero que se diviertan con este post y que aprendan que de las cosas que creemos que no son útiles podemos darle un nuevo uso y alguien podría utilizarla.
Without more to say and hoping that this craft post is to the liking of every reader, I say goodbye with a strong and warm hug. Love @shirahoshi.
Sin más que decir y esperando que este post de manualidad sea del agrado de cada lector, me despido con un fuerte y caluroso abrazo. Los quiere @shirahoshi.

The rewards earned on this comment will go directly to the people( @shirahoshi ) sharing the post on Twitter as long as they are registered with @poshtoken. Sign up at https://hiveposh.com.
Qué gran idea el organizador de lápices, hechos a base del cartón de incendio, yo en casa siempre acostumbro a encenderlos, me trae mucha tranquilidad, pero jamás se me ocurrió que podía darle un uso tan cool. 🙂
Muy útil esta manualidad para tener a la mano lápices y demás, a la hora de tomar notas, aunque confieso que desconocía que esos tubitos vienen de las caja de incienso, ya que no los uso por que me dan alergia, ahora los comprare solo por los tubos jejeje! Estos son muy versátiles gracias✨ por compartir, saludos!