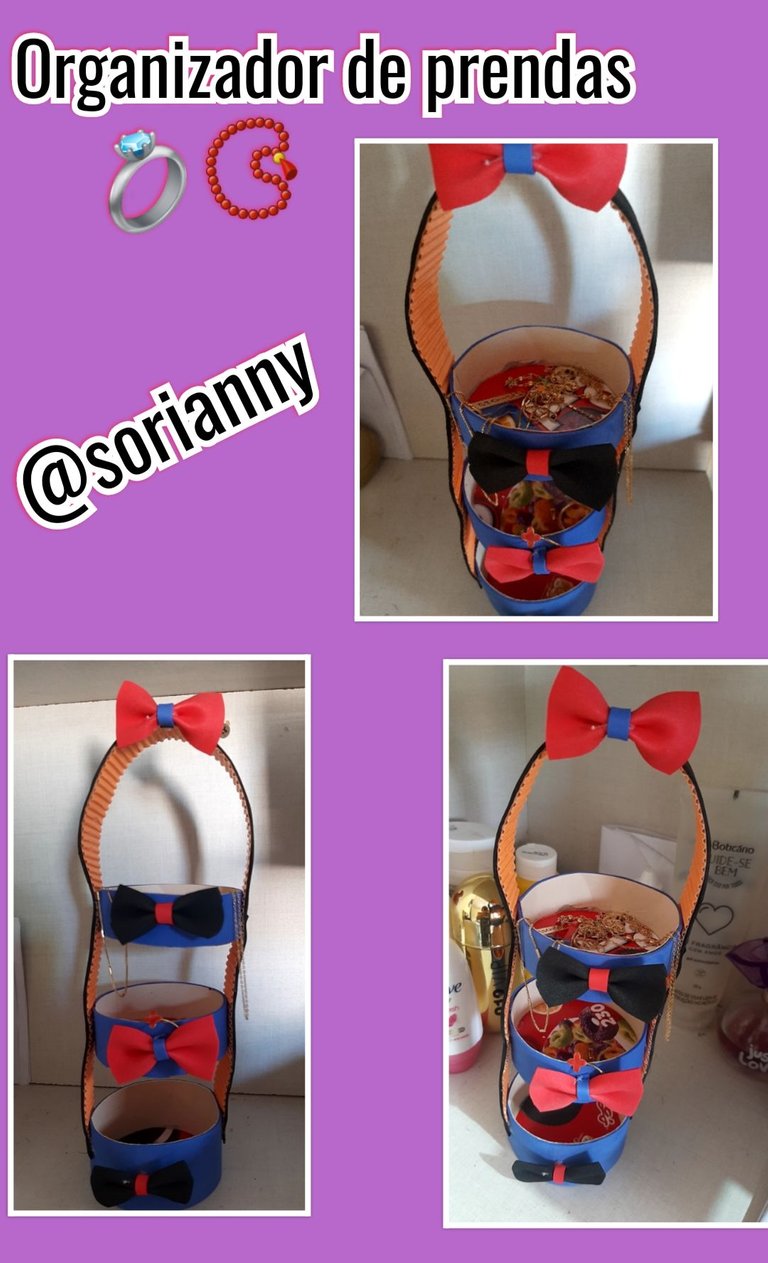
Good afternoon greetings friend I hope you are well one more day with you to continue sharing our ideas, today I bring you how to make a nice garment organizer.
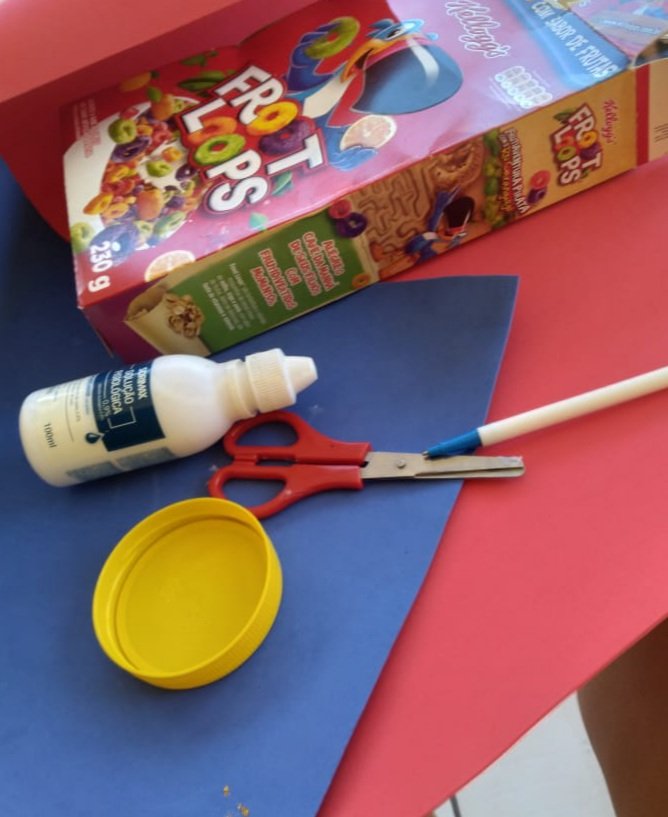
Materiales:
- cartón
- foami
- cartulina
- silicon
- tigera
Materials:
- cardboard
- foami
- cardboard
- silicon
- tigera
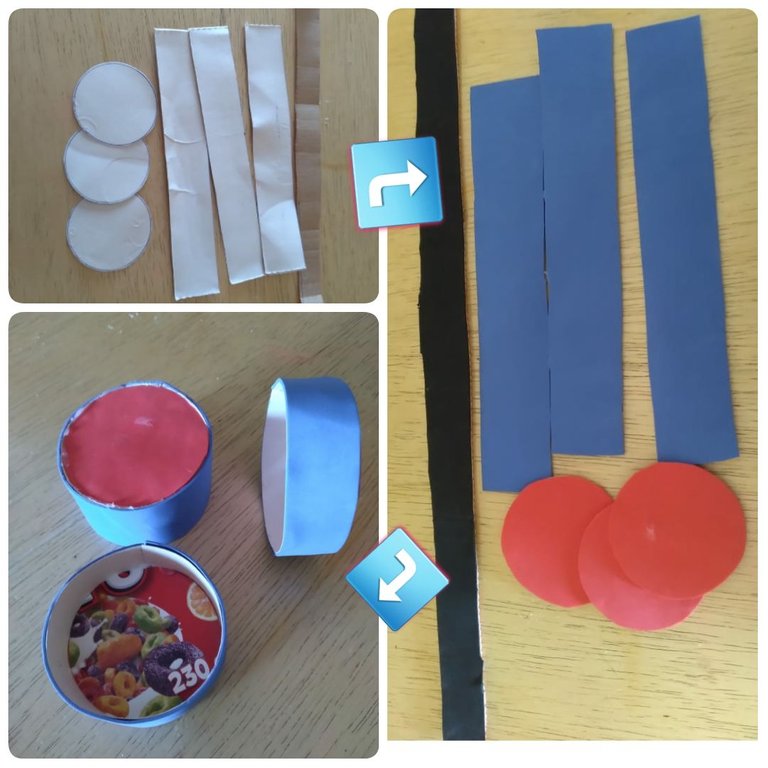
Paso 1 / Step 1
Tomamos una tapa del tamaño deseado para nuestro Joyero y cortamos tres en cartón y tres en el foami y luego cortamos tres cinta larga de diferentes tamaño de ancho que cubra todo el alrededor de las tapa eso también cortamos de cartón y foami seguidamente cortamos tres cuadritos para formar los lazos Y por último cortamos en cartulina y foami una cinta larga de 35 cm aproximadamente comenzamos pegando lo redondo de la caja en el foami todas las piezas una por una hasta ser las 3 luego tomamos la cinta de diferente tamaño y la pegamos alrededor de todo los redondo para formar todos los tres cajitas comenzaremos al mar de la siguiente manera
We take a lid of the desired size for our jewelry box and cut three in cardboard and three in the foami and then cut three long ribbons of different widths to cover all around the lid that we also cut out of cardboard and foami and then cut three squares to form the bows and finally we cut in cardboard and foami a long ribbon of about 35 cm and glue the round of the box in the foami all the pieces one by one until we have three. in cardboard and foami a long ribbon of 35 cm approximately we begin by gluing the round of the box in the foami all the pieces one by one until we are 3 then we take the ribbon of different size and we glue it around all the round to form all the three little boxes we will begin to sea in the following way
Translated with www.DeepL.com/Translator (free version)
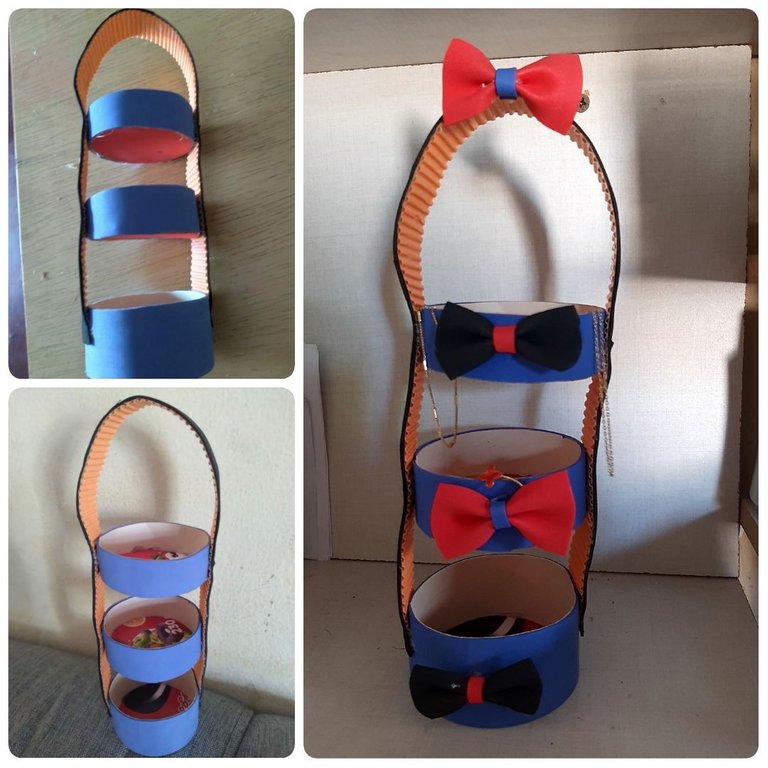
Paso 2 / Step 2
Teniendo formada las tres cajitas de diferente tamaño tomamos la cinta más larga medimos la mitad y de abajo hacia arriba pegamos la primera la más grande a cada orilla de la cinta a la mitad de la caja seguidamente pegamos la segunda y la tercera de la misma forma y así quedará formado nuestro joyero luego decoramos con los cuatro lados que ya tenemos y así quedarán lista
Having formed the three little boxes of different sizes, we take the longest ribbon, measure the middle and from bottom to top we stick the first one, the biggest one, to each edge of the ribbon to the middle of the box, then we stick the second and the third one in the same way and this way our jewelry box will be formed, then we decorate with the four sides we already have and this way they will be ready.
Translated with www.DeepL.com/Translator (free version)
Esto es todo por hoy espero lo puedan realizar ya que es muy útil para organizar nuestra prendas y no perderlas nos vemos hasta una próximo oportunidad gracias por su apoyo
This is all for today, I hope you can do it because it is very useful to organize our garments and not lose them, see you until the next opportunity, thanks for your support.