Hola mis cretiv@s de Hive, aquí vengo de nuevo con otro paso a paso de eso que me encanta hacer.
Crear con mis manos es algo que me desestresa, me ayuda a meditar y me llena de inspiración porque me gusta que otros o yo misma pueda usar las cosas que hago, me llena de felicidad.
Hello my Hive cretiv @ s, here I come again with another step by step of what I love to do.
Creating with my hands is something that de-stresses me, helps me meditate and fills me with inspiration because I like that others or myself can use the things I do, it fills me with happiness.

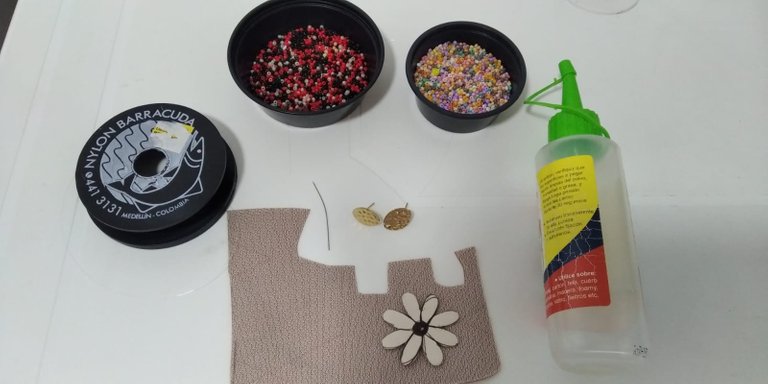
Materiales:
- Mostacillas del color de tu preferencia.
- Dos aritos dorados.
- Dos topitos para colgar zarcilos.
- Dos pepitas facetadas.
- Un trozo de bipiel.
- Silicón frío.
- Tijera.
- Pinza para abrir aros.
- Aguja e hilo nylon.
Materials:
- Beads of the color of your preference.
- Two golden earrings.
- Two polka dots to hang tendrils.
- Two faceted nuggets.
- A piece of bi-leather.
- Cold sylicon.
- Scissor.
- Clamp to open rings.
- Needle and nylon thread.
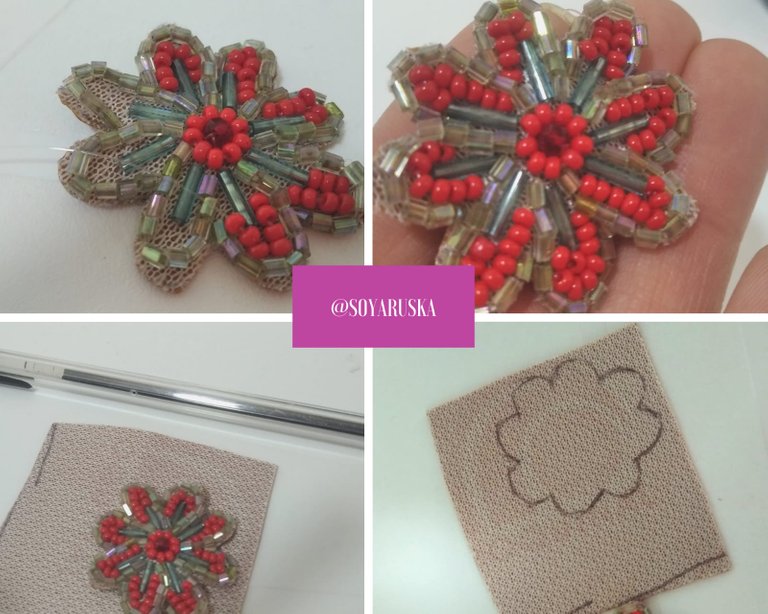
Para comenzar a realizar estas flores es importante hacer un molde con un cartoncito, para poder marcarla en la bipiel... Yo usé este molde que tenía listo.
Luego que la tenemos marcada la recortamos y en el centro vamos a bordar nuestra pepita facetada que será el centro de nuestra flor.
To start making these flowers, it is important to make a mold with a cardboard, to be able to mark it on the bi-skin ... I used this mold that I had ready.
After we have it marked we cut it and in the center we are going to embroider our faceted nugget that will be the center of our flower.
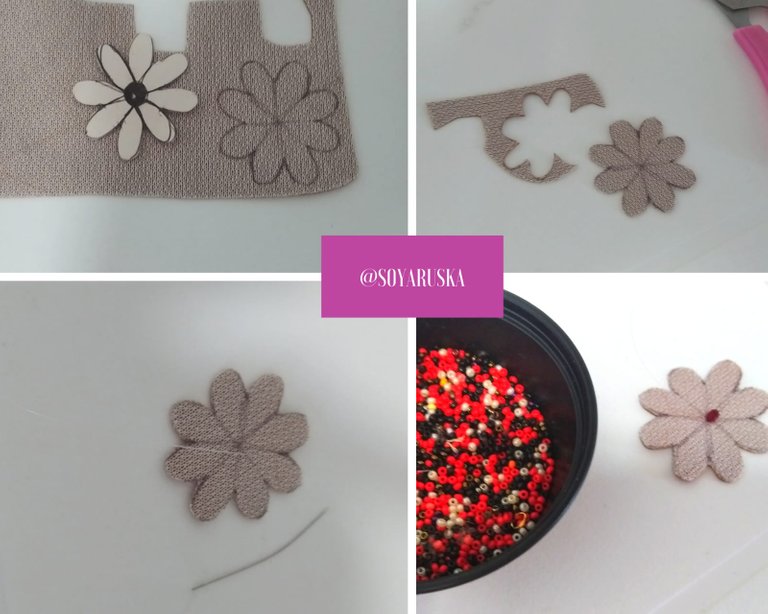
Acto seguido vamos a bordar al rededor de la piedrita facetada mostacillas de color rojo (o el que tu escojas). Cada vez que termines un tramo aseguras las piedritas con un nudito, y sigues.
Ahora seguimos haciendo el borde con otro tono para que nos vaya quedando más linda la combinación de color.
Utilicé los canutillos partidos color verde claro.
Then we are going to embroider around the faceted pebble red beads (or the one you choose). Every time you finish a section you secure the pebbles with a knot, and you go on.
Now we continue making the edge with another tone so that the color combination is more beautiful.
I used the light green split earrings.
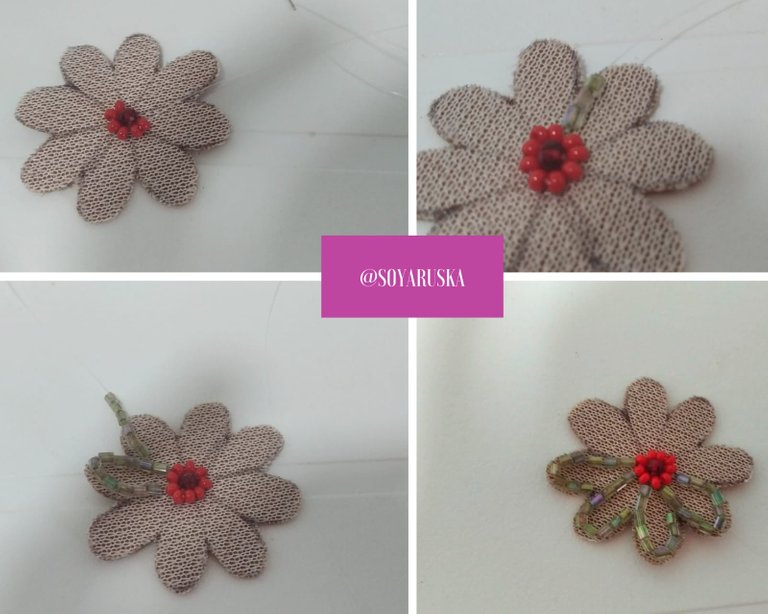
Luego de que ya tenemos el borde de nuestros pétalos listos, vamos a poner unos canutillos largos de color azul dentro de cada pétalo, para darle luz.
El siguiente paso será empezar a rellenar nuestra flor de color rojo, en los espacios vacíos.
Recuerda que puedes escoger los colores que quieras, esto es solo una idea.
After we have the edge of our petals ready, we are going to put some long blue beads inside each petal, to give it light.
The next step will be to start filling in our red flower, in the empty spaces.
Remember that you can choose the colors you want, this is just an idea.

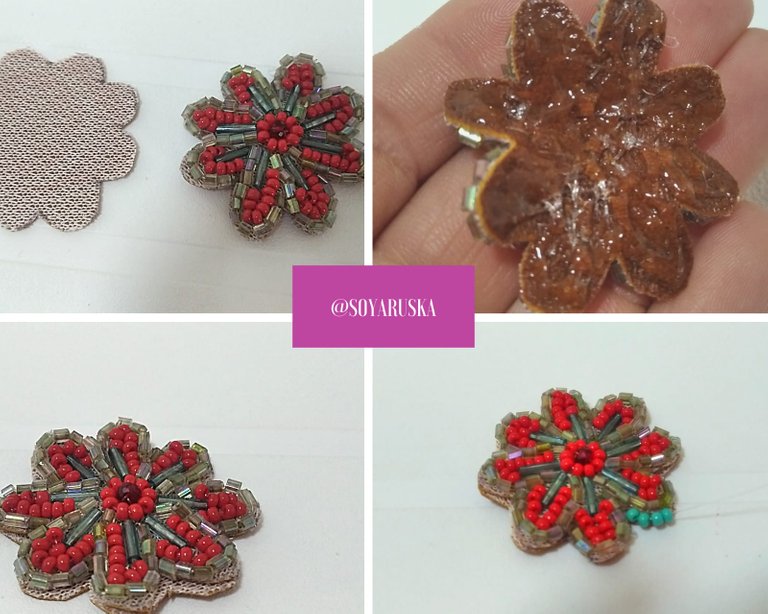
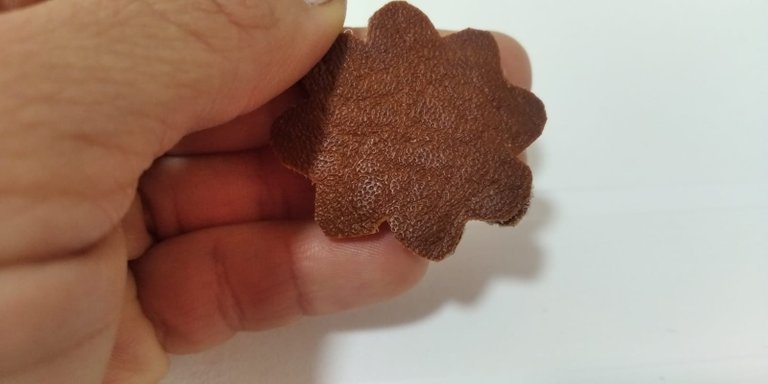
Ya tenemos lista nuestra flor por dentro, ahora vamos a tomarla y vamos a marcar la forma en otro trozo de bipiel.
Eso será nuestra parte trasera y tapará todo el bordado a mano que hicimos.
We already have our flower ready inside, now we are going to take it and we are going to mark the shape on another piece of bi-leather.
That will be our backside and will cover all the hand embroidery that we did.
Recortamos también esa forma que marcamos y la vamos a pegar en la parte trasera de nuestra flor bordada, eso le va a dar un buen acabado.
Para unir las dos capas de bipiel y que nuestros aretes tengan una terminación prolija, vamos a bordar el borde con mostacillas
azul turquesa.
We also cut out that shape that we marked and we are going to paste it on the back of our embroidered flower, that will give it a good finish.
To join the two layers of leather and that our earrings have a neat finish, we are going to embroider the edge with turquoise blue beads.
Mi recomendación es ir bordando las mostacillas azules de dos en dos, para que queden más uniformes.
Al terminar el recorrido por el borde, volvemos a cerrar con un nudito sencillo.
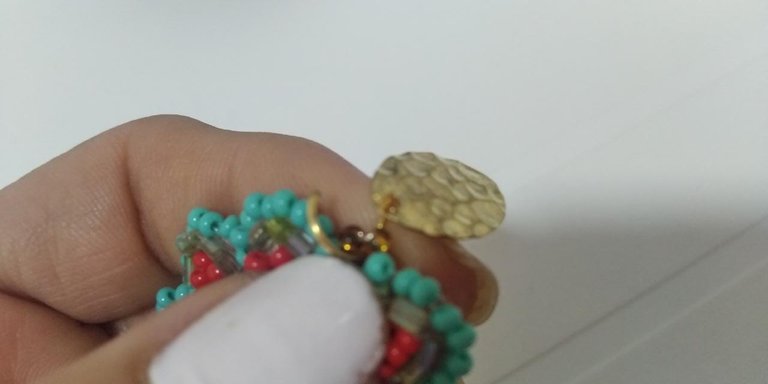
Justamente ahí donde quedamos vamos a bordar 4 mostacillas de otro color y lo haremos en forma redondeada, para ahí colgar nuestro arito y nuestro topito.
My recommendation is to embroider the blue beads two by two, so that they are more uniform.
At the end of the tour around the edge, we close again with a simple knuckle.
Right there where we are, we are going to embroider 4 beads of another color and we will do it in a rounded shape, to hang our earring and our polka dot there.
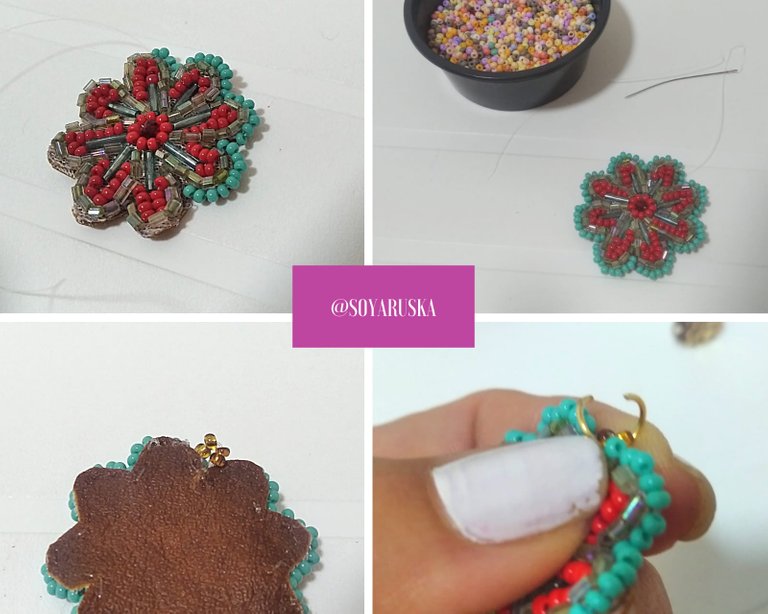
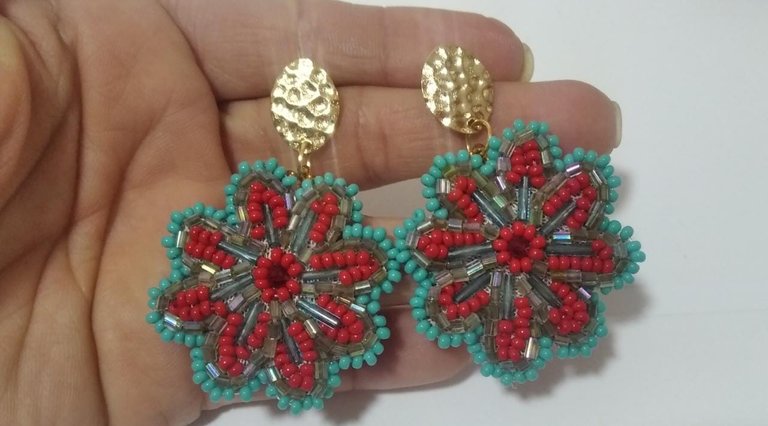
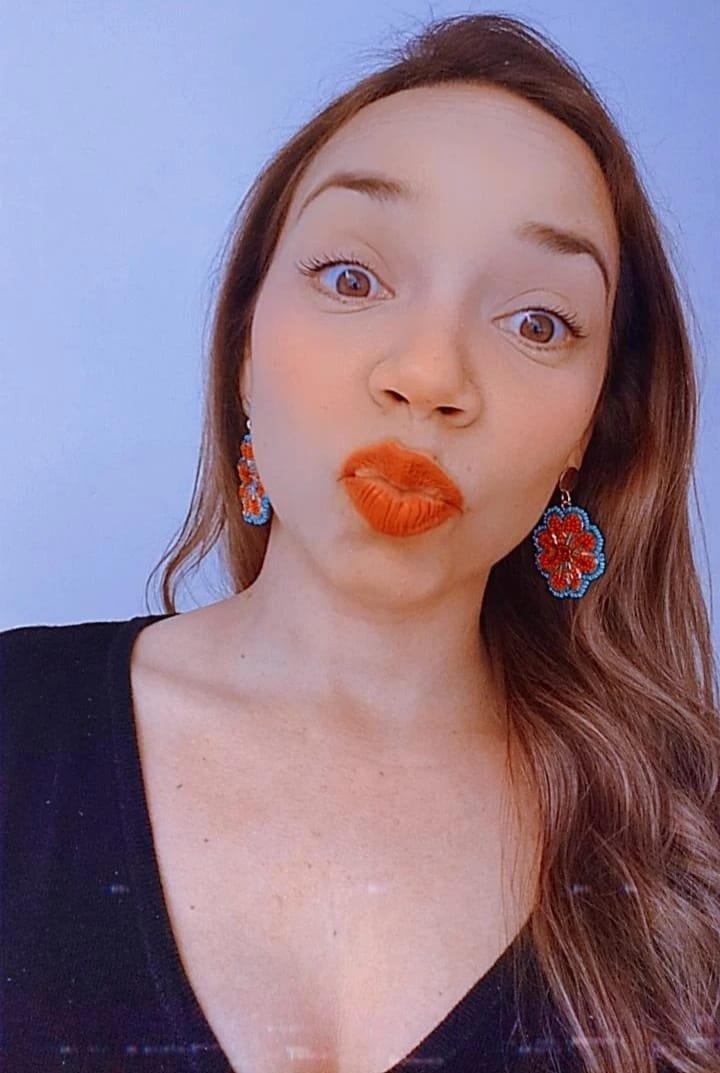
Luego de hacer el primero toca hacer el segundo de la misma forma, y así tendremos dos aretes bellos para lucirlos cuando queramos o para regalar en estas navidades.
After making the first one, it's time to make the second in the same way, and so we will have two beautiful earrings to wear whenever we want or to give as a gift this Christmas.
Gracias por visitar mi perfil, y acompañarme en cada invento.
Todas las fotos fueron tomadas por mi, con mi celular Xiaomi 7A.
Los collages y banners los realicé con la aplicación Canva.
Thank you for visiting my profile, and accompanying me in each invention.
All the photos were taken by me, with my Xiaomi 7A cell phone.
I made the collages and banners with the Canva application.
Fascinada con lo que elaboras, bellos te quedaron!
Gracias, hecho con amor.
Que bellos, que talento tienes con las manos.
Gracias, mi Bey. Dios te bendiga.
Te quedaron bellos!!!
Muchas gracias, Ran 🙏🏻
Muchas gracias ☺️