✨🌼🌵¡Hola amigos amantes de la creatividad! Espero que hayan pasado un muy buen comienzo de semana.🌼🌵✨
🔸Sin más que añadir, a continuación los dejo con el paso a paso:
✨🌵🌼¡Hello friends who love creativity! I hope you had a very good start to the week.🌼🌵✨
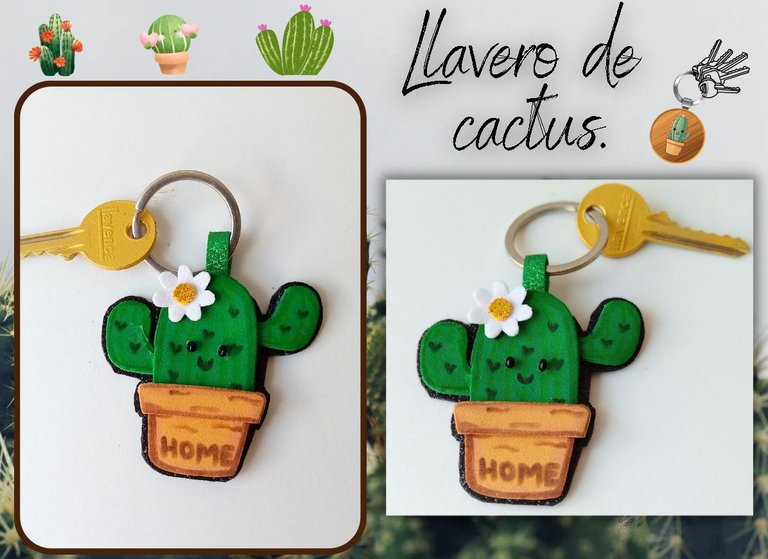
I hope you are well and have had a nice Monday. This time I share the step by step to make a beautiful cactus keychain. A few weeks ago I lost my house key, so I decided to take another one and give it a nice appearance, and also decorate it with a key ring that identifies me or do it with a theme that I like. That's why I chose to make a small and tender cactus, you will find some details that I really like like the daisies, and of course, the golden color. Although it is elaborated to my liking, I wanted to share it with you so that you can take this idea if you like it or simply, get a little inspired and make a nice keychain.
🔸Without more to add, then I leave you with the step by step:
♥️ESPERO QUE TE GUSTE,
¡Empecemos!
♥️I HOPE YOU LIKE IT,
Let's start!

🌼 MATERIALES | 🌼 MATERIALS
- Círculo metálico para llaveros.
- Foami verde.
- Foami marrón claro.
- Foami blanco escarchado.
- Foami dorado escarchado.
- Foami negro escarchado.
- 2 mini perlas negras.
- Pintura dorada.
- Llaves.
- Hoja blanca.
- Pegamento.
- Abre huecos.
- Marcadores.
- Tijera.
- Lápiz.
- Metallic circle for keyrings.
- Green foam.
- Light brown foam.
- Ice white foami.
- Frozen golden foami.
- Frosted black foam.
- 2 mini black pearls.
- gold paint.
- Keys.
- White sheet.
- Glue.
- Open holes.
- Markers.
- Scissors.
- Pencil.
🌵 PROCEDIMIENTO | 🌵 PROCESS
- PASO 1:
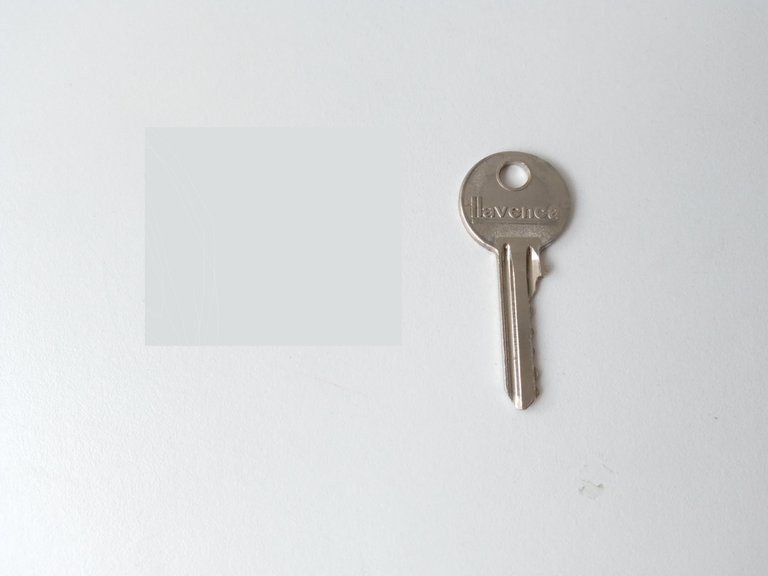
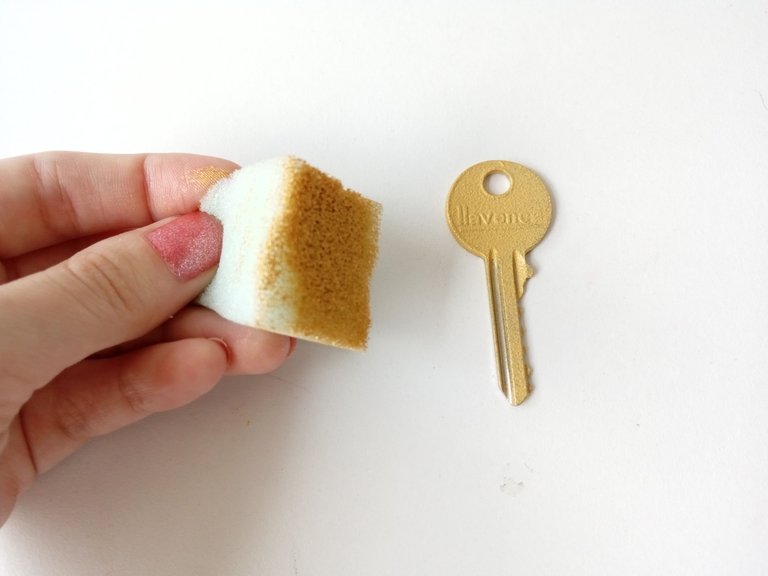
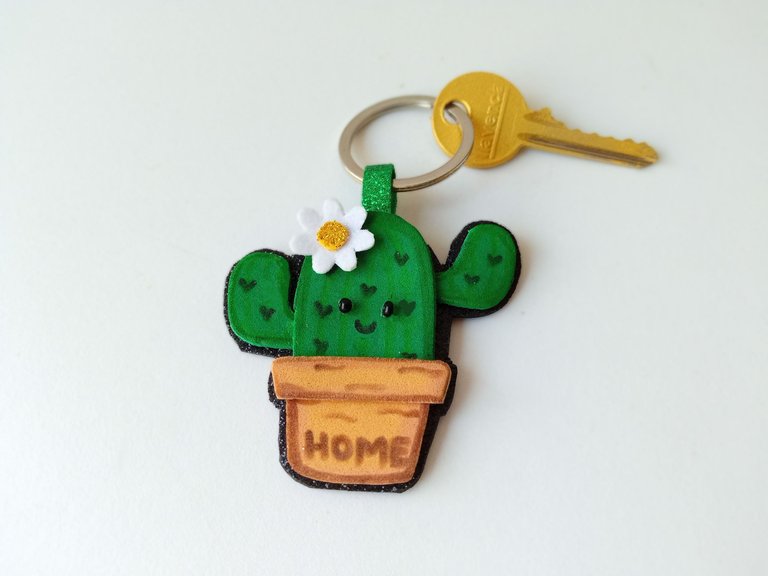
Para el diseño del cactus quise pintar la llave de otro color, por eso tomé una esponja, la llené con un poco de pintura dorada y dando toques pinté toda la llave. Para que quedara bien cubierta, pasé dos capas. En la parte de abajo solo haz una capa porque supongo que se va a pelar, pero para que dure más, si quieres, aplica un poco de brillo de uñas, al menos en la parte de arriba.
- STEP 1:
For the cactus design I wanted to paint the key in a different color, so I took a sponge, filled it with a little bit of gold paint and dabbing painted the entire key. To make it well covered, I passed two coats. On the bottom just do one coat because I guess it's going to peel but to make it last longer, if you want, apply some nail glitter, at least on the top.
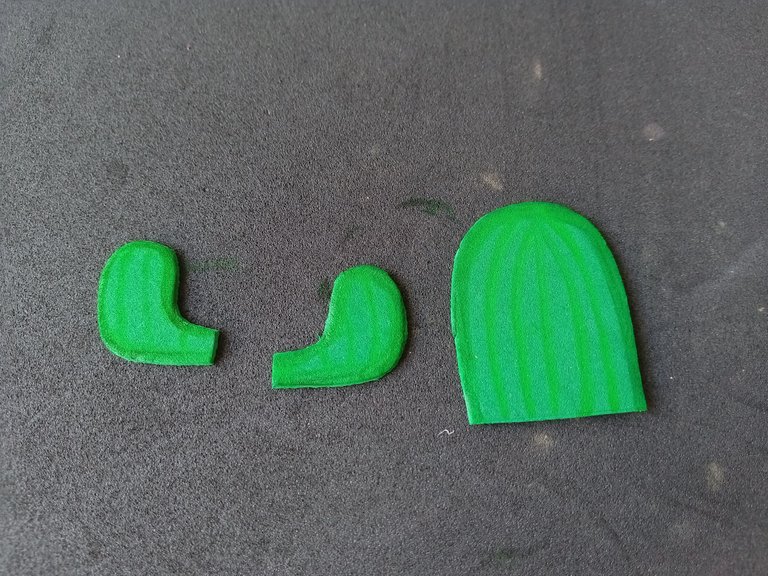
- PASO 2:
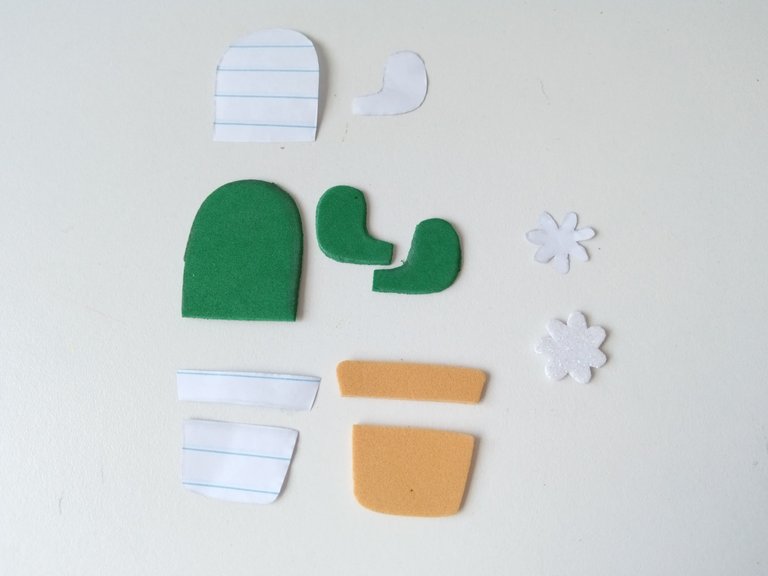
Luego, dibujé el patrón del cactus en una hoja blanca, lo recorté y lo pasé al color correspondiente de foami, en este caso: el cactus en foami verde, la maceta en marrón claro y la flor en blanco escarchado.
- STEP 2:
Then, I drew the pattern of the cactus on a white sheet, cut it out and transferred it to the corresponding color of foami, in this case: the cactus in green foami, the pot in light brown and the flower in frosty white.
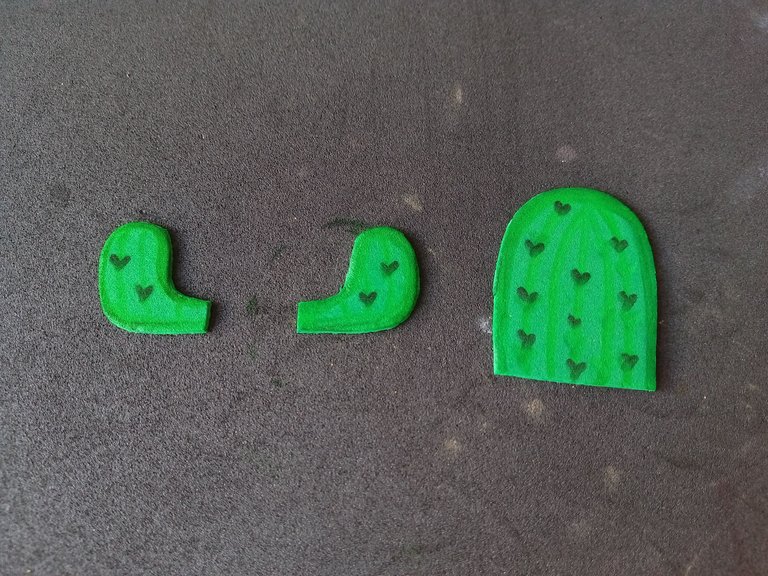
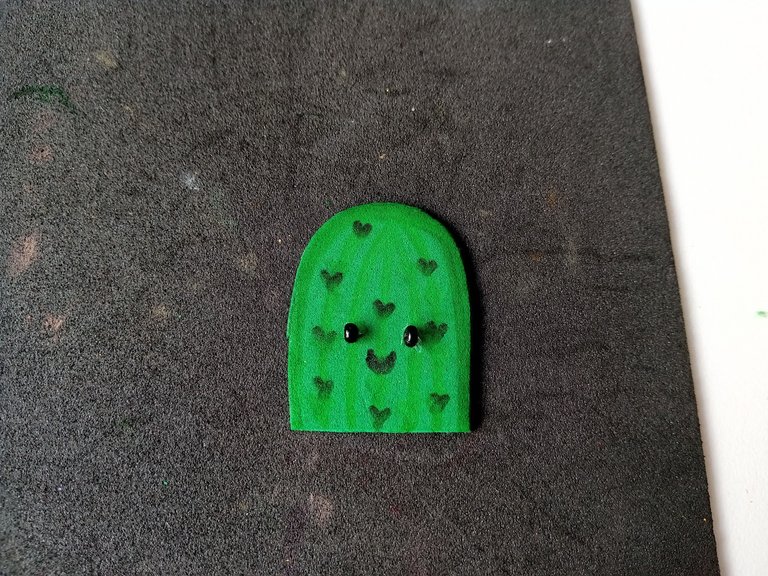
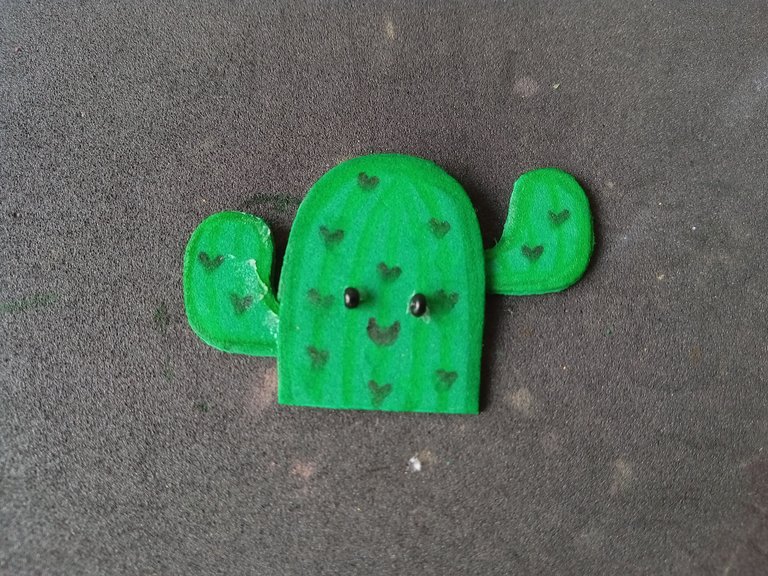
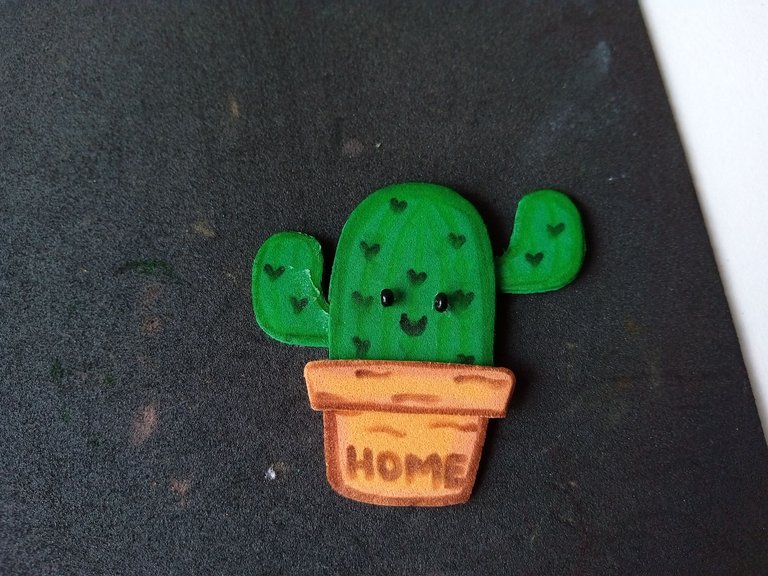
- PASO 3:
Por otro lado, comencé a darle detalles trazando con marcador verde alrededor del borde del cactus, luego hice un par de líneas curvas para darle más forma y para las espinas, dibujé mini corazones con marcador negro. Luego pegué los ojos con las perlas negras y medio dibujé una boca. Y uní todas las partes del cactus.
- STEP 3:
On the other hand, I started to give details by tracing with a green marker around the edge of the cactus, then I made a couple of curved lines to give it more shape and for the thorns, I drew mini hearts with a black marker. Then I glued the eyes with the black pearls and half drew a mouth. And I joined all the parts of the cactus.
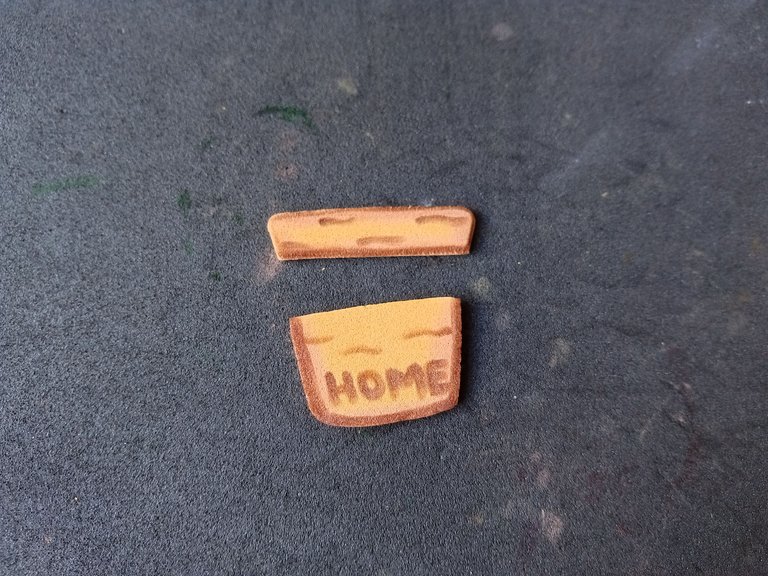
- PASO 4:
Para la maceta hice más o menos lo mismo, solo marqué el borde con un marcador marrón, escribí la palabra ''HOME'', uní las partes y pegué al resto del cactus.
- STEP 4:
For the pot I did more or less the same, I just marked the edge with a brown marker, wrote the word ''HOME'', joined the parts and glued to the rest of the cactus.
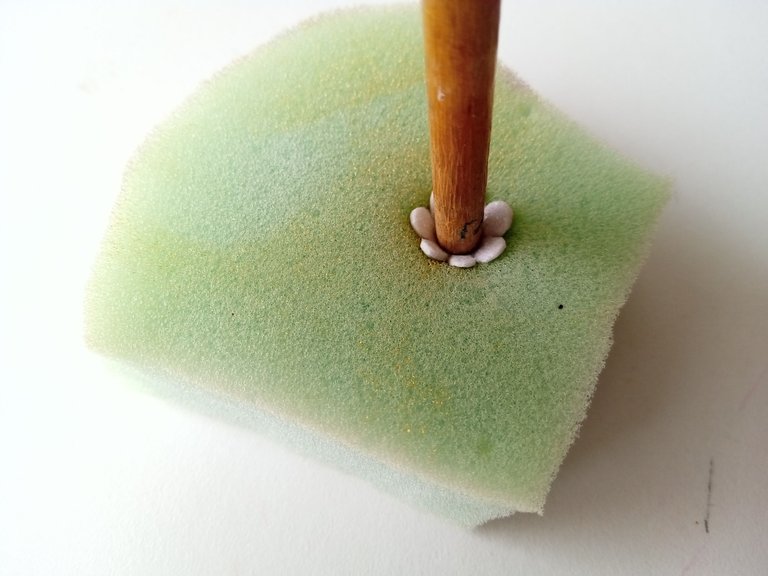
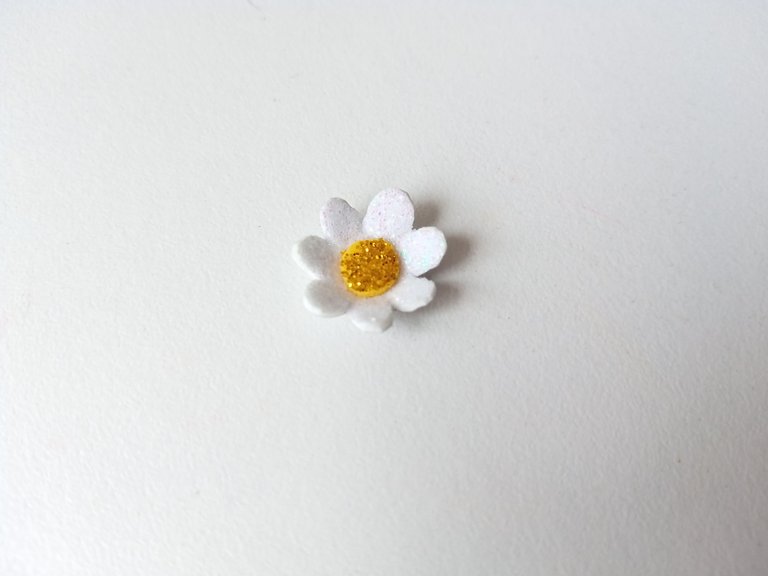
- PASO 5:
Le dí forma a la flor calentandola en la plancha y luego sumergiéndola por el medio en una esponja. Pegué un círculo de foami dorado en el medio y lo pegué en la parte superior del cactus.
- STEP 5:
I shaped the flower by heating it on the griddle and then dipping it down the middle in a sponge. I glued a gold foam circle in the middle and glued it to the top of the cactus.
- PASO 6:
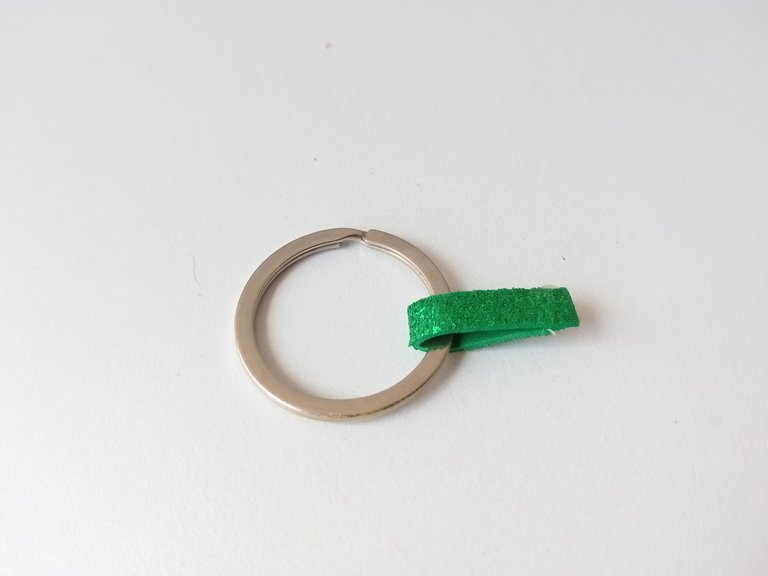
Por último, recorté una tira de foami verde escarchado, la pasé por el círculo metálico para llaveros y pegué las puntas del foami. Después, pegué las puntas por detrás del cactus, en la parte superior y luego, pegué toda la figura al foami negro escarchado, recorté dejando un borde de foami y metí la llave al círculo metálico.
- STEP 6:
Lastly, I cut a strip of frosted green foam, threaded it through the metal keyring circle, and glued the ends of the foam together. Then I glued the tips behind the cactus, at the top and then I glued the whole figure to the frosted black foam, I cut leaving an edge of the foam and inserted the key into the metal circle.
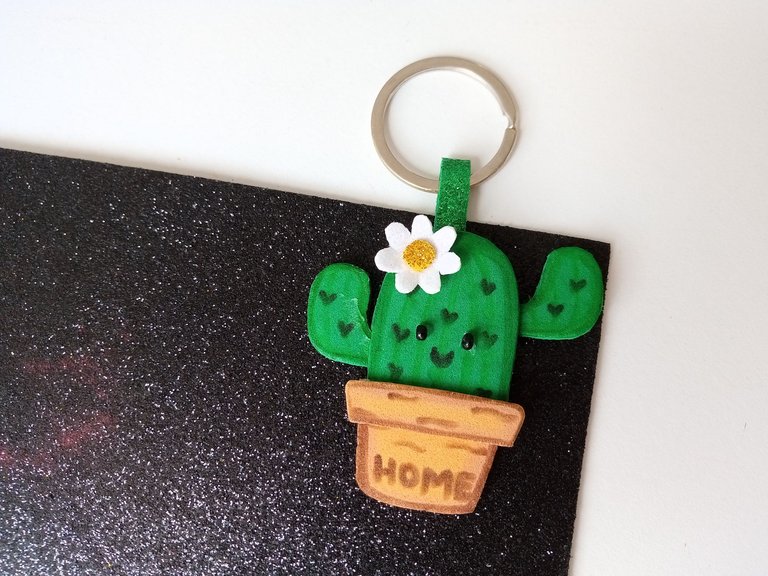
✨🌵🌼¡And ready!🌼🌵✨ I hope you liked this idea very much and you are encouraged or inspired to make your own. For my part, I was delighted with the result, it's quite cute and even, it's a bit funny haha, it also has some details that I love a lot. I hope you liked the step by step and are encouraged to elaborate it.
❤️Until the next post.
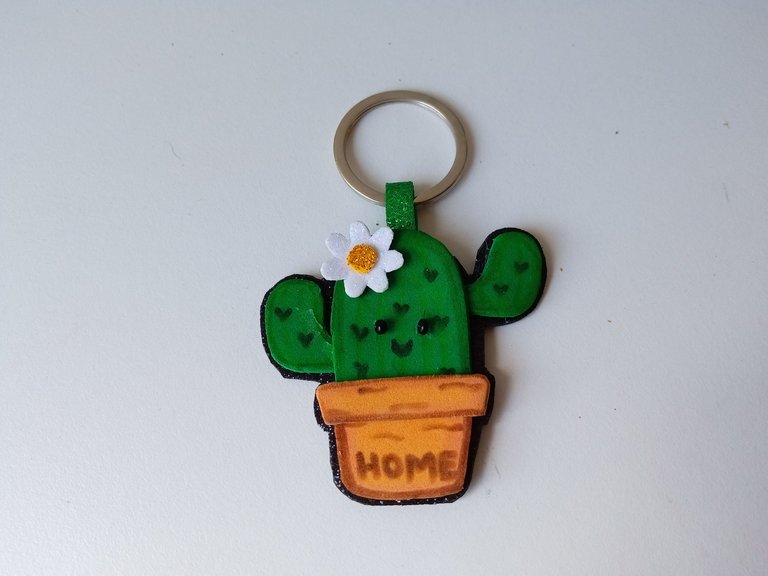
✨RESULTADO: | ✨RESULT:


Todas las fotografías son de mi propiedad.
Separador y Fotos editadas en Canva
All photographs are my property.
Photos edited in Canva
Me encantó el resultado, hermoso llaverito 🥺🥺
Gracias mi Eve ! ❣️❣️
Diooooooooooos miooo, pero esto es una verdadera belleza además la cosita más tierna que mis ojos verán el día de hoy😍😍😍
Loviuuu!
Ahjaja muchas gracias mi Ali!! Era un poquito la idea, hacer una cosita súper tierna 🤭, creo que se logró entonces.
Gracias por pasarte bella!
!giphy wow
!PIZZA
!DHEDGE
Via Tenor
🤭 Muchas gracias por el apoyo!
Yay! 🤗
Your content has been boosted with Ecency Points, by @valenpba.
Use Ecency daily to boost your growth on platform!
Support Ecency
Vote for new Proposal
Delegate HP and earn more
This post has been selected for upvote from our token accounts by @bhattg! Based on your tags you received upvotes from the following account(s):
- @dhedge.bonus
- @dhedge.neoxag
- @dhedge.waiv
@bhattg has 5 vote calls left today.
Hold 10 or more DHEDGE to unlock daily dividends and gain access to upvote rounds on your posts from @dhedge. Hold 100 or more DHEDGE to unlock thread votes. Calling in our curation accounts currently has a minimum holding requirement of 100 DHEDGE. The more DHEDGE you hold, the higher upvote you can call in. Buy DHEDGE on Tribaldex or earn some daily by joining one of our many delegation pools at app.dhedge.cc.
$PIZZA slices delivered:
@bhattg(10/10) tipped @valenpba
Wow, thank you very much for all the support! ❣️
wow that looks wonderful, thanks for sharing.
Thank you very much @diyhub super happy.
I'm glad you liked it.✨❣️
Me encanto este llaverito muy cuchi
@valenpba Que creatividad, me encantan los detalles y el resultado final está muy bonito. 🧡😍
Que lindo amiga, si se ve tierno y pueden usarlo las damas y los caballeros.
Seria un lindo regalito.
Ya había visto la idea de pintar la llave pero lo hacían directo con pintura de uñas, me ha llamado la atención esto pero pensar en que de tanto usarla se le quitará rápido la pintura me desmotiva pero me gusta mucho cómo se ve. Y que bien te quedo tu llavero de cactus🥹.
Así es, por eso especifique que si tienen esmalte mucho mejor o al menos, una pasadita de brillo. Aunque ya tengo una semana y no se me daña 🤭, se ve hermosa en dorado.
Saludos ✨
Yo le compré un arito de goma a mi llave para tenerla decorada pero en cuánto se me dañé probaré pintarla
Amiga, está super delicado y cuchi, amé el resultado!
Feliz tarde mi niña, besitos inmensos!
Te quedó precioso 🤩 De hecho al principio pensé que era de madera 😃
Ay que linda! Bueno, muchas gracias, eso quiere decir que el acabado quedó muy bonito.
Gracias por dejar tu lindo comentario. ✨
Saludos!
Congratulations, your post has been upvoted by @dsc-r2cornell, which is the curating account for @R2cornell's Discord Community.
Enhorabuena, su "post" ha sido "up-voted" por @dsc-r2cornell, que es la "cuenta curating" de la Comunidad de la Discordia de @R2cornell.
Many thanks friends! 💕
Que bonito, no parece fomy je je. Esta genial la idea y el tutorial
Your creativity inspires me. This is really beautiful. Looks pretty much like something I'd walk into the supermarket and find on the shelf with a big price on it. If I ever found a key holder this beautiful anywhere, I'd definitely buy it. Greetings ✨
Ayy que bellooo 🥰 Quiero unooo por fi, haces envíos? 🙈
Que hermosura mi Valen 😍 Que llavero más lindo, la temática de cactus es simplemente hermosa, no conocía esa técnica para darle la forma a la flor de foami pero la usaré de ahora en adelante. Gracias por compartir ami 💟
Muy original hasta pense que era de madera u otro material menos foami.
Que cuchi y tierno se ve ese llaverito 🥹🥹 una idea muy cool 🌵✨ Gracias por compartirlo Vale! 💗🥰
Te quedó hermoso me parece muy prolijo el resultado final, me gustó mucho ya que a mi me encantan los llaveros 😅
que cuchituraaa Valen😍😍 me encanta, se ve cuchisimo. tu con.foami haces bellezas vale jeje