✨¡Hola amigos amantes de la creatividad! Espero que estén todos bien.✨
🔸Sin más que añadir, a continuación los dejo con el paso a paso:
✨¡Hello friends who love creativity! I hope you are all well.✨
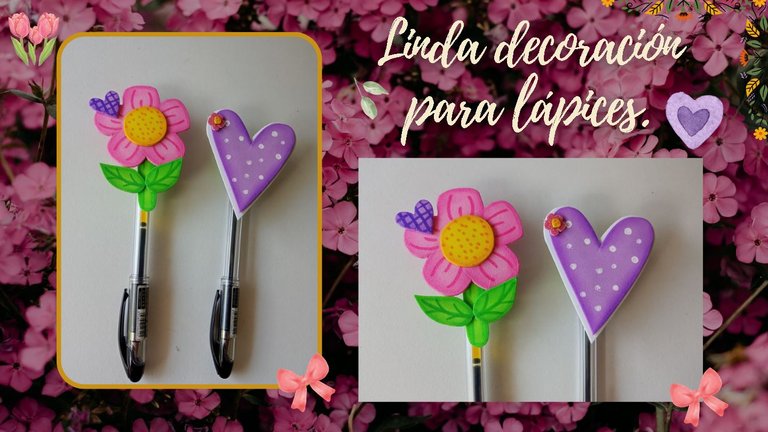
Good afternoon, friends! I hope you are having a great week. For me, with very cold weather, the days have been very cloudy and forced you to drink chocolate or hot coffee, so I don't care so much, now. But good, I'm also coming out of a severe flu that I had. On this occasion I share the step by step guide to creating a beautiful decoration idea for tombstones. I love sharing small ideas, but this time they are a little bigger than what I'm used to, making me seem like a good idea and calling for more attention. I went for a floral theme and a beautiful heart with pastel colors.
🔸Without more to add, then I leave you with the step by step:
♥️ESPERO QUE TE GUSTE,
¡Empecemos!
♥️I HOPE YOU LIKE IT,
Let's start!

✂️ MATERIALES | ✂️ MATERIALS
- Foami rosa.
- Foami morado.
- Foami amarillo.
- Foami verde.
- Foami lila.
- Foami blanco.
- Pinturas y marcadores.
- Hoja blanca.
- Pegamento.
- Regla.
- Tijeras.
- Lápiz.
- Pink foami.
- Foami lived.
- Yellow foami.
- Green foami.
- Foami lila.
- White foami.
- Paintings and markers.
- White hoja.
- Catching.
- Rule.
- Tijeras.
- Pencil.
🌟 PROCEDIMIENTO | 🌟 PROCESS
✨PASO 1:
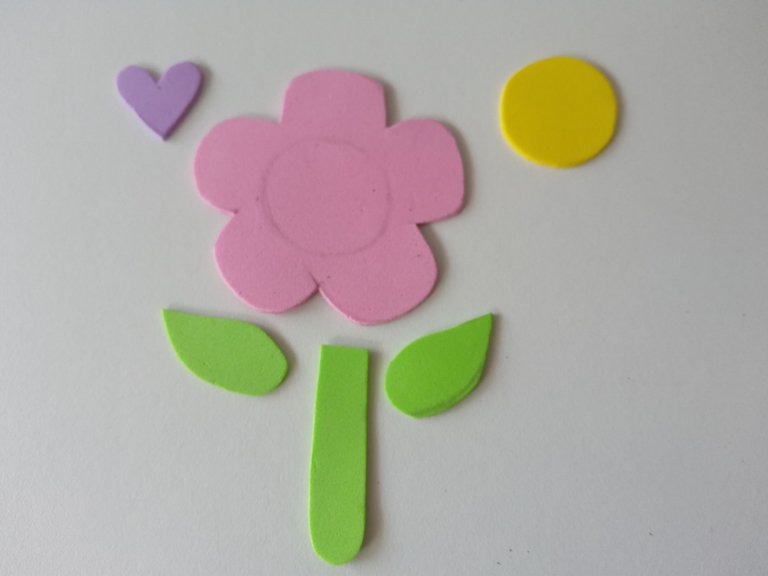
Lo primero que hice fue dibujar los patrones o el diseño que tenía en mente en una hoja blanca, que en este caso eran dos diseños: uno de una flor con su tallo y hojas y el otro diseño es de un corazón. Además, procuré dibujar todos los pequeños detalles, como la decoración extra. Al tener listos los dibujos, transferí a los colores correspondientes de foami, como explico a continuación:
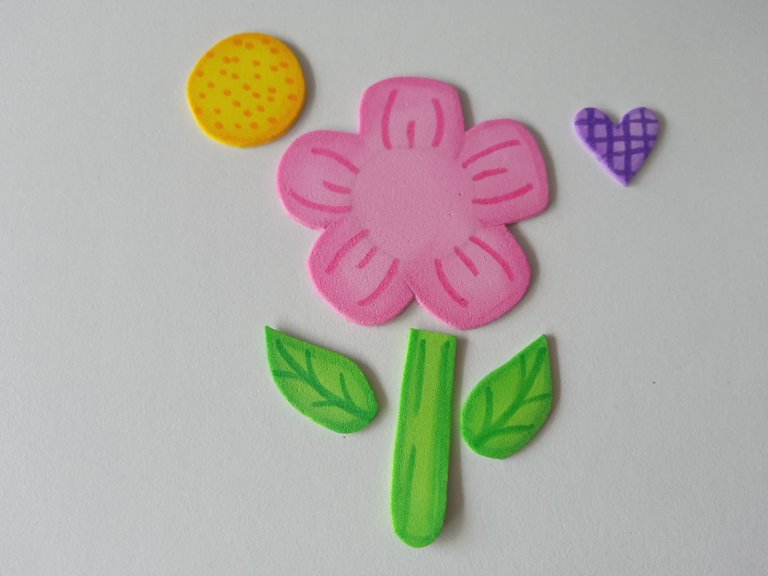
✨Para la flor:
- Pétalos de 6 cm en foami rosa.
- Centro de 2.5 cm en foami amarillo.
- Tallo de 4.5 cm x 1 cm en foami verde.
- 2 hojas de 3 cm x 1.5 cm en foami verde.
- Mini corazón de 2 cm en foami lila.
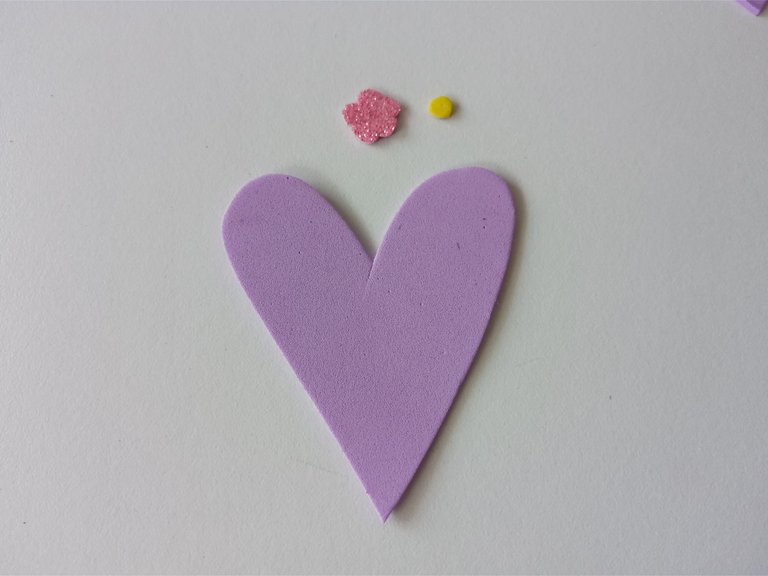
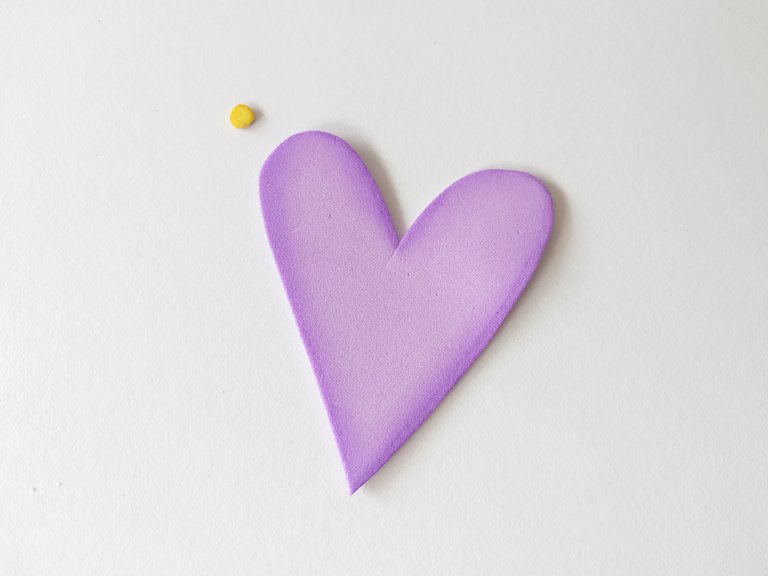
✨Para el corazón:
- Corazón de 7 cm x 5.5 cm en foami lila.
- Mini flor de 1.5 cm en foami escarchado rosa.
- Centro de flor de 0.5 cm en foami amarillo.
✨STEP 1:
The first thing I did was tell my patrons the design I had in my mind on a white tree, which in this case was two designs: one with a flower with its tall and hojas and the other design is with a heart. Furthermore, try to draw up all the small details, such as the extra decoration. After having listed these drawings, I transferred the corresponding foam colors, as I explain below:
✨For the flower:
- 6 cm petals in pink foam.
- 2.5 cm center in yellow foam.
- Size 4.5 cm x 1 cm in green foam.
- 2 sheets measuring 3 cm x 1.5 cm in green foam.
- Mini 2 cm heart in lilac foam.
✨For the heart:
- Heart measuring 7 cm x 5.5 cm in lilac foam.
- 1.5 cm mini flower in pink printed foam.
- 0.5 cm flower center in yellow foam.
 |  |
|---|
✨PASO 2:
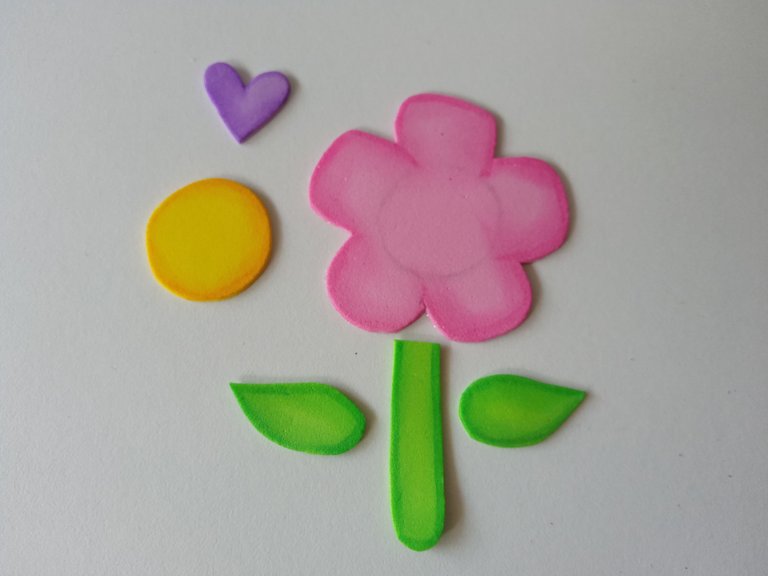
Al tener todas las piezas listas, es momento de dar color a los bordes con pinturas o marcadores que hagan contraste. En lo personal, últimamente he estado utilizando marcadores y difumino con mucho cuidado con una tela de algodón. Siempre utilizo los mismos colores del foami, pero un tono más oscuro para que realce un poco más y dé esas sombras lindas. Además, hacemos este proceso solo con el foami liso, así que la mini flor no lleva este borde.
✨STEP 2:
Once you have all the items listed, it's time to color the edges with paints or markers that add contrast. Personally, I've recently been using markers and diffusing very carefully with a cotton canvas. I always use the same colors of the foam, but with a darker tone so that it highlights a little more and gives those beautiful shadows. Furthermore, we carry out this process solo with smooth foam, so that the mini flower does not reach this edge.
 |  |
|---|
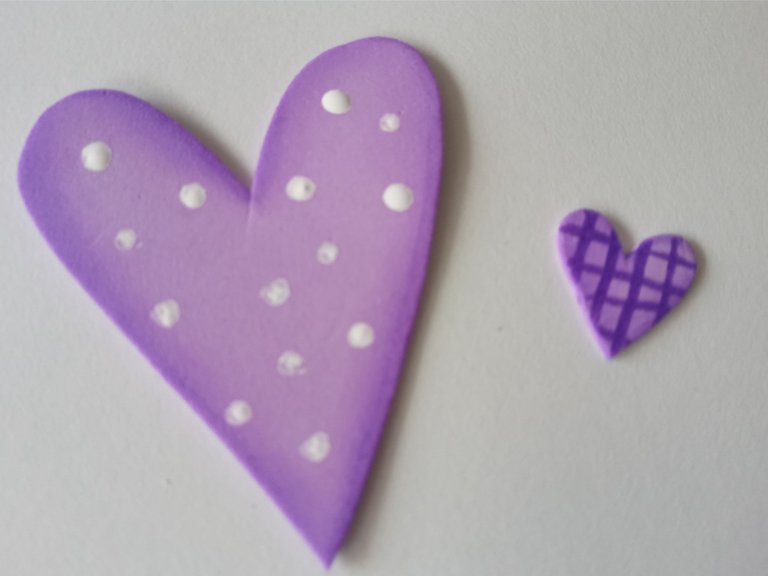
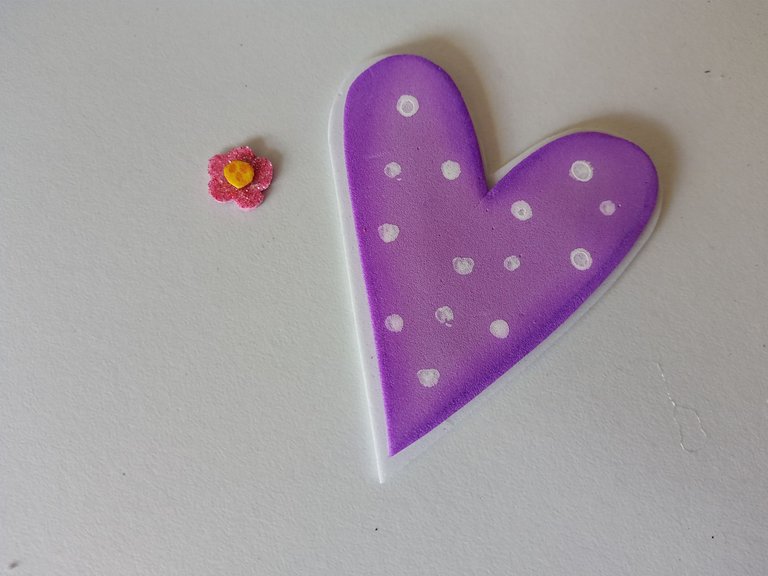
✨PASO 3:
Al estar secas todas las piezas, es momento de dar más detalles precisos con pinturas o marcadores. En este caso le hice un par de puntos con pintura blanca al corazón y el resto de detalles para los pétalos, el centro de la flor, el tallo y las hojas con marcadores.
✨STEP 3:
Once all the pieces are dry, it's time to add more precise details with paints or markers. In this case, leave a couple of points with white paint on the heart and the rest of the details for the petals, the center of the flower, the stem and the leaves with markers.
 |  |
|---|
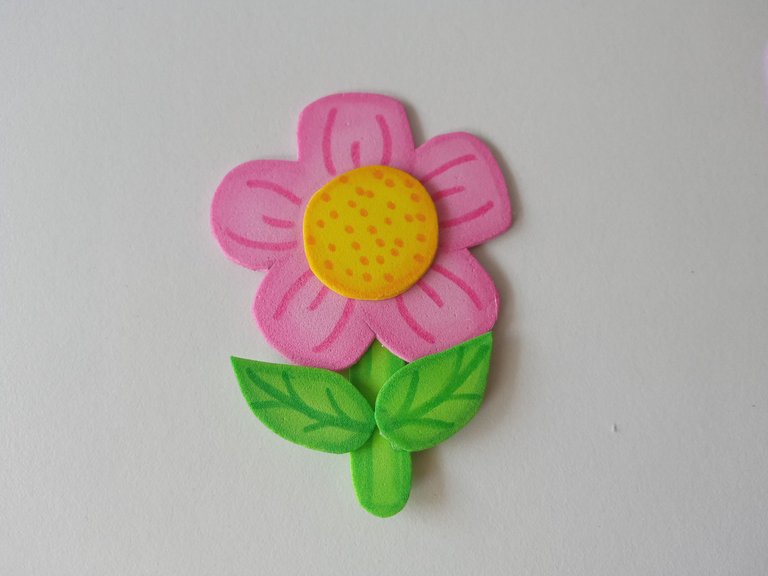
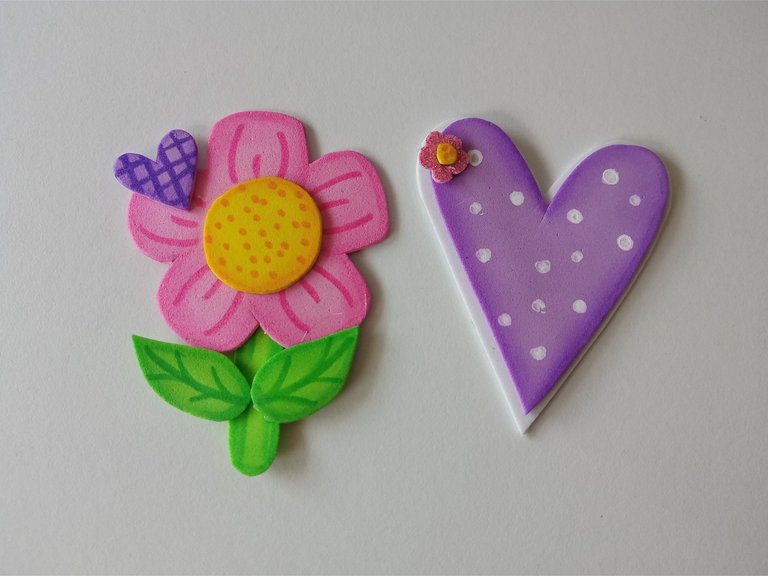
✨PASO 4:
Al estar todo seco, comencé a pegar hasta armar la flor, comenzando por los pétalos y terminando por las hojas. Por otra parte, pegué el corazón sobre foami blanco, le recorté un borde de 0.5 cm y finalmente, le pegué las mini decoraciones, que en el caso de la flor era el corazón y en el caso del corazón, la flor.
✨STEP 4:
Once it's all dry, start picking up the flower, starting with the petals and ending with the leaves. On the other hand, take the heart on white foam, cut out a 0.5 cm border and finally, take the mini decorations, which in the case of the flower was the heart and in the case of the heart, the flower.
 |  |  |
|---|
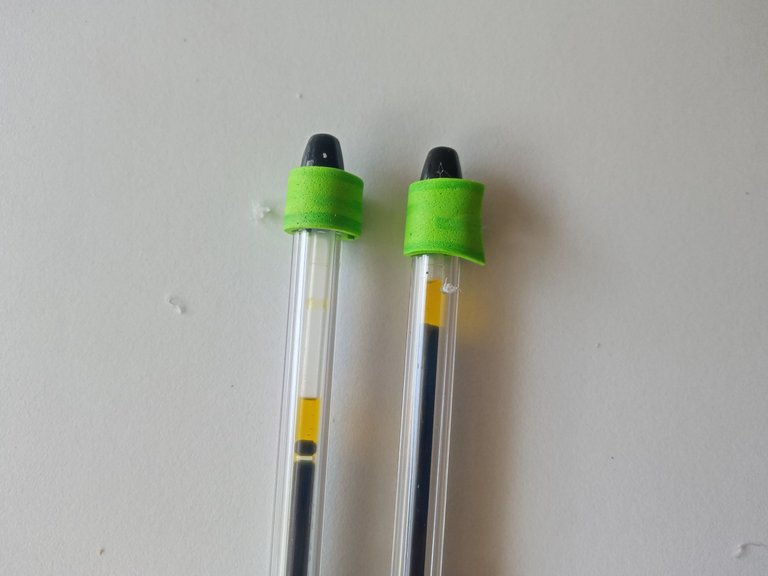
✨PASO 5:
Para finalizar, recorté 2 tiras de 4 cm en foami verde, les di un poco de color a los bordes como al tallo y pegué enrollando la parte superior de los lapiceros, para encima pegar las decoraciones.
✨STEP 5:
To finish, cut 2 strips of 4 cm in green foam, adding a little color to the edges like the stem and wrapping around the top of the pencils, to get the decorations on top.
 |  |
|---|
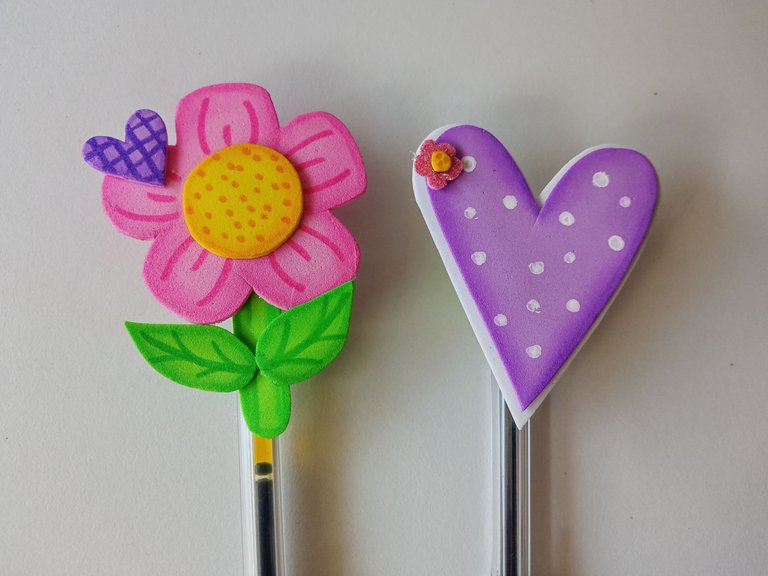
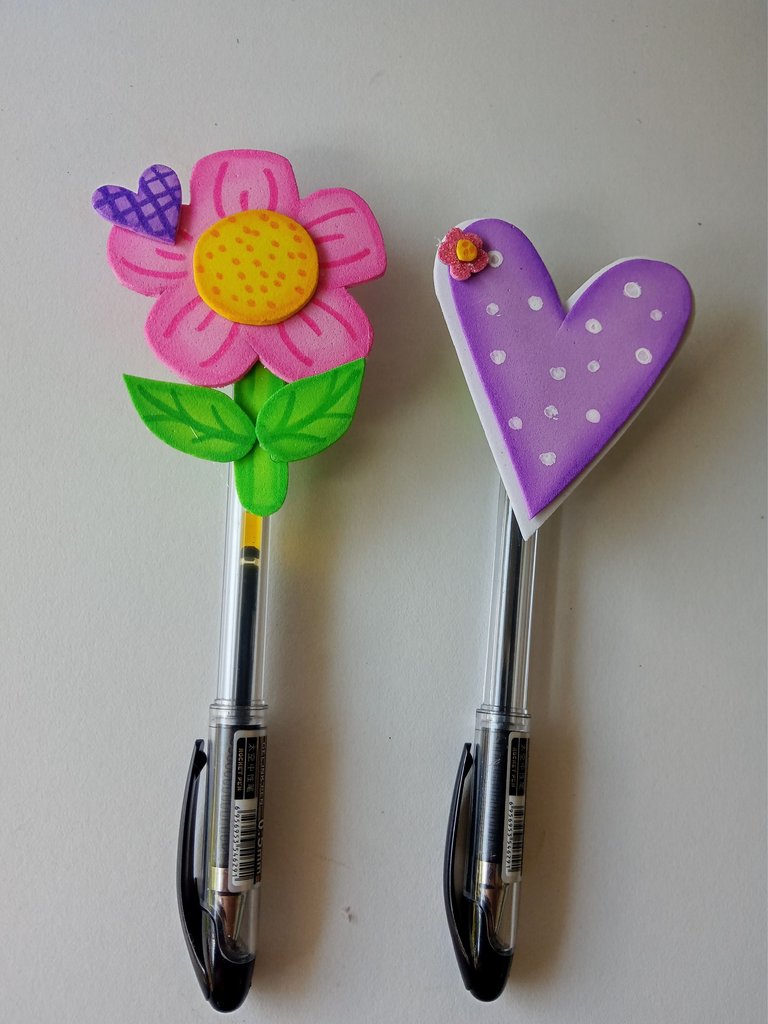
✨This is how you can create your beautiful decorations for your tombstones or lapiceros. The truth is that I like this size, but it calls for a little more attention. I hope you enjoyed the step by step and are encouraged to create your decorations with your preferred theme.
❤️Until the next post.
✨RESULTADO: | ✨RESULT:
 | |
|---|

Todas las fotografías son de mi propiedad.
Separador y Fotos editadas en Canva
All photographs are my property.
Photos edited in Canva
Posted Using INLEO
Ainsss qué pechochura ami. Me encantan los colores, super tiernos.
Esta genial para lapiceros y lápices, súper lindos
Gracias Ami linda! De verdad que los colores combinan Muy lindos. 💕🤭
me encantan ami! qué hermosas decoraciones
Gracias Ami linda💕
Wow, the decoration is very beautiful. The colorful nuances make the writing mood increase. Your work is cool👍
Muchas gracias! Muy lindas palabras. Me alegra que te haya gustado 💕
Una ideal genial personalizar los bolígrafos. Gracias por compartir.
Totalmente! Es una linda idea para lucir los lápices💕
Hermosos el diseño que pensaste y los colores que usaste son de mis preferidos.
Muchas gracias amiga! Agradezco tus palabras 💕
Siempre confundo mi lapicero con el de Alber y creo que esta idea seria super util para diferenciarlos jejeje hermoso amiii
Jaja totalmente Ami! Es una buena idea para diferenciar lñsus lapiceros jaja 💕
It's such a beautiful design and it turned out great, indeed your skill is amazing. Well done and great job 👍
Muchas gracias! Me alegra mucho que te haya gustado ✨