✨¡Hola amigos amantes de la creatividad! Espero que estén todos bien.✨
🔸Sin más que añadir, a continuación los dejo con el paso a paso:
✨¡Hello friends who love creativity! I hope you are all well.✨
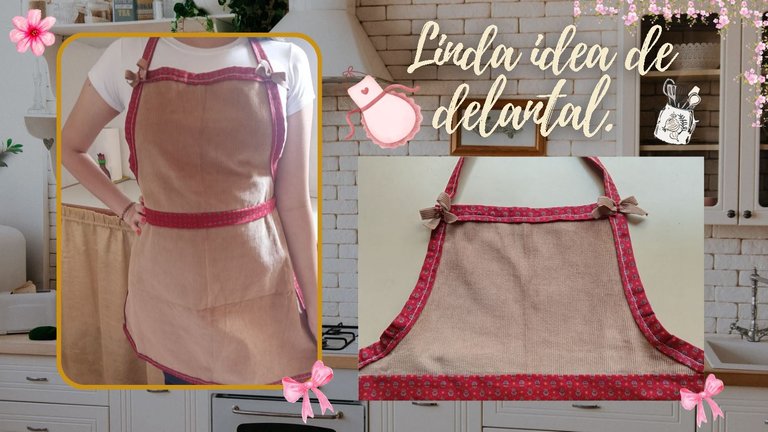
Good afternoon, friends! This time, I'm sharing the step-by-step instructions for making a cute apron idea. Well, I have a lot to say, haha, so I'll be as brief as possible. This time, I'm sharing something totally different than what you're used to. Or, well, a long time ago, I participated in a contest where I shared a cute bag, so I brought you some sewing tips here, but I must confess I'm not an expert at this, and I hope you professionals will forgive me, haha. However, I was happy with the result, as it was something I urgently needed to avoid spills on my clothes or, as always, getting covered in flour when baking bread.
🔸Without more to add, then I leave you with the step by step:
♥️ESPERO QUE TE GUSTE,
¡Empecemos!
♥️I HOPE YOU LIKE IT,
Let's start!

✂️ MATERIALES | ✂️ MATERIALS
- Tela unicolor pana.
- Tela con diseño.
- Máquina de coser o aguja e hilos.
- Cinta métrica.
- Alfileres.
- Plancha.
- Tijeras.
- Solid-color corduroy fabric.
- Designed fabric.
- Sewing machine or needle and thread.
- Tape measure.
- Pins.
- Iron.
- Scissors.
🌟 PROCEDIMIENTO | 🌟 PROCESS
✨PASO 1:
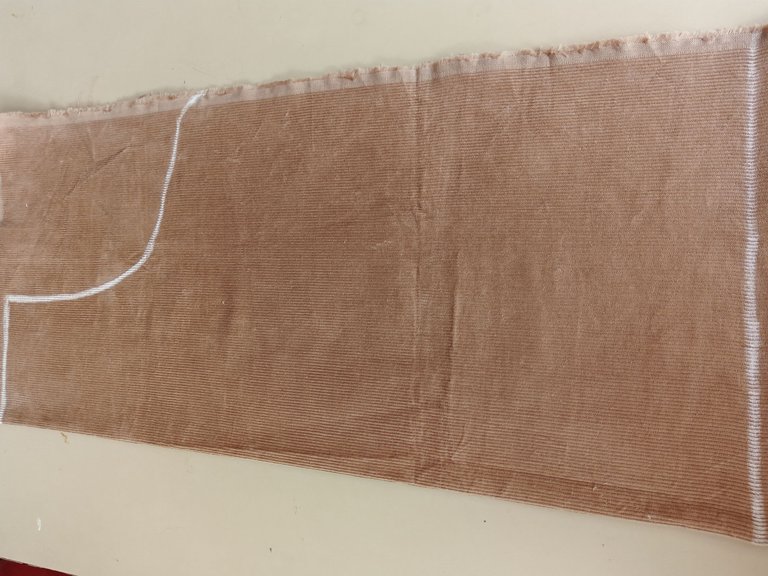
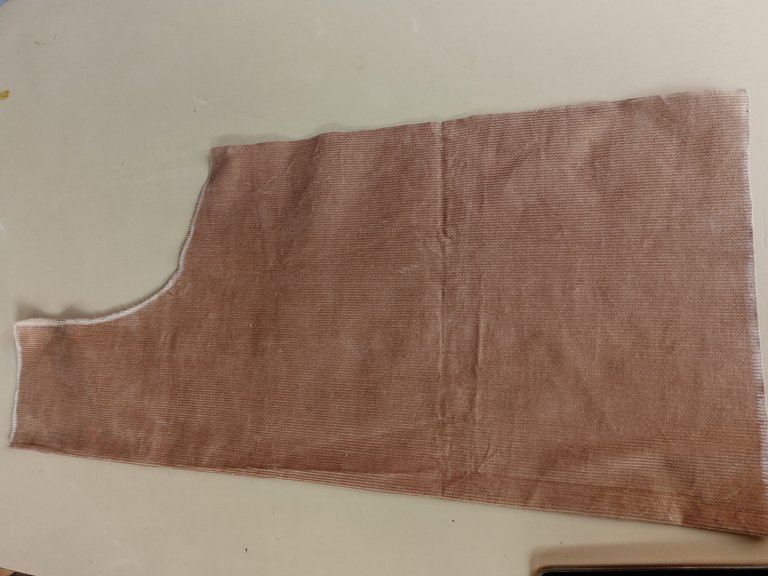
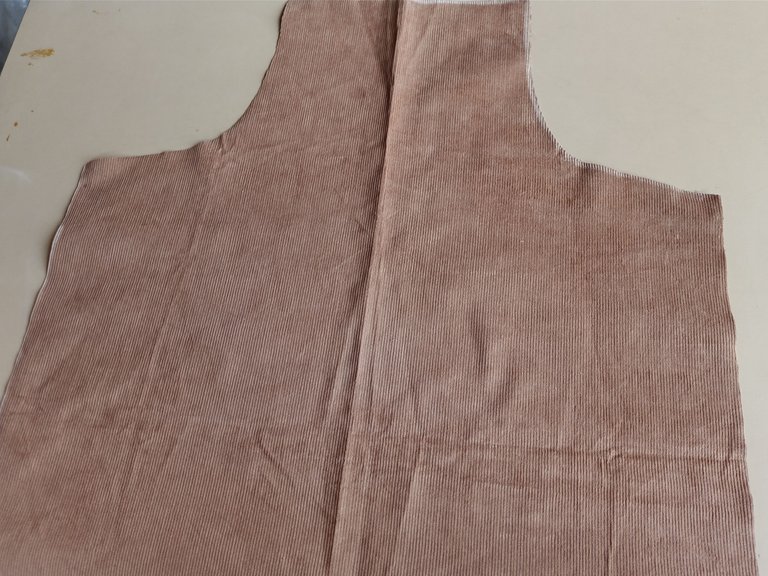
Lo primero que hice fue un patrón en otra tela, digamos que hice la forma del delantal a mi gusto y, si era muy grande de algún lado, fui cortando hasta tener las medidas deseadas, ya sea el alto o ancho para después pasarlo a la tela y así tener las medidas listas. El delantal lo corté en una sola pieza con la tela pana e igualmente les doy las medidas de la parte del pecho y de la cintura para abajo, individualmente:
✨Parte superior: 19 cm de largo y 25 cm de ancho.
✨Parte inferior (cintura para abajo): 46 cm de largo y 61 de ancho.
✨STEP 1:
The first thing I made was a pattern on another fabric. I made the shape of the apron to my liking. If it was too big on one side, I cut it until I had the desired measurements, either height or width, and then transferred it to the fabric to have the measurements ready. I cut the apron in one piece from the corduroy fabric. I also gave you the measurements for the chest and waist down, individually:
✨Top: 19 cm long and 25 cm wide.
✨Bottom (waist down): 46 cm long and 61 cm wide.
 |  |  |
|---|
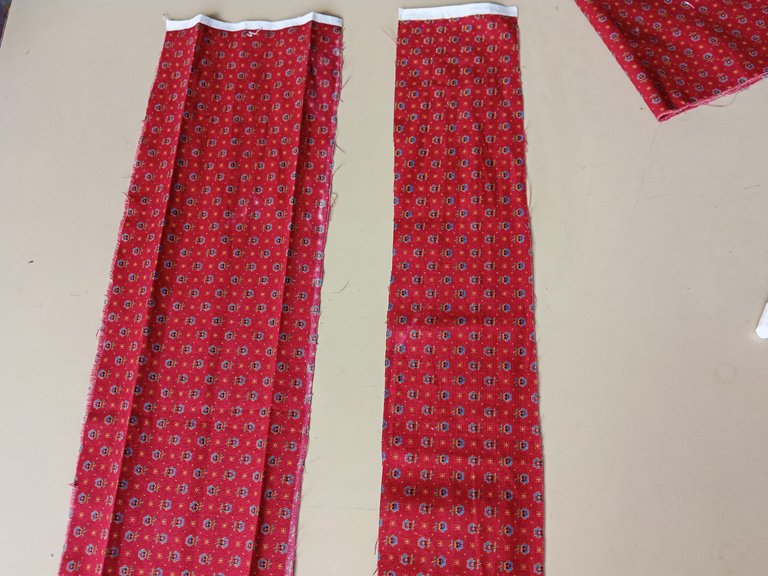
✨PASO 2:
Luego de tener la pieza principal lista, llegó el momento de cortar en una tela con bonito diseño para dar vida al delantal, las cintas o tiras para amarrar la cintura, para ajustar en la parte superior y el sesgo.
✨Para la cintura: 112 cm de largo y 13 cm de ancho.
✨Para la parte superior: 112 cm de largo y 8 cm de ancho.
✨Sesgo: 112 cm de largo y 8 cm de ancho.
✨STEP 2:
After having the main piece ready, it was time to cut the ribbons or straps to tie the waist, adjust the top, and the bias tape from a nicely designed fabric to bring the apron to life.
✨For the waist: 112 cm long and 13 cm wide.
✨For the top: 112 cm long and 8 cm wide.
✨Bias: 112 cm long and 8 cm wide.
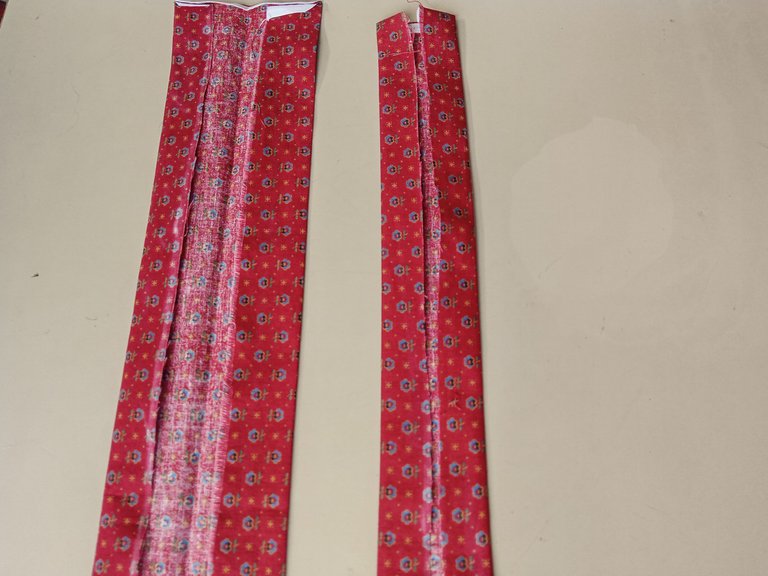
✨PASO 3:
Luego, planché todas las telas y di forma a las tiras para ajustar con la plancha para que sea mucho más fácil a la hora de coser. Así que doble y planche 1 cm de cada lado de las tiras y luego estas, la doble al medio. Repetí el mismo proceso con el sesgo.
✨STEP 3:
Then, I ironed all the fabrics and shaped the strips to fit with the iron to make it much easier when sewing. So, I folded and ironed 1 cm on each side of the strips, and then folded them in half. I repeated the same process with the bias.
 |  |  |
|---|
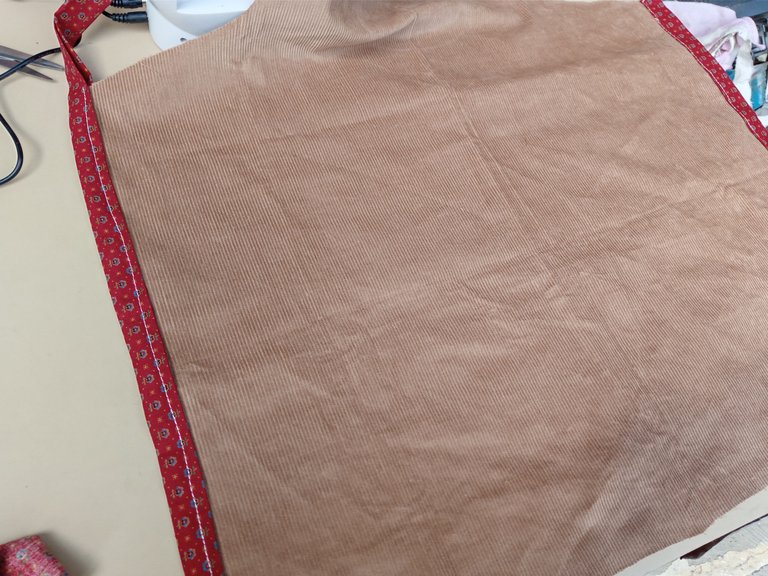
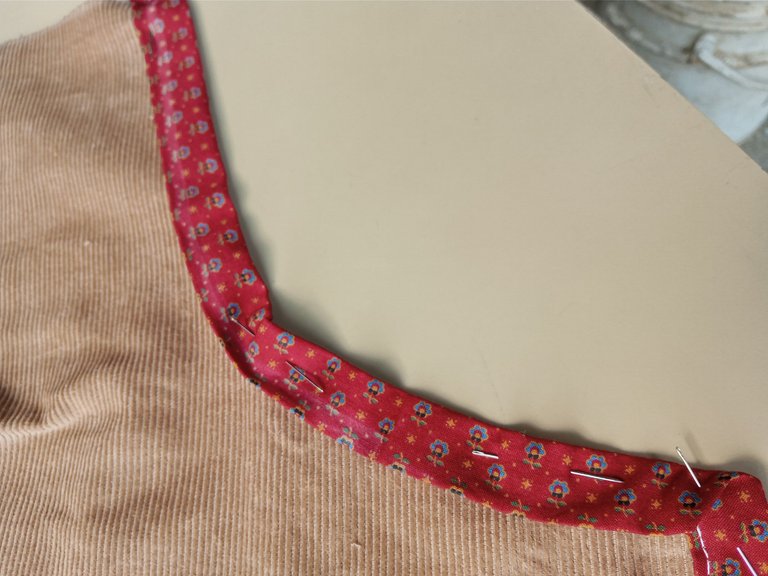
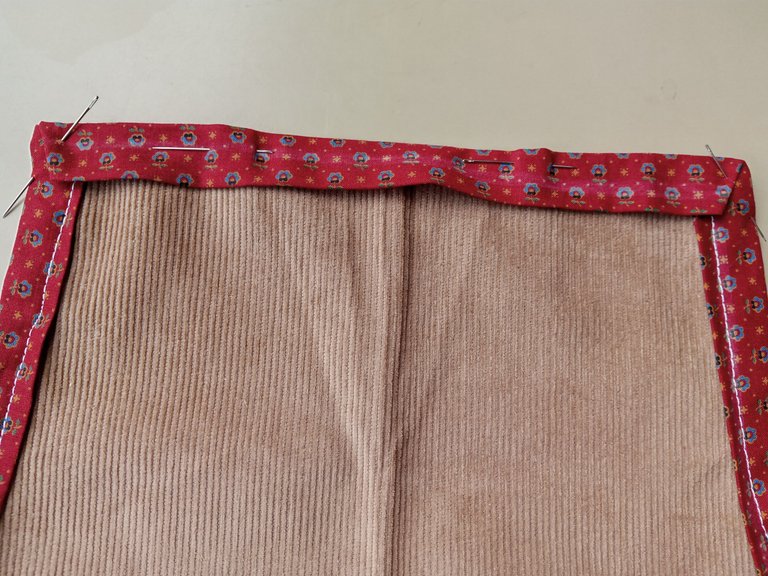
✨PASO 4:
Al estar las piezas listas, comencé cosiendo con la máquina el sesgo por el borde de la base del delantal, es decir, la pieza que cortamos al inicio en tela pana. Obviamente, la tela pana va por en medio del sesgo. Yo quise utilizar un hilo de color blanco porque me gusta cuando se ve la costura, pero si ustedes no quieren que se note tanto, procuren utilizar un color que combine con la tela. Hice este proceso a los lados por los bordes de la parte inferior del delantal. Con lo que sobró del sesgo en la parte superior, arreglé dando forma con los alfileres y pasé la máquina. Con el sobrante, tuve que cortar una de las tiras al ras y con la otra, arreglé nuevamente con alfileres y terminé de coser.
✨STEP 4:
Once the pieces were ready, I began sewing the bias binding on the apron's bottom edge with the sewing machine—the piece we cut out of the corduroy fabric at the beginning. Obviously, the corduroy fabric runs in the middle of the bias binding. I chose to use white thread because I like the visible seam, but if you don't want it to be so noticeable, try using a color that matches the fabric. I did this on the sides along the edges of the bottom of the apron. With the leftover bias binding on the top, I shaped it with pins and sewed it with the sewing machine. With the excess, I cut one of the strips flush, and with the other, I re-pinned and finished sewing.
 |  |  |
|---|
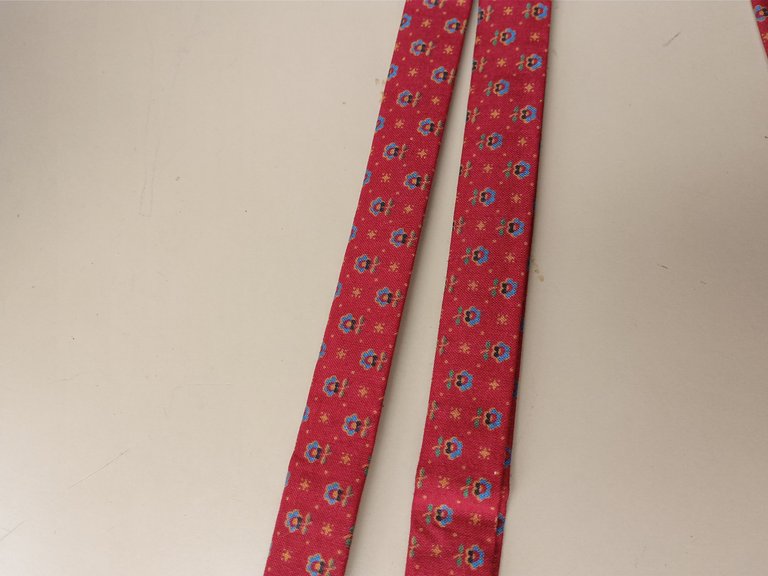
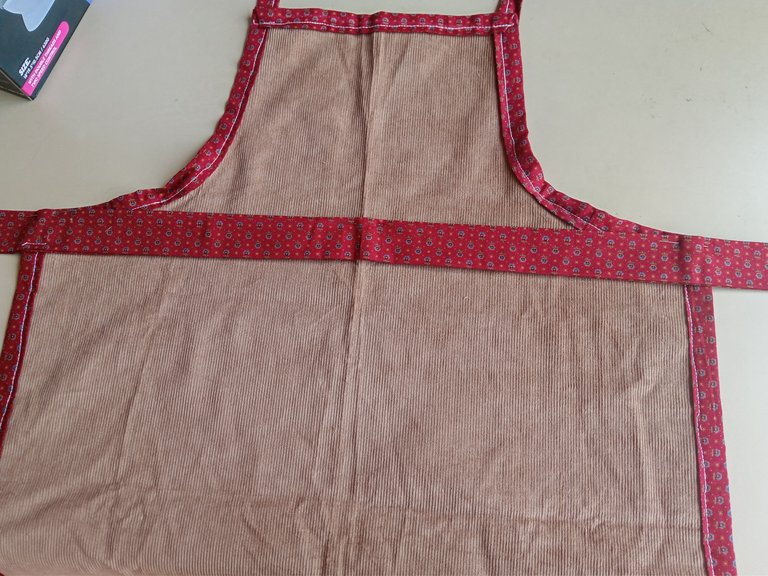
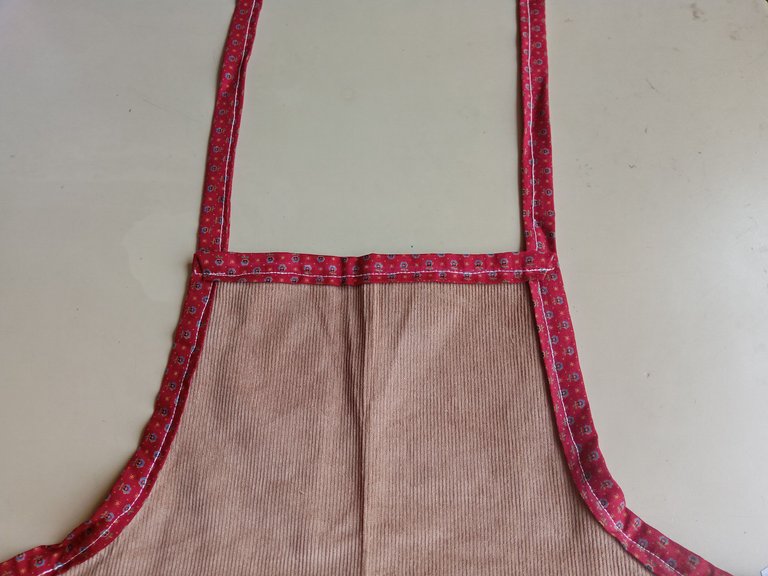
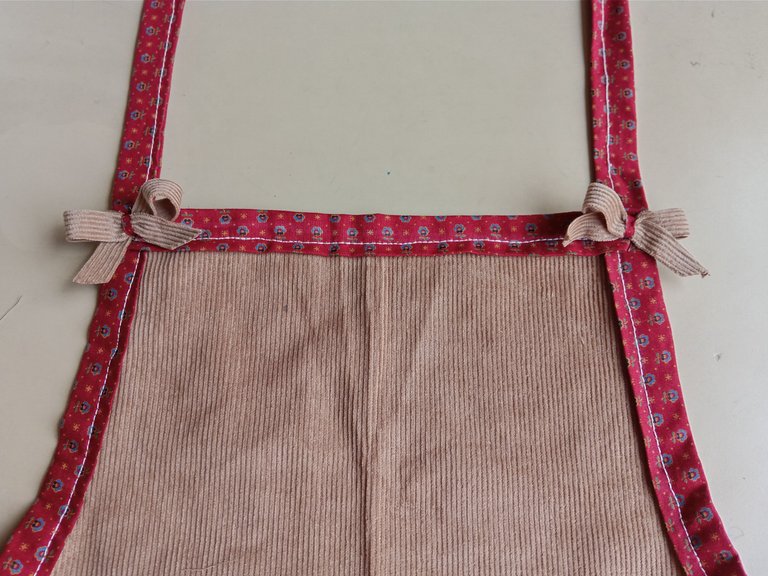
✨PASO 5:
Casi para finalizar, llegó el momento de pasar máquina a la cinta más gruesa para ajustar en la cintura y las tiras para ajustar la parte superior y la cual corté en dos partes para poder ajustar a gusto. Para darle un toque final, recorté unas tiras en tela pana, hice un lazo, amarré en medio con la tela decorada y di unas puntadas a mano junto a la unión de la costura de los tirantes superiores.
✨STEP 5:
Almost to finish, it was time to machine-stitch the thicker ribbon to adjust the waist and the straps to adjust the top, which I cut in two so I could adjust it to my liking. To add a finishing touch, I cut some strips of corduroy fabric, made a bow, tied it in the middle with the decorated fabric, and sewed a few hand stitches near the seams of the top straps.
 |  |  |
|---|
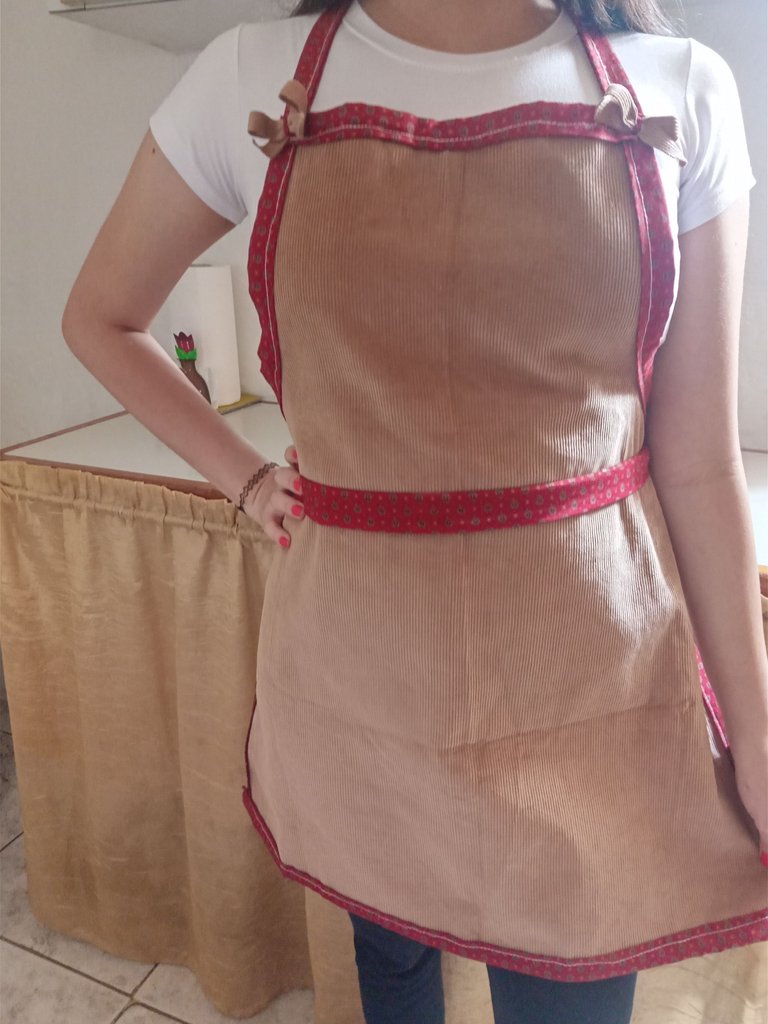
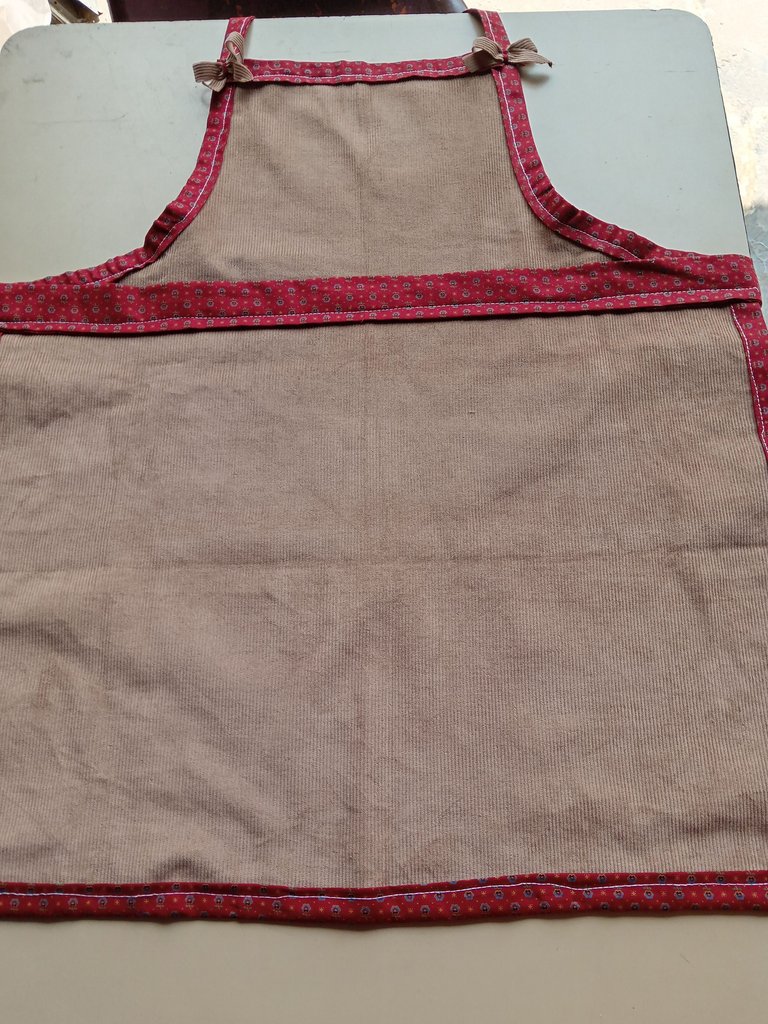
✨This is how, finally, I was able to make my apron without getting my clothes dirty or stained when I'm making a recipe, haha. I was happy with the colors and fabrics I used. I hope you enjoyed the step-by-step instructions and are encouraged to try it out.
❤️Until the next post.
✨RESULTADO: | ✨RESULT:
 |  |
|---|

Todas las fotografías son de mi propiedad.
Separador y Fotos editadas en Canva
All photographs are my property.
Photos edited in Canva
Posted Using INLEO
Yo tampoco soy experta en la costura, pero creo que jamás podría yo haber hecho algo así, te quedó increíble; además de muy tierno.
Me gustó también la forma en la que explicaste el paso a paso, es muy sencillo de entender. Ya sé a dónde venir si algún día necesito un hacer un delantal. 🤭🩷
!DIY
Muchas gracias, amiga! Pues, creo que hice lo mejor que pude. Pensaba en un delantal anticuado jaja y creo que al final quedó comoo quería.
Pues yo creo que puedes hacerlo y espero que si necesitas hacer uno, este tutorial te funcione. Saludos bella ✨💕
Follow our Curation Trail and don't miss voting! Thank you!
Muchas gracias por el apoyo amigos 👍🏻
It's a pleasure for us if you are interested in zmll curation project
Hermosa idea y la hechura
Despite not being an expert you still did a lovely job with the apron. Give it time and you’ll become a professional someday too but for now, trust the process okay?
selected by @ibbtammy
Thank you so much, a very nice comment. I'm often very hard on myself, but as they say, you're not born knowing. So I try to work on that, to enjoy the journey. Thank you so much for the support 💕
the result is good and neat👍
Thank you so much! I did my best 🤭✨
The apron looks so nice, you have done a great job with it, I love the design made at the edges, it gives it a beautiful outcome. Thanks for sharing.
Muchas gracias, amiga! Agradezco mucho tu comentario. Saludos ✨
You are expert in what you doing
Thanks for sharing I love the colour of the apron @valenpba
Muchas gracias por el comentario! Saludos✨
Un delantal muyyyy tu, hermoso! Que tal que fueras experta 🩷🤭
Te quedó super bonito ami😍
Muchas gracias mi Yage💕
Linda y práctica. Estética en armonía con lo funcional . Bien hecho
Muchísimas gracias amiga ✨. Saludos
Saludos.
No pidas disculpa a las profesionales porque te quedo muy muy lindo amiii🥰
Gracias Ami linda! Bueno, uno pide disculpas por si algo no se hacia como hice, pero el resultado cumplía el cubrirme de desastres en la cocina 🤭.
No soy experta en costura pero te quedó DIVINOOO 😍😍 Me encantó la horma que le diste y los tonos que usaste mi Valen. Yo también quiero uno para mis clases de cocina jajaja, te sobraste de verdad!!! ❤️
Gracias mi Vane hermosa! Para ser primera vez, me quedo bien tierno 🤭, pero como dije al inicio, que me disculpen las expertas si hice algo mal, al final logré mi cometido. Gracias Ami bella 💕
Quiero un delantal como ese! Te quedó precioso amiga 😍