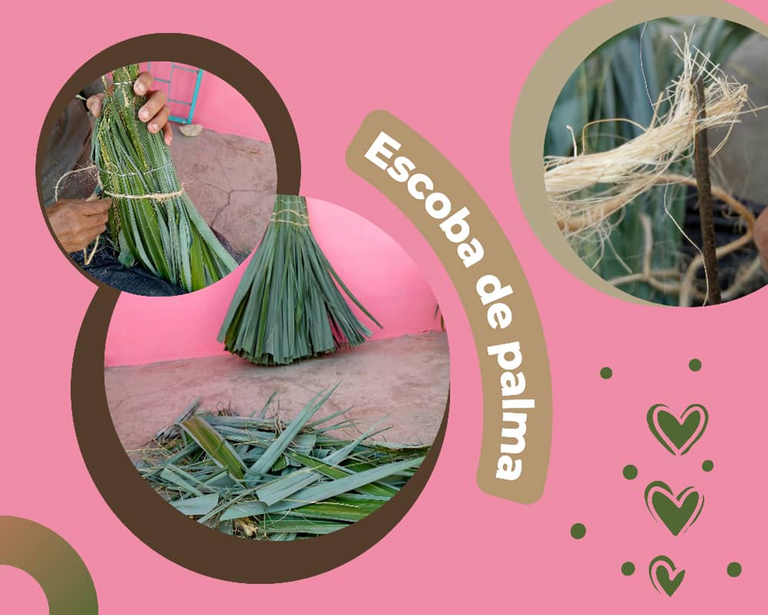
Feliz día de Reyes mis queridos Hivers Creativos en esta tarde quiero mostrarles una escoba de palma, realizada con la gran ayuda de mi abuelo.
Edición realizada con Canva, foto tomada con teléfono móvil Infinix
Esta impresionante escoba de palma, es parte de las costumbres y tradiciones de mi familia puesto que mi bisabuelo (padre de mi abuelo que la realizo) hacia estas escobas y las vendía en aquella época gracias a esto podía llevar alimento a su familia y bueno la tradición ha ido de generación en generación, mi bisabuelo le enseño a mi abuelo mi abuelo a sus hijos y así es que me ha gustado su elaboración y su magnífico propósito el cual es ayudarnos a barrer las partes traseras de la casa y todo el jardín.
Para la elaboración de esta magnífica escoba de palma hemos utilizado los siguientes materiales:
- Palo de madera de escoba
- Paja o millo
- Palma
- Tijera
- Cuchillo para cortes
- Aguja de hierro grande
- Alambre (alrededor de 3 metros)
- Hilo Mecatillo (alrededor de 1 metro)
- Martillo
- Clavos de acero pequeños ( 2 clavos)
- Mazo de madera
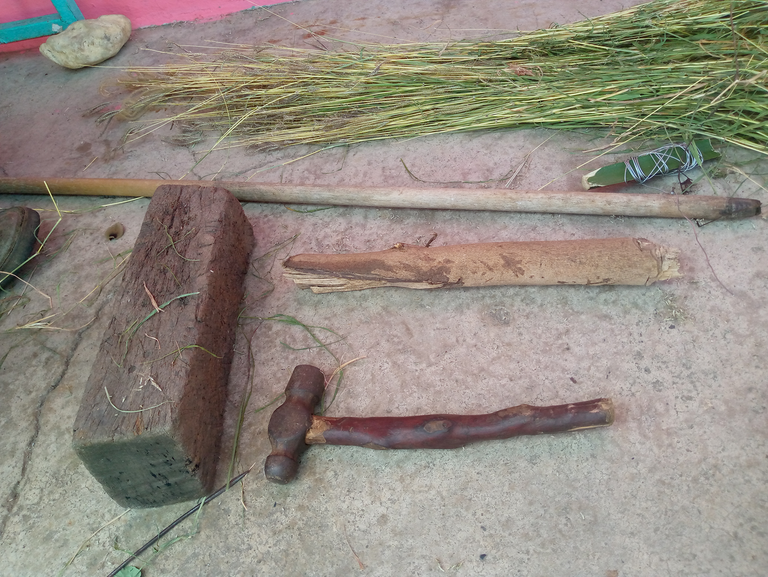
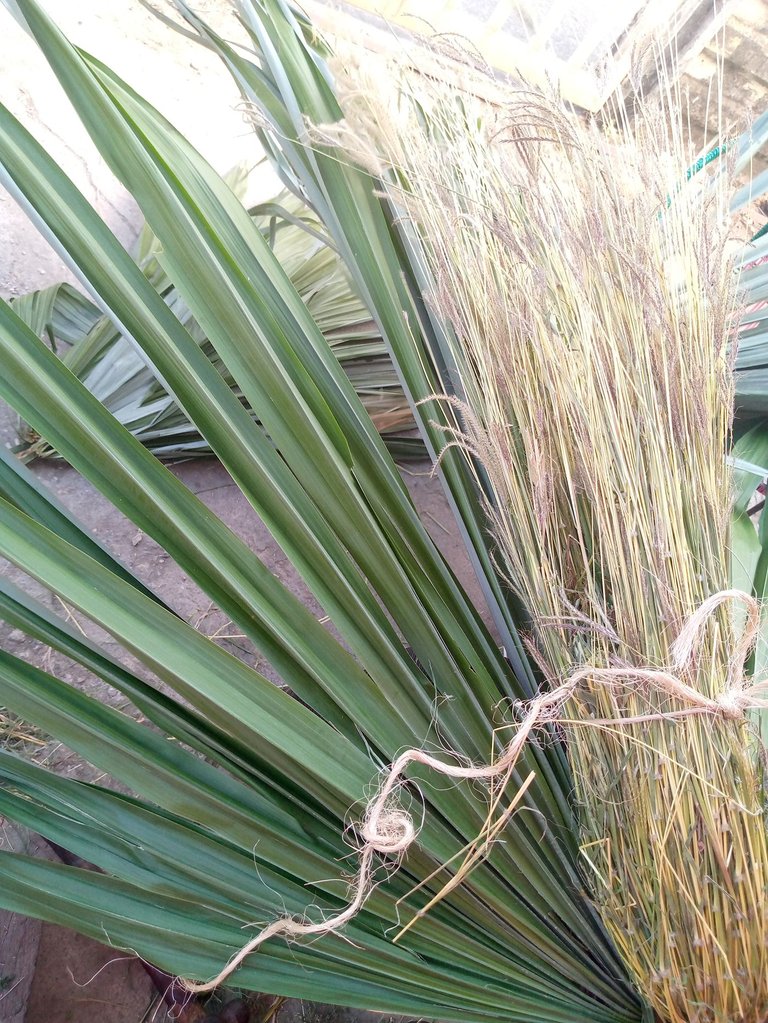
Parte de los materiales para la elaboración
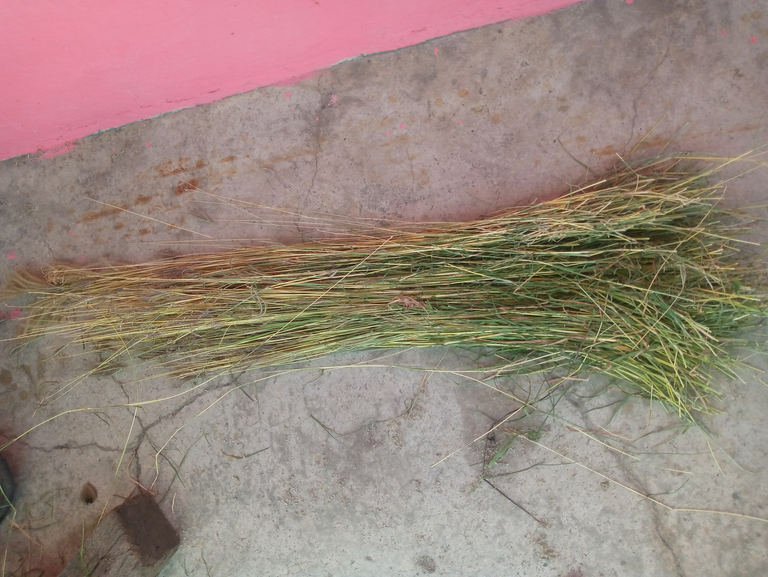
Paja o millo
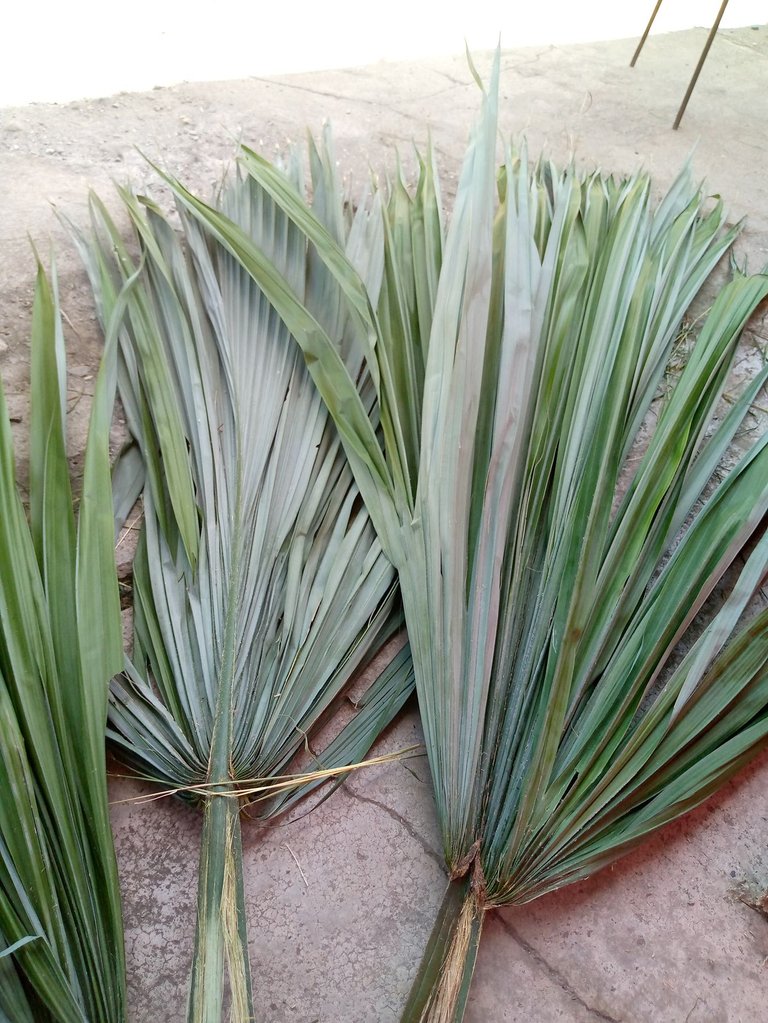
Palma (al menos 3 hojas o pencas medianas)
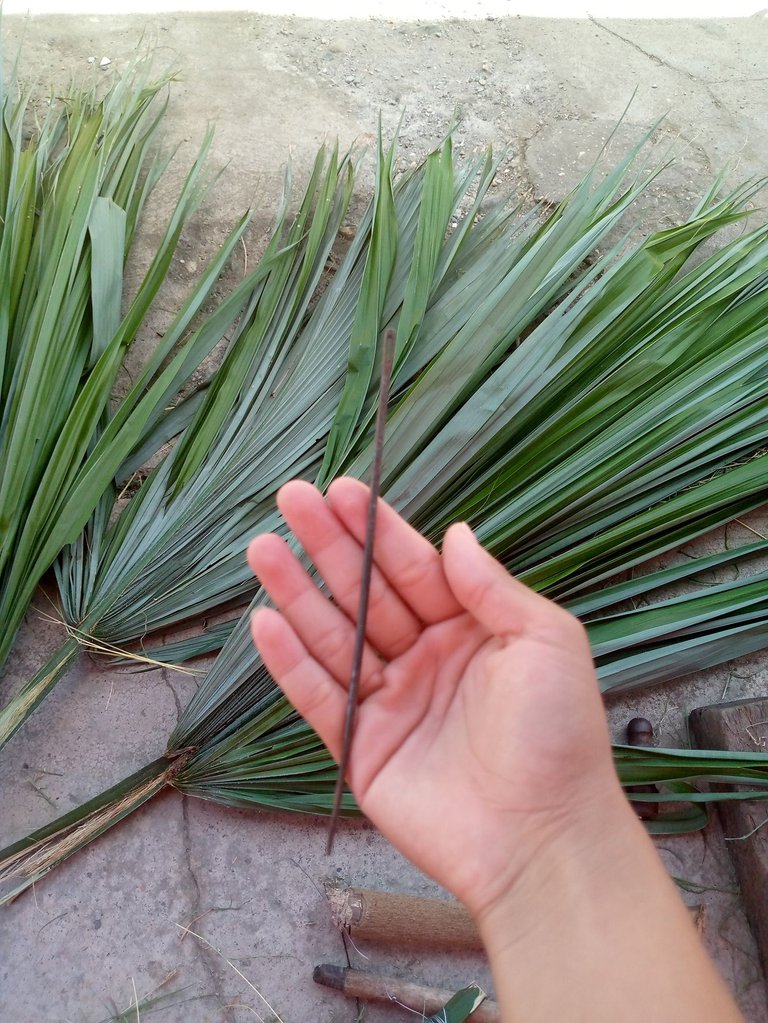
Aguja para entrelazar el alambre y el Mecatillo
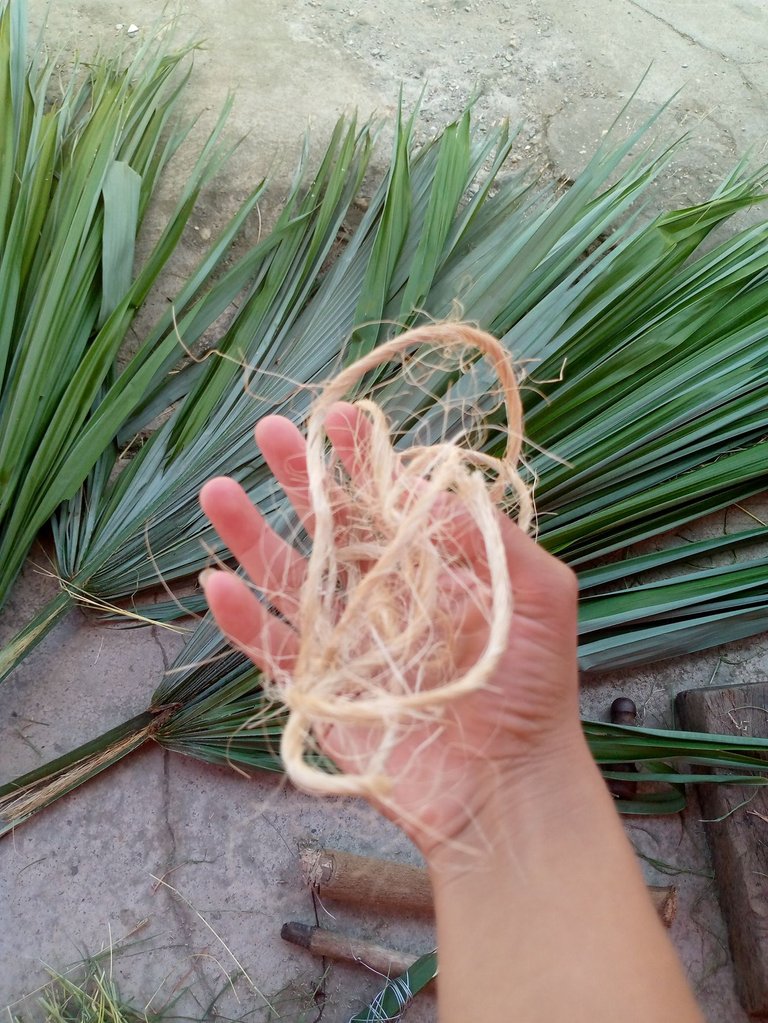
Mecatillo para la escoba
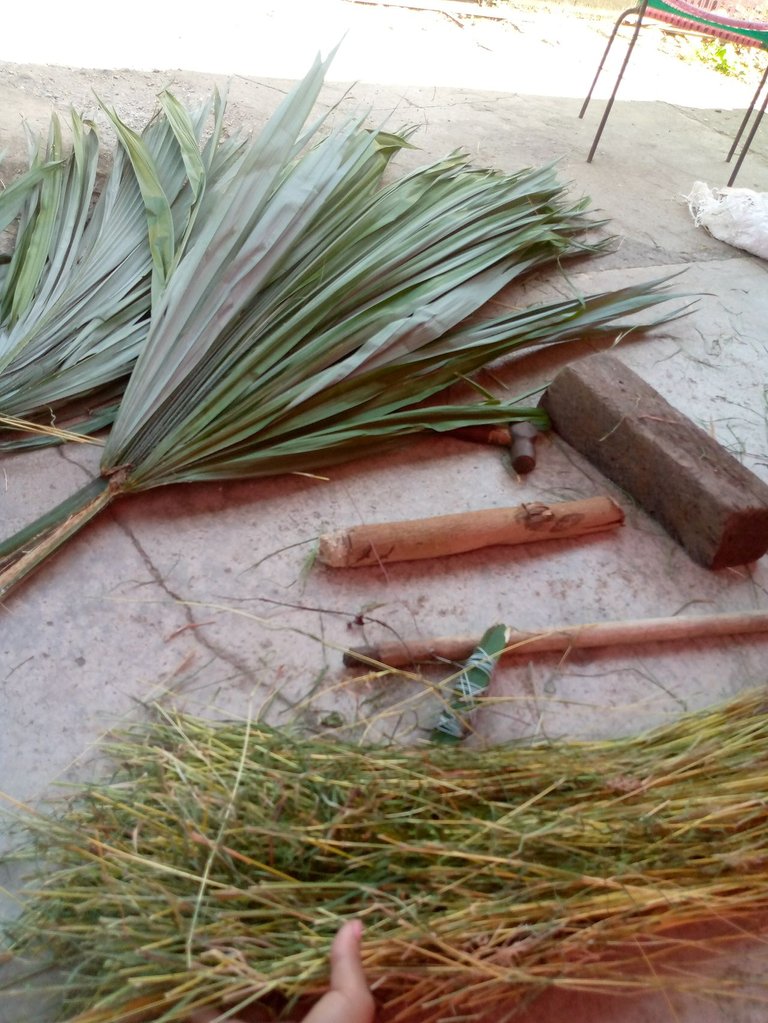
Materiales ya casi listos para iniciar
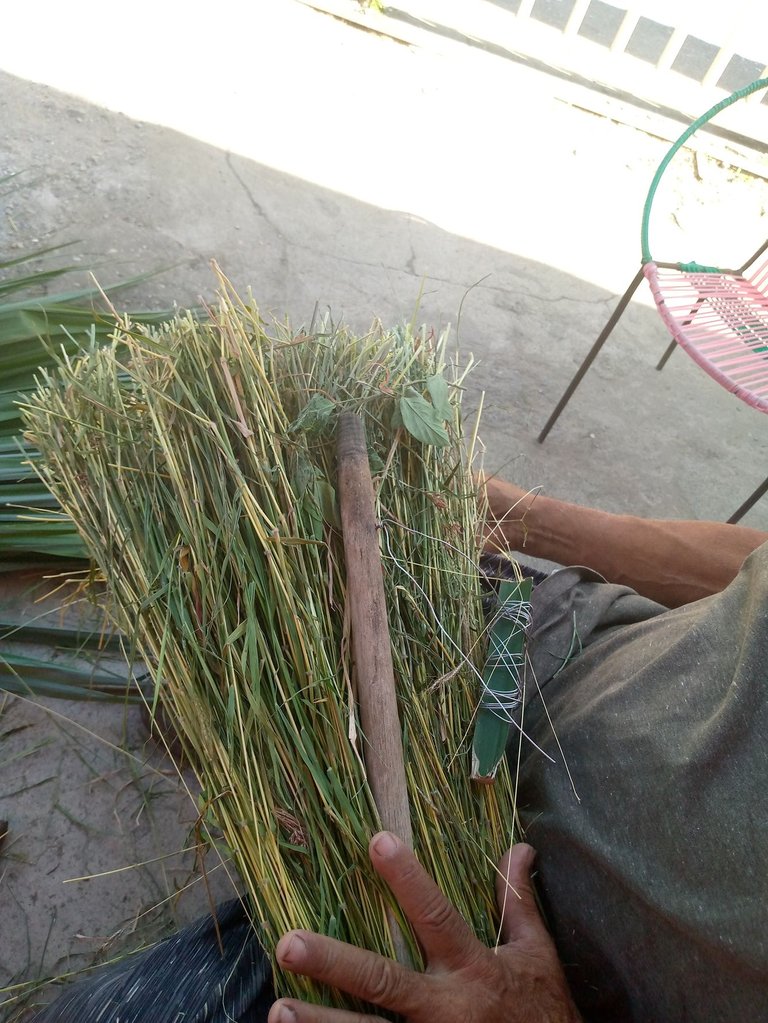
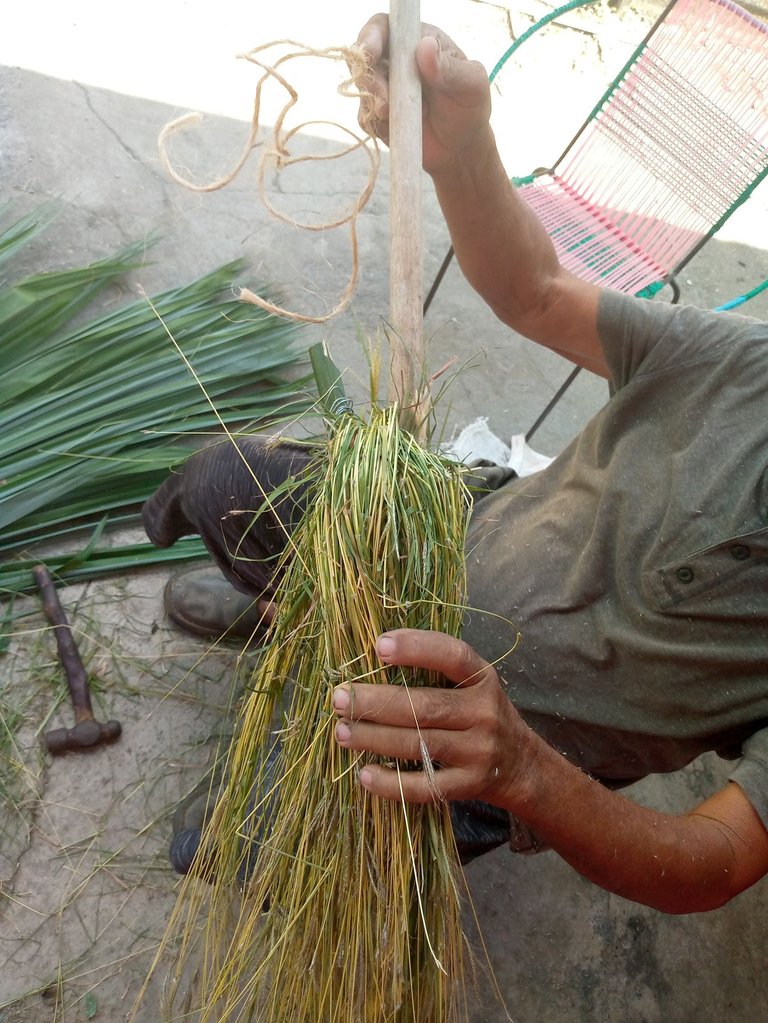
- PASO A: lo primero que haremos es unir la paja o millo con el palo de madera de cepillo
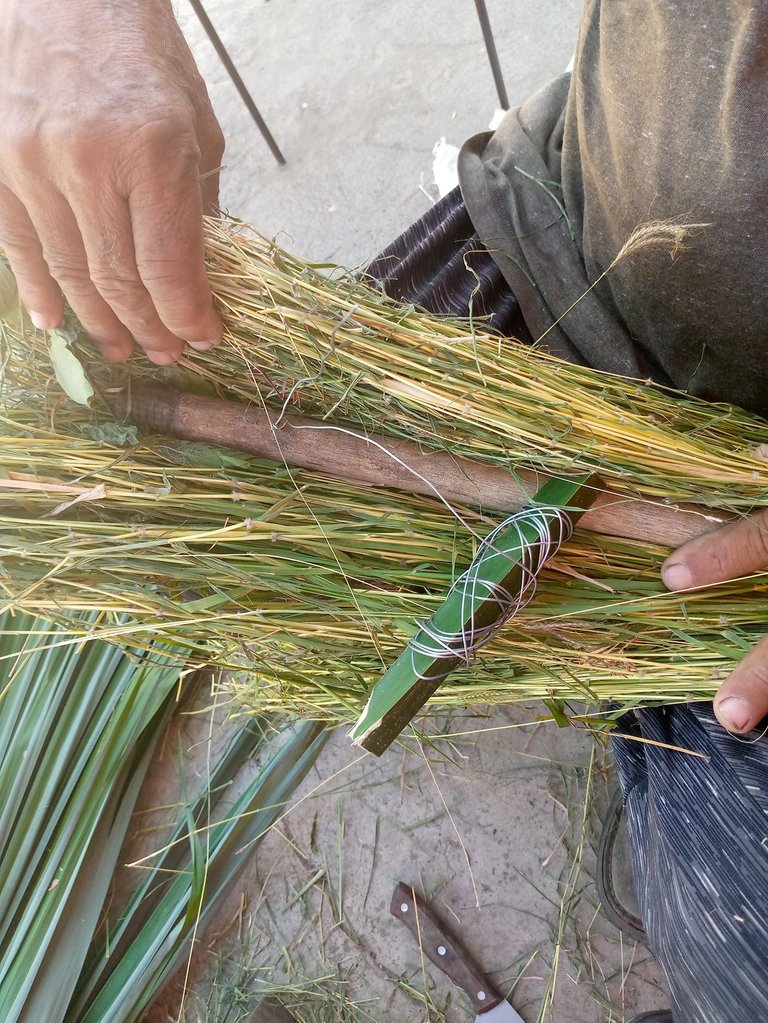
- PASO B: envolvemos el palo de cepillo con la paja y le colocamos alambre
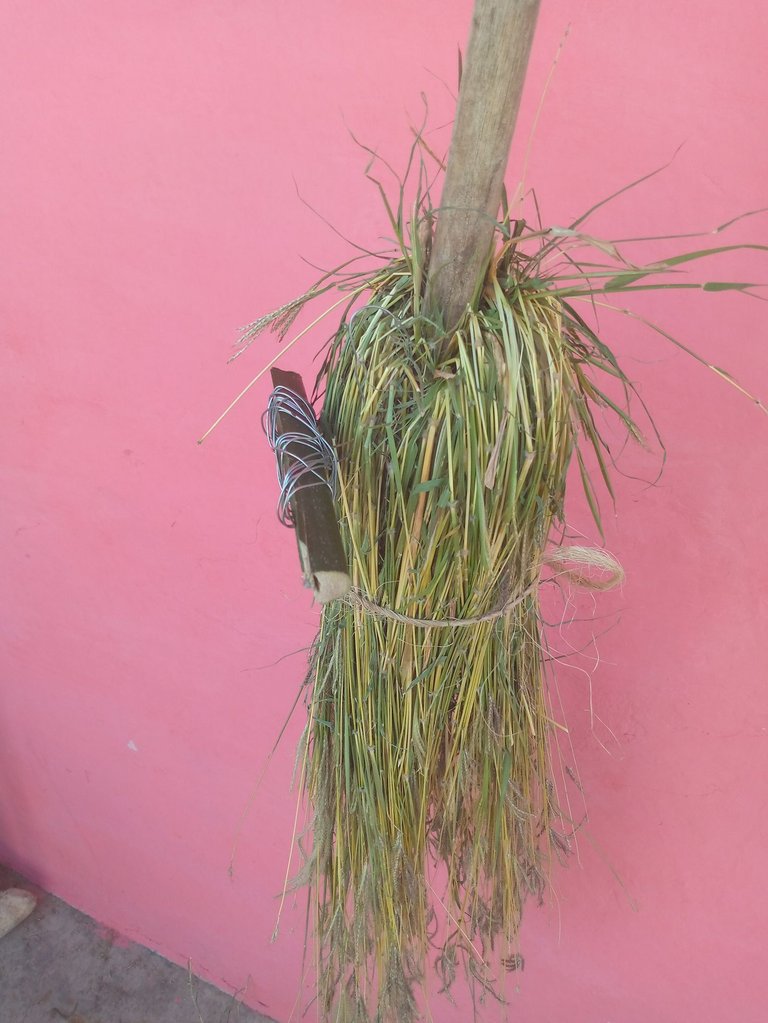
Debe quedar de esta forma, paso a paso va cobrando forma
- PASO C: con el alambre envolvemos el palo con la paja o millo
De esta manera va quedando amigos Hive blog
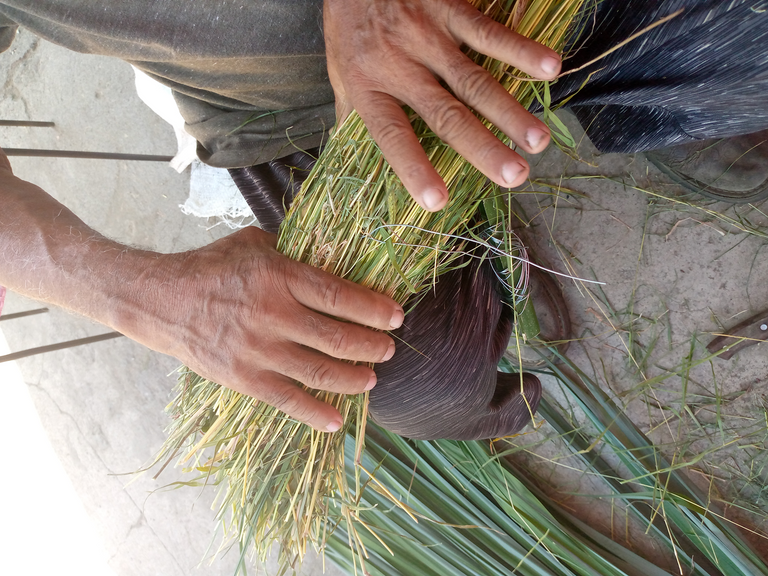
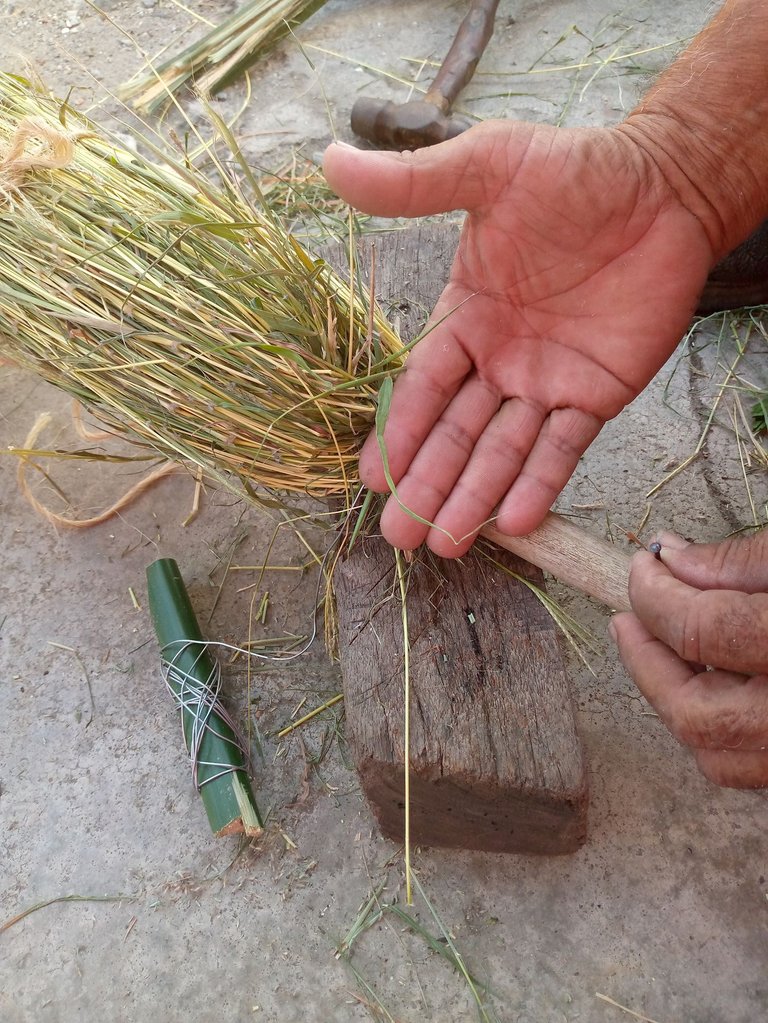
- PASO D: luego de haber ajustado bien el alambre, bajamos la paja o millo (depende del material a utilizar) lo sujetamos y bajamos para que nuestra escoba vaya tomando forma.

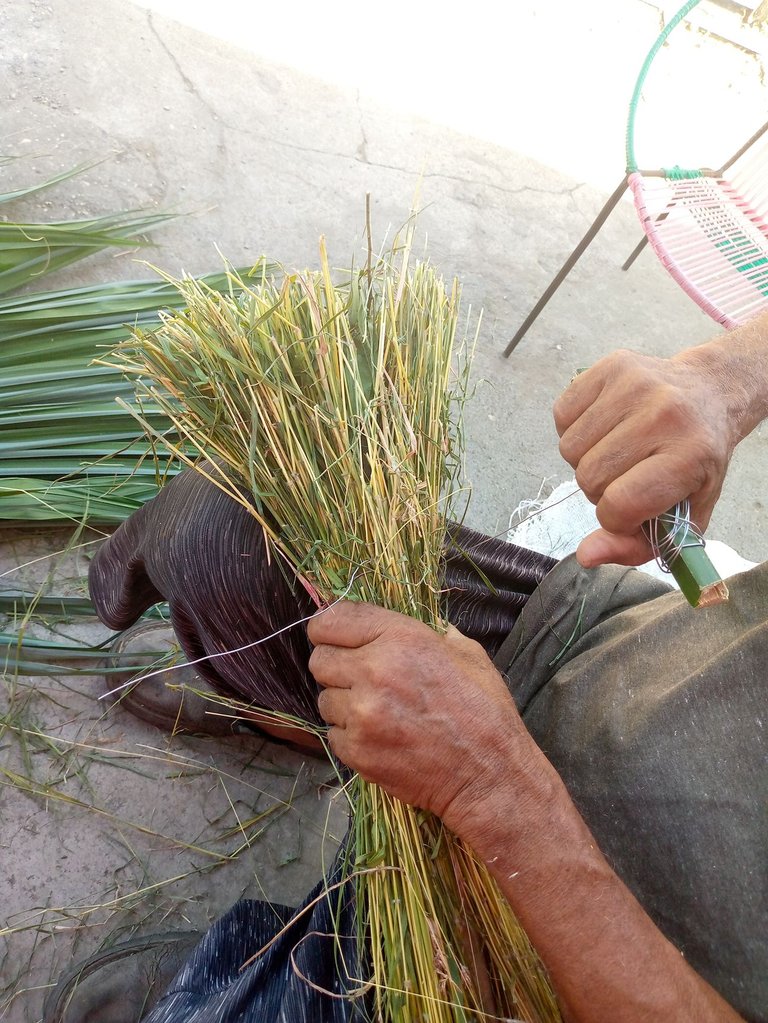
- PASO E: con el Mecatillo vamos a amarrar nuestra futura escoba…
Así va quedando amigos!
- PASO F: medimos 4 dedos de separación para colocar el clavo
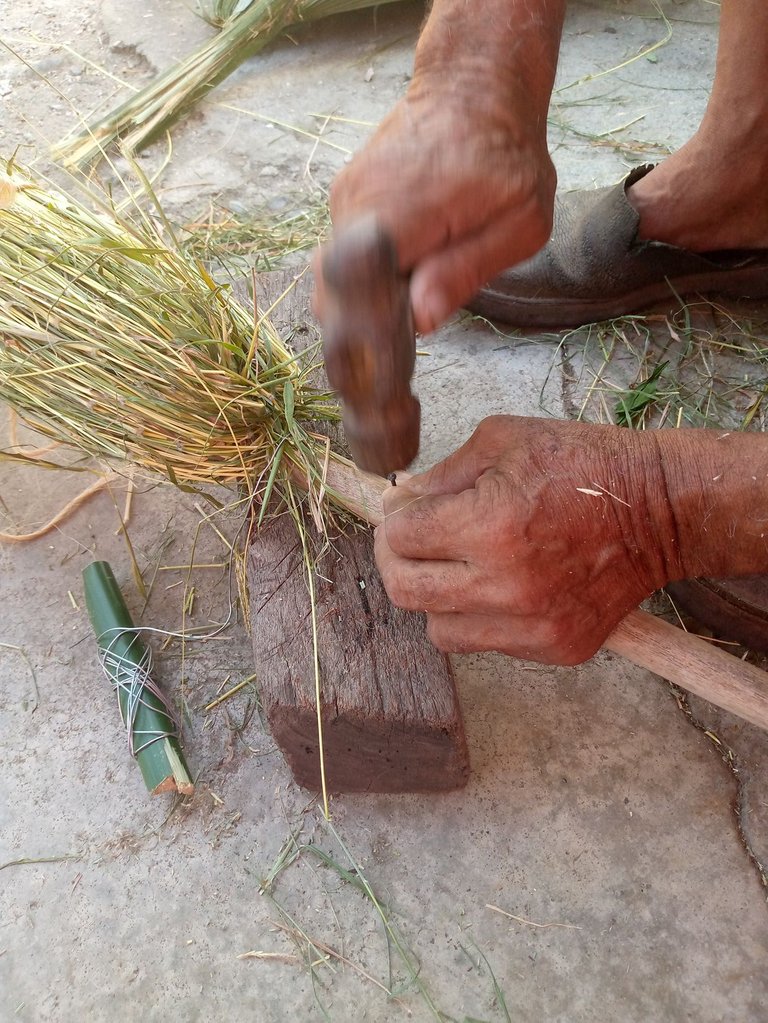
Para hacer este procedimiento utilizamos el martillo
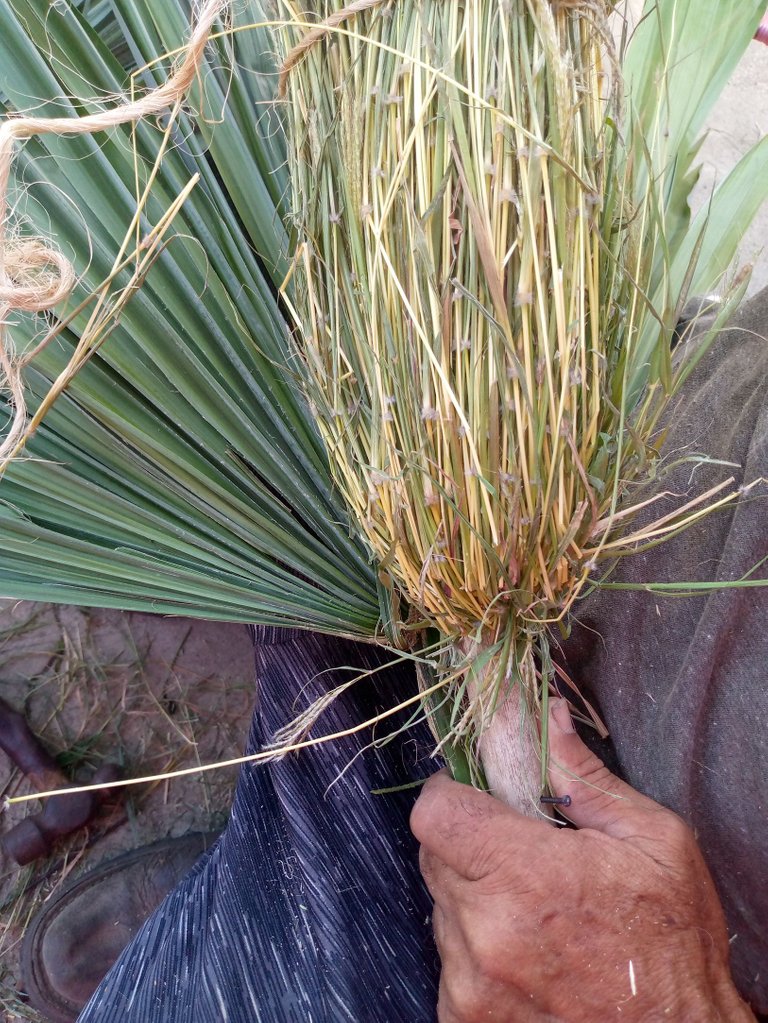
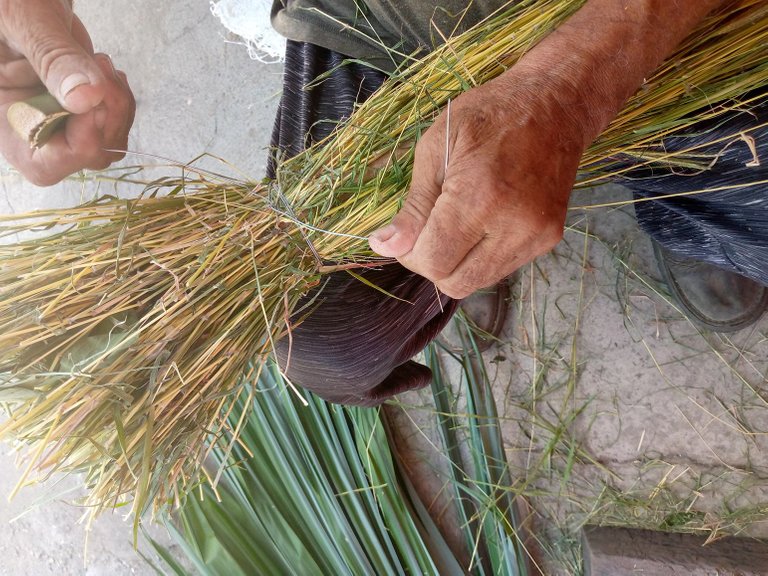
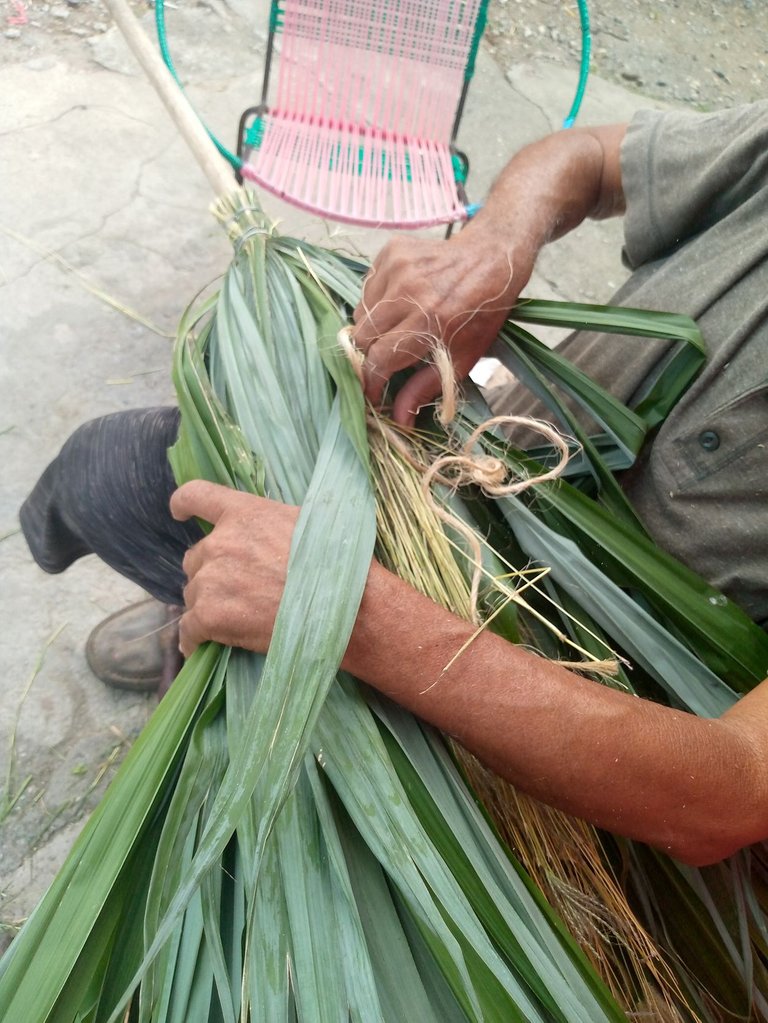
- PASO G: ahora si, vamos incorporando las pencas de palma amigos
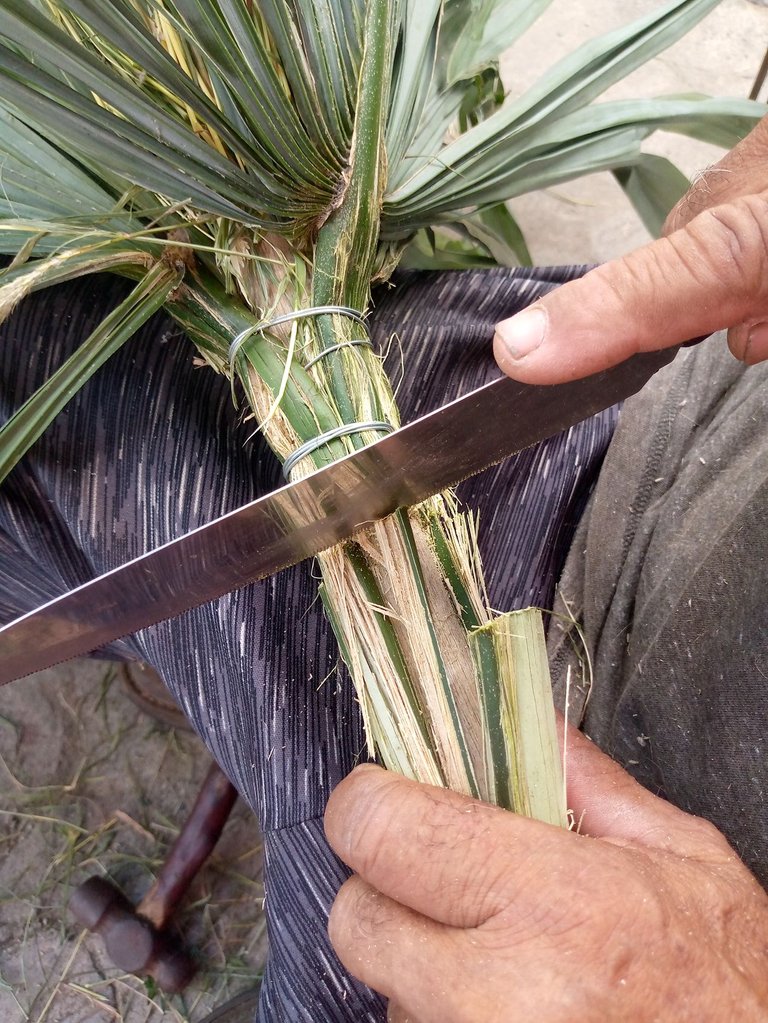
- PASO H: luego de haber unido todas las palmas con el alambre, procedemos a cortar el sobrante de penca que está ubicado en la parte superior de la escoba.
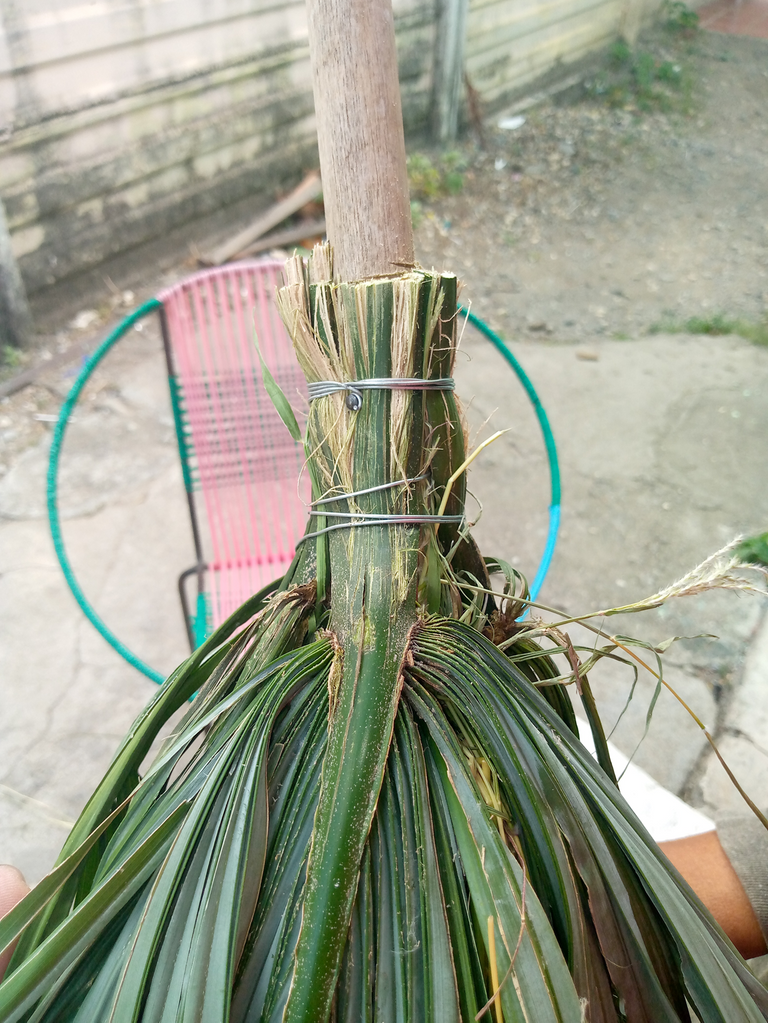
Así debe quedar amigos, ya casi terminamos yupi!
- PASO I: Después quitamos el Mecatillo de la paja
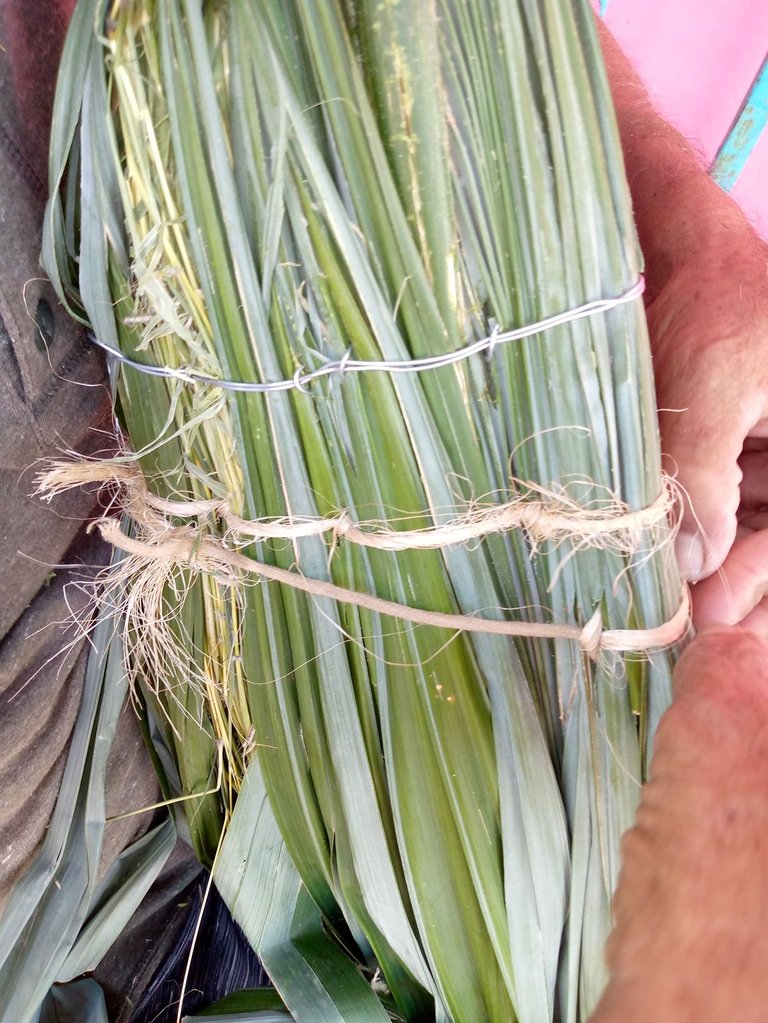
- PASO J: luego de haber quitado el Mecatillo de la paja. Vamos a realizar un entrelazado con el alambre por toda la estructura de la escoba lo mismo hacemos con el Mecatillo, esto para dar más soporte y forma a la escoba.
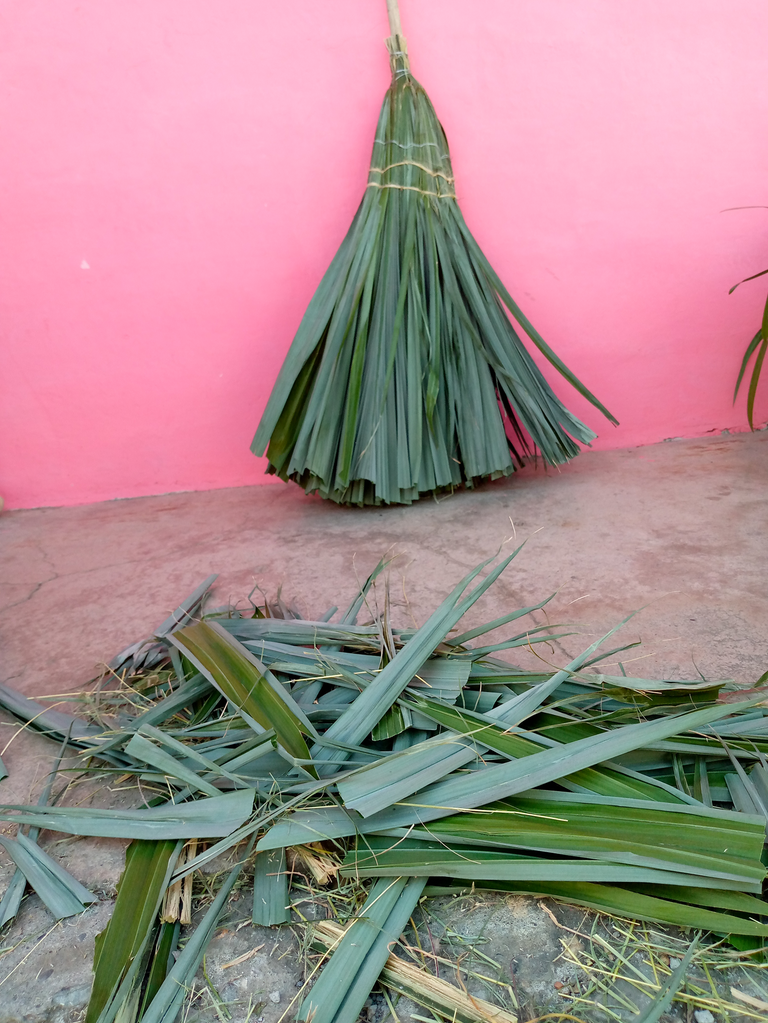
- PASO K: por último, cortamos un poco la palma para que nuestra escoba quede más uniforme y a la hora de limpiar sea más fácil utilizarla.
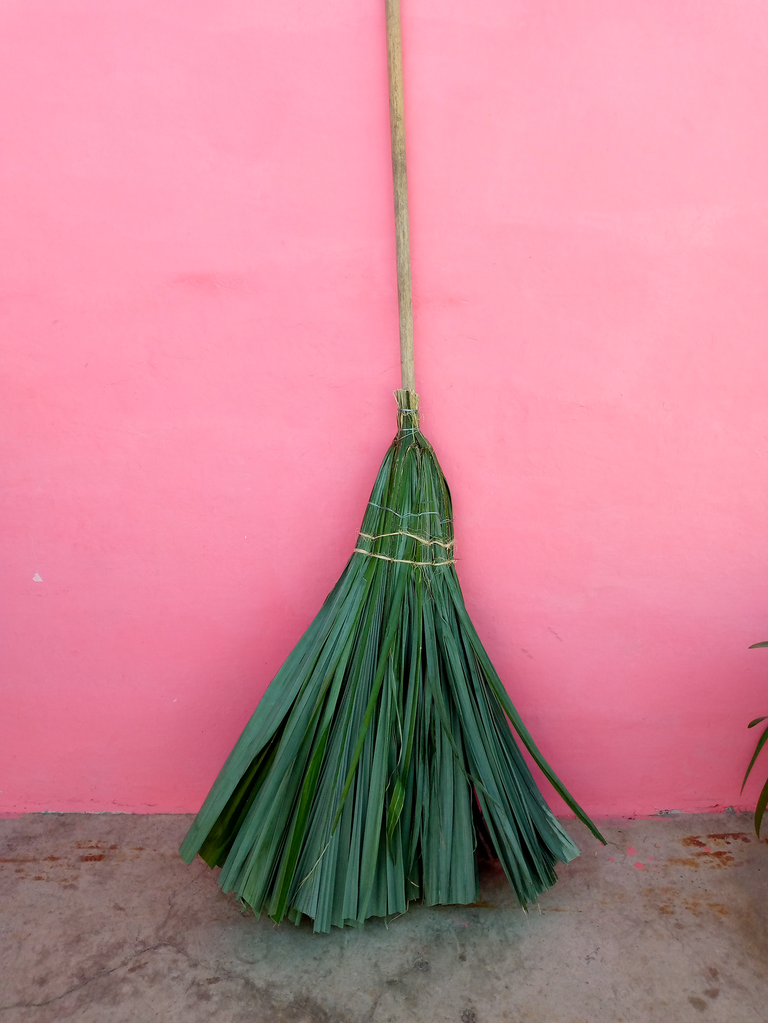
RESULTADO FINAL AMIGOS!
Me ha encantado compartir con ustedes esta experiencia tan hermosa, un fuerte abrazo…
ENGLISH...
Happy Three Kings Day my dear Creative Hivers, this afternoon I want to show you a palm broom, made with the great help of my grandfather.
Edition made with Canva, photo taken with an Infinix mobile phone
This impressive palm broom is part of the customs and traditions of my family since my great-grandfather (father of my grandfather who made it) made these brooms and sold them at that time thanks to this he could bring food to his family and well, the tradition has gone from generation to generation, my great-grandfather taught my grandfather my grandfather his children and so I liked its preparation and its magnificent purpose which is to help us sweep the back of the house and the entire garden.
For the elaboration of this magnificent palm broom we have used the following materials:
- Wooden broom stick
- Straw or millet
- Palm
- Scissor
- Knife for cuts
- Large iron needle
- Wire (about 3 meters)
- Mecatillo thread (about 1 meter)
- Hammer
- Small steel nails (2 nails)
- Wooden mallet
Part of the materials for crafting
straw or millet
Palm (at least 3 leaves or medium stalks)
Needle to intertwine the wire and the Mecatillo
Broom stick
Materials almost ready to start
STEP A: the first thing we will do is join the straw or millet with the wooden stick of the brush
- STEP B: we wrap the brush stick with the straw and we put wire on it
It should remain this way, step by step it takes shape
- STEP C: with the wire we wrap the stick with the straw or corn
This is how friends remain Hive blog
- STEP D: after having adjusted the wire well, we lower the straw or corn (depending on the material to be used) we hold it and lower it so that our broom can take shape.
- STEP E: with the Mecatillo we are going to tie our future broom…
This is how it goes friends!
- STEP F: we measure 4 fingers apart to place the nail
To do this procedure we use the hammer
- STEP G: now yes, we are incorporating the palm leaves friends
- STEP H: after having joined all the palms with the wire, we proceed to cut the excess stalk that is located in the upper part of the broom.
This is how it should look friends, we're almost done yupi!
- STEP I: Then we remove the Mecatillo from the straw
- STEP J: after removing the Mecatillo from the straw. We are going to intertwine with the wire throughout the structure of the broom, we do the same with the Mecatillo, this to give more support and shape to the broom.
- STEP K: finally, we cut the palm a little so that our broom is more uniform and when cleaning it is easier to use.
FINAL RESULT FRIENDS!
I have loved sharing this beautiful experience with you, a big hug…
Discord Server.This post has been manually curated by @steemflow from Indiaunited community. Join us on our
Do you know that you can earn a passive income by delegating to @indiaunited. We share more than 100 % of the curation rewards with the delegators in the form of IUC tokens. HP delegators and IUC token holders also get upto 20% additional vote weight.
Here are some handy links for delegations: 100HP, 250HP, 500HP, 1000HP.
Please contribute to the community by upvoting this comment and posts made by @indiaunited.
Grateful for your support, blessings
Congratulations @valentifit! You have completed the following achievement on the Hive blockchain And have been rewarded with New badge(s)
Your next target is to reach 1000 upvotes.
You can view your badges on your board and compare yourself to others in the Ranking
If you no longer want to receive notifications, reply to this comment with the word
STOPCheck out our last posts:
Support the HiveBuzz project. Vote for our proposal!
I feel so happy to grow in hive a million thanks
De nada @valentifit 🌹
Por cierto, también necesitamos tu ayuda. ¿Podemos pedirle que apoye nuestra propuesta para que nuestro equipo pueda continuar con su trabajo?
Puedes hacerlo en peakd, ecency, o con HiveSigner.
¡Muchas gracias!
Esas escobas son muy buena mi mamá las usaba, mantienen el suelo compacto y son duraderas.
@virgilio07 , si son excelentes mi abuelo aun las hace le encantan y son muy útiles para limpiar, gracias por tu valioso comentario.