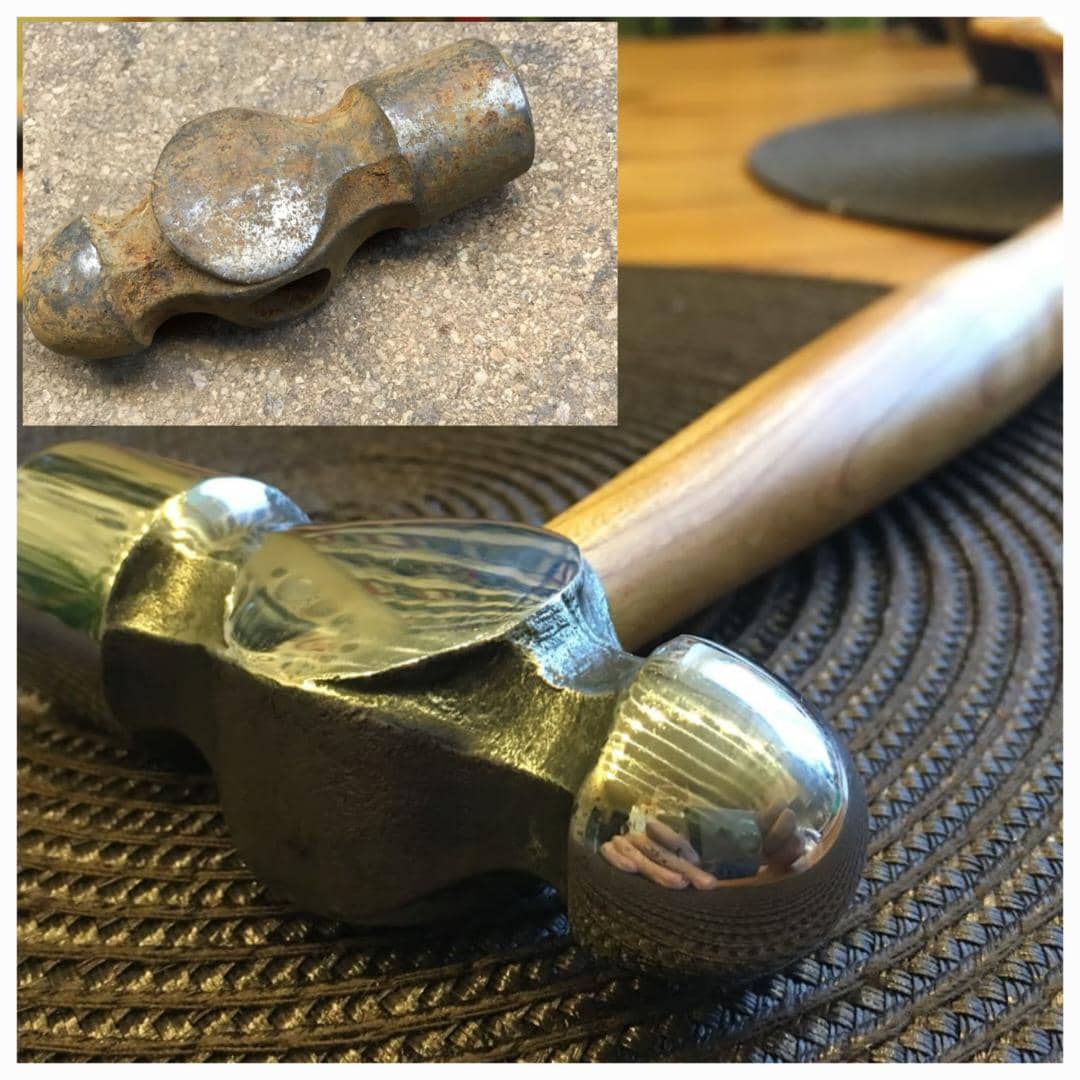
I recently had the opportunity to visit my friend, John, in his workshop. John is a skilled craftsman and has an incredible talent for restoring old tools. I was fascinated by his work and eager to learn from him. During my visit, he decided to restore a worn-out hammer, and he kindly asked me to assist him in the process. I was thrilled to be part of such a project, and together, we embarked on the journey of transforming this old, rusty hammer into a brand new, functional tool.
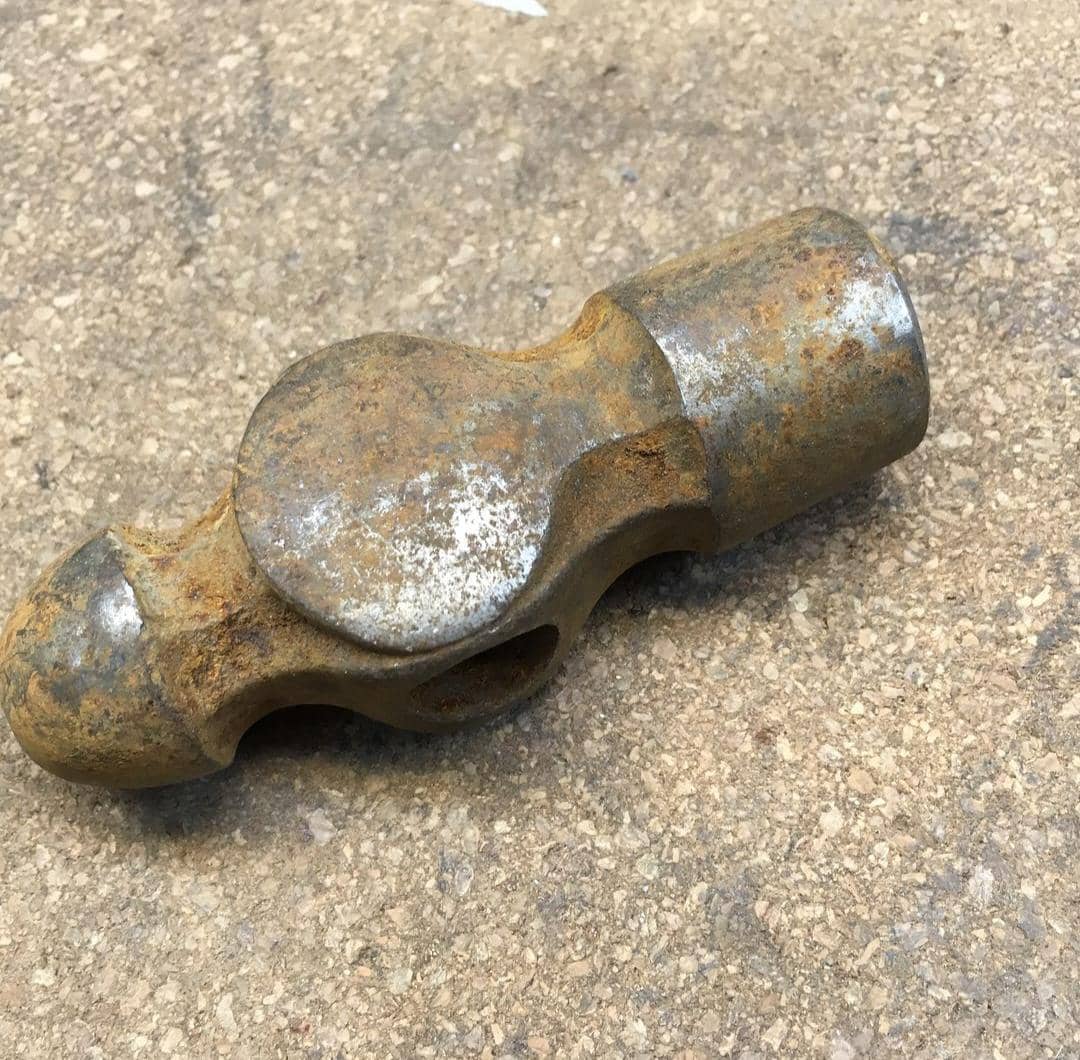
The first step in the restoration process was to thoroughly examine the hammer to assess the extent of the damage. We noticed that the handle was loose and worn, and the head was covered in layers of rust. We knew that we had our work cut out for us, but we were determined to bring this hammer back to life.
To begin, we carefully removed the old handle from the hammerhead. John explained that the handle was made of hickory wood, which is known for its durability and shock resistance. He showed me how to use a chisel and a mallet to gently pry off the handle without causing any further damage to the hammerhead.
Once the old handle was removed, we set it aside and turned our attention to the hammerhead. John had an impressive collection of tools in his workshop, and he selected a wire brush and sandpaper to tackle the rust.
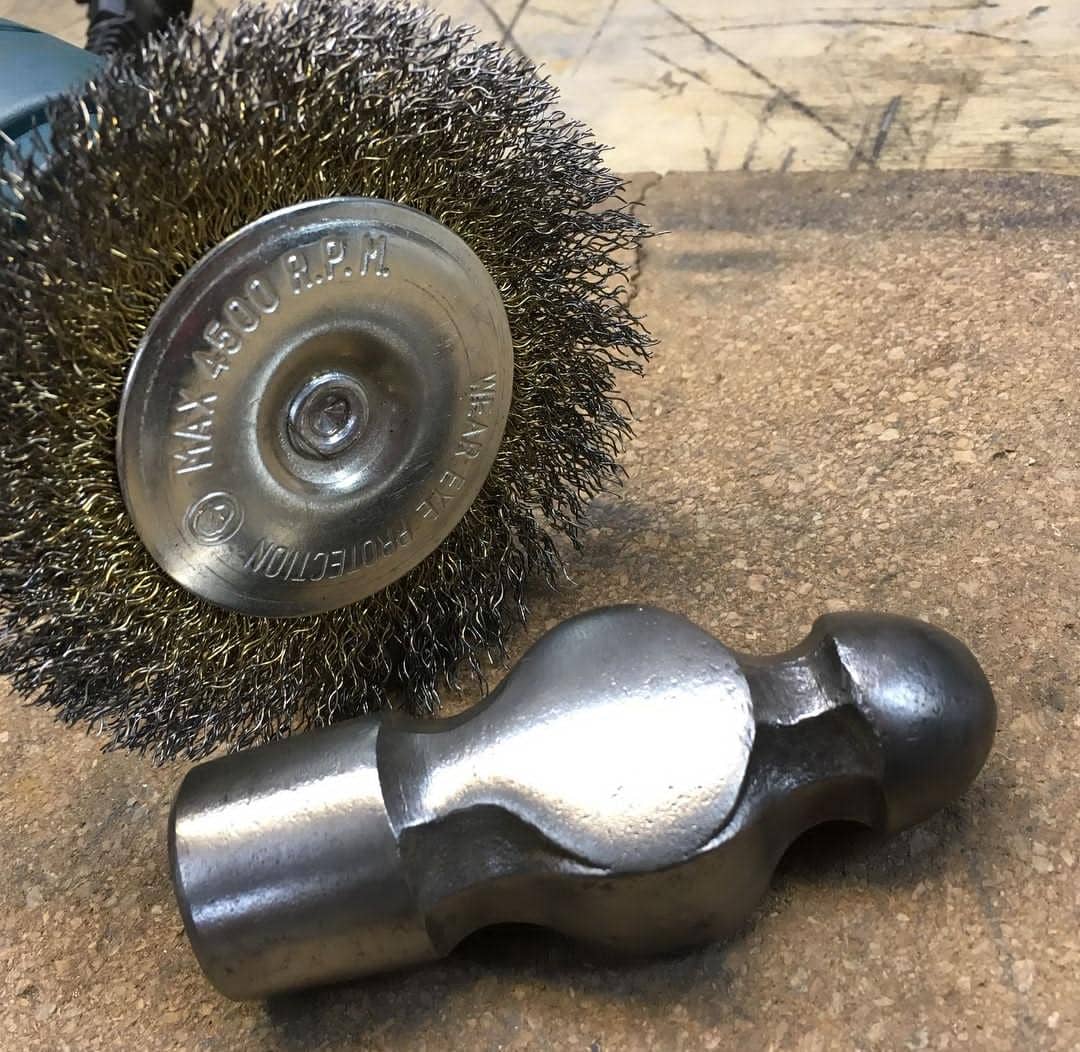
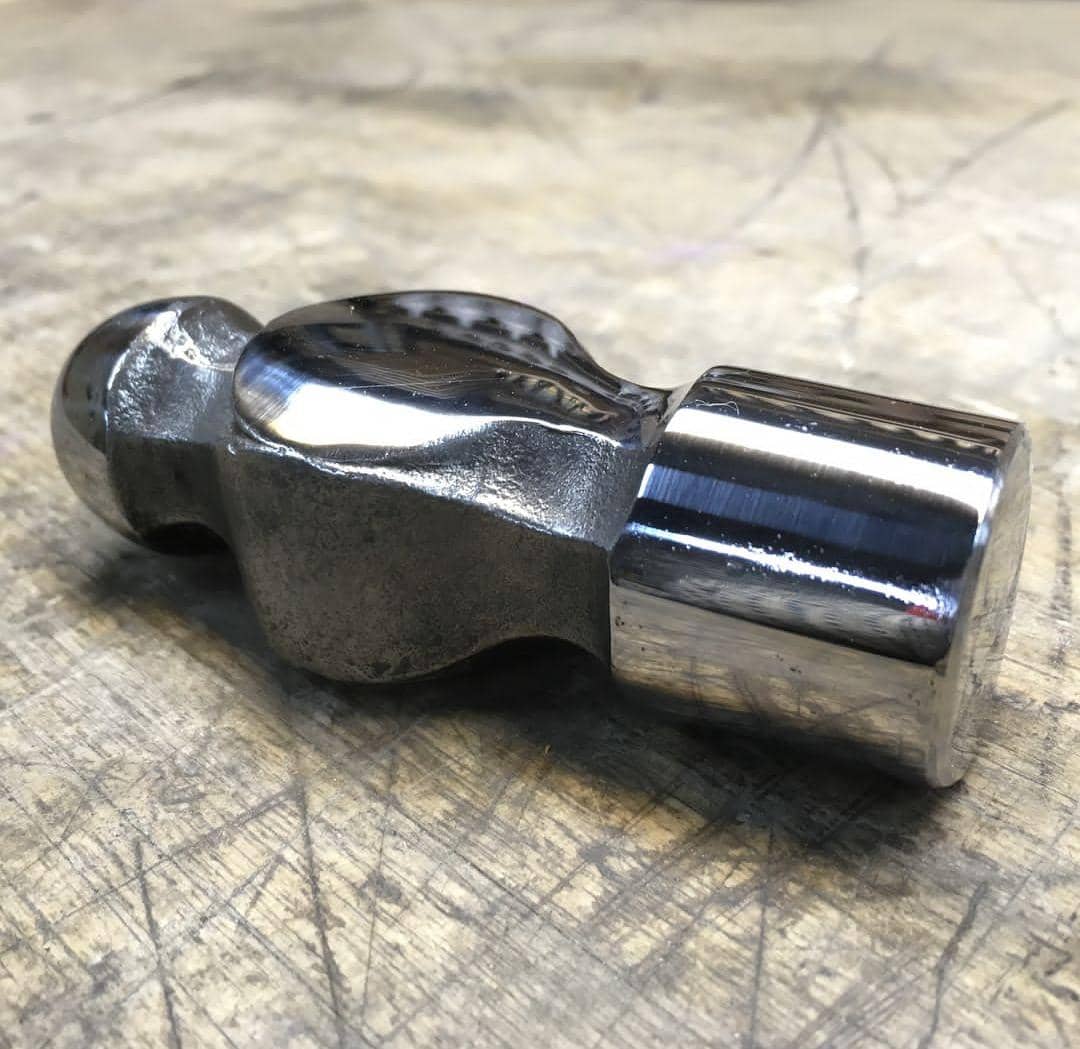
We started by using the wire brush to scrub away the loose rust particles, being careful not to scratch the surface of the hammerhead. Then, we progressed to sanding the remaining rust spots, gradually revealing the original metal beneath.
After successfully removing the rust, we decided to clean the hammerhead thoroughly. John filled a small container with a mixture of warm water and mild soap. He carefully submerged the hammerhead and used a soft brush to gently scrub away any remaining dirt and grime. Once clean, we rinsed the hammerhead with clean water and dried it thoroughly using a cloth.
With the hammerhead cleaned and restored, it was time to focus on the handle. John had a collection of hickory wood blanks in his workshop, and we selected a suitable one for the hammer. He taught me how to measure and mark the appropriate length for the handle, ensuring a comfortable grip. Using a saw, we carefully cut the wood to size.
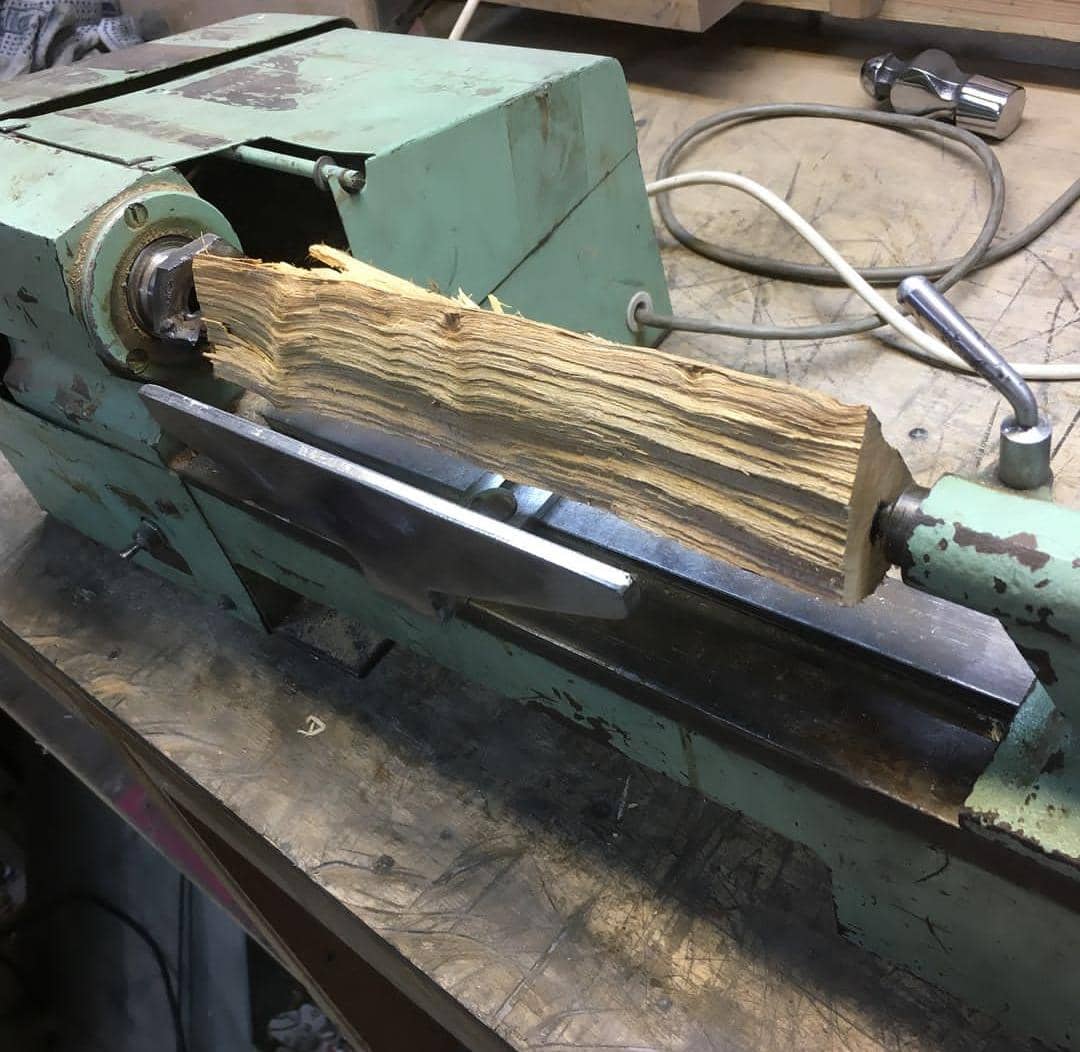
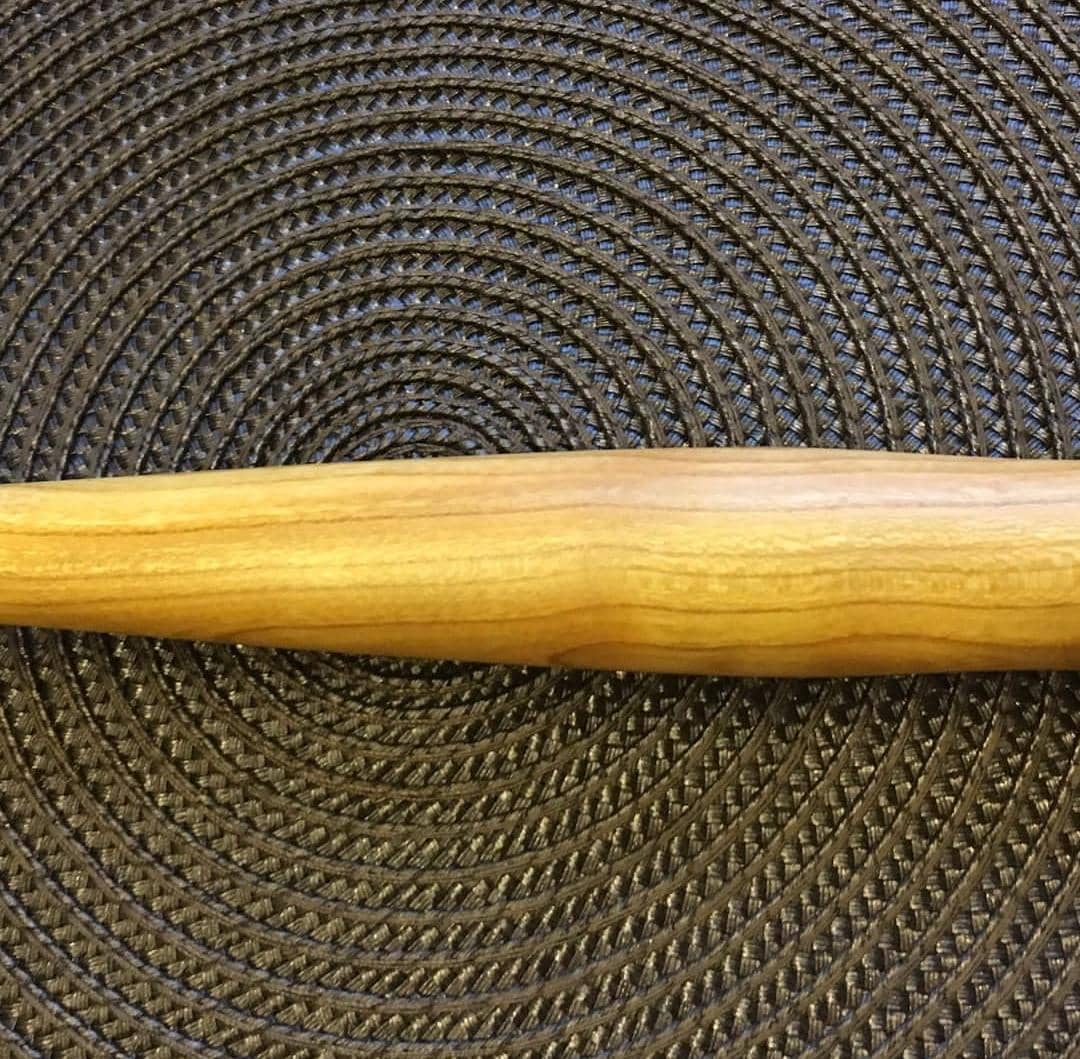
Next, we had to shape the handle. John demonstrated how to use a rasp and sandpaper to create a smooth and ergonomic grip. We took our time, constantly checking the handle's fit and making adjustments as necessary.
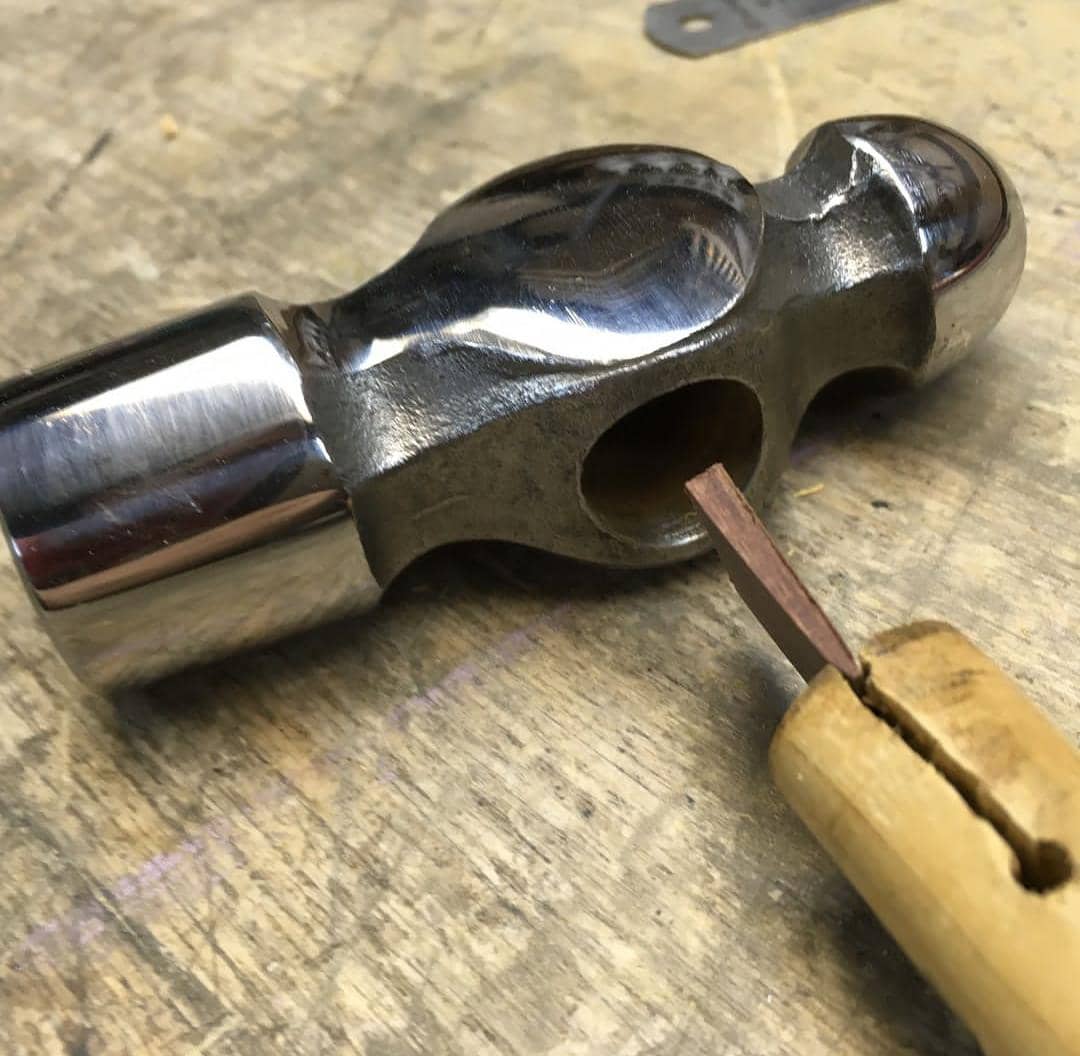
Once satisfied with the shape, we used a drill and a wood chisel to create a hole in the top of the handle, allowing it to fit securely onto the hammerhead.
Finally, it was time to assemble the hammer. We applied a thin layer of wood glue to the hole in the handle and carefully slid it onto the hammerhead. John assured me that the glue would provide additional strength and stability. We allowed the glue to dry for several hours, ensuring a strong bond between the handle and the hammerhead.
When the glue had fully cured, we held the restored hammer in our hands and admired our work. It was truly remarkable to witness the transformation from a neglected, rusty tool to a beautiful, fully functional hammer. I felt a sense of accomplishment and gratitude for the opportunity to learn from John and be part of this restoration process.
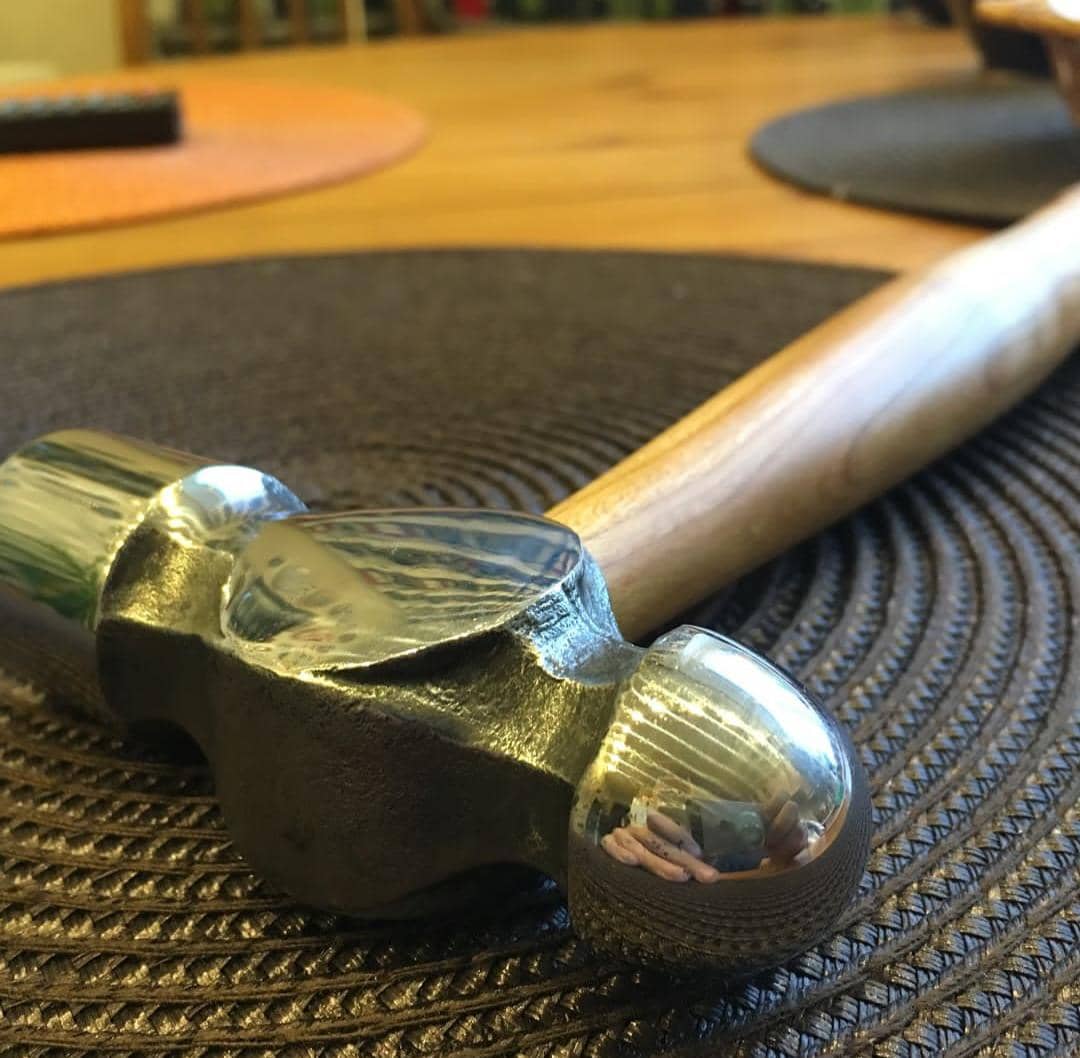
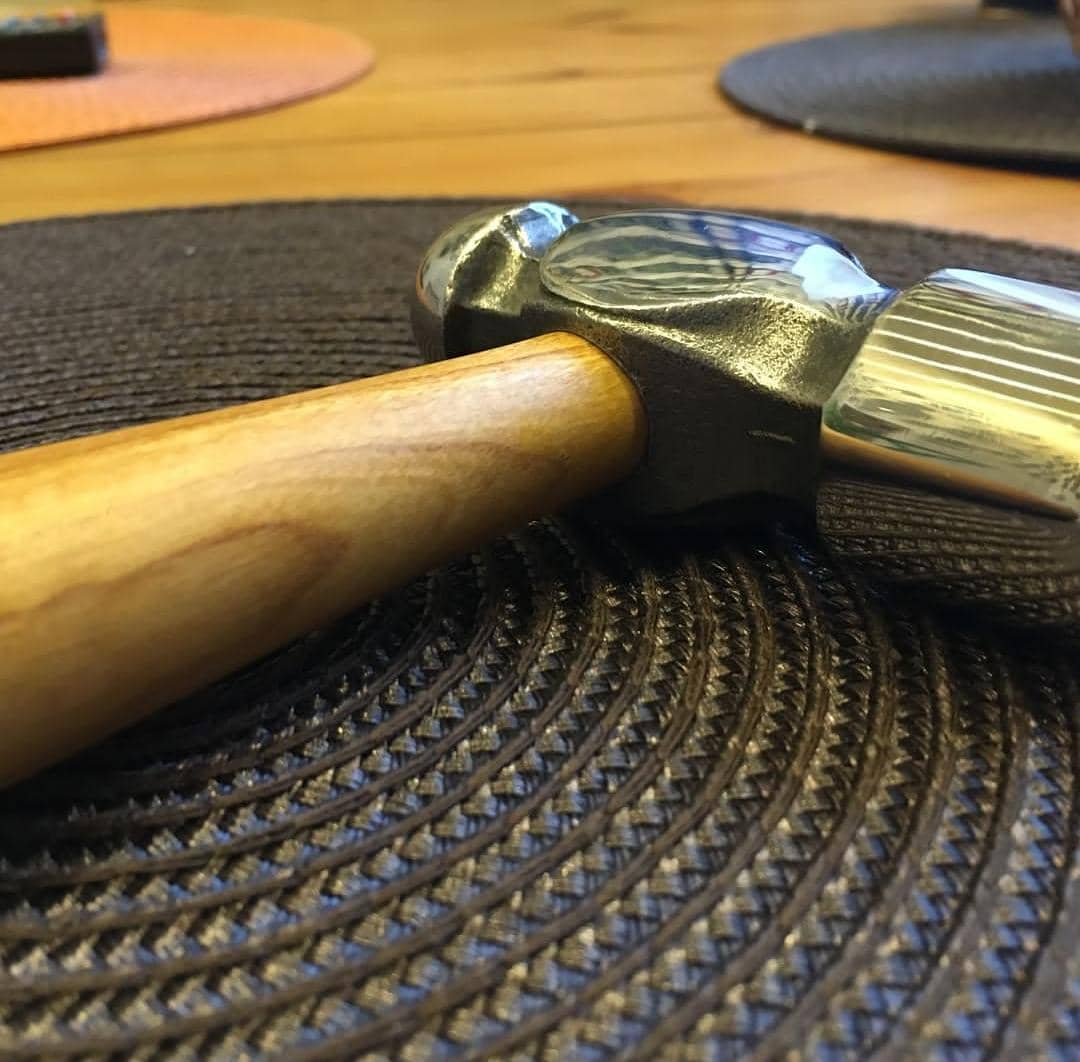
Visiting my friend's workshop and helping him restore the hammer was an incredible experience. I not only learned valuable skills but also gained a deeper appreciation for the craftsmanship involved in restoring old tools. It was a reminder that with patience, dedication, and the right tools, even the most worn-out objects can be given a new lease on life.
Estoy lleno de martillos viejos en casa pero ninguno quedaría tan bien como este luego de una remodelación, por suerte son útiles y hasta a veces se los regalo a conocidos que no tienen. Me encanto el trabajo que hiciste quedo 0Km hasta da un poco de pena usarlo
Congratulations @vision12! You have completed the following achievement on the Hive blockchain And have been rewarded with New badge(s)
Your next target is to reach 100 upvotes.
You can view your badges on your board and compare yourself to others in the Ranking
If you no longer want to receive notifications, reply to this comment with the word
STOPCheck out our last posts:
There is reasonable evidence that this article is machine-generated. Posting such content is considered fraud. Fraud is discouraged by the community and may result in the account being Blacklisted.
Potential source of photography plagiarism
The image you posted is the primary source of value for your post or you have posted an image in one of the photography/art curated tags without attribution or source. By doing so you are claiming to be the sole content creator and that the image is original to yourself.
Plagiarism is the copying & pasting of others' work without giving credit to the original author or artist. This includes manually reproducing the work of others.
Repeated plagiarism is considered fraud. Fraud is discouraged by the community and may result in the account being Blacklisted.
Guide: Why and How People Abuse and Plagiarise
If you believe this comment is in error, please contact us in #appeals in Discord.