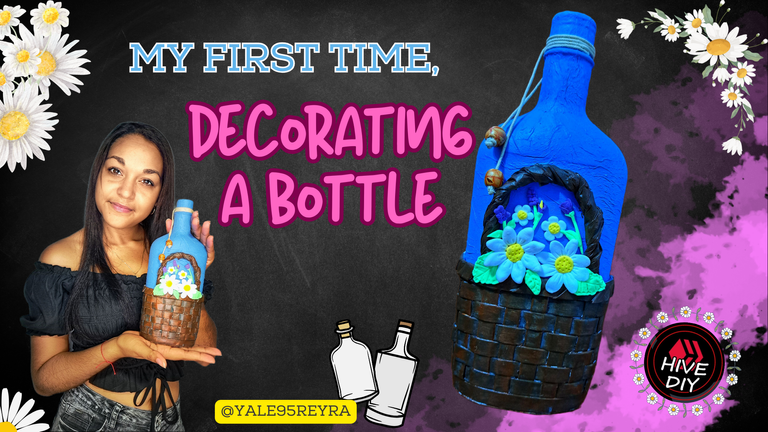
Hello craft friends, sometimes I have used bottles in the making of little houses that I have made from recycled materials, but as such, I had never had the opportunity to make a decorated bottle. This would be the first of many designs I have in mind and I came up with it because a few days ago I was passing by an art exhibition some colleagues and we saw some beautiful ones, and I said to myself, why not make one, it doesn't seem so difficult, and here I am, showing you my first decorated bottle. Below, I show you the step by step:
Hola amigos artesanos, en ocasiones he utilizado botellas en la confección de casitas que he elaborado a partir de materiales reciclados, pero como tal, nunca había tenido la oportunidad de hacer una botella decorada. Esta sería la primera de tantos diseños que tengo en mente y se me ocurrió porque hace unos días pasaba junto a unas compañeras cerca de una exposición de arte y observamos unas preciosas, y me dije, ¿por qué no hacer una, no parece tan difícil? y aquí me ven, mostrándoles mi primera botella decorada. A continuación, les muestro el paso a paso:
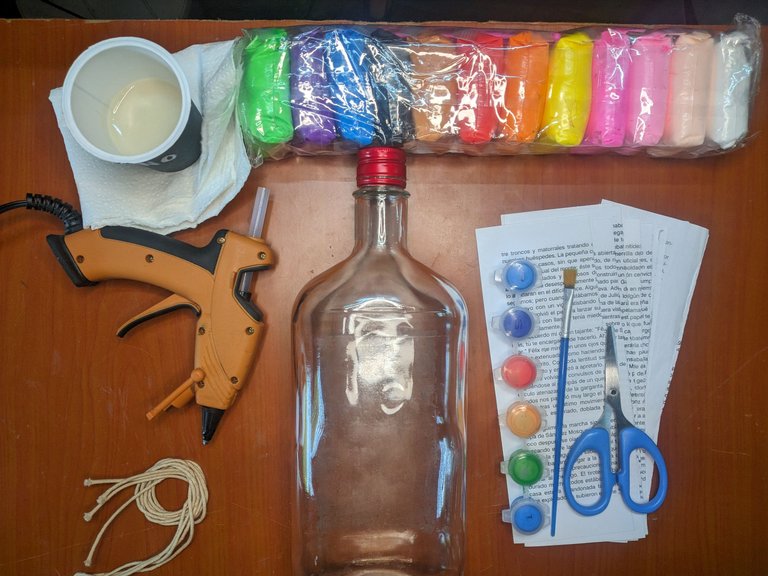
Materials // Materiales
- 1 bottle / 1 botella
- Silicone gun / Pistola de silicona
- Liquid glue / Pegamento líquido
- Disposable napkins / Servilletas desechables
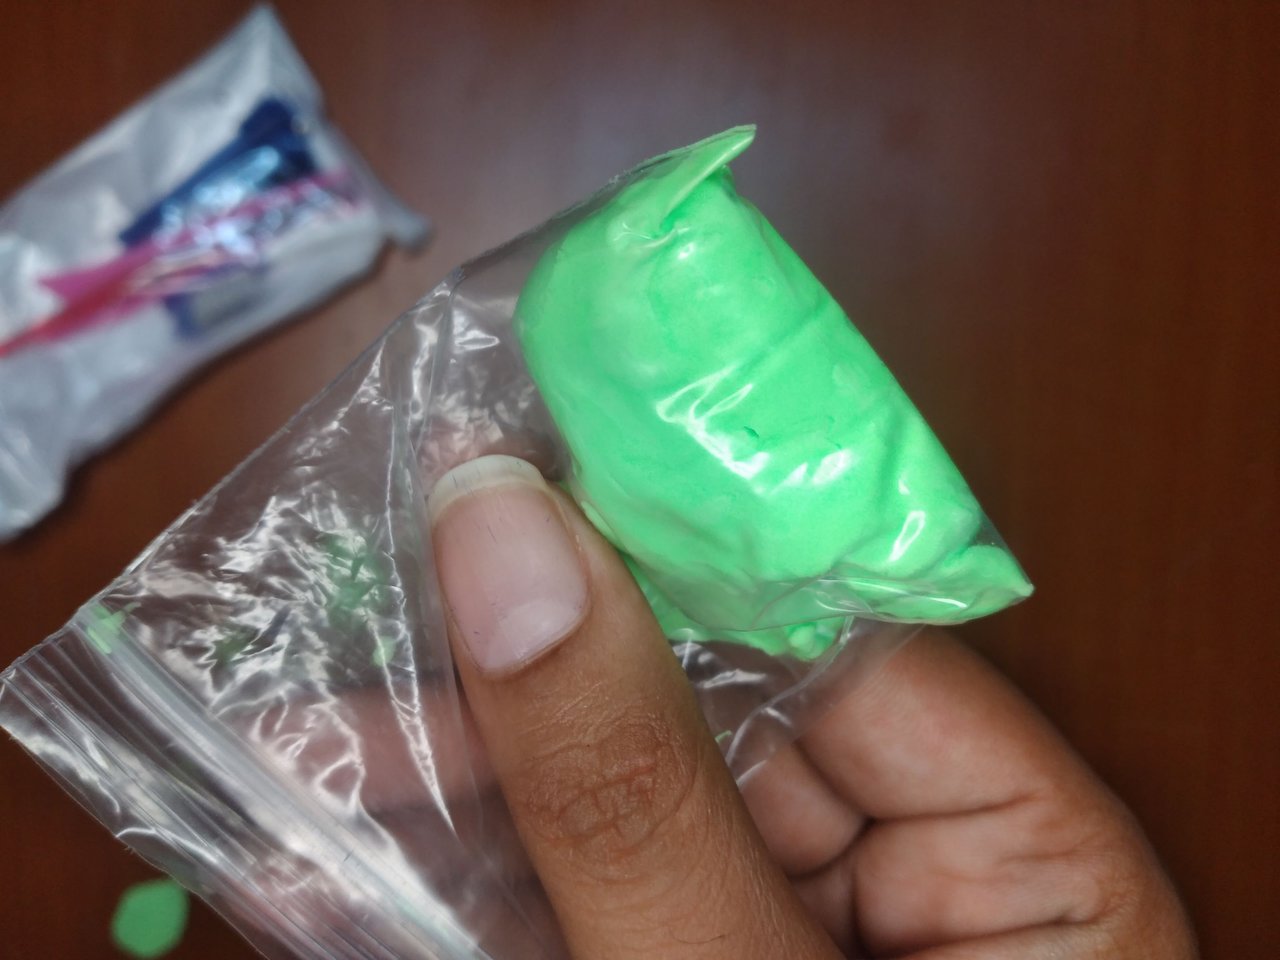
- Moldable Foami / Foami moldeable
- Paints / Pinturas
- Recycled paper / Papel reciclado
- Scissors / Tijeras
- Brush / Pincel
- Beige string or jute sack twine. / Cordel color beich o hilo de saco de yute.
Step by step / Paso a paso
 |
 |
 |
 |
 |
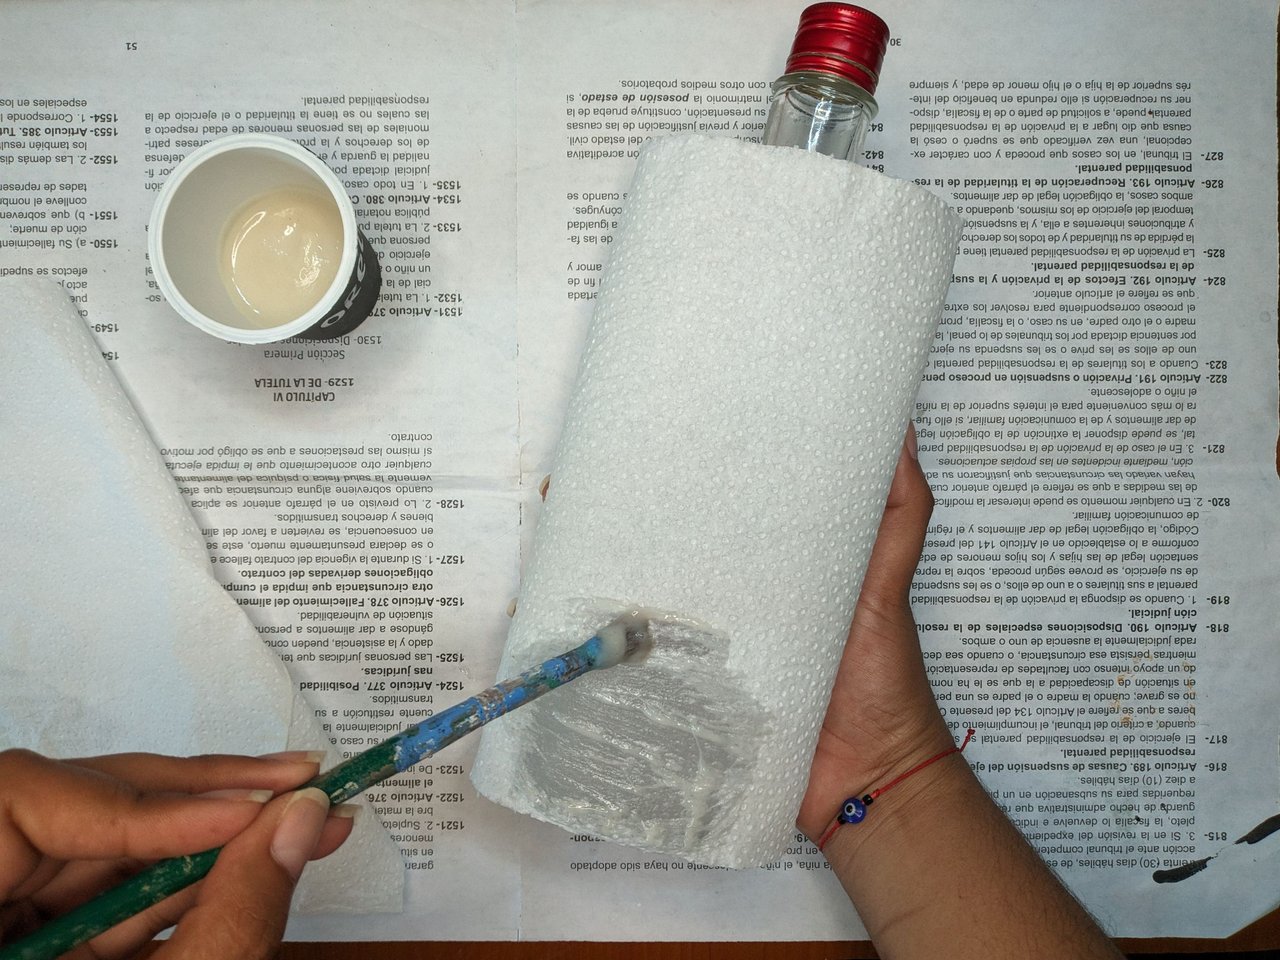
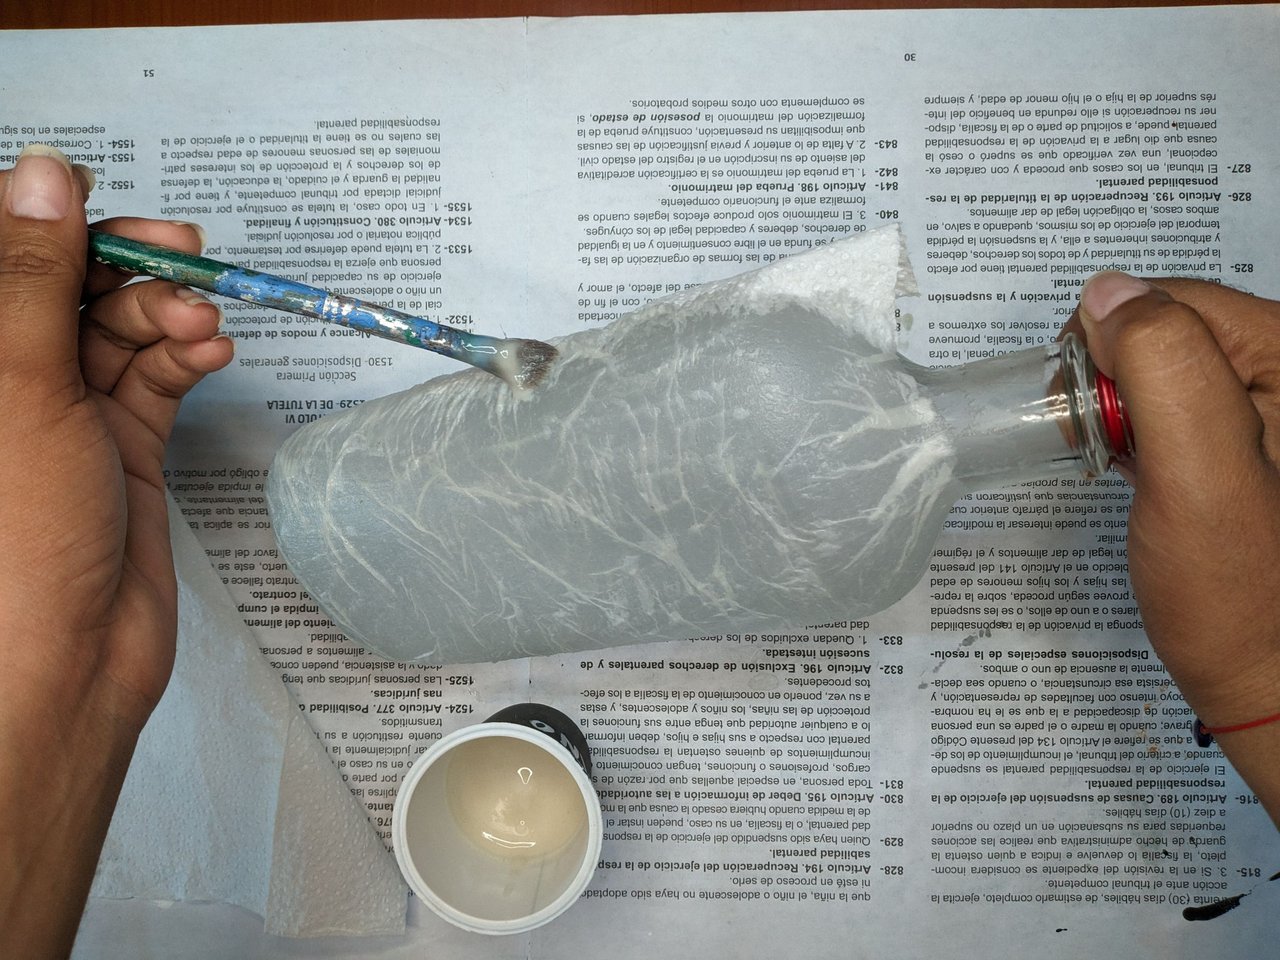
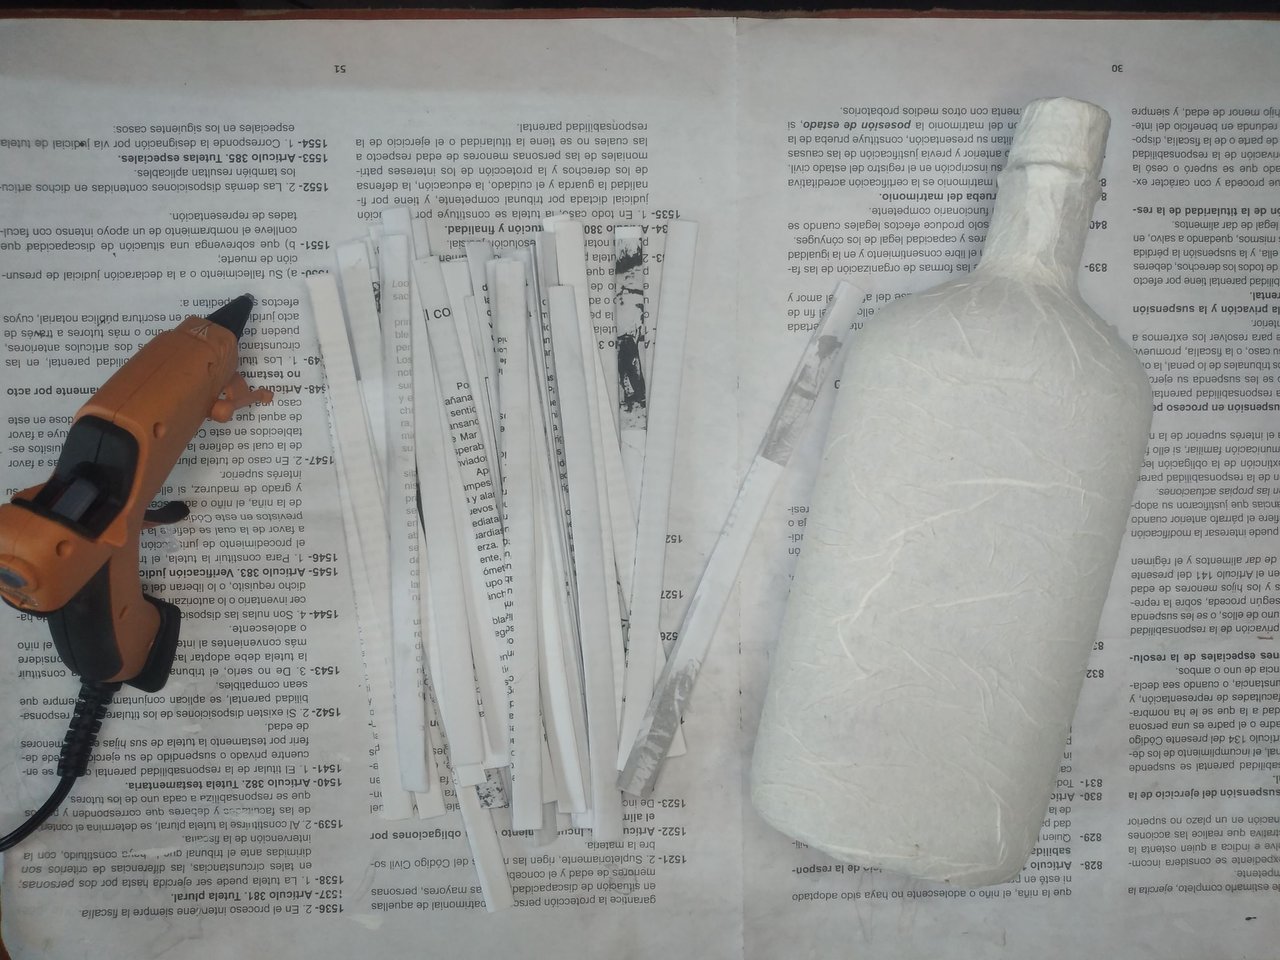
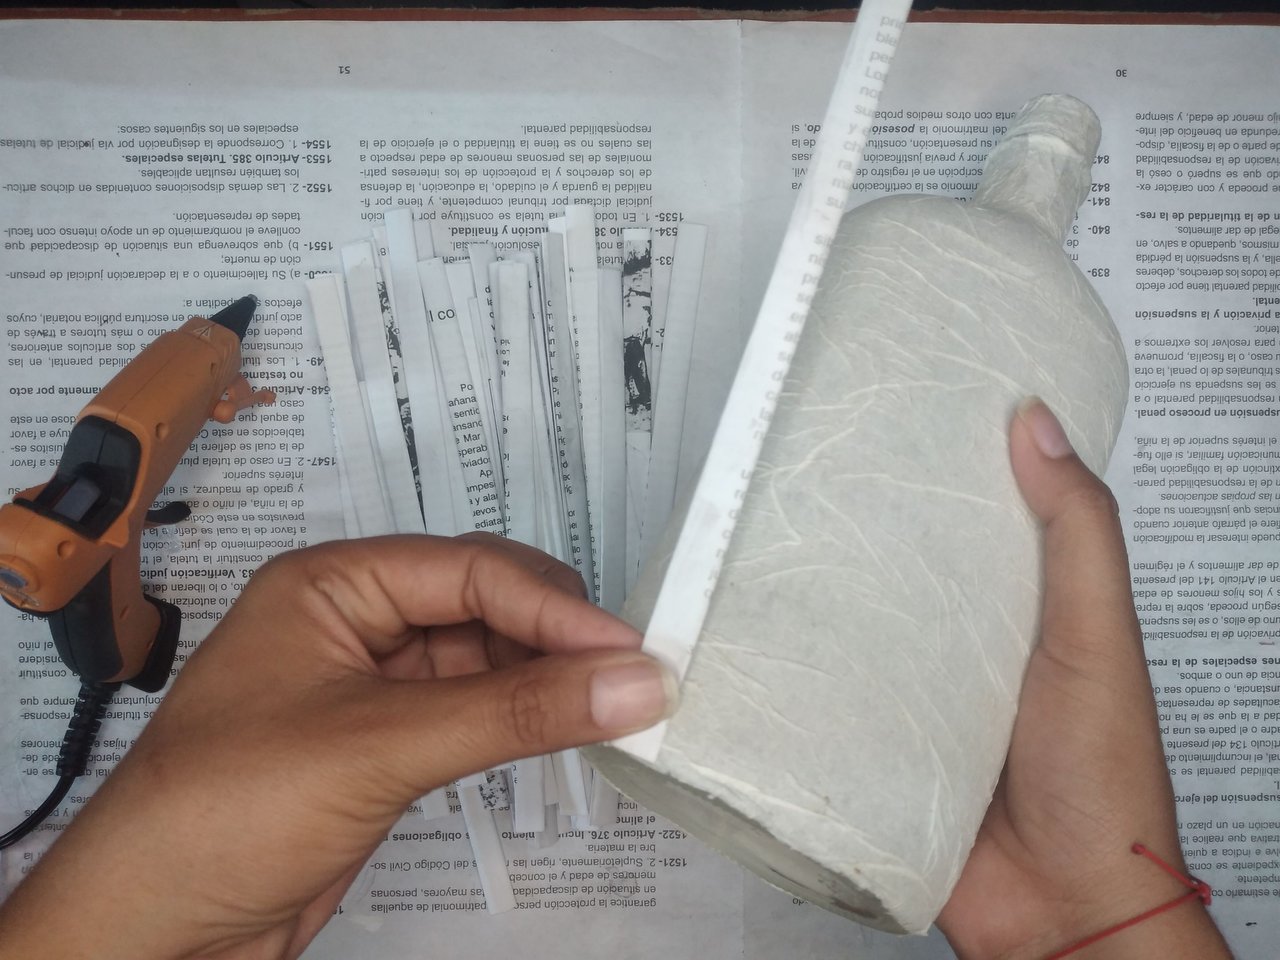
First of all, you have to choose a bottle that is suitable for the design you are going to make, therefore, I looked for one that was not round, but a little flat, so it would look nicer what I wanted to do. With disposable napkins and liquid glue I covered the entire surface of the bottle until it is completely covered, then let it dry.
Primeramente, hay que escoger una botella que sea adecuada para el diseño que vas a elaborar, por lo tanto, busqué una que no fuera redonda, sino un poco plana, así se vería más bonito lo que quería hacer. Con servilletas desechables y pegamento líquido fui cubriendo toda la superficie de la botella hasta que esté totalmente cubierta, luego dejar secar.
 |
 |
 |
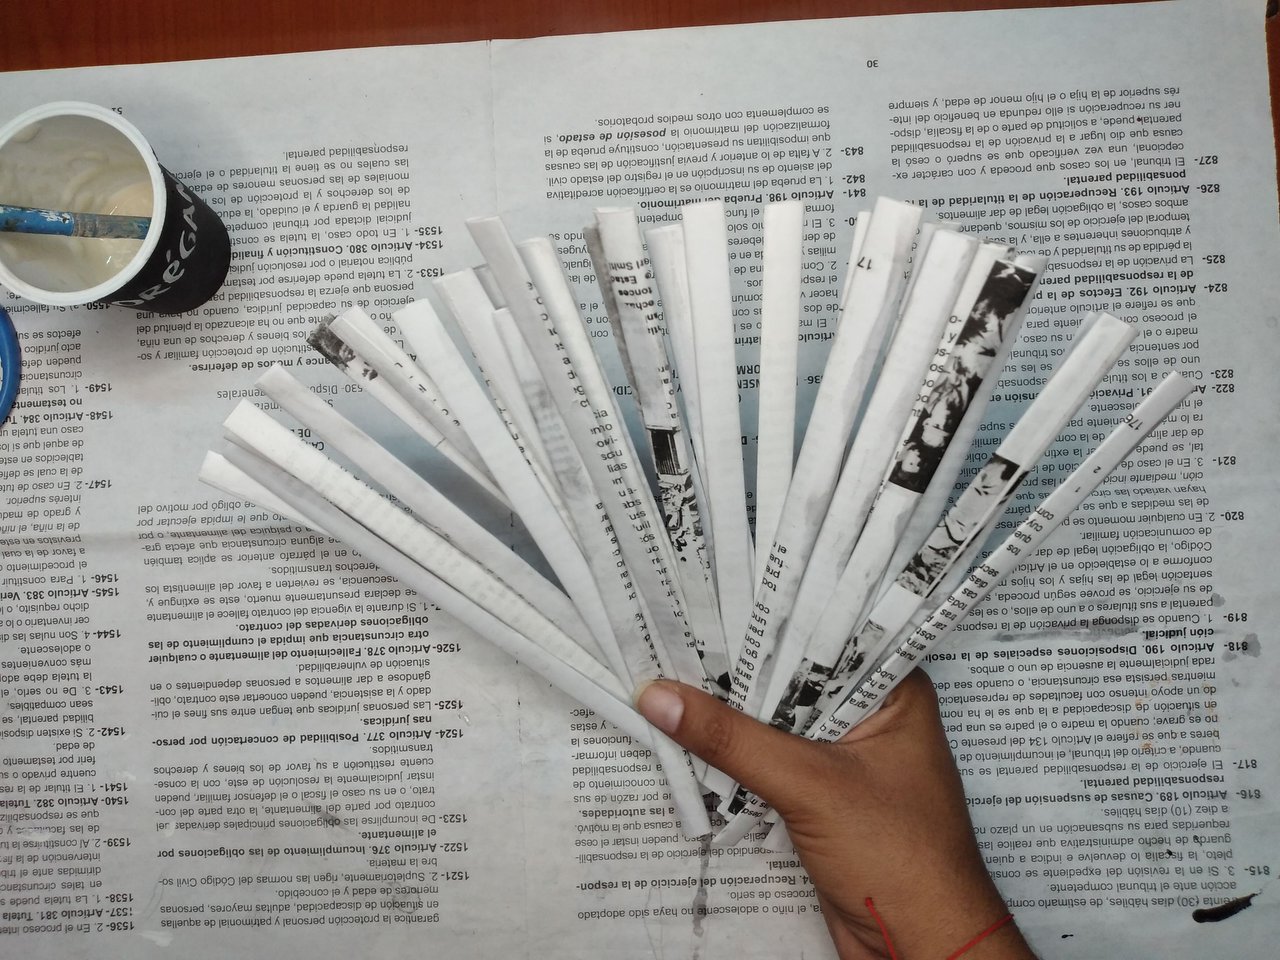 |
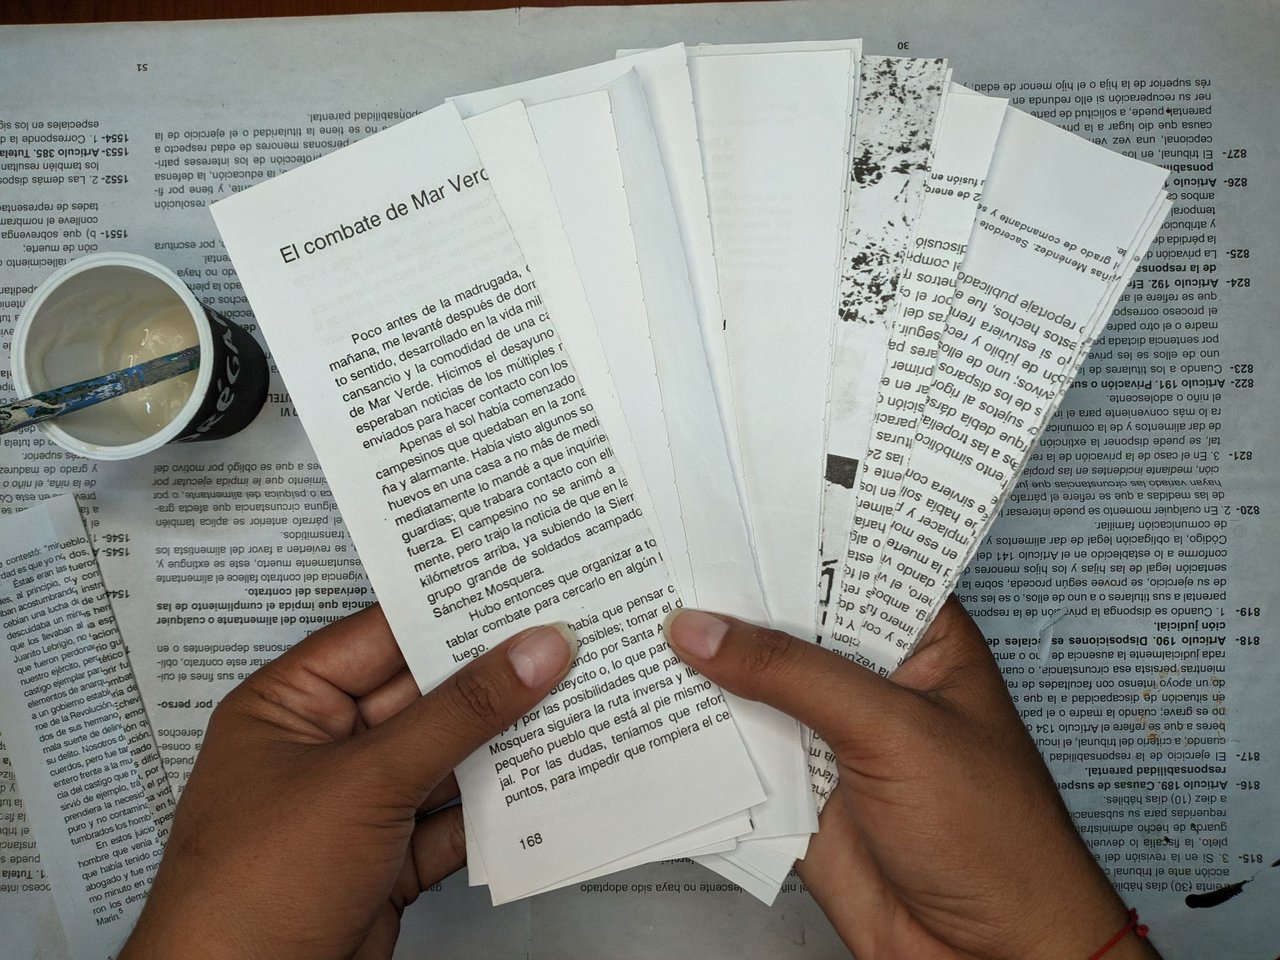
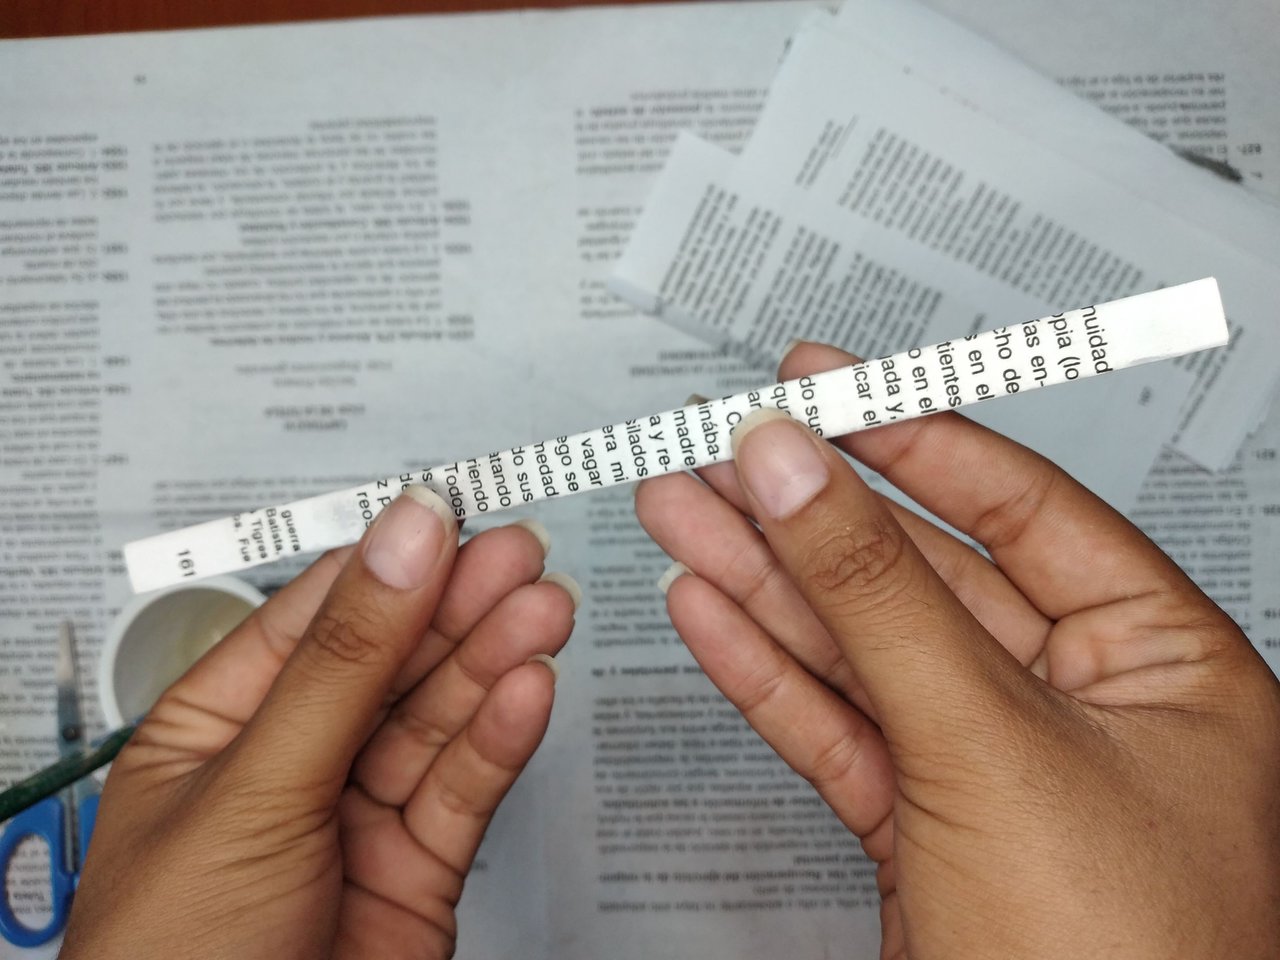
Take recycled leaves and cut them in half, fold them approximately 1 cm long and glue them at the tip so that they do not open, thus making several.
Tomamos hojas recicladas y las picamos por la mitad, ir doblando aproximadamente con una longitud de 1 cm y pegar en la punta para que no se abra, de esta forma hacer varias.
 |
 |
 |
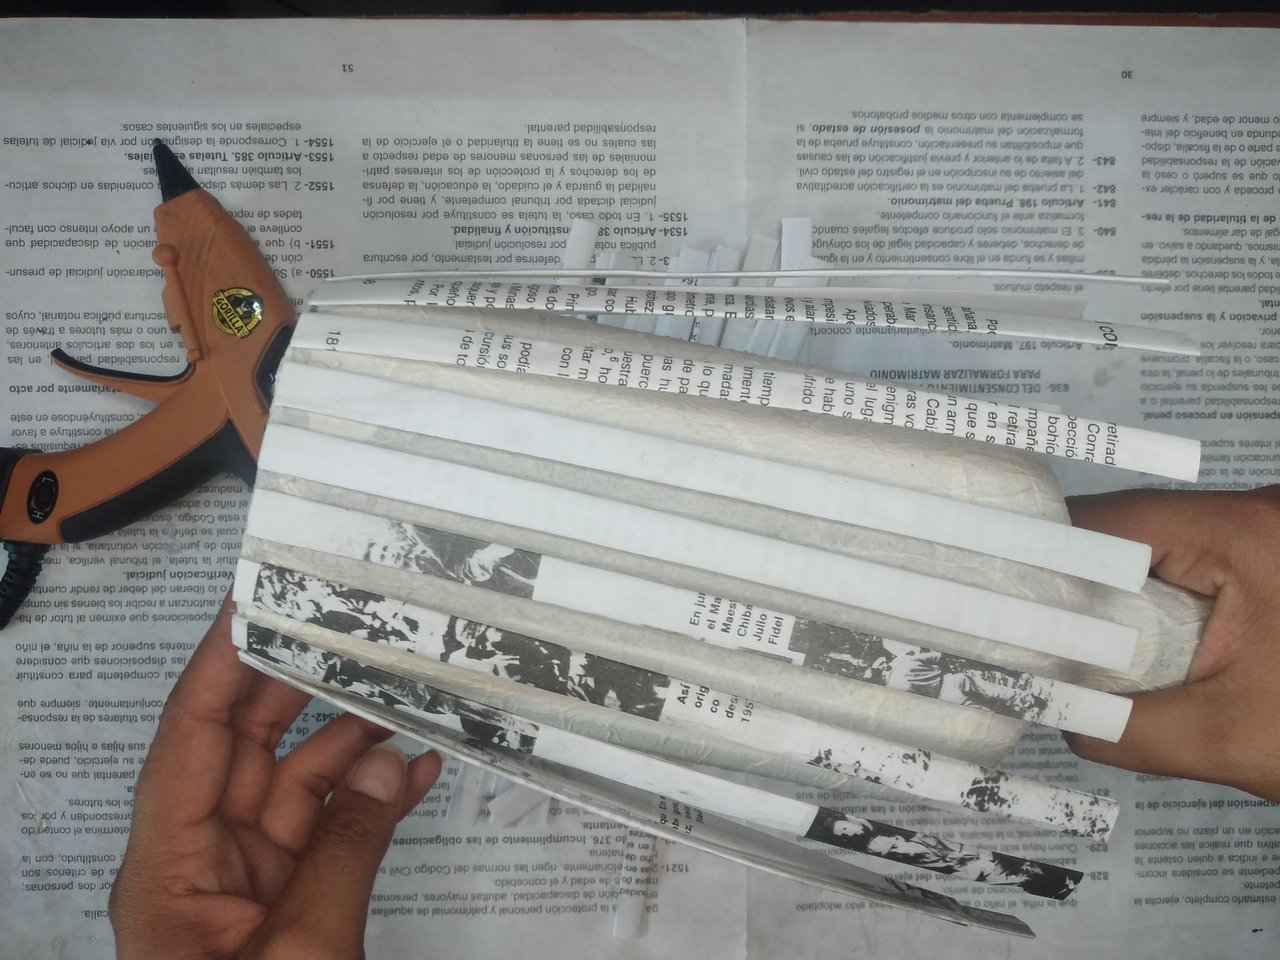 |
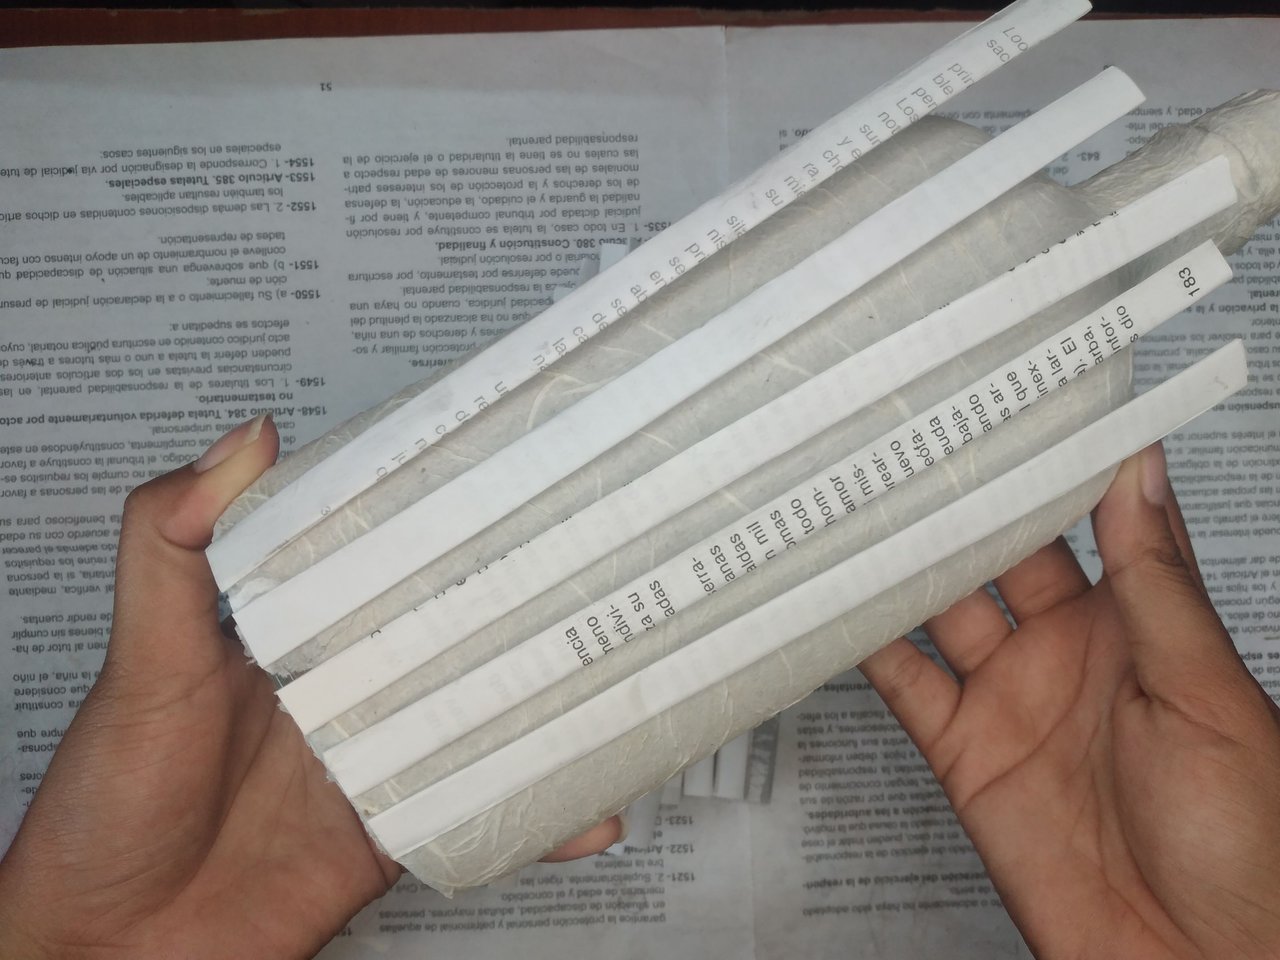
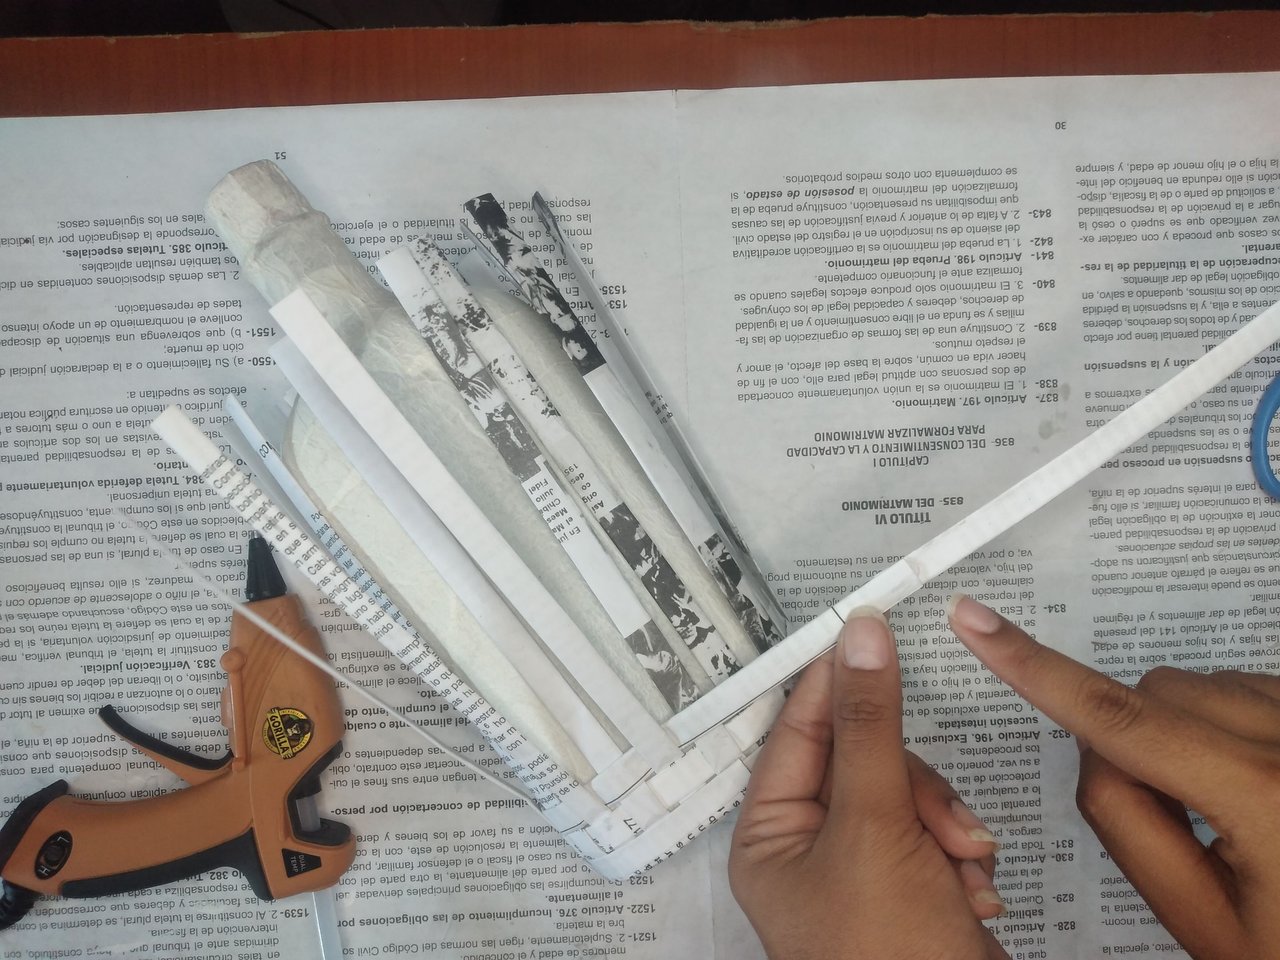
These strips are glued with silicone on the bottom of the bottle, only glued at the tip, leaving half a cm of separation between one and the other.
Estas tirillas se van pegando con silicona en la parte inferior de la botella, solo se pega en la punta, dejando medio cm de separación entre una y otra.
 |
 |
A strip is glued horizontally at the bottom, at the base, this will look much more aesthetic, as well as provide more firmness and will not detach any of the strips.
Una tirilla se pega horizontalmente en la parte de debajo, en la base, esto se verá mucho más estético, además de proporcionarle más firmeza y que no se despegue alguna de las tirillas.
 |
 |
 |
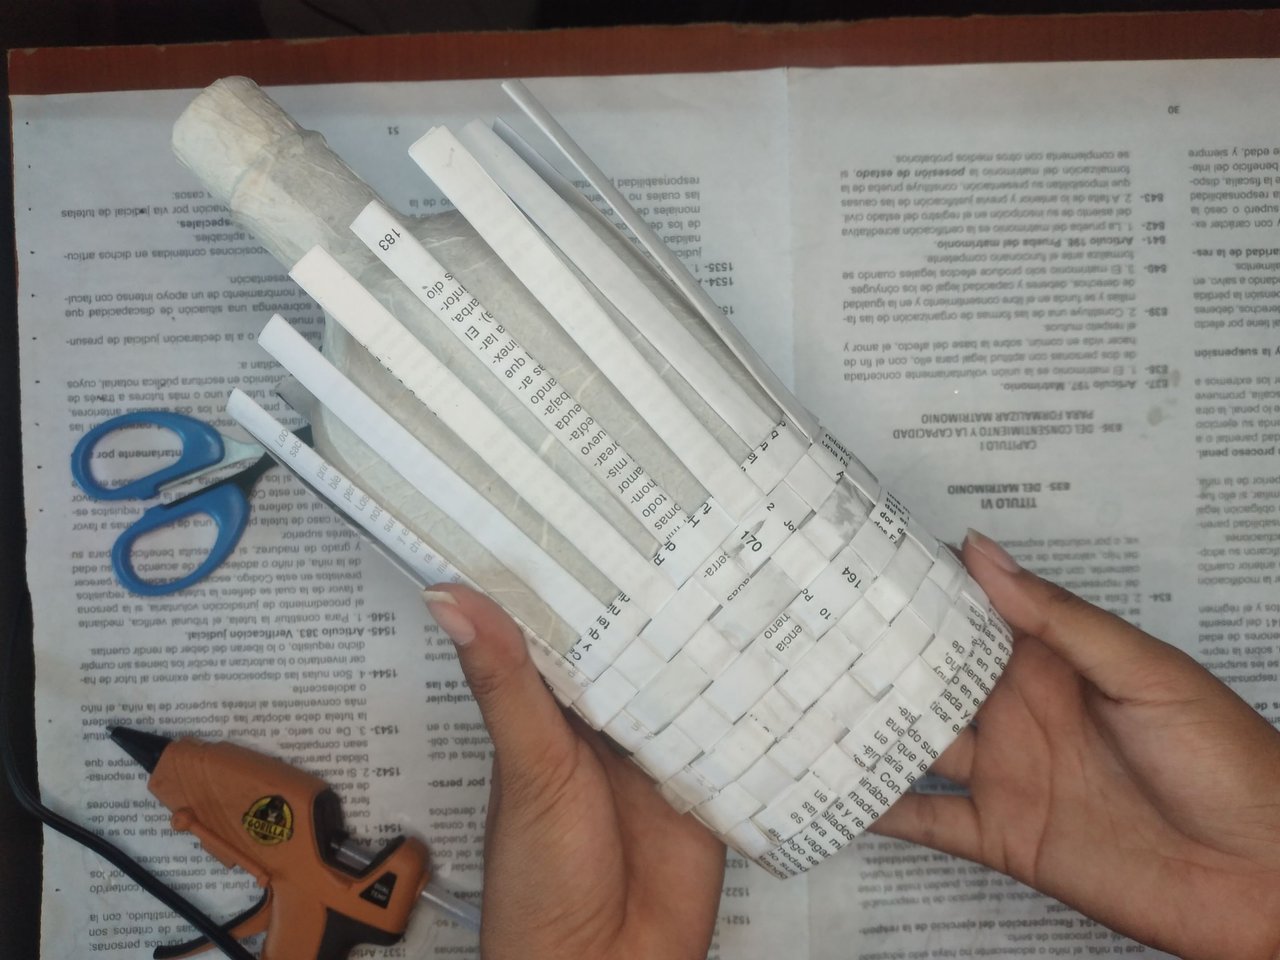 |
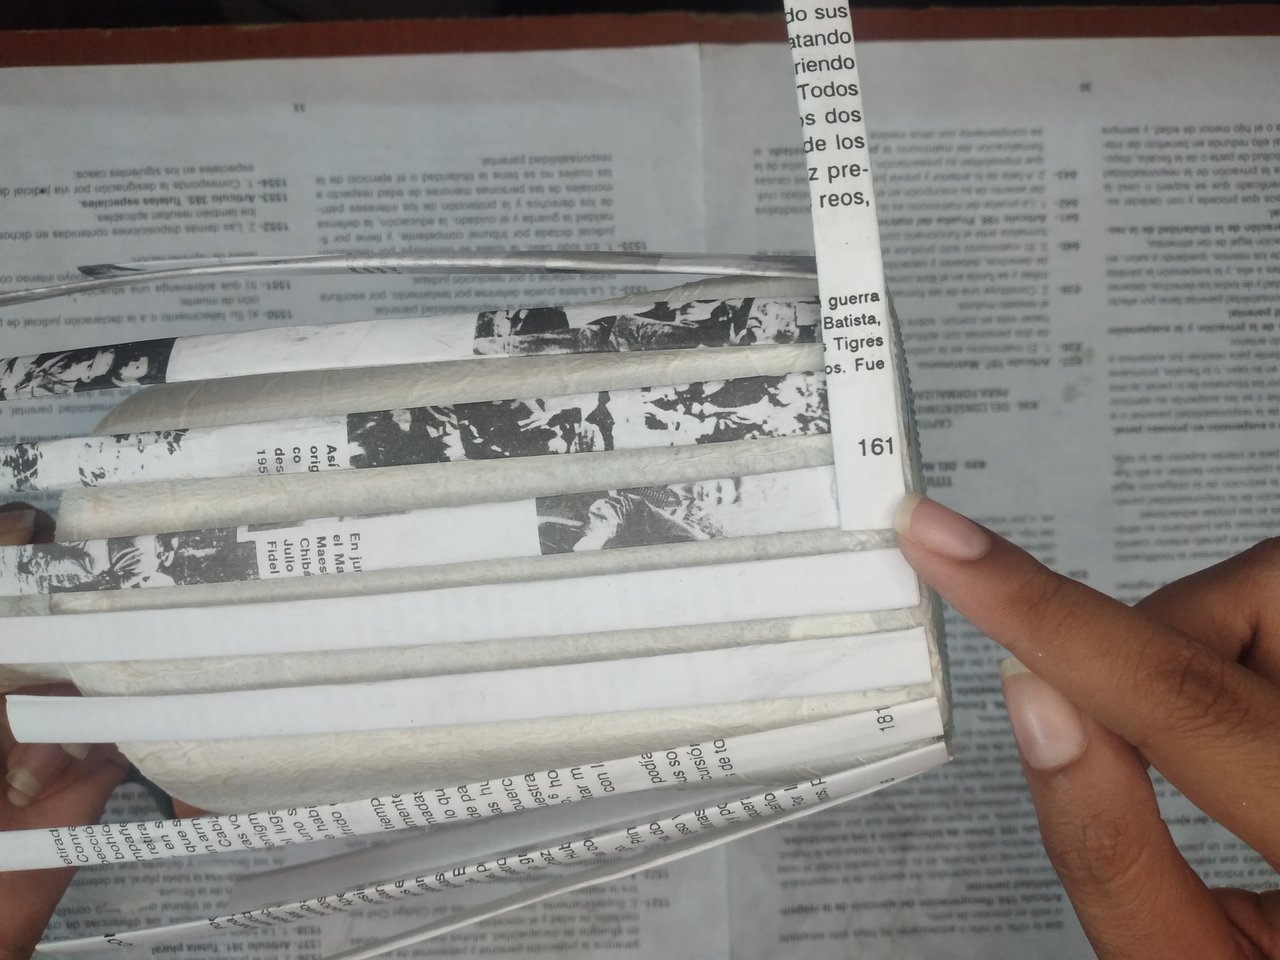
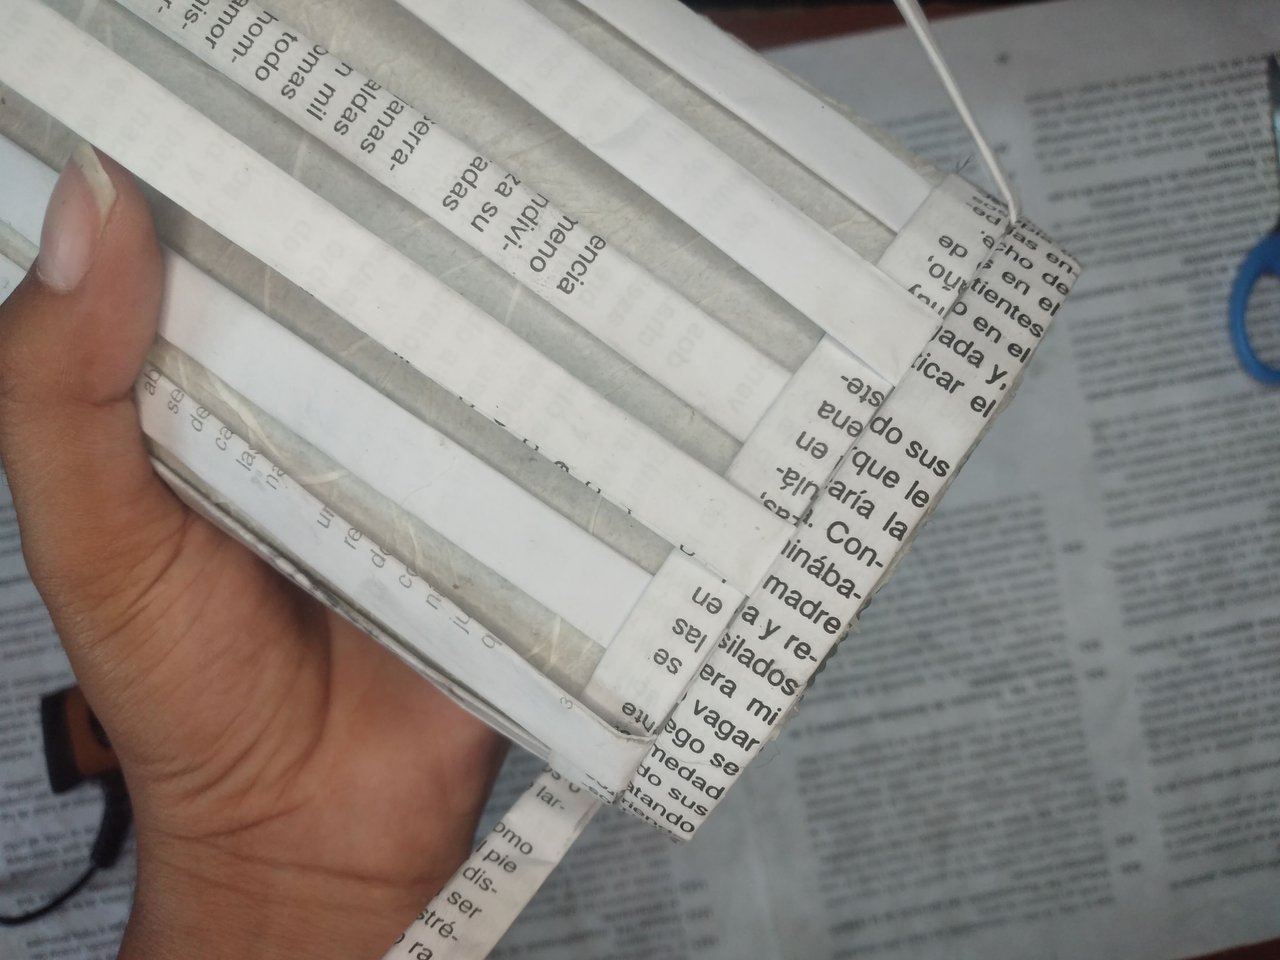
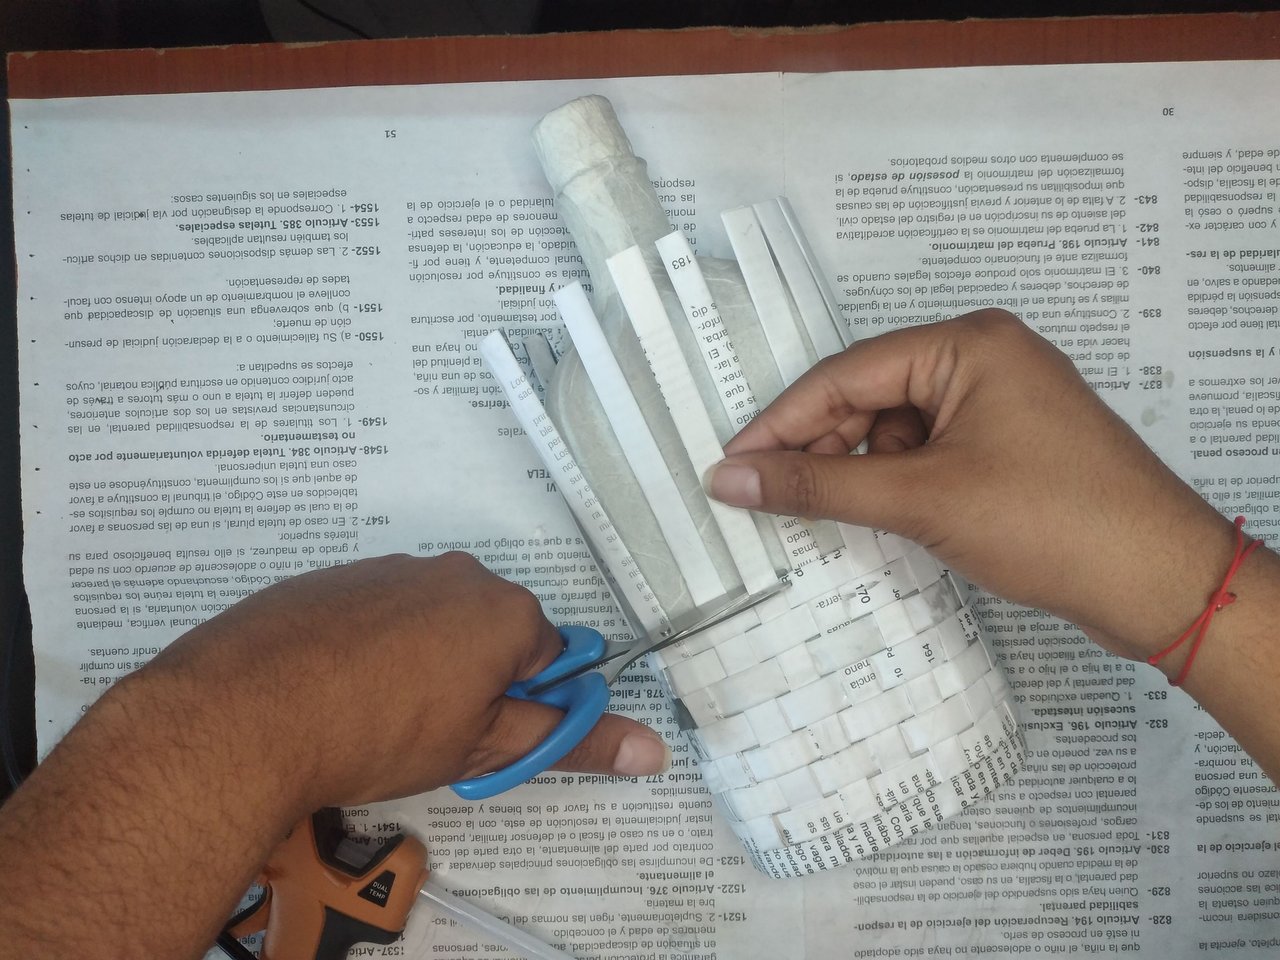
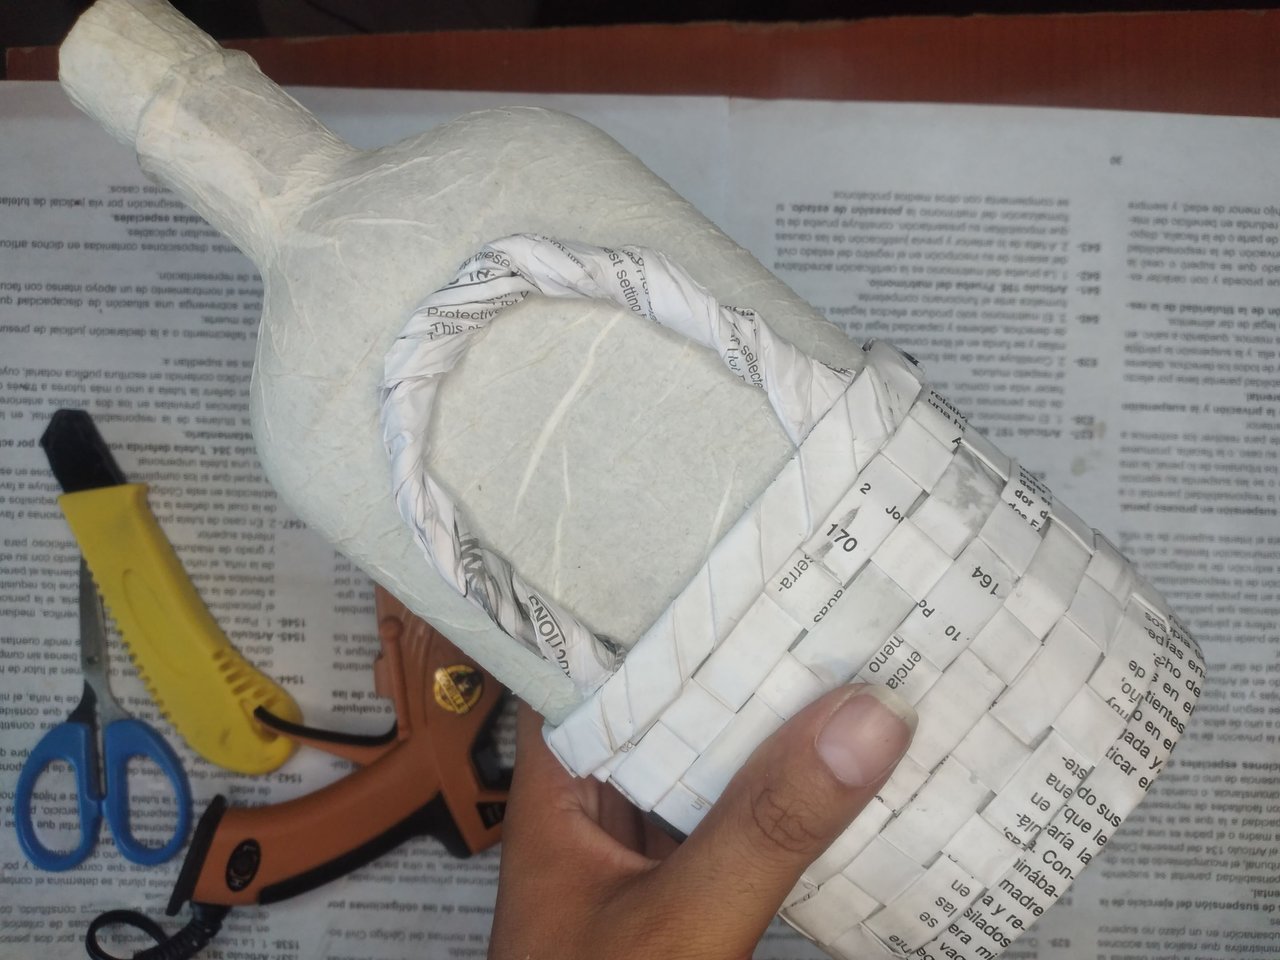
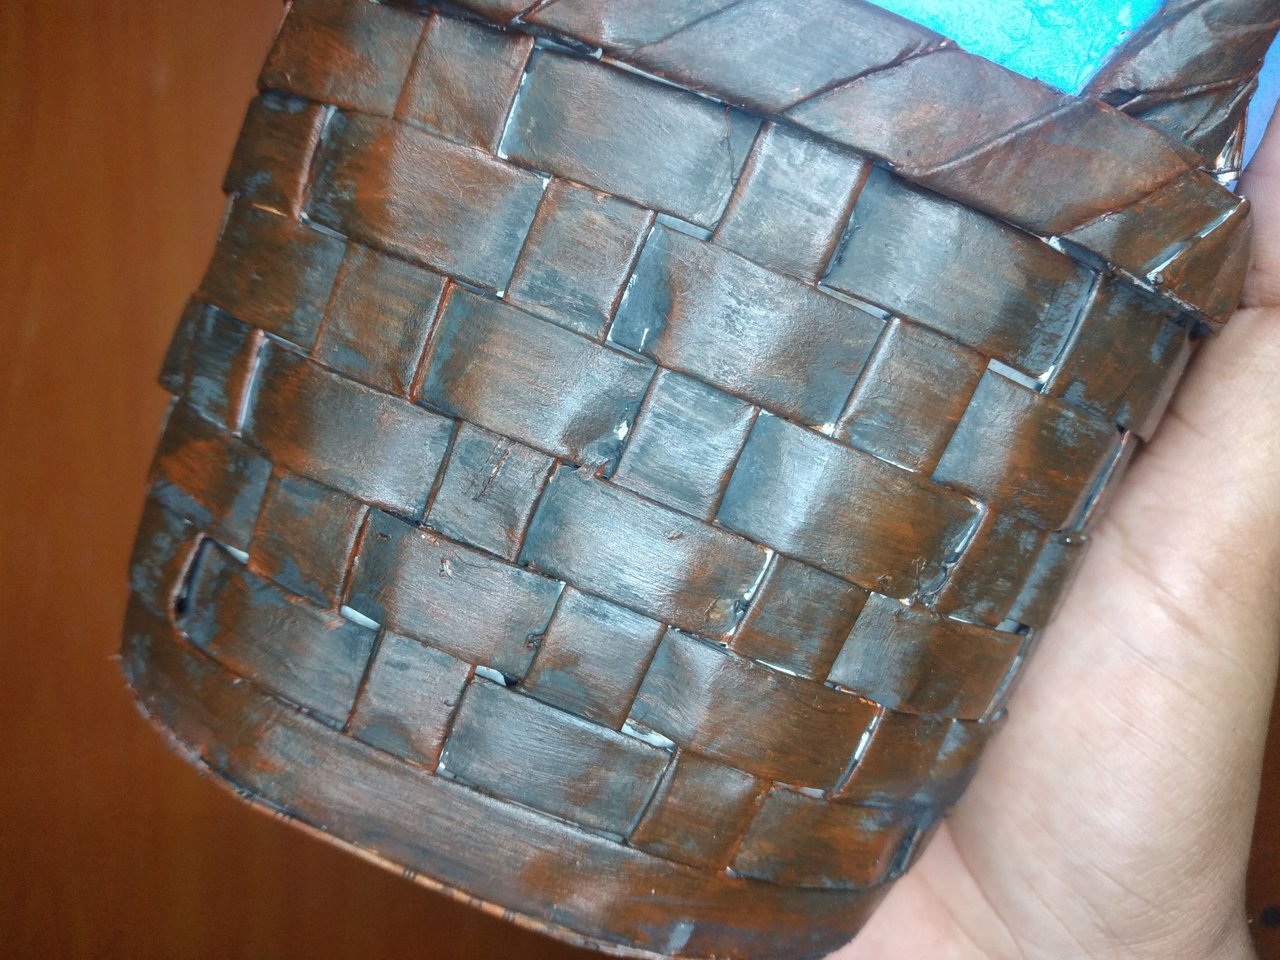
Fold the strips down to start weaving, the goal is to make it as if it were a basket. To make it easier to weave the horizontal strips, I glued them at the ends to form a long strip so that there would not be so many ties. This weaving is the basic one for making baskets, one strip on the inside and one on the outside.
Doblar intercaladamente las tirillas hacia abajo para comenzar a tejer, el objetivo es hacer como si fuese una cesta. Las tirillas horizontales para que fuera más fácil ir tejiéndolas, las fui pegando en las puntas hasta formar una tirilla larga para que no se notaran tantos empates. Este tejido es el básico para hacer cestas, una tira por dentro y una por fuera.
 |
 |
 |
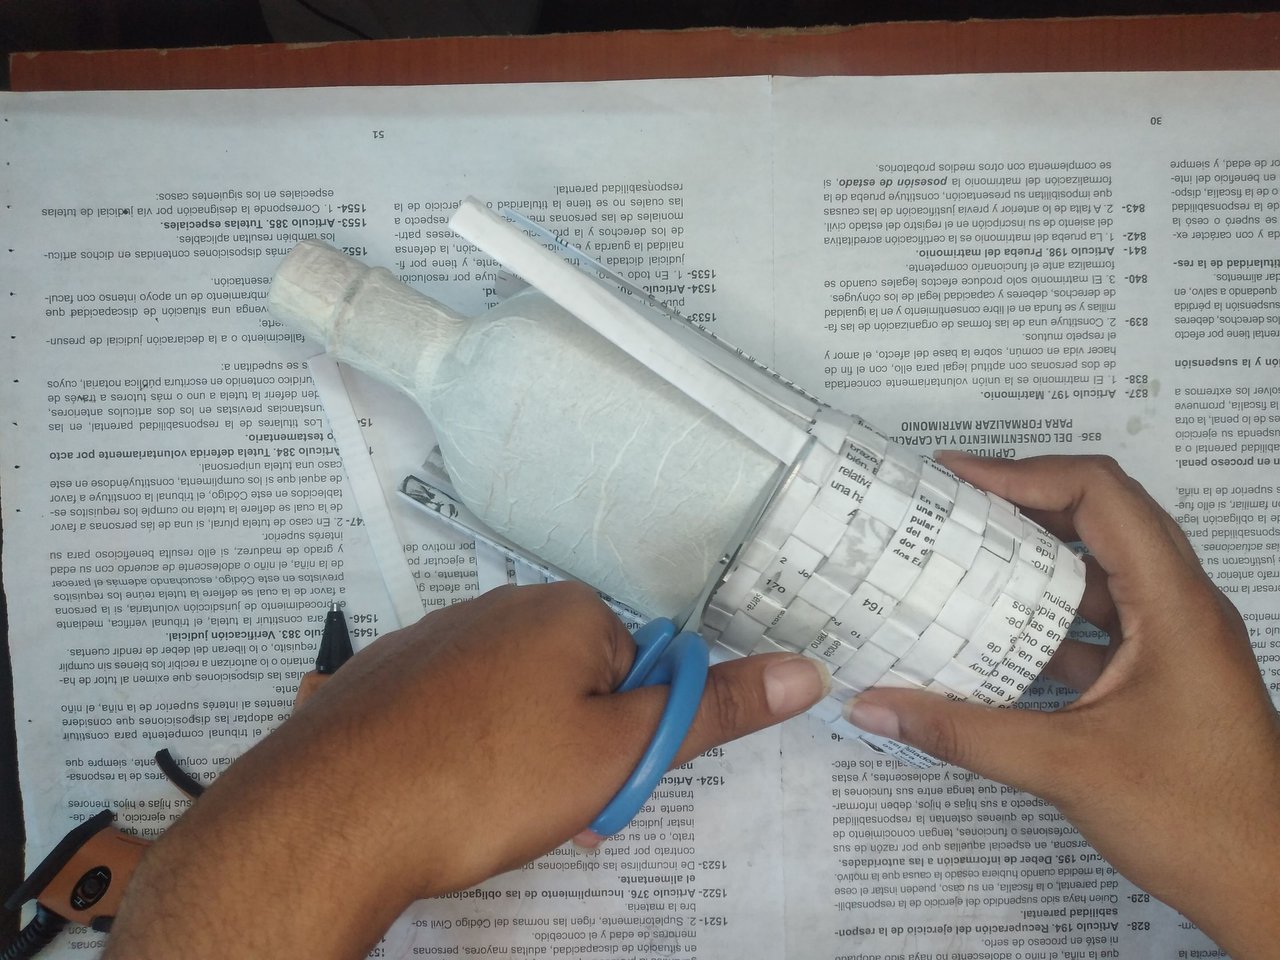
When the desired height is reached, chop the leftovers.
Al llegar a la altura deseada, picar los sobrantes.
 |
 |
 |
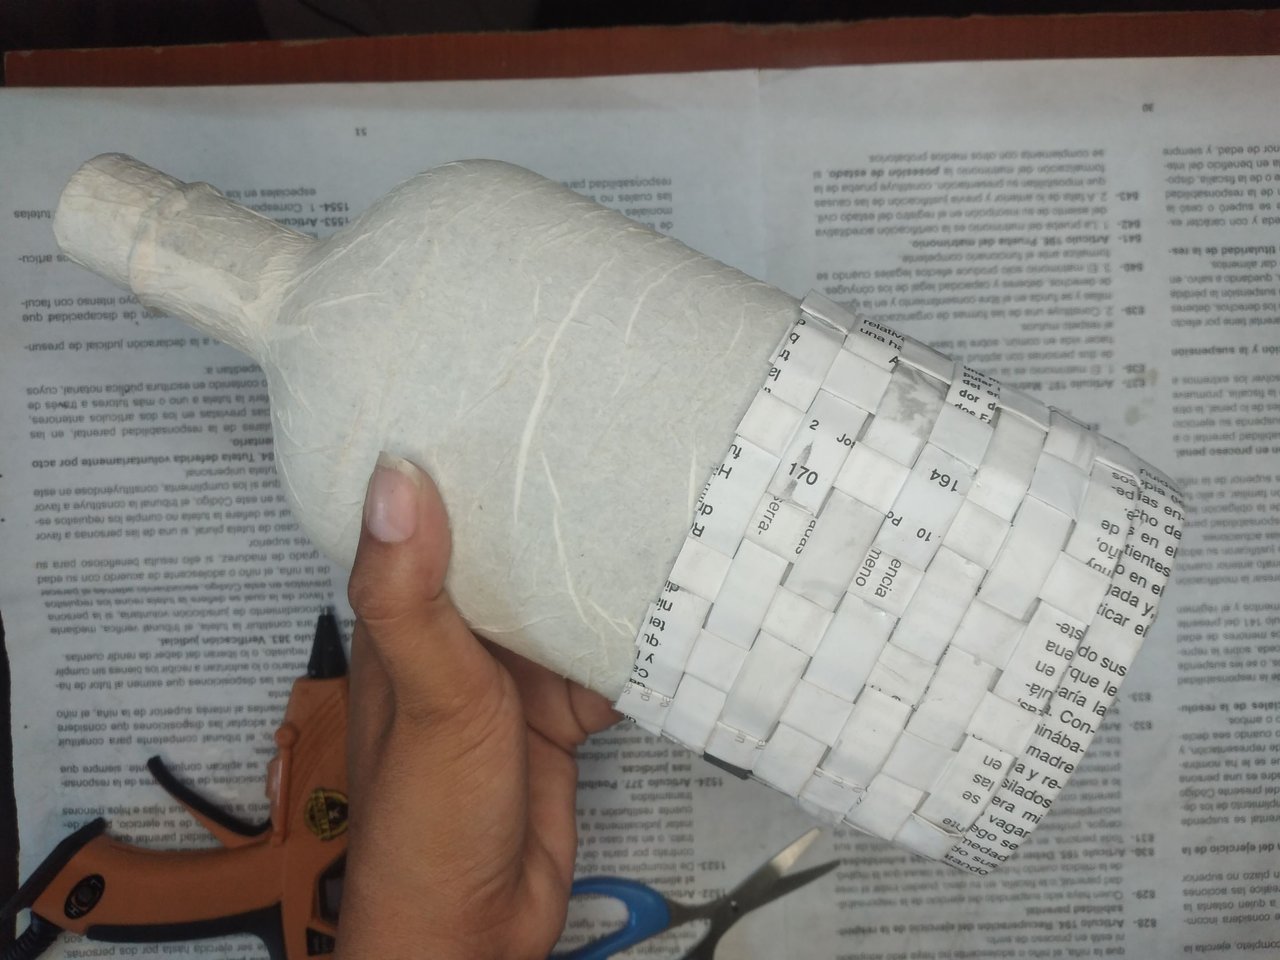
With the excess of the strips I folded and glued in this way to make the edge of the basket.
Con el excedente de las tiras fui doblando y pegando de esta forma para hacer el borde de la cesta.
 |
 |
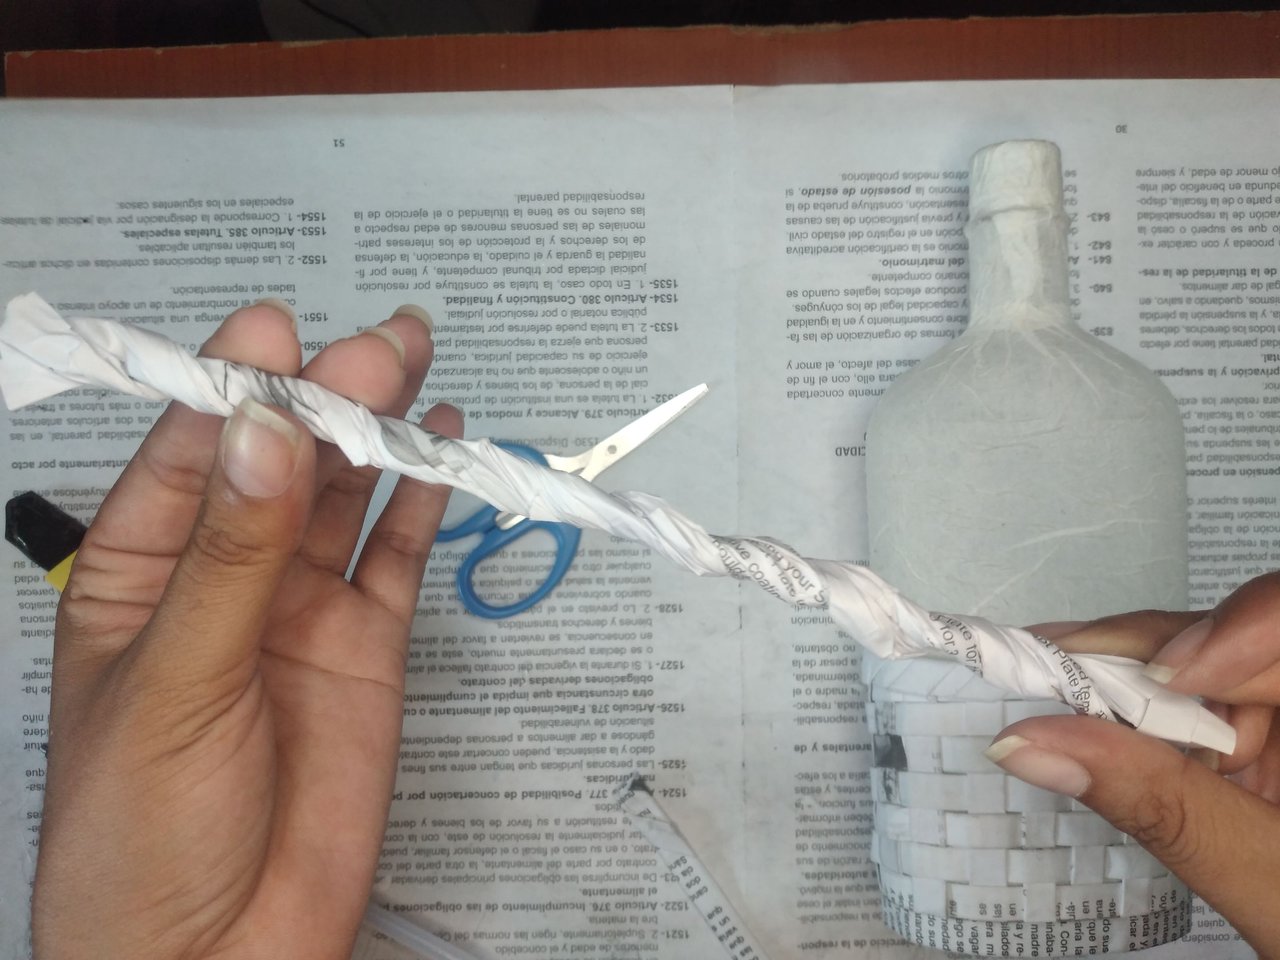
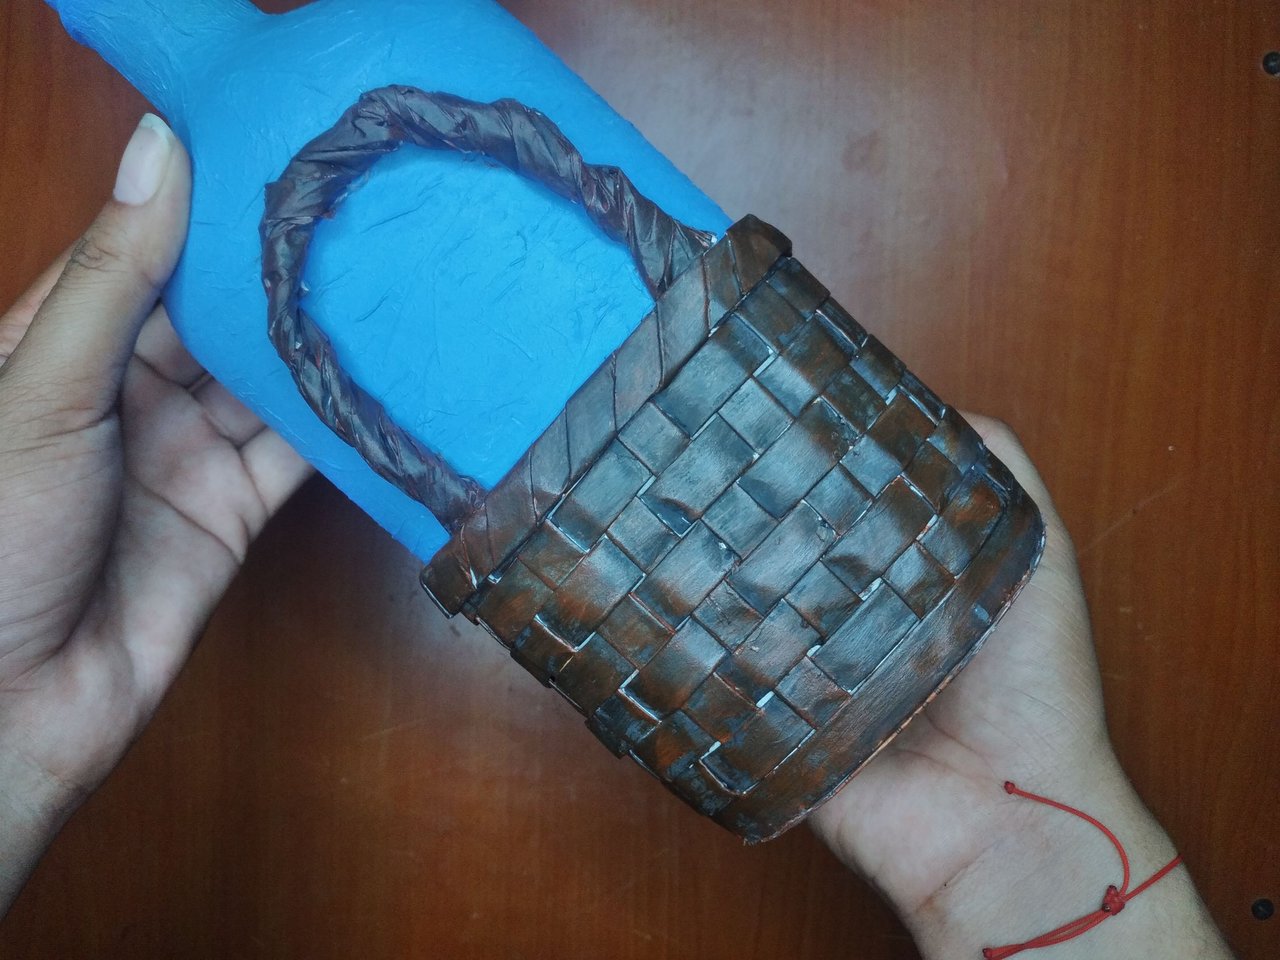
Twist a sheet of paper and place it with the help of the silicone to make the handle of the basket.
Torcer una hoja de papel y colocar con ayuda de la silicona para elaborar el asa de la cesta.
 |
 |
 |
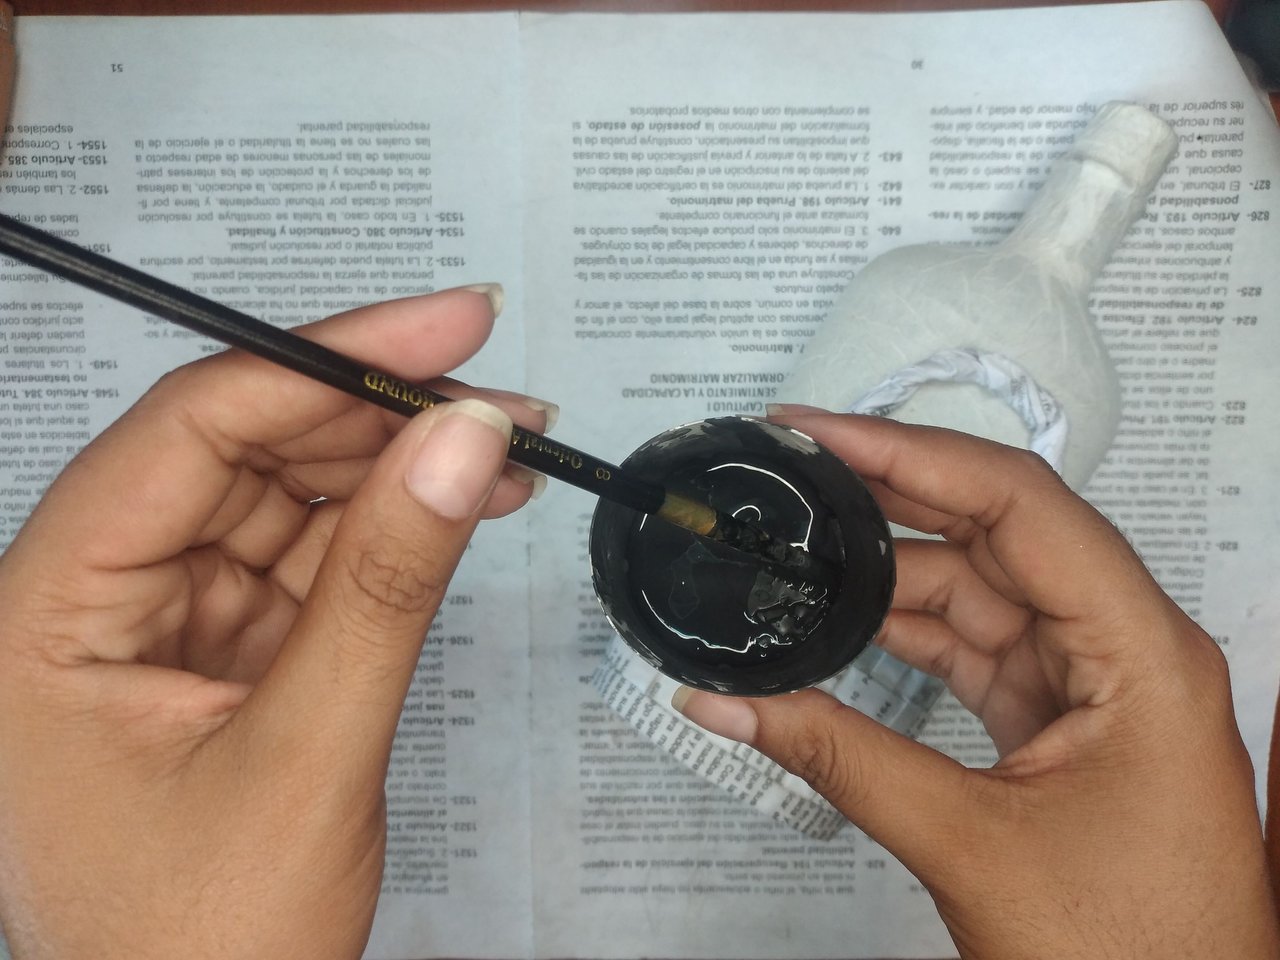
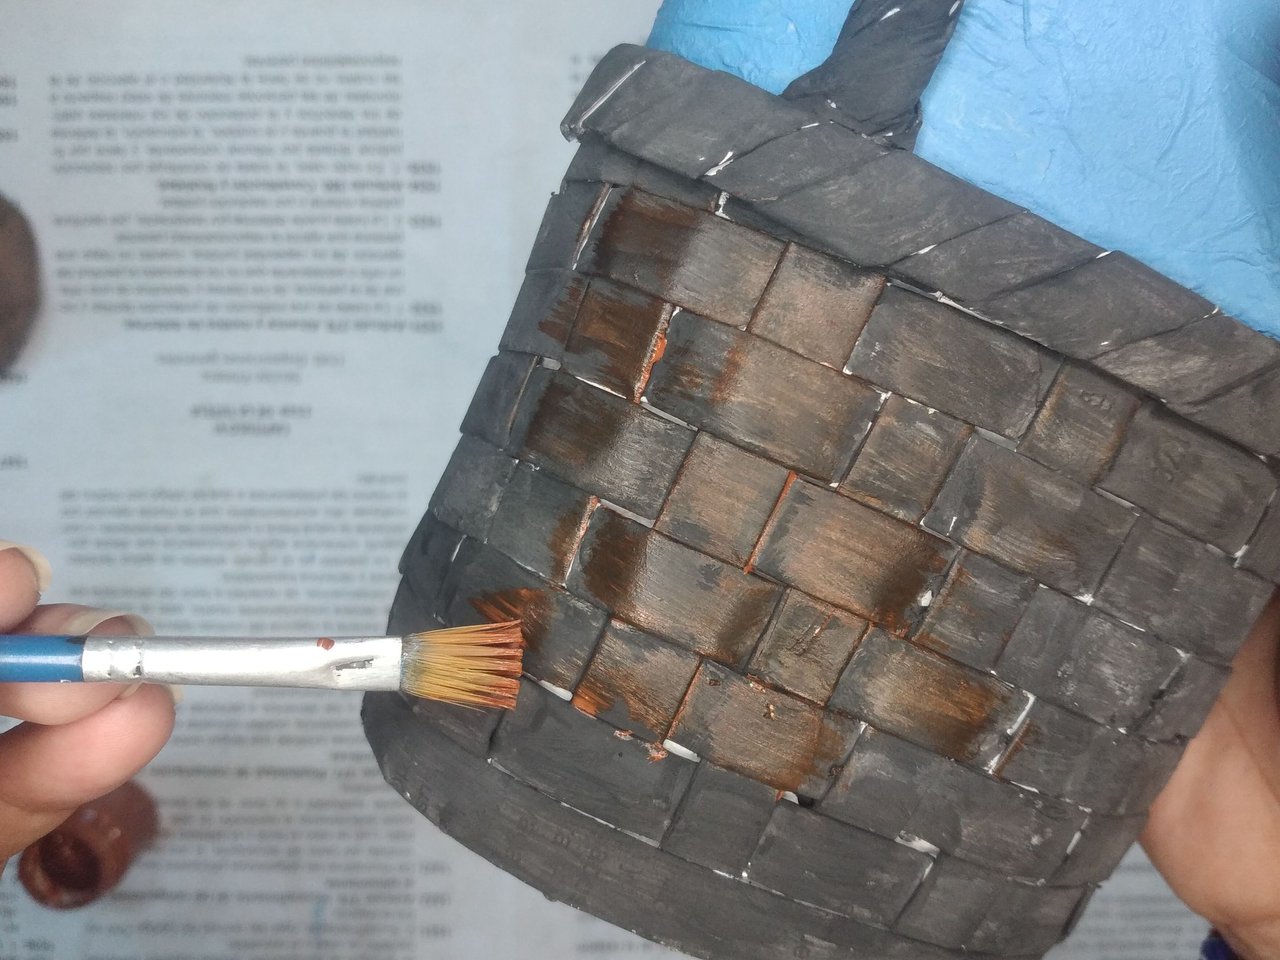
I used matte black paint as a base for the basket.
Utilicé pintura negra mate como base para la cesta.
 |
 |
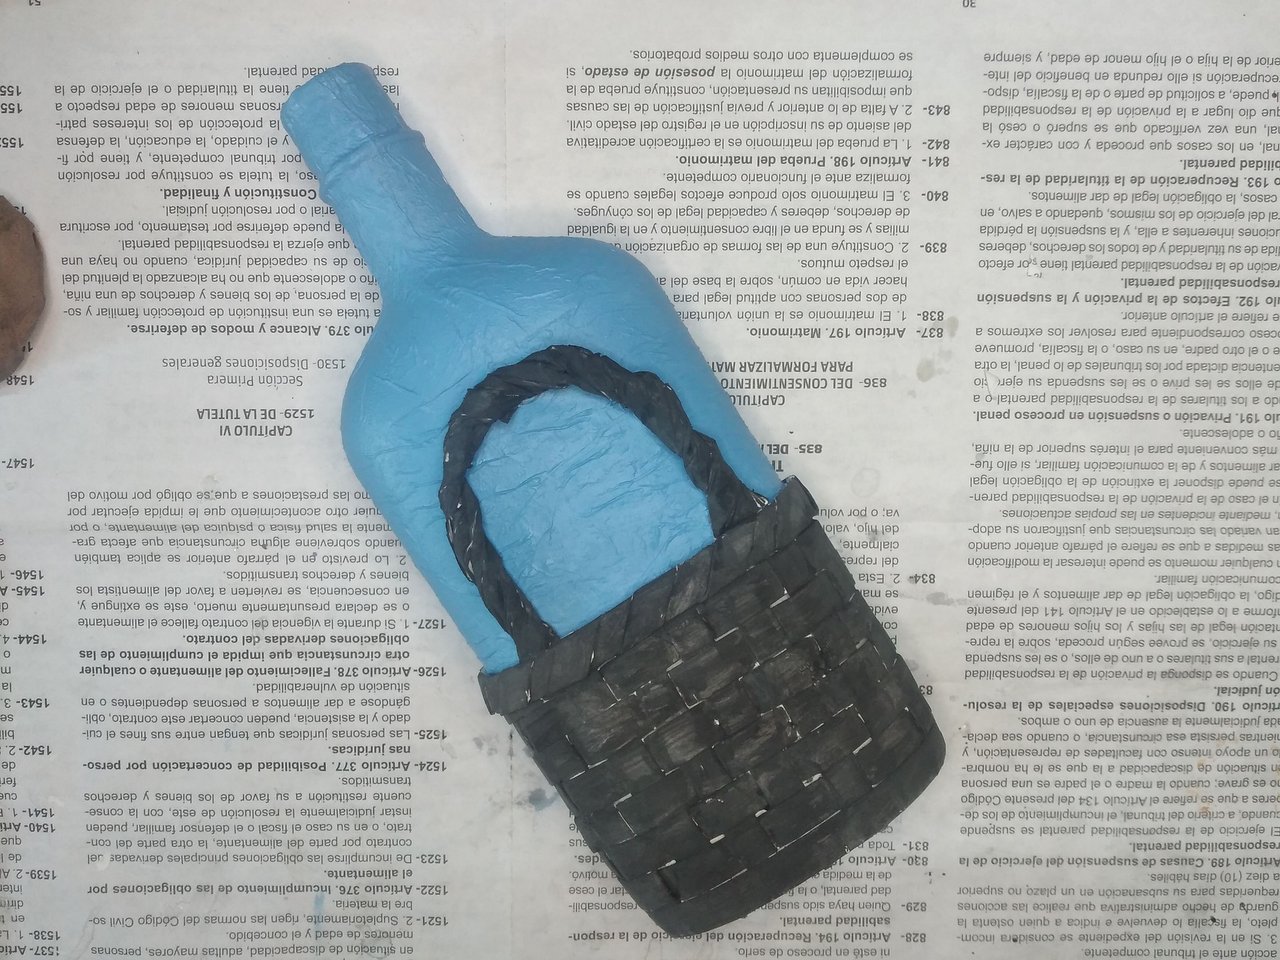 |
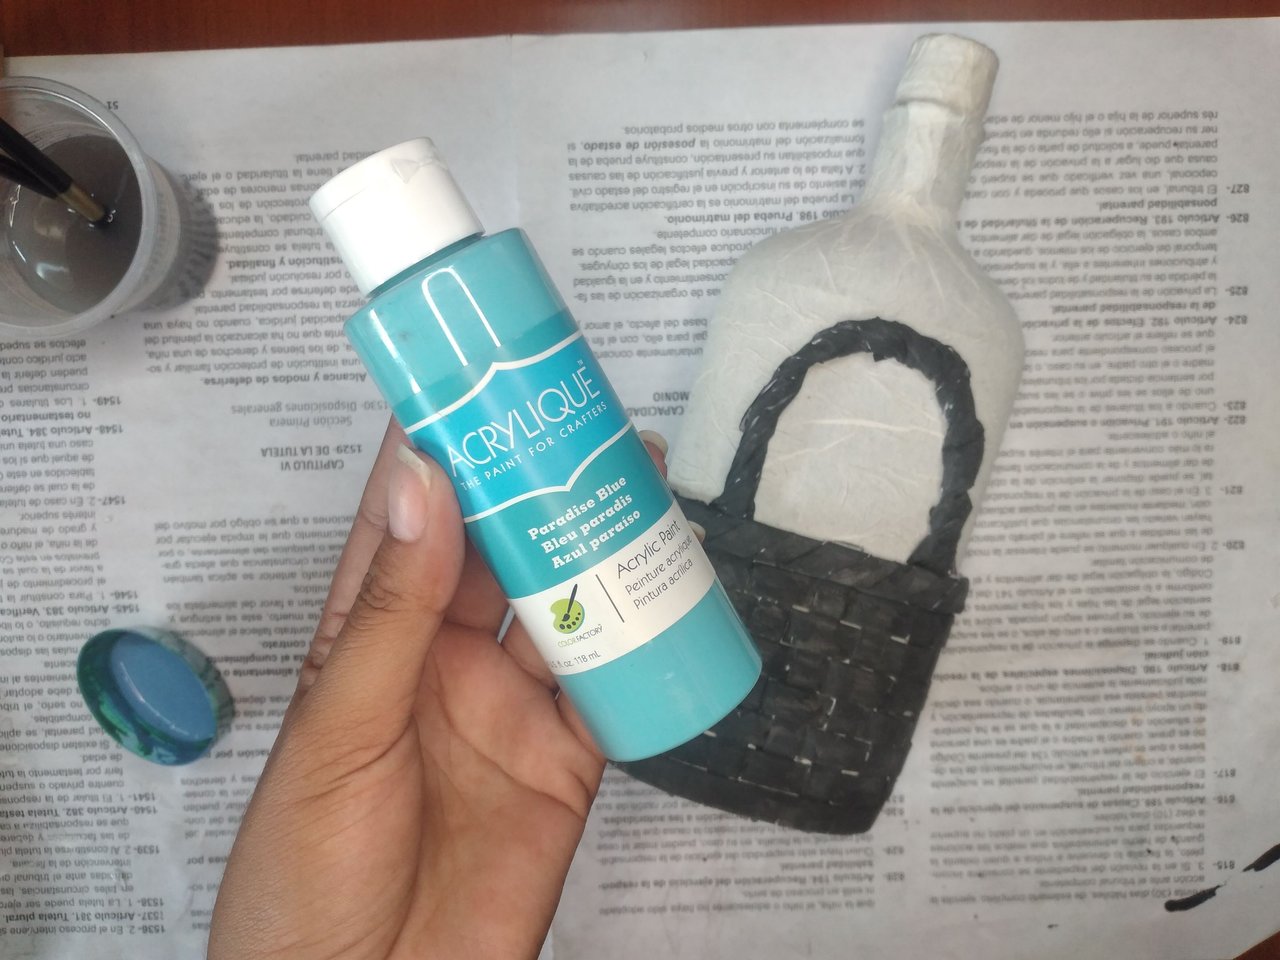
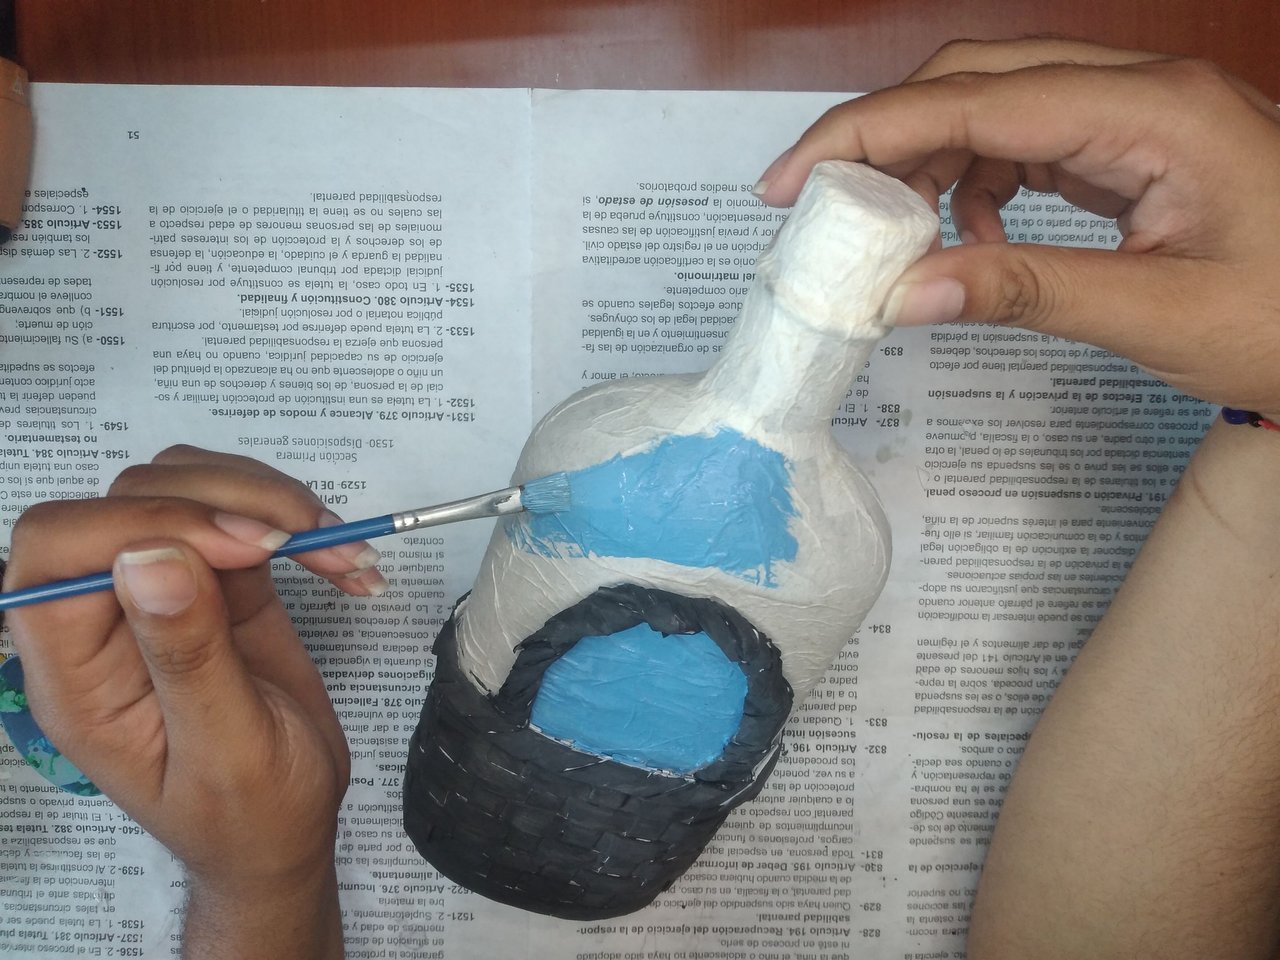
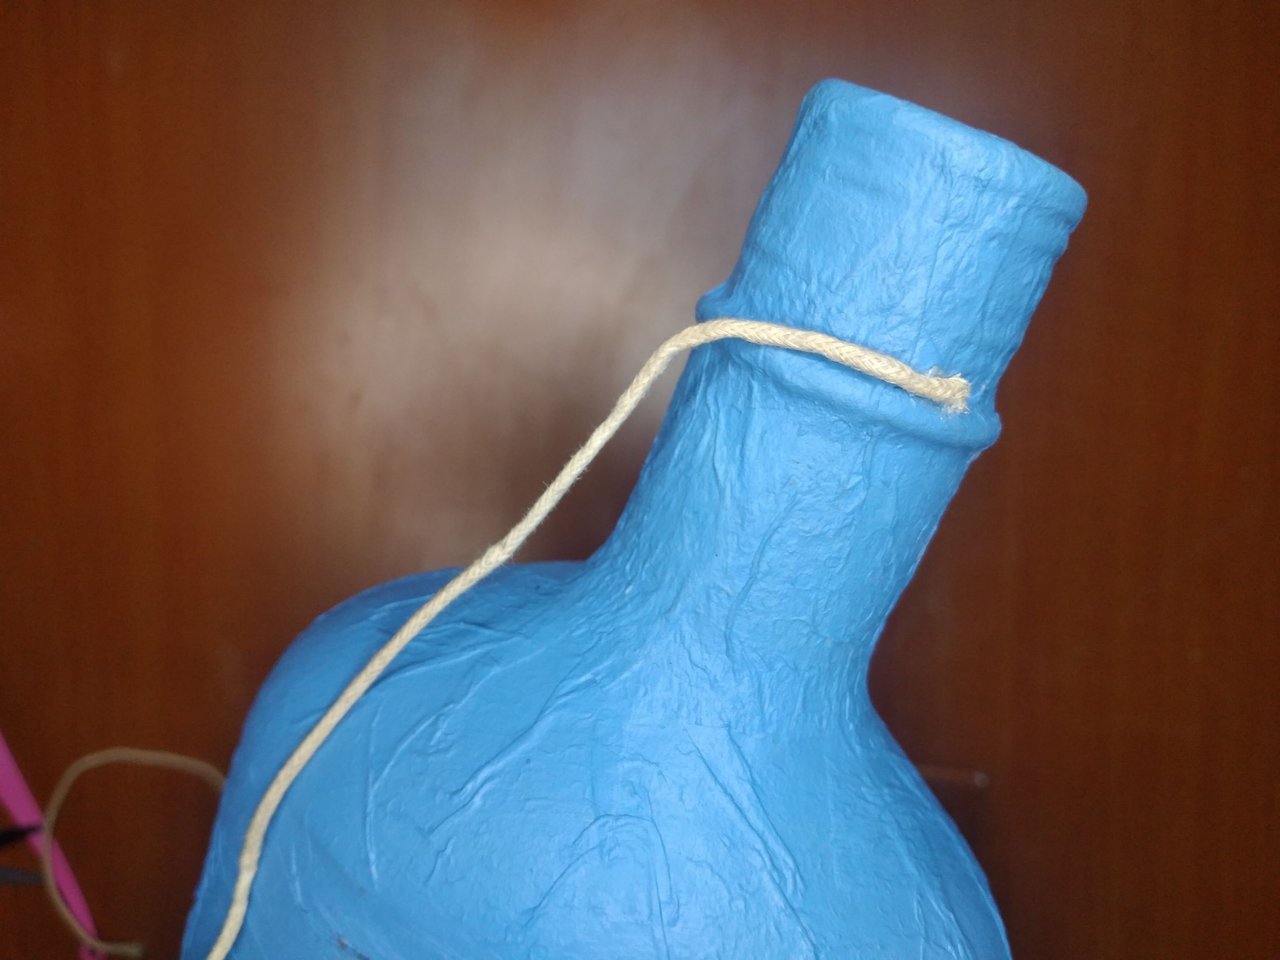
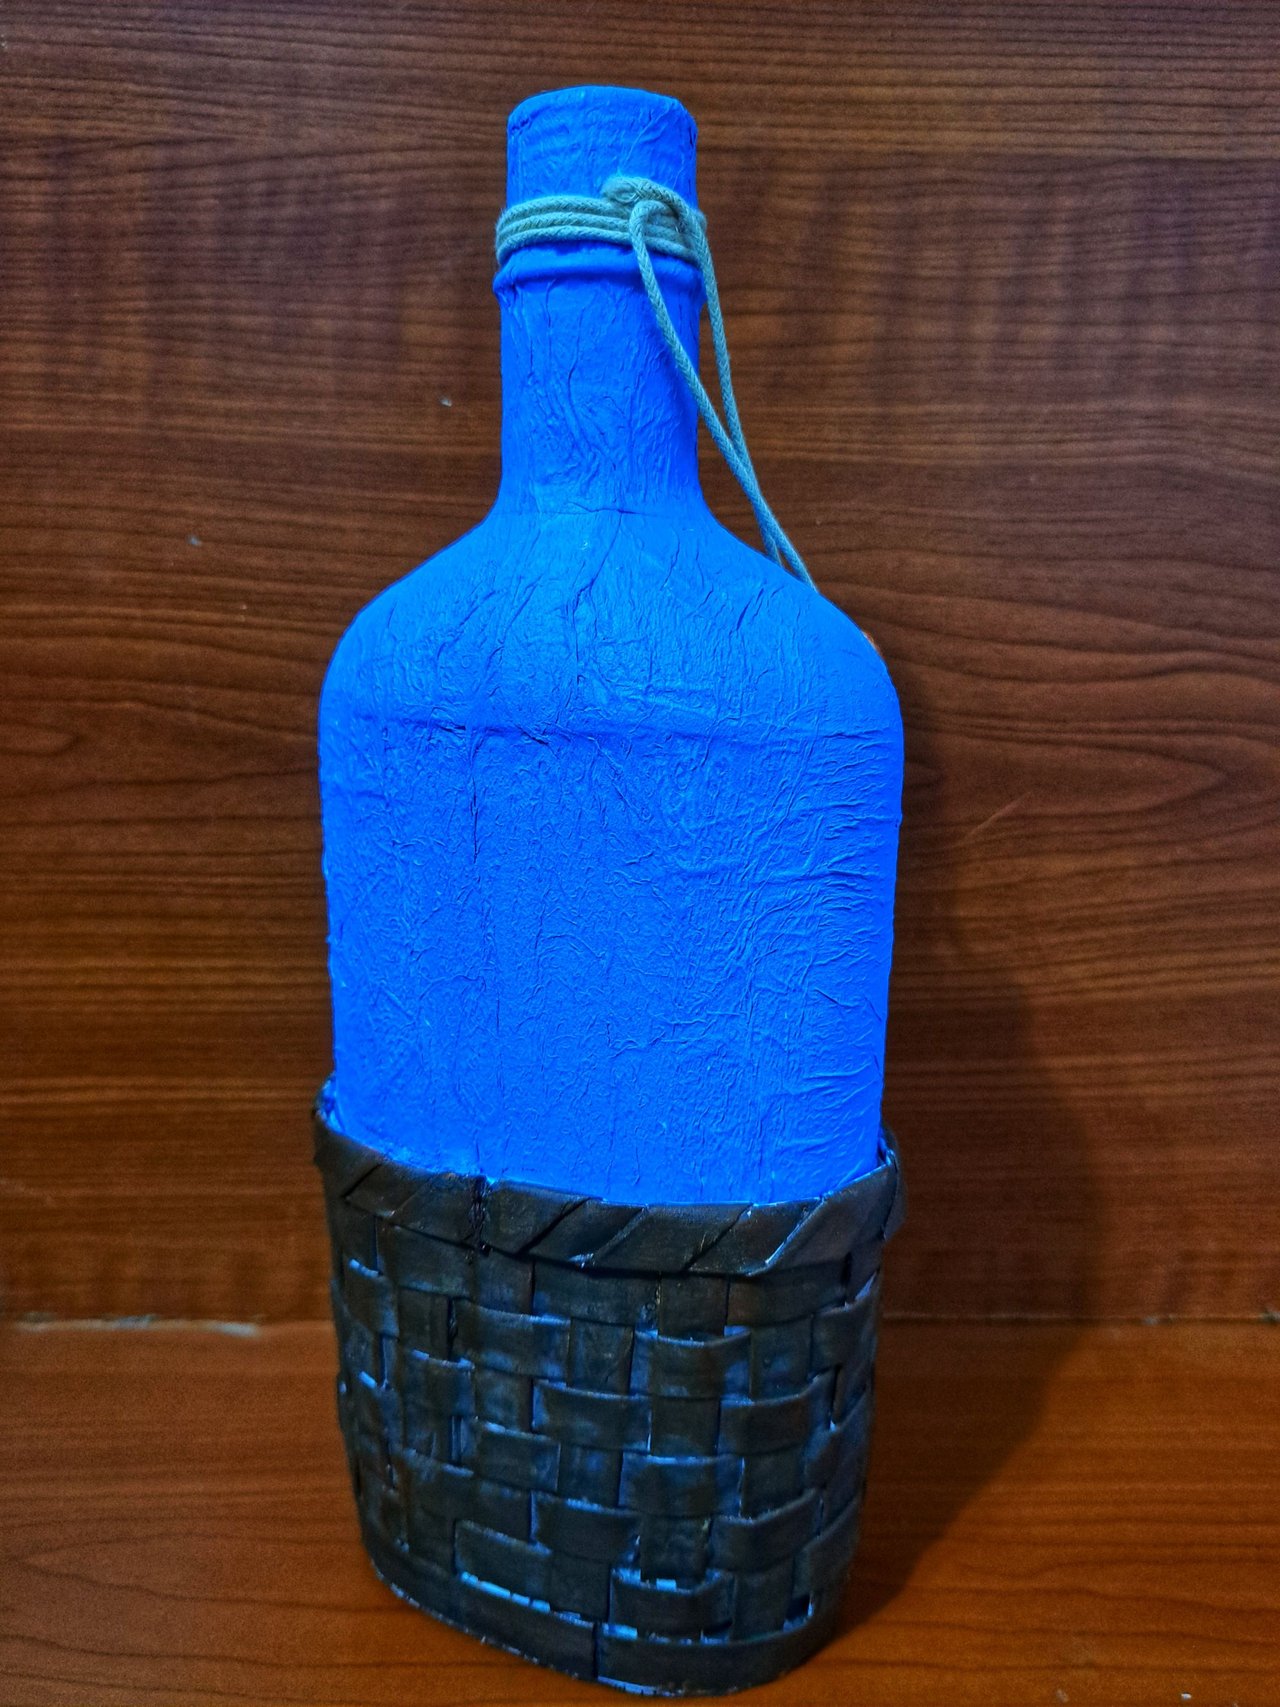
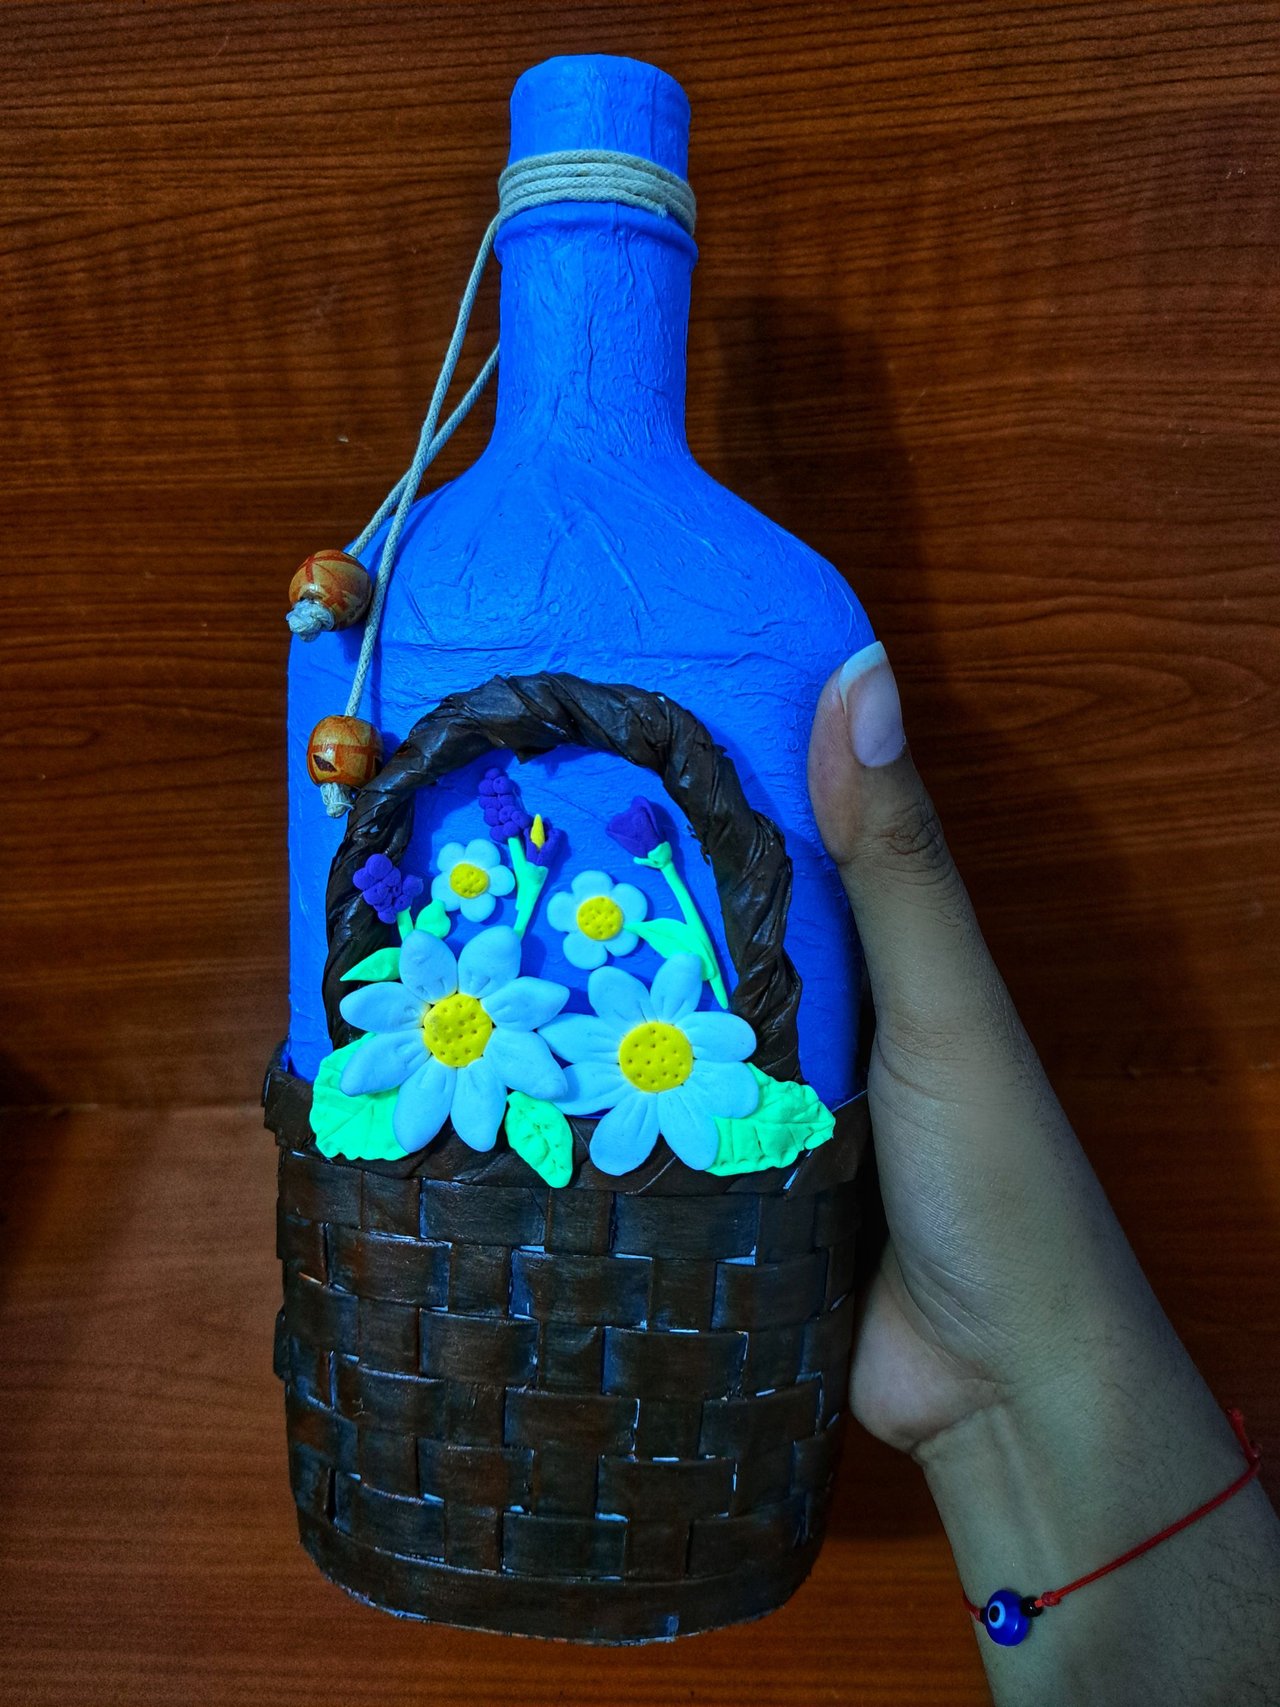
I painted the body of the bottle blue, to highlight its shape. In addition, being covered with paper, it had a beautiful texture.
El cuerpo de la botella la pinté de color azul, para que resaltara su forma. Además, al estar cubierta de papel lucía una hermosa textura.
 |
 |
 |
 |
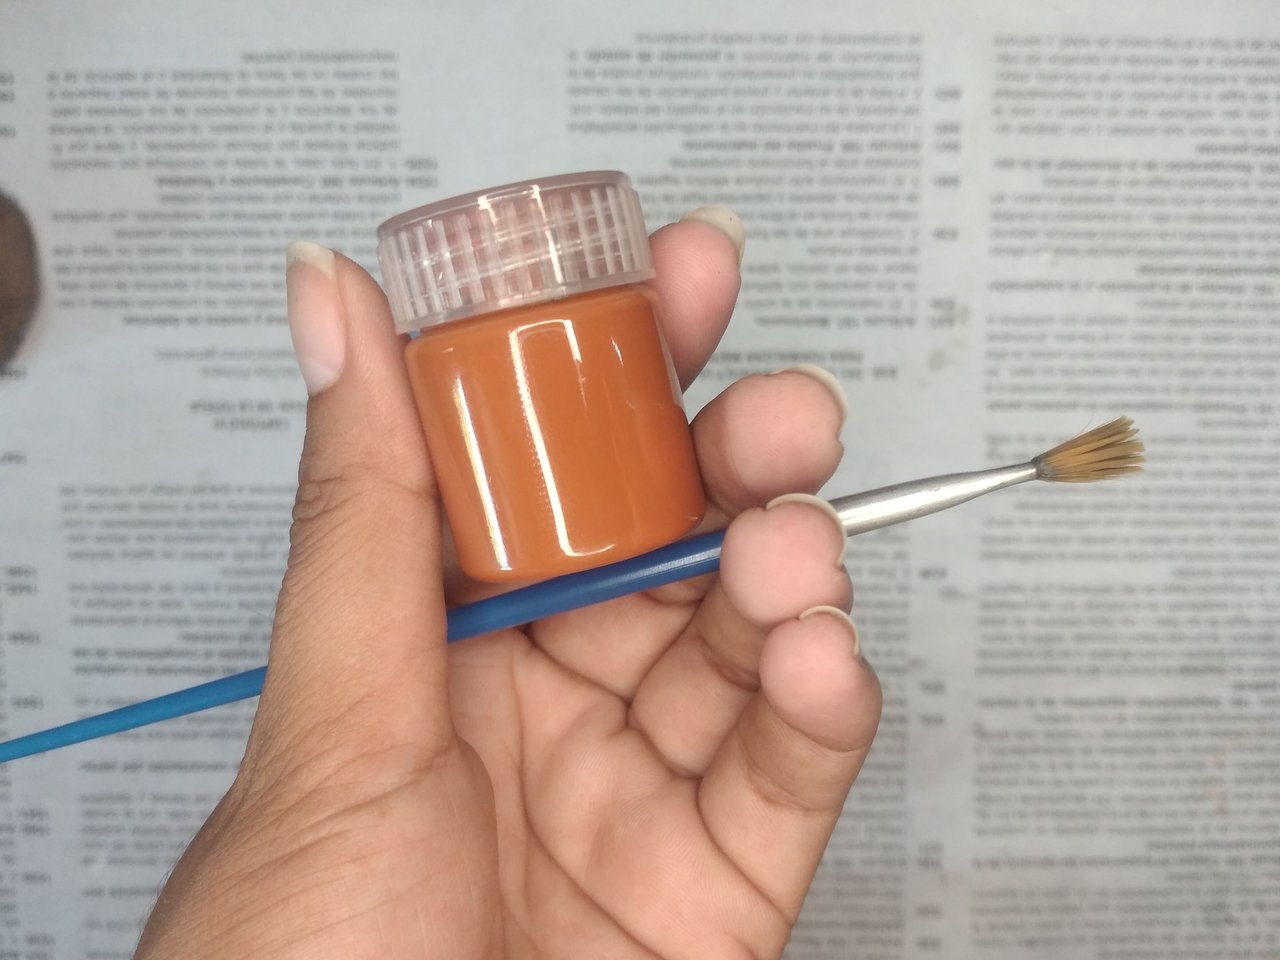
With carmelite paint I gave almost dry brush strokes to the basket to obtain this effect.
Con pintura carmelita le di brochazos casi secos a la cesta para obtener este efecto.
 |
 |
 |
 |
 |
 |
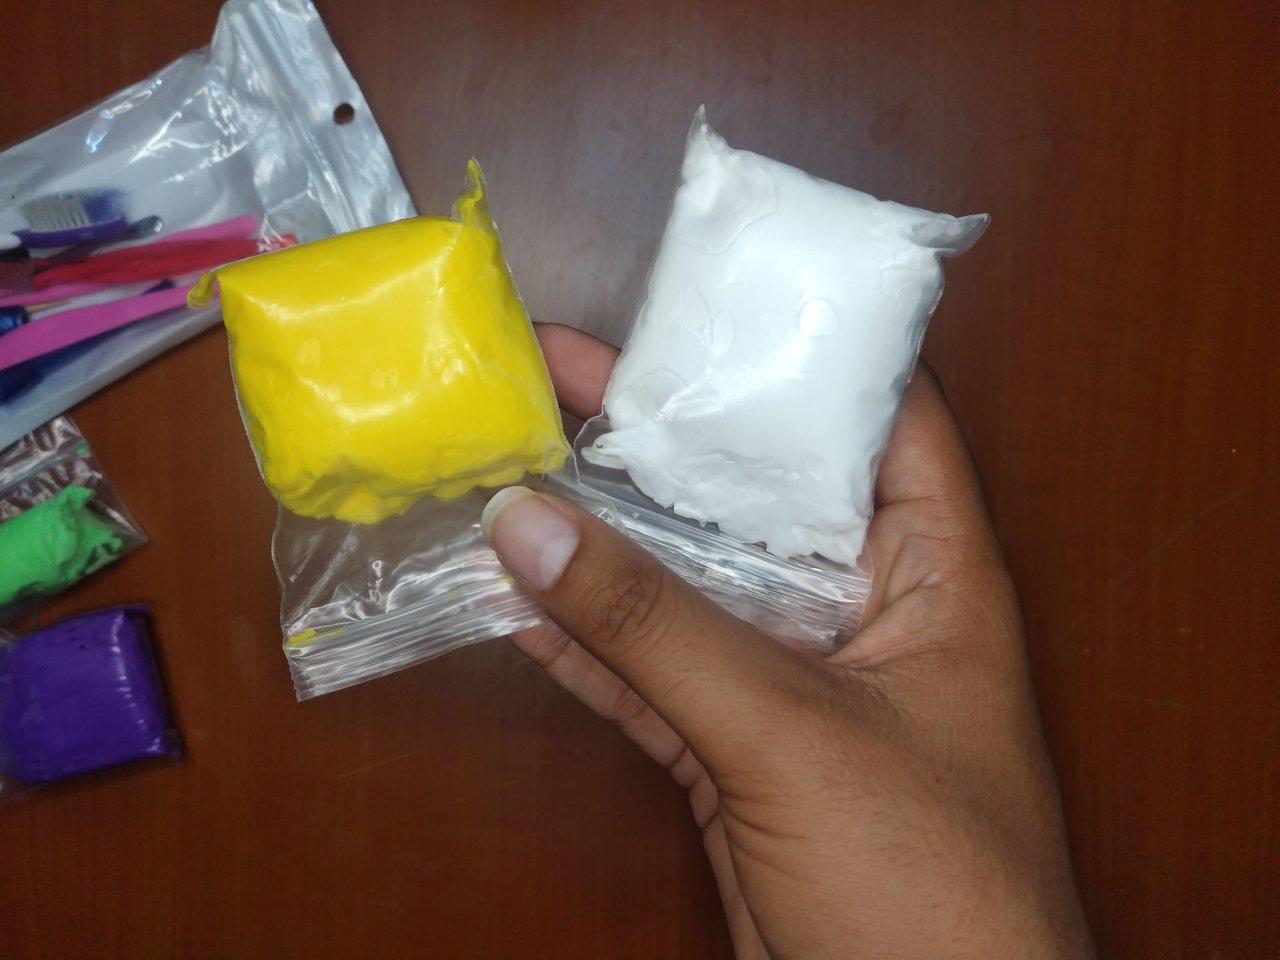
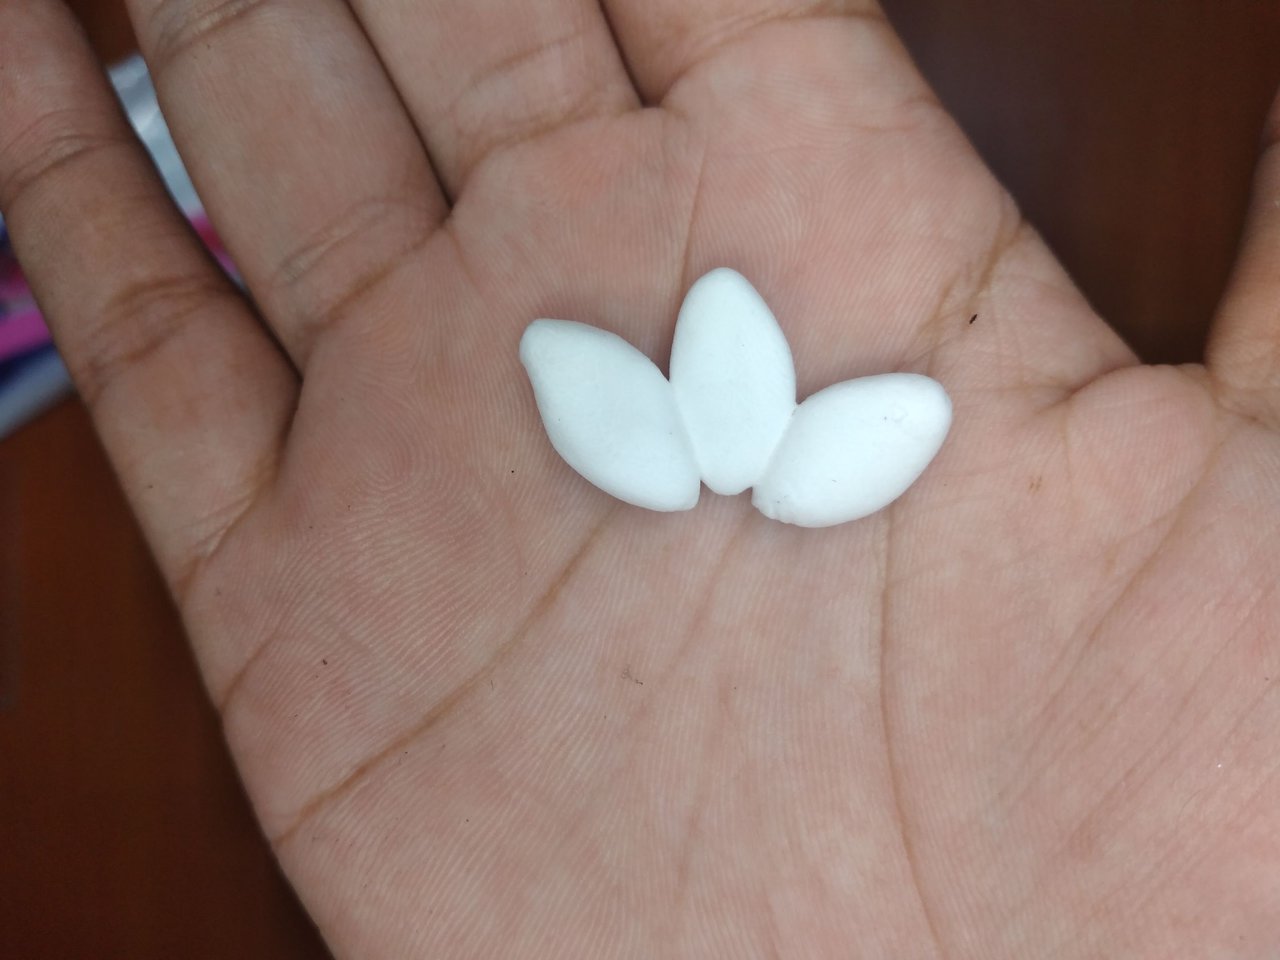
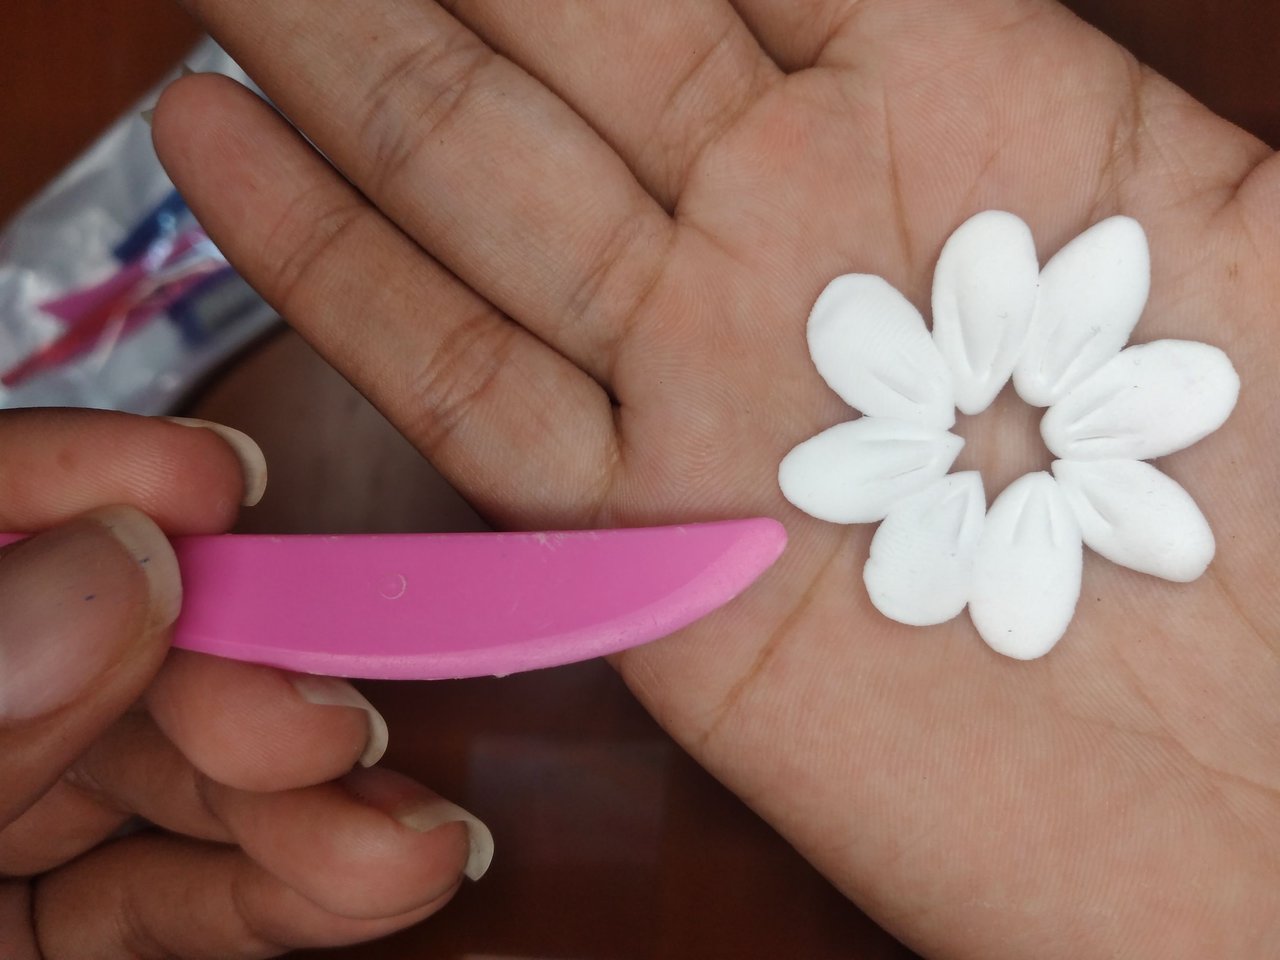
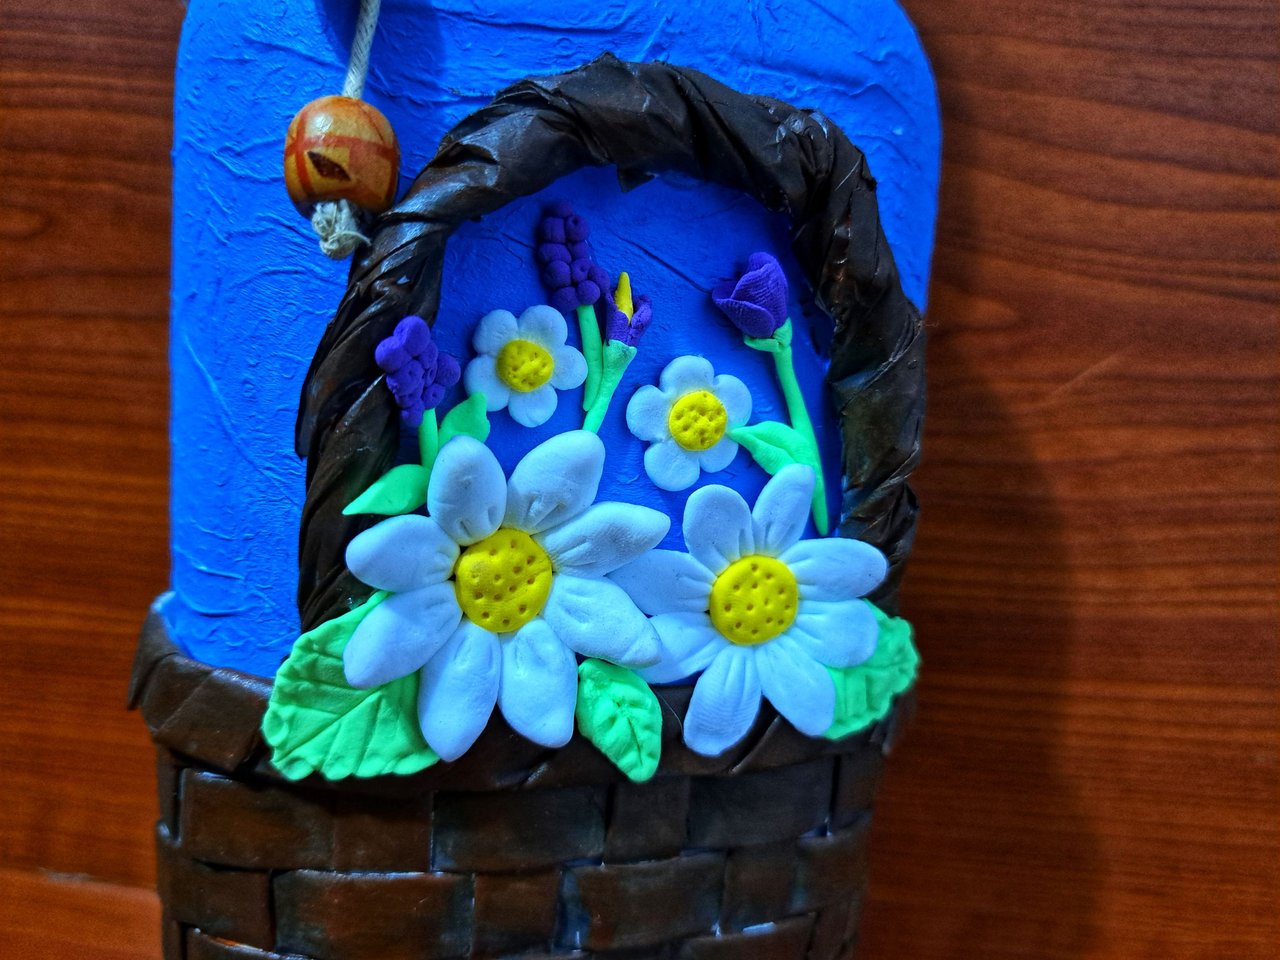
With yellow and white foami I wanted to make some daisies, which, with the blue background, would look great. I started by making the petals and placing them side by side, then I flattened a yellow circle and placed it in the center and with a skewer I made some holes in it.
Con foami amarillo y blanco quise hacer unas margaritas, que, con el fondo azul, se verían muy bien. Empecé haciendo los pétalos y colocándolos uno al lado del otro, luego aplané un círculo amarillo y lo coloqué en el centro y con un pincho le hice unos orificios.
 |
 |
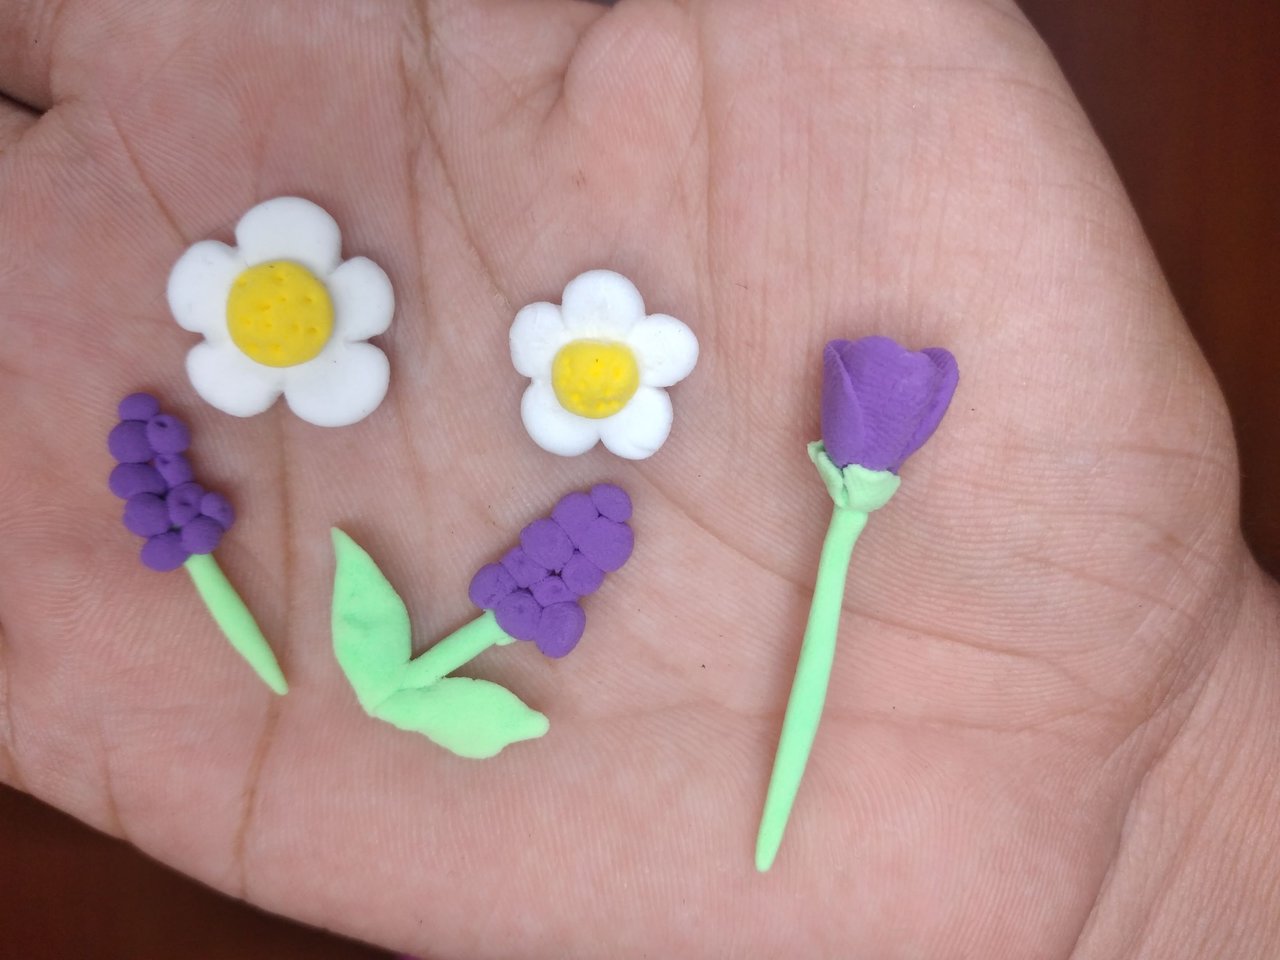 |
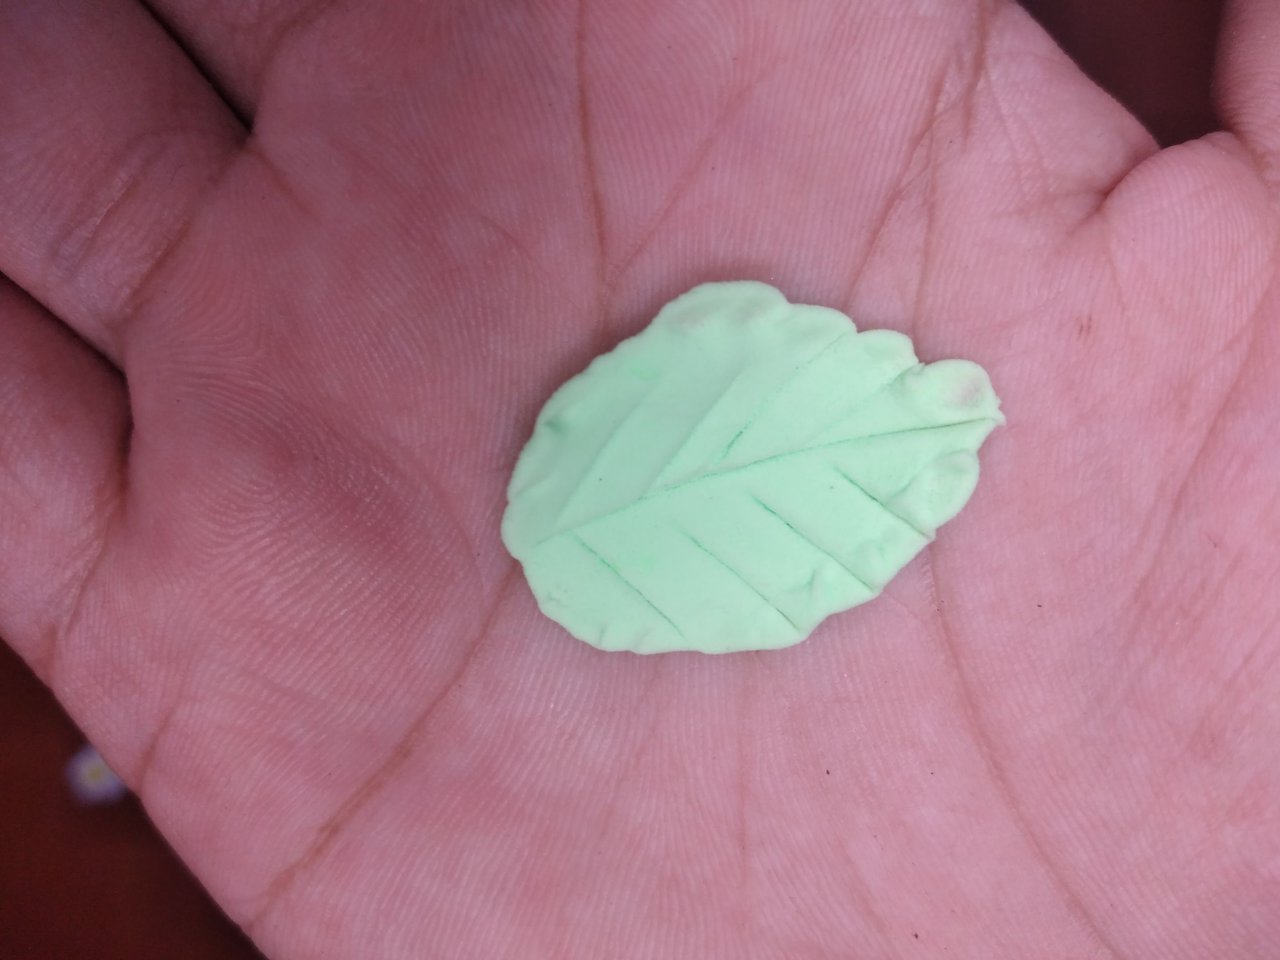
With green foami I made some leaves and with the violet color and some leftovers of the colors I had used, I made some little flowers to fill in the empty spaces.
Con foami verde elaboré unas hojas y con el color violeta y unos excedentes de los colores que había utilizado, hice unas pequeñas florecitas para rellenar los espacios vacíos.
 |
 |
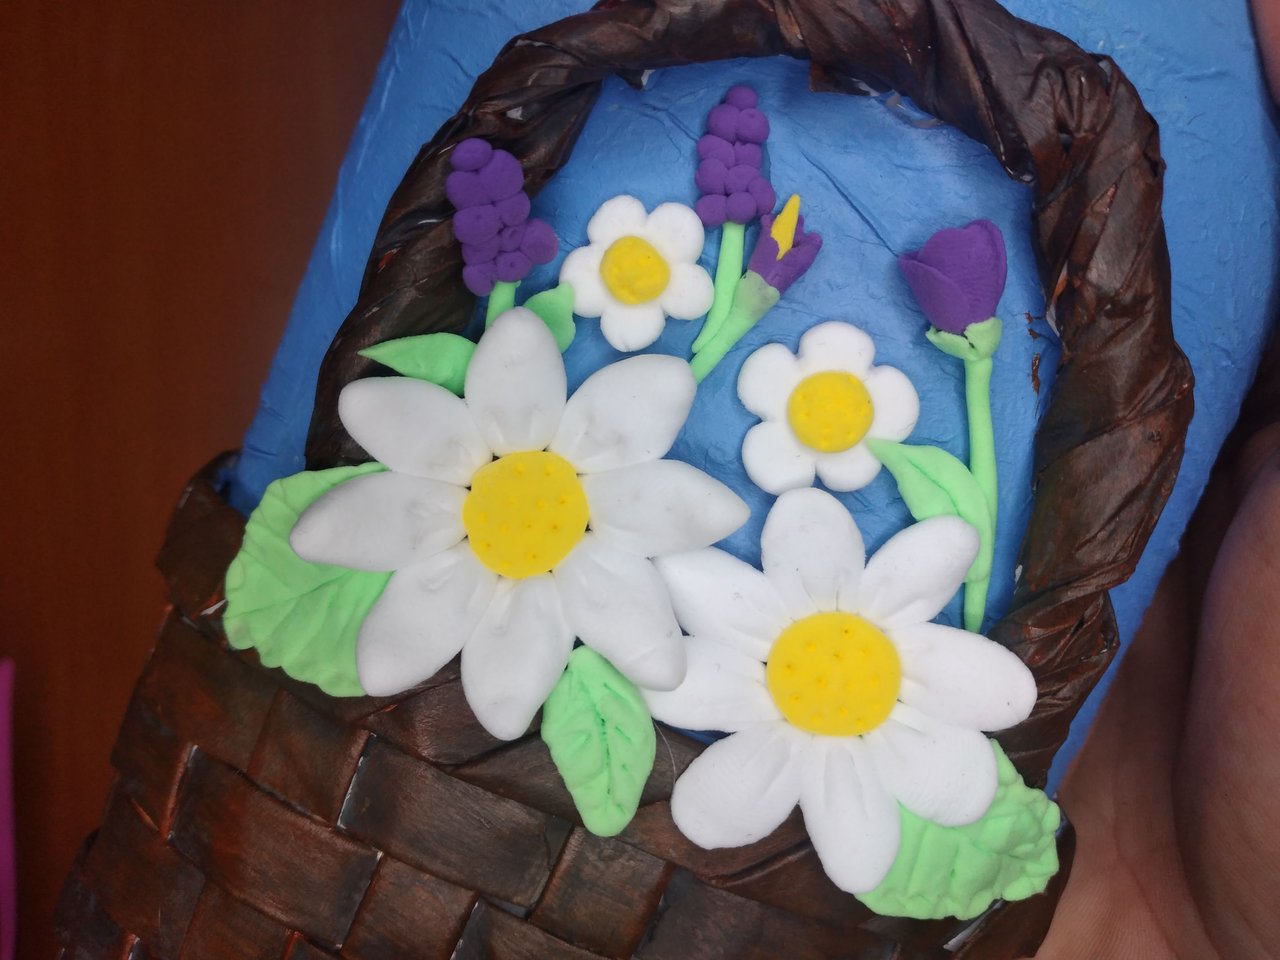 |
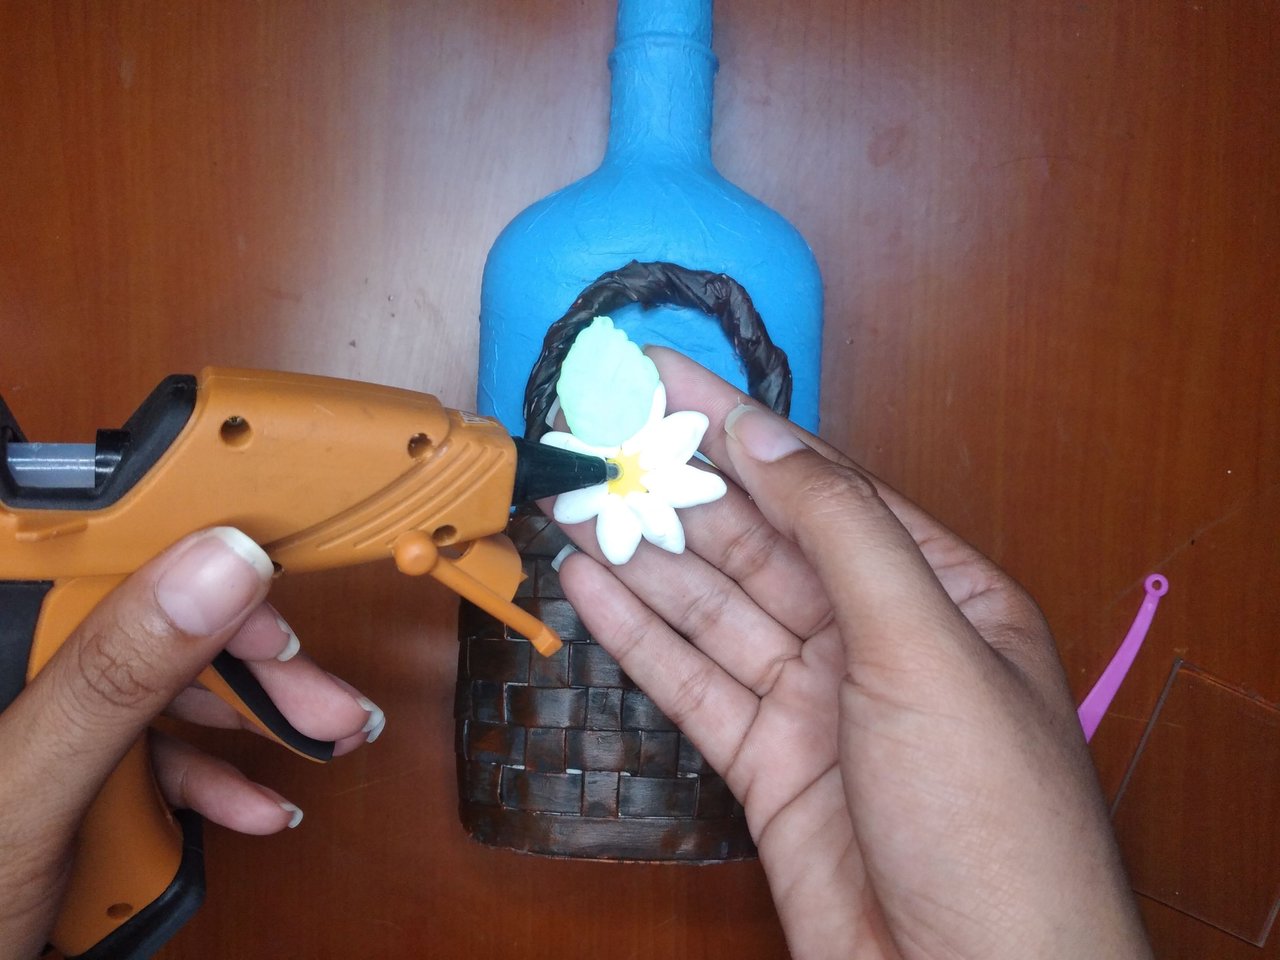
Then gradually place all the flowers in the place we want.
Luego poco a poco ir colocando todas las flores en el lugar que queramos.
 |
 |
 |
 |
 |
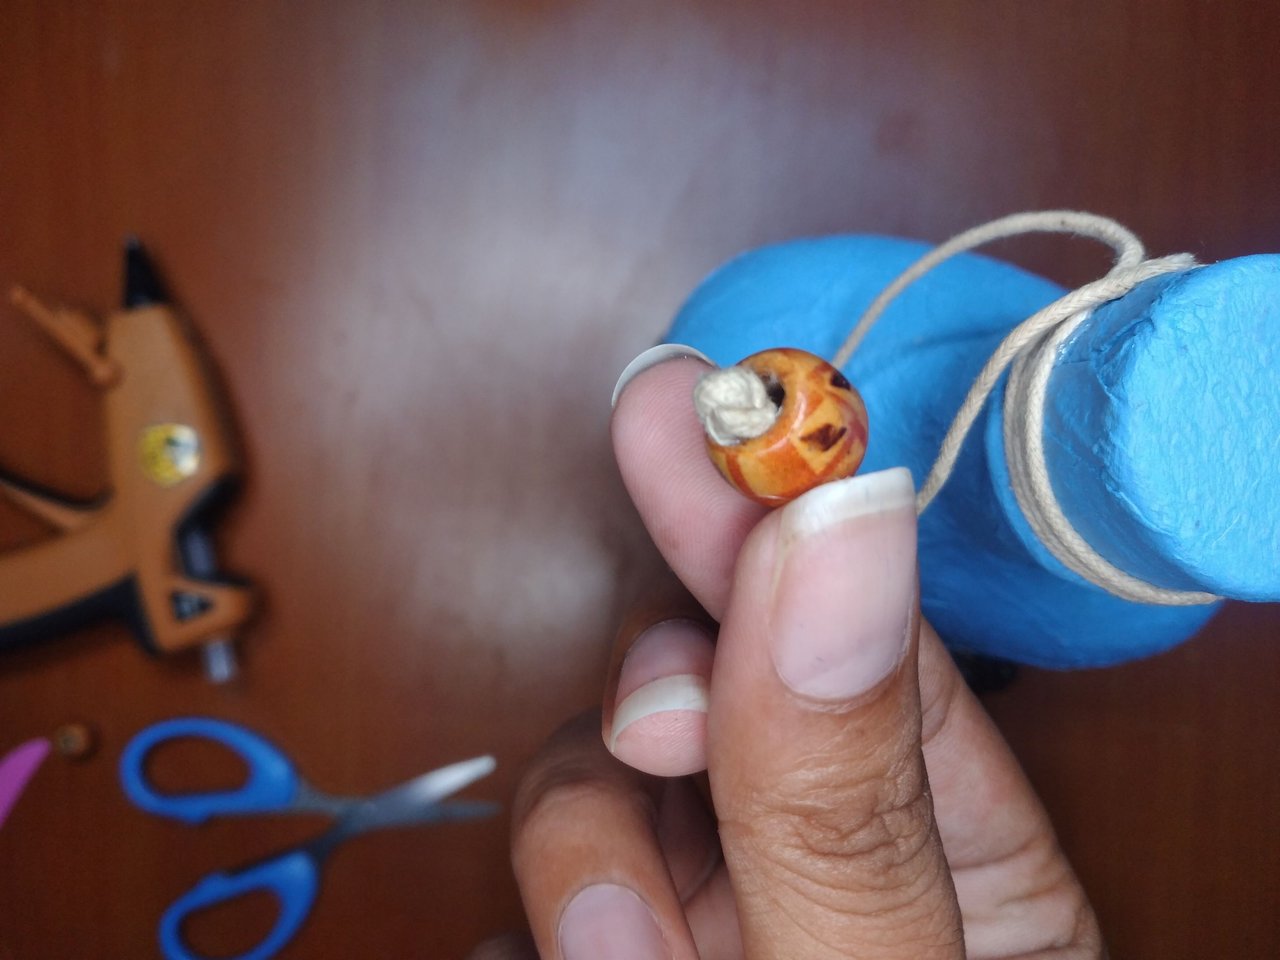 |
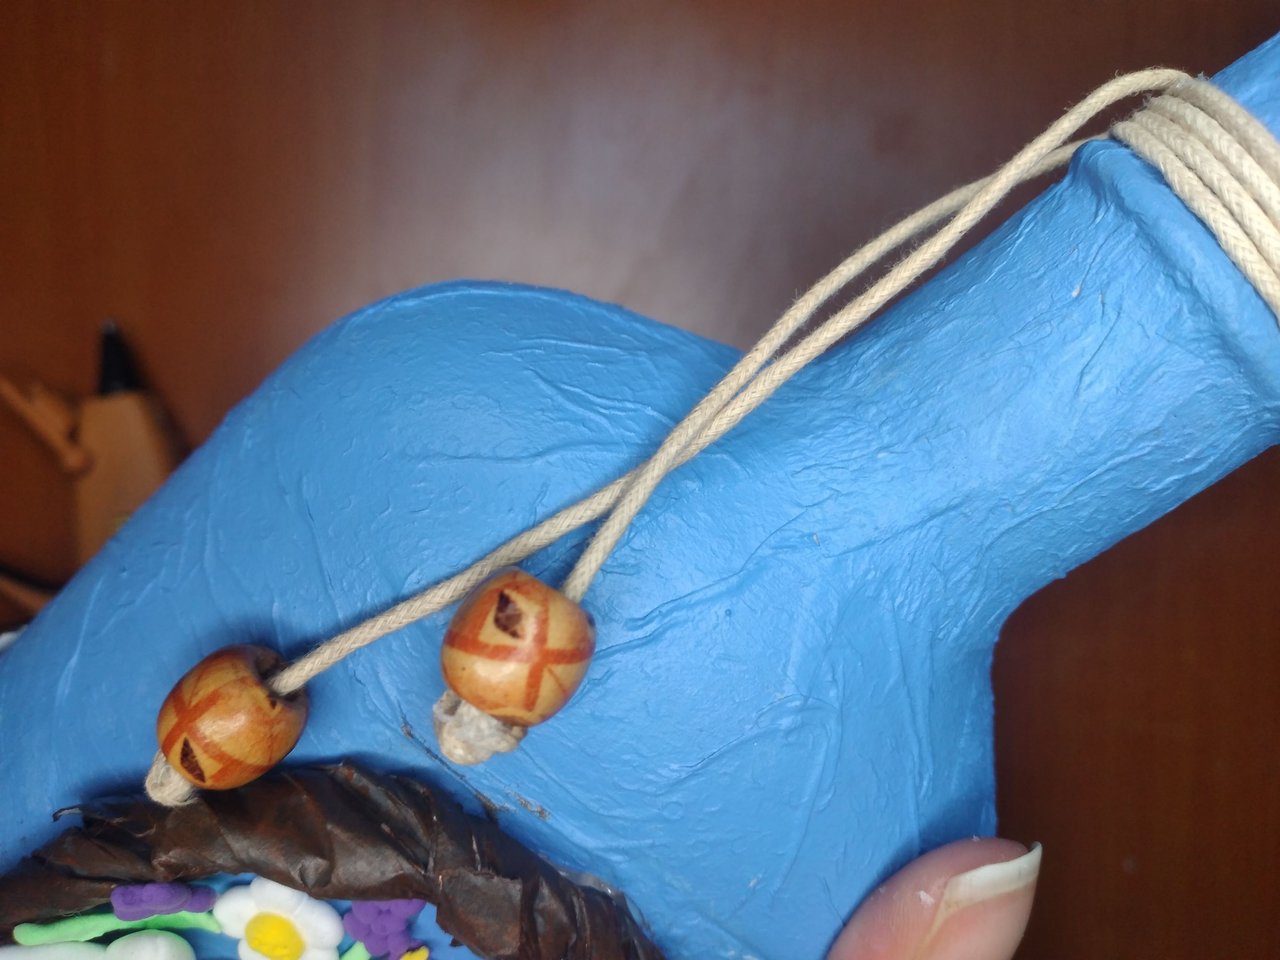
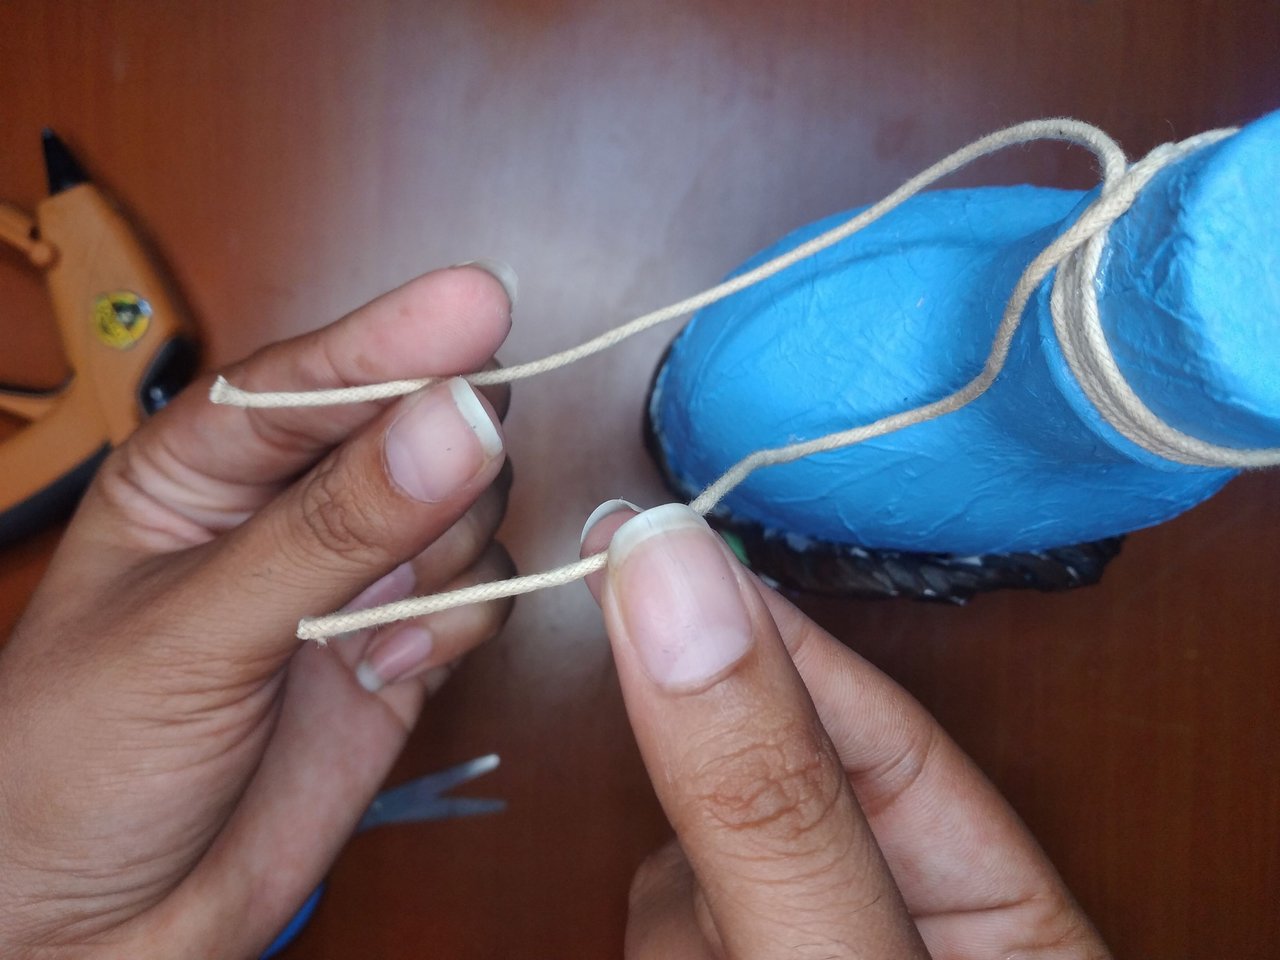
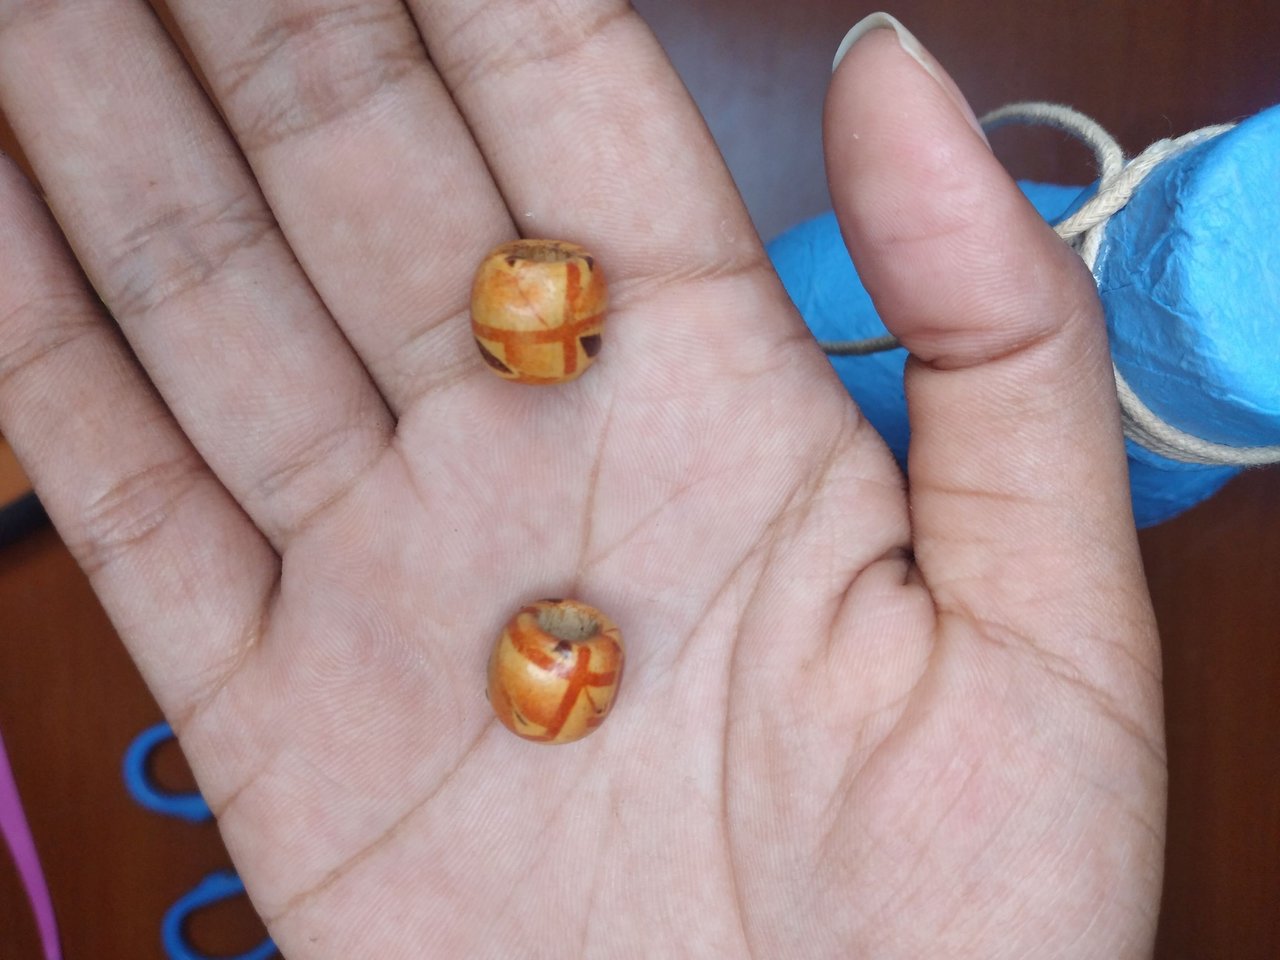
With a thin string or jute sack twine we make a few turns in the part where the bottle cap goes, leaving two ends and in them we place some costume jewelry ornament that we have at hand and tie a knot so that they do not come off. Another idea would be to make two small daisies and glue them on the ends and let them hang, but I thought of that later.
Con un cordel fino o hilo de saco de yute damos unas vueltas en la parte donde va la tapa de la botella, dejando dos puntas y en ellas colocamos algún adorno de bisutería que tengamos a mano y hacer un nudo para que no se salgan. Otra idea sería hacer dos margaritas pequeñas y pegarlas en las puntas y que cuelguen, pero eso se me ocurrió después.
 |
 |
 |
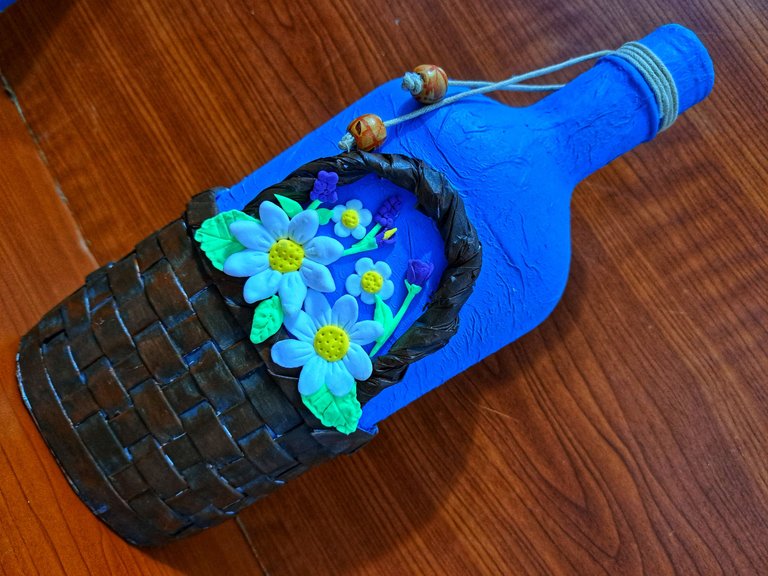
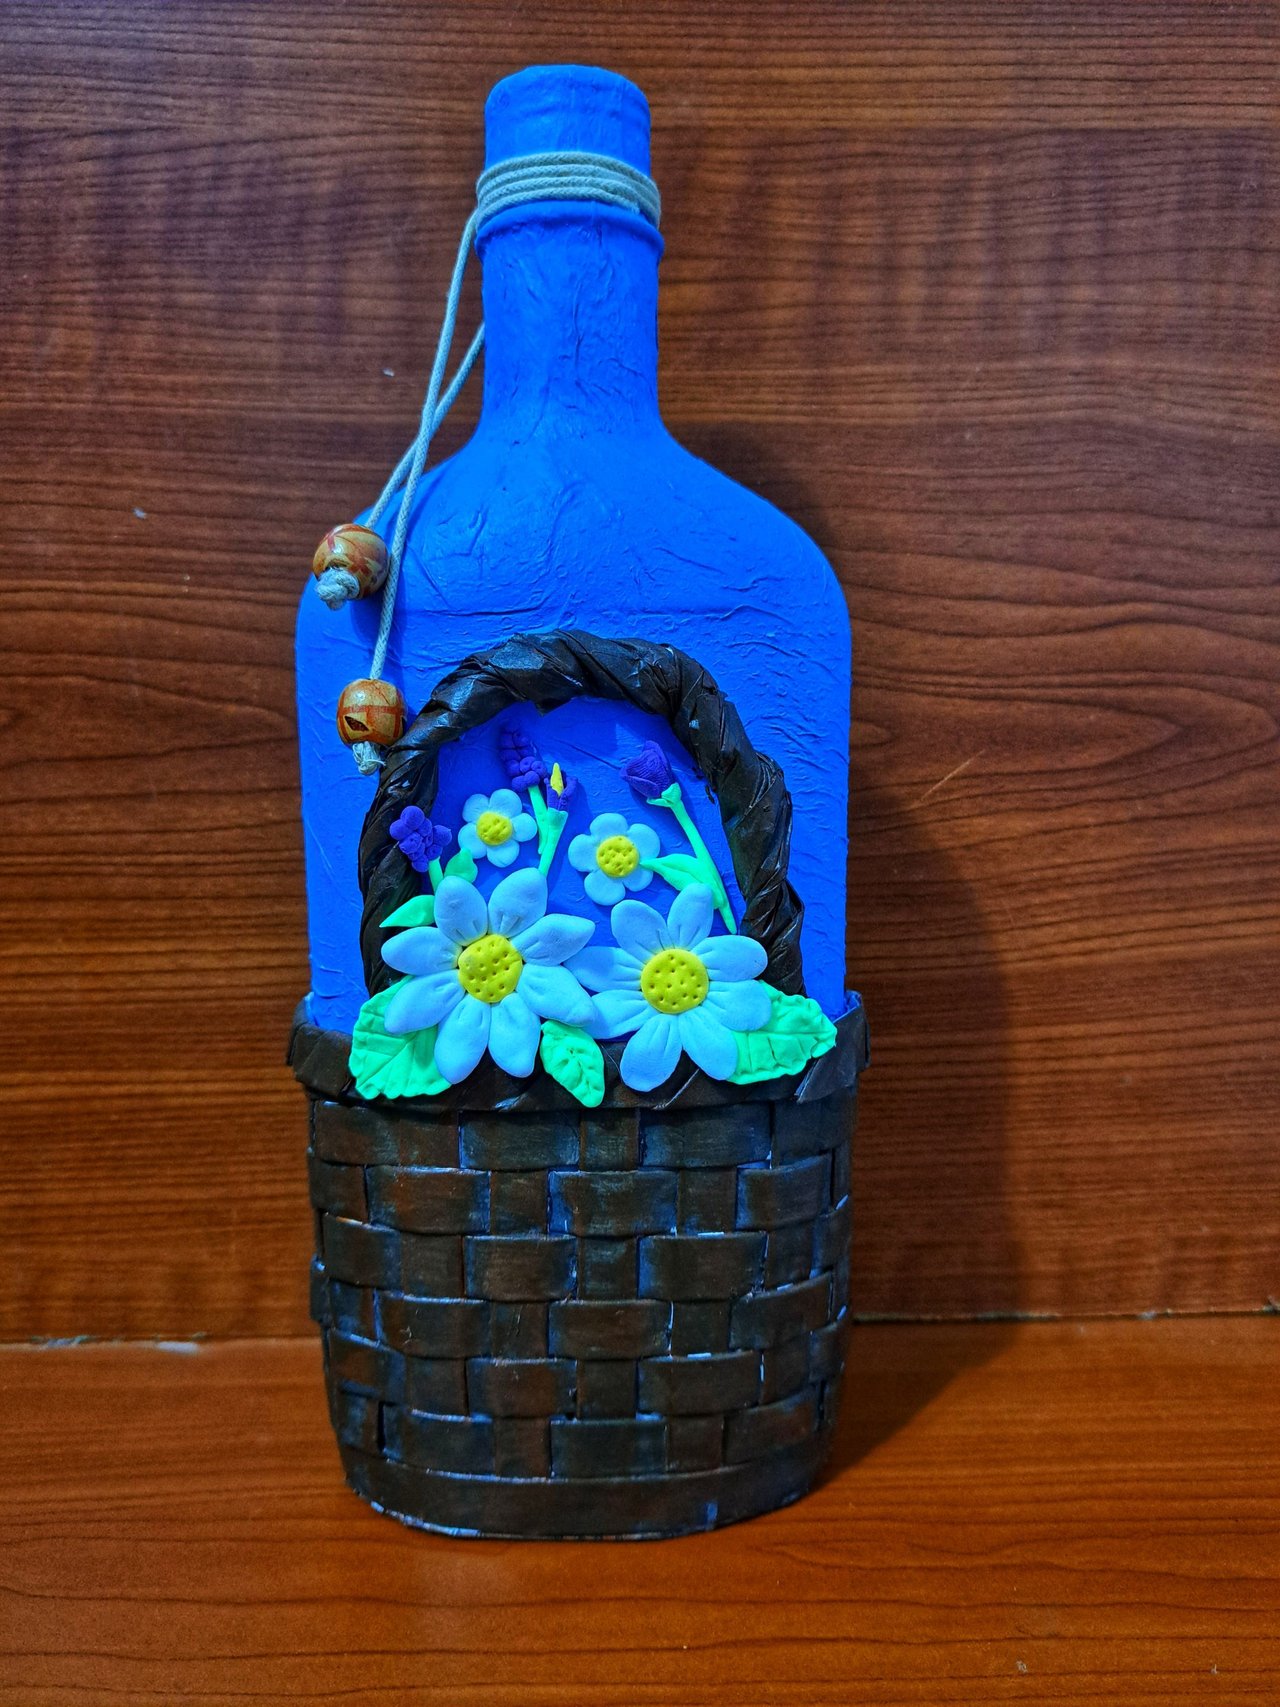
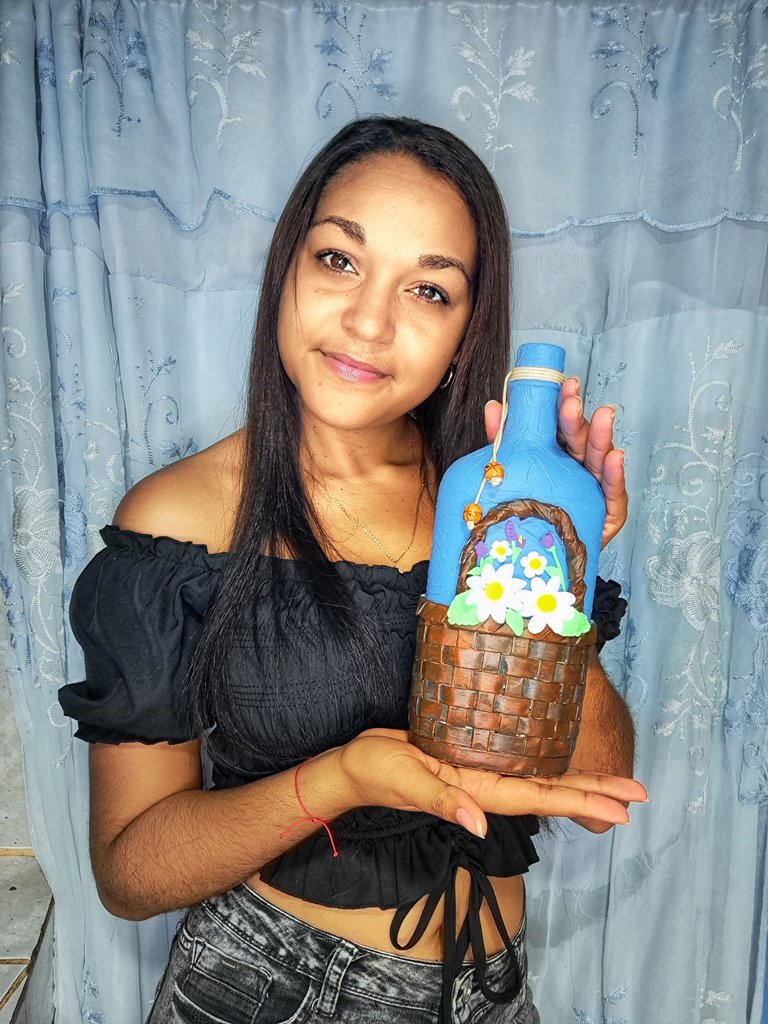
And so my first decorated bottle is finished!, I hope you liked it, as you have been able to appreciate, it is not so difficult, and it is a beautiful ornament to embellish our home or to give as a gift. Let me know in the comments what you thought, best regards to all.👋
Y así ya está terminada mi primera botella decorada!, espero les haya gustado, como han podido apreciar, no es tan difícil, y es un hermoso adorno para embellecer nuestro hogar o para regalar. Déjenme en los comentarios que les pareció, un saludo para todos. 👋
 |
 |
 |
Cover made in Canva
English is not my native language, translated by DeepL
wow so creative that looks stunning, thanks for sharing. keep up the good work.
Thank you very much for your support, I appreciate it. 😍
Thanks 🤗
Que linda quedó esa botella, preciosa para decorar cualquier rincón.
Muchas gracias, me alegro que te haya gustado 🤗
Que bonita yo quiero una
Gracias 🤗 , a ti te la regalo, o la próxima jjj
Congratulations @yale95reyra! You have completed the following achievement on the Hive blockchain And have been rewarded with New badge(s)
Your next target is to reach 80 posts.
You can view your badges on your board and compare yourself to others in the Ranking
If you no longer want to receive notifications, reply to this comment with the word
STOPThank you 😍
That's great @yale95reyra! We're excited to see your accomplishments on Hive! We'll continue to support you to achieve your next goals!
¡Oh pero que belleza! ❤️ haces que luzca facil de hacer, pero estoy segura que me saldria una botella media rara si lo intento ok no jaja
Siempre digo que el color azul es de los mas finos y elegantes, todo queda mas bonito con ese color, felicitaciones por tan lindo y creativa creacion 😊
Gracias, inténtalo, es fácil, que puedes perder, si sale rara no importa, es única y exclusiva jjj
Very cute!
Thanks 🤗
Que linda te quedó la botella, está perfecta para decorar la sala, un gran trabajo y una gran idea para aprovechar las botellas.
Saludos!
Muchas gracias 🥰 si está perfecta para la sala porque casi siempre allí es donde adornamos con flores y esas cosas. Me alegro que te haya gustado 🤗
Oye pero que bonita te quedó, me gusta ese efecto 3D que le diste, nunca había visto una decoración asi en una botella, buen trabajo 😊
Muchas gracias, 🤗 creo que lo que hace que se vea más hermosa es el tejido de la cesta, me encantó. Me alegro que te haya gustado 🥰