.jpg) Hola a todos, espero se encuentren muy bien, agradecida de poder compartir con todos ustedes, feliz de poder participar en este gran concurso de #Hivediy llamado Party kids, les quiero mostrar un lindo cotillón traje de payaso ideal para las fiestas de nuestros niños, el cual está elaborado con material de provecho, a continuación les mostraré el paso a paso.
Hola a todos, espero se encuentren muy bien, agradecida de poder compartir con todos ustedes, feliz de poder participar en este gran concurso de #Hivediy llamado Party kids, les quiero mostrar un lindo cotillón traje de payaso ideal para las fiestas de nuestros niños, el cual está elaborado con material de provecho, a continuación les mostraré el paso a paso.
Hello everyone, I hope you are very well, grateful to be able to share with all of you, happy to participate in this great #Hivediy contest called Party kids, I want to show you a nice clown costume cotillion ideal for our children's parties, which is made with useful material, then I will show you the step by step.
.jpg)
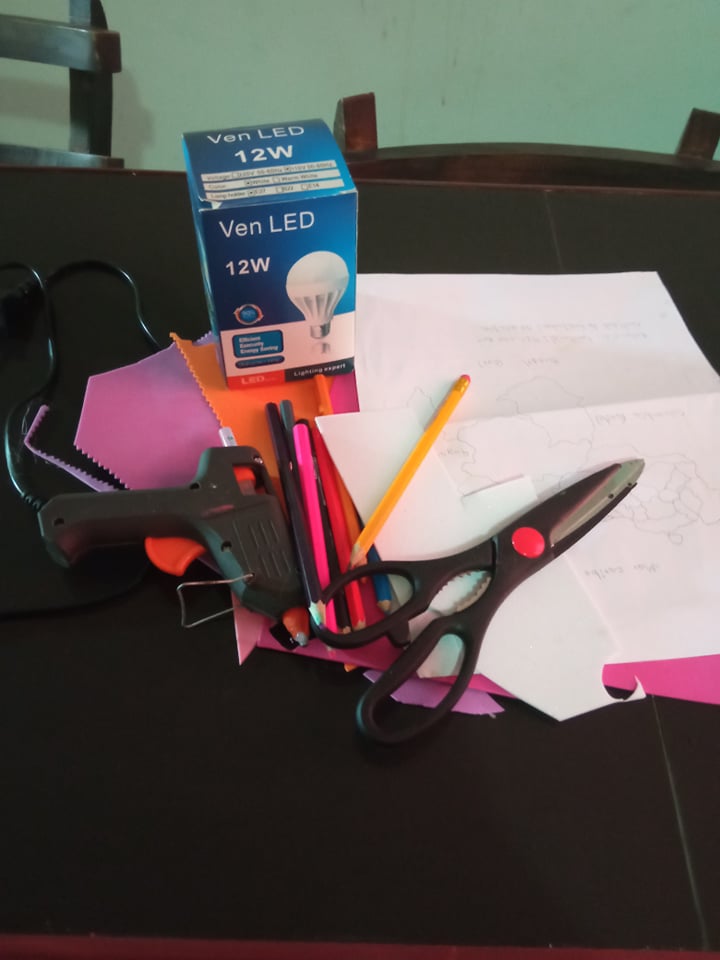
- Los materiales a utilizar son:
- 1 caja de bombillo pequeña.
- Colores.
- Tijera.
- Silicón en barra.
- Hoja de reciclaje.
- Lápiz.
- Foami de colore.
- Papel crepé rosado.
- The materials to be used are:
- 1 small bulb box.
- Colors.
- Scissors.
- Silicone stick.
- Recycling sheet.
- Pencil.
- Colored Foami.
- Pink crepe paper.
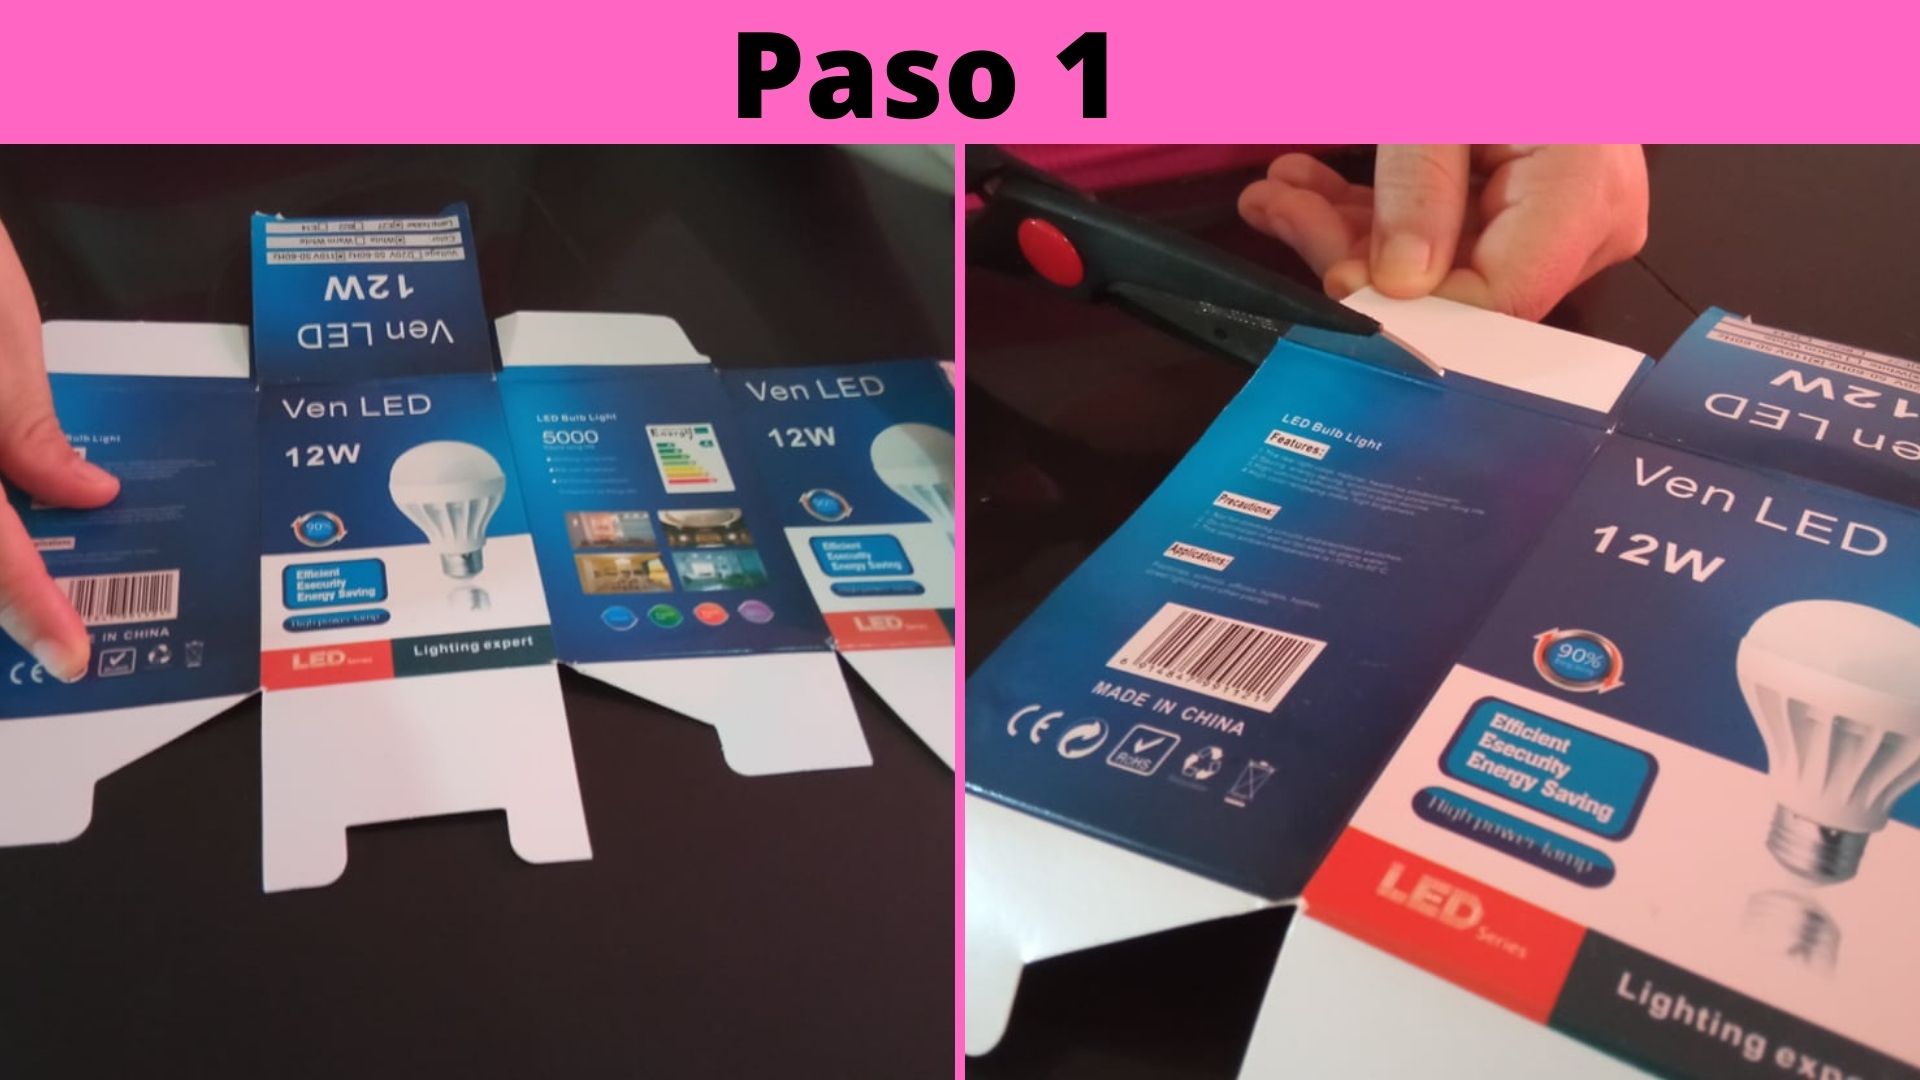
- Paso 1: Primeramente debemos desarmar la caja de bombillo, debemos abrirla por completo, una vez abierta procedemos a cortar las pestañas de la parte de arriba de la caja.
- Step 1: First we must disassemble the bulb box, we must open it completely, once open we proceed to cut the tabs on the top of the box.
.jpg)
- Paso 2: Una vez cortadas las pestañas superiores de la caja, comenzamos a armarla nuevamente pero por el lado al revés, deberá quedar como muestra la tercera imágen.
- Step 2: Once the upper flanges of the box are cut, we start to assemble it again but on the upside down side, it should look like the third image shows.
.jpg)
- Paso 3: Luego en la hoja de reciclaje procedemos a sacar el patrón de los zapatos del payaso, se recorta, y posteriormente se coloca sobre el foami rosado para marcar la forma del patrón.
- Step 3: Then we proceed to cut out the pattern of the clown's shoes from the recycling sheet, cut it out, and then place it on the pink foami to mark the shape of the pattern.
.jpg)
- Paso 4: Luego de marcar el patrón en el foami se recorta sacando 2 piezas iguales, luego se pegan en la parte de abajo de la caja, se recortan 2 tiras de foami de otro color con las medidas 2cm de ancho x 25 cm de largo.
- Step 4: After marking the pattern on the foami, cut out 2 equal pieces, then glue them on the bottom of the box, cut out 2 strips of foami of a different color with the measures 2 cm wide x 25 cm long.
.jpg)
- Paso 5: Luego de obtener las 2 tiras de foami procedemos a pegarla en la parte superior de la caja quedando a la orilla, esto lo debemos hacer con las dos tiras, y debemos pegarlas tanto en la parte delantera como en la parte trasera de la misma.
- Step 5: After obtaining the 2 strips of foami we proceed to glue it on the top of the box, this must be done with the two strips, and we must glue them both on the front and on the back of the box.
.jpg)
- Paso 6: Luego en el foami de color naranja pintamos 2 circulos del mismo tamaño, recortamos, y luego pegamos en la parte delantera de la caja.
- Step 6: Then on the orange foami we paint 2 circles of the same size, cut them out, and then glue them on the front of the box.
.jpg)
- Paso 7: En el foami blanco pintamos 2 estrellas del mismo tamaño, recortamos, y luego pegamos en la parte delantera de la caja, justo donde se pegó la tira de foami rosada.
- Step 7: On the white foami we paint 2 stars of the same size, cut them out, and then glue them on the front of the box, just where the pink foami strip was glued.
.jpg)
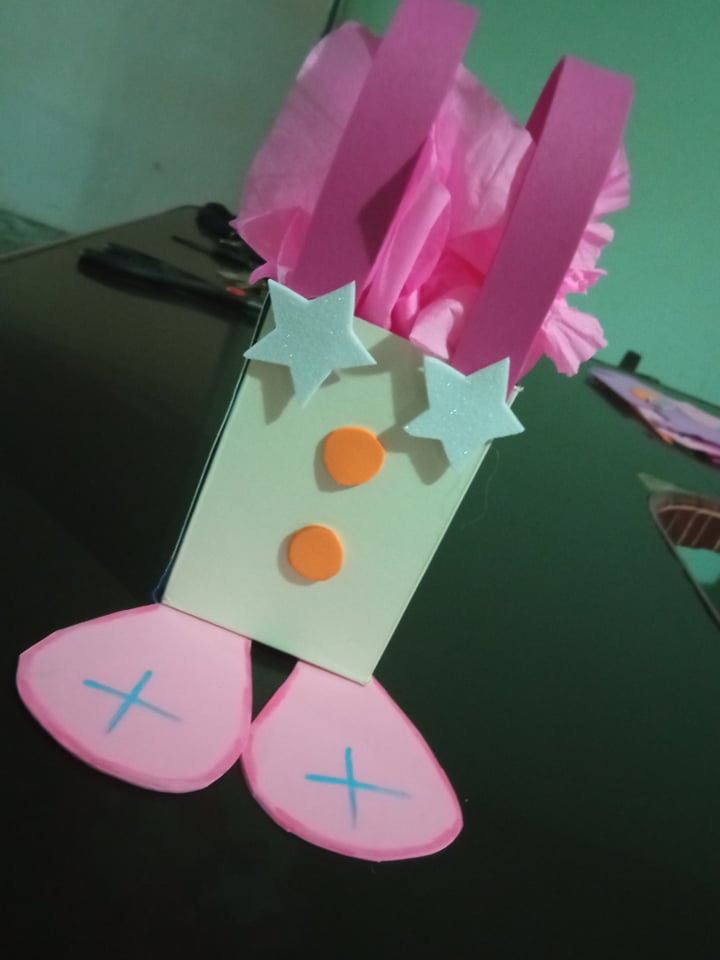
- Paso 8: Luego con el color rosado marcamos toda la orilla de los zapatos, y con el color azul hacemos en todo el centro de los zapatos una forma de cruz, posteriormente cortamos el papel crepé aproximadamente de 5 cm de ancho, y procedemos a colocarlo dentro del cotillón, esto se debe hacer después de haber colocado los dulces dentro del mismo.
- Step 8: Then with the pink color we mark the entire edge of the shoes, and with the blue color we make a cross shape in the center of the shoes, then we cut the crepe paper approximately 5 cm wide, and proceed to place it inside the cotillion, this should be done after having placed the candy inside it.
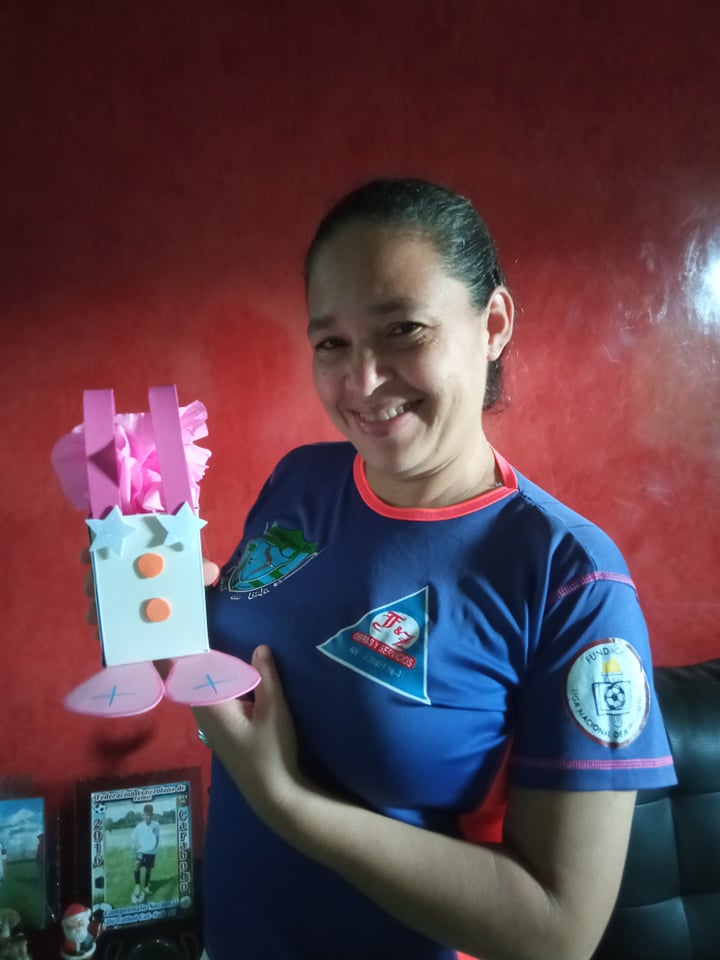
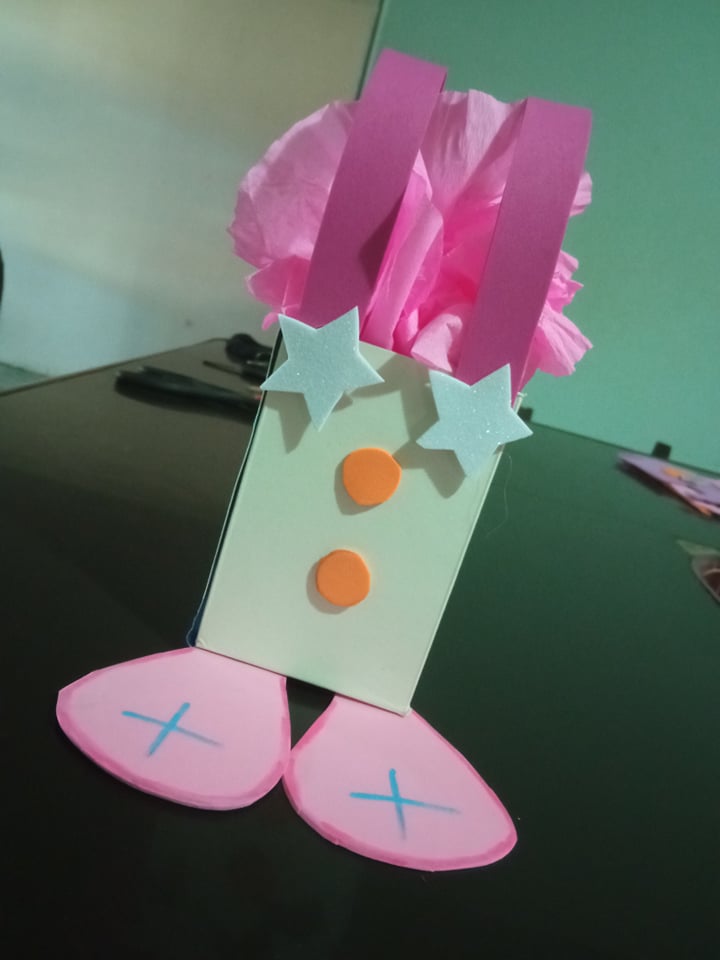
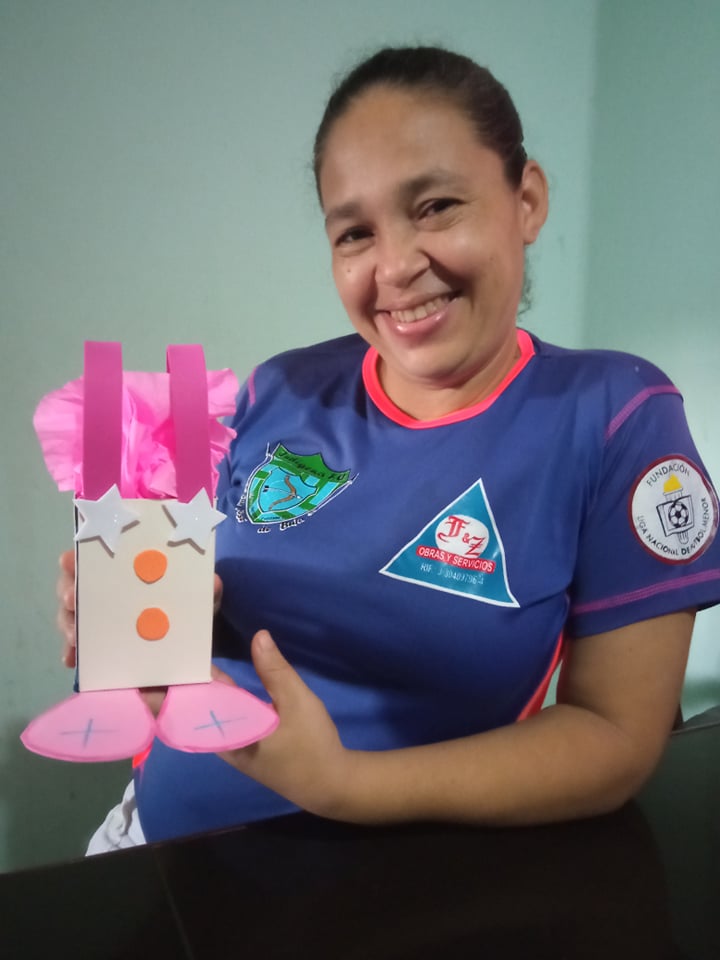
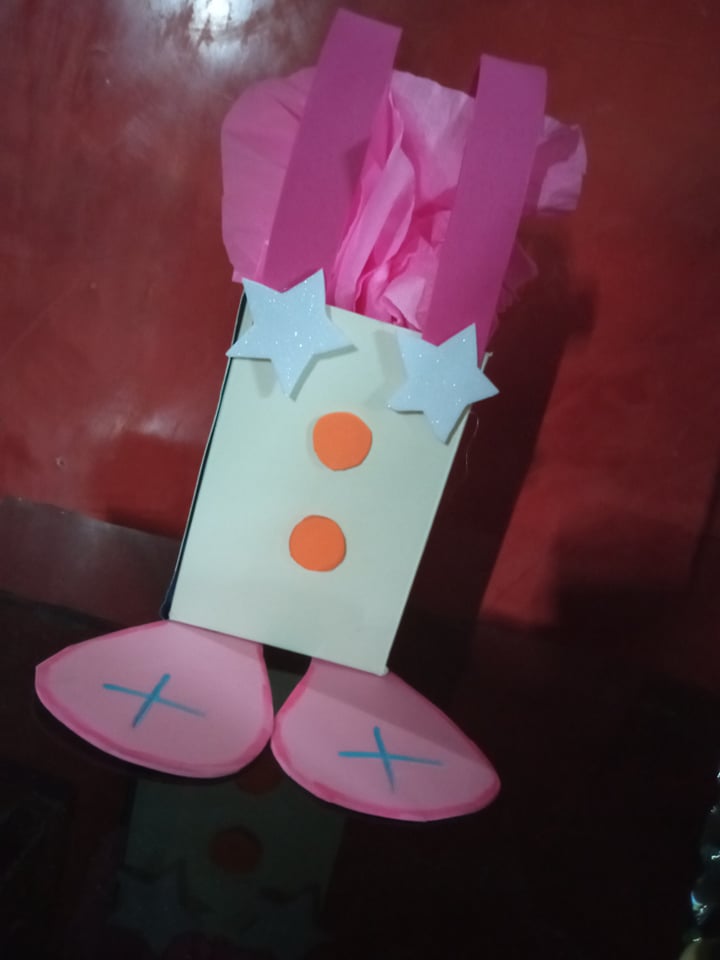
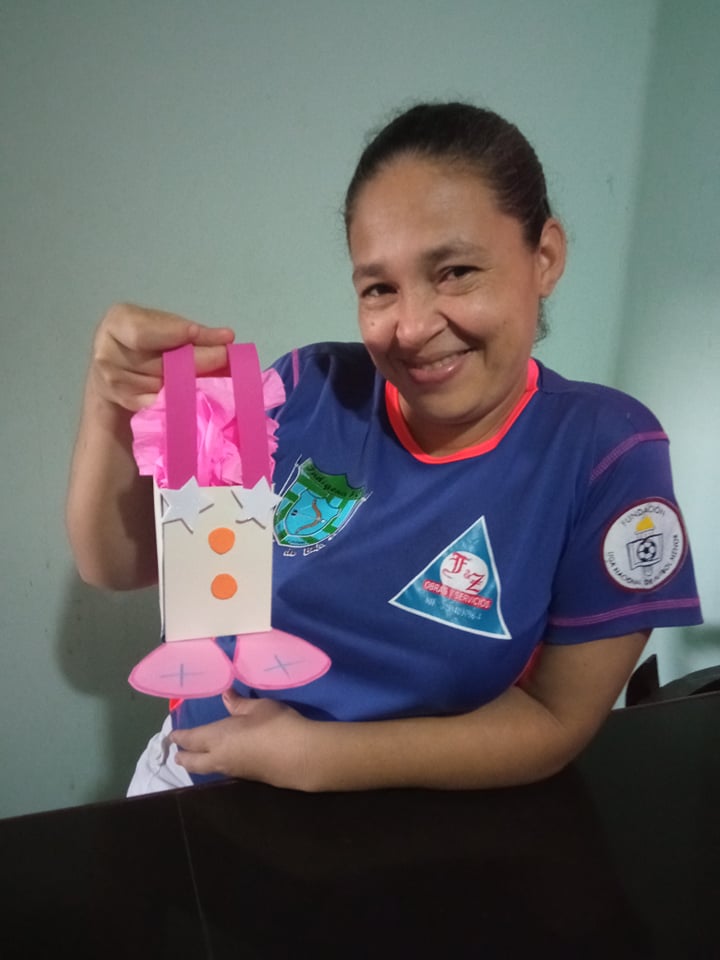
Aqui tenemos nuestro resultado final.
Here we have our final result.
 Todas las fotos son de mi autoría, y editadas desde canva.
All photos are of my authorship, and edited from canva.
Invito a participar en este gran concurso a mis amigas: @betzi25, @coromoto20, y @eribetzi
I invite to participate in this great contest my friends: @betzi25, @coromoto20, and @eribetzi
Todas las fotos son de mi autoría, y editadas desde canva.
All photos are of my authorship, and edited from canva.
Invito a participar en este gran concurso a mis amigas: @betzi25, @coromoto20, y @eribetzi
I invite to participate in this great contest my friends: @betzi25, @coromoto20, and @eribetzi .

Congratulations @yannet80! You have completed the following achievement on the Hive blockchain and have been rewarded with new badge(s) :
Your next target is to reach 150 posts.
You can view your badges on your board and compare yourself to others in the Ranking
If you no longer want to receive notifications, reply to this comment with the word
STOPTo support your work, I also upvoted your post!
Muchas gracias rutablockchain.
Te ha quedado muy lindo este cotillòn. La combinaciòn de colores pasteles, ademàs de la utilizaciòn de materiales de provecho es un èxito. Estoy segura de que alegrarà mucho a los pequeños en sus fiestas. Me gustò mucho el producto final y tu paso a paso bien detallado. Gracias por participar! Muchos exitos en el concurso. @yannet80
Muchas gracias marybellrg.
Congratulations, your post has been upvoted by @dsc-r2cornell, which is the curating account for @R2cornell's Discord Community.
Enhorabuena, su "post" ha sido "up-voted" por @dsc-r2cornell, que es la "cuenta curating" de la Comunidad de la Discordia de @R2cornell.
Thank you very much.
Que lindo te quedó te felicito muy bien que aprovechas los recursos que tienes a mano...suerte en el concurso!
Thank you for sharing this amazing post on HIVE!
Your content got selected by our fellow curator @stevenson7 & you just received a little thank you via an upvote from our non-profit curation initiative!
You will be featured in one of our recurring curation compilations and on our pinterest boards! Both are aiming to offer you a stage to widen your audience within and outside of the DIY scene of hive.
Join the official DIYHub community on HIVE and show us more of your amazing work and feel free to connect with us and other DIYers via our discord server: https://discord.gg/mY5uCfQ !
If you want to support our goal to motivate other DIY/art/music/homesteading/... creators just delegate to us and earn 100% of your curation rewards!
Stay creative & hive on!
Thank you for your support diyhub.
Saludos, muchas gracias por participar en nuestro concurso, te quedo muy lindo tanto la estructura del post como la manualidad, se nota que mucho el esfuerzo dedicado a él.
MUCHAS GRACIAS.