Versión en Español
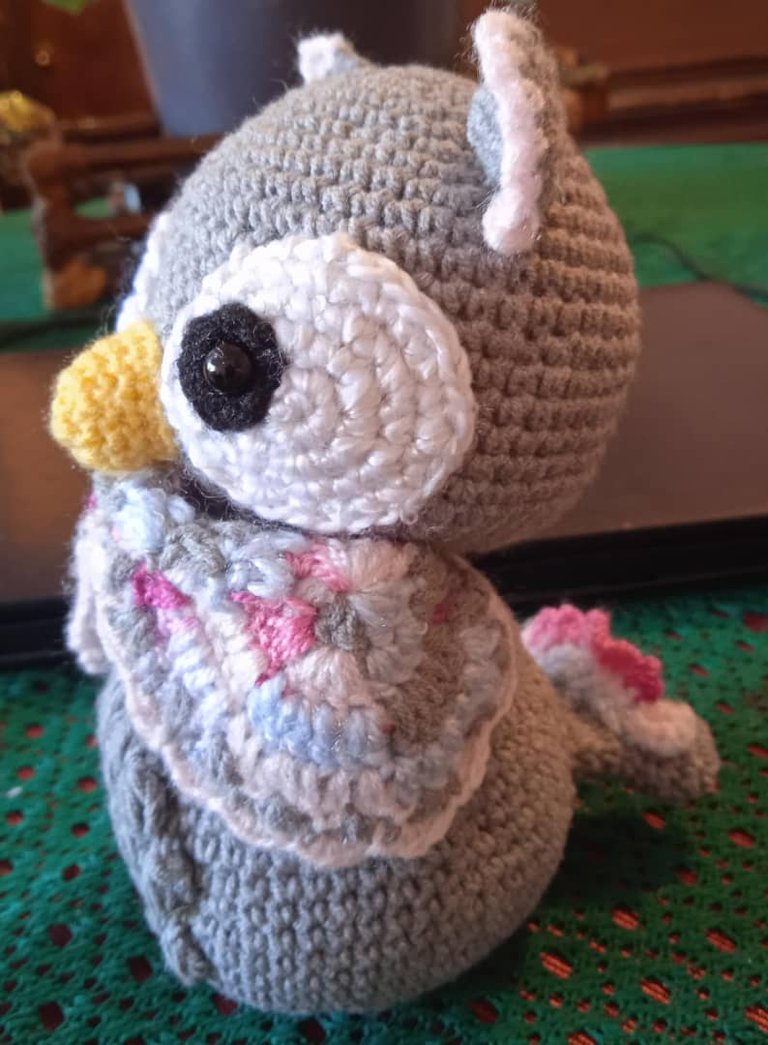
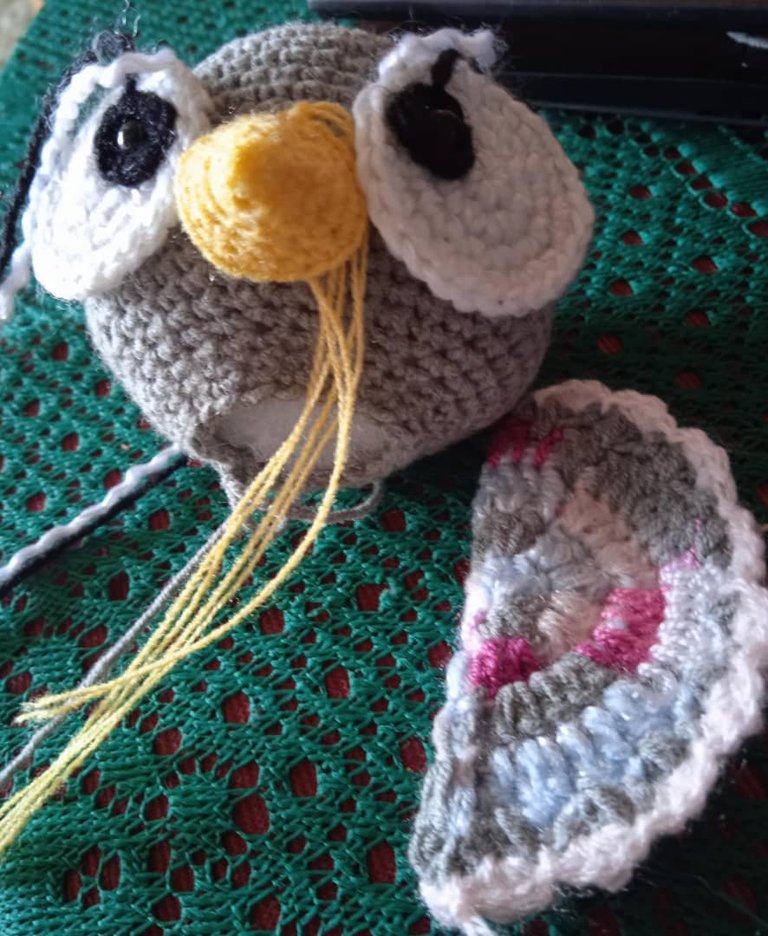
Hola a todos en Hive. Feliz día, espero que la estén pasando bien. Hoy les traigo en crochet, un buho en amigurumi que he realizado, sin tener un patrón y tejido con ganchillo. Lo hice intentando replicar, a mi estilo, la figura que aparece en una imagen de buenos días, de la cual una cliente se enamoró y me solicitó que se lo tejiera.
Origen
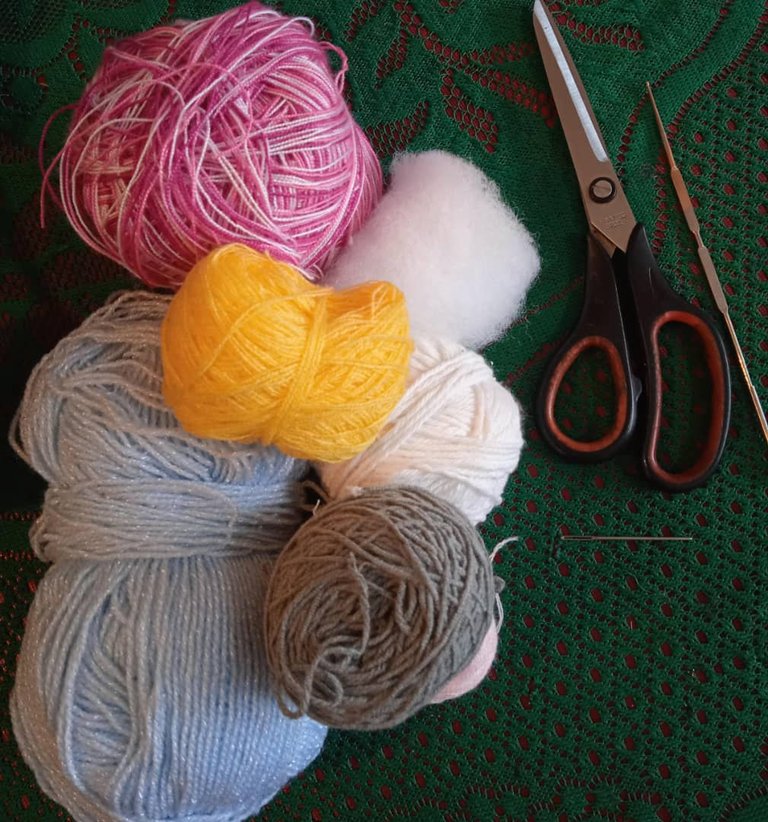
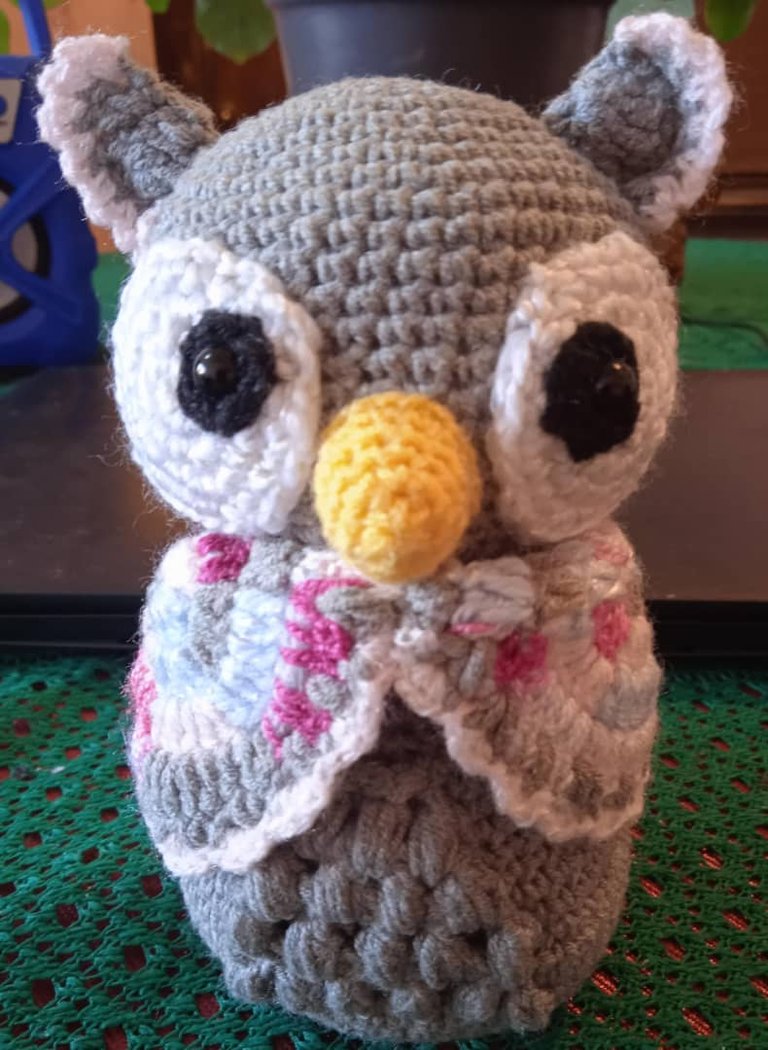
En la imagen aparece un búho gris con las alas coloridas, mejillas blancas y ojos negros. Entonces lo primero es la escogencia de los hilos adecuados a la textura que se observa en la imagen y los colores correctos, los ojos de seguridad acordes al tamaño del búho, relleno de algodón especial para amigurumis, diversos instrumentos como aguja lanera y tijeras. El búho mide aproximadamente de 12 a 15 centímetros.
Inicio de la figura
Luego se procede a elaborar la figura. Para ello se necesita un patrón a seguir para que quede lo mejor posible. Busqué en internet y el patrón del buho aparece, pero a la venta y en ruso o simplemente aparecen otros patrones que han realizado otras tejedoras y son demasiado grandes o muy pequeños. Por lo tanto realicé el ave según mi experiencia en el tejido a una aguja.
Elaboración del cuerpo
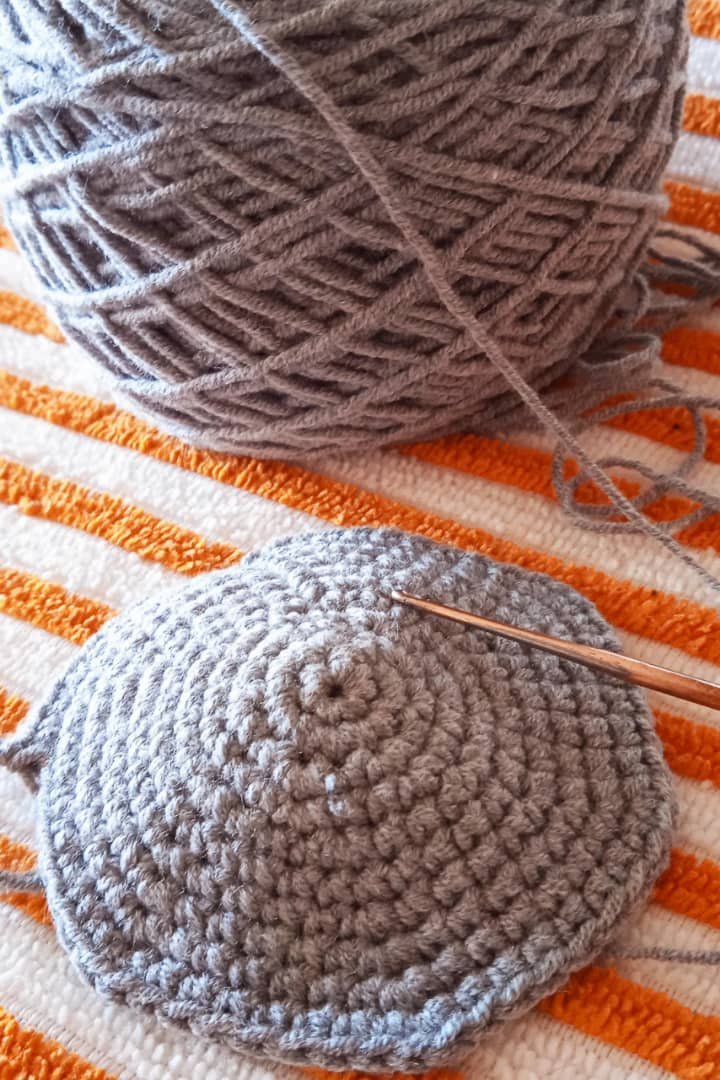
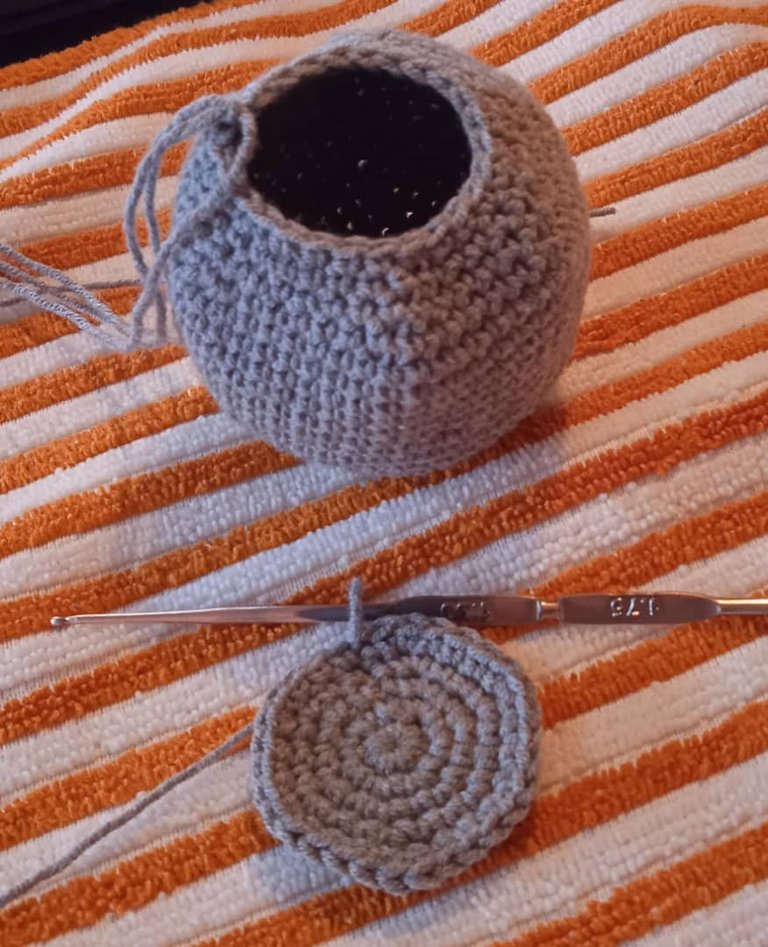
Comencé realizando la cabeza con hilo de algodón gris, tratando de imitar la redondez de la imagen original. Puedo acotar que me quedó muy grande y tuve que soltar el tejido y comenzar de nuevo un poco más pequeño. Terminada la cabeza procedí a realizar el cuerpo de la misma manera. Tejiendo esas dos partes me tardé dos días, entre otras actividades diarias.
Continuación de la figura
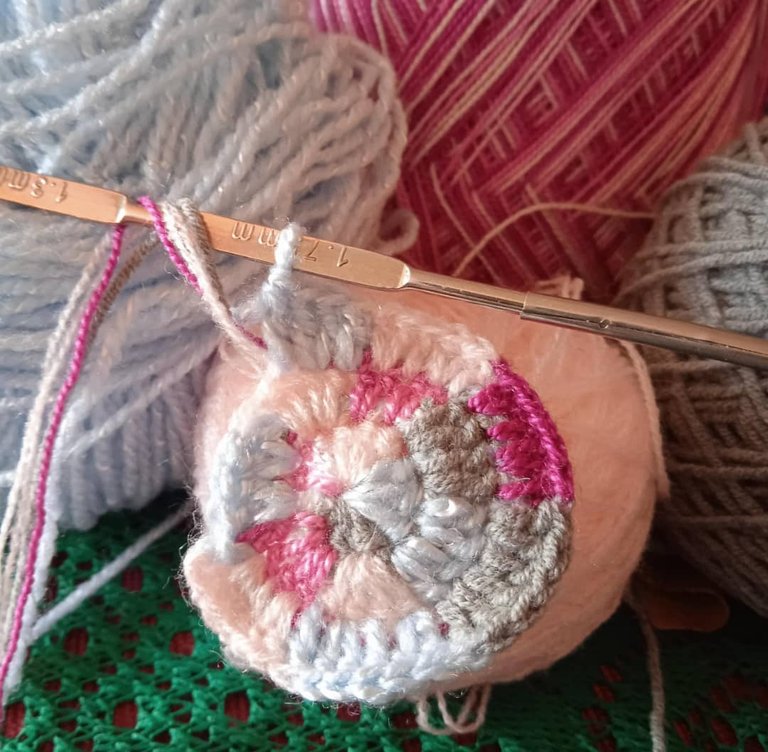
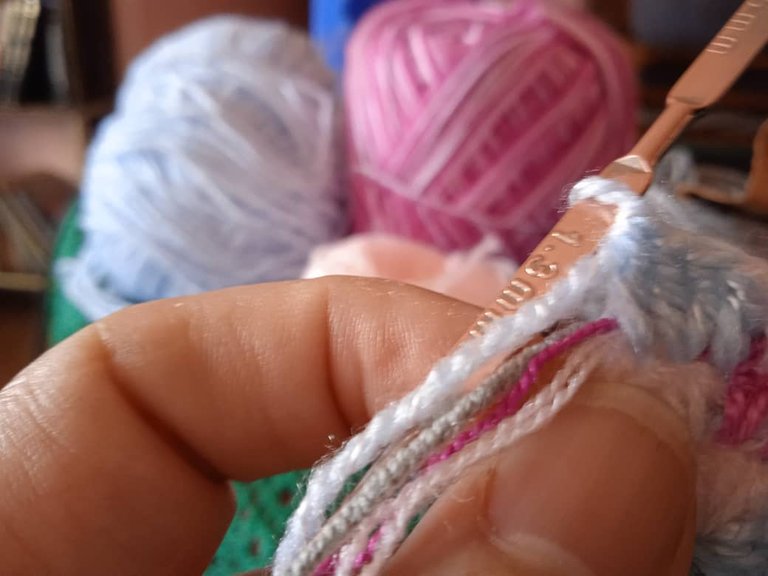
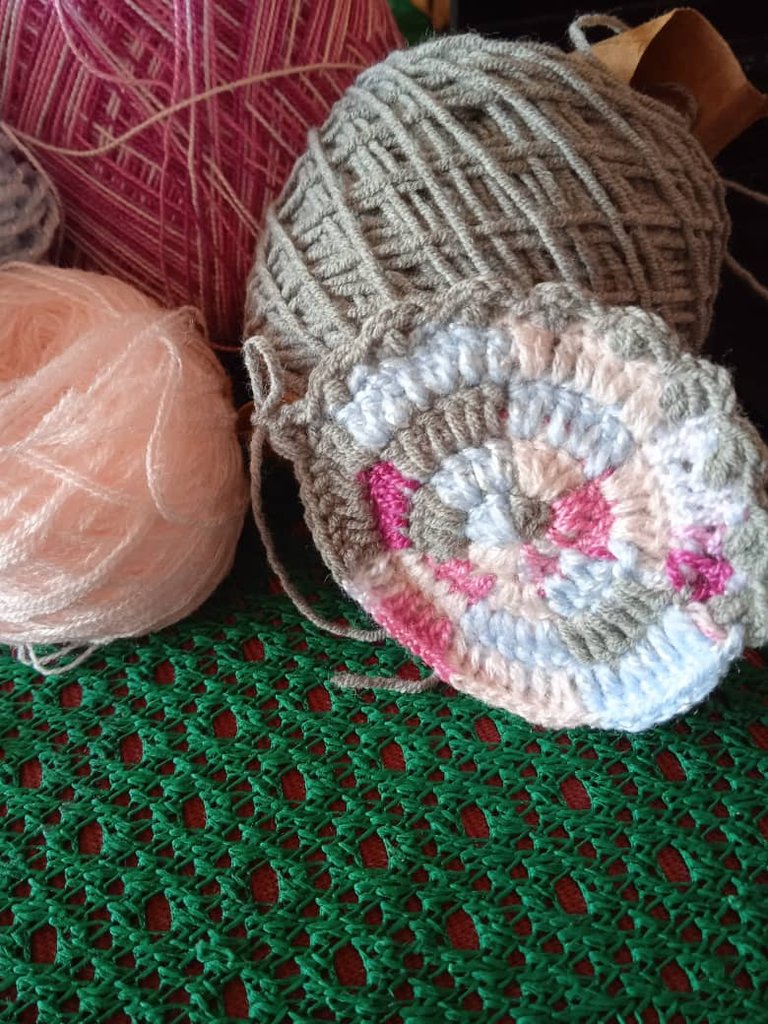
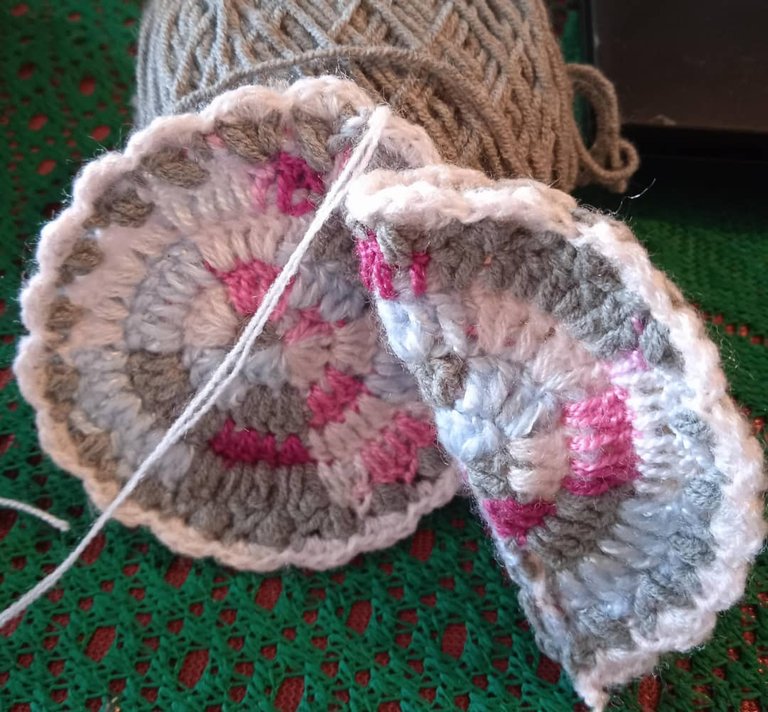
Luego tejí las alas. Las alas se observan de varios colores con hilo matizado y como no tengo matizado tomé diferentes ovillos y uní las puntas de los colores para que me quedara igual. Fue un trabajo arduo porque se enredaban los hilos y poco a poco pude lograr hacerlas. Tardé un día en realizar las dos alas tratando que me quedaran iguales.
Final
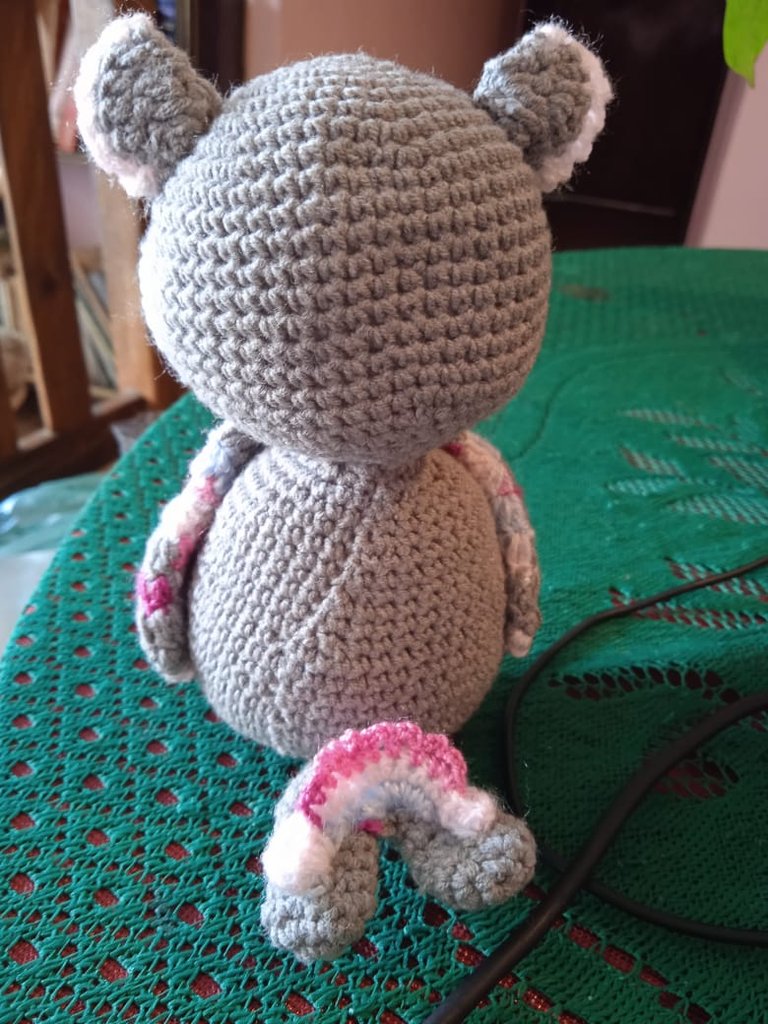
Tejí las dos orejas y la cola en gris con el borde rosa pálido, el pico en amarillo fuerte, la parte alrededor de los ojos con hilo negro, las mejillas en blanco, Y al tener listas todas las piezas las guardé para coserlas al día siguiente porque estaba muy cansada de forzar la vista, me dolían las muñecas, los dedos y la espalda. Aunque el cliente no sabe de esas dolencias al tejer, mis amigas tejedoras si me entienden verdad? Por eso muchas veces las personas lo ven costoso, pero no saben lo que se gasta de tiempo y el desgaste físico al tejer cualquier proyecto.
Armado de la pieza
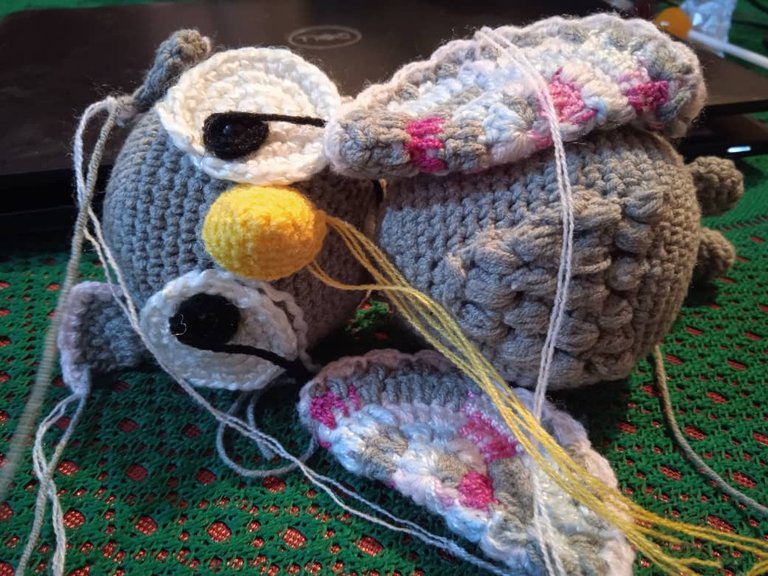
Con aguja lanera y los mismos hilos del tejido se fue armando la pieza. Coser la cabeza al cuerpo. Introducir los ojos de seguridad en el borde negro y luego en las mejillas blancas para introducirlas en la cabeza a la altura adecuada es un trabajo fuerte porque deben quedar a la altura correcta, luego hay que coser los bordes con la aguja lanera y colocar por dentro los broches de seguridad para que no se salgan los ojitos plásticos. Rellenar con bastante algodón para que la pieza se sostenga y cerrar completamente la pieza.
Últimos detalles
Se rellena el pico y se cose en la cabeza entre las mejillas, coser también las orejas a la altura, coser las alas en la posición que tienen en la imagen, coser la colita del búho por detrás y colocarla en la posición adecuada para que el cliente quede conforme con la pieza encargada.
Fue un trabajo laborioso aunque muy entretenido. Me gustó mucho realizar este proyecto y lo mejor es que recibiré una recompensa monetaria por mi trabajo. Le mostré el resultado a mi clienta y le gustó mucho, dijo que estaba lindo y esa es la más gratificante recompensa que se puede recibir al ver que el comprador quedó satisfecho con mi trabajo tejeril. Espero que les haya gustado mi experiencia de tejido sin patrón. Nos vemos en una próxima entrega 😀.
Traducido al ingles en DeepL
Todas las fotos son de la cámara de mi teléfono.
English Version
Hello to everyone at Hive. Happy day, I hope you are having a good time. Today I bring you a crochet amigurumi owl that I made, without a pattern and crocheted with crochet. I made it trying to replicate, in my style, the figure that appears in a good morning image, which a client fell in love with and asked me to crochet it for her.
Origin.
The image shows a grey owl with colourful wings, white cheeks and black eyes. So the first thing to do is to choose the right yarn for the texture you can see in the image and the right colours, the safety eyes according to the size of the owl, special cotton stuffing for amigurumis, various tools such as a knitting needle and scissors. The owl measures approximately 12 to 15 centimetres.
Beginning of the figure
The next step is to make the figure. To do this you need a pattern to follow so that it looks as good as possible. I looked on the internet and the owl pattern appears, but it is on sale and in Russian or simply other patterns that other knitters have made and they are too big or too small. So I made the bird according to my experience in single needle knitting.
Making the body
I started by making the head with grey cotton thread, trying to imitate the roundness of the original image. I can point out that it was too big and I had to cut the fabric and start again a little bit smaller. Once the head was finished, I proceeded to knit the body in the same way. It took me two days to knit those two parts, among other daily activities.
Continuation of the figure
Then I wove the wings. The wings can be seen in different colours with dyed yarn and as I don't have dyed yarn I took different balls and joined the ends of the colours so that it would be the same. It was hard work because the threads got tangled and little by little I was able to make them. It took me a day to make the two wings, trying to get them to look the same.
Final
I knitted the two ears and the tail in grey with a pale pink border, the beak in bright yellow, the part around the eyes with black thread, the cheeks in white, and when I had all the pieces ready I kept them to sew them the next day because I was very tired of straining my eyes, my wrists, my fingers and my back hurt. Although the customer doesn't know about these ailments when knitting, my knitting friends understand me, don't they? That's why people often see it as expensive, but they don't know how much time and physical wear and tear it takes to knit any project.
Assembly of the piece
With a wool needle and the same threads as the fabric, the piece was assembled. Sew the head to the body. Insert the safety eyes in the black border and then in the white cheeks to introduce them in the head at the right height. It is a hard work because they must be at the right height, then you have to sew the edges with the wool needle and place the safety clasps inside so that the plastic eyes do not come out. Stuff with enough cotton to hold the piece together and close the piece completely.
Last details
Fill the beak and sew it on the head between the cheeks, sew the ears at the same height, sew the wings in the position they have in the image, sew the owl's tail at the back and place it in the right position so that the customer is satisfied with the ordered piece.
It was a laborious but very entertaining job. I really enjoyed doing this project and the best thing is that I will receive a monetary reward for my work. I showed the result to my client and she liked it very much, she said it was nice and that is the most gratifying reward you can receive when you see that the buyer was satisfied with my knitting work. I hope you liked my patternless knitting experience. See you in a future installment 😀.
Translated to English at DeepL
All photos are from my phone camera.
That's actually pretty cool! Do you sell these or just give them away to friends/keep them?
Thank you friend. 😘
Usually give at my friends or family, but if anyone want something special, they can ask for and buy it
Guao que belleza está realmente hermoso, buen trabajo te felicito
Gracias amiga. 😍
Congratulations @yannira! You have completed the following achievement on the Hive blockchain And have been rewarded with New badge(s)
Your next target is to reach 1000 upvotes.
You can view your badges on your board and compare yourself to others in the Ranking
If you no longer want to receive notifications, reply to this comment with the word
STOPCheck out our last posts:
Mi vida, es precioso, amo a los buhos 😍 bueno, mi nombre de usuaria creo que ya me delata jajaja que lindura, siempre quise aprender chrochet para hacer buhitos tan lindos como este, me encanto 😍
Ja ja ja ja ya te delataste. Sería buenísimo que aprendieras y haces tu colección de búhos de todos los tamaños. Animate!!! Y gracias por tu comentario tan lindo.
Amiga, que trabajo tan bonito. Los amigurumis son realmente bellos, y me recuerdan a mi hermana, que tiene esa habilidad.
Te felicito, porque quedo hermoso
Gracias por tus palabras de aliento. Me das más ánimos de seguir realizando los amigurumis. 😍