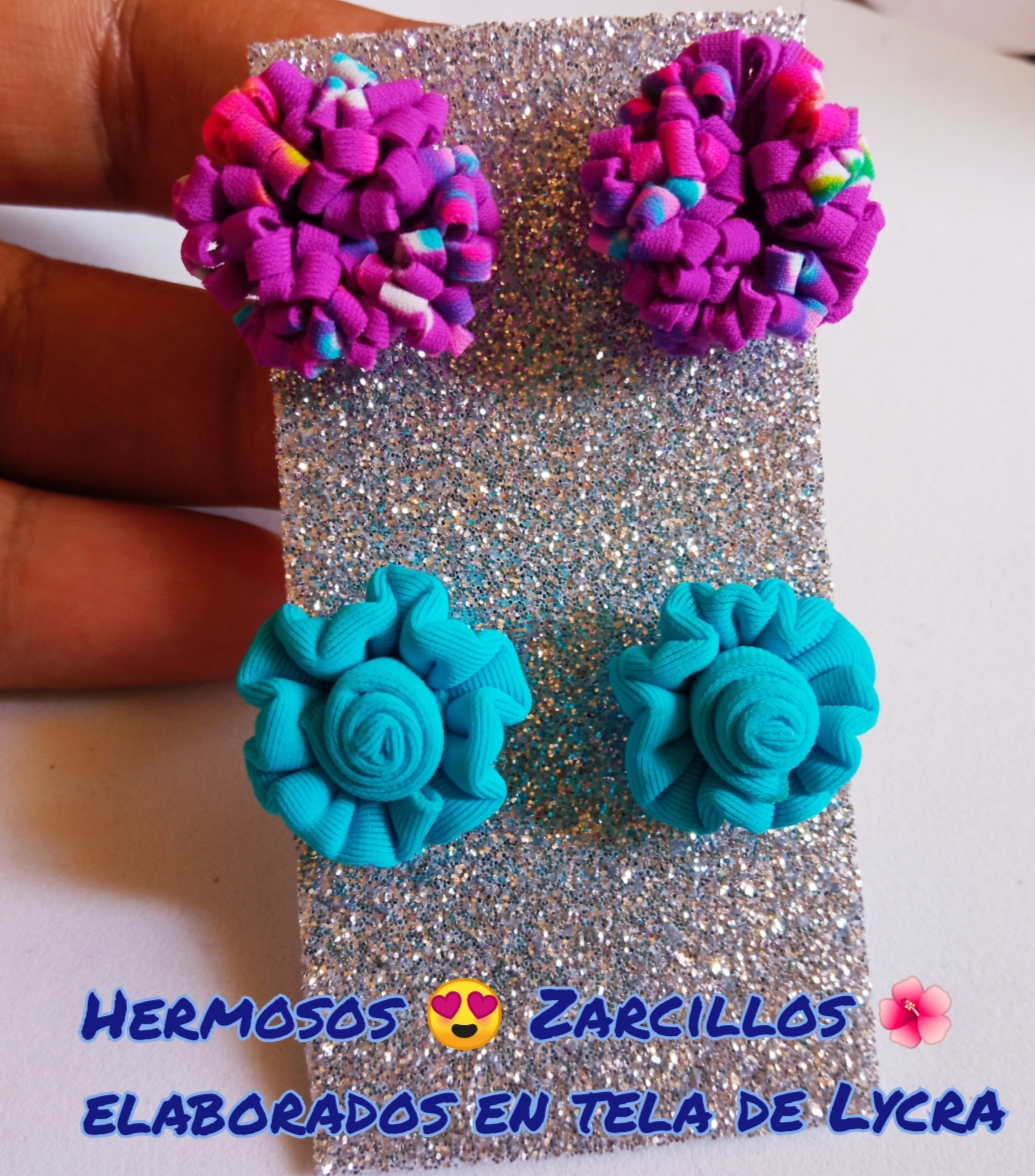
Saludos 👋Queridos 💞 Amigos de Hive Diy!! // Greetings 👋Dear 💞 Hive Diy Friends!!
Hermosos Zarcillos Elaborados en Tela de Lycra. // Beautiful tendrils made of Lycra fabric.
Hoy vengo nuevamente por aquí para enseñarles un poco de mi trabajo, esta vez elaboré unos hermosos 😍 zarcillos con retazos de lycra, me encanta cómo quedan, ya que es una tela muy colorida y suave para trabajar.
Today I come here again to show you some of my work, this time I made some beautiful 😍 tendrils with lycra scraps, I love how they look, because it is a very colorful and soft fabric to work with.
Pero si los desean hacer con otro tipo de tela lo pueden hacer o también en citas, quedan hermosos 😍 solo tienen que seguir el paso a paso que les voy a enseñar. Para la elaboración de estos zarcillos te voy a detallar a continuación los materiales que utilice.
But if you want to make them with another type of fabric you can do it or also in quotes, they are beautiful 😍 you just have to follow the step by step that I am going to show you. For the elaboration of these tendrils I will detail below the materials I used.
🌺Materiales:🌺
- Tela de Lycra azul y estampada.
- Base plana para zarcillos.
- Tapones para zarcillos.
- Aguja.
- Hilo de color blanco y rosado.
- Pistola de Silicon.
🌺Materials:🌺
- Blue and printed Lycra fabric.
- Flat base for tendrils.
- Plugs for tendrils.
- Needle.
- White and pink thread.
- Silicon gun.
🌺 Elaboración:🌺 // 🌺 Elaboration:🌺
Zarcillos Azules: // Blue tendrils:
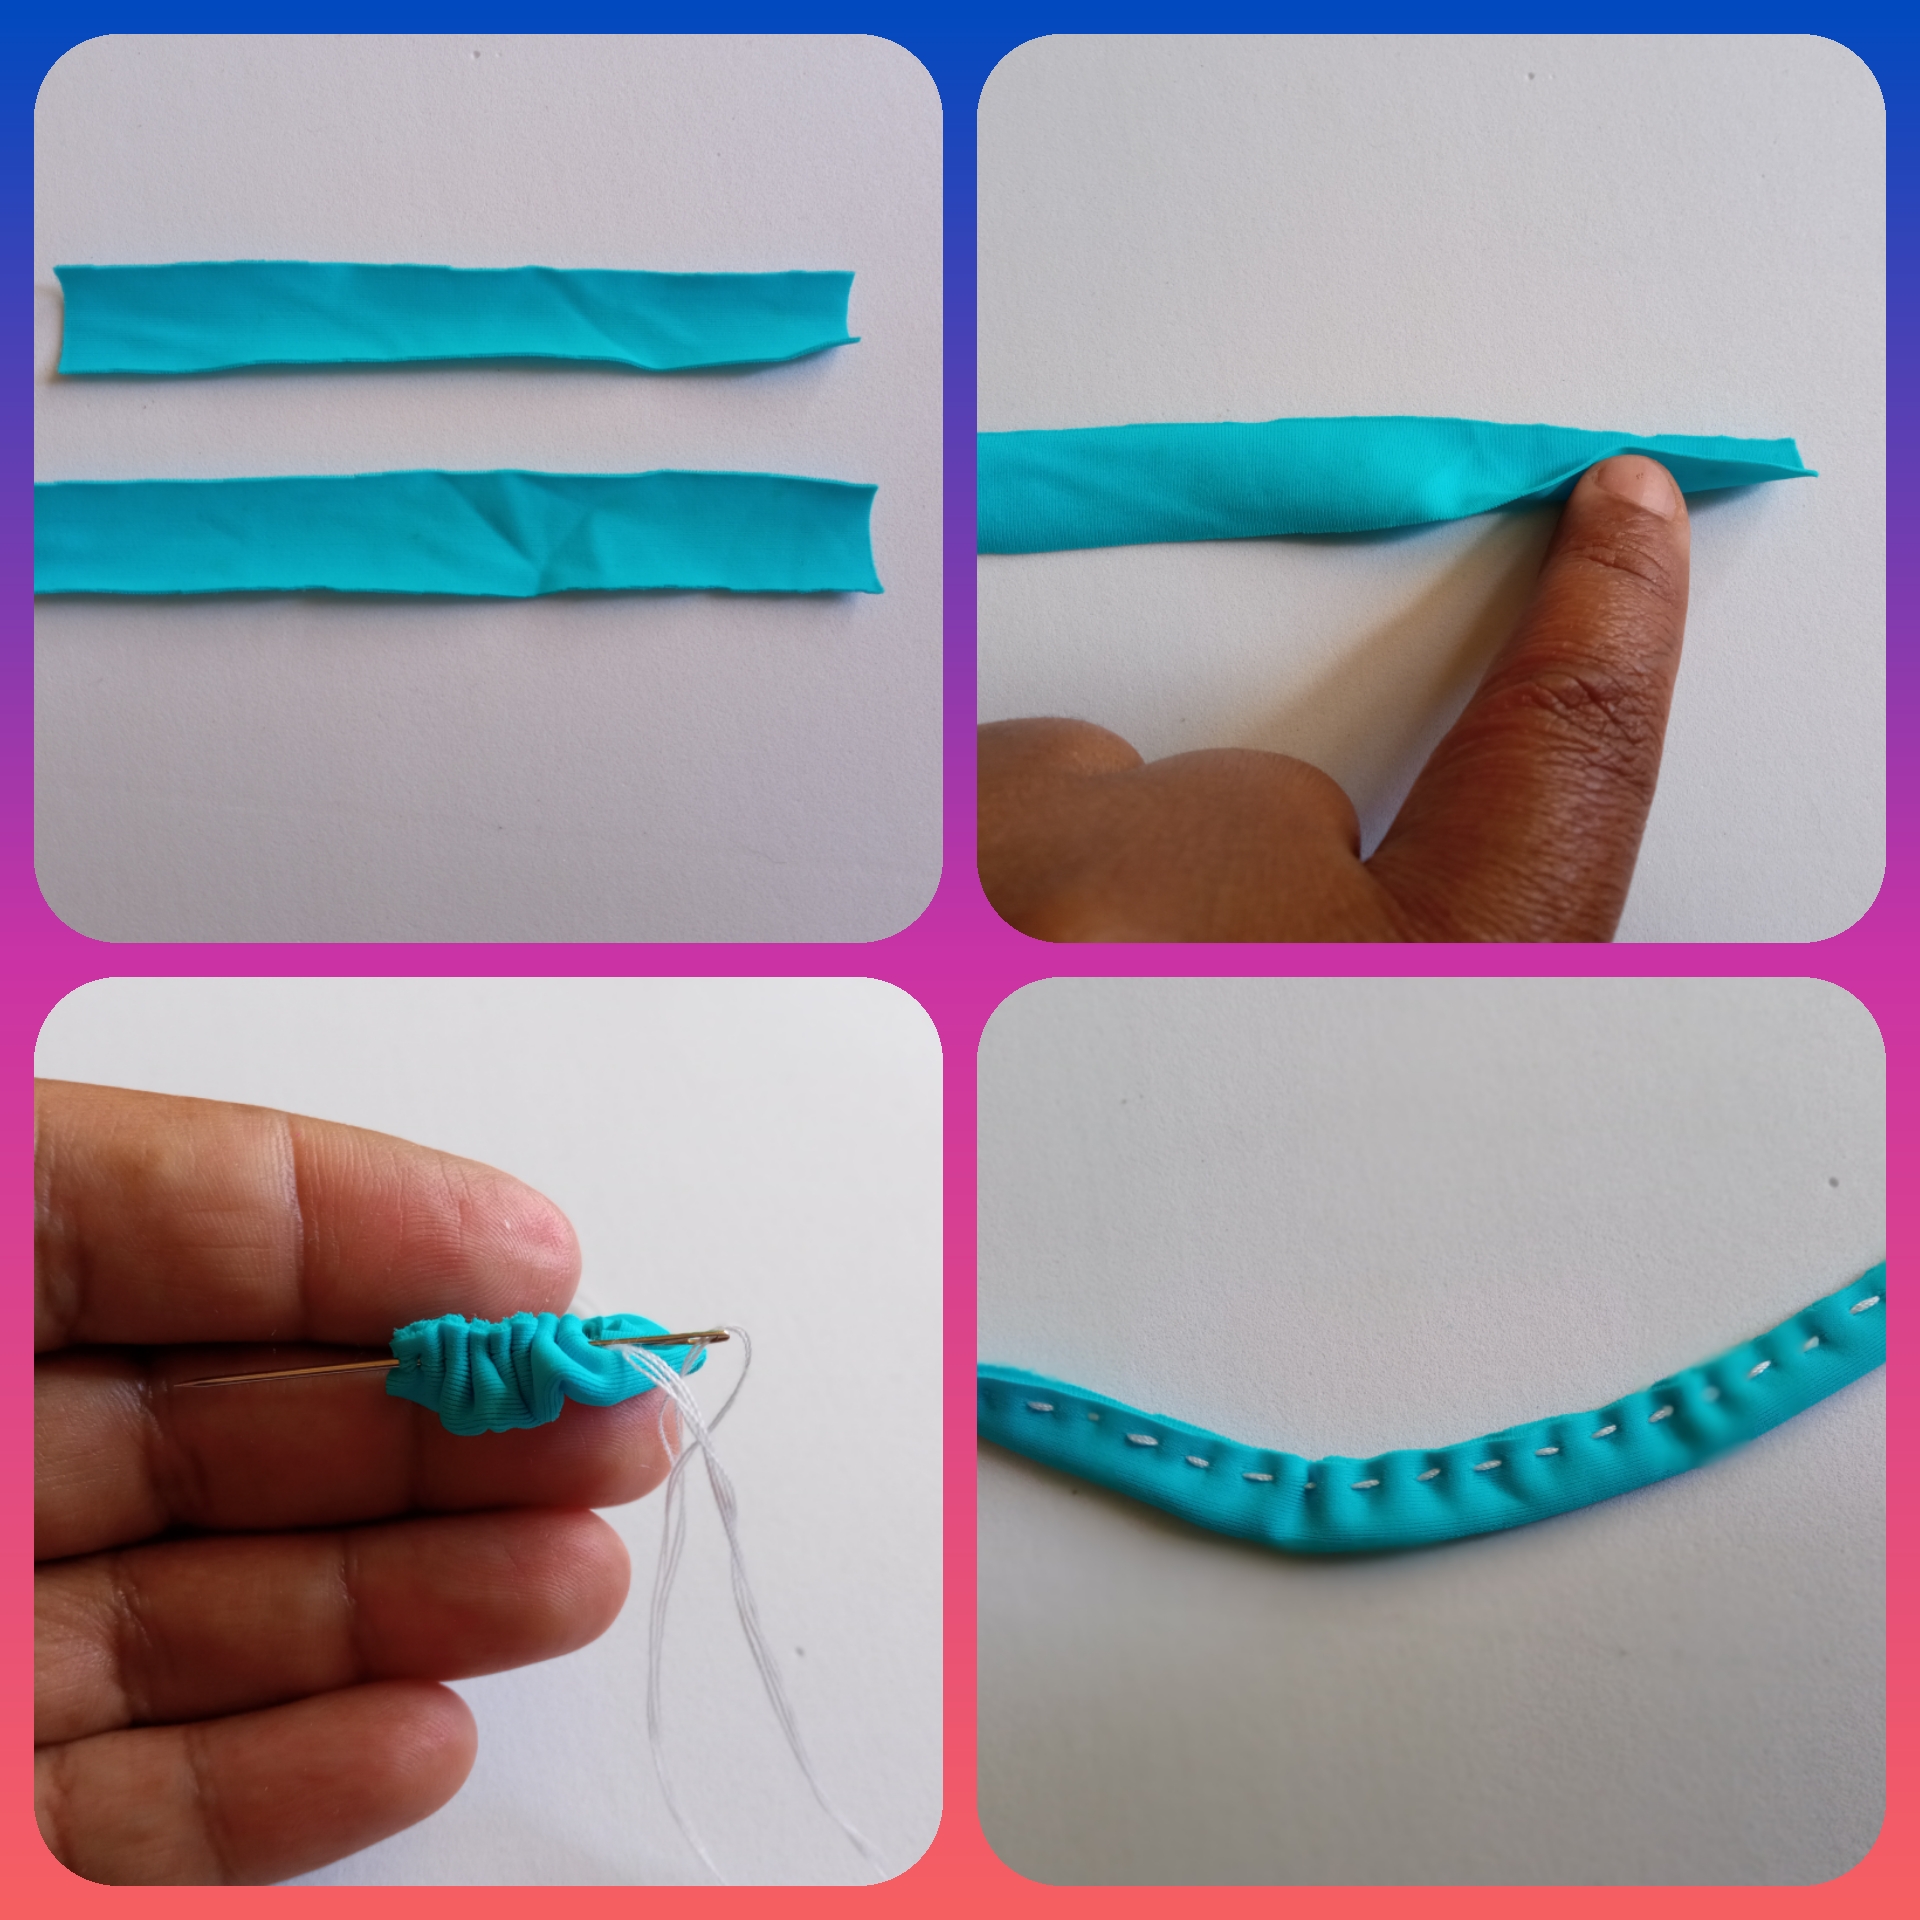
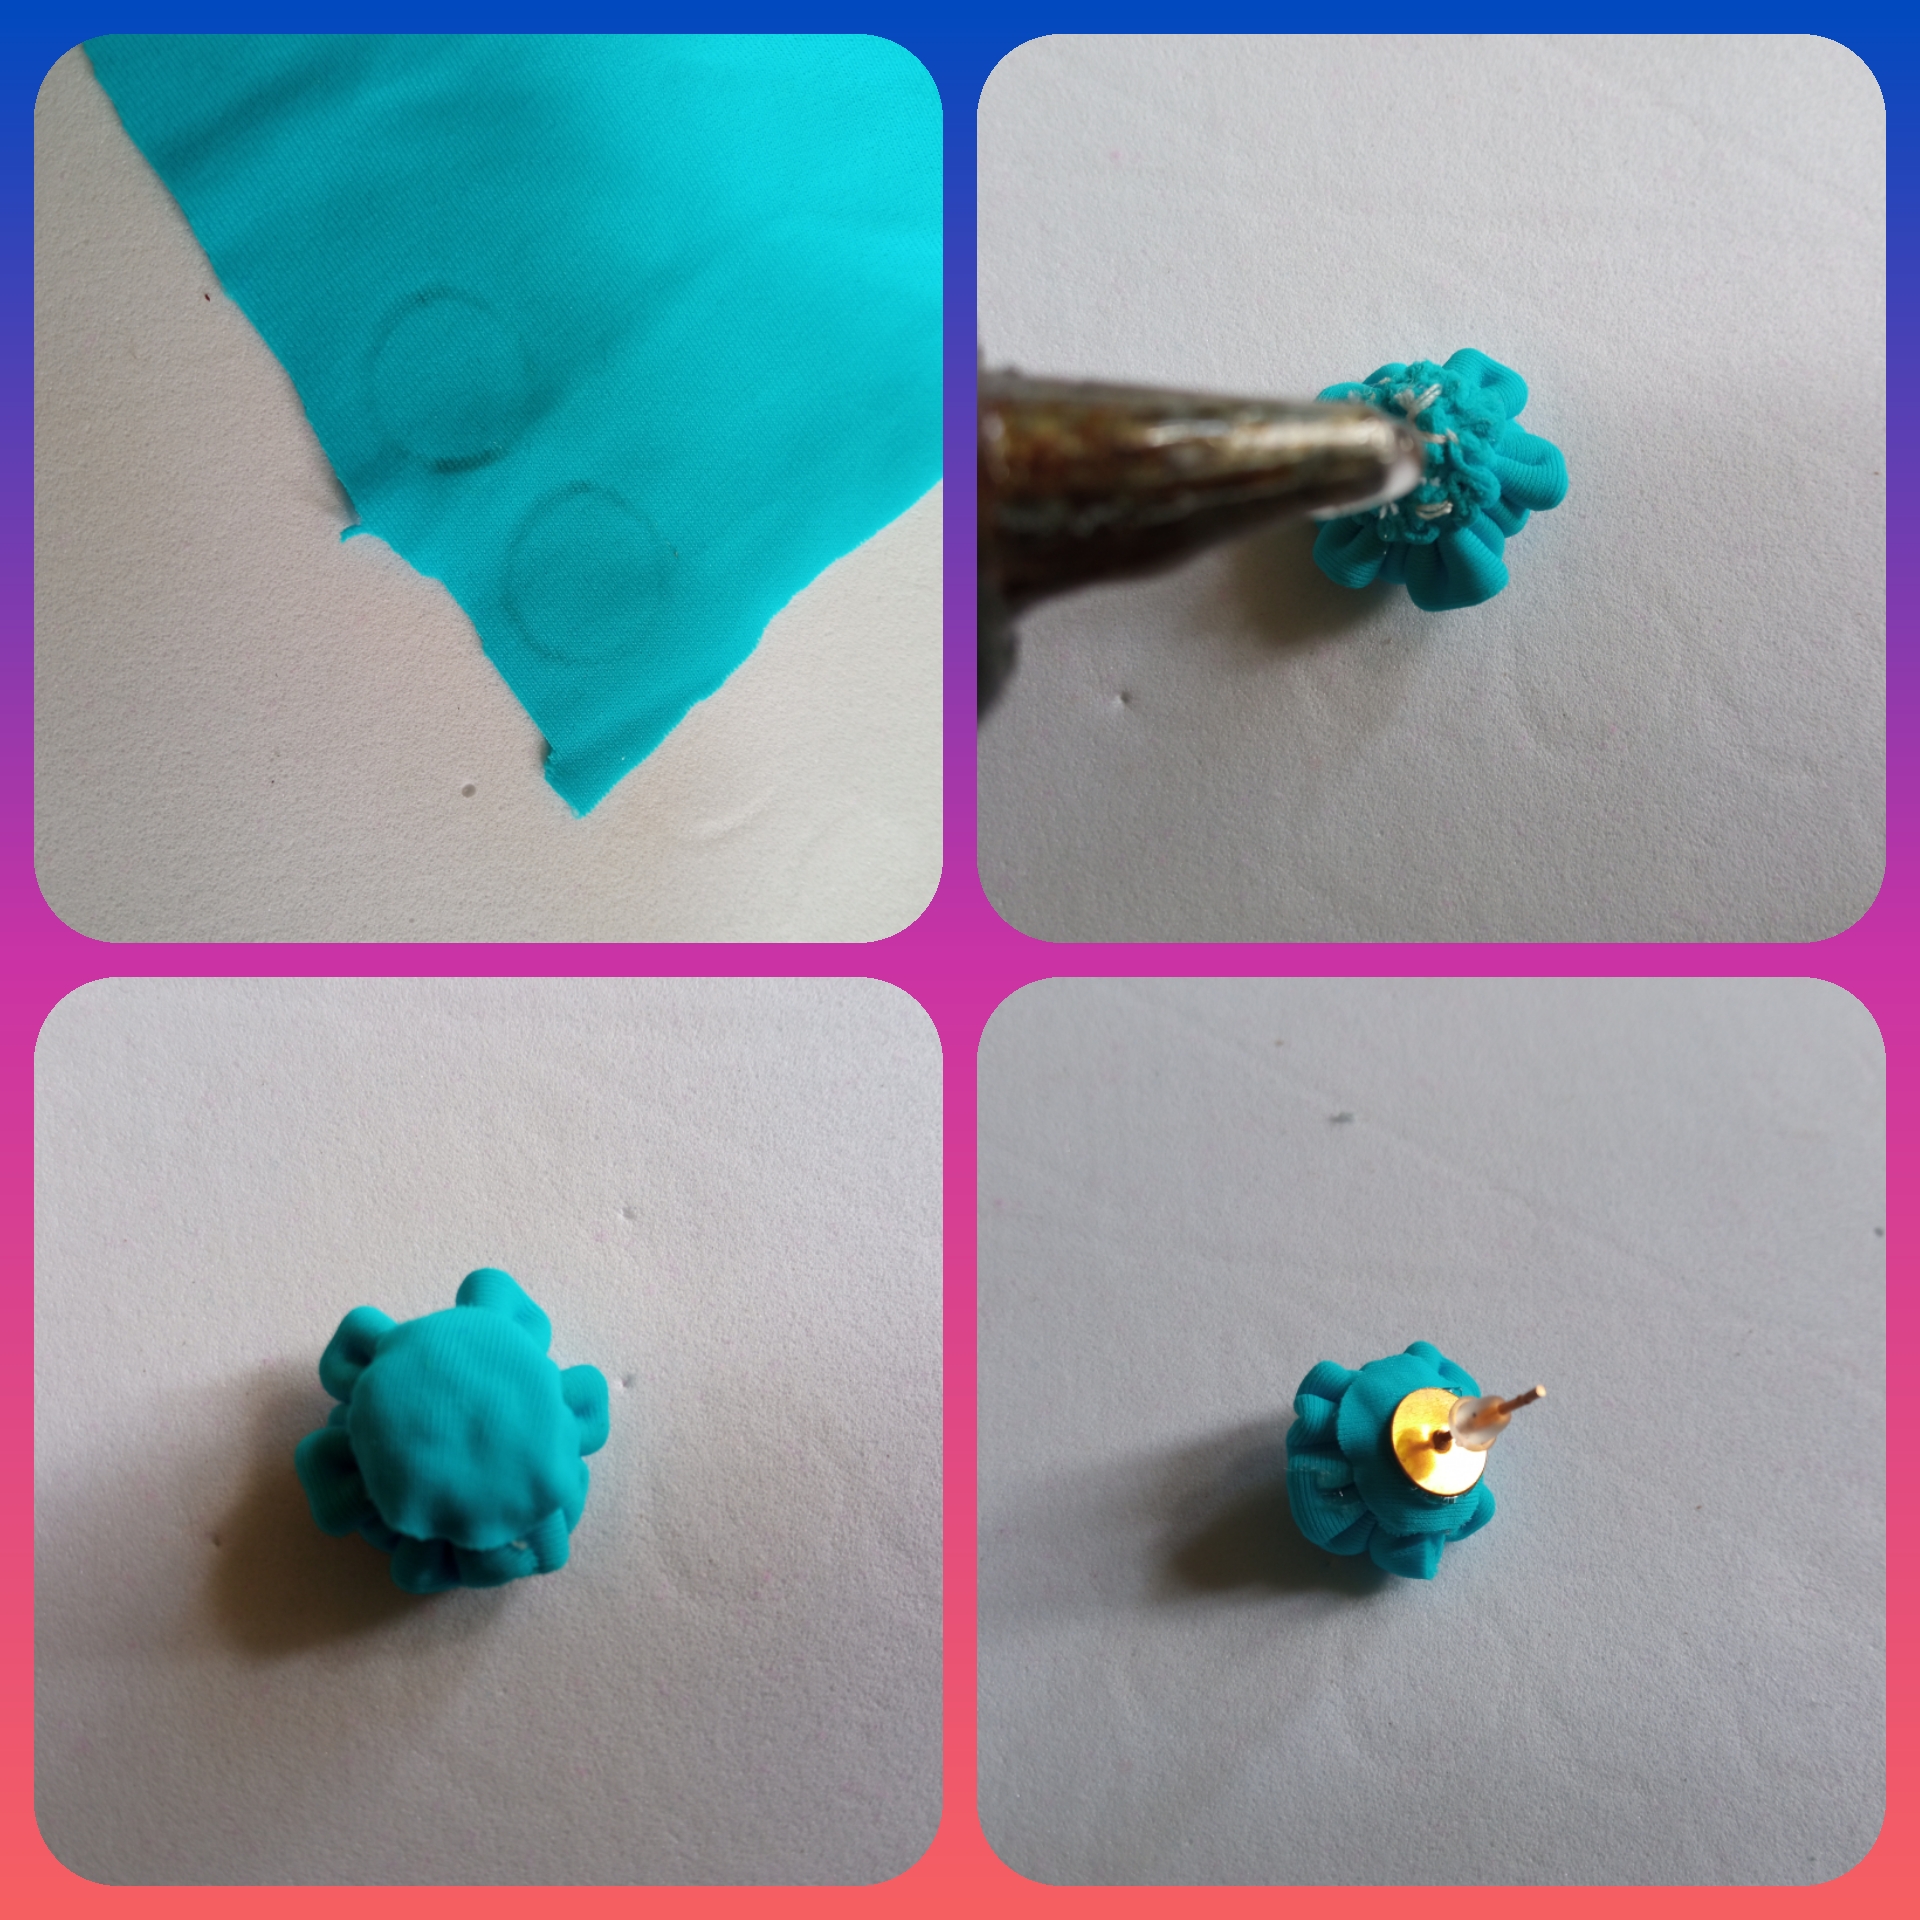
Paso 1:
Primero tomamos la tela Lycra y cortamos dos tires de 1cm de ancho y 11cm de largo, doblamos a la mitad con hilo blanco cocemos de extremo a extremo.
Paso 1:
First we take the Lycra fabric and cut two strips of 1cm wide and 11cm long, fold in half with white thread and sew from end to end.
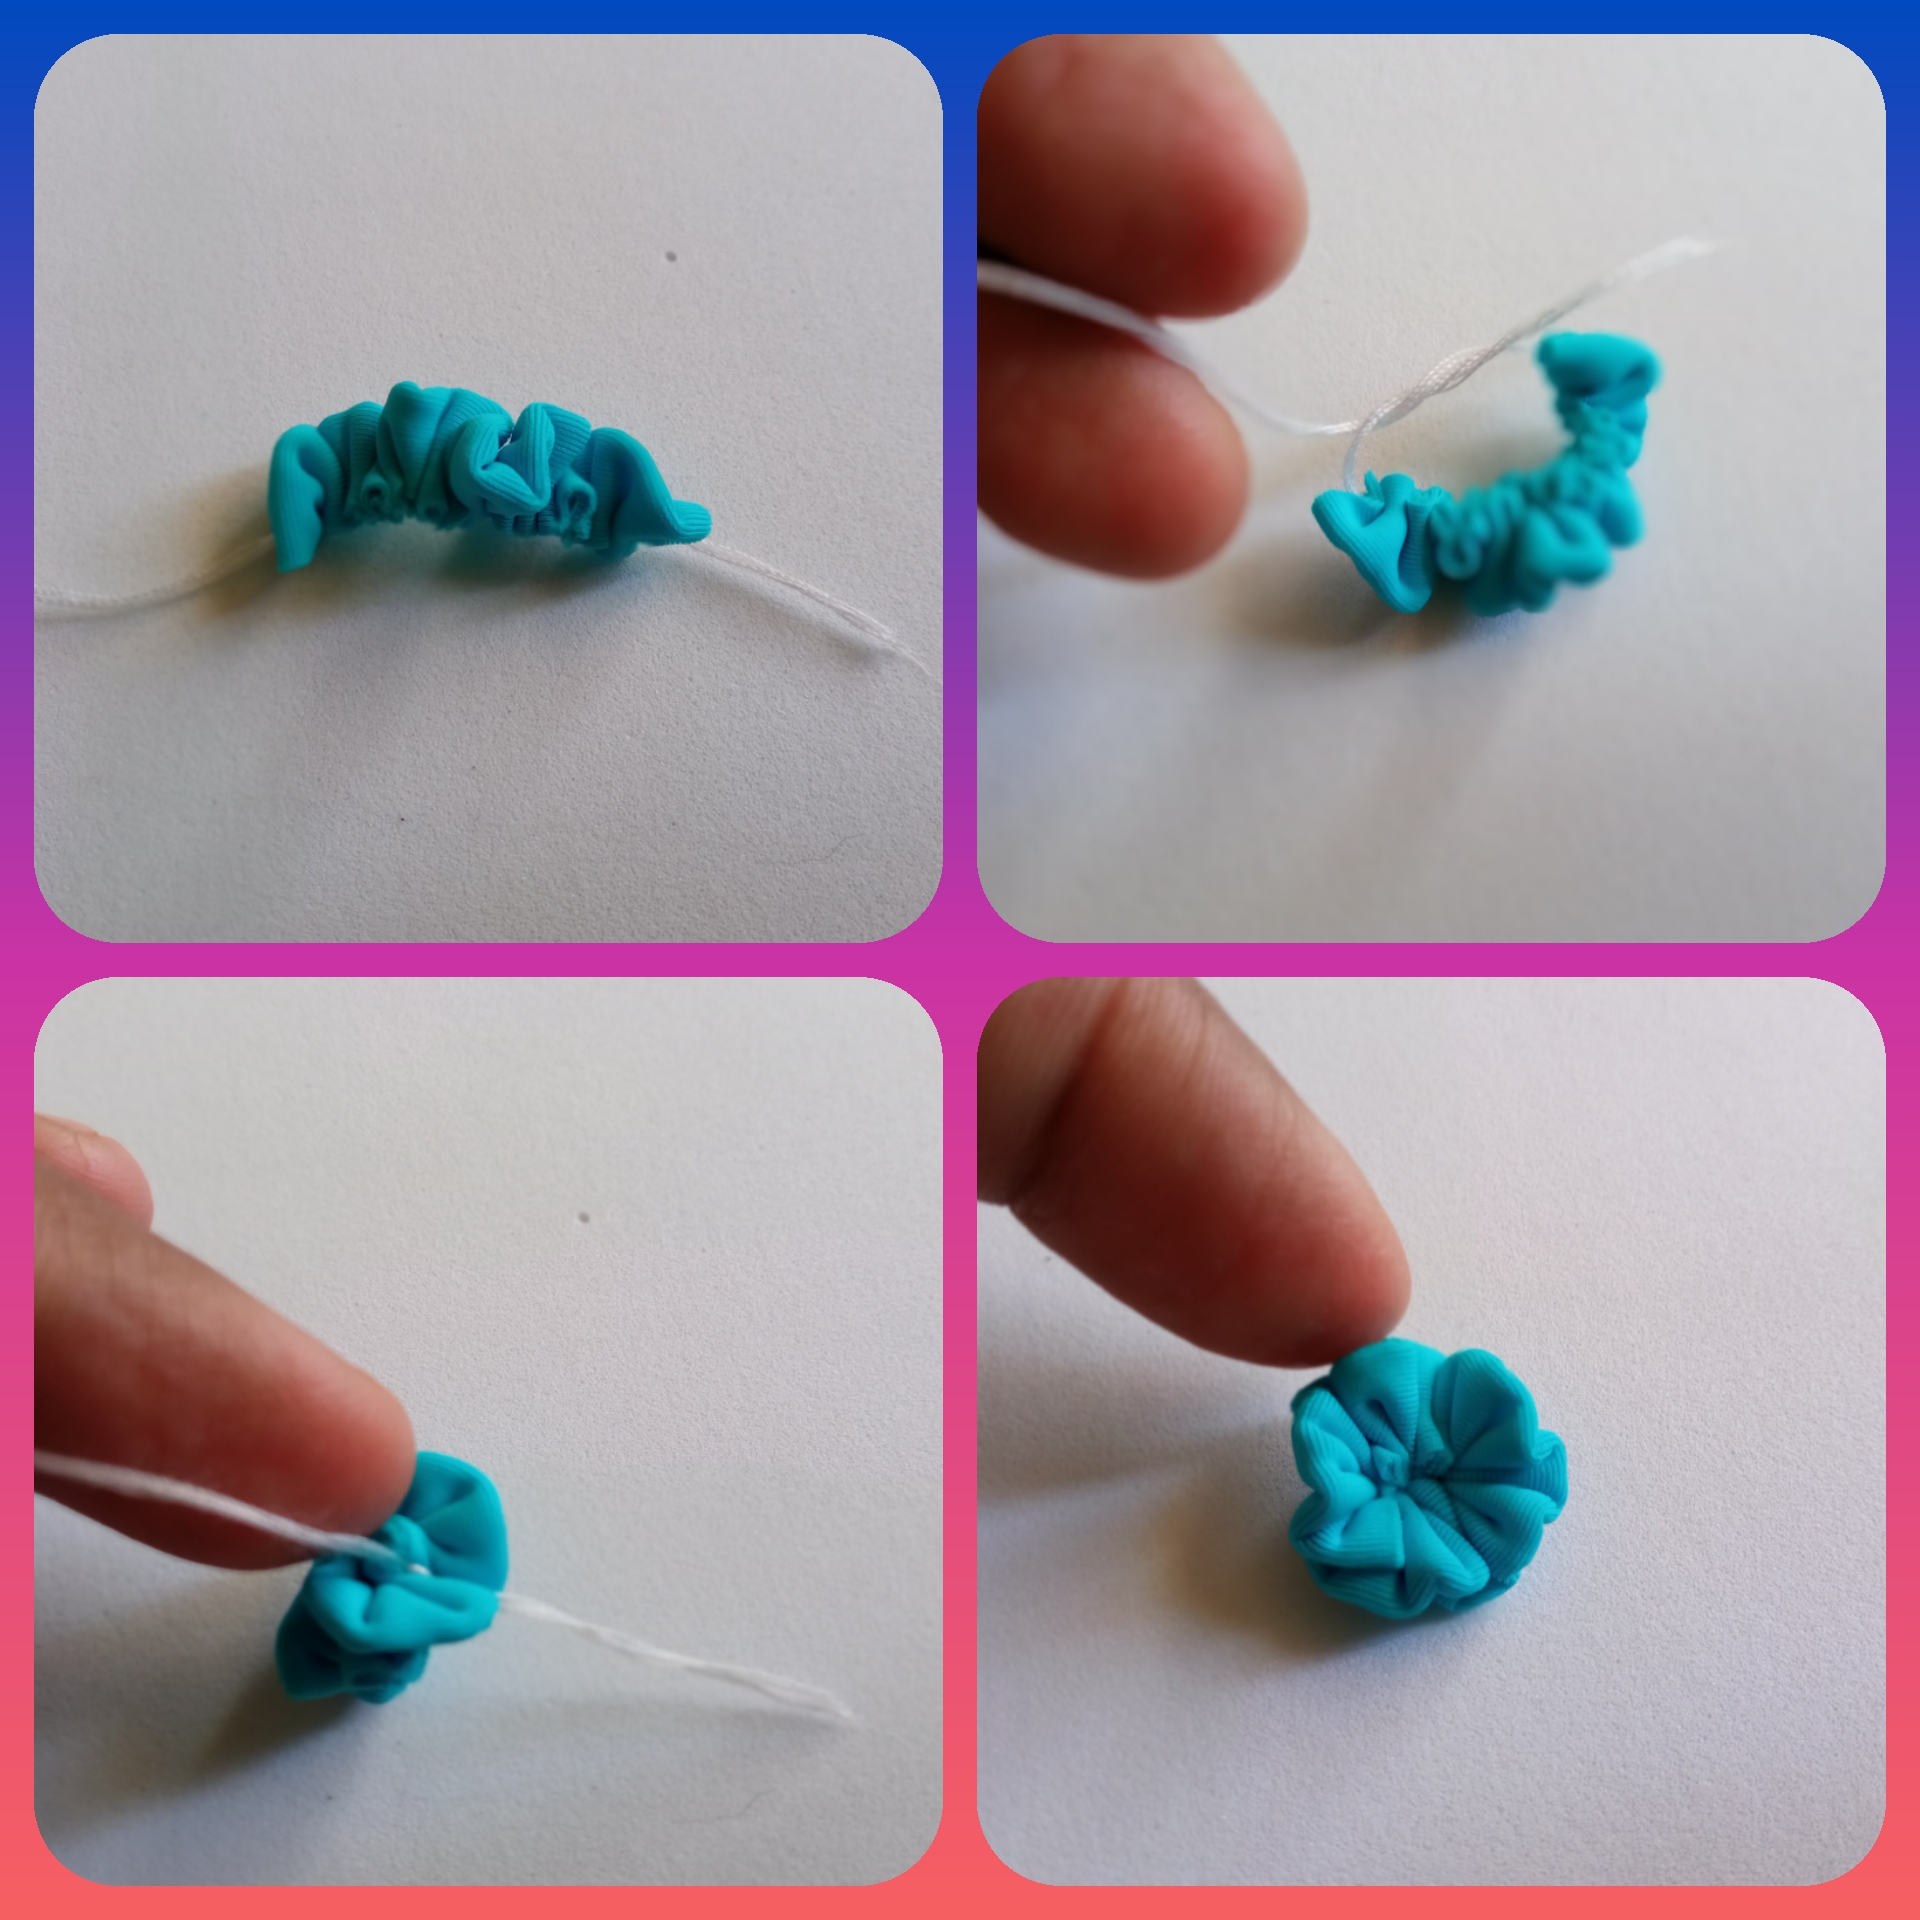
Paso 2:
Luego jalamos el hilo de manera que la tela se arruche, después tomamos los hilos de ambos extremos y amarramos fuerte haciendo una flor🌺
Paso 2:
Then we pull the thread so that the fabric is crumpled, then we take the threads from both ends and tie tightly making a flower🌺.
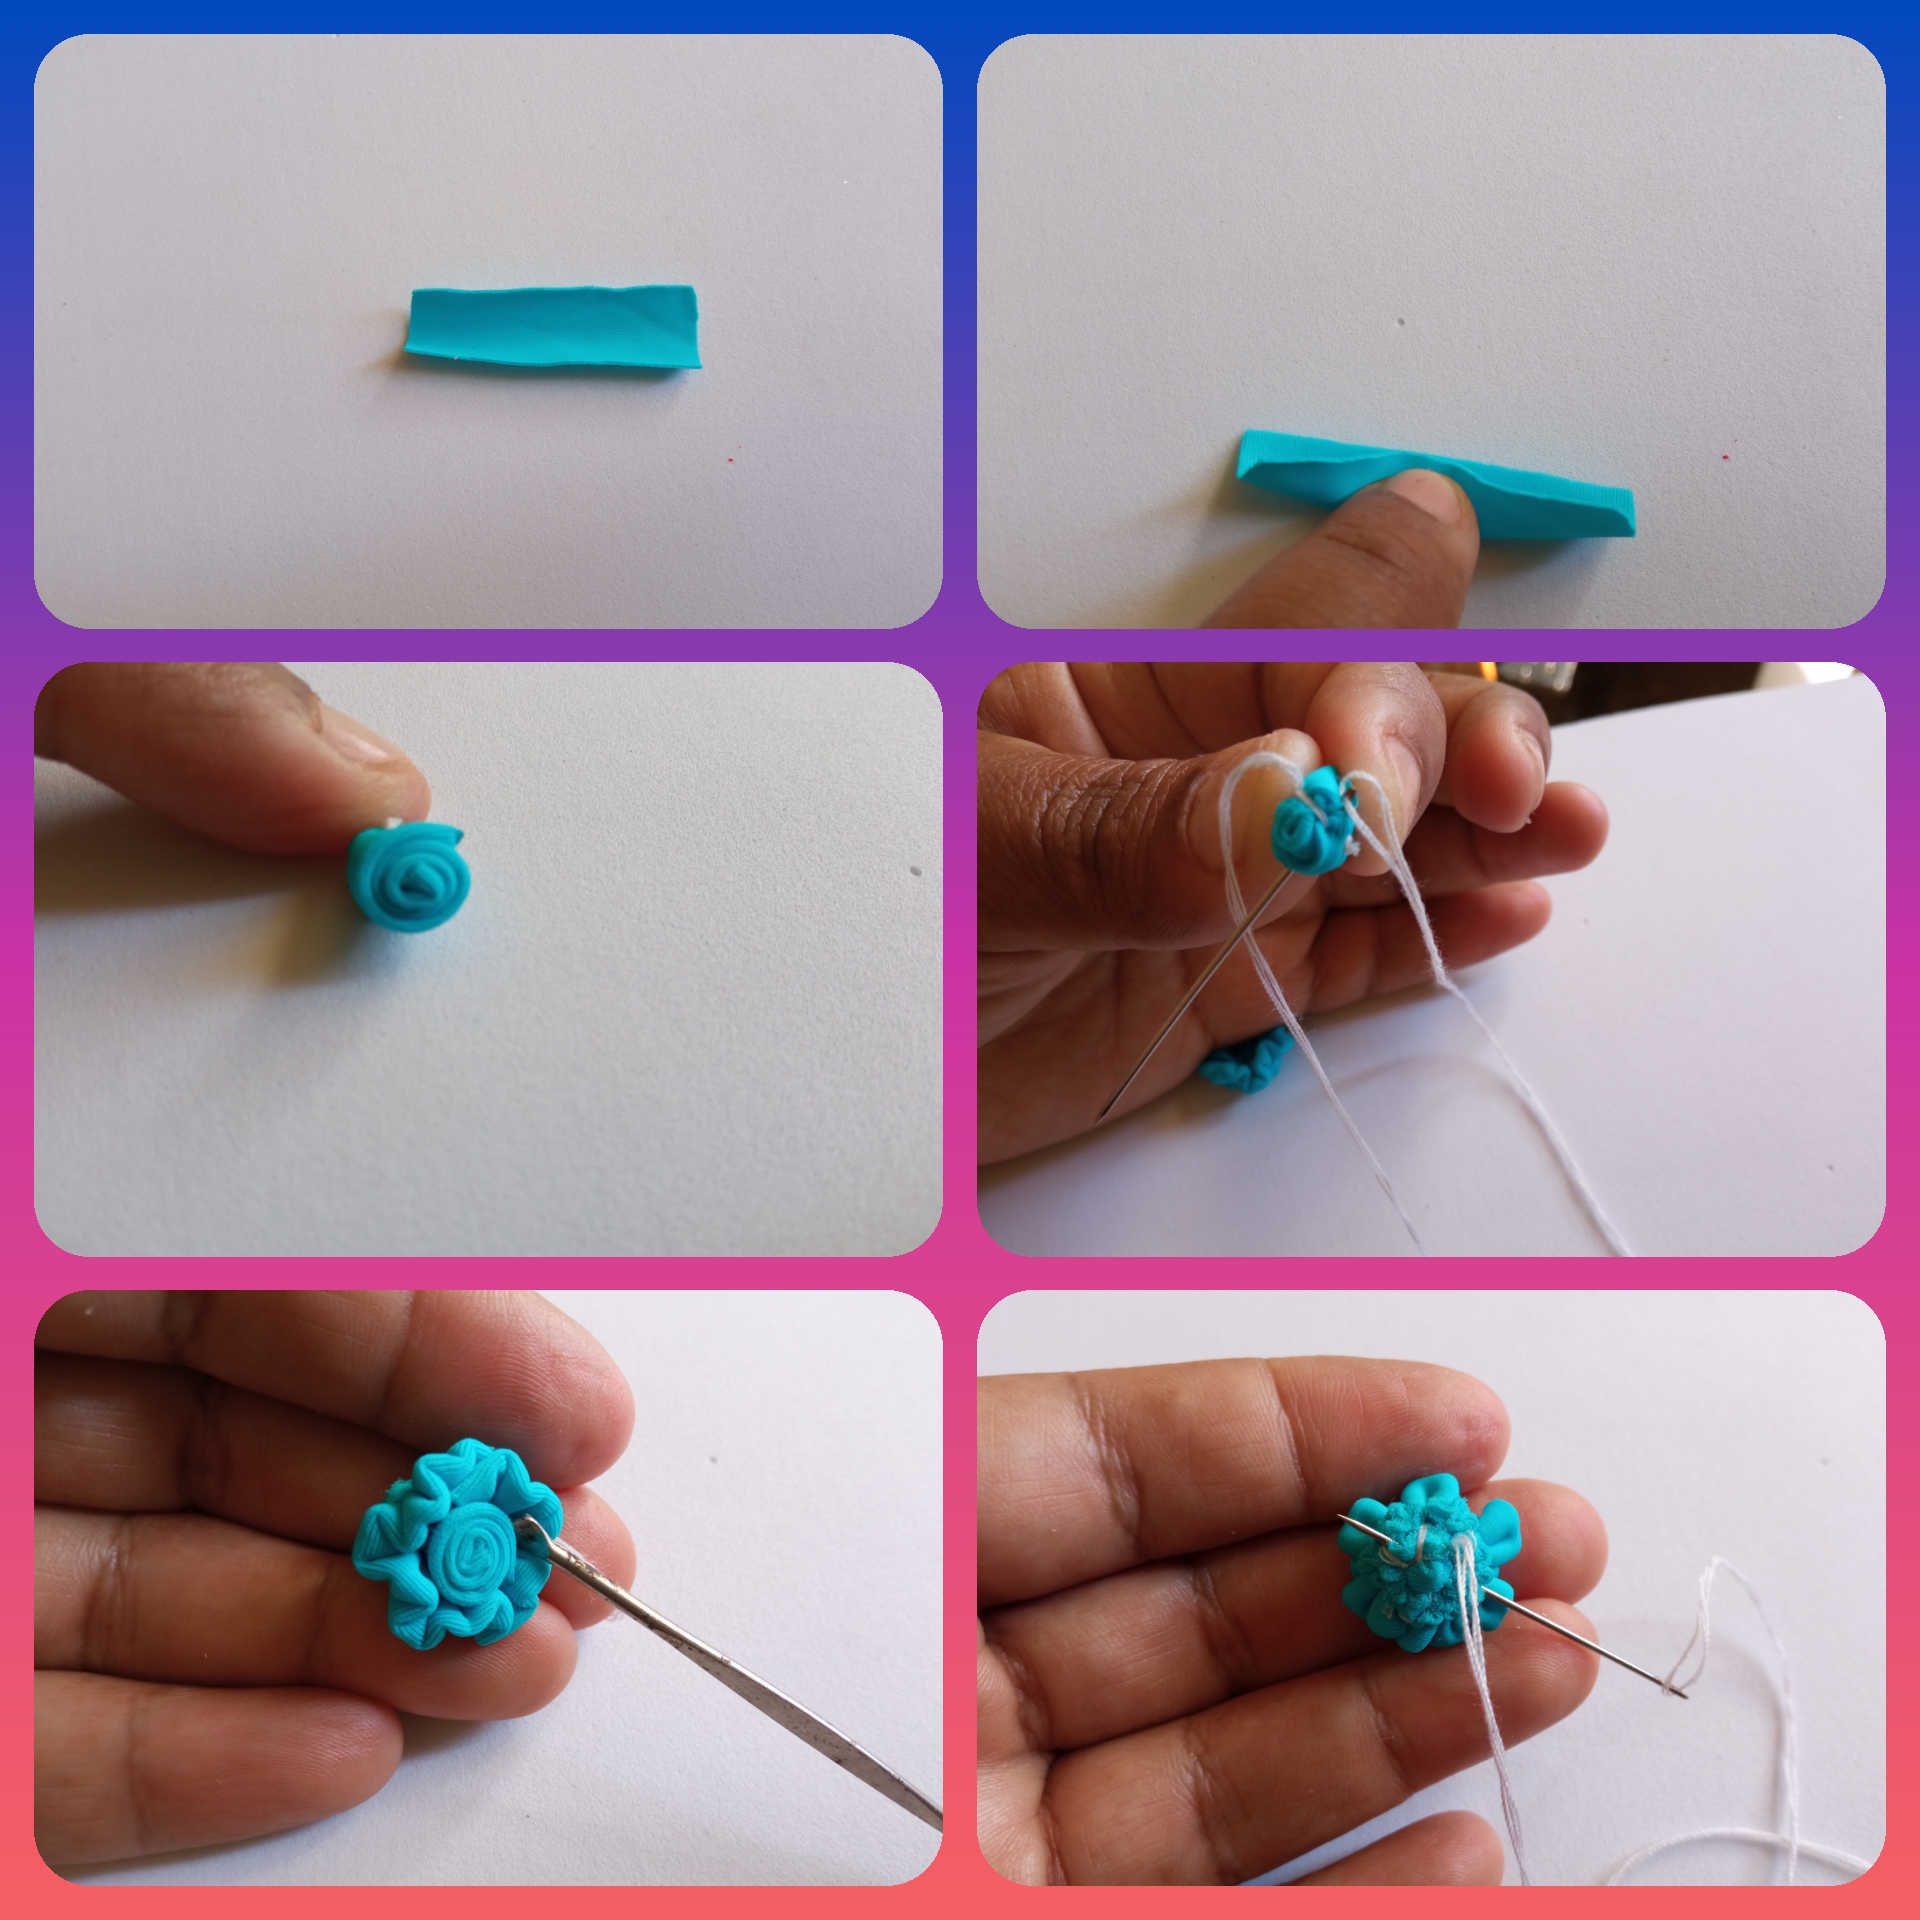
Paso 3:
Cortamos un rectángulo de 1cm de ancho y 4 cm de largo, doblamos a la mitad y enrollamos en forma de espiral al finalizar cosemos para que no se suelte. Después lo introducimos en el centro de la flor🌺 con ayuda de una aguja de tejer luego cosemos.
Paso 3:
We cut a rectangle of 1 cm wide and 4 cm long, fold it in half and roll it in a spiral shape at the end we sew so that it does not come loose. Then we insert it in the center of the flower🌺 with the help of a knitting needle and sew.
Paso 4:
Cortamos dos círculos y con silicon caliente lo pegamos detrás de la flor para tapar la costura, luego pegamos las bases planas para zarcillos.
Paso 4:
We cut two circles and with hot silicon we glue them behind the flower to cover the seam, then we glue the flat bases for tendrils.
Zarcillos Estampados: // Stamped tendrils:
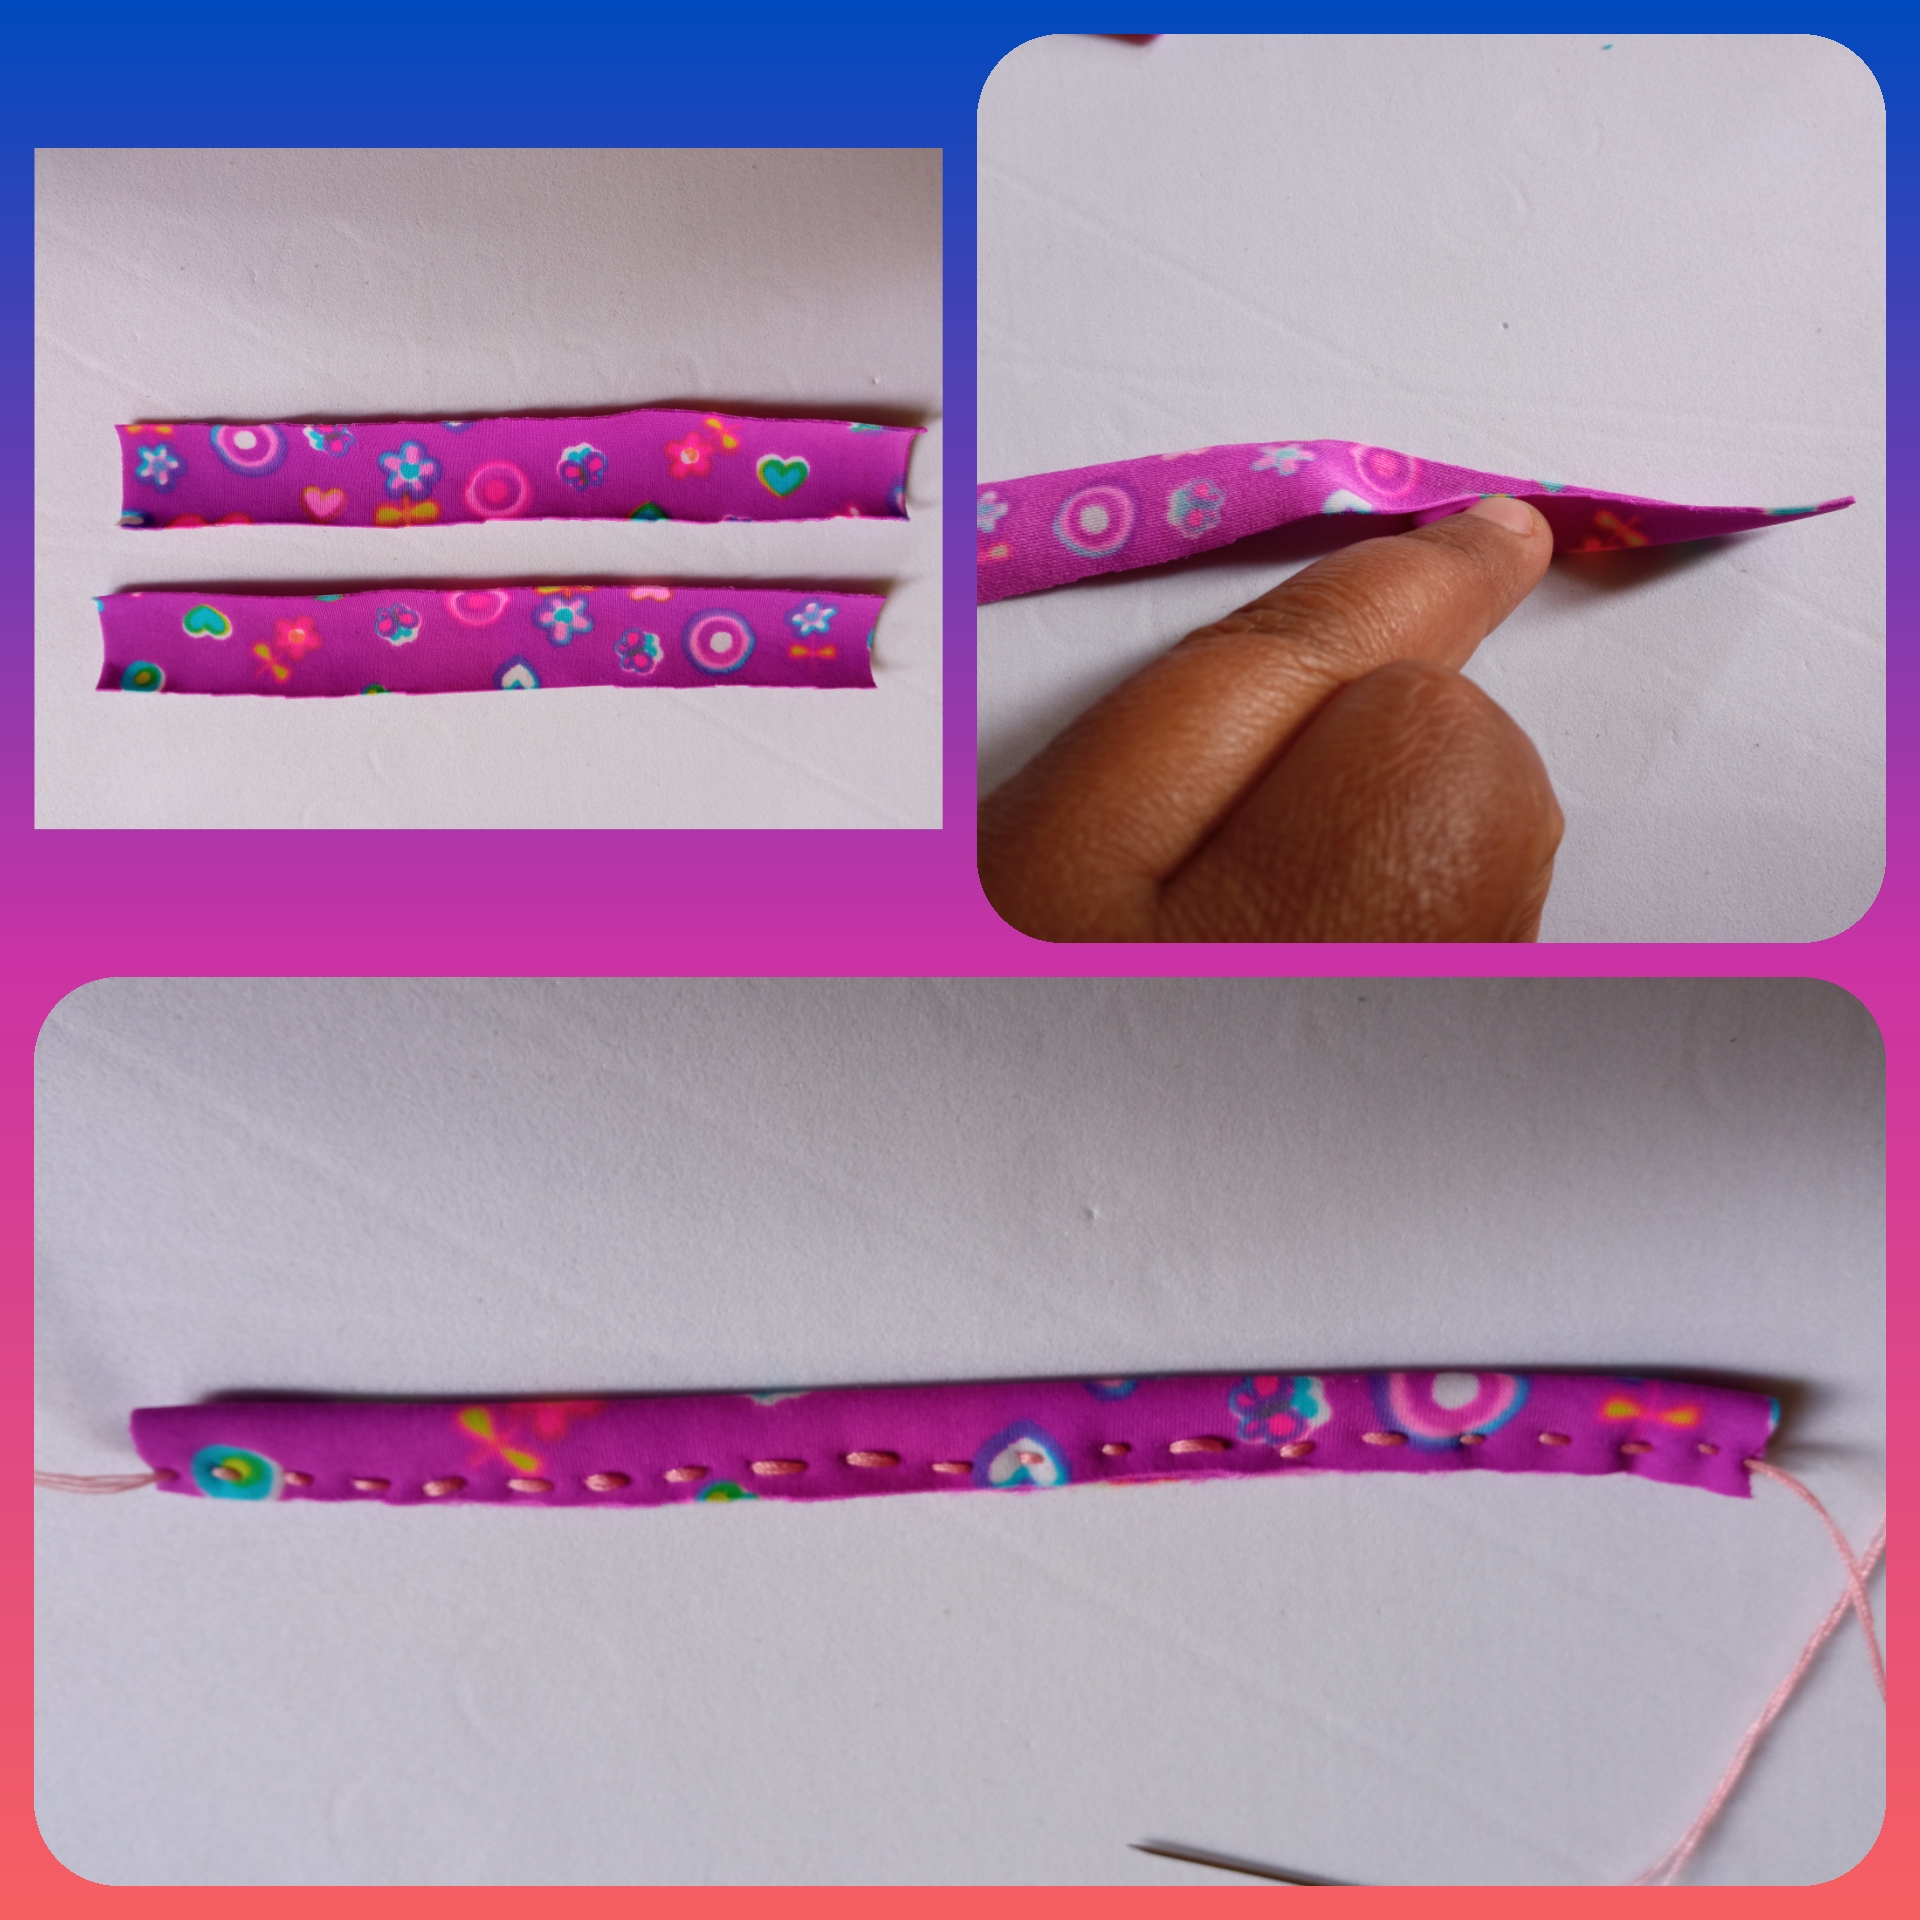
Paso 1:
Cortamos dos tiras de 2 cm de ancho y 11 cm de largo en la tela de lycra, doblamos y cosemos de extremo a extremo.
Paso 1:
Cut two 2 cm wide and 11 cm long strips from the lycra fabric, fold and sew end to end.
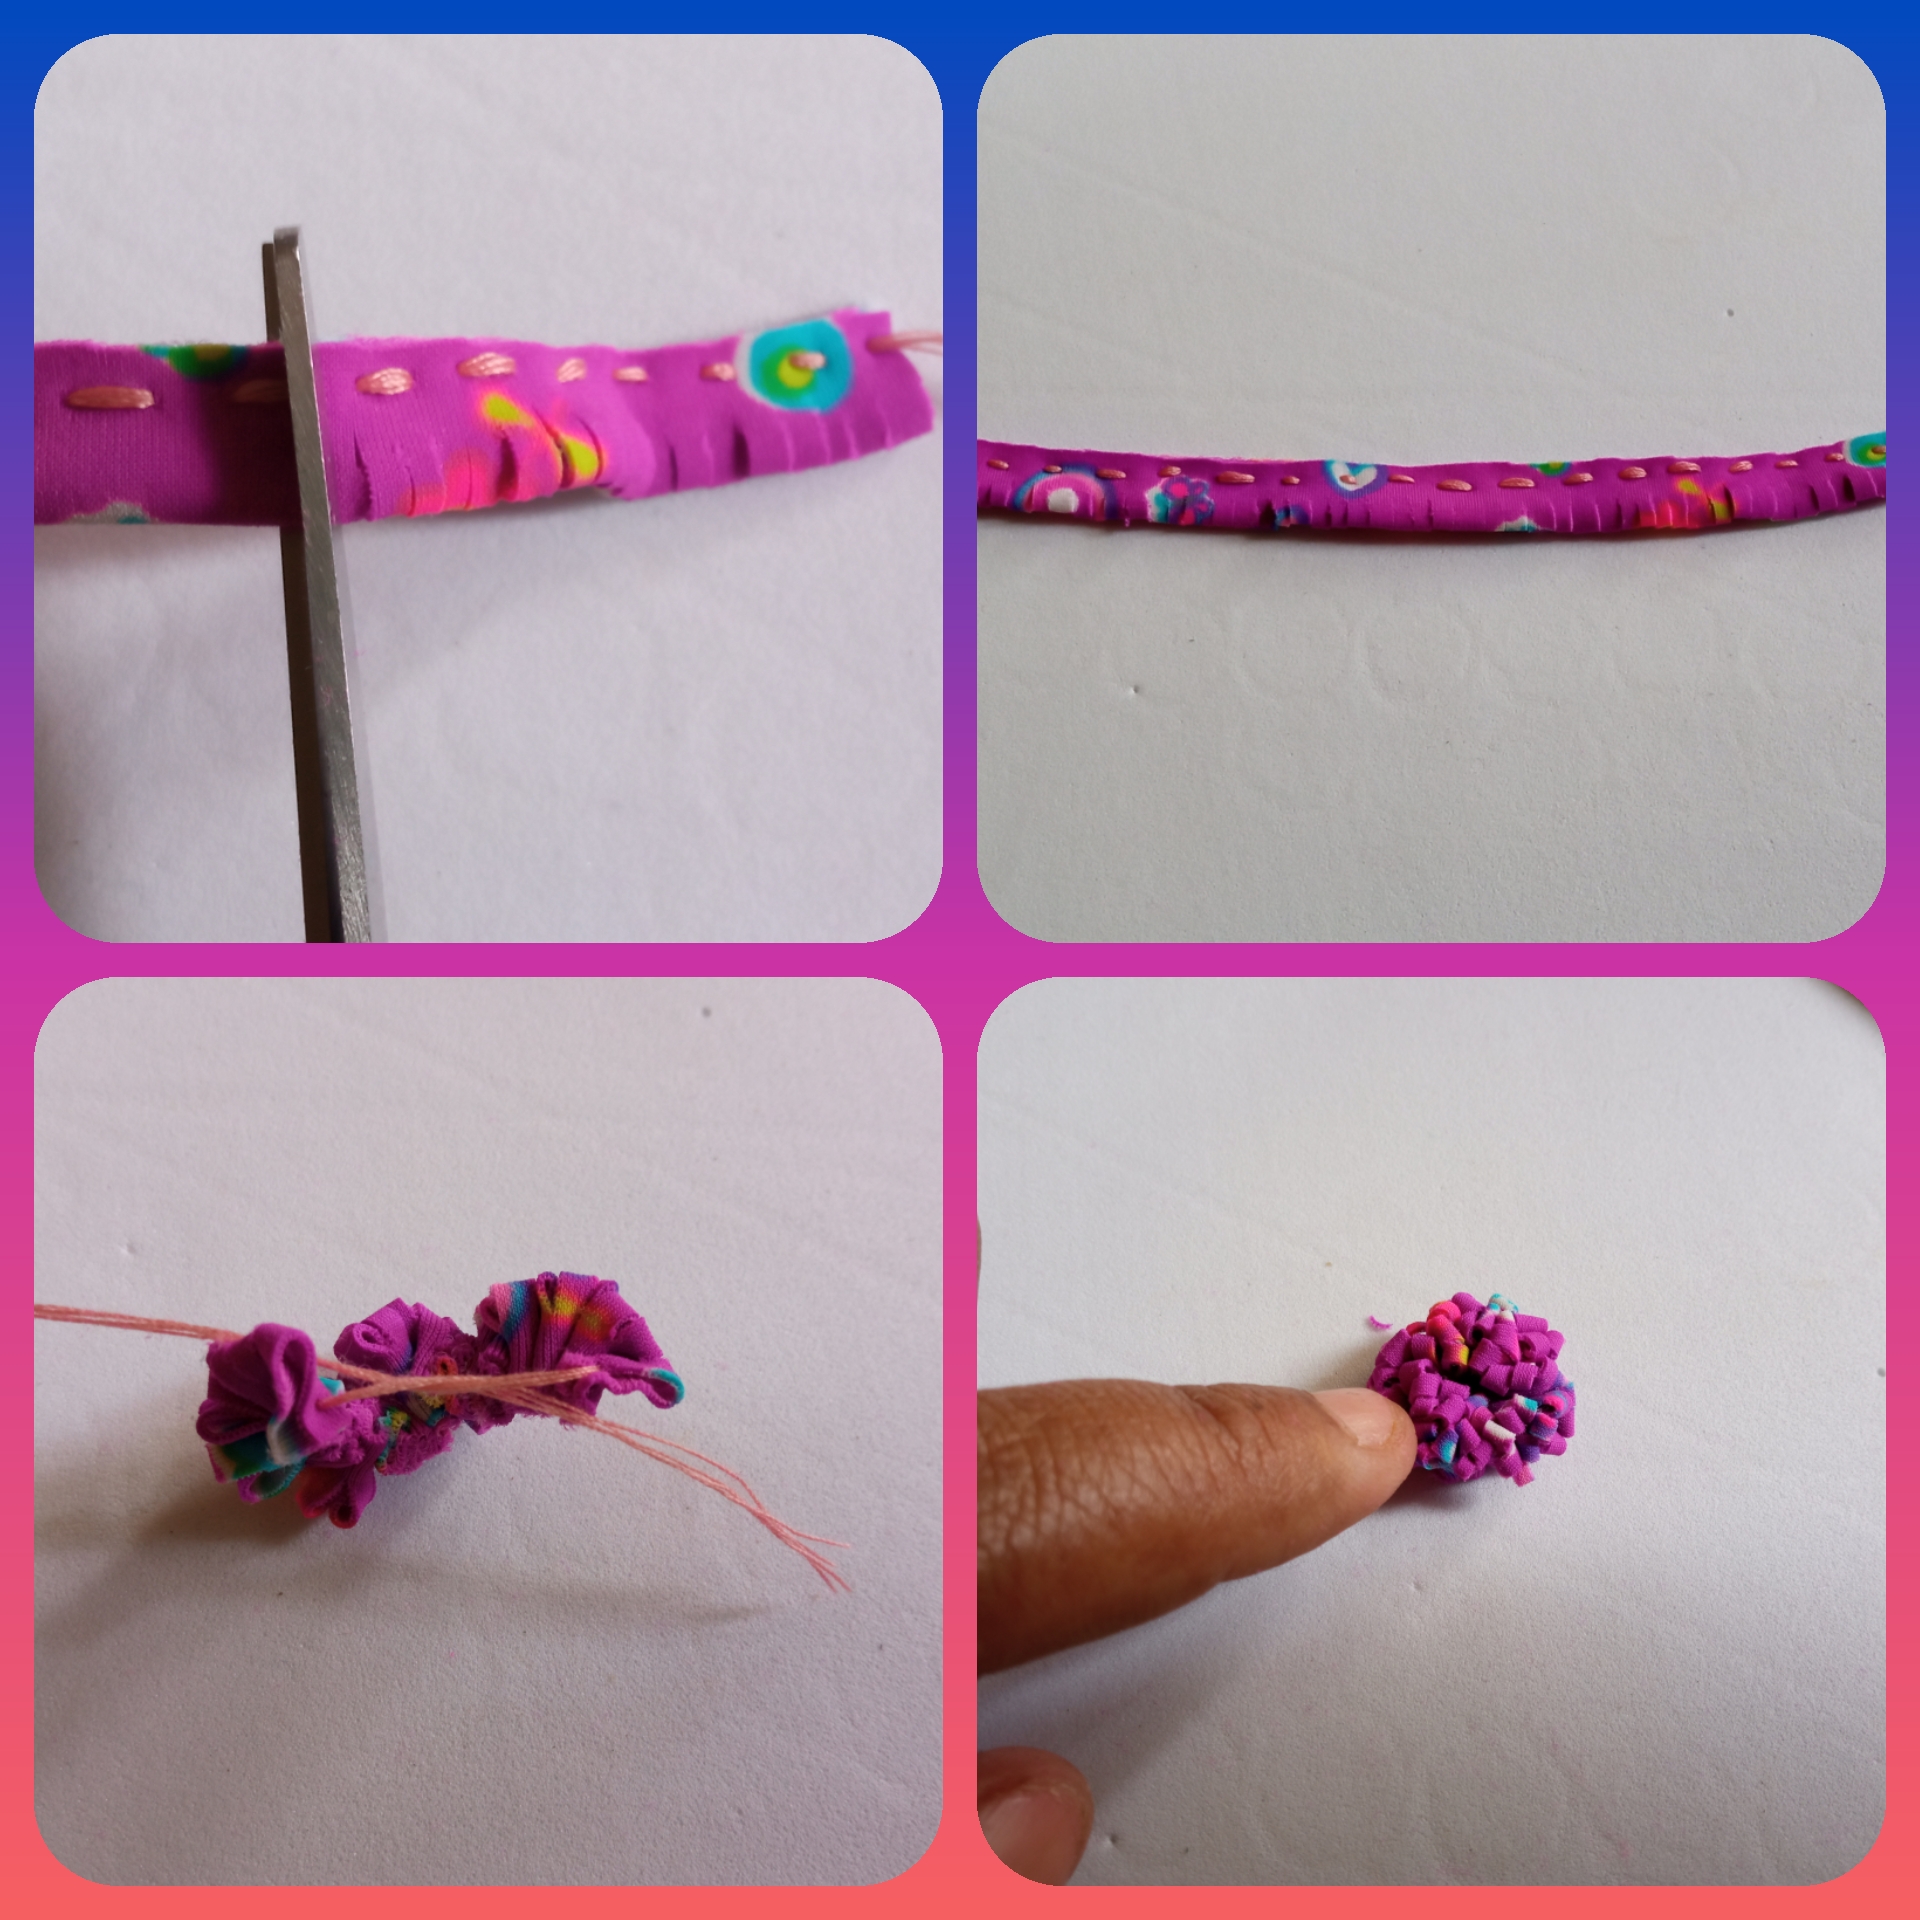
Paso 2:
Al finalizar la costura con la tijera hacemos flecos por toda la tela, al terminar jalo el hilo arruchado muy bien luego amarramos fuerte formando una flor🌺.
Paso 2:
At the end of the sewing with the scissors we make bangs all over the fabric, at the end I pull the thread very well and then we tie it tightly forming a flower🌺.
Paso 3:
Después cortamos dos círculos y lo pegamos detrás de la flor con silicon caliente para tapar la costura luego pegamos las base plana para zarcillos.
Paso 3:
Después cortamos dos círculos y lo pegamos detrás de la flor con silicon caliente para tapar la costura luego pegamos las base plana para zarcillos.
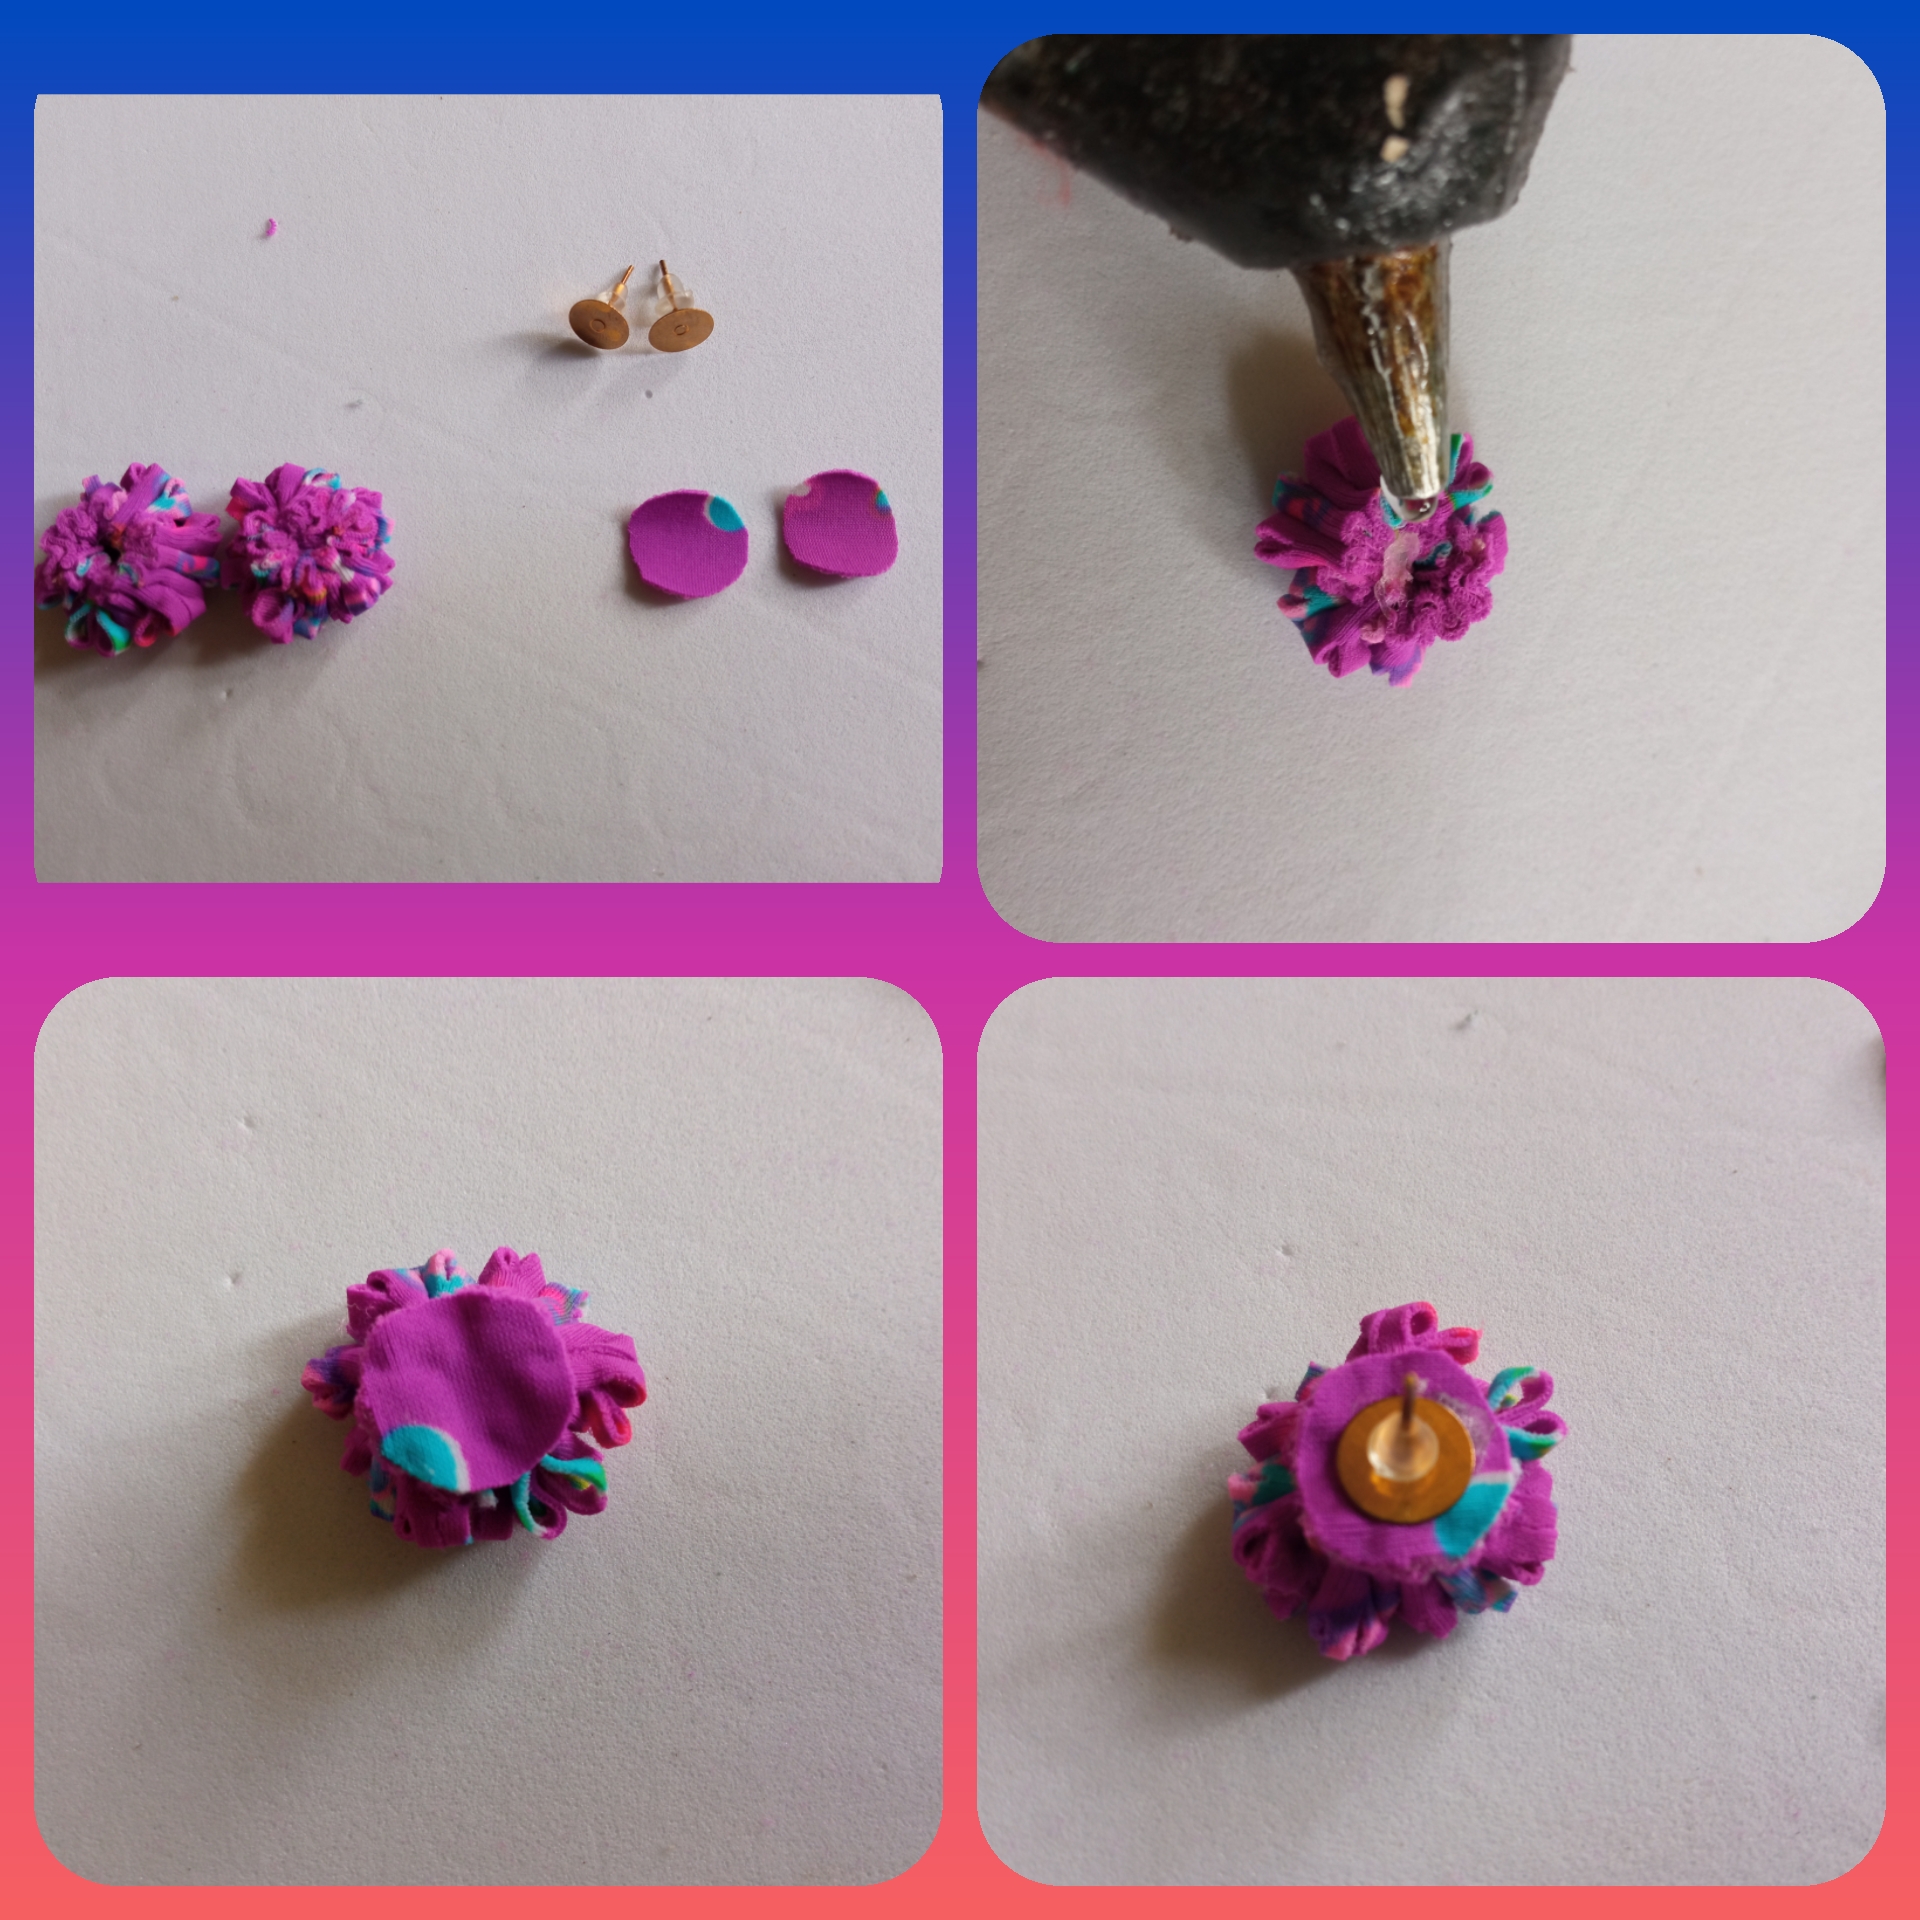
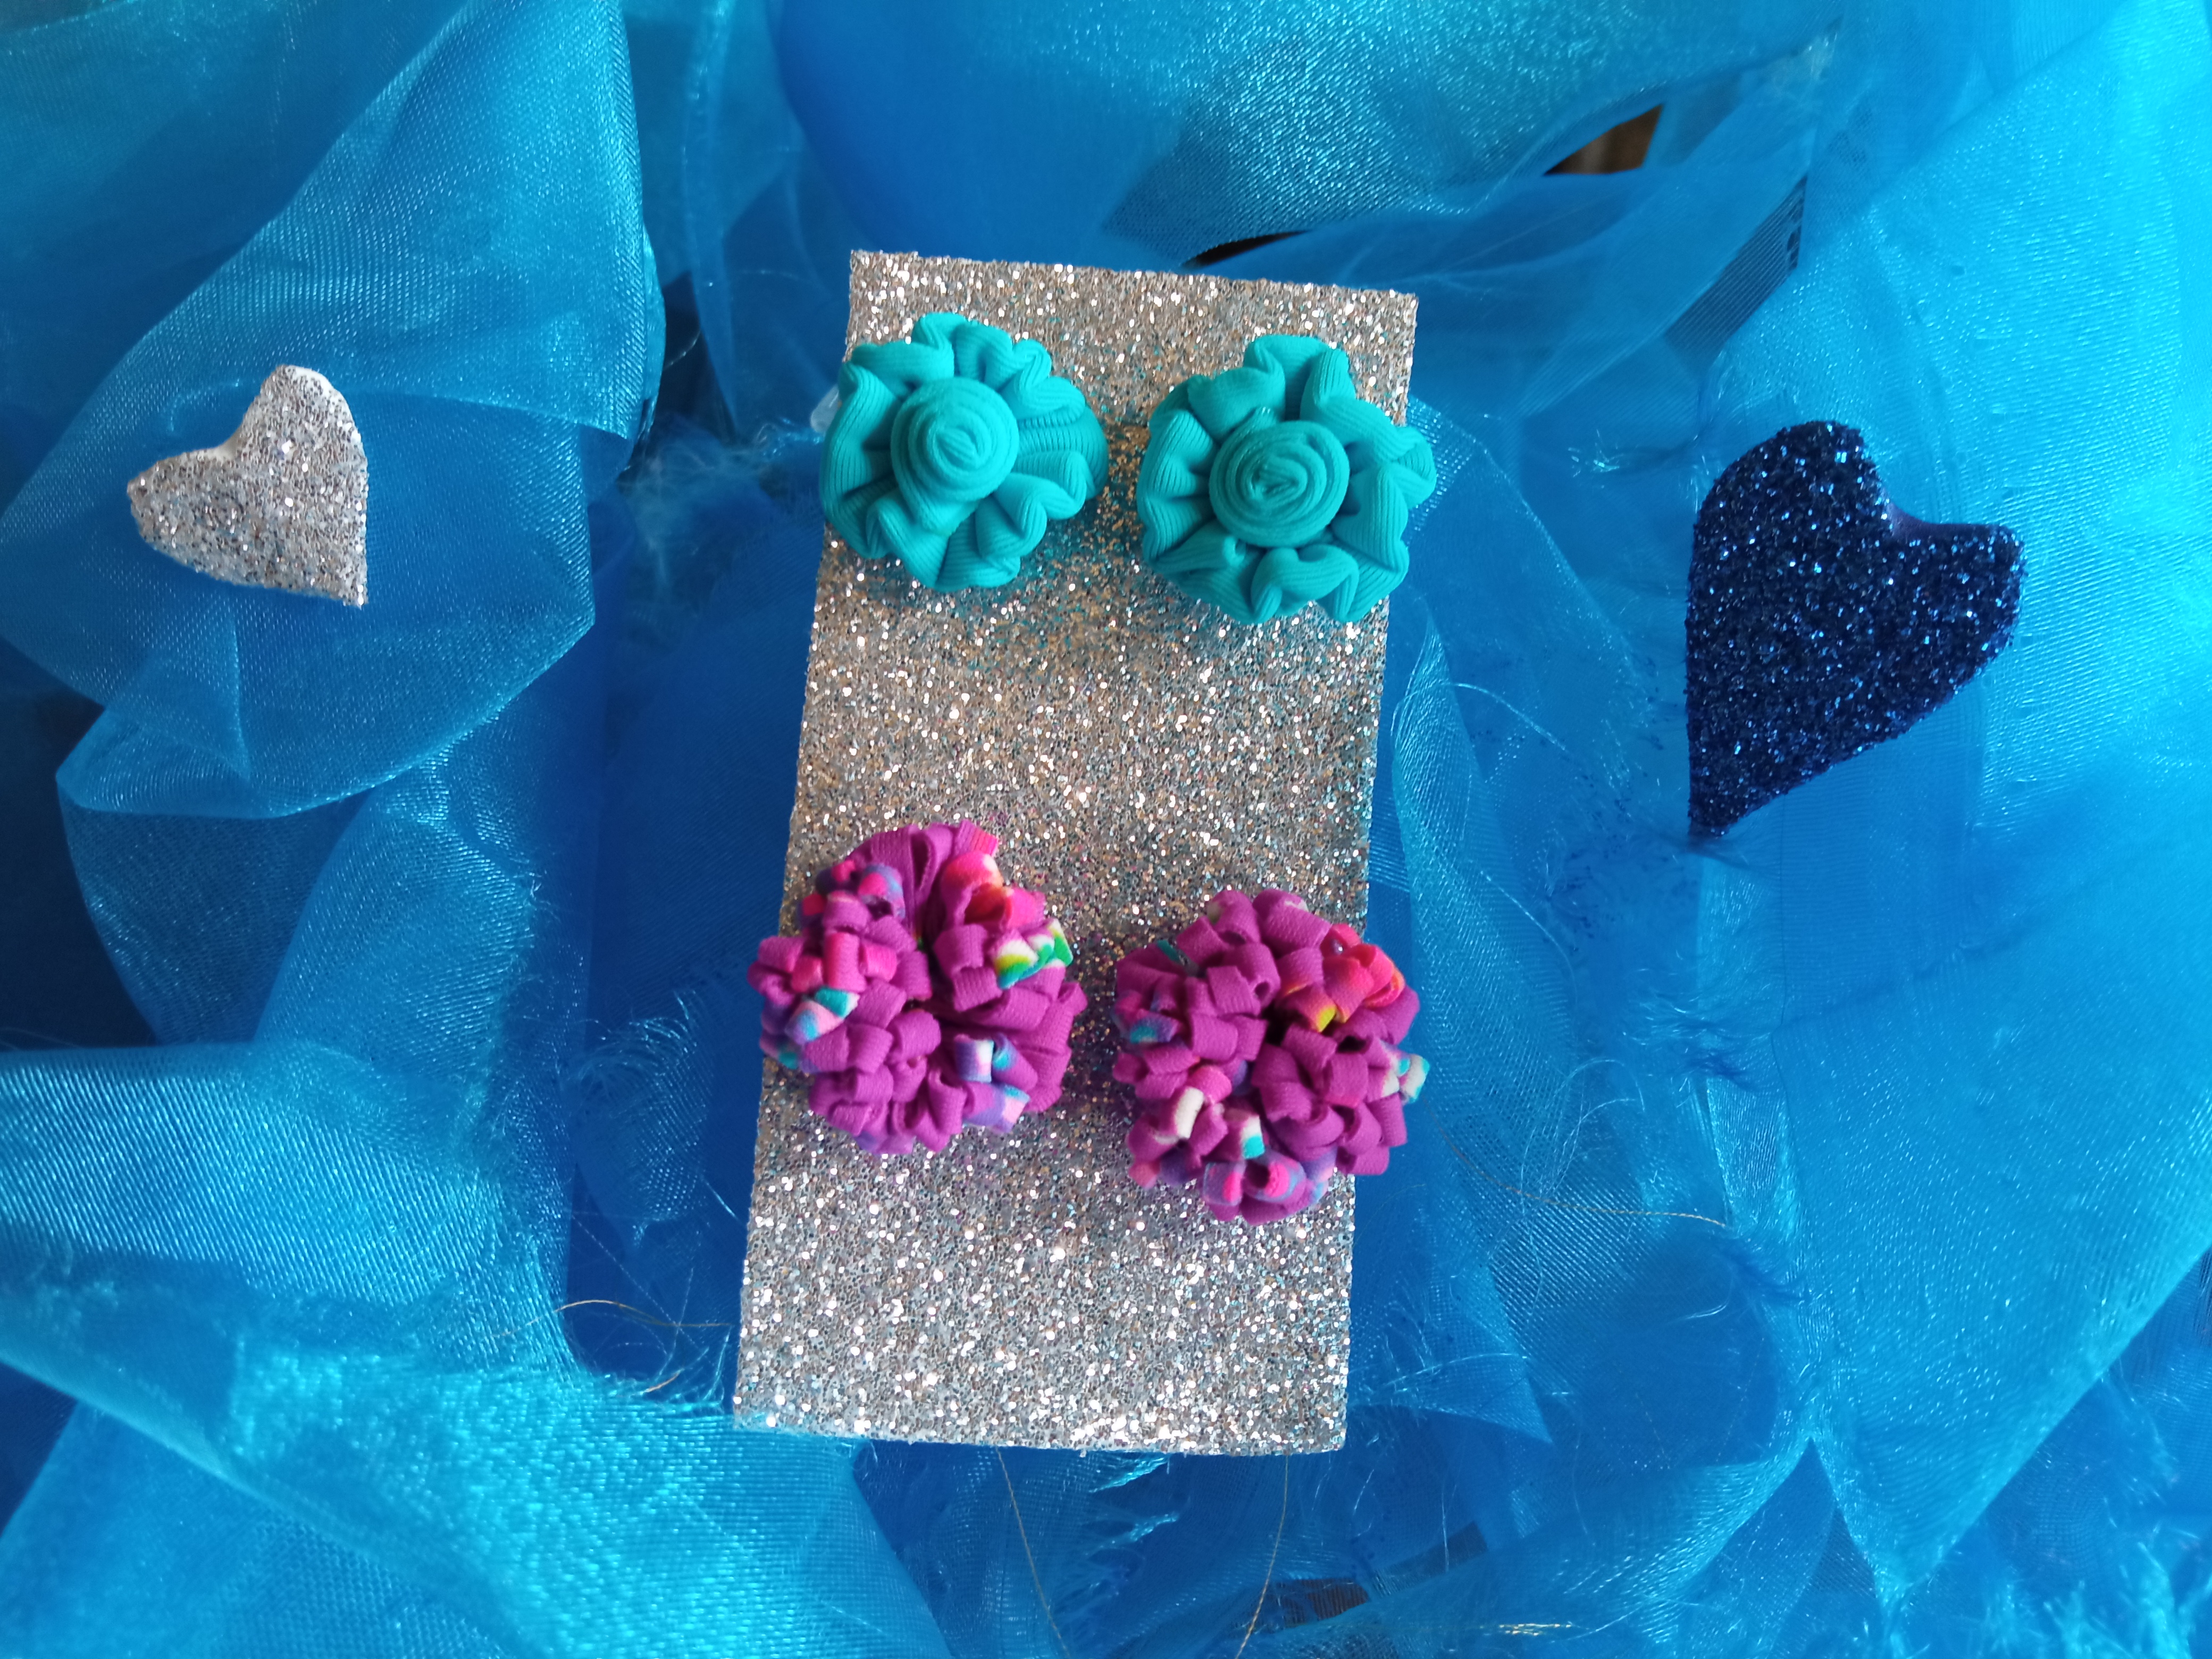
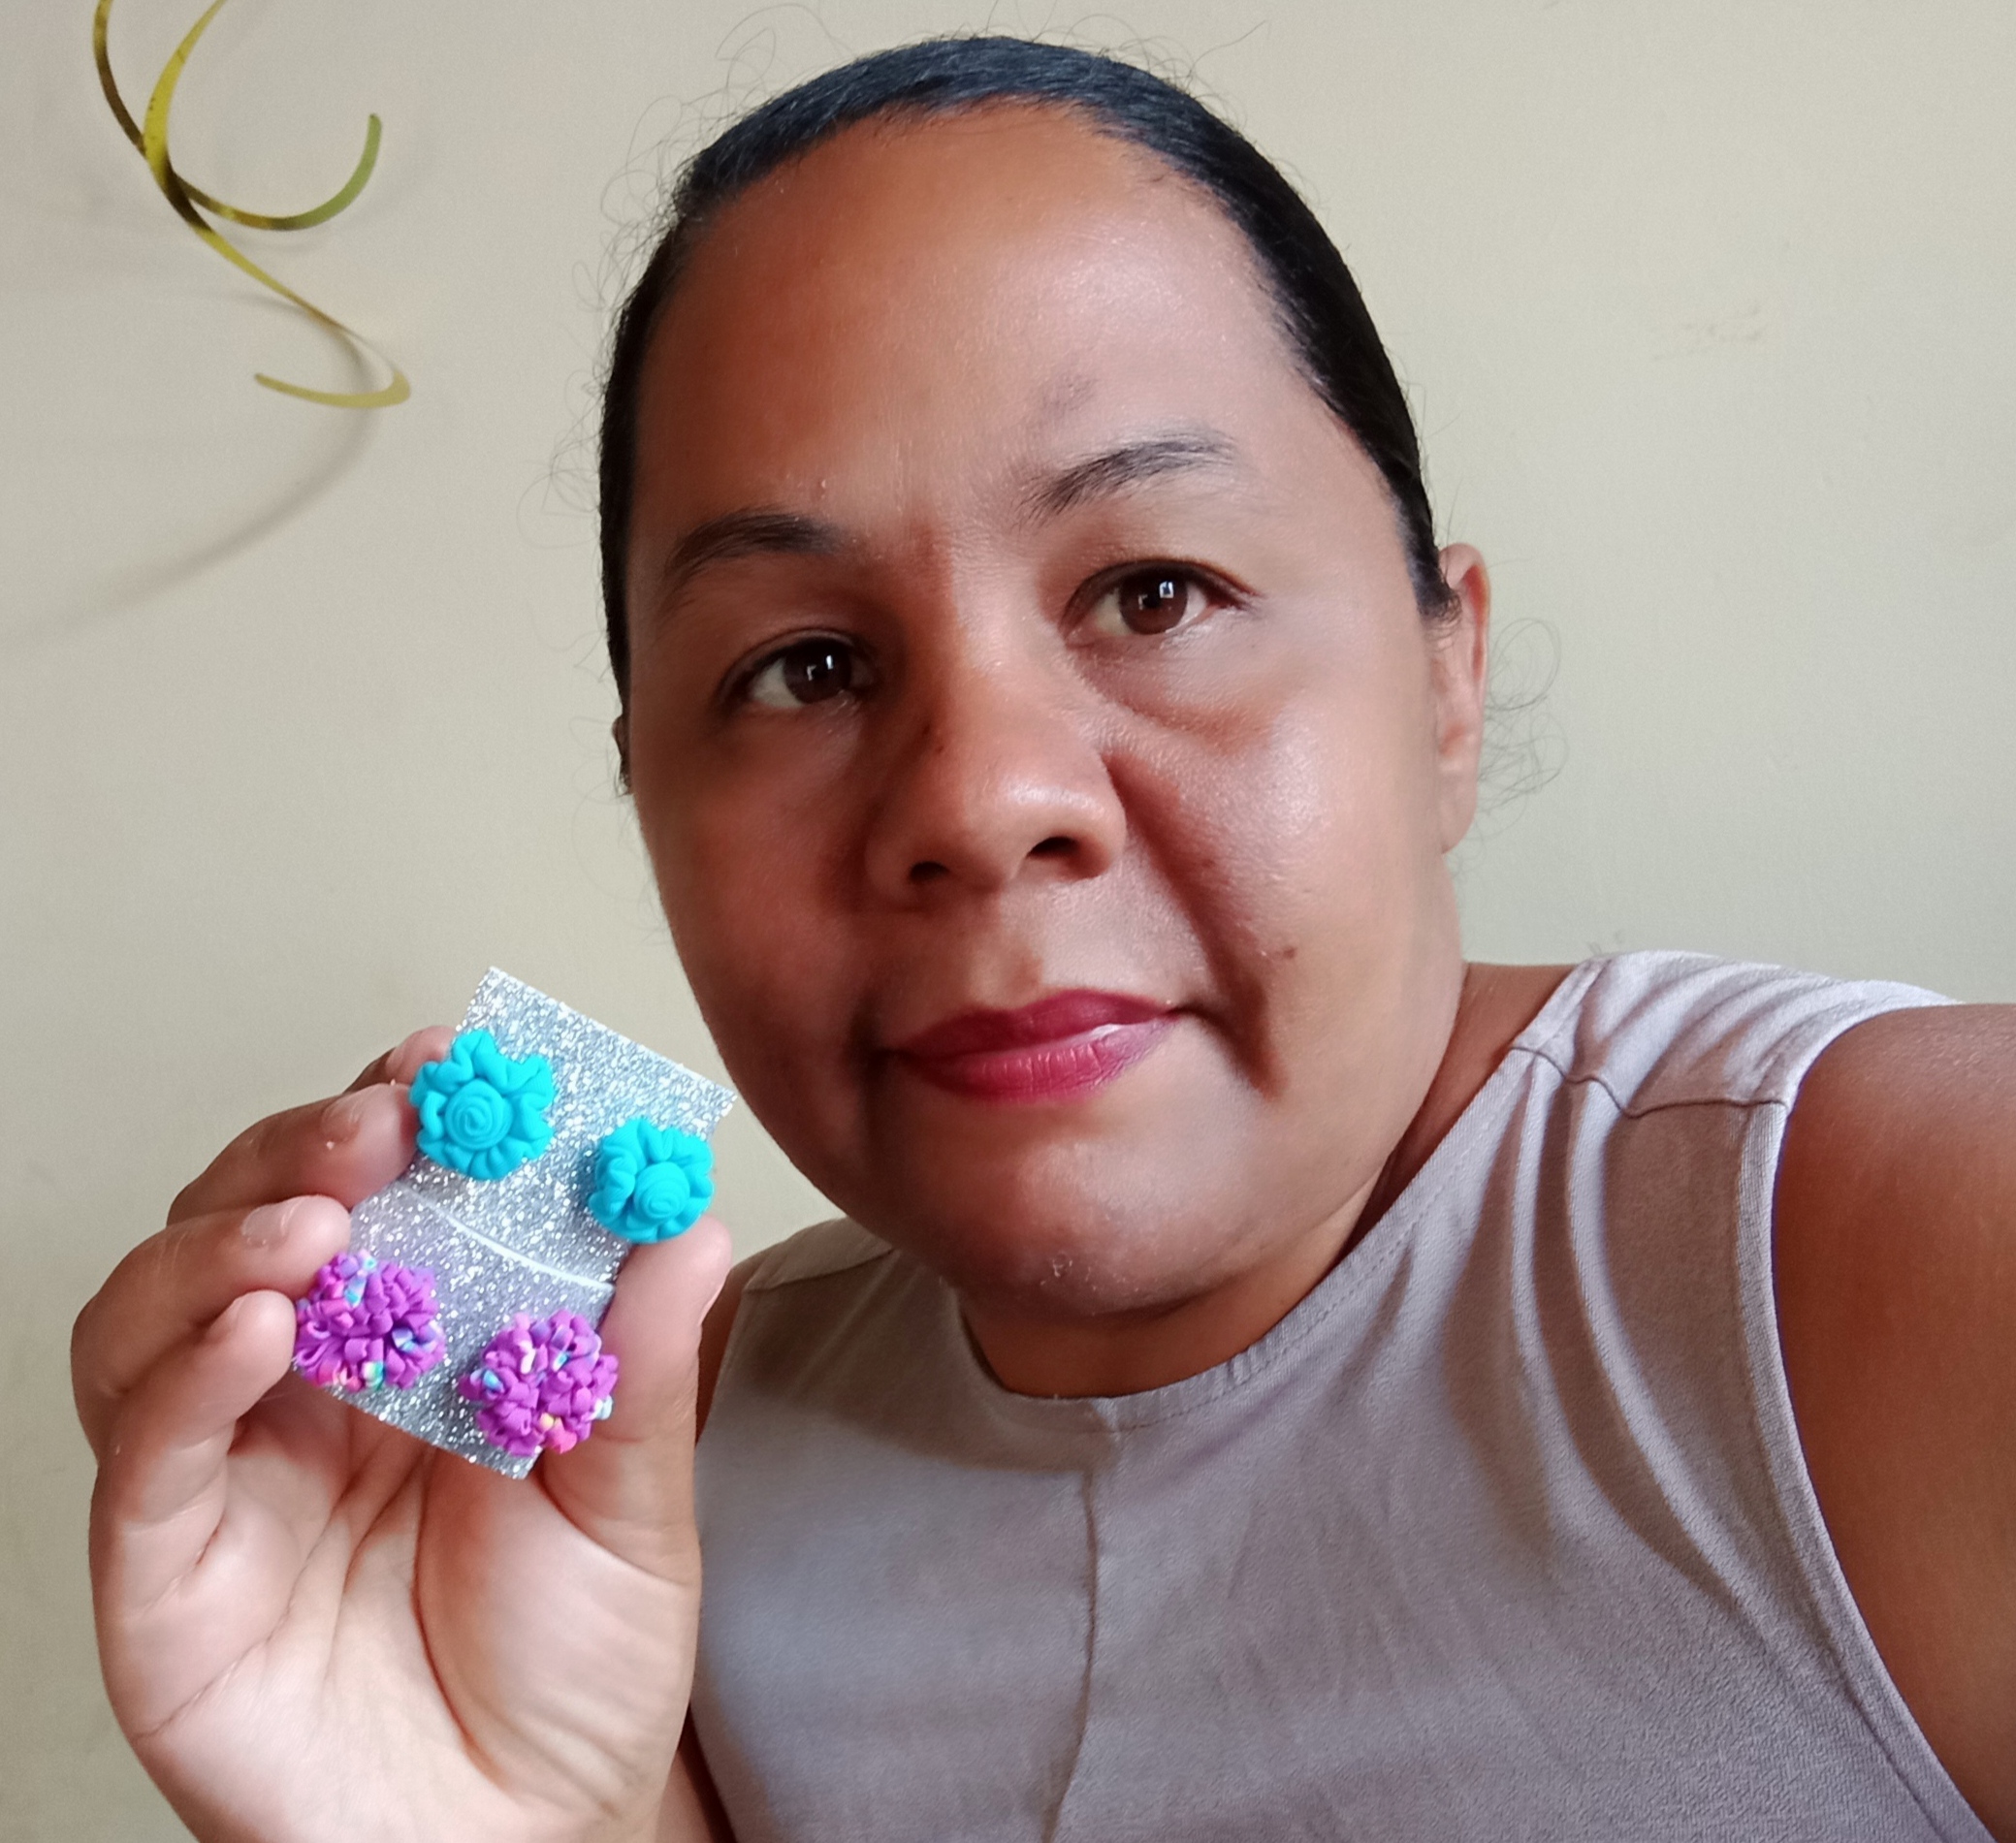
Ya mis Hermosos 😍 Zarcillos están Listos!! // Already my beautiful 😍 tendrils are ready!

Me encantó esta propuesta de zarcillos amiga, gracias por este paso a paso lo voy a hacer.