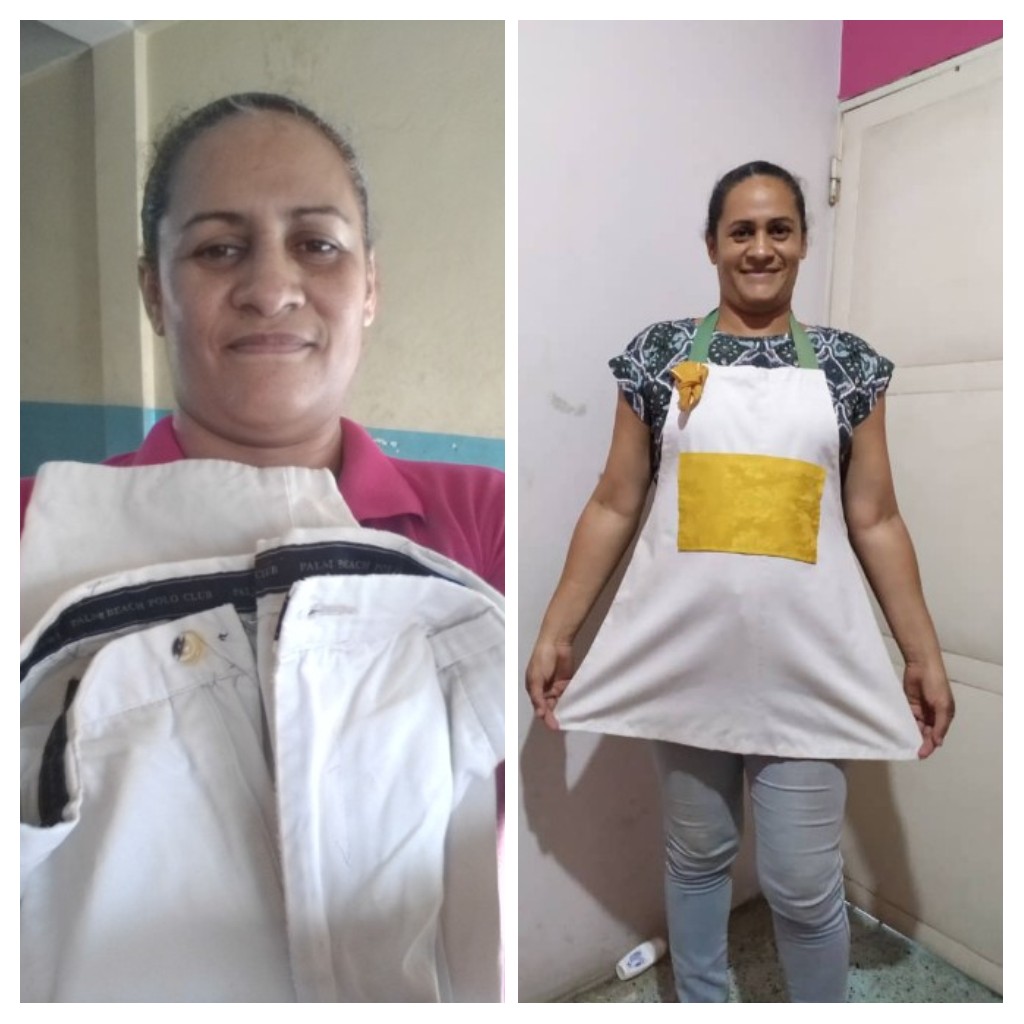
Hello my dear Hive Diy hive, this is my first publication in this hive, today I want to share with you, a nice and useful apron that I made with useful material, I used an old pair of pants of my husband, I sewed it completely by hand since I don't have a sewing machine. I made it as my mother taught me, using the iron to mark the seams. Let's see the materials I used and the procedure to make the apron

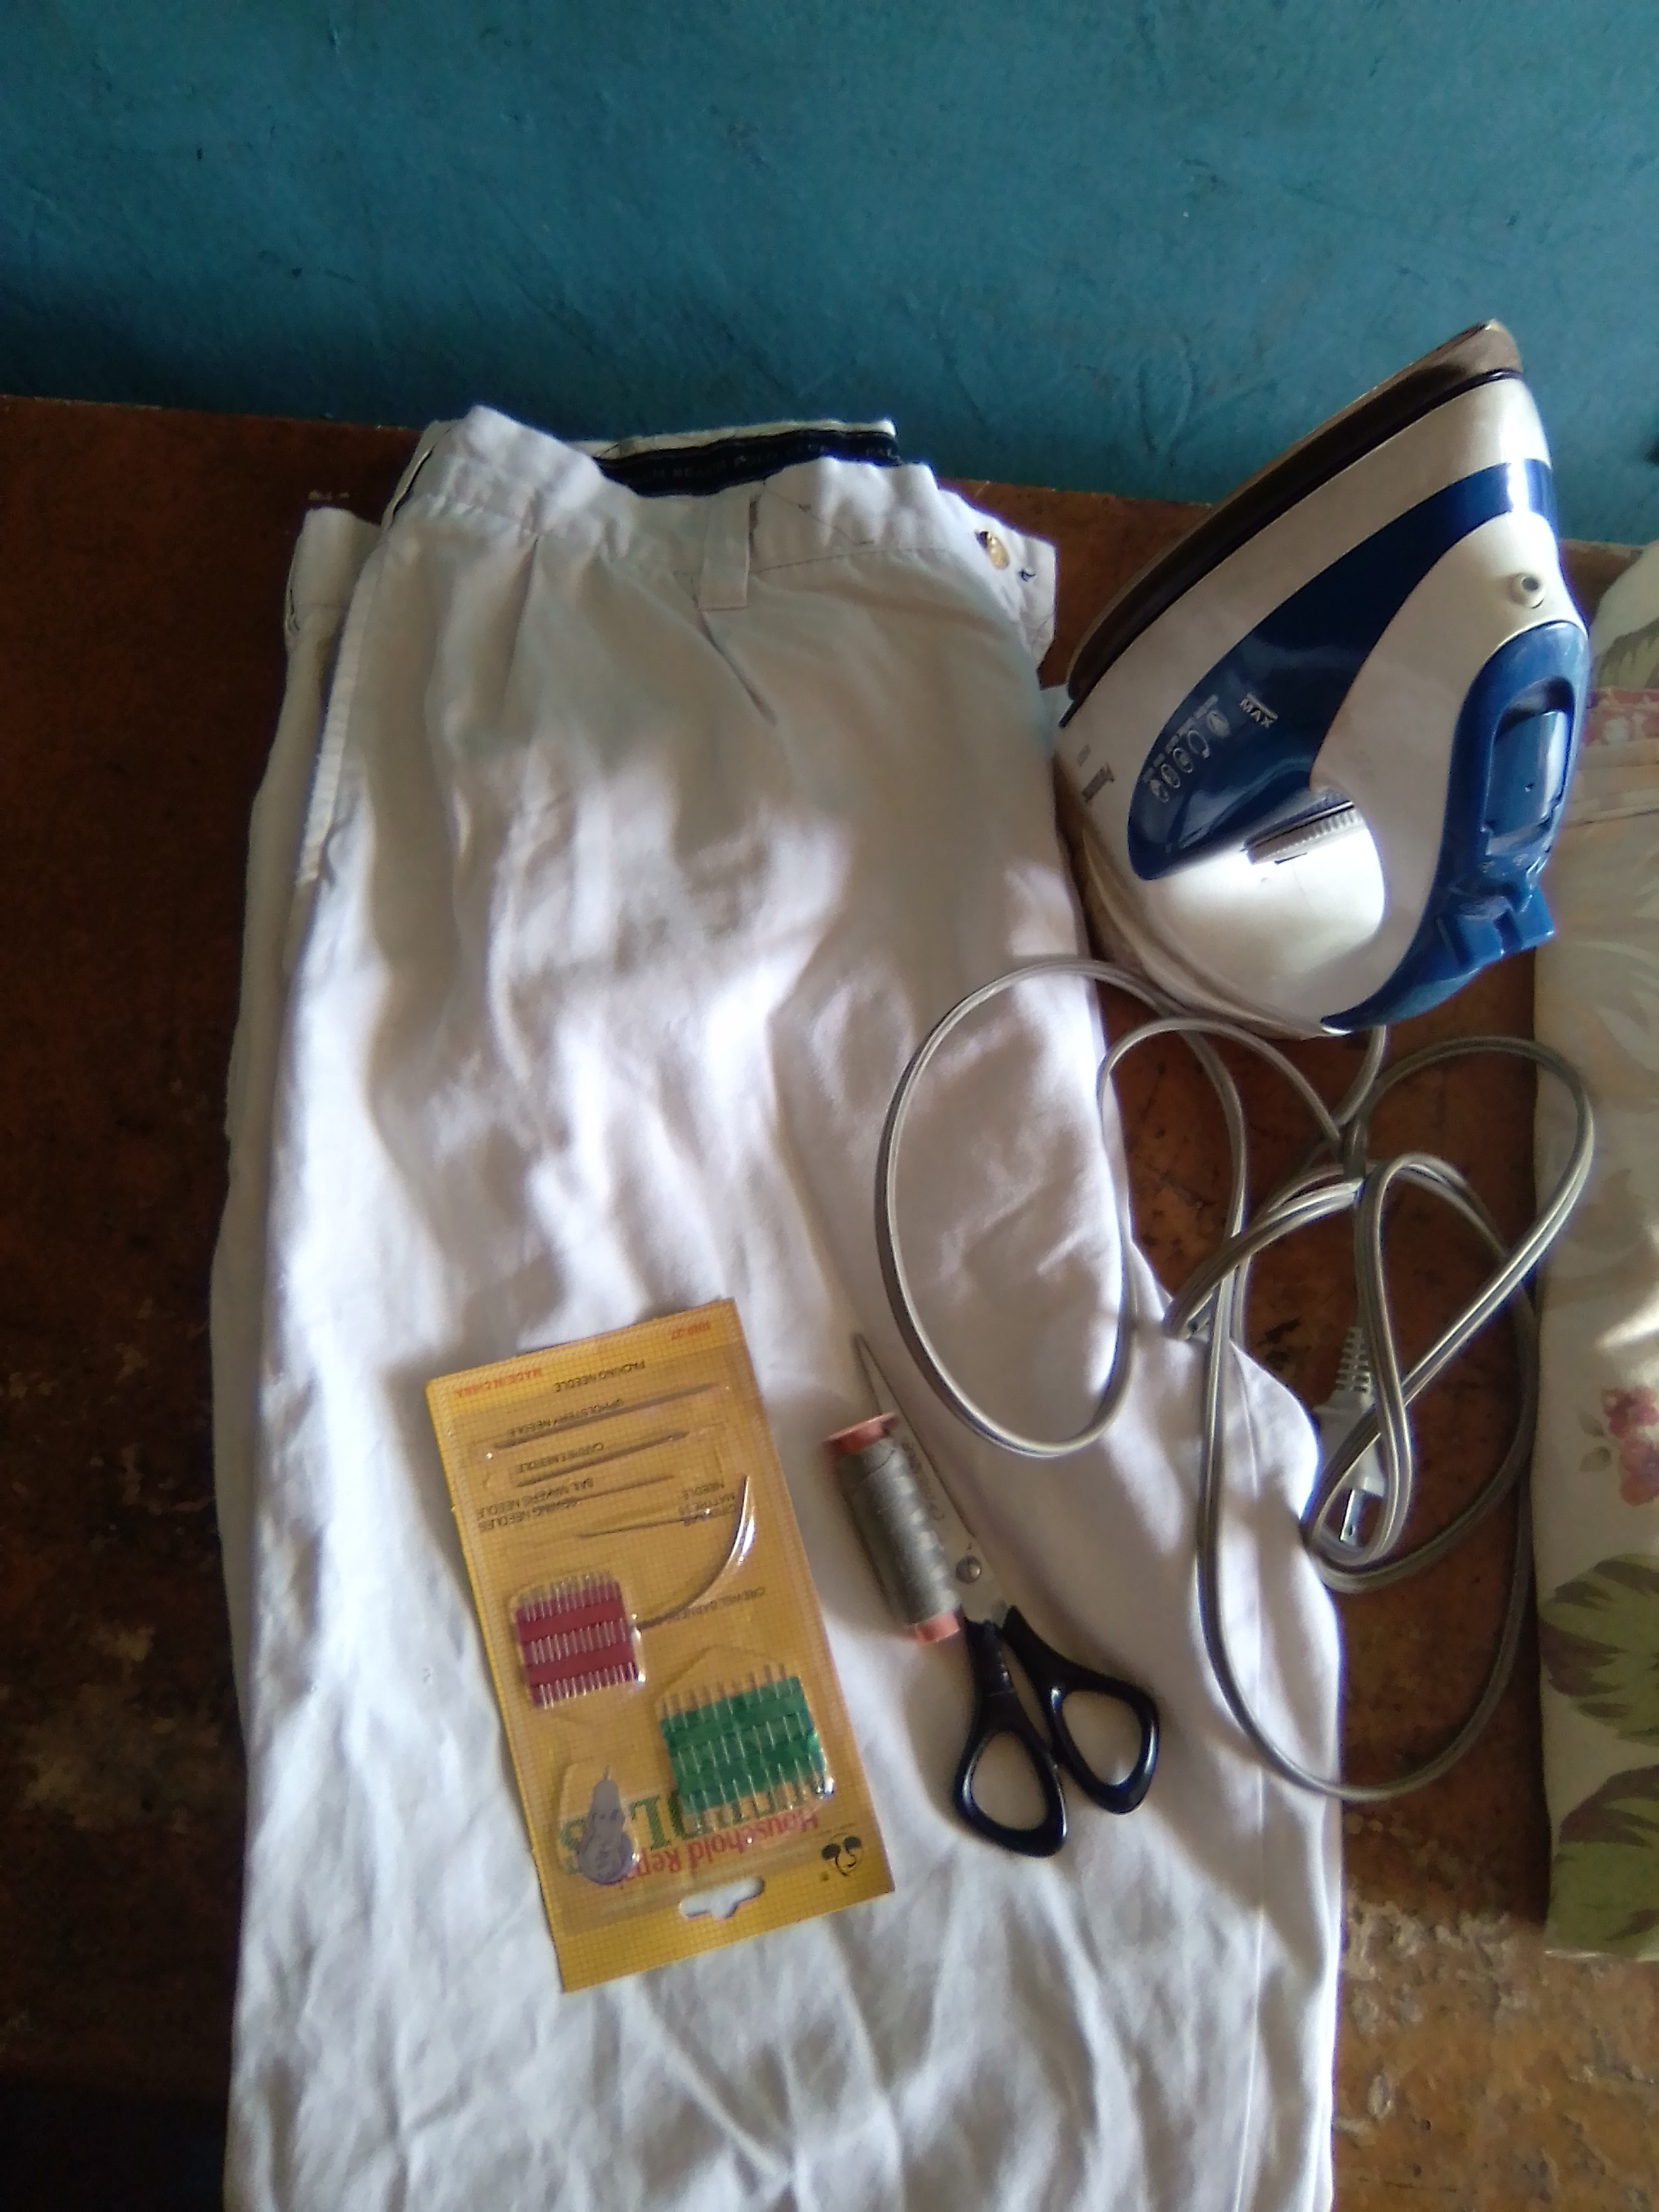
MATERIALES
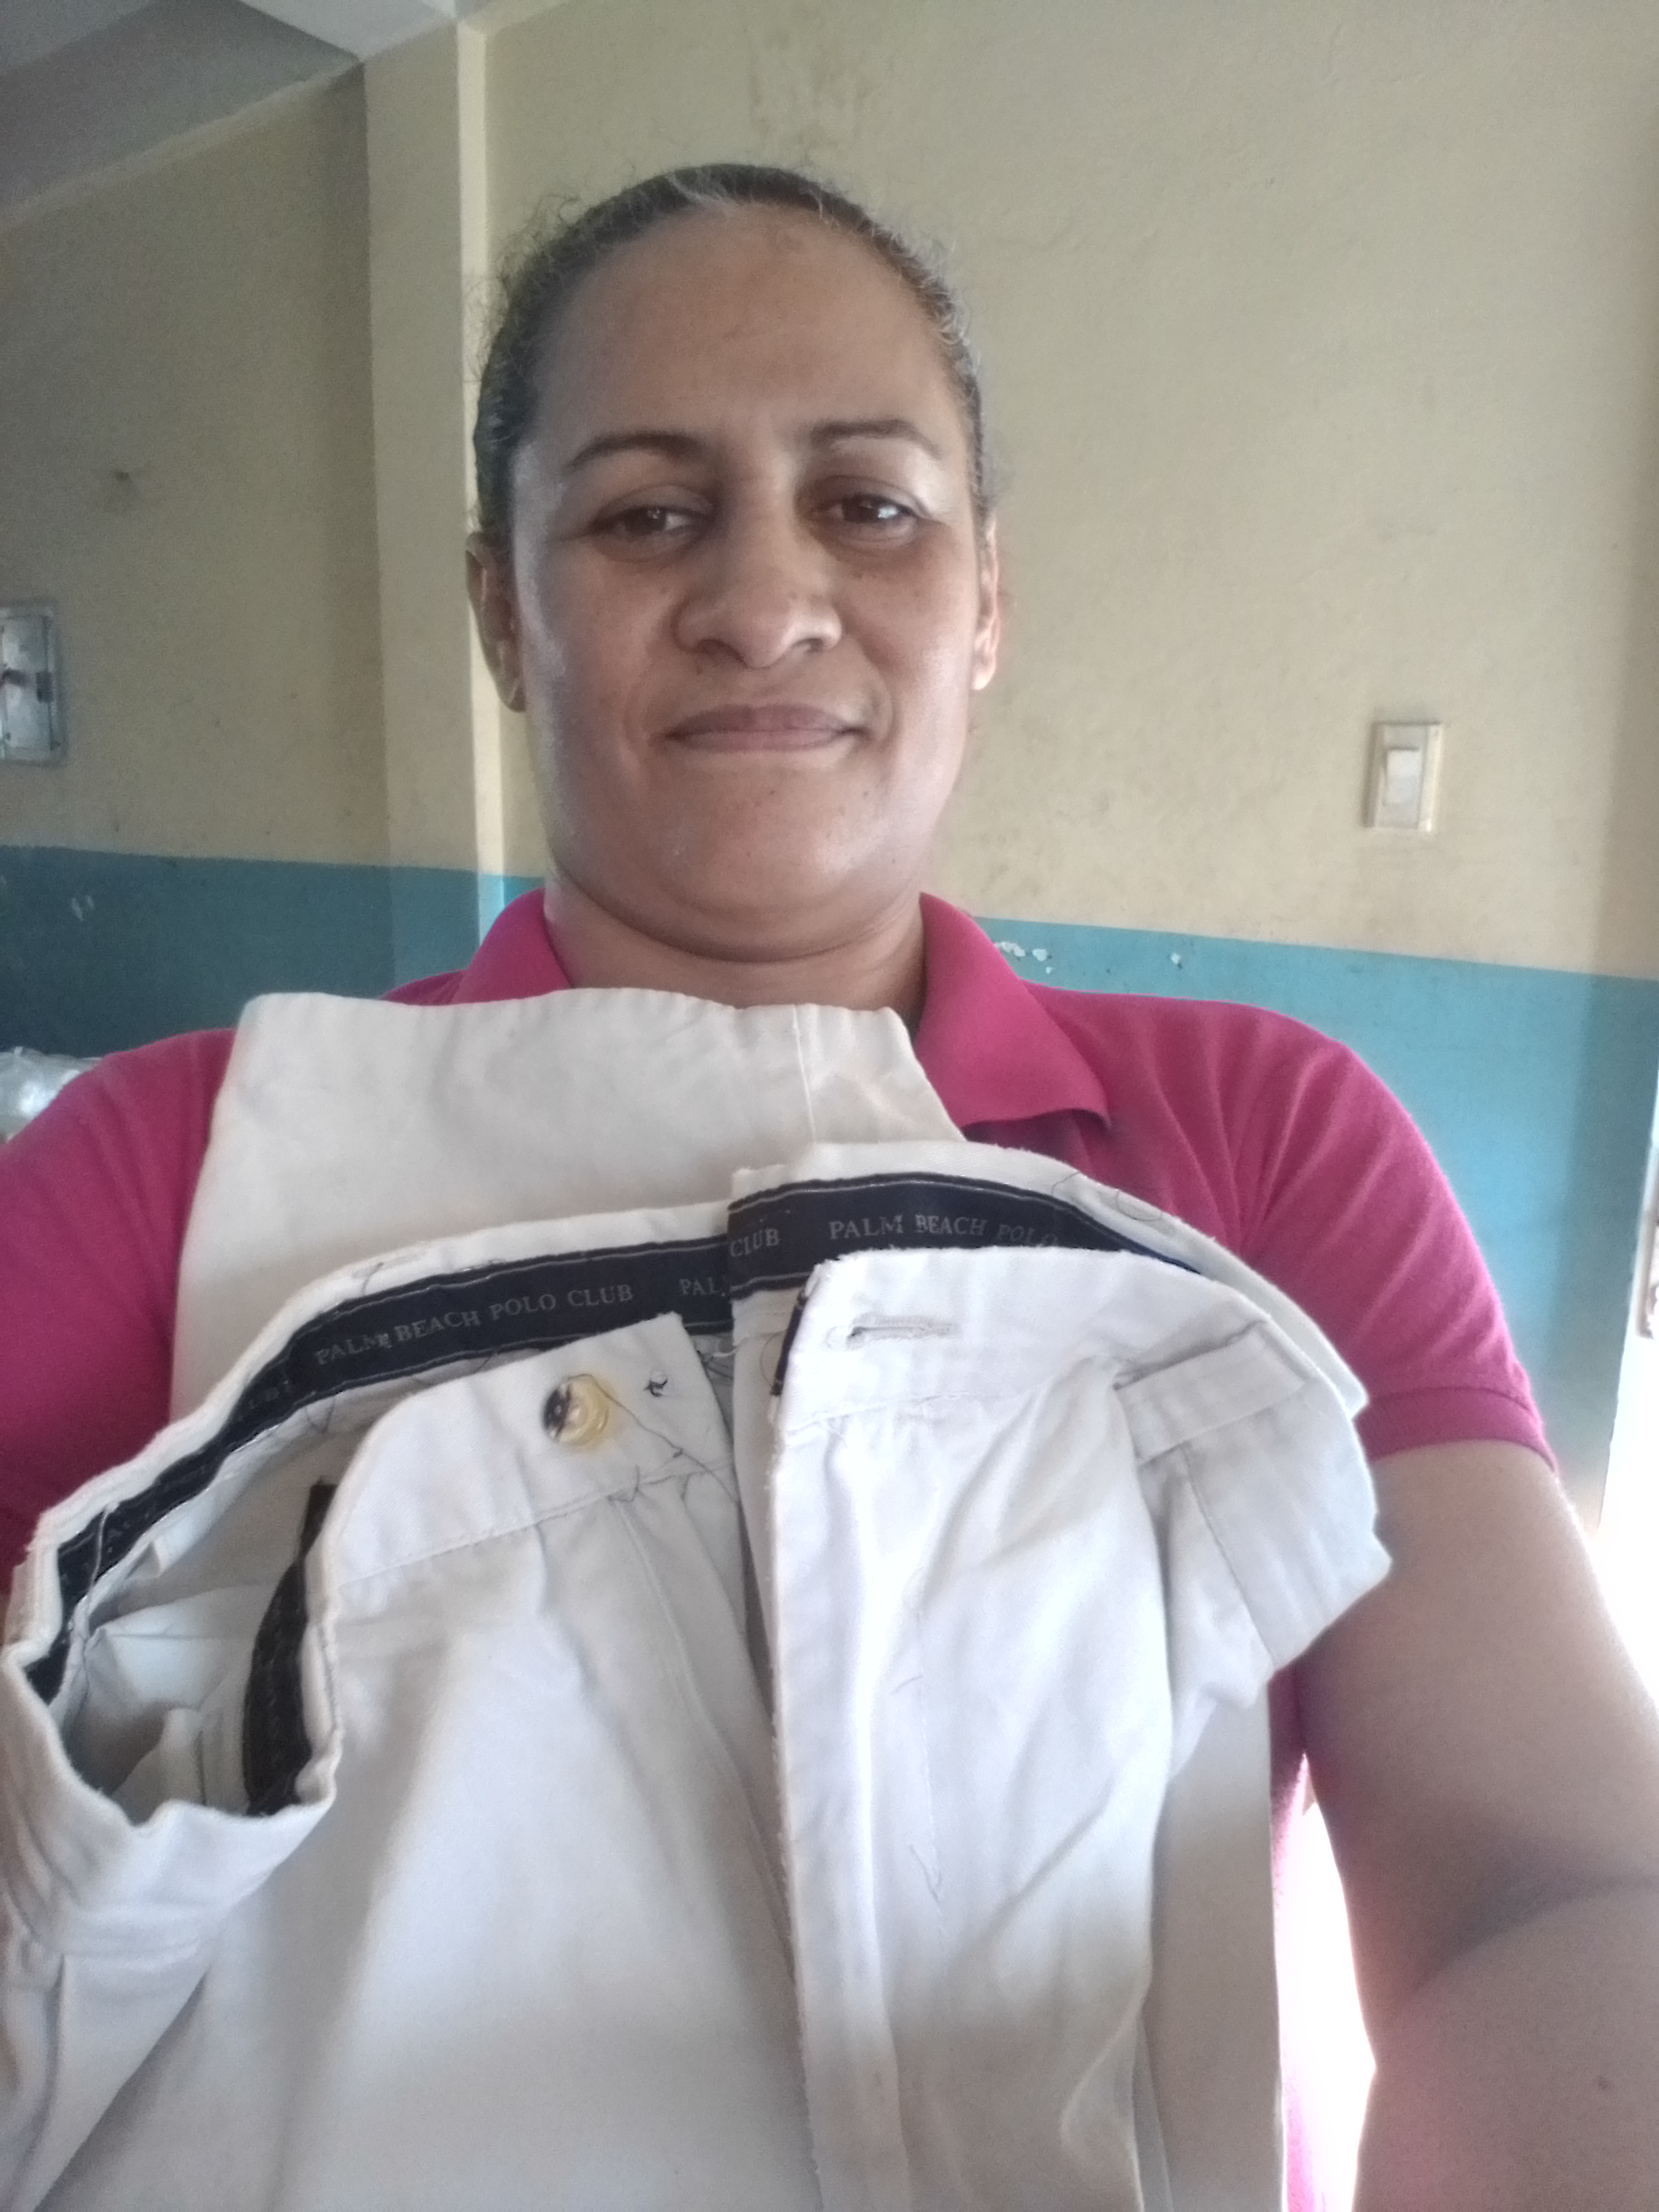
- Pantalón
- Tijera
- Aguja de coser
- Hilo
- Plancha de ropa
- Cinta métrica
- Retazos para bolsillo
- Retazo de cinta para los ajustables de cuello y cintura.
MATERIALS
- Pants
- Scissors
- Sewing needle
- Thread
- Iron
- Tape measure
- Pocket scraps
- Piece of tape for neck and waist adjusters.
PROCEDIMIENTO
FASE 1
PROCEDURE
PHASE 1
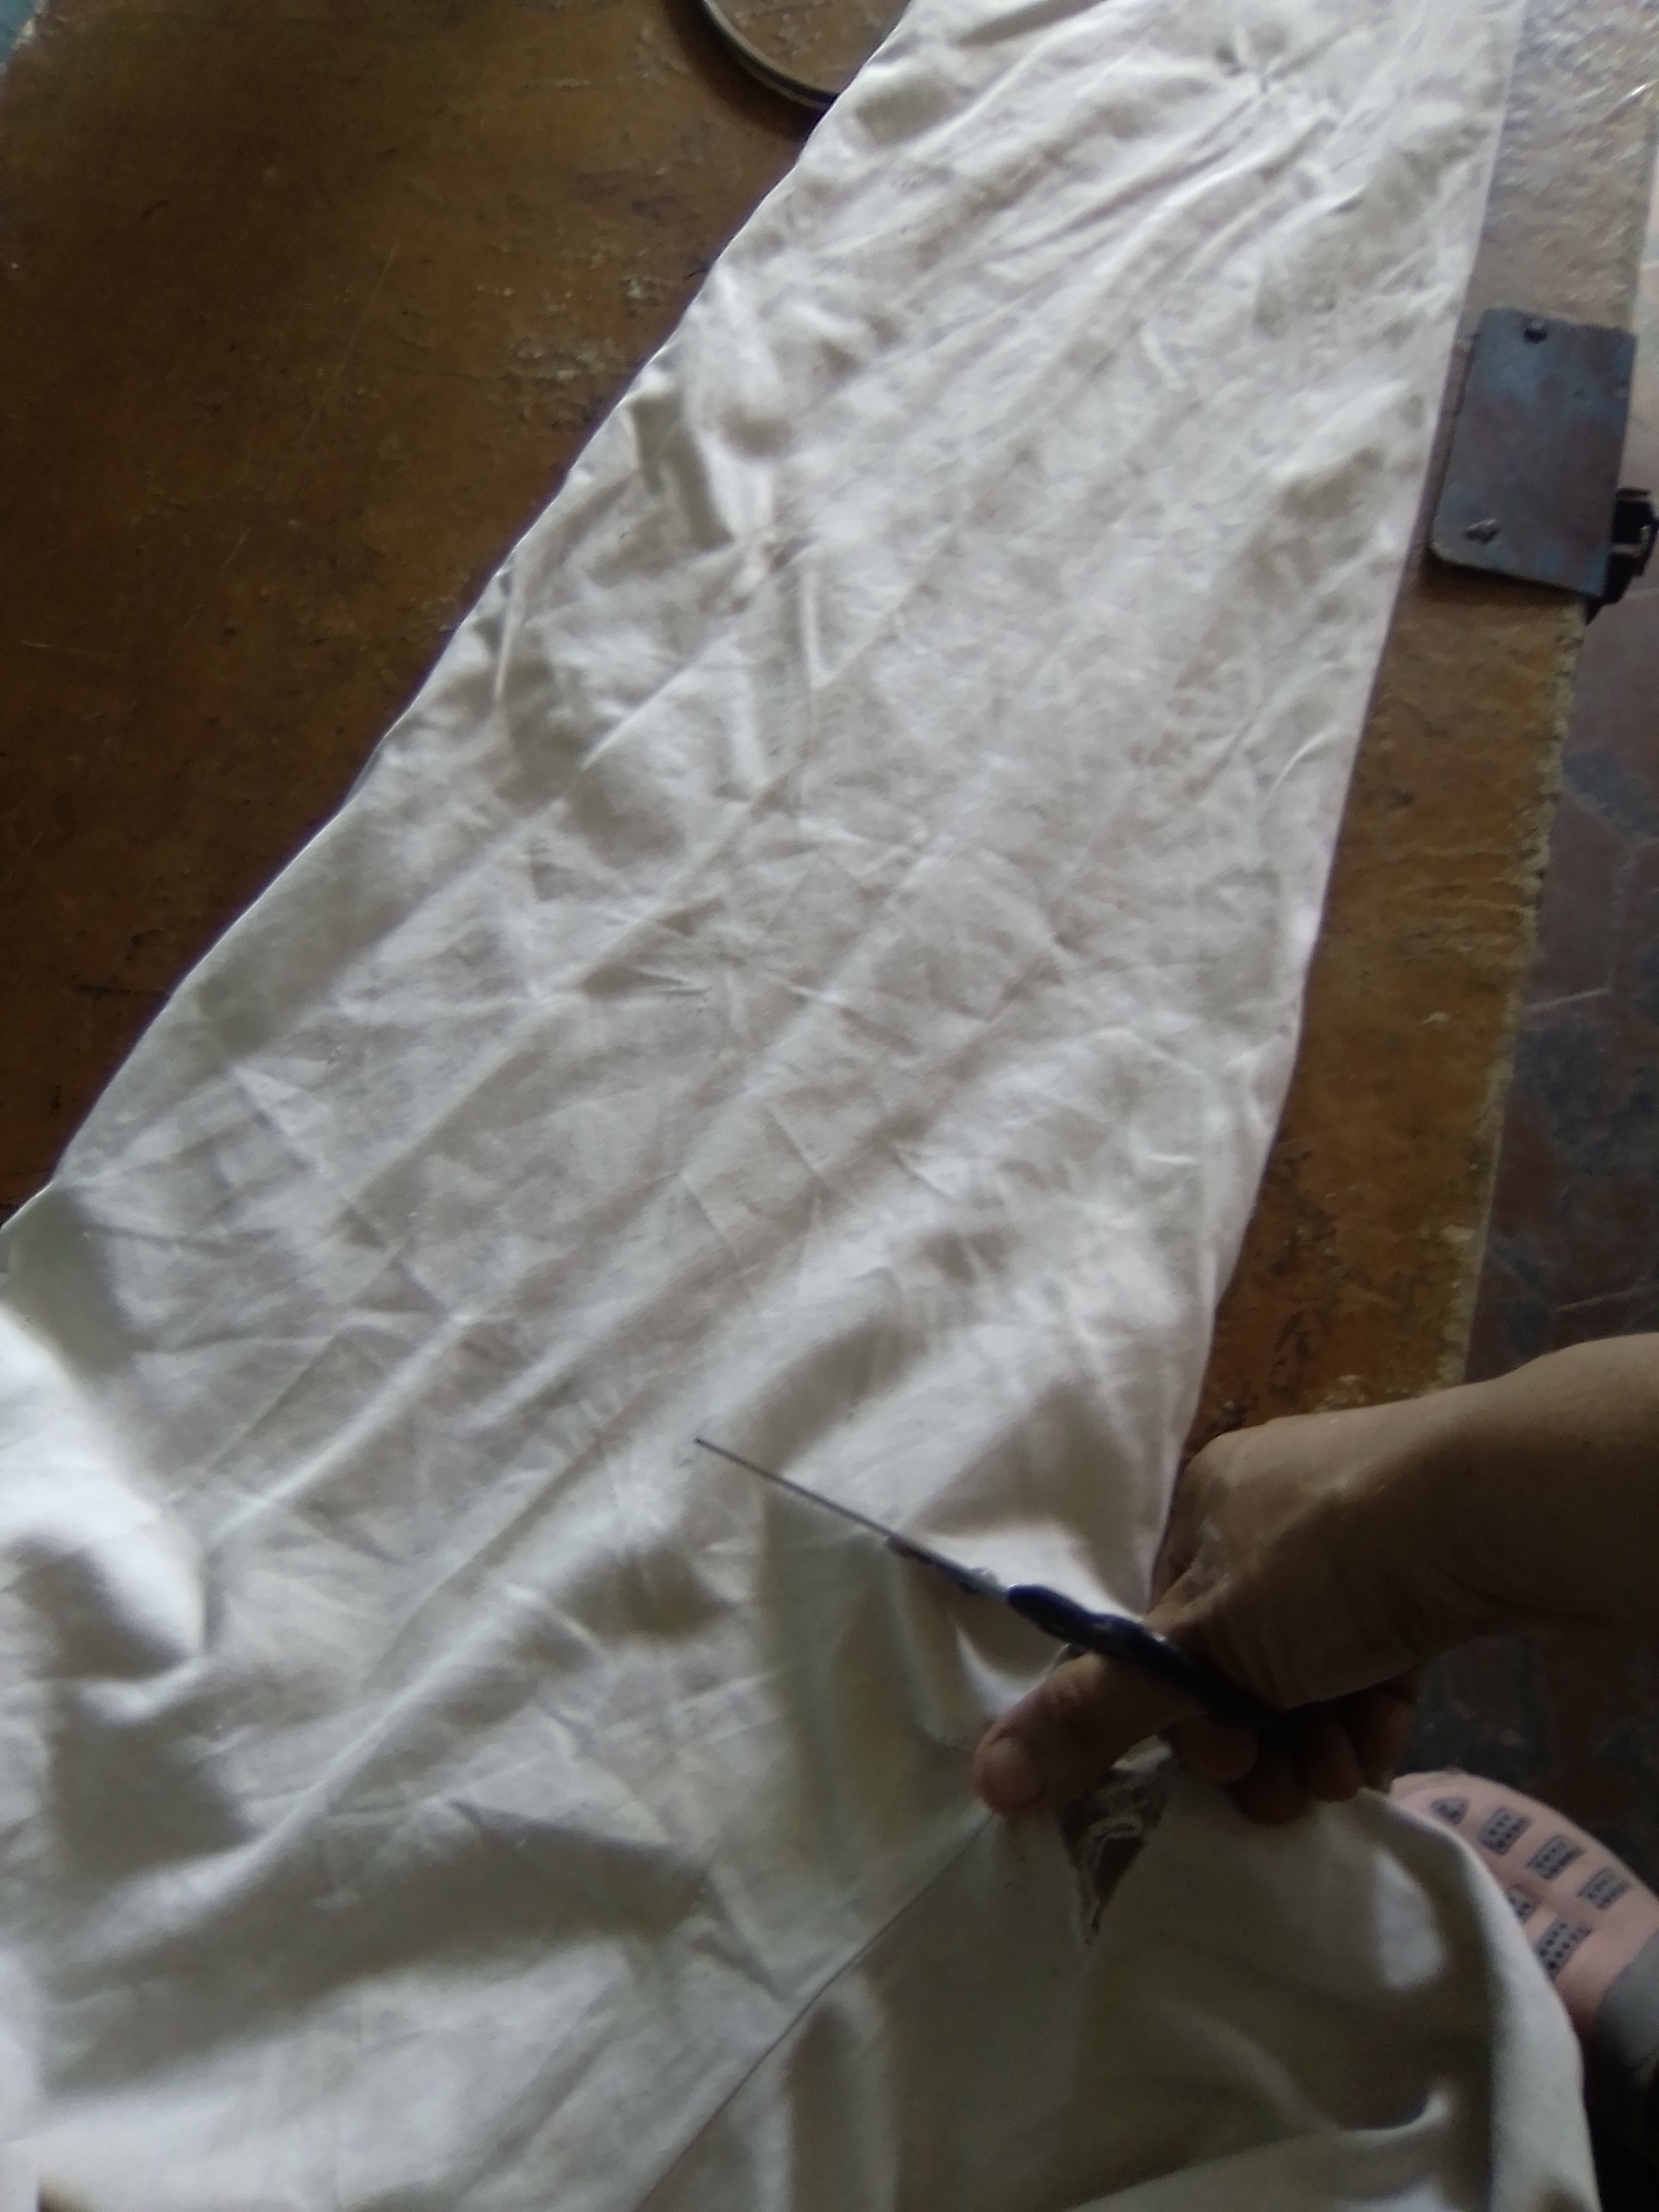
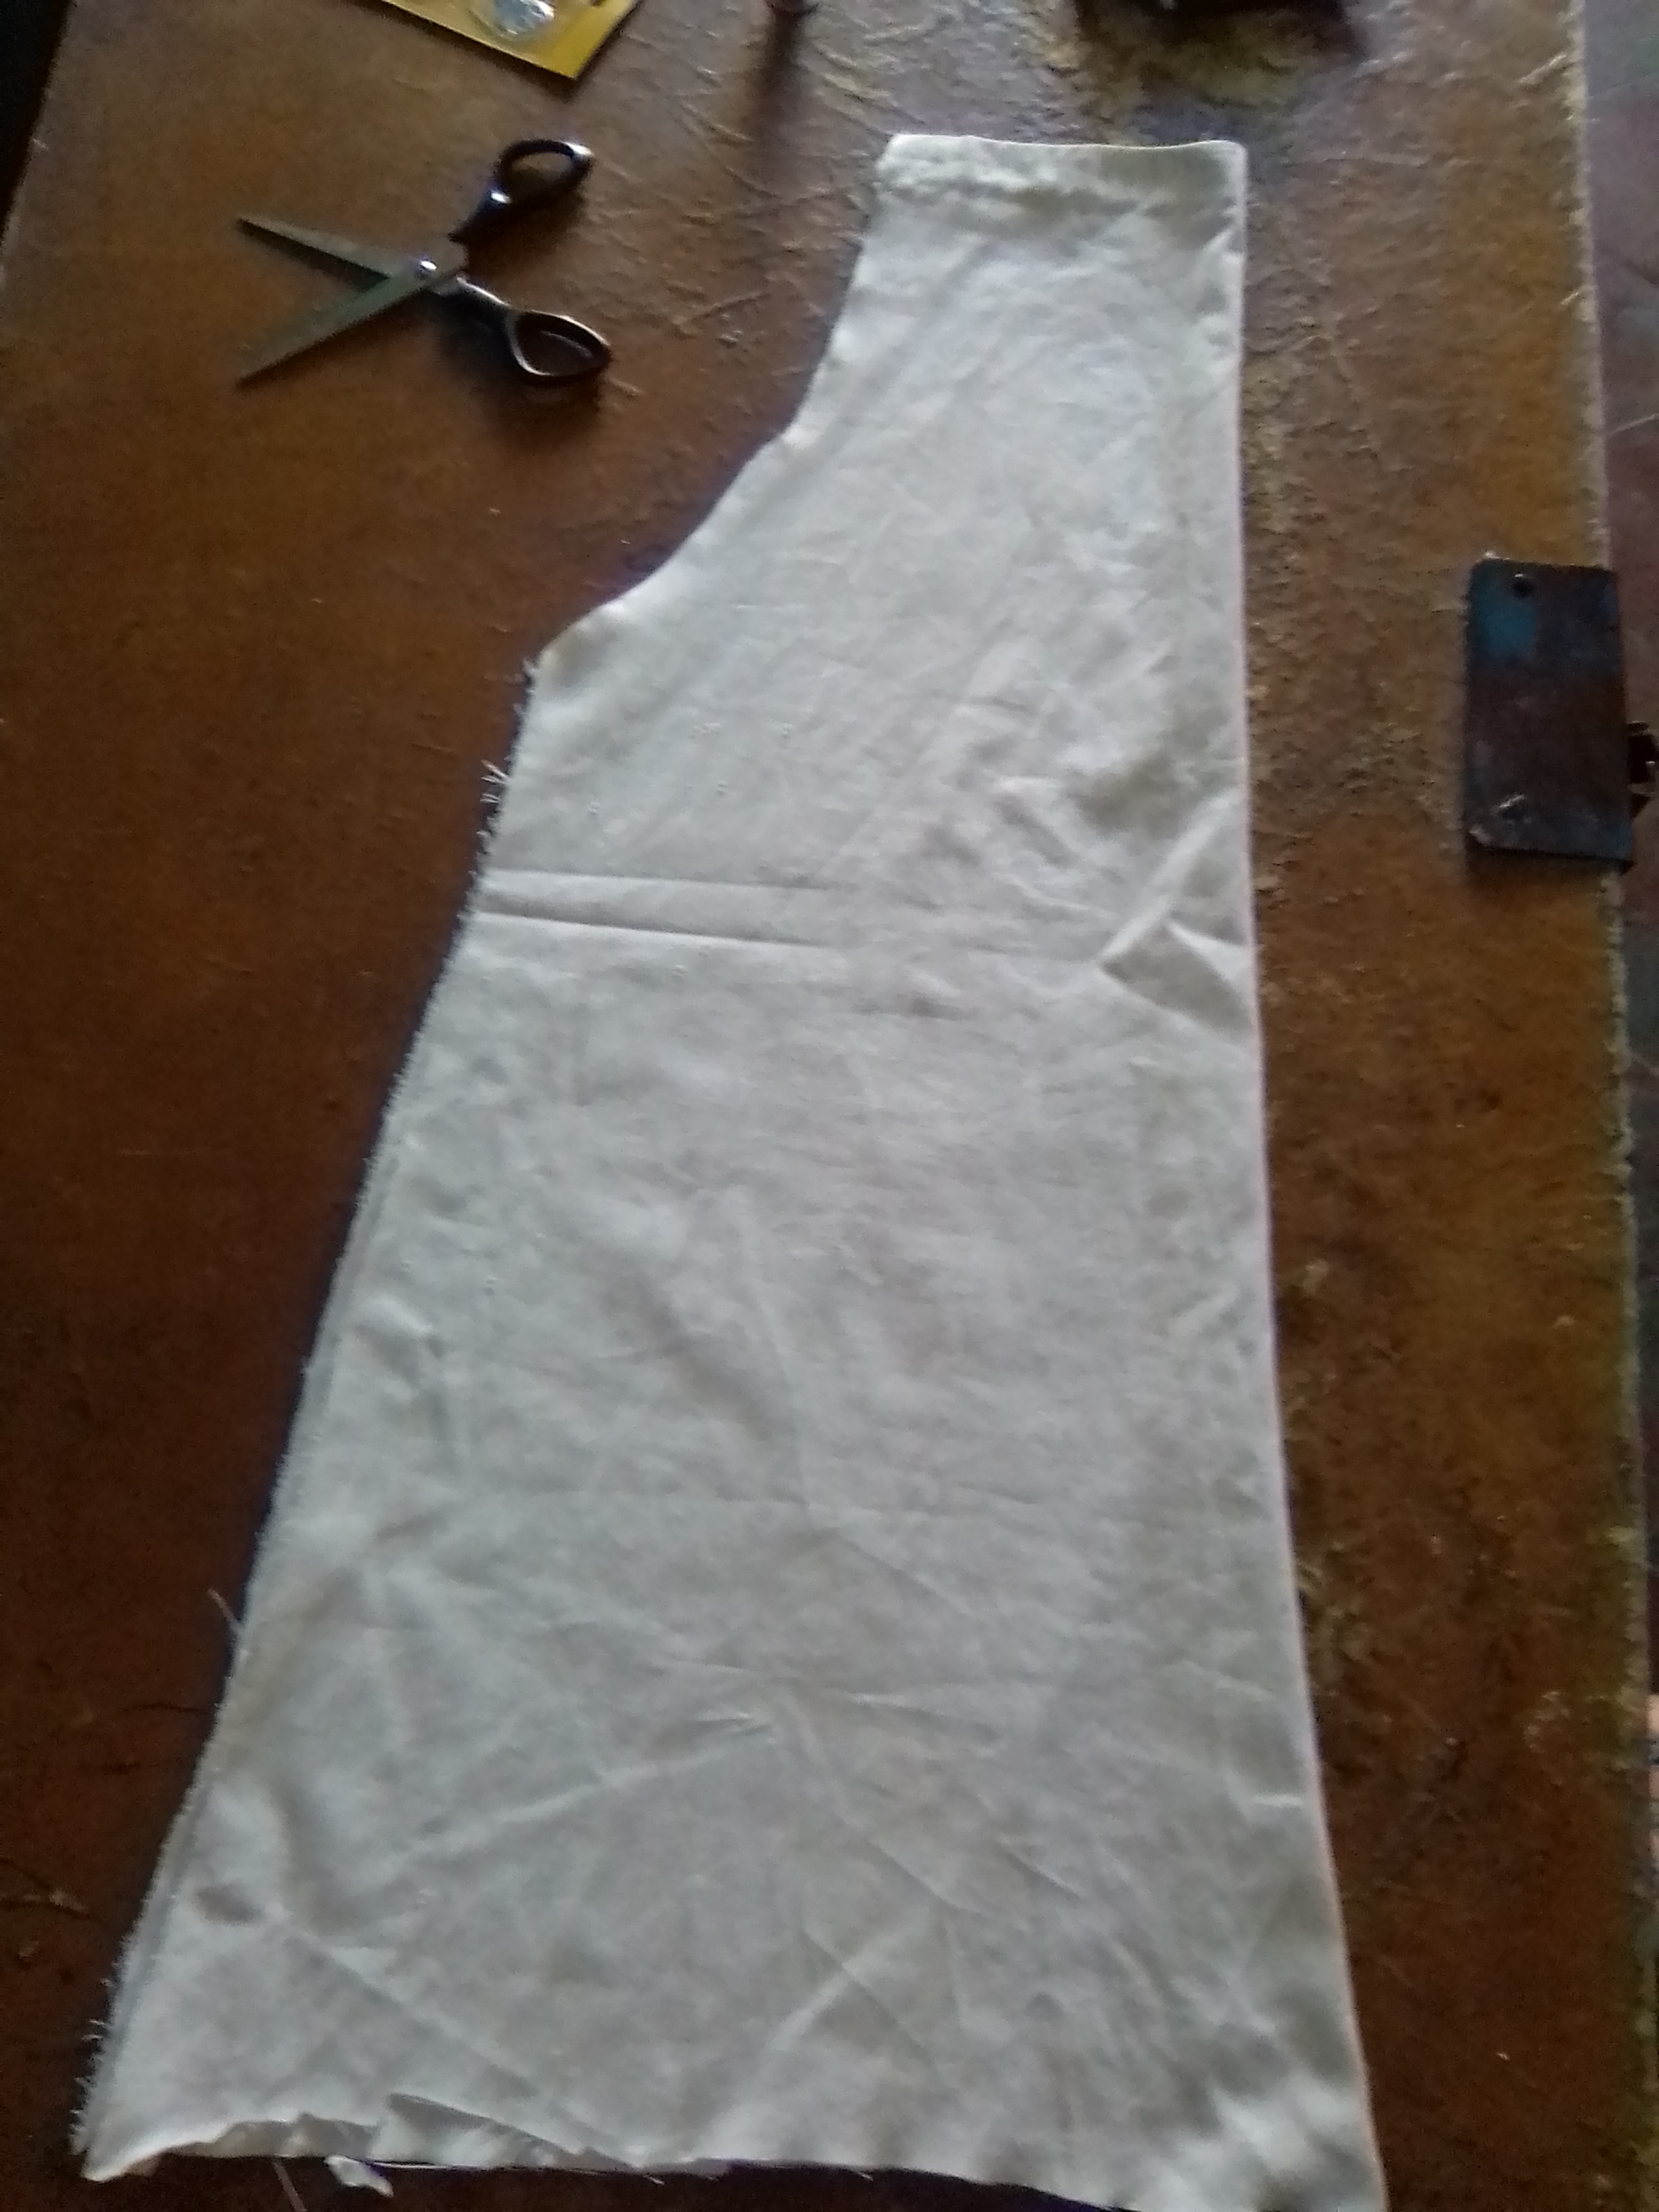
The first thing I did was to cut a trouser leg 80 centimeters long, and then fold in two the piece of fabric and with a graphite pencil I made a freehand silhouette, defining the high and thinnest part of my apron of 28 centimeters with a 21-centimeter sezgo, leaving me the width of the lower part of my apron of 68 centimeters.
the width of the lower part of the apron was 68 centimeters.
FASE 2
PHASE 2
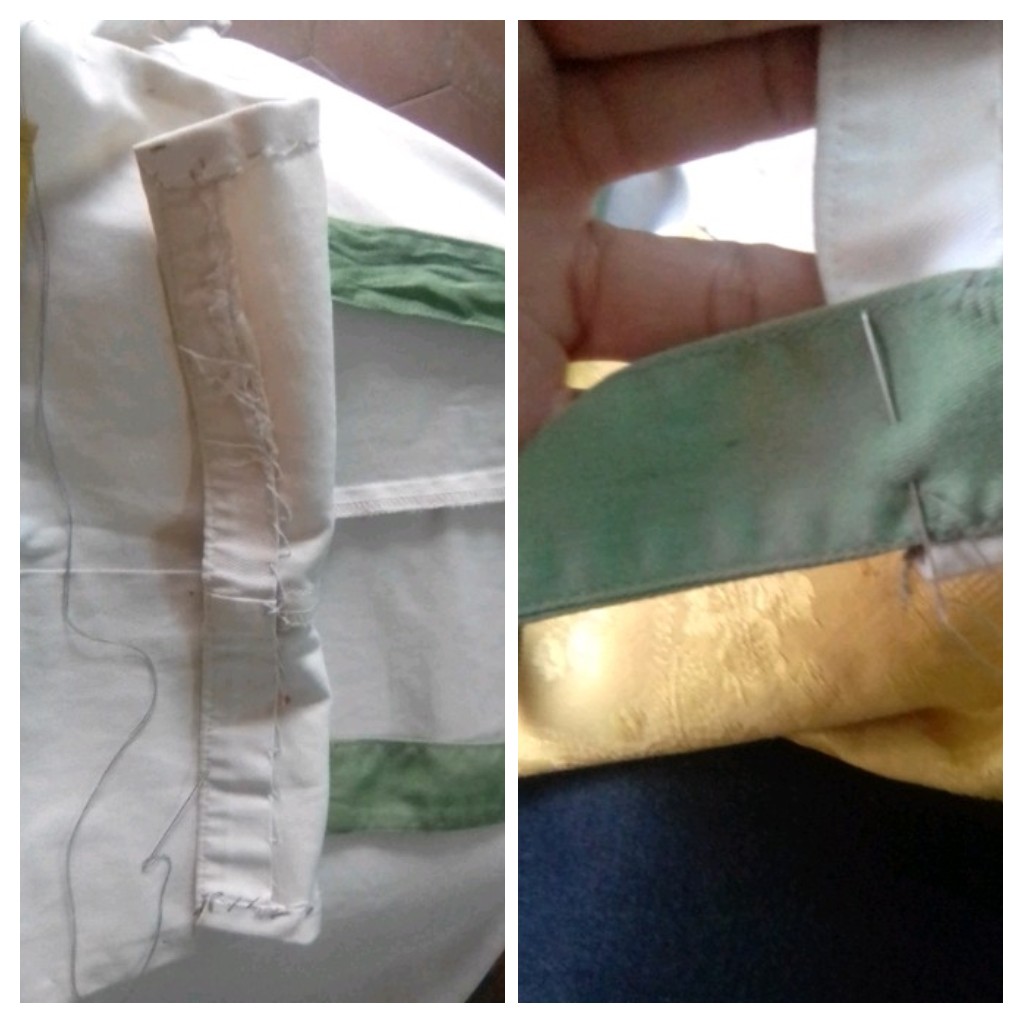
Next, I hemmed the edges of the apron with a hot iron, defining the seams of all the edges, in order to demarcate and have a guide when sewing, remember that this apron will be sewn completely by hand. After ironing the edges, process to sew very close together so that the seam is more secure and resistant.
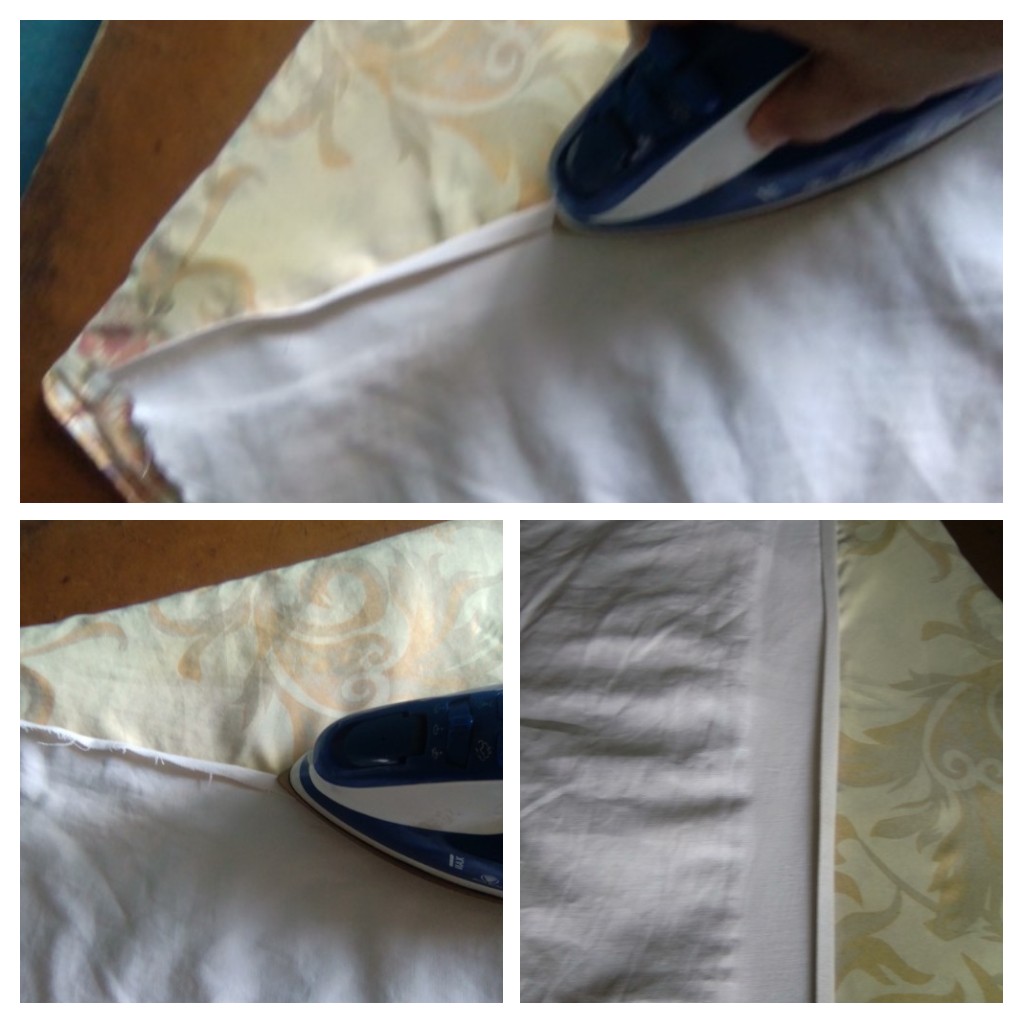
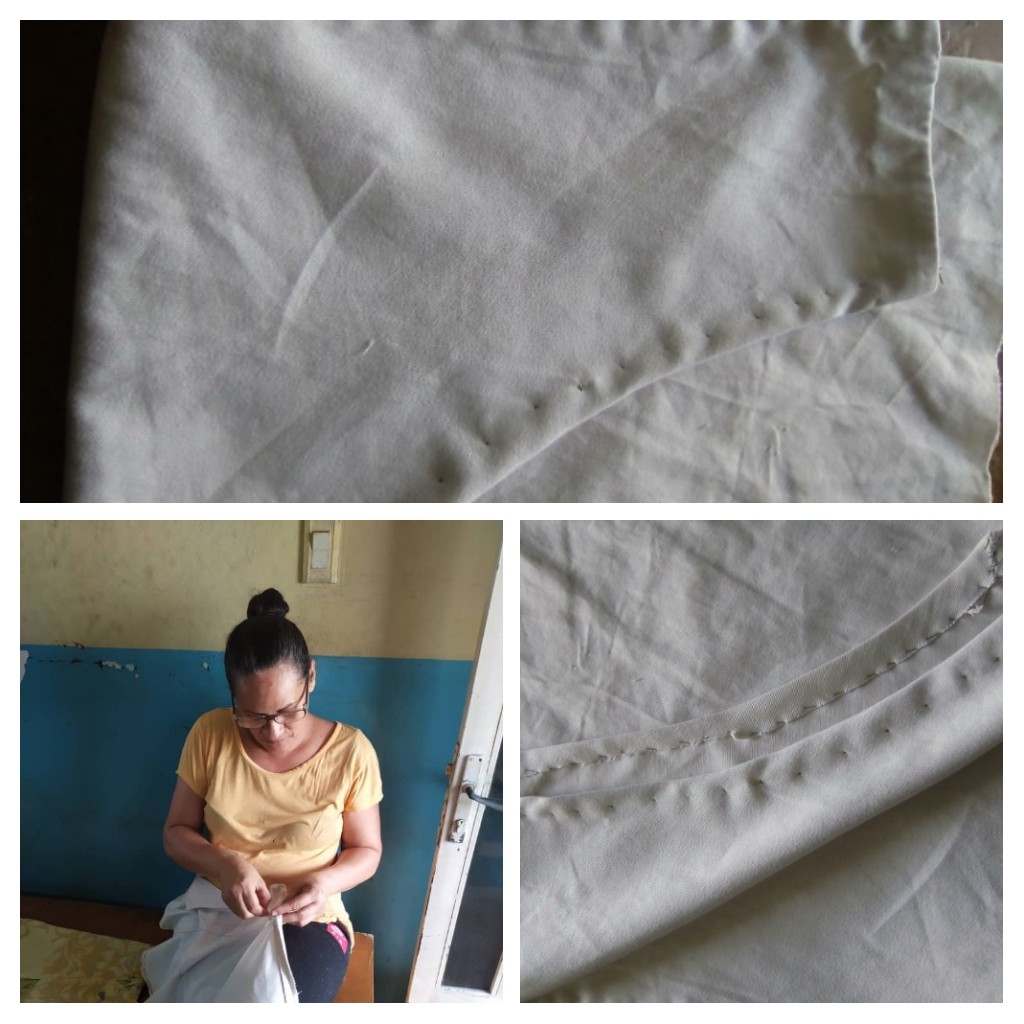
Once the edge seams are ready, I iron all the seams again, to set the seams as my mother, who always taught me to sew with the help of an iron, used to tell me.
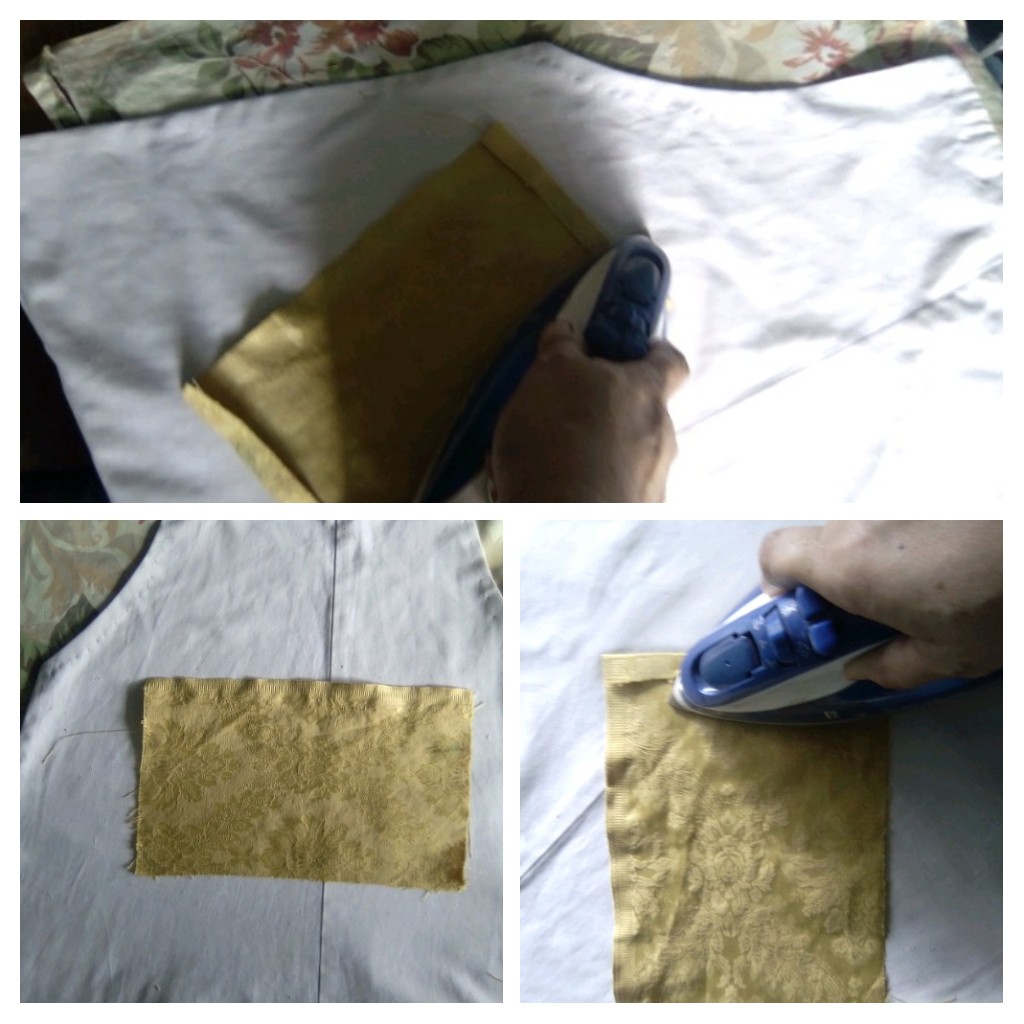
FASE 3
PHASE 3
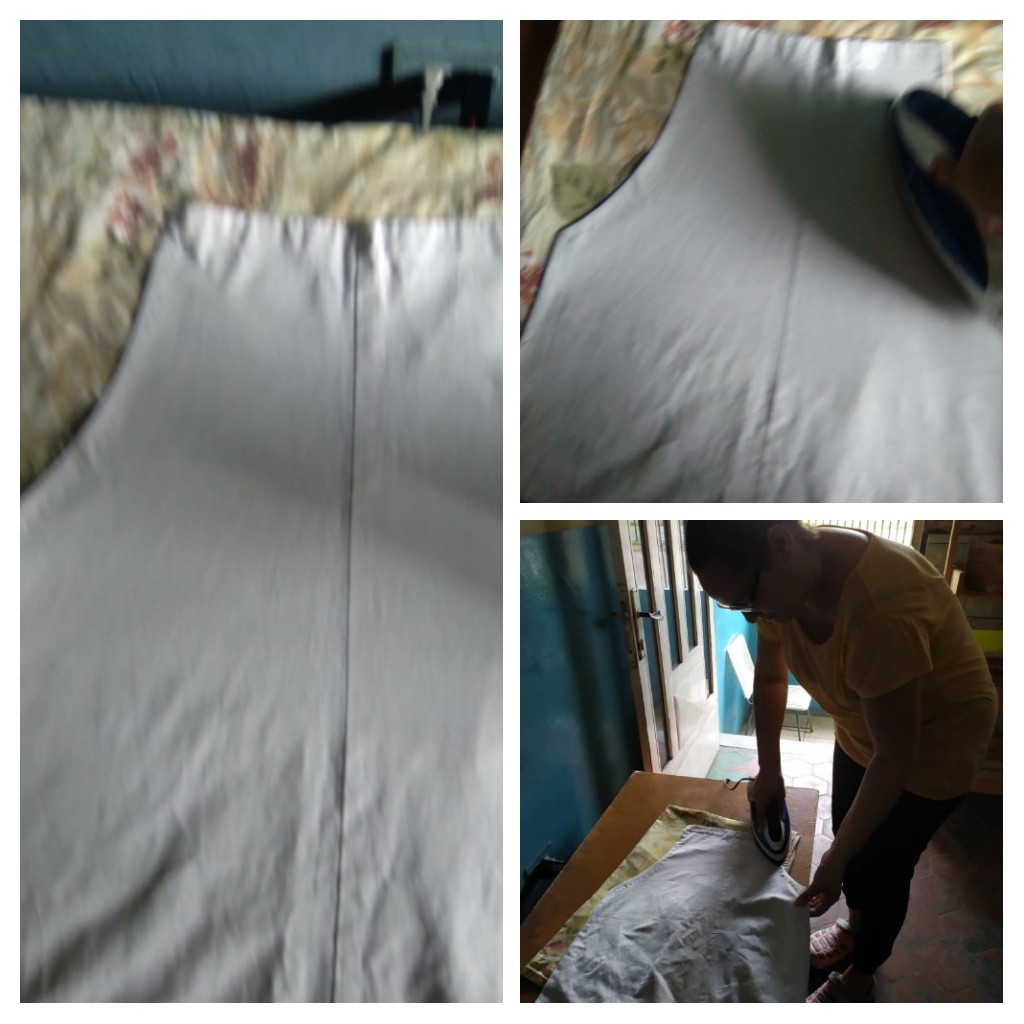
Ready my base for the apron, I select a piece of yellow ochre fabric for the pocket and cut it to 24 cm x 15 cm, performed the above procedure, a hem and hot iron on all edges, to demarcate. He fastened with a few stitches on the top edges and then completely fixed with the seam. And ironed the sewn pocket again
FASE 4
PHASE 4
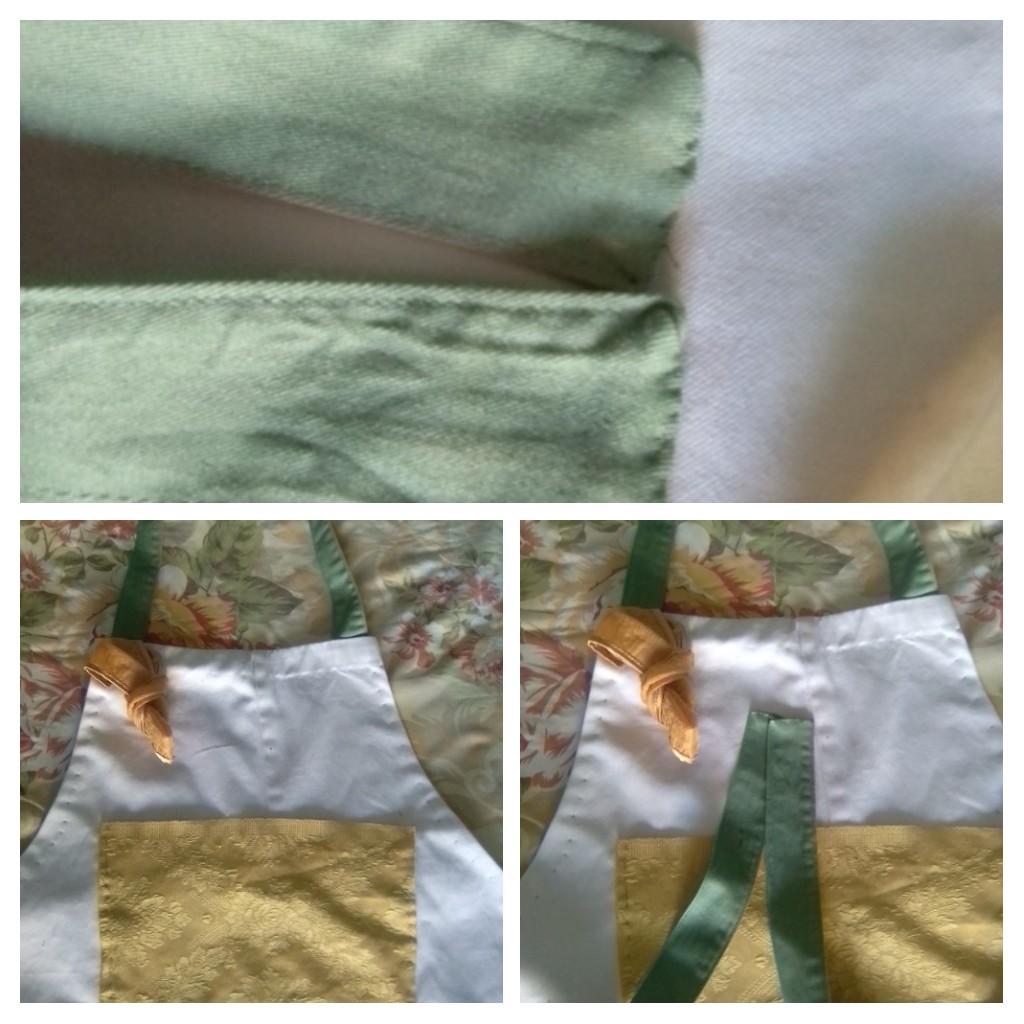
I already have the apron with the pocket, for the adjustable neck and waist I will reuse a ribbon from an old dress, which measures 1.50 centimeters, just what I need, I will use 55 centimeters for the neck fastener and 95 centimeters for the adjustable waist, I proceed to count the ribbon according to the required measures, and where the cut was made I make a fold inward and ironed to fix, then I sew with fine stitches.
All that remains is to sew the ribbons to the apron and attach a flirt, and finish iroing
My hand-sewn apron is ready.

Thanks for the opportunity and for reading to the end.
Todas las fotografías fueron tomadas por mi y mi esposo con mi celular, y el carrete de hilo es un capture de emojis de WhatsApp.
All the pictures were taken by me and my husband with my cell phone, and the thread reel is a WhatsApp emojis capture.
Qué buena idea! me gustó que tiene un poco de estructura y mejora en la presentación de tu proyecto, está hecho modo tutorial, la forma que puedes mostrarnos cómo hacerlos nosotros mismos, lo único que te faltó fue es; el uso de las fuentes, recuerda ponerlas en el caso que uses alguna referencia para cualquier molde o idea, pero en tu caso tan solo, la imagen que tienes como separador. Coloca la referencia al final de tu publicación, la forma correcta es colocar el link de la pagina donde se aloja. Si no sabes cómo, te puedo guiar. Bienvenida a nuestra comunidad, que tengas mucho éxito.
Gracias
Congratulations @yusma21! You have completed the following achievement on the Hive blockchain and have been rewarded with new badge(s) :
Your next target is to reach 500 upvotes.
You can view your badges on your board and compare yourself to others in the Ranking
If you no longer want to receive notifications, reply to this comment with the word
STOPChevere amiga practico, me gustan mucho los delatares ya tengo que cambiar el mio usare estas buenas ideas. felicitaciones
Gracias, si estás ideas son para ponerlas en practica
Thank you for sharing this amazing post on HIVE!
Your content got selected by our fellow curator @stevenson7 & you just received a little thank you via an upvote from our non-profit curation initiative!
You will be featured in one of our recurring curation compilations and on our pinterest boards! Both are aiming to offer you a stage to widen your audience within and outside of the DIY scene of hive.
Join the official DIYHub community on HIVE and show us more of your amazing work and feel free to connect with us and other DIYers via our discord server: https://discord.gg/mY5uCfQ !
If you want to support our goal to motivate other DIY/art/music/homesteading/... creators just delegate to us and earn 100% of your curation rewards!
Stay creative & hive on!