
Very affectionate greetings to all the creative colleagues of the Hive Diy community, we women want to have everything in our bags, we want practical and useful things, the issue of keys is very important because sometimes we must find them quickly, for this reason I decided to make a small cloth bag, to store the keys, in this post I will show you how to do it in a few steps and using scraps of cloth. Let's start and I'll tell you about the few materials I use.

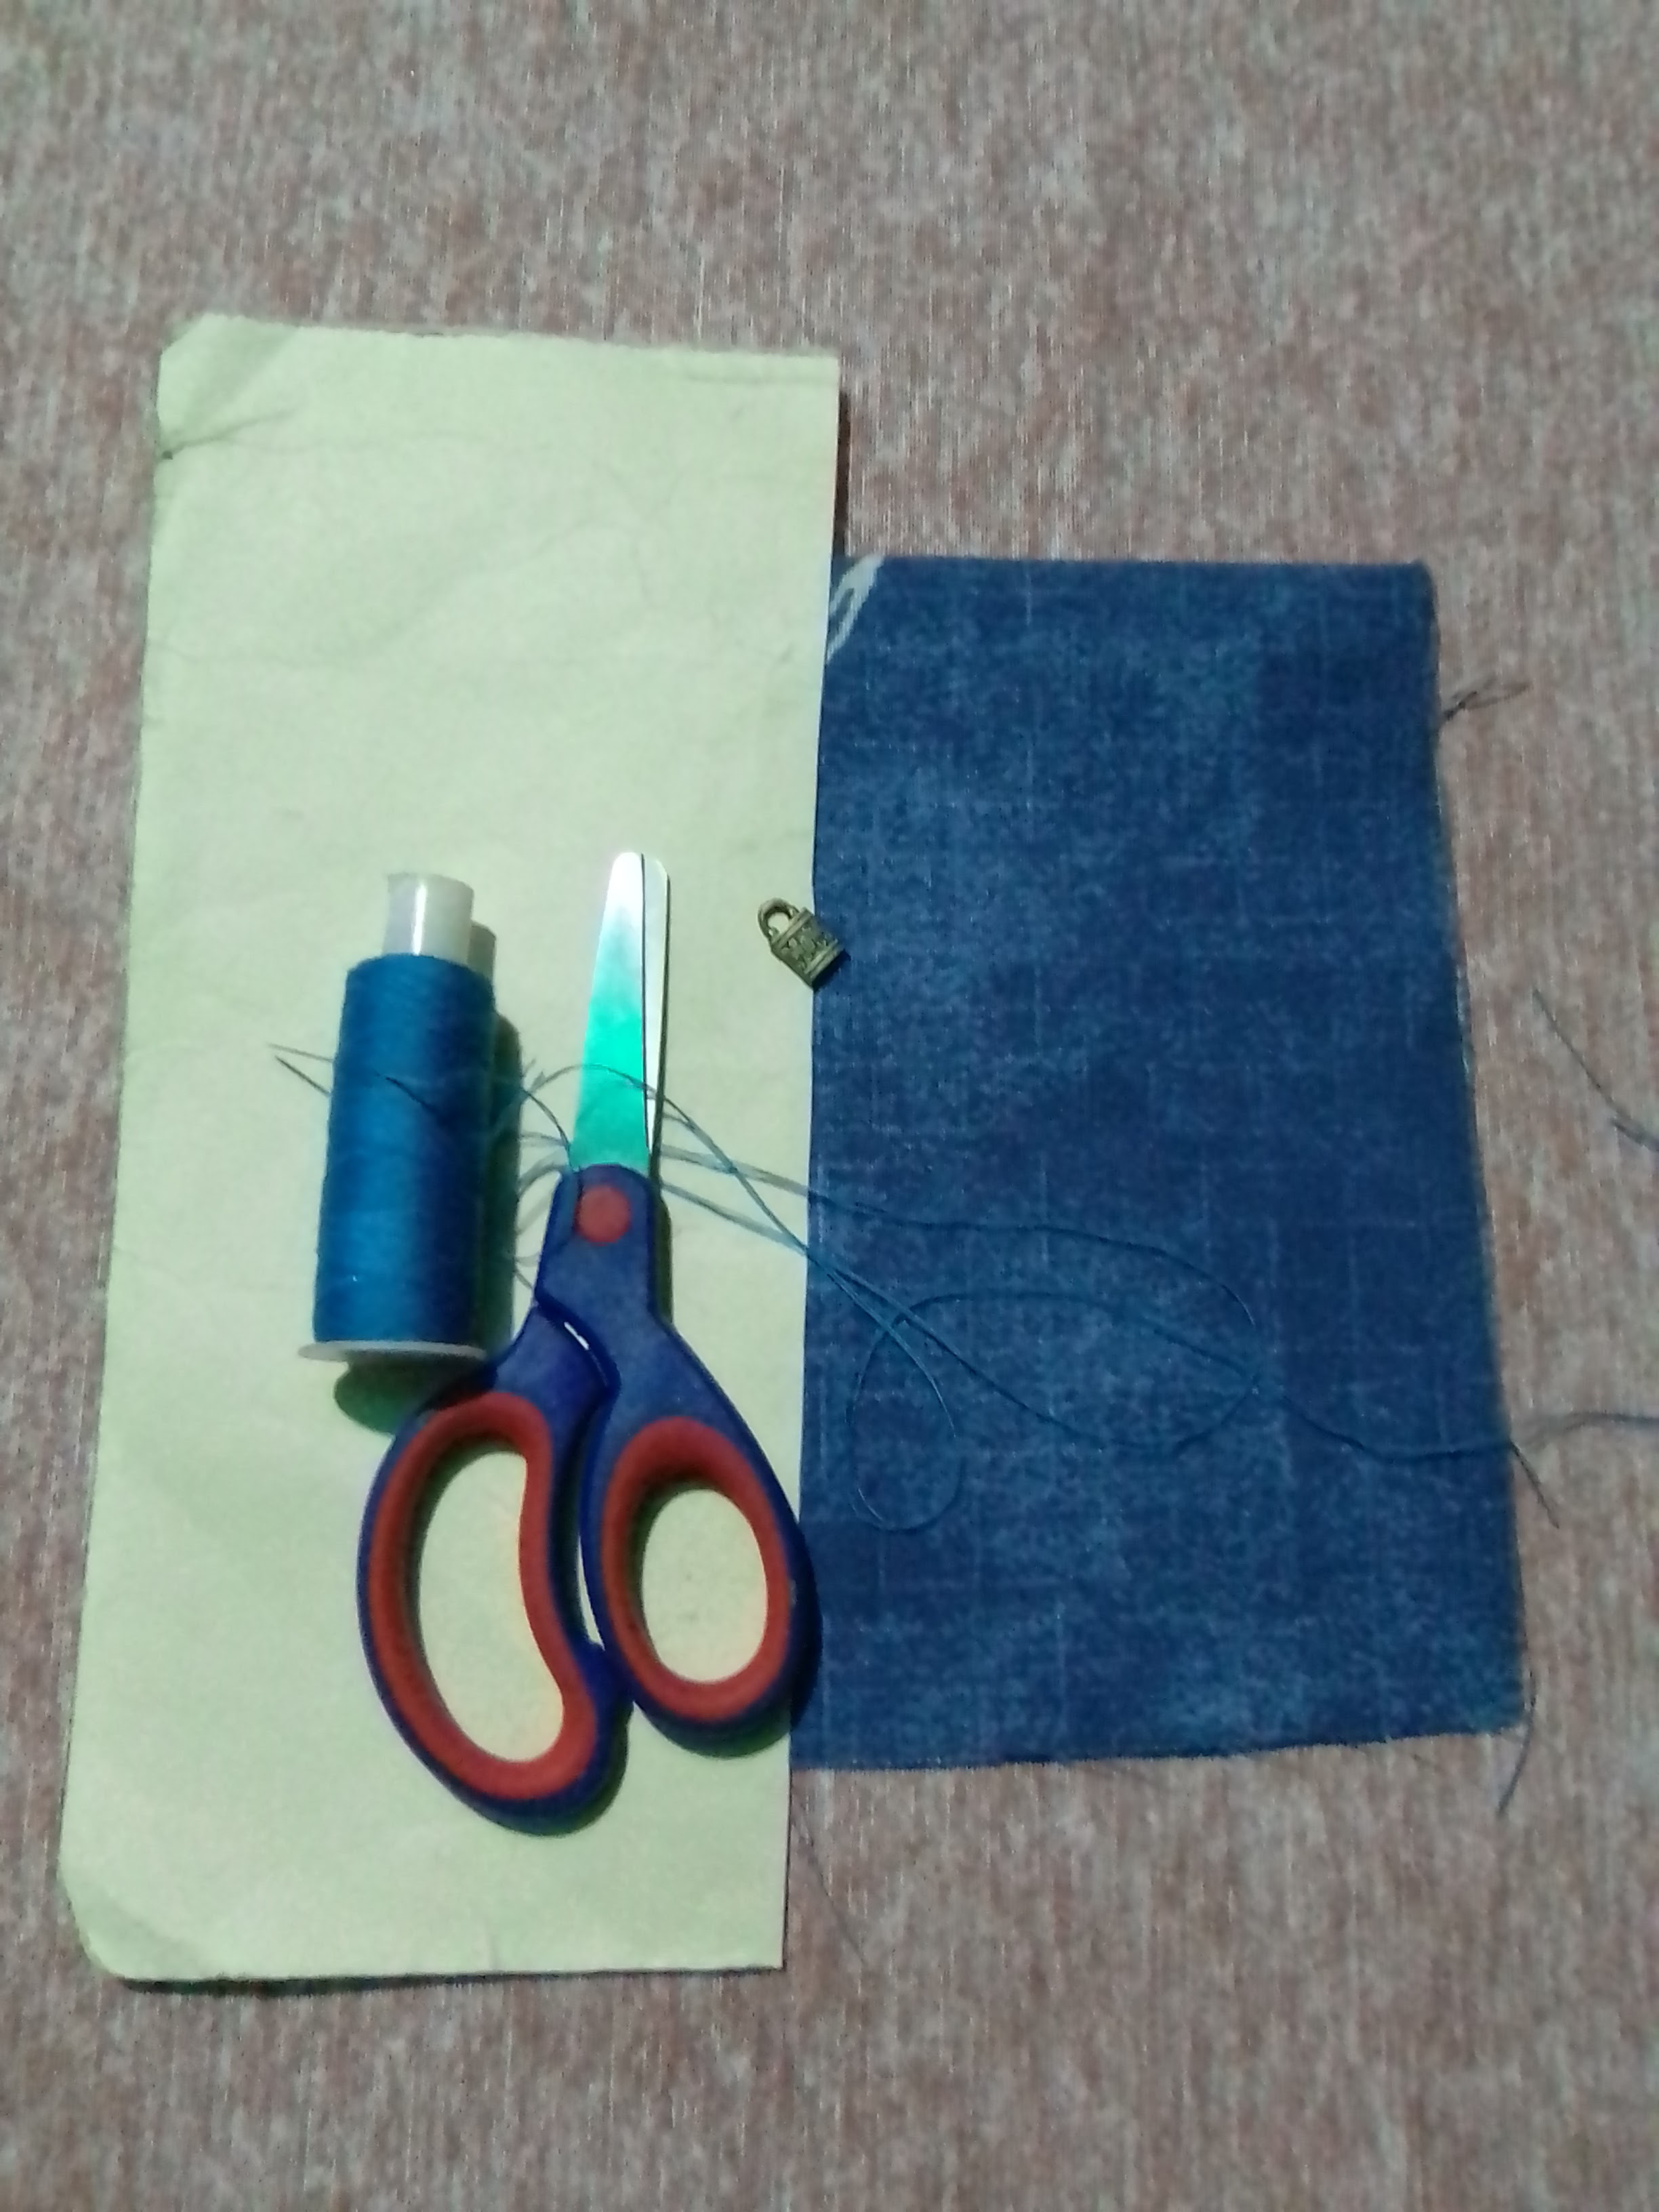
MATERIALS
✓ Printed fabric scraps
✓ Pieces of unicolor fabric
✓ Thread and needle
✓ Key Ring
✓ Brooch
✓ Jewelry ornaments with a padlock and key motif.
STEP BY STEP
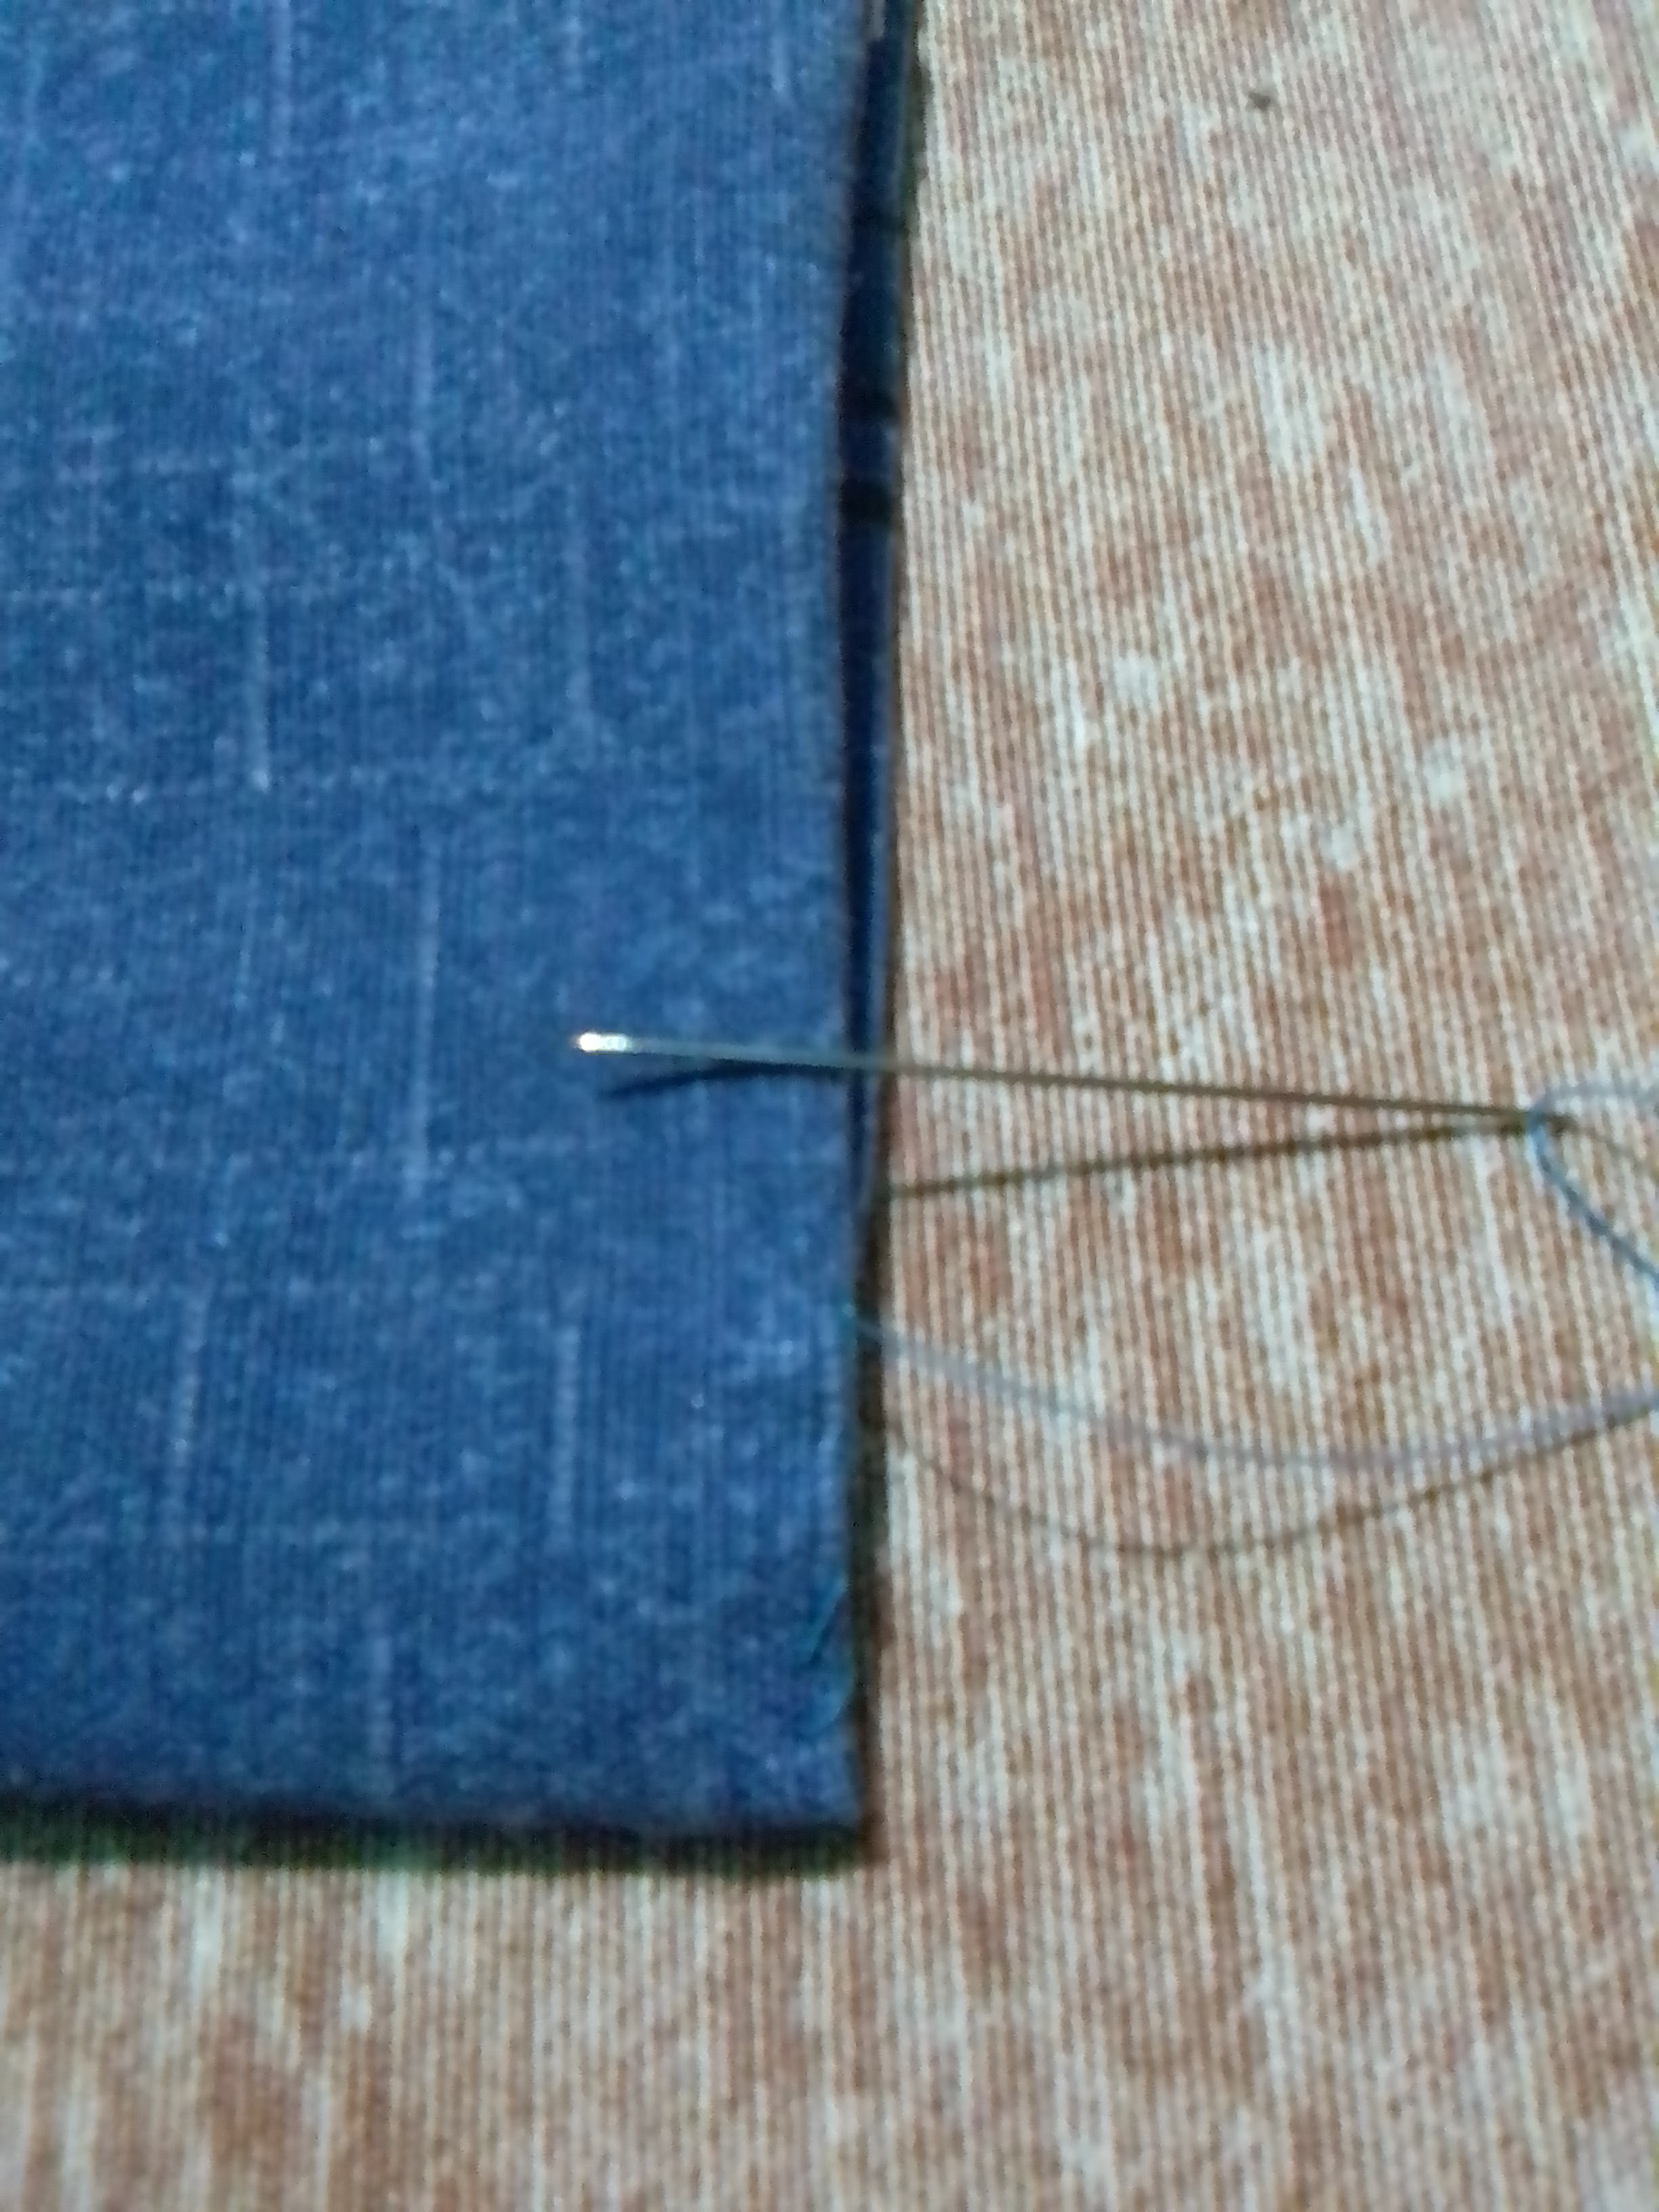
To start this hand sewing project, I took my fabric scrap and measured a 7.5" x 3.5" piece of fabric, then folded in half and hand sewed the two sides that warranted it.
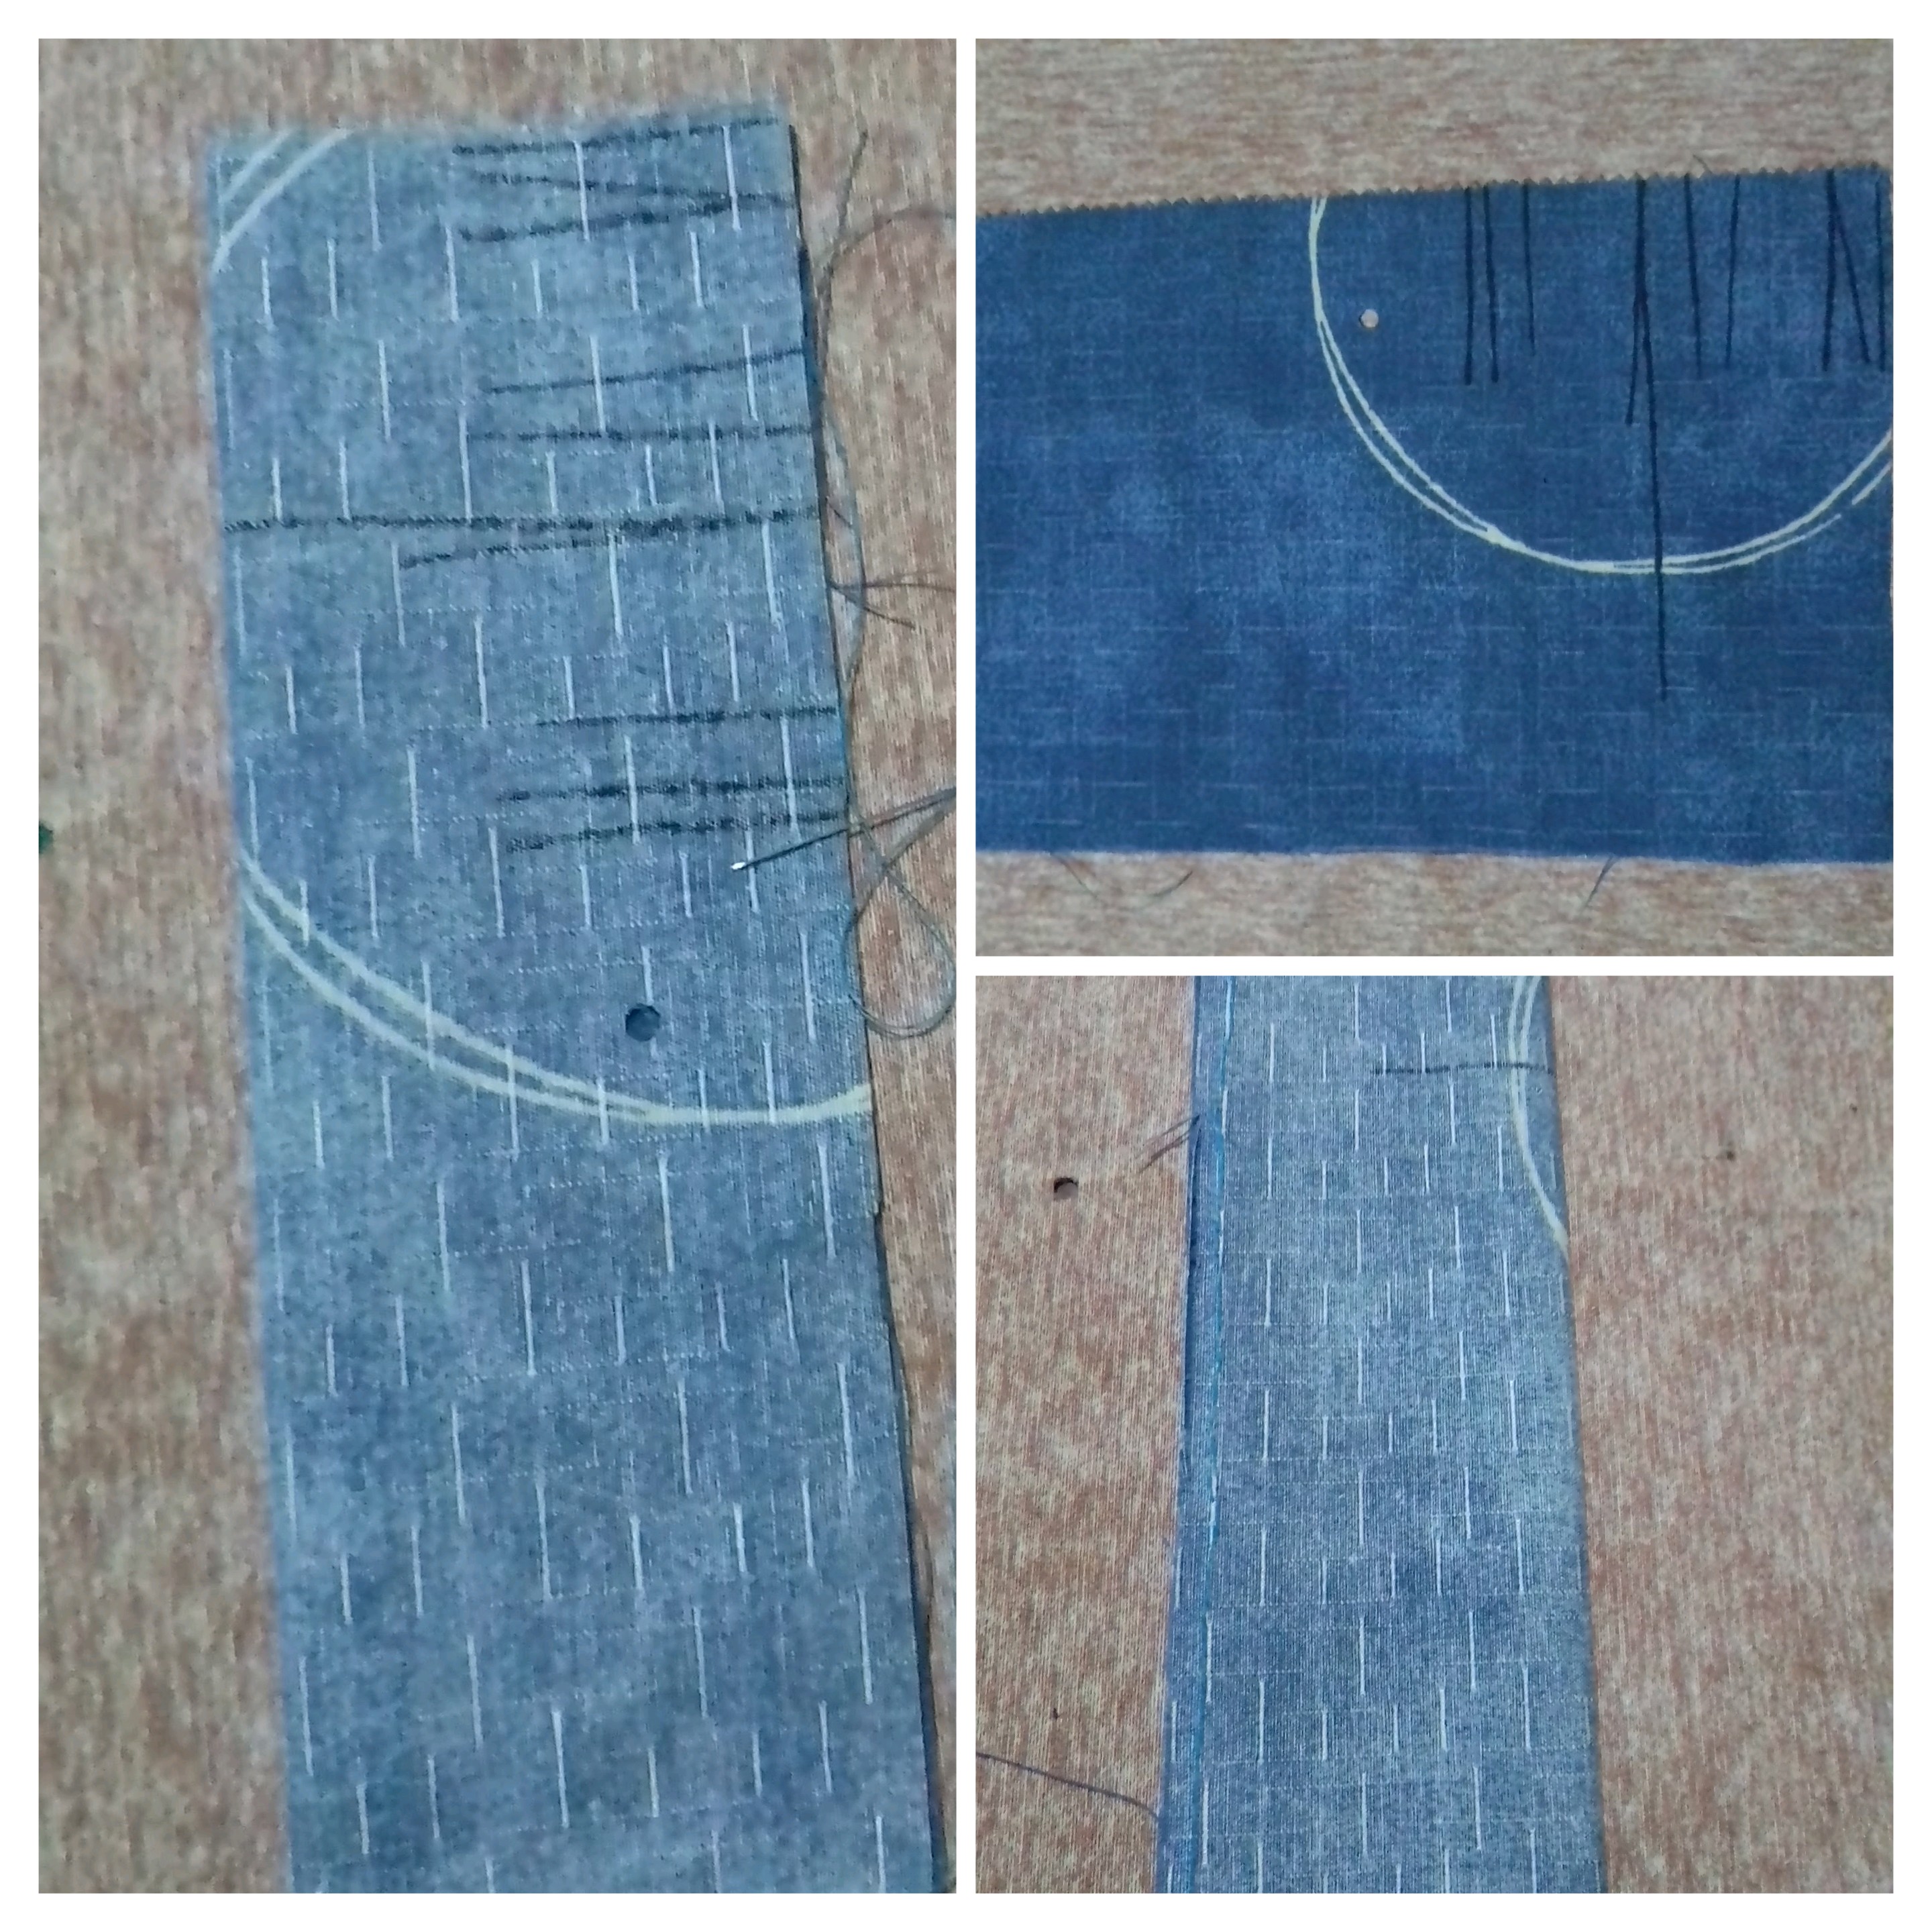
Then I turn the sewn piece over and proceed to iron to smooth the seam. And finish this piece by closing the opening with hand sewing, but not before making an inward hem.
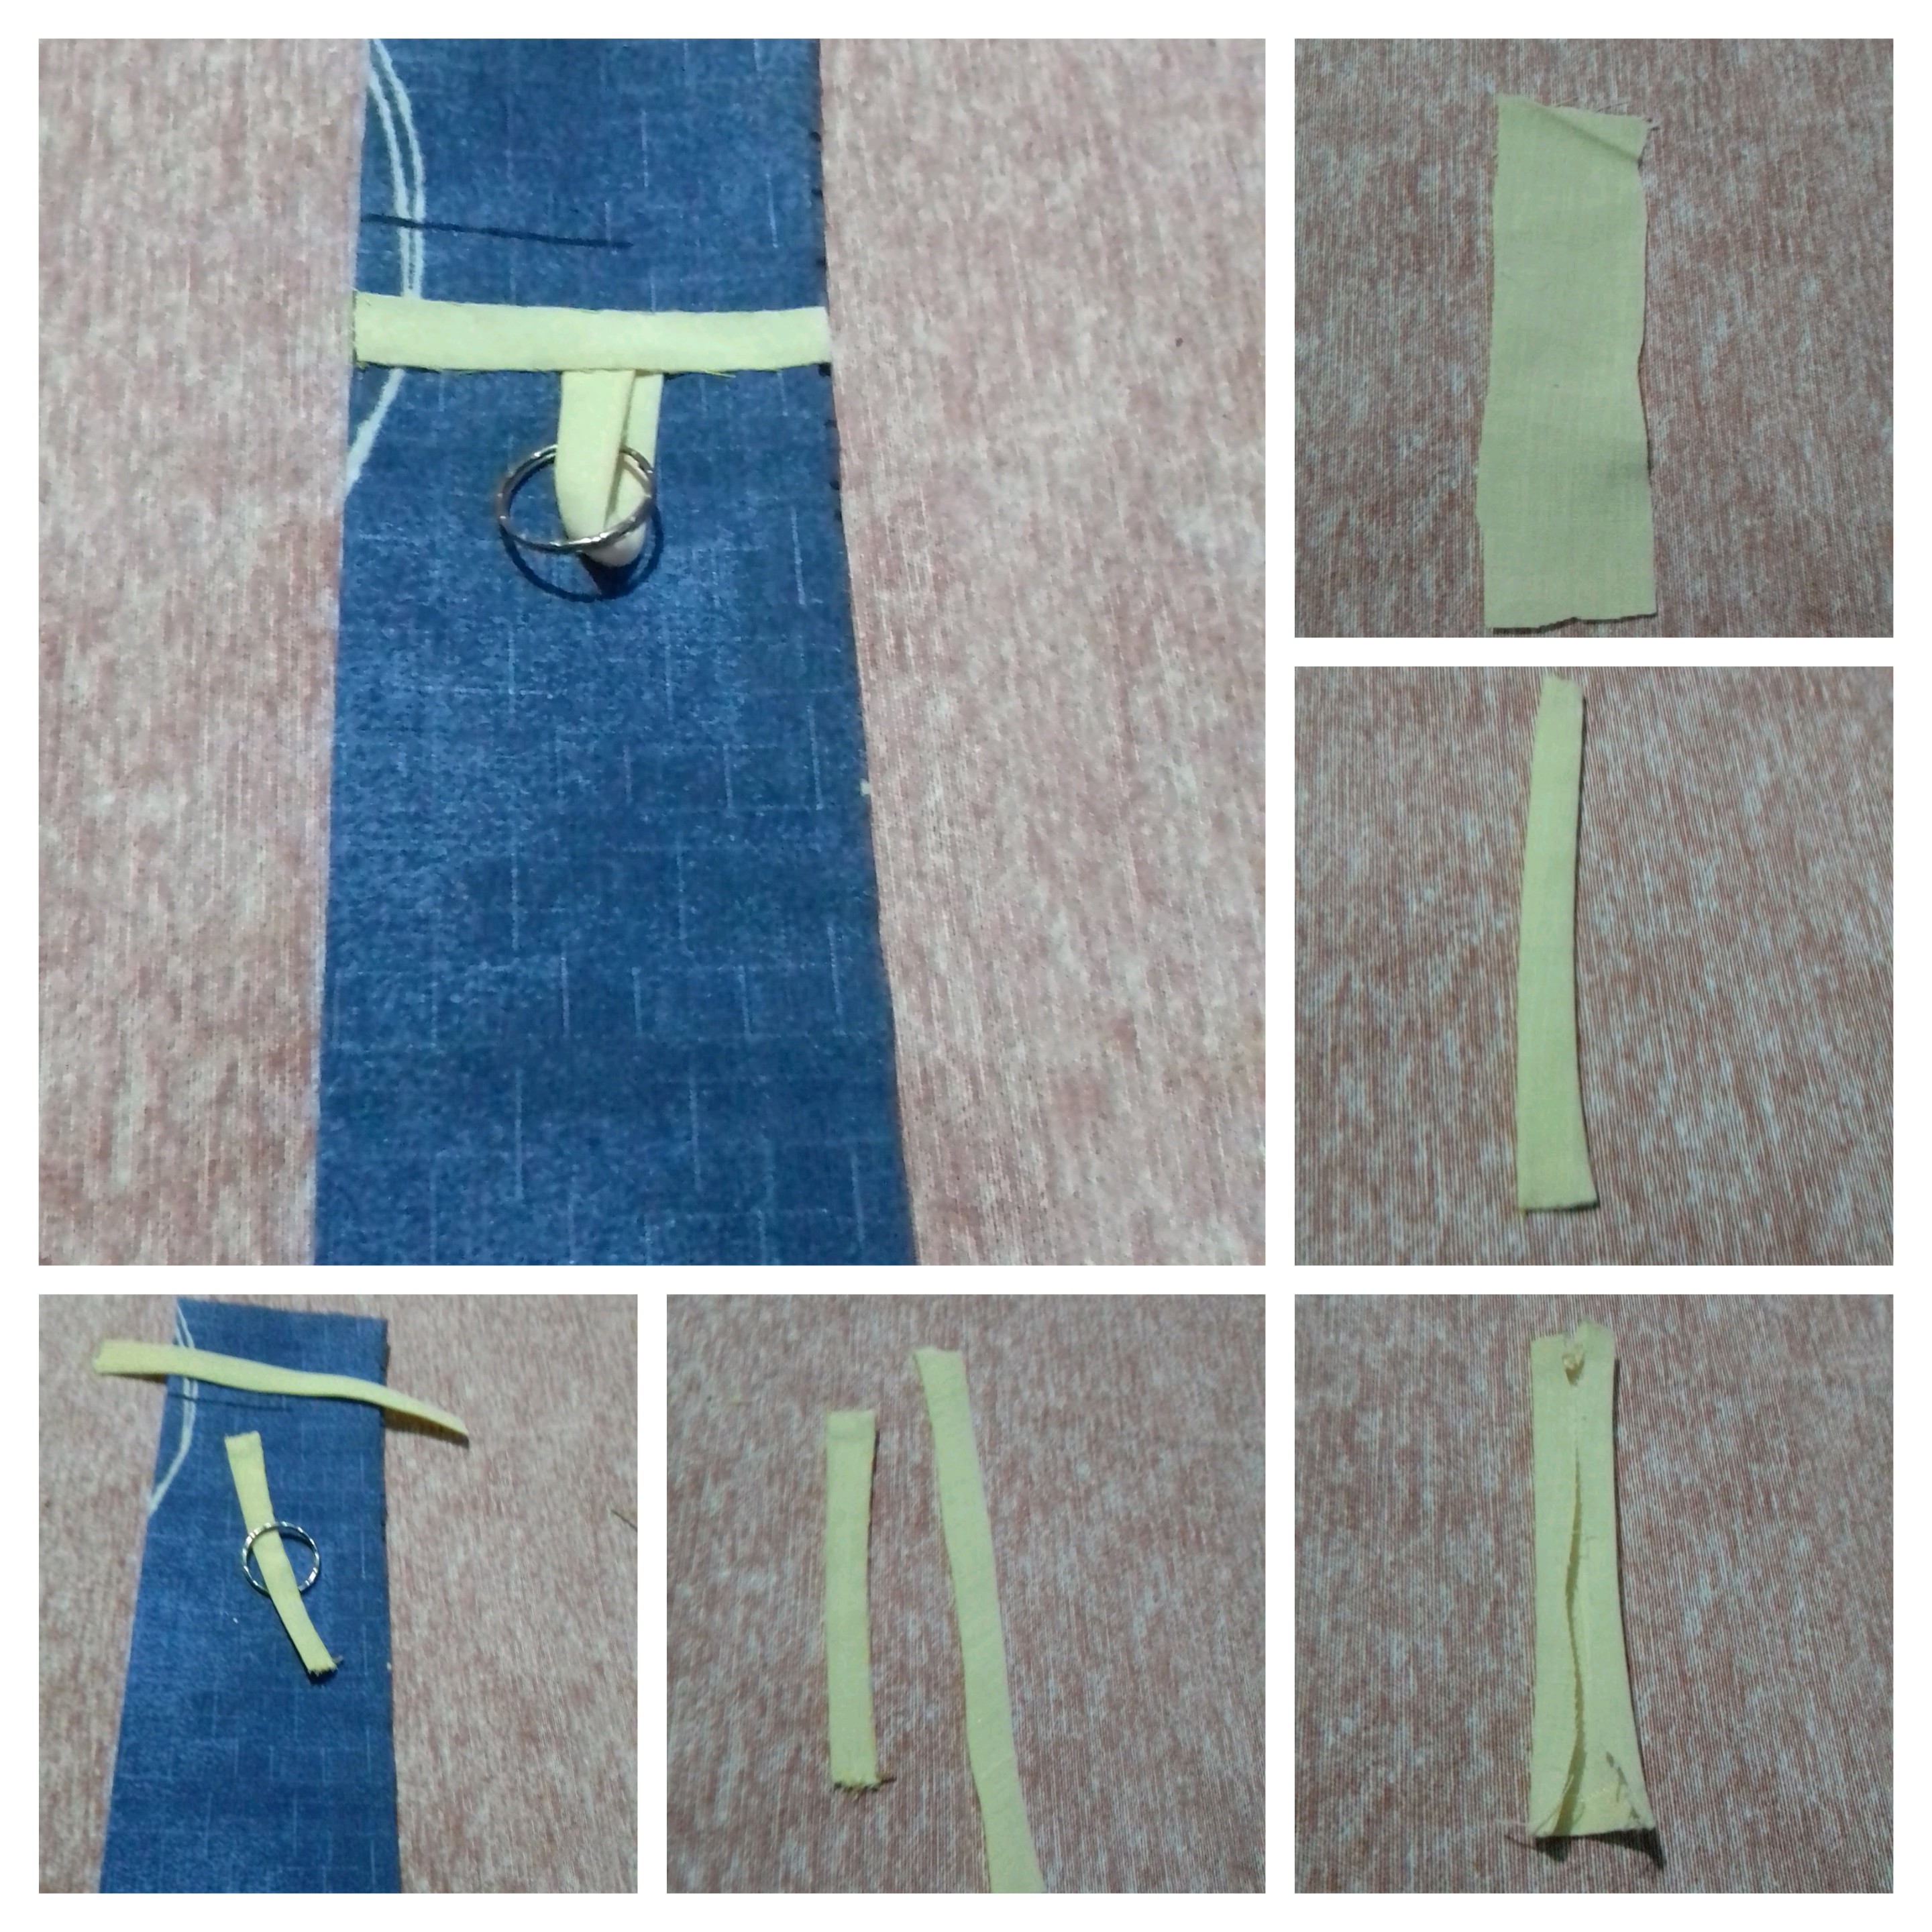
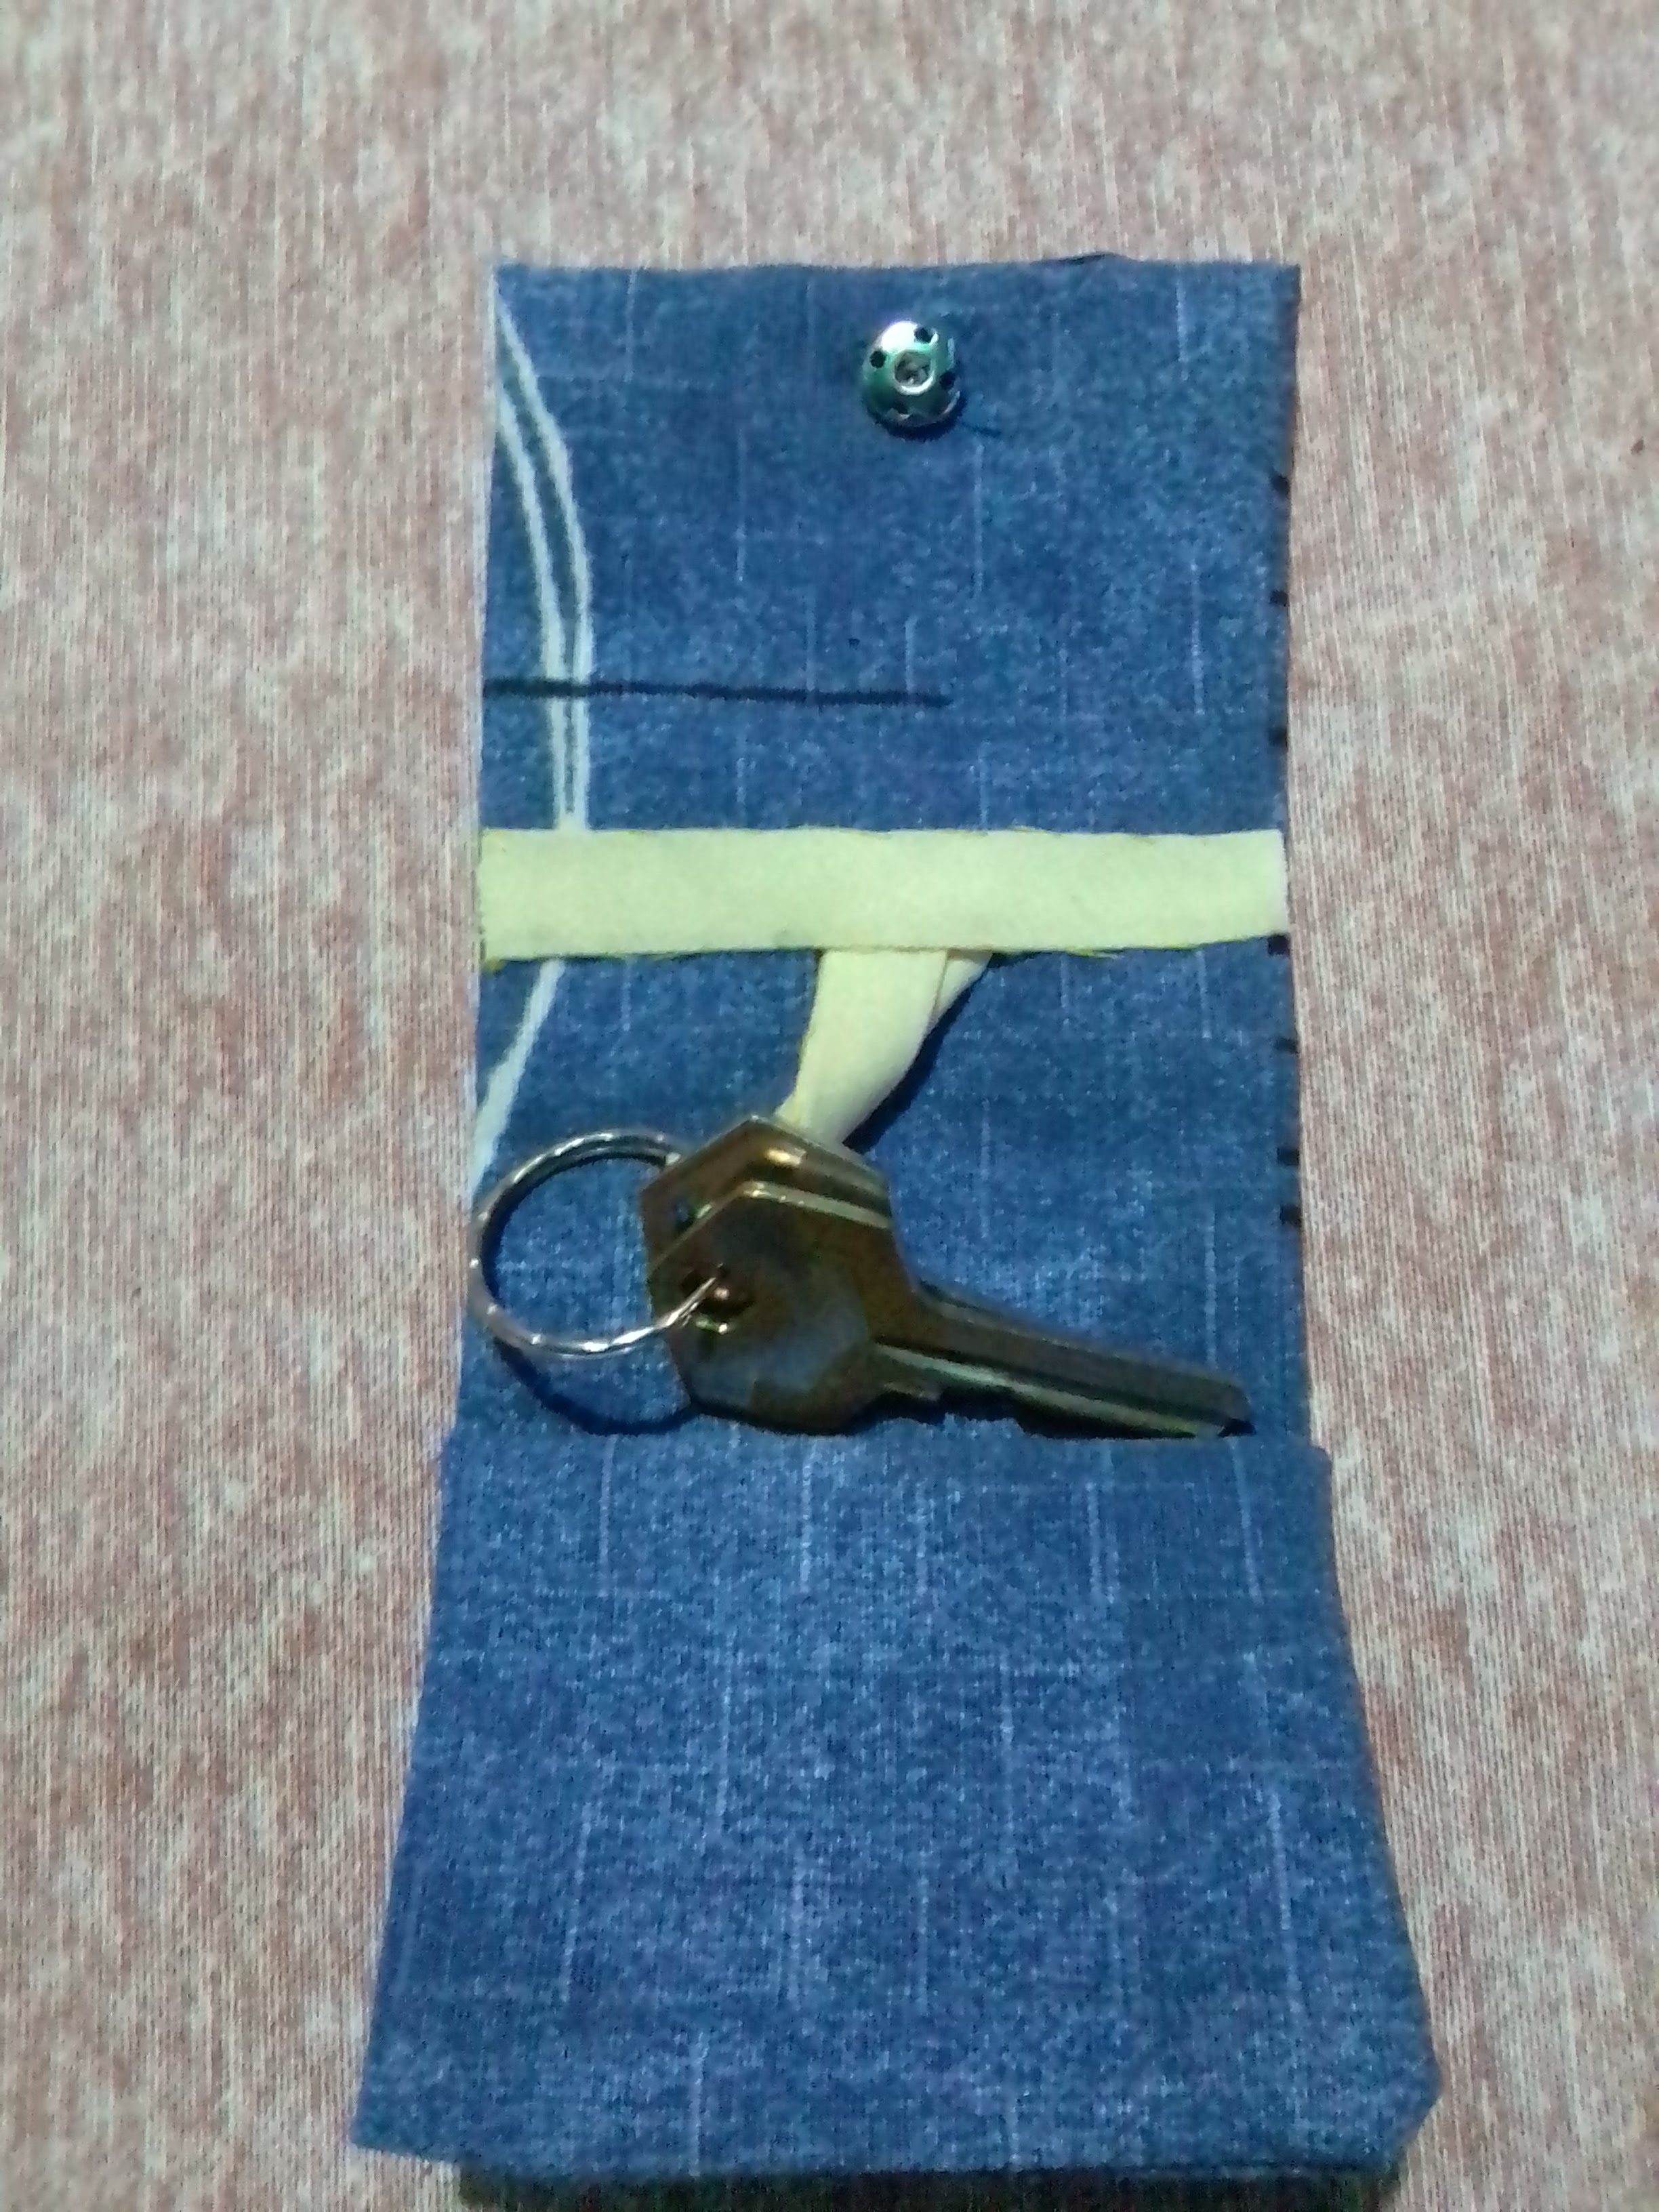
To make the pendant for the key ring, a decorative fabric was also necessary to cover the seam, since it will be at the top. For this step, cut two strips of fabric, one 3 x 6 centimeters for the pendant and another 4 x 5 centimeters for the decoration. I made two inward hems to each of the strips and fixed them with the iron, the one for the key chain ring pendant, I sewed it with stitches from the inside to make them less visible, I placed the ring on it and fixed it with sewing at 7 centimeters from the upper end, then I grabbed the other strip and I also folded it inwards and fixed it from end to end, in order to cover the seam of the pendant and at the same time as decoration. I sew this ornament with very discreet stitches.
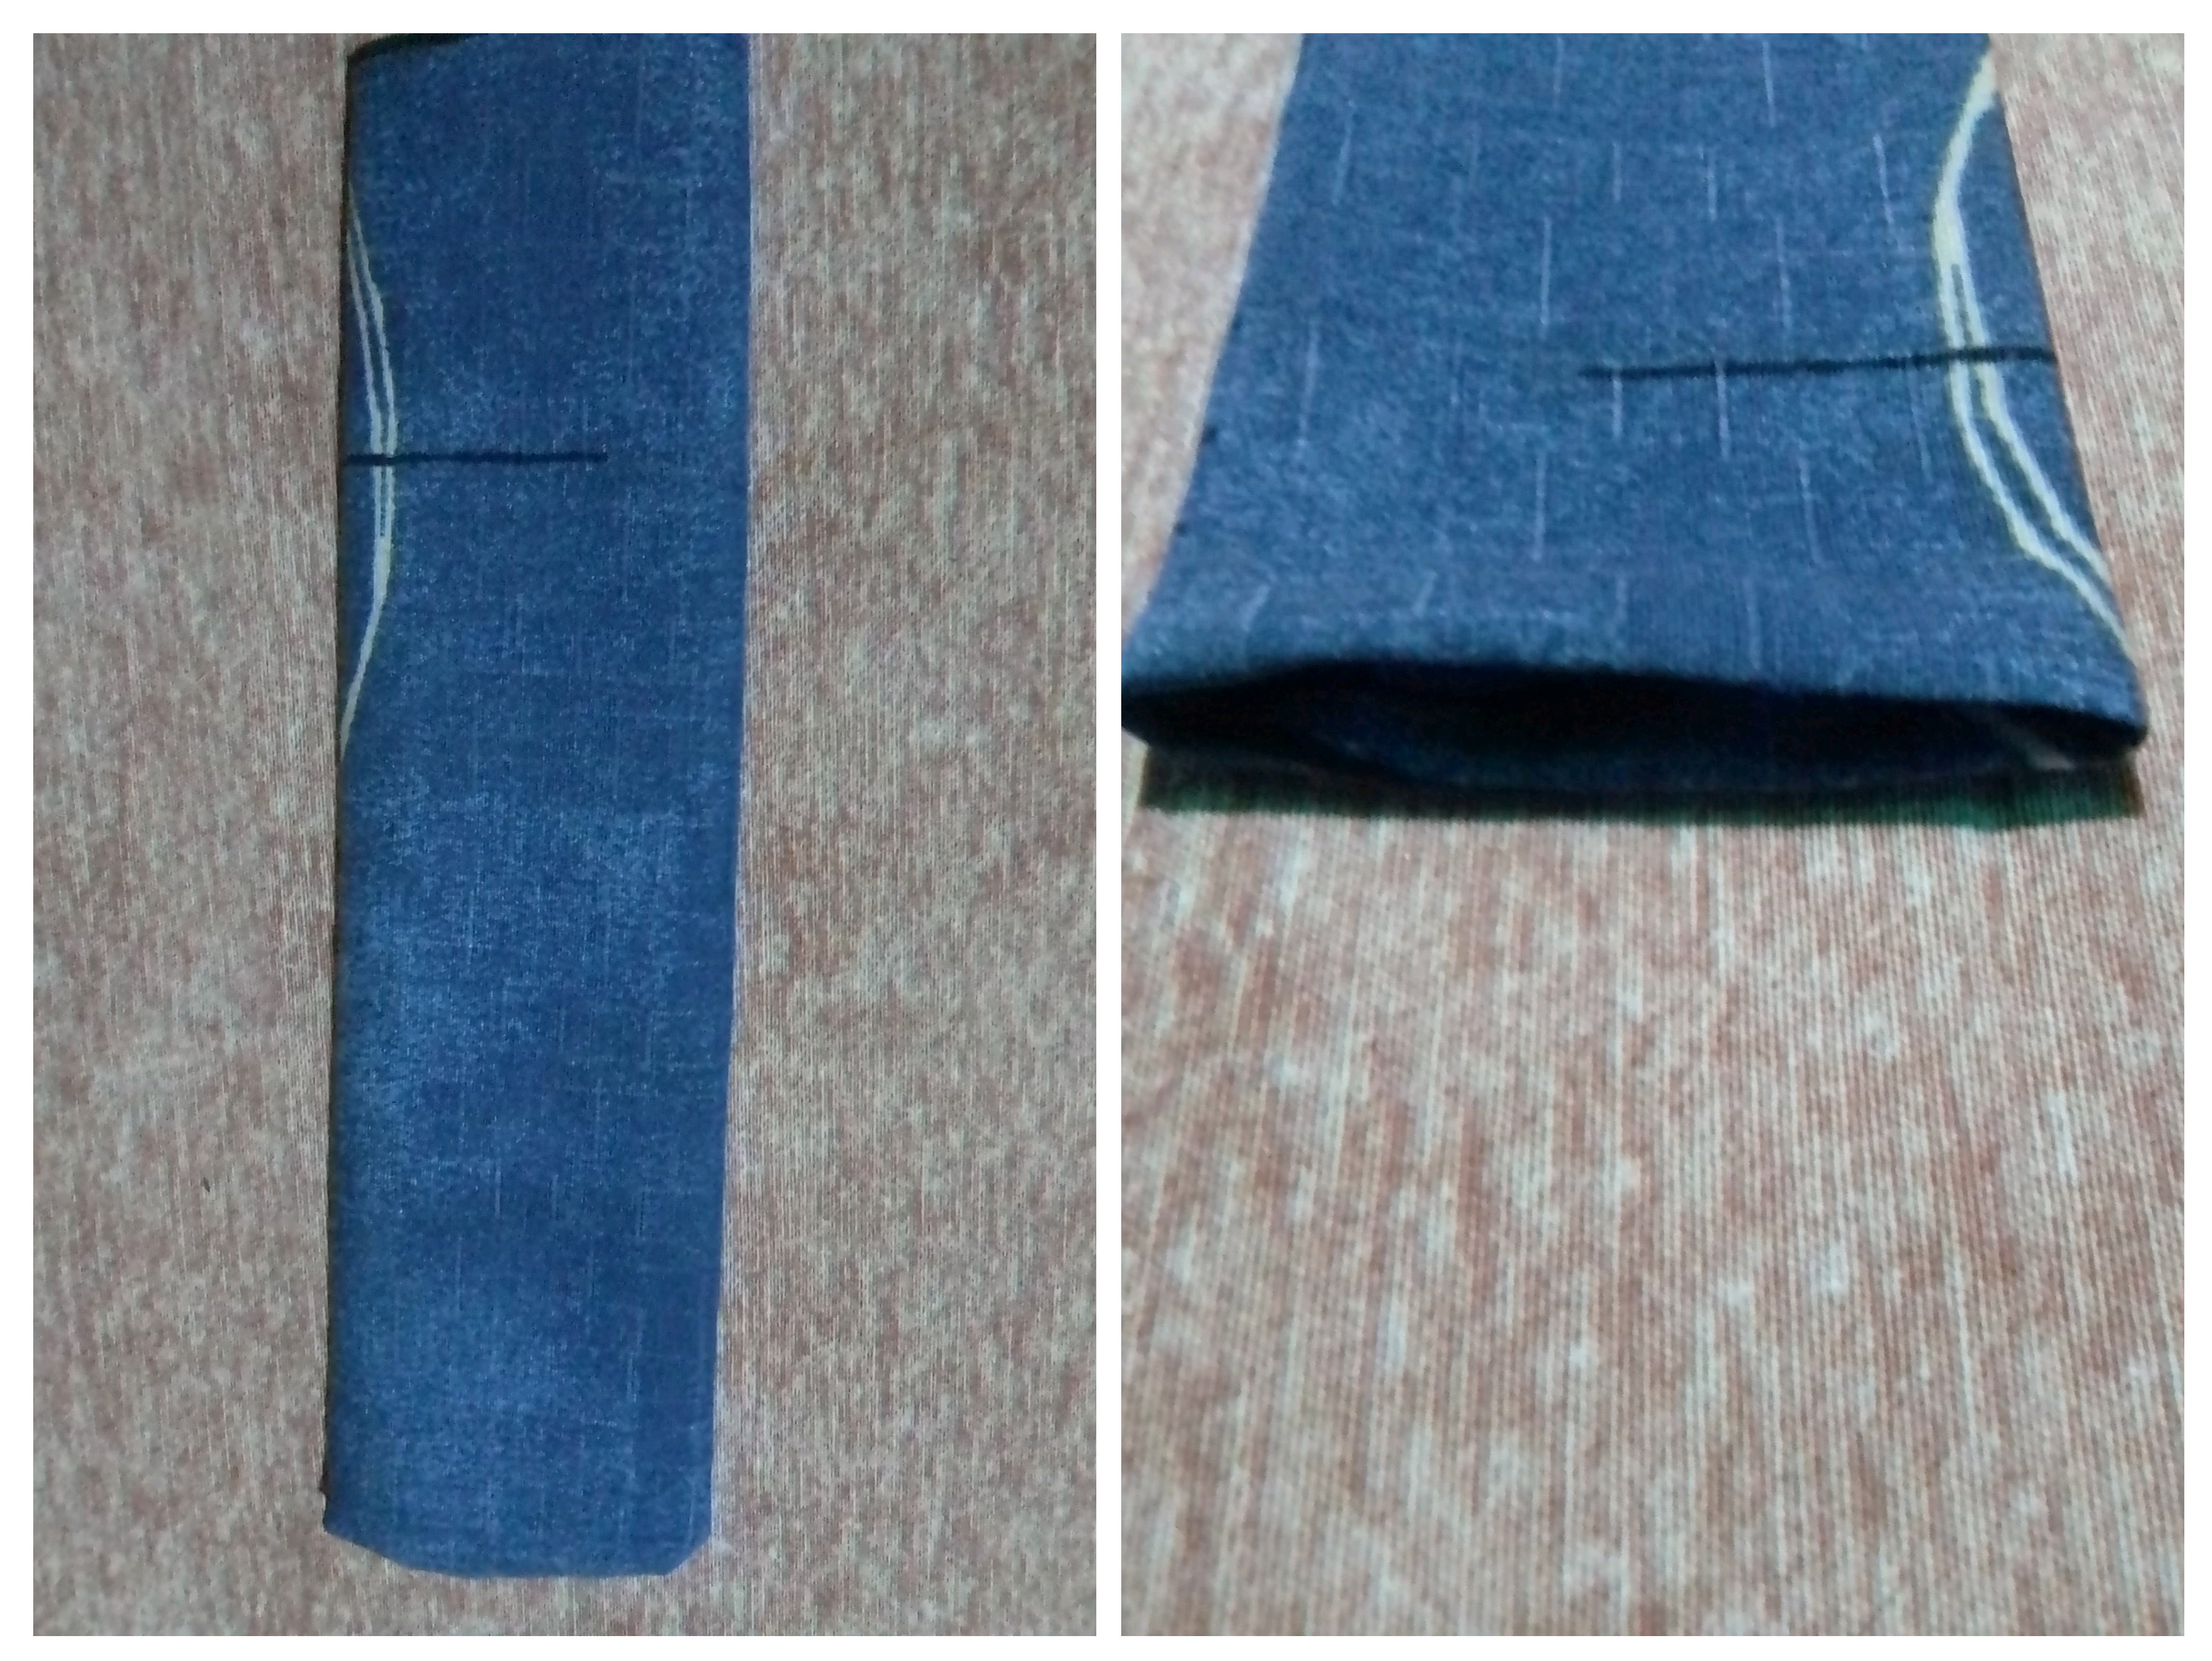
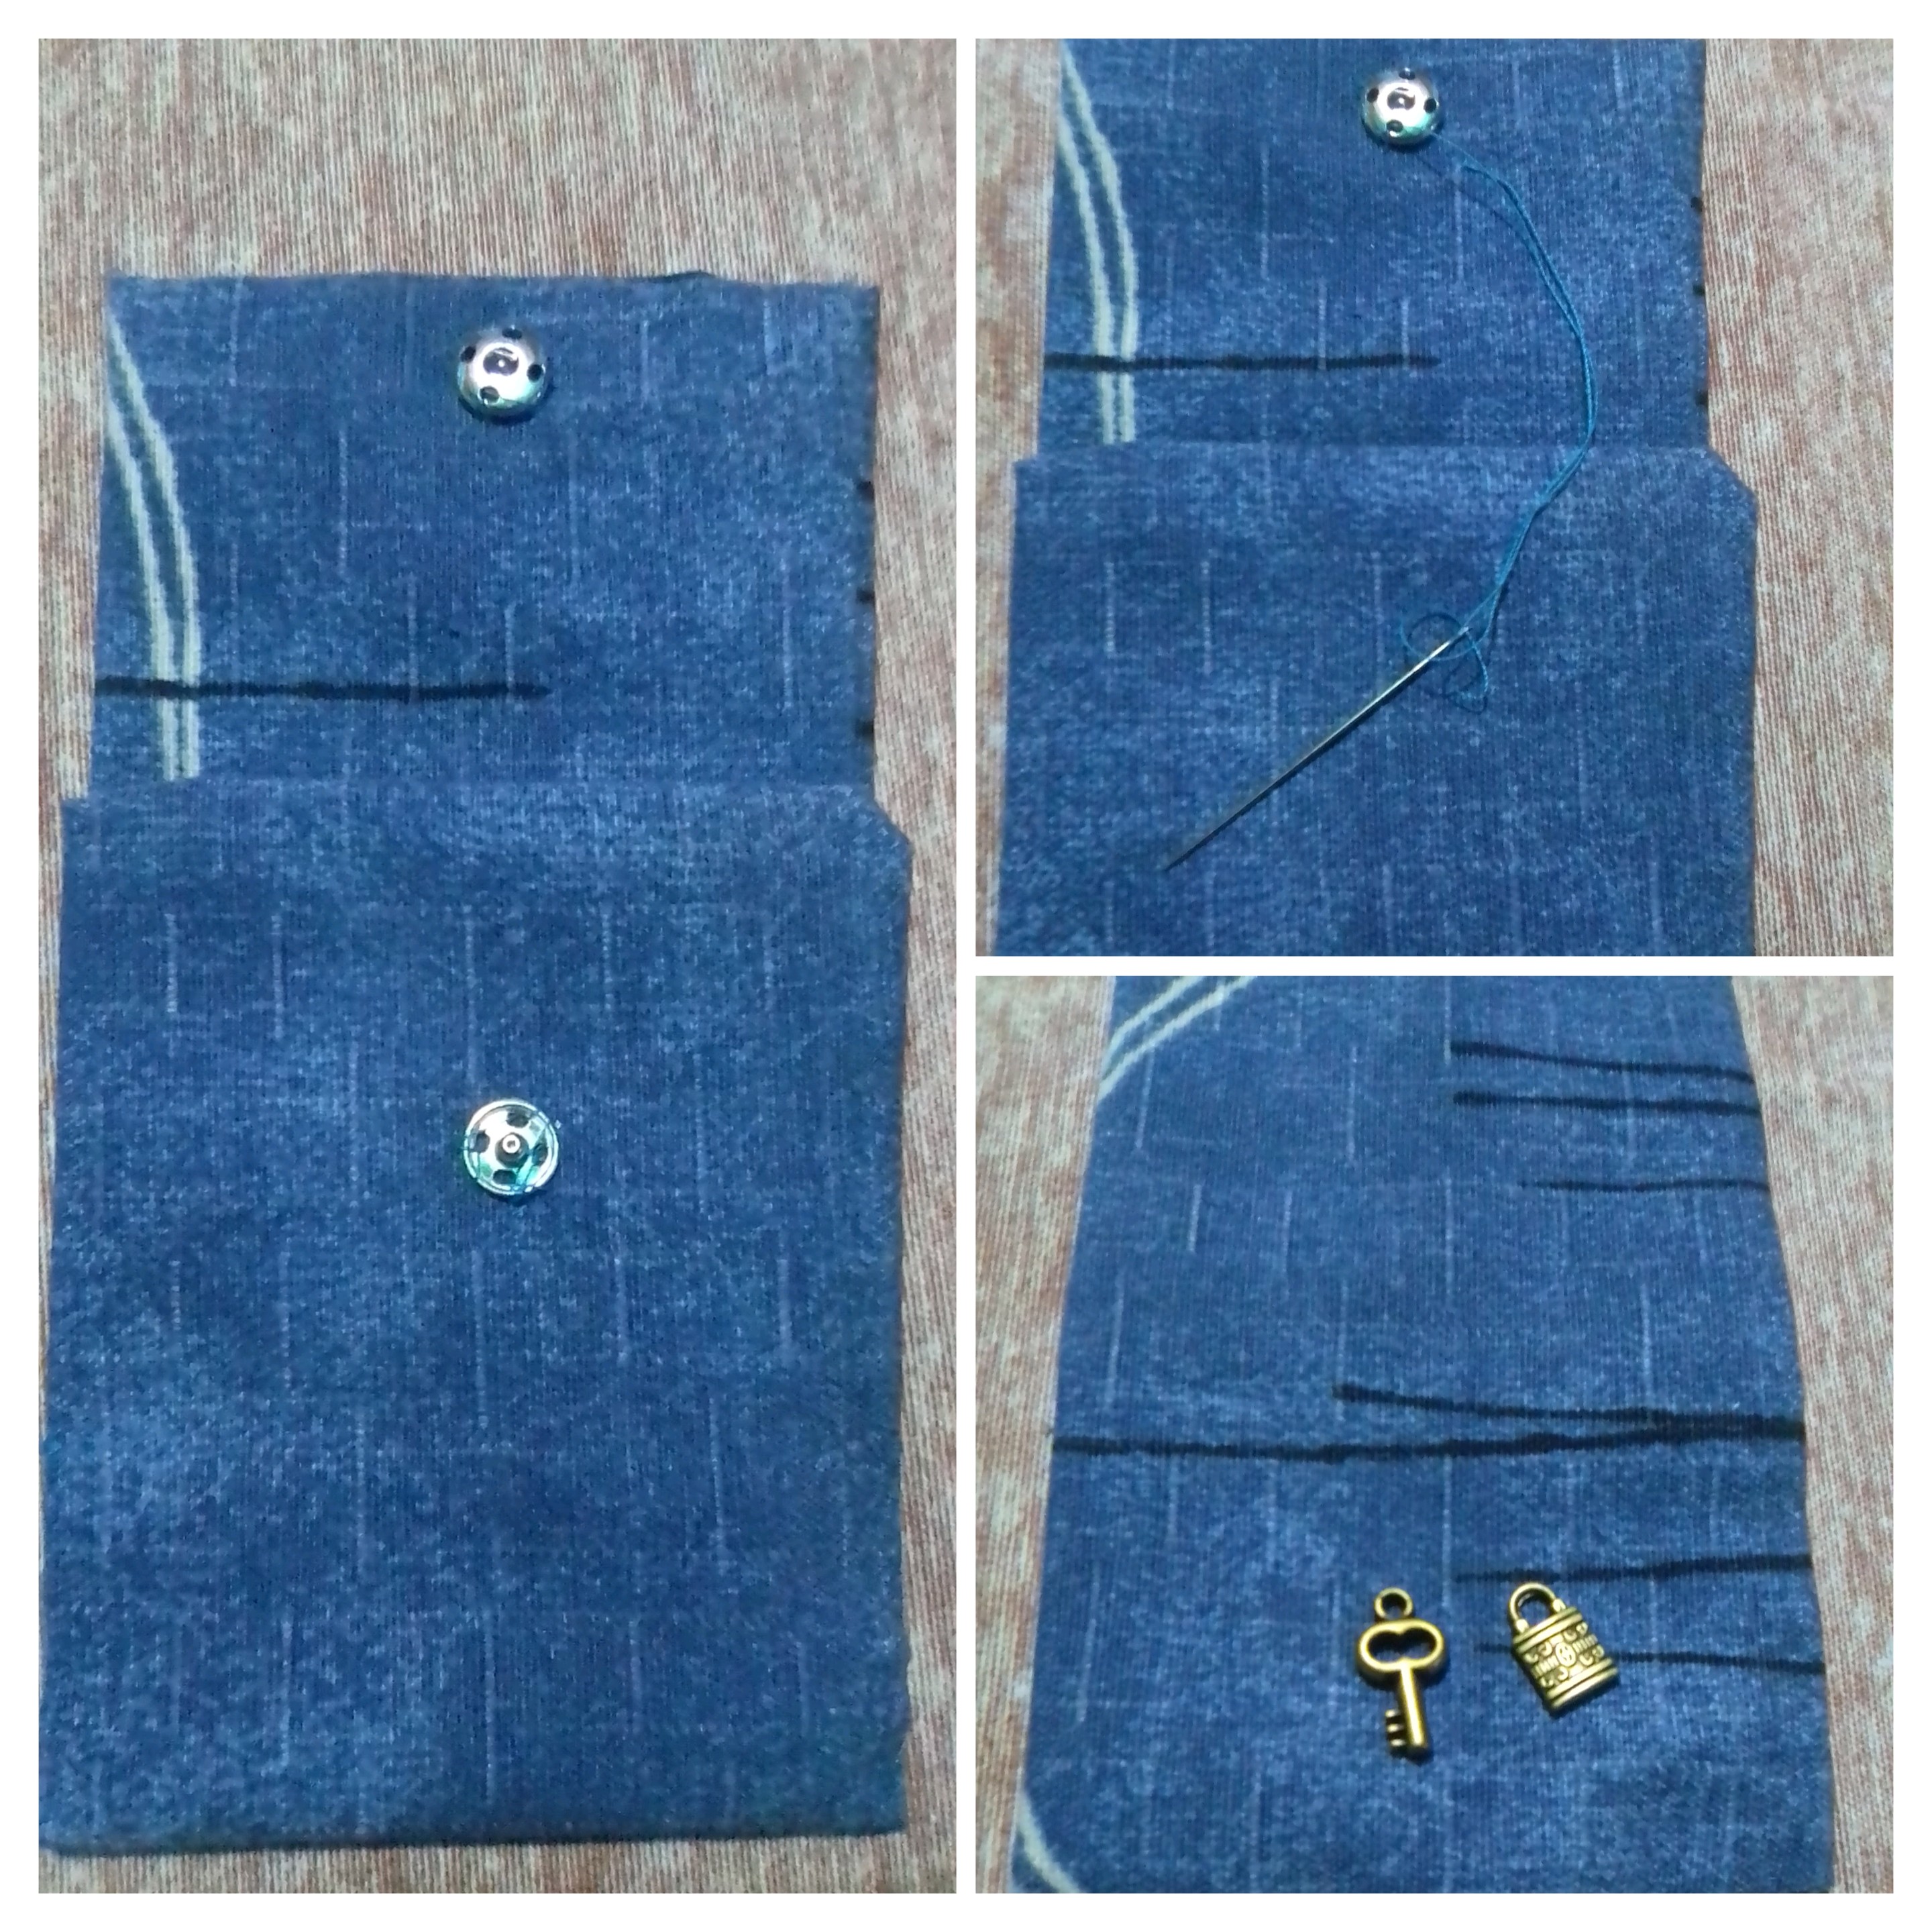
It is the amount of folding and closing the small keychain bag, as I wanted a very practical keychain, I decided to close it only halfway, sewing with stitches and thread of the same color as the fabric. This, to make it easier for me when using the keys, I will only have to remove them through this space without closing and then store in the same way.
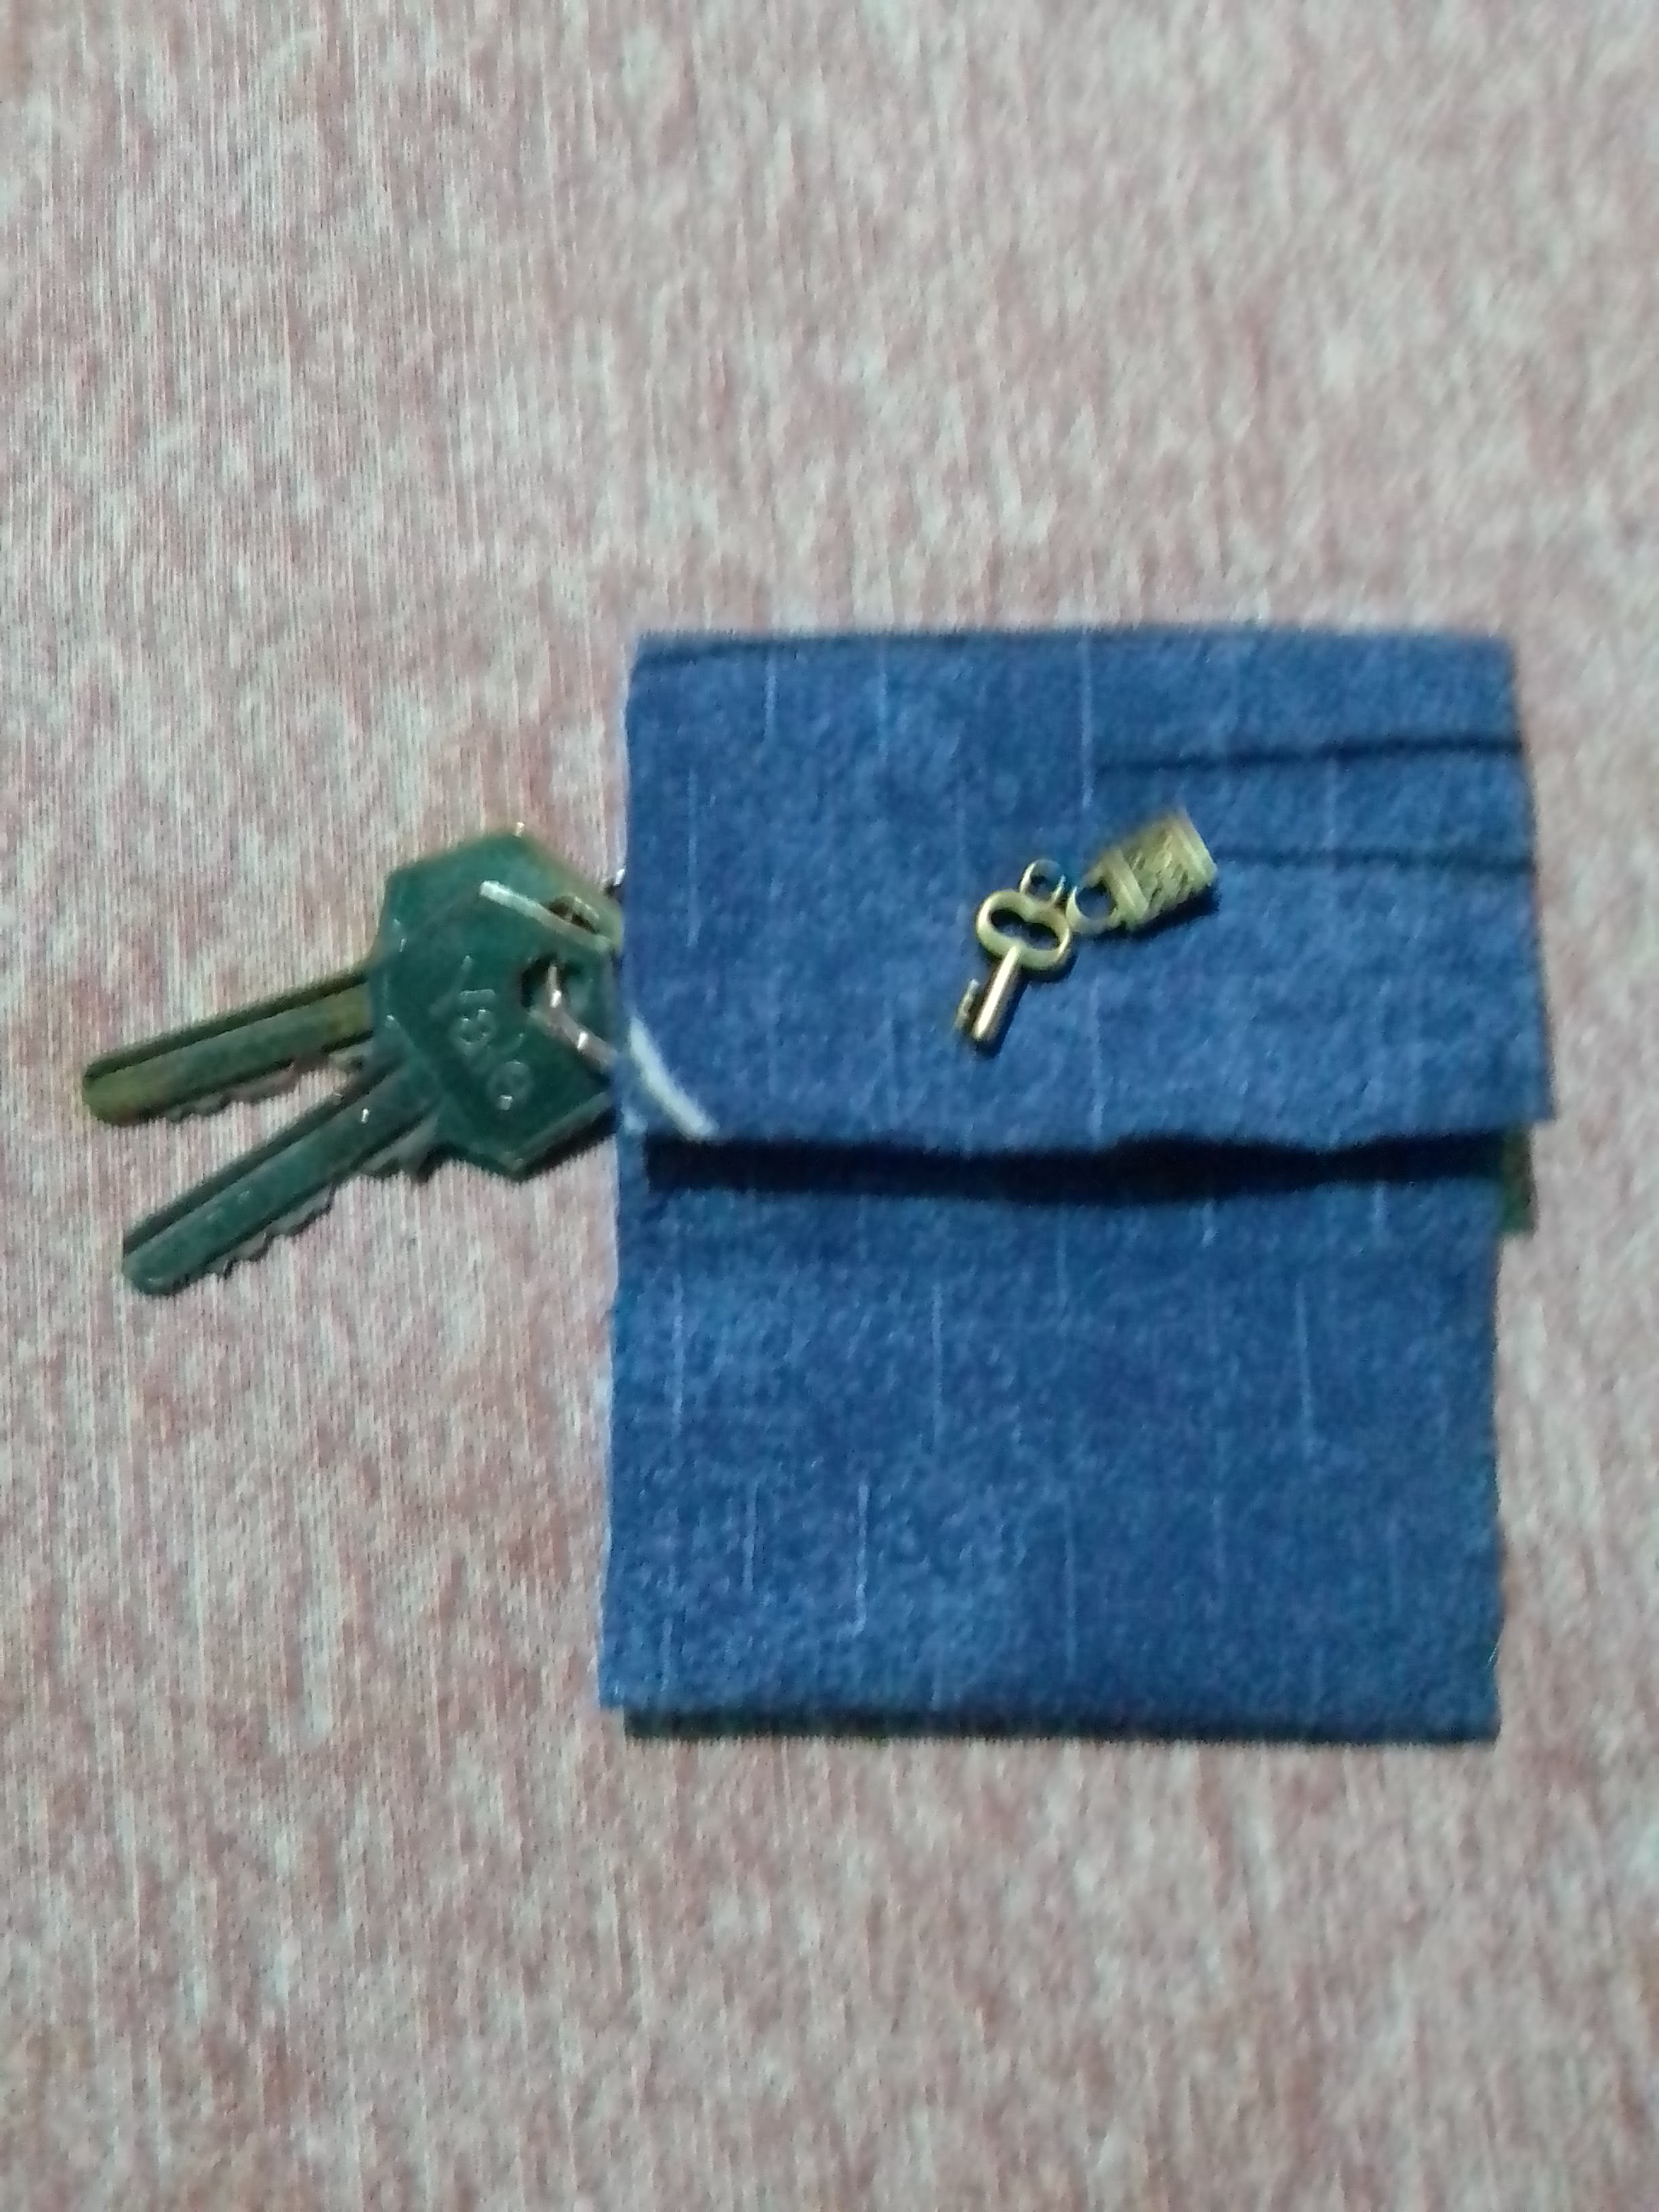
To finish off my fabric keychain, attach a snap, and attach some pretty jewelry, a padlock, and a key to the can, they seemed perfect for this project.
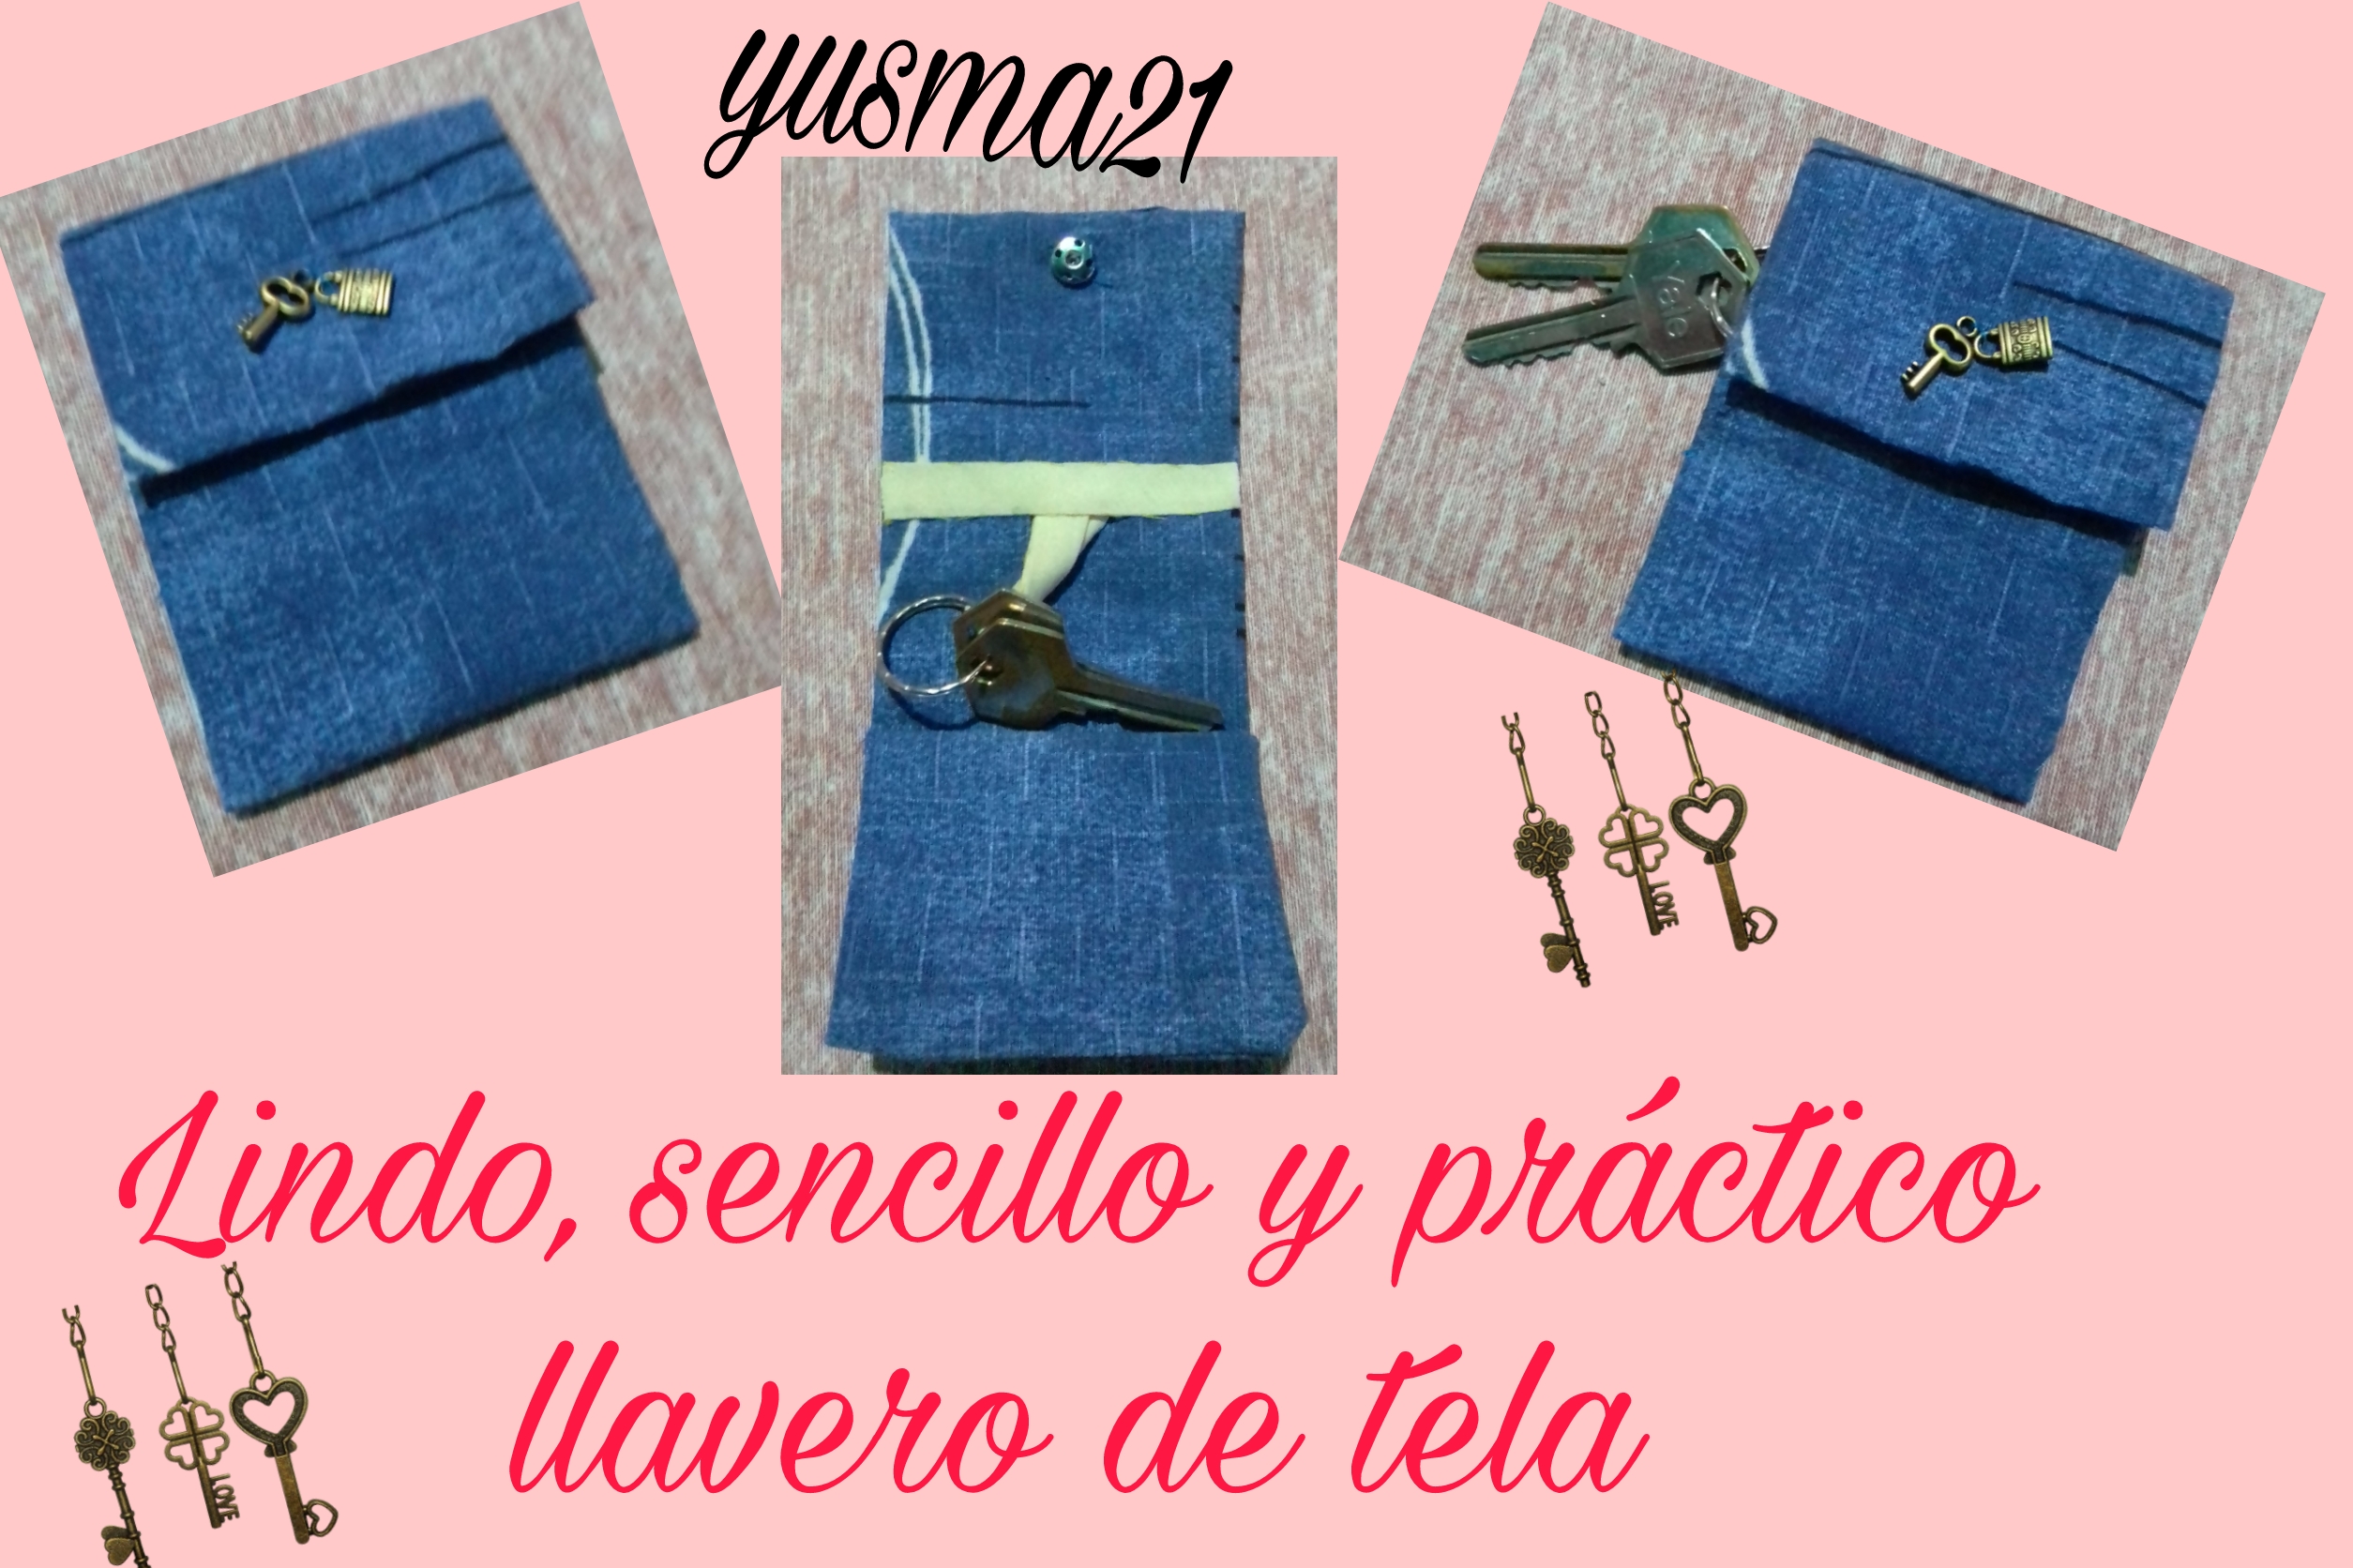
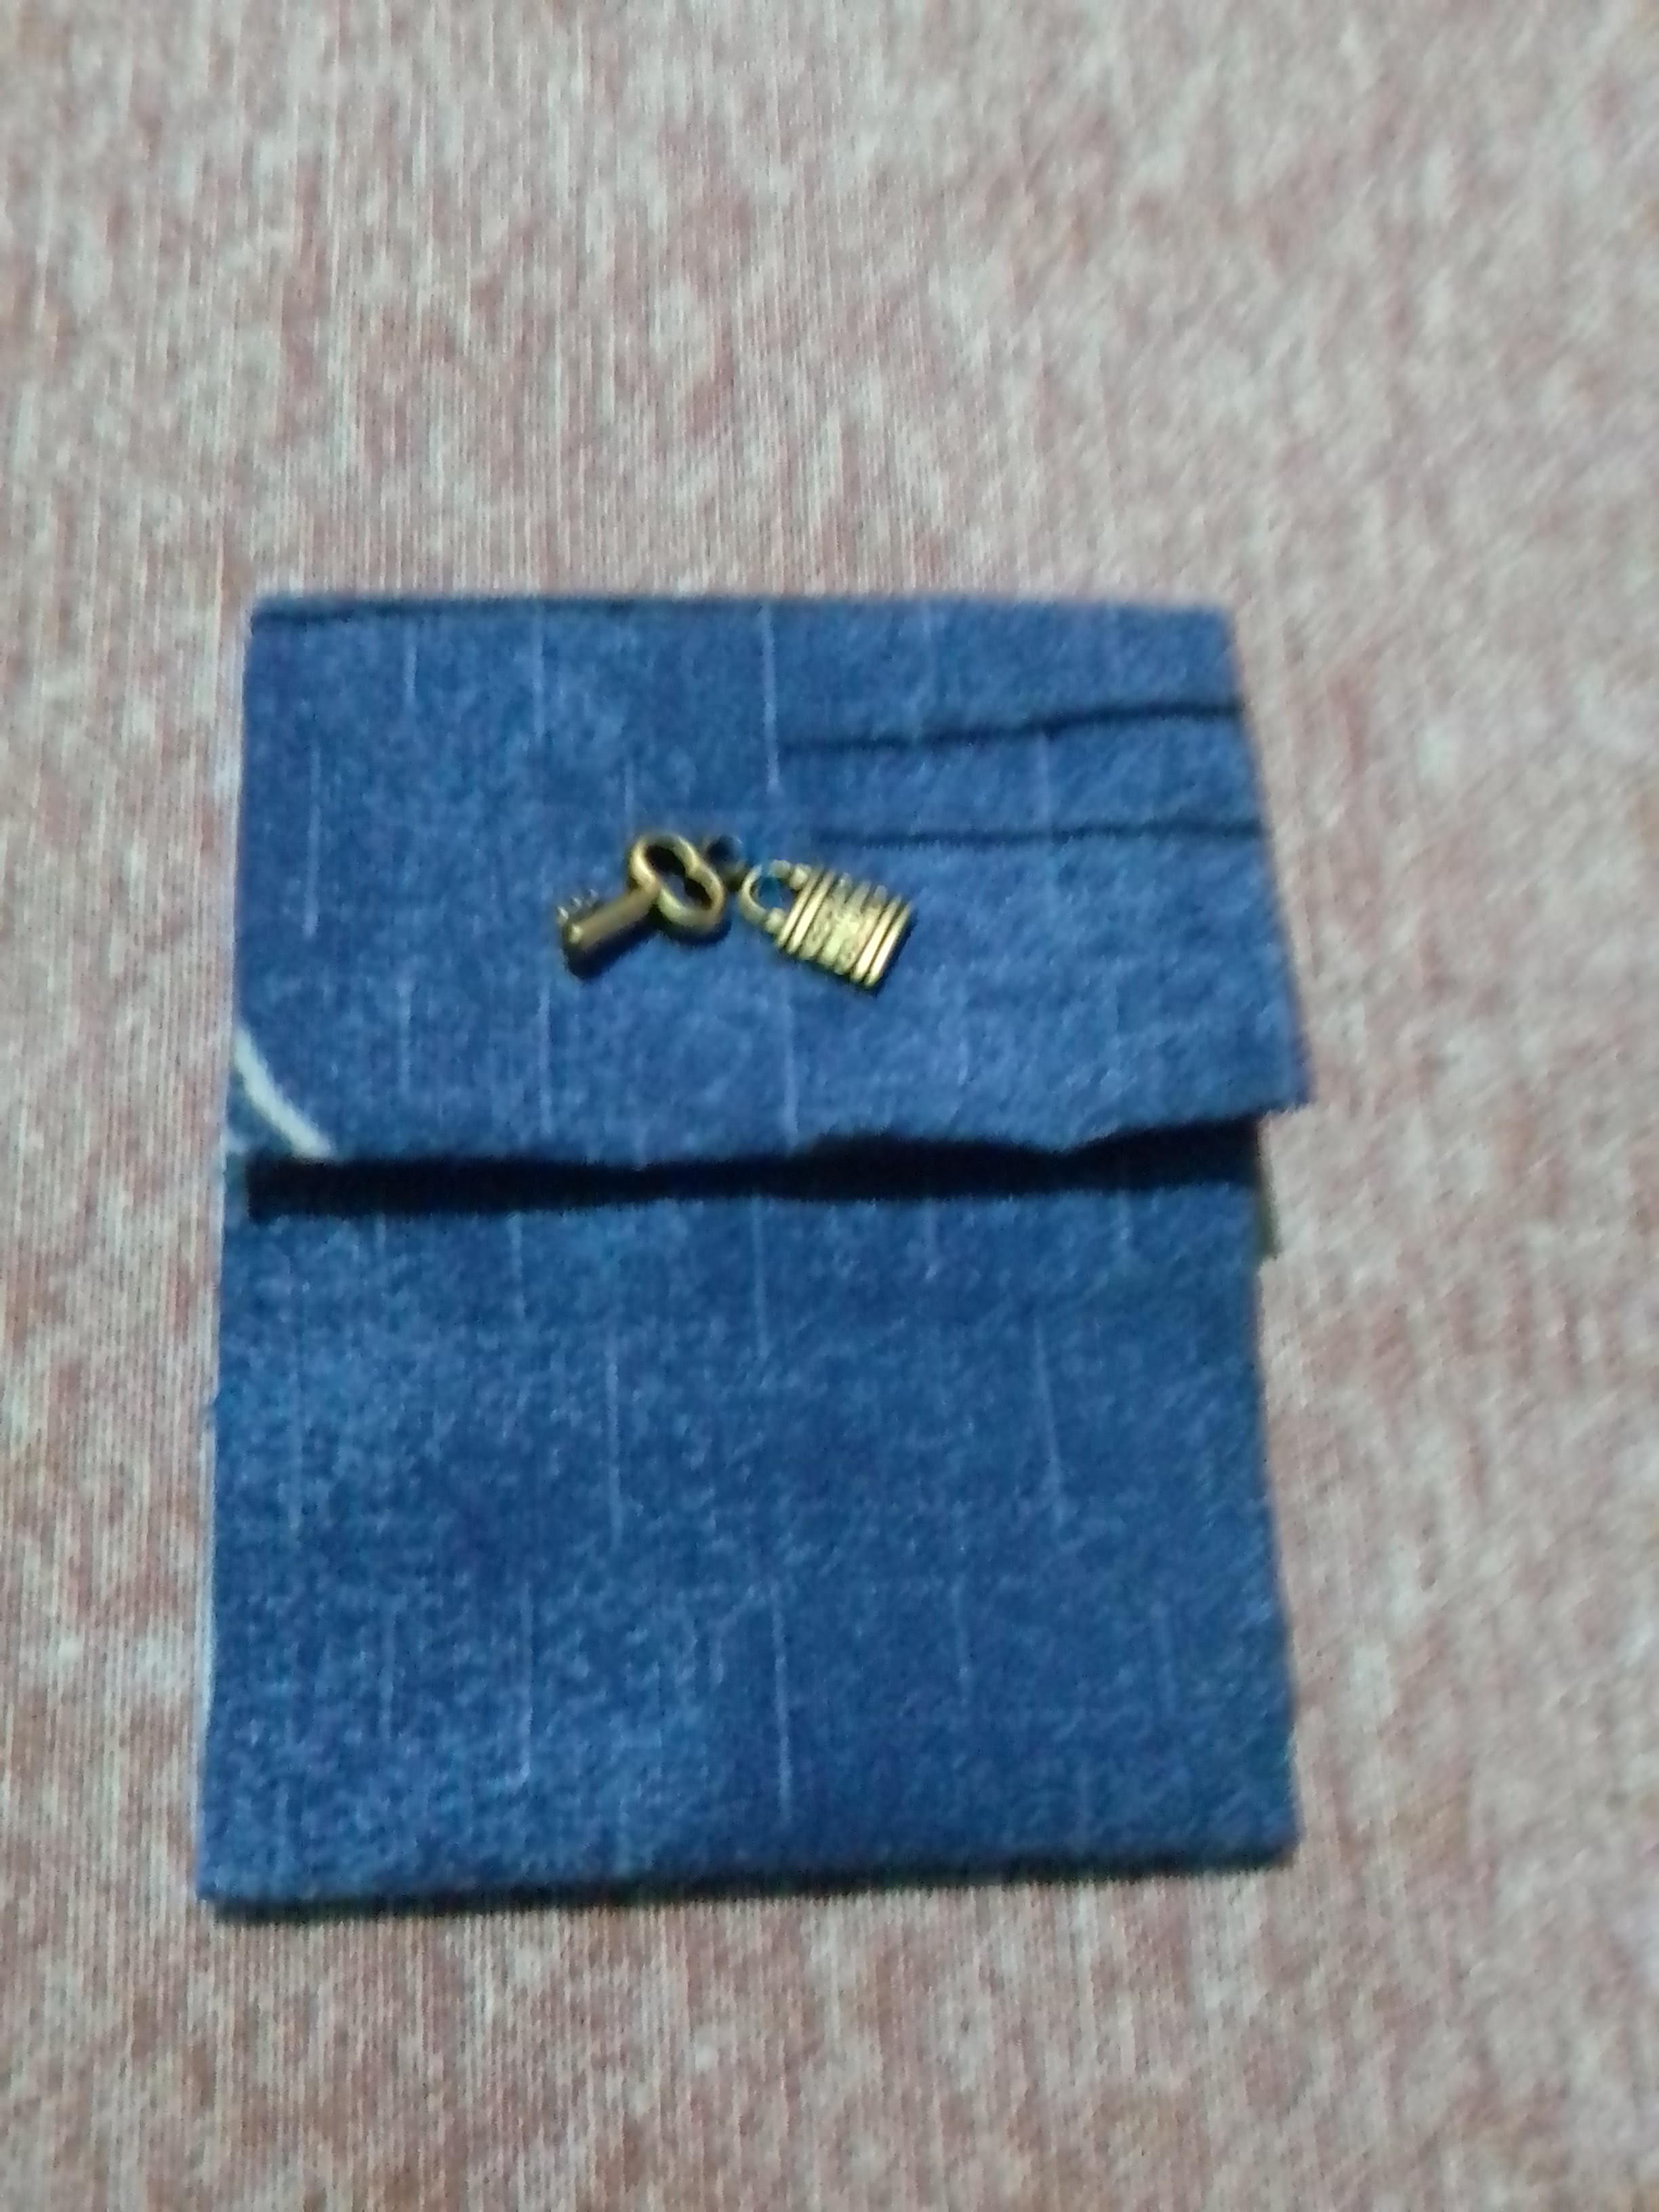
So make a cute, simple and practical fabric keychain.
Result
The photos are my property taken exclusively in this project.
The collages of the procedure were made with the tool of my Blue C6 and the main one in Canva
The dividers and the banners were edited by me in Canva
The translation was made with
DeepL Translator


Saludos muy afectuosos para todos los compañeros creativos de la comunidad de Hive Diy, las mujeres queremos tener de todo en nuestros bolsos, queremos cosas prácticas y útiles, el tema de las llaves es muy importante porque en oportunidades debemos encontrarlas con prontitud, por está razón decidí realizar un pequeño bolso de tela, para el resguardo de las llaves, en este post les mostraré como realizarlo en pocos pasos y utilizando retazos de tela. Comencemos y les cuento de los pocos materiales que use.
MATERIALES
✓ Retazos de tela estampada
✓ Retazos de tela unicolor
✓ Hilo y aguja
✓ Argolla de llavero
✓ Broche
✓ Adornos de bisutería con motivo de candado y llave.
PASO A PASO
Para comenzar este proyecto de costura a mano, agarré mi retazo de tela y medi una pieza de tela de 19x9 centímetros, luego doble a la mitad y cosi a mano los dos lados que lo ameritaban.
Seguidamente doy vuelta a la pieza cosida y procedo a planchar para alisar la costura. Y culmine está pieza cerrando con costura a mano la abertura, no sin antes realizar un dobladillo hacia adentro.
Para elaborar el colgante de la argolla del llavero, fue necesario también un tela decorativa, para cubrir la costura, ya que está quedará en la parte superior. Para este paso corte dos tiras de tela una de 3 x 6 centímetros para el colgante y otra de 4 x 5 centímetros para la decoración. A cada una de las tiras les hice dos dobladillos hacia adentro y los fijé con la plancha, el del colgante de la argolla del llavero, lo cosi con puntadas desde adentro para hacerlas menos visible, le coloque la argolla y lo fijé con costura a 7 centímetros del extremo superior , luego agarré la otra tira e igualmente le hice dobladillos hacia adentro y lo fije de extremo a extremo, con el fin de cubrir la costura del colgante y a la vez de decoración. Este adorno lo cosi con puntadas muy discretas.
Es el monto de doblar y cerrar el pequeño bolso llavero, como yo quería un llavero muy práctico, decidí cerrarlo solo a la mitad, cosiendo con puntadas e hilo del mismo color de la tela. Esto para que me sea más fácil a la hora de usar las llaves solo tendré que sacarlas por es espacio sin cerrar y luego guardar de la misma manera.
Para culminar con mi llavero de tela, coloque un broche a presión, y en la lata fije unos lindos adornos de bisutería, un candado y una llave, pues mi parecieron ideales para este proyecto.
Así realice un lindo, sencillo y práctico llavero de tela .
Resultado
Las fotos son de mi propiedad tomadas exclusivamente en este proyecto.
Los collages del procedimiento los hice con la herramienta de mi Blue C6 y el principal en Canva
Lo separadores y el banners fueron editados por mi en Canva
La traducción fue realizada con
DeepL Traductor

Me gusta que pueda realizarse a mano este proyecto sin necesidad de tener máquina, es un tutorial que nos da la libertad de decorar como queramos, excelente manualidad.
@jennyzer me alegra que te haya gustado, si amiga si no tenemos maquina, podemos coser a mano y queda queda igual de resistente.
very nice keychain it looks great