En Español
Buenas tarde mis creativos y productivos amigos de esta gran familia de Hive y en especial de la comunidad hivediy🥰 que tengan un excelente día. Así que acompañenme a realizar esta linda bandeja con una caja de fresa, es muy sencilla de hacer.
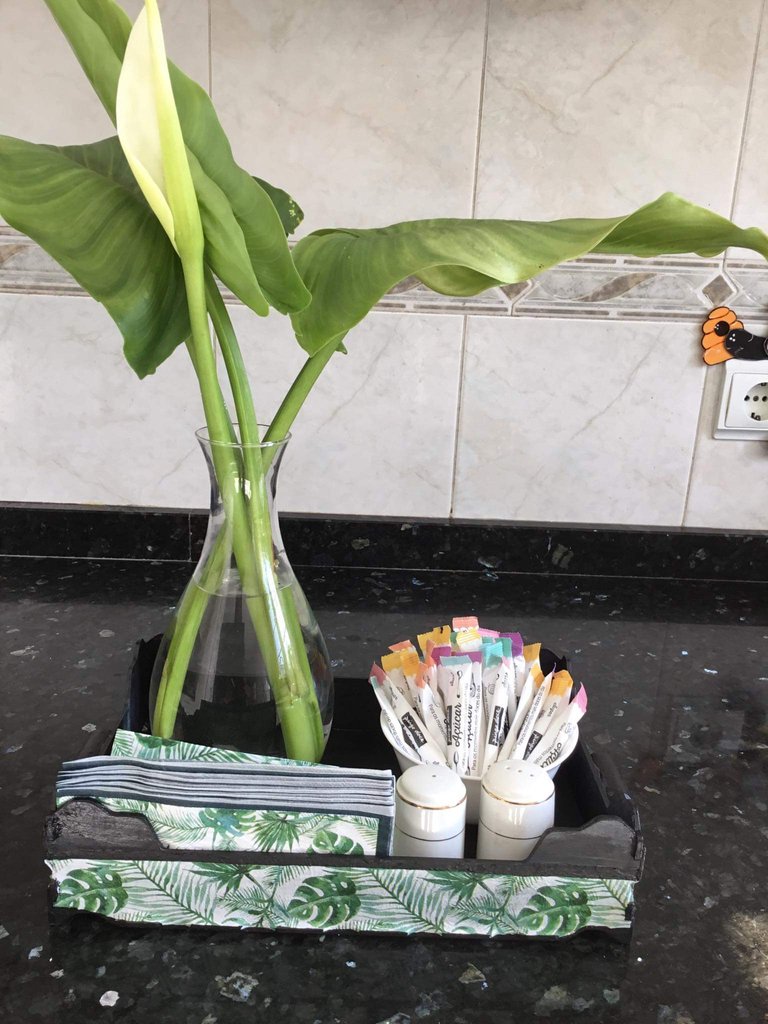
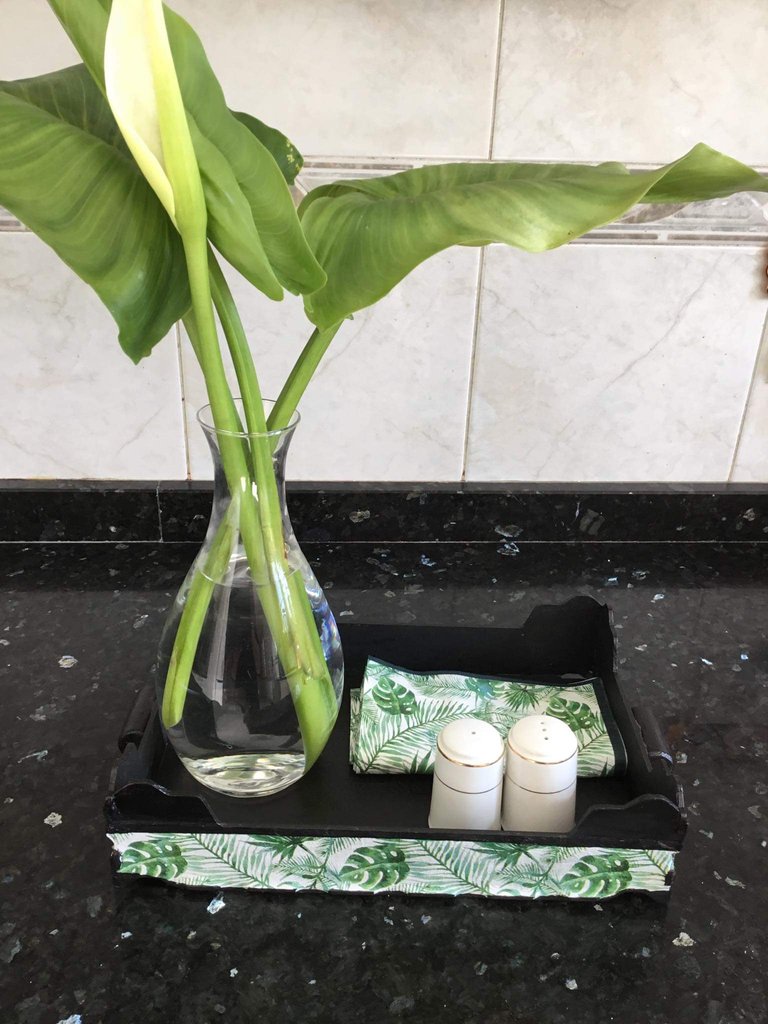
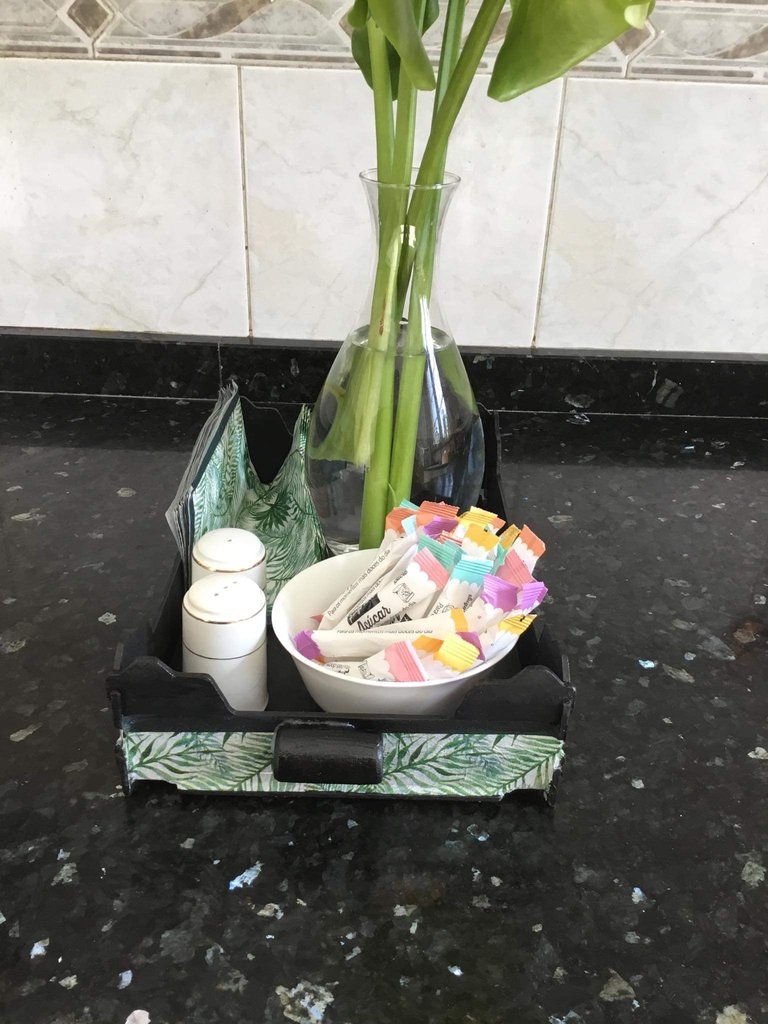
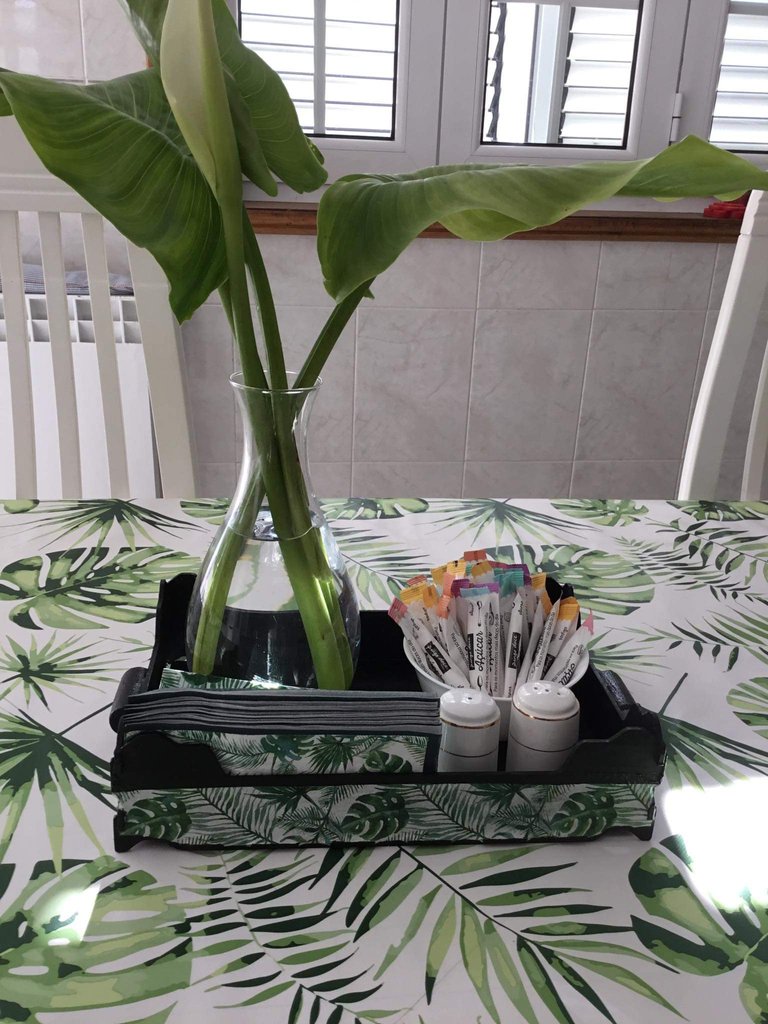
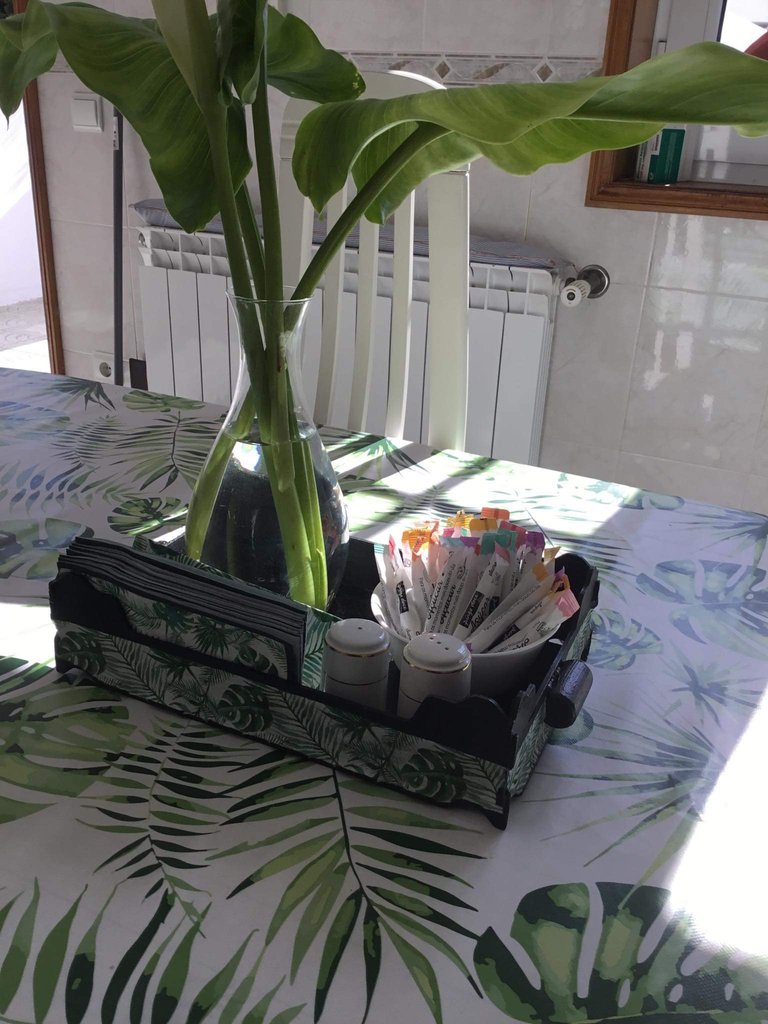
Éste fin de semana fuimos de comprar y unas de las cosas que compramos fue una caja de fresas, las cuales me encantan me las comí en dos días😋🤭, bueno es una caja pequeña jaja y se me ocurrió hacer algo con la caja que es de material de madera y la figura es bonita. Pensé en realizar una bandeja para colocar los palillos, servilletas, los sobre de azúcar y otras cosas más, también sirve para colocar el pan o para decorar la casa de baño o el uso que quieran darle.
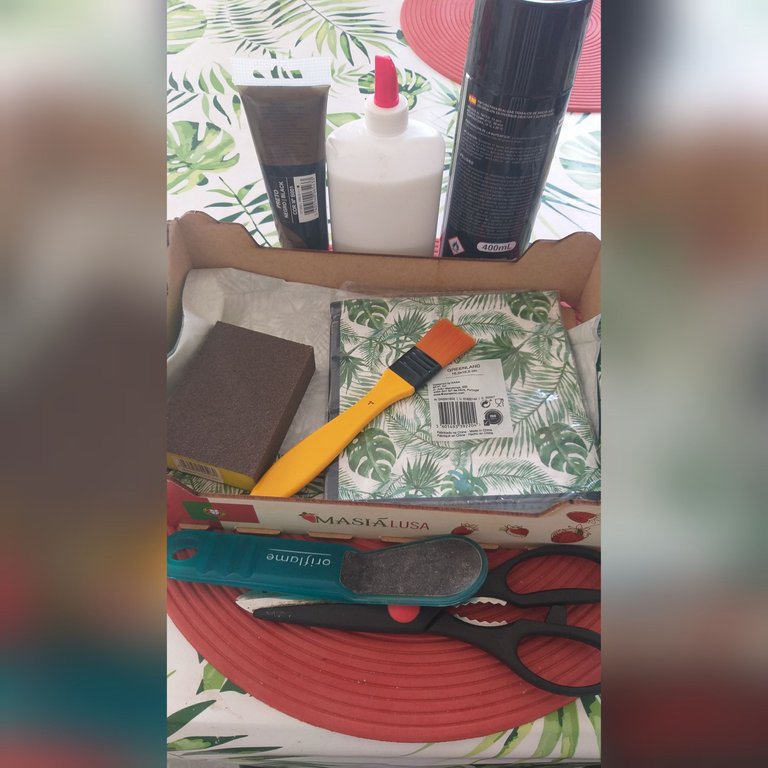
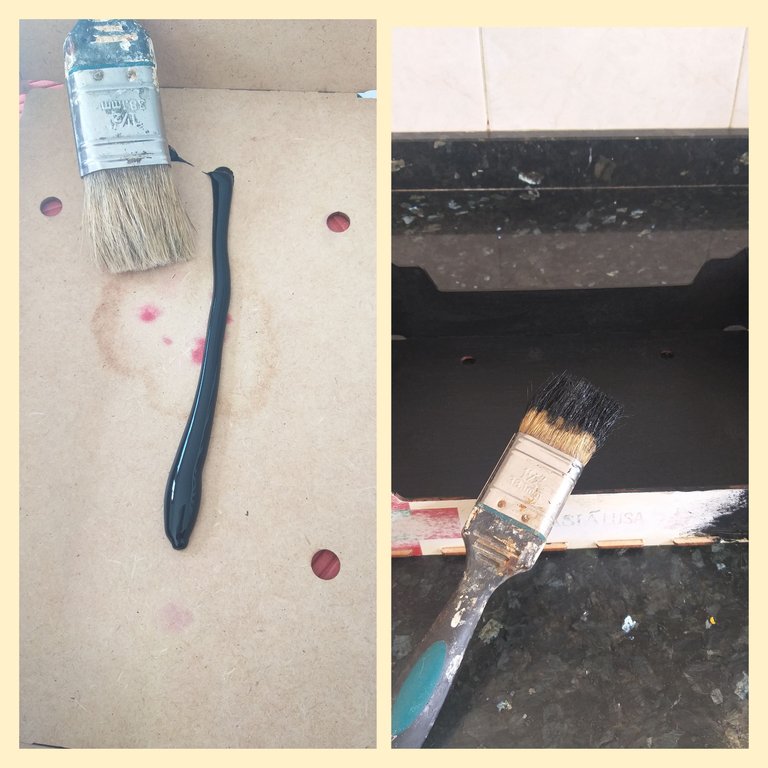
Los materiales que utilizaremos para realizar ésta linda y práctica bandeja son:
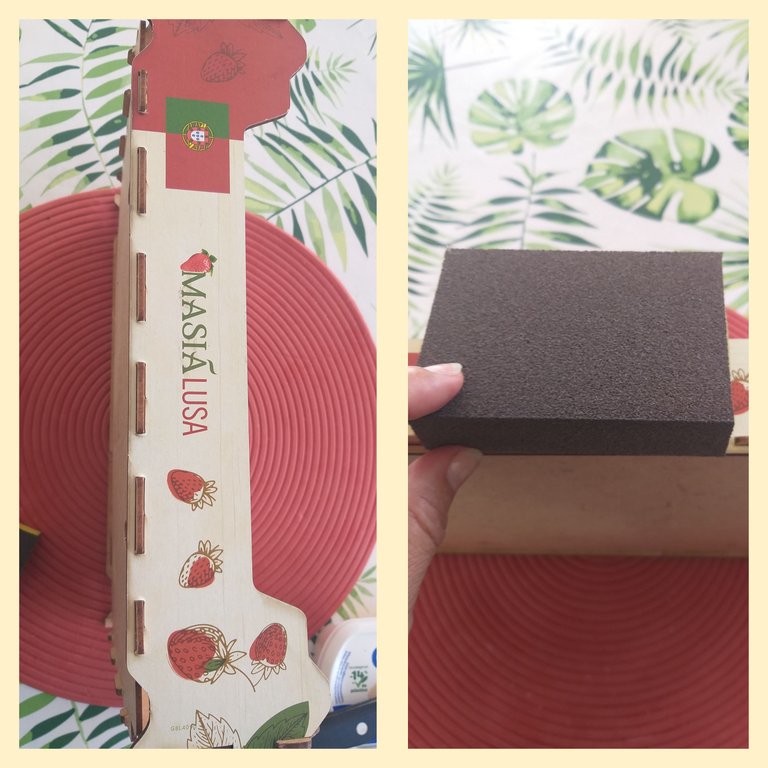
Una caja pequeña de madera, en éste caso utilizaré una donde vienen las fresas
Pegamento blanco
Tijera
Servilletas con figuras a su gusto
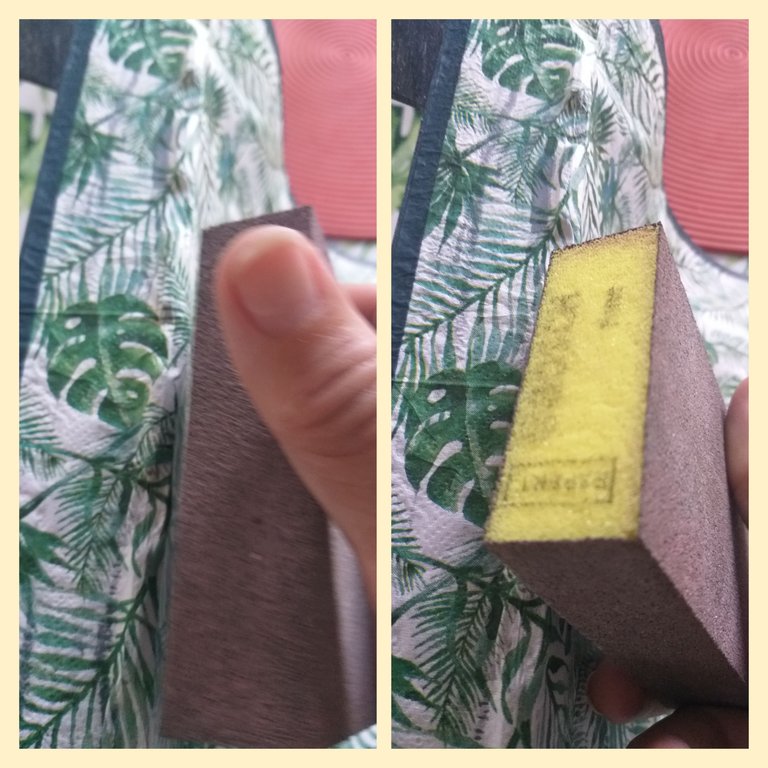
Una lija
Una brocha pequeña
Pincel
Paño de cocina
Pintura acrílica de color negro o puede pintarla del color que desee.
recipiente para colocar el pegamento blanco
Los Pasos para realizar la bandeja son:
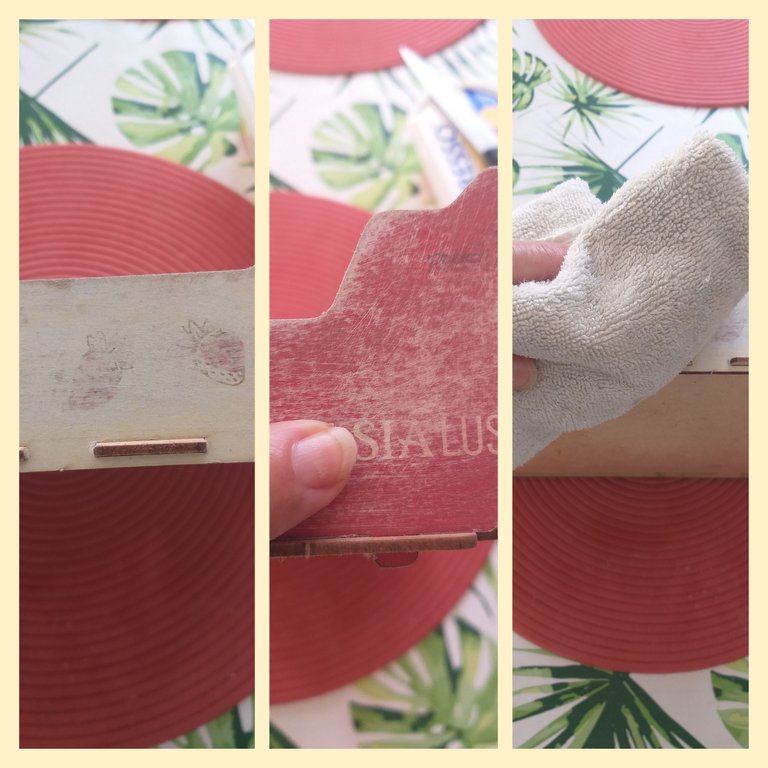
1👣. Lo primero que tenemos es lijar la caja donde están la publicidad para que la pintura pueda adquirirse a la caja, utilizando una lija para madera la de pared también les sirve. También pueden utilizar una lima para los pie. Yo utilicé una esponja lija que son muy práctica de usar.
2👣. Luego de tener la caja toda lijada, procedemos a limpiar con un paño de cocina. No es necesario quitar con la lija el papel de la publicidad sólo lijar por encima.
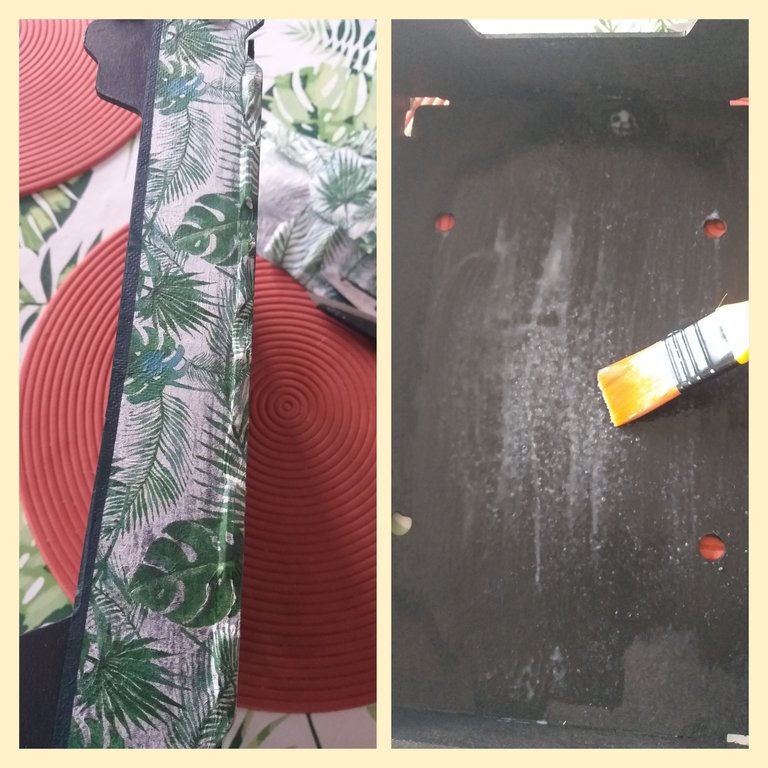
3👣. En éste siguiente paso procederemos a pintar la caja con la brocha y la pintura acrílica de color negro. Pintamos la caja tanto por dentro como por fuera de la caja.
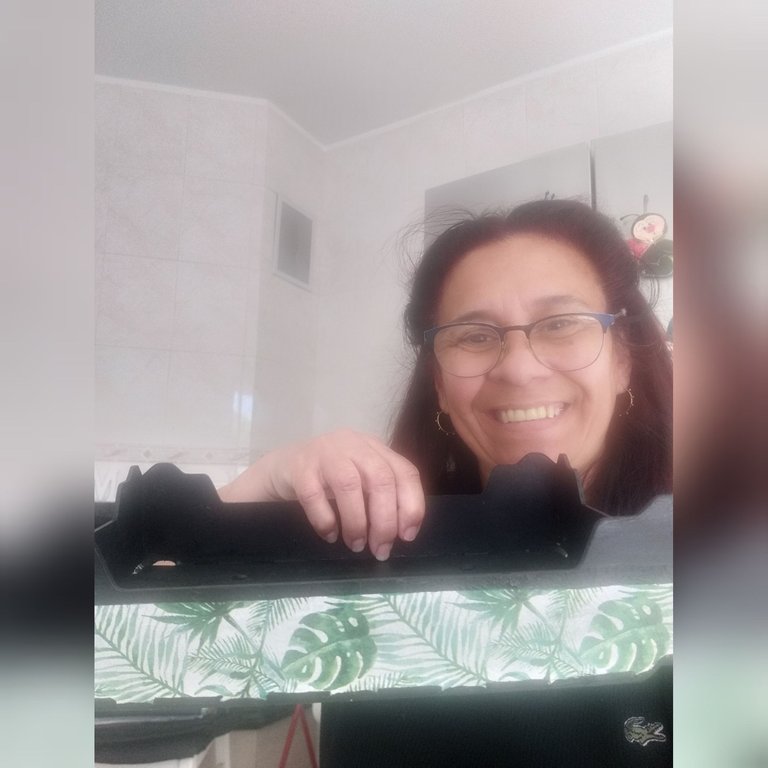
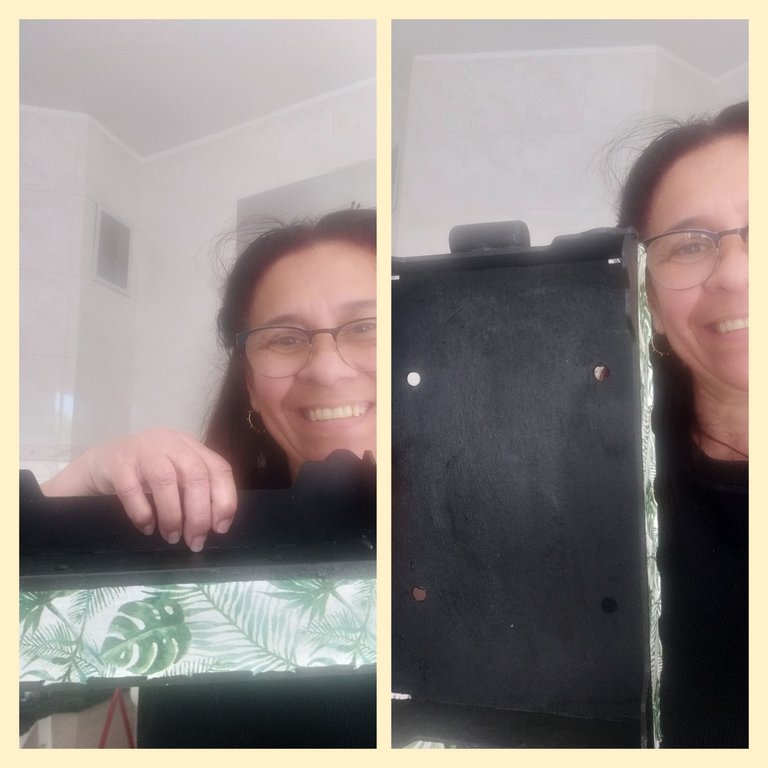
4👣. Ya que tengamos la caja totalmente pintada la dejamos secar y después vamos a pegar la servilleta con el pegamento blanco, primero debemos quitar la última capa de servilleta, sólo vamos a utilizar la que tiene la imagen.Puede observar las imágenes
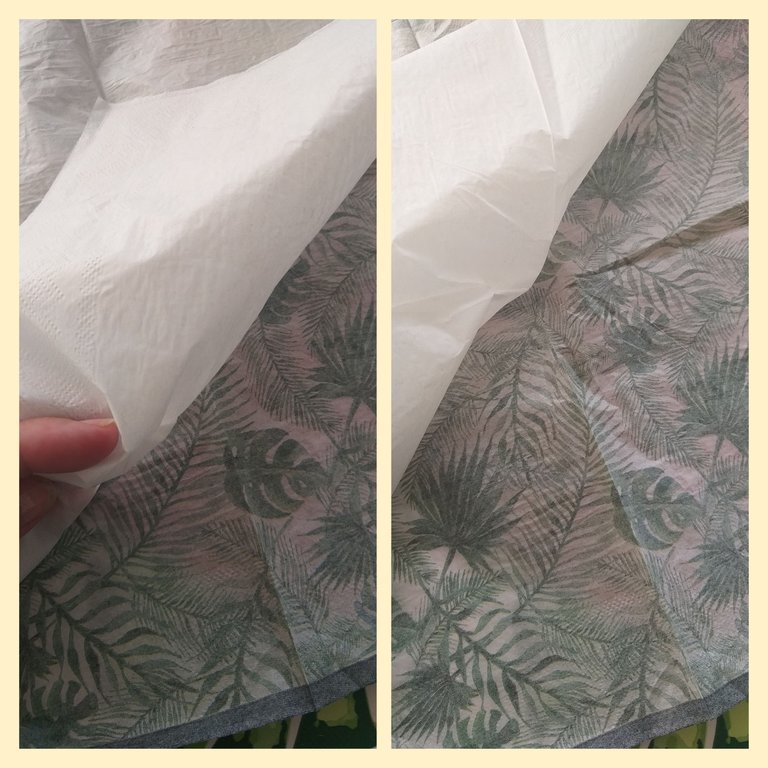
5👣. Ahora vamos a colocar pegamento blanco en un recipiente y con la brocha vamos a pegarla servilleta por los cuatro lados de la caja. Y después dejamos secar. Le recomiendo ir trabajando un lado cada vez y dejar sercar un poco.

6👣. Luego que tengamos los cuatro lados secos; vamos a lijar la parte de abajo para quitar el resto de servilleta, esto lo debemos hacer con cuidado para no romper la servilleta.
7👣. En este paso vamos a pintar con un pincel toda las orilla de la caja con la pintura de color negro. Después dejamos secar bien y con la brocha le pasamos a todala caja esto es para que selle la pintura acrílica y la servilleta quede bien pegada al igual dejando secar bien.
8👣. La bandeja la podemos dejar así o también le podemos colocar unas asas para poder agarrarse mejor. Pueden pegarlas con silicon caliente o atornillar a la caja
Amigos espero que le haya gustado y vieron lo fácil que realizamos esta bandeja que podemos darle varia utilidad. Quiero agradecer a todas las personas que toman unos minutos de su tiempo para leer mis publicaciones y a todas las comunidades que también me apoyan.

English
Good afternoon my creative and productive friends from this great Hive family and especially from the hivediy community🥰 have a great day. So come with me to make this beautiful tray with a box of strawberries, it is very simple to do.
This weekend we went shopping and one of the things we bought was a box of strawberries, which I love, I ate them in two days😋🤭, well it's a small box haha and it occurred to me to do something with the box that is Made of wood material and the figure is cute. I thought of making a tray to place the chopsticks, napkins, sugar packets and other things, it is also used to place the bread or to decorate the bathroom or whatever use you want to give it.
The materials that we will use to make this beautiful and practical tray are:
A small wooden box, in this case I will use one where the strawberries come
White glue
Scissor
Napkins with figures to your liking
a sandpaper
A small brush
Brush
Dish towel
Black color acrylic paint or you can paint it any color you like.
container to place the white glue
The steps to make the tray are:
1👣. The first thing we have is to sand the box where the advertising is so that the paint can be purchased from the box, using sandpaper for wood, the wall sandpaper also works for them. You can also use a foot file. I used a sandpaper sponge that is very practical to use.
2👣. After having the box all sanded, we proceed to clean with a kitchen cloth. It is not necessary to remove the advertising paper with sandpaper, just sand over it.
3👣. In this next step we will proceed to paint the box with the brush and black acrylic paint. We paint the box both inside and outside the box.
4👣. Once we have the box completely painted, we let it dry and then we are going to glue the napkin with white glue, first we must remove the last layer of napkin, we are only going to use the one with the image. You can see the images
5👣. Now we are going to put white glue in a container and with the brush we are going to stick the napkin on the four sides of the box. And then we let it dry. I recommend working one side at a time and letting it dry a bit.
6👣. After we have all four sides dry; We are going to sand the bottom part to remove the rest of the napkin, we must do this carefully so as not to break the napkin.
7👣. In this step we are going to paint with a brush all the edges of the box with the black paint. Then we let it dry well and with the brush we pass it to the whole box this is so that it seals the acrylic paint and the napkin is well glued as well, letting it dry well.
8👣. We can leave the tray like this or we can also put some handles on it to be able to hold on better. They can be glued with hot silicone or screwed to the box
Friends I hope you liked it and you saw how easy we make this tray that we can give you various uses. I want to thank all the people who take a few minutes of their time to read my posts and all the communities that also support me.
Que bello trabajo 🥰 me gustó mucho... Amo el los detalles de reciclaje ♻️💜
🎆🎇🎉🎊🌧️💐✨🌾🌱🌹🌙🌿🍃🥀⚡🌺☘️🍀🌈🌷⭐🪴🌵🌸🌟💮🌴🌳💫☀️💮☔🌲🌳🌍🌌🌠☄️🏵️🐝🌻🌼🍄🐞🦋💙☕💜🍍🎆🎇🎉🎊
Gracias mi bella amiga 😍🤗
Thank you for sharing this amazing post on HIVE!
Your content got selected by our fellow curator @rezoanulvibes & you just received a little thank you via an upvote from our non-profit curation initiative!
You will be featured in one of our recurring curation compilations and on our pinterest boards! Both are aiming to offer you a stage to widen your audience within and outside of the DIY scene of hive.
Join the official DIYHub community on HIVE and show us more of your amazing work and feel free to connect with us and other DIYers via our discord server: https://discord.gg/mY5uCfQ !
If you want to support our goal to motivate other DIY/art/music/homesteading/... creators just delegate to us and earn 100% of your curation rewards!
Stay creative & hive on!
Que gran trabajo amiga mía, muy impecable y el acabado como siempre maravilloso. Que tengas un feliz día!