Hola a todos en la Comunidad de Holozing, espero todos se encuentren bien. Hoy quiero compartir con ustedes una manualidad que he realizado apenas ayerz, se trata de un Posavasos que se encuentra decorado con la silueta bordada de Water Whale. Esta elaborado en un textil rígido, como lo es el Drill.
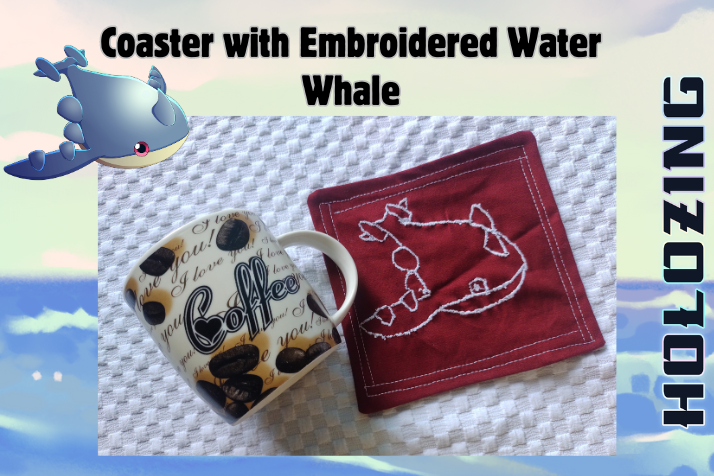
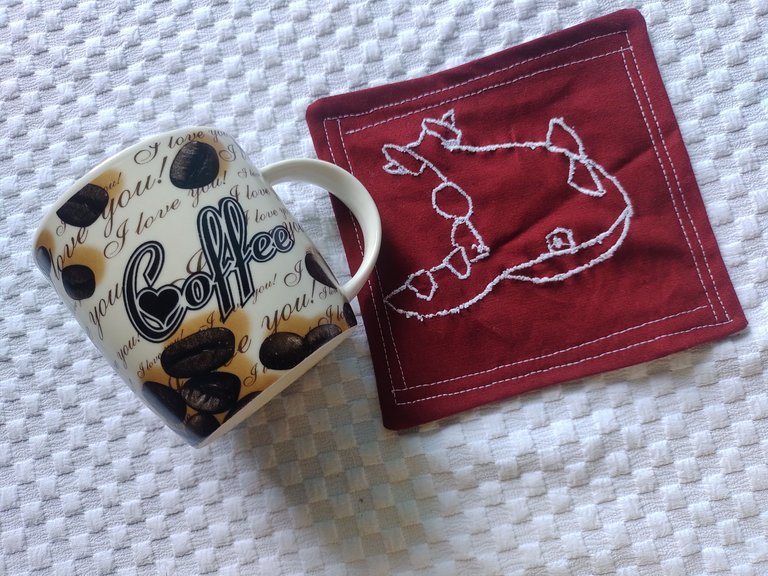
Hello everyone in the Holozing Community, I hope everyone is well. Today I want to share with you a craft that I made just yesterday, it is a Coaster that is decorated with the embroidered silhouette of Water Whale. It is made of a rigid textile, like Drill.
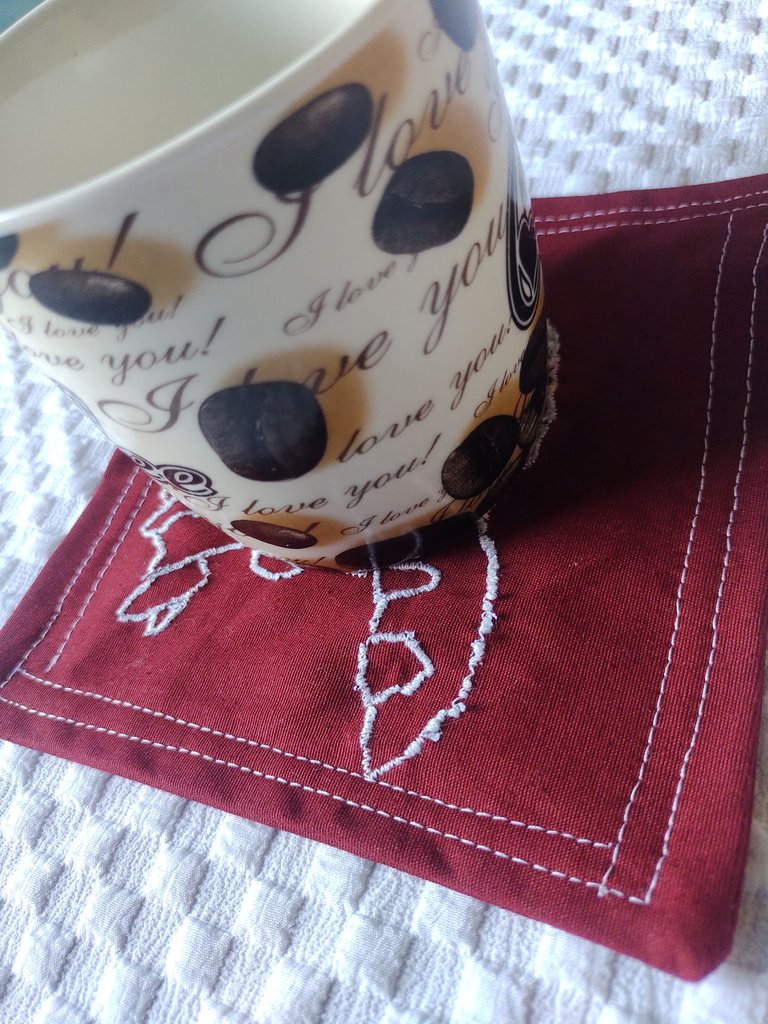
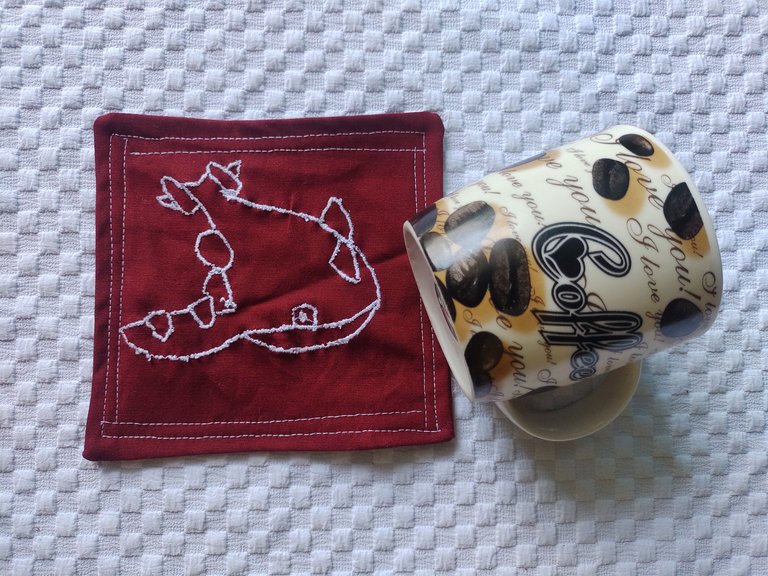
Quise usar una tela rígida por dos razones principales, una es que es mucho más fuerte y resistente al momento de exponerse al calor. Inicialmente le he hecho para mi taza de café, ha lucido maravillosa allí. La segunda razón, es que es mi primera vez intentando el bordado desde mi máquina casera, por ello deseaba un textil de más cuerpo y estabilidad al momento de coser.
I wanted to use a rigid fabric for two main reasons, one is that it is much stronger and more resistant when exposed to heat. I initially made it for my coffee mug, it looked wonderful there. The second reason is that it is my first time trying embroidery from my home machine, which is why I wanted a textile with more body and stability when sewing.
Para hacer este bordado, inicialmente me he fijado de un dibujo a mano alzada que he hecho en un rectangulo de papel. Las puntadas estaban graduadas a 1, y el zigzag más pequeño con el que cuenta mi máquina. El proceso fue de paciencia, poco a poco para tratar de seguir lo más posible el trazado del dibujo. El trazado de bordado, lo he hecho dos veces, acentuando las zonas donde el hilo o yo, pasamos super rápido.
To make this embroidery, initially I used a freehand drawing that I made on a rectangle of paper. The stitches were graduated to 1, and the smallest zigzag that my machine has. The process was one of patience, little by little to try to follow the layout of the drawing as much as possible. I have done the embroidery layout twice, accentuating the areas where the thread or I went through super quickly.
 |  |
✂️✂️✂️✂️✂️
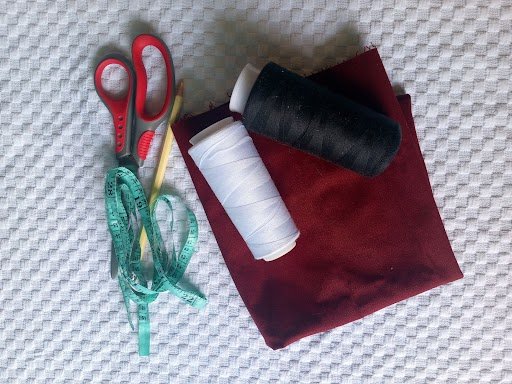
Materiales
- Rectangulo de tela de Drill.
- Hilo blanco.
- Máquina de coser - Tijera.
- Papel.
- Lápiz de grafito o color.
Materials
- Drill fabric rectangle.
- White thread.
- Sewing machine - Scissors.
- Paper.
- Graphite or color pencil.
✂️✂️✂️✂️✂️
Proceso de Creación / Creation Process
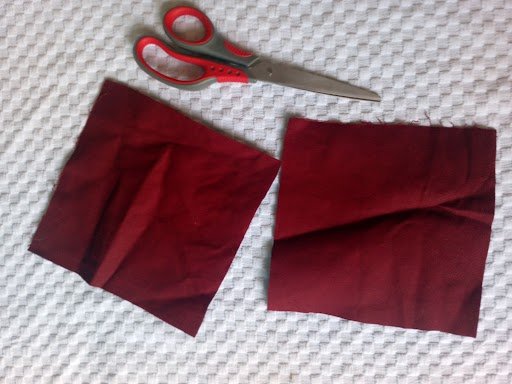
Cortamos un par de rectangulos de iguales proporciones para el posavasos.
We cut a couple of rectangles of equal proportions for the coaster.
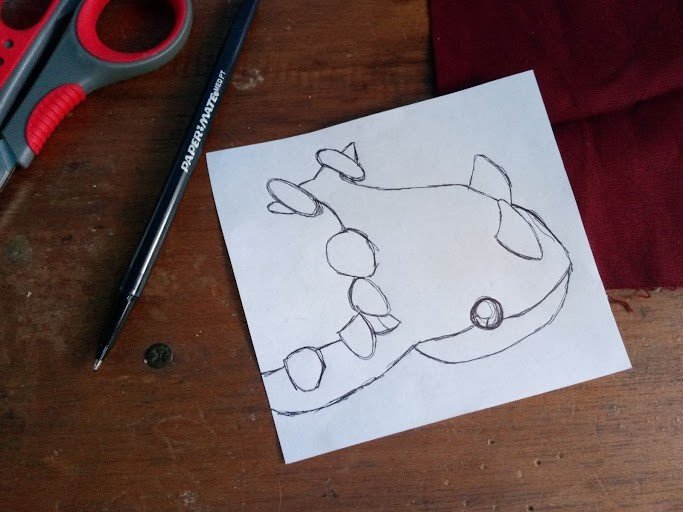
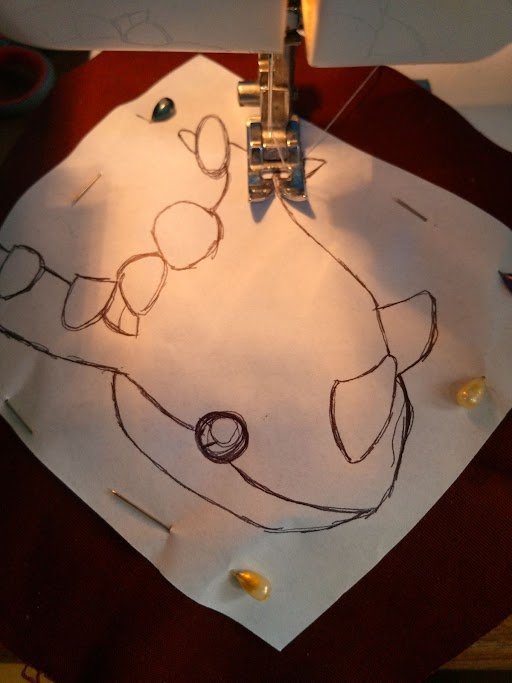
Tomamos la página blanca y dibujamos la silueta de Water Whale.
We take the white page and draw the silhouette of Water Whale.
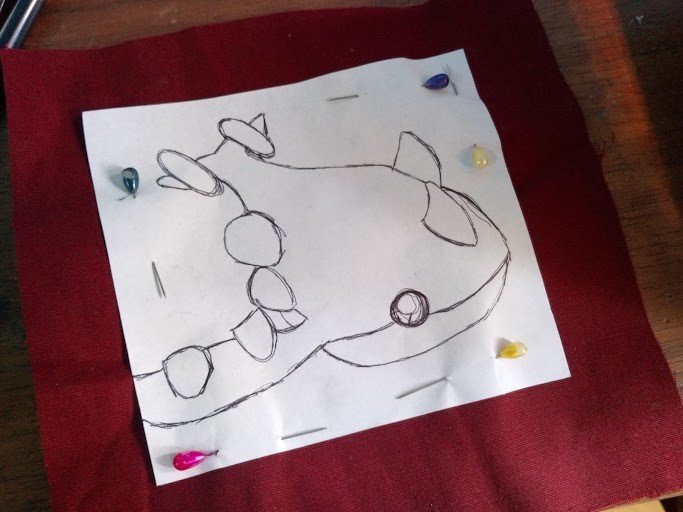
Fijamos el dibujo sobre el rectangulo de tela. Para ello nos ayudaremos de alfileres por el contorno exterior.
We fix the drawing on the rectangle of fabric. To do this we will use pins along the outer contour.
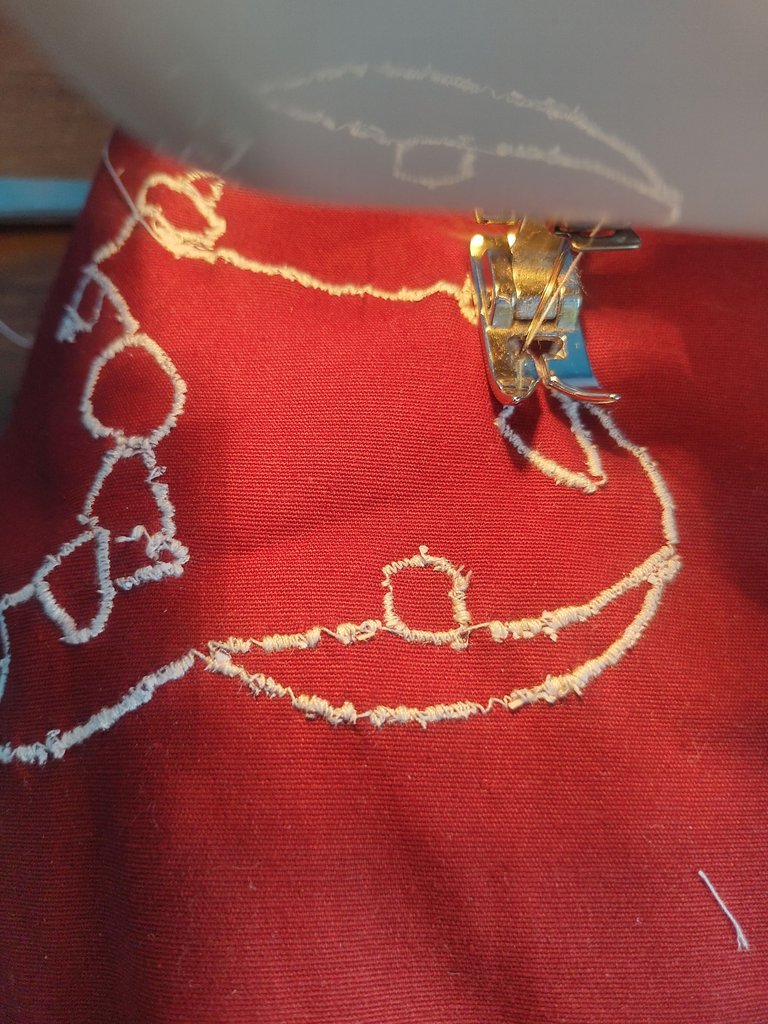
Posicionaremos el rectangulo para coser, iniciamos desde el lado donde sientan más comodo. Poco a poco y con mucha paciencia iremos pasando puntadas por todas las líneas base del dibujo.
We will position the rectangle to sew, we start from the side where they feel most comfortable. Little by little and with a lot of patience we will pass stitches through all the base lines of the drawing.
 | 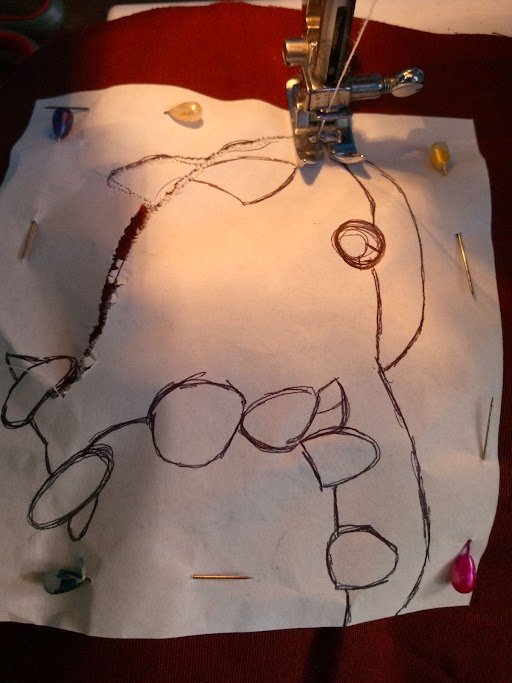 |
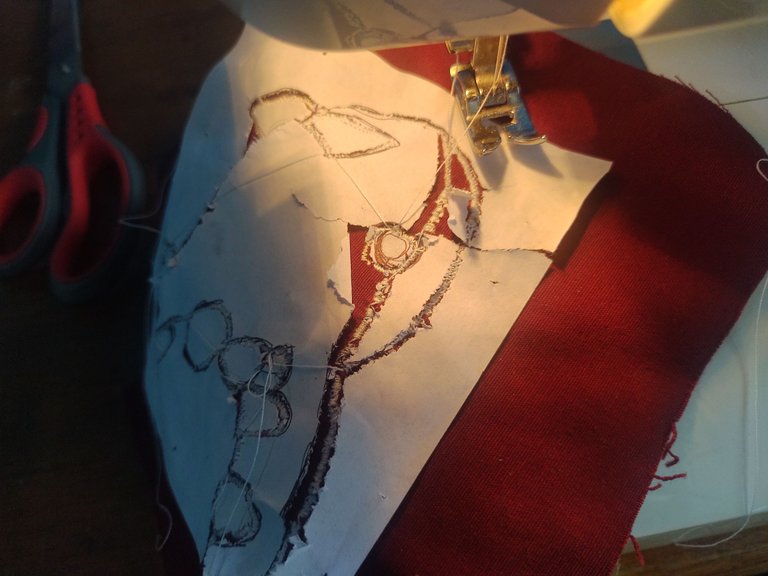
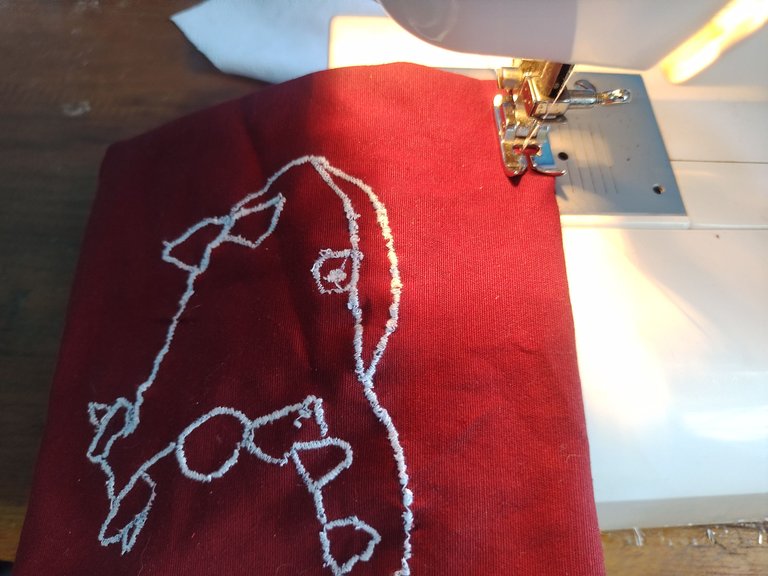
Al haber pasado costura por toda la silueta, despegamos el papel para observar de mejor manera como nos ha resultado. Repetimos el proceso, prestando atención en las partes donde el bordado ha resultado desuniforme.
Having sewn the entire silhouette, we peel off the paper to better see how it turned out. We repeat the process, paying attention to the parts where the embroidery has turned out to be uneven.
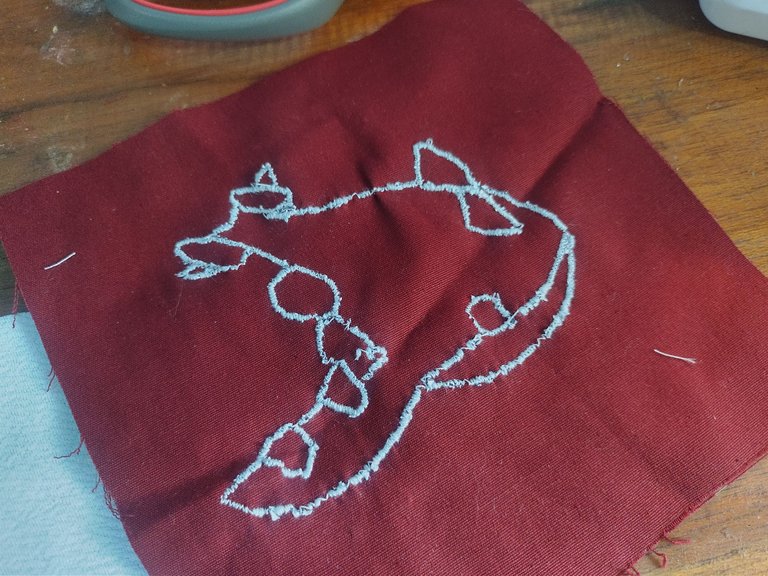 |  |
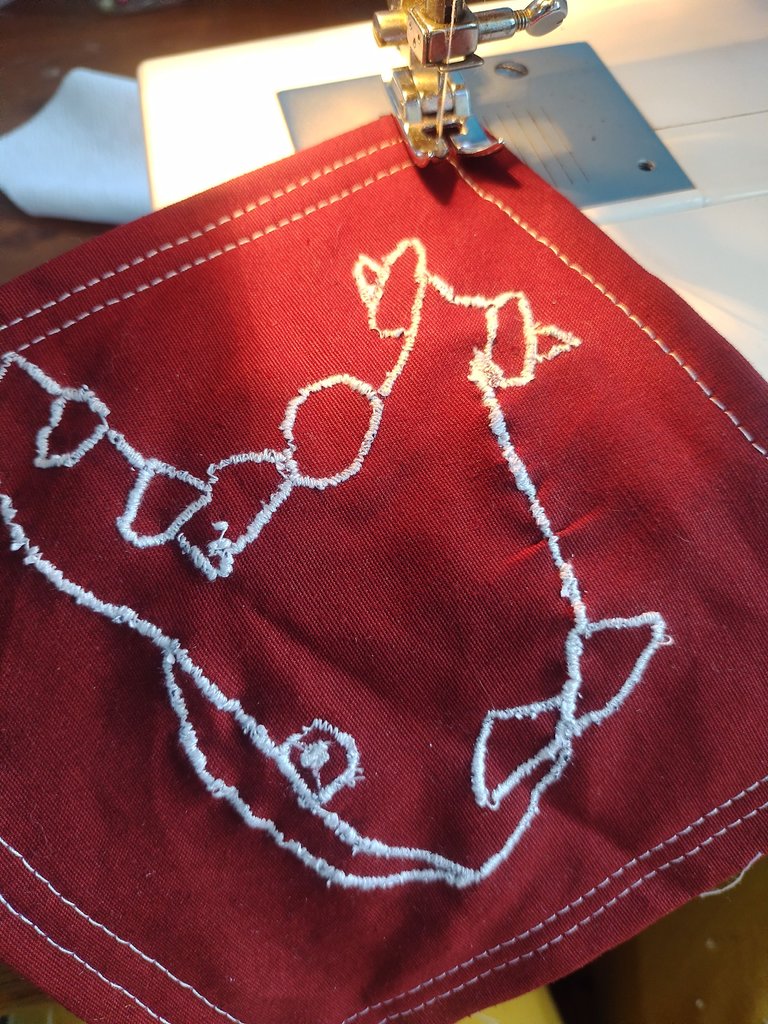
Habiendo tenido listo lo del bordado, tomamos el otro rectangulo y enfrentando derecho cosemos el contorno del rectangulo dejando un pequeño espacio sin coser. Hacemos un piquete en cada punta y damos vuelta al posavasos que ya ha empezado a tomar formar. Coseremos de manera decorativa el contorno.
Having ready the embroidery, we take the other rectangle and facing straight we sew the outline of the rectangle leaving a small space without sewing. We make a picket at each end and turn the coaster that has already begun to take shape. We will decoratively sew the outline.
 |  |
✂️✂️✂️✂️✂️
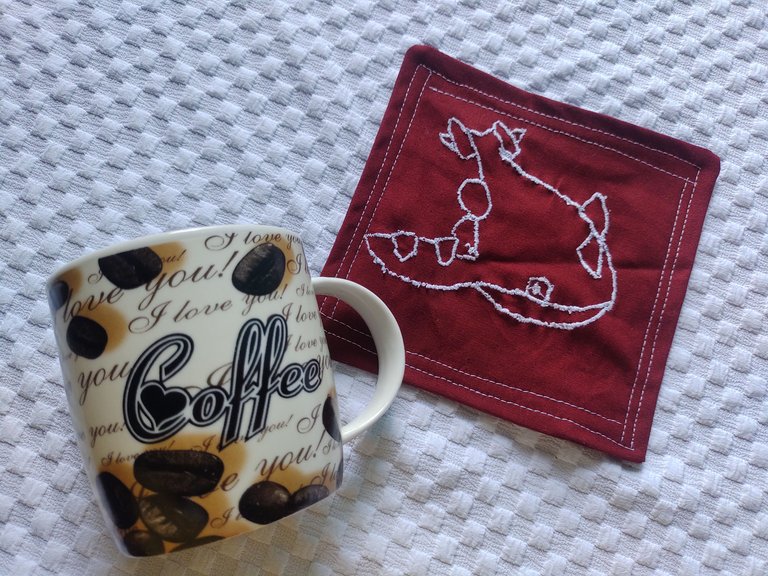
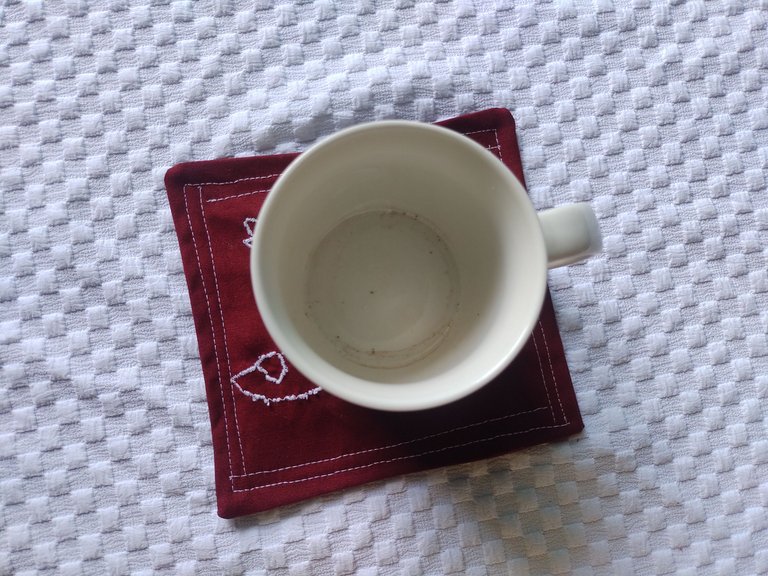
Resultado / Result :
✂️✂️✂️✂️✂️
¡Y hasta aquí el proyecto del día! Espero les haya gustado tanto como a mí.
Si tienes alguna duda o sugerencia, no dudes en dejar un comentario. Las fotos que he colocado a lo largo del texto, las he tomado desde mi móvil Infinix.
¡Hasta la próxima!, tengan todos una bendecida noche cargada de salud, paz y amor.
And that's it for the day's project! I hope you liked it as much as I did.
If you have any questions or suggestions, don't hesitate to leave a comment. The photos that I have placed throughout the text were taken from my Infinix mobile.
Until next time! Everyone have a blessed night full of health, peace and love.