Hola amigos de la comunidad de Holozing. Trás aproximadamente 3 días de haber iniciado nuevamente con el período de clases, se me ha hecho algo difícil publicar. Por cuestiones de tiempo y de cansancio, además de actividades extras del liceo. Pues bueno, me daba sueño 🥱 y procedía a descansar, pero el día de hoy les traigo una manualidad la cual me ayudó a realizar mi mamá.
Lo que hice el día de hoy fue una gorra de Water Whale con foami de color azul claro y foami color rojo. La verdad es una manualidad que se puede realizar con materiales bastante sencillos y económicos. Este tipo de gorra son ideales para personalizar para una reunión infantil o también algún obsequio que tengan pendiente. Para la gorra solo usaran 2 colores distintos básicamente, además de silicon.
Ahora sin más nada que decir, ¡empecemos a trabajar!
Pues bueno, los materiales que usaremos serán:
1- Un marcador
2- foami color azul
3- foami color rojo
4- foami color blanco (o también puede ser reemplazado por pintura color blanco)
5- Silicon.
Bueno, con estos materiales ya reunidos. Podemos ahora comenzar con el proceso creativo de una vez por todas.
Claramente ante todo debemos primero medir nuestra cabeza 😃
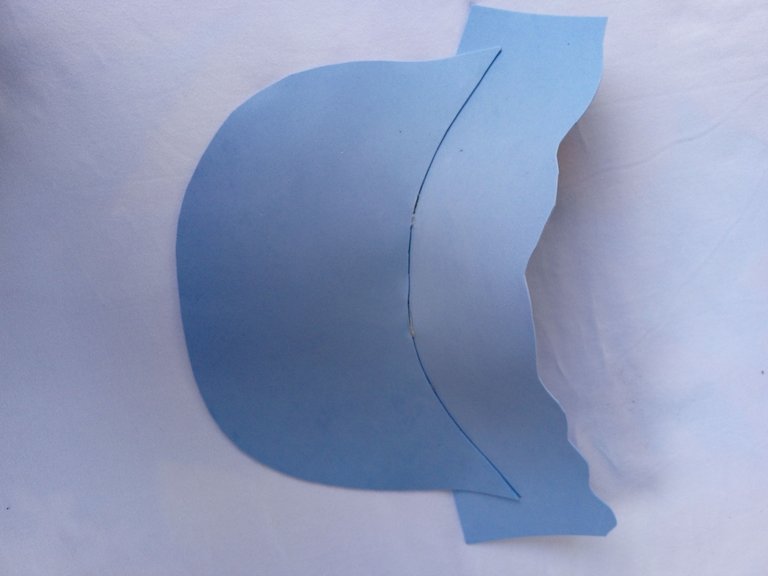
Primero deberemos tomar nuestros foamis color azul claro y color rojo y cortar unas piezas las cuáles serían las partes delanteras y traseras de la gorra junto con otras piezas como el sujetador y otras decorativas que haremos.

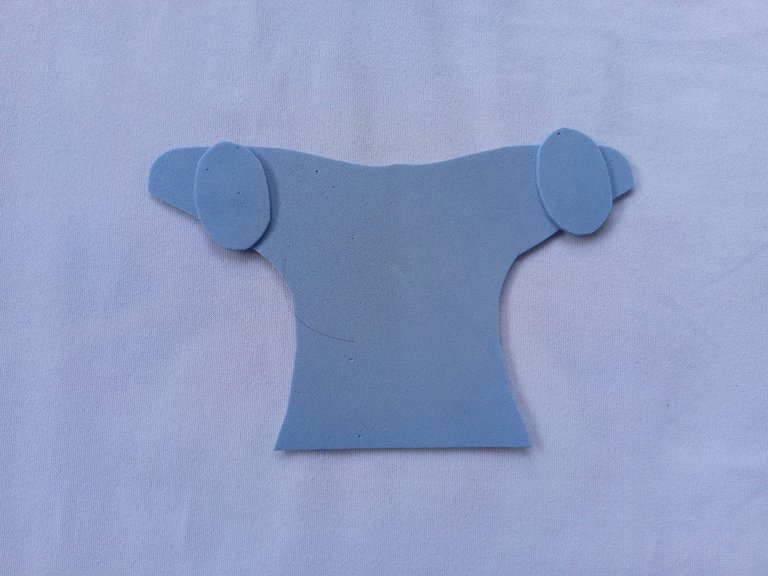
Ahora tendremos que tomar una de las piezas que hicimos en especial. En este caso es la pieza que tiene unos bordes redondeados y que es rectangular. Está pieza la juntaremos con la parte delantera de la gorra 🧢.
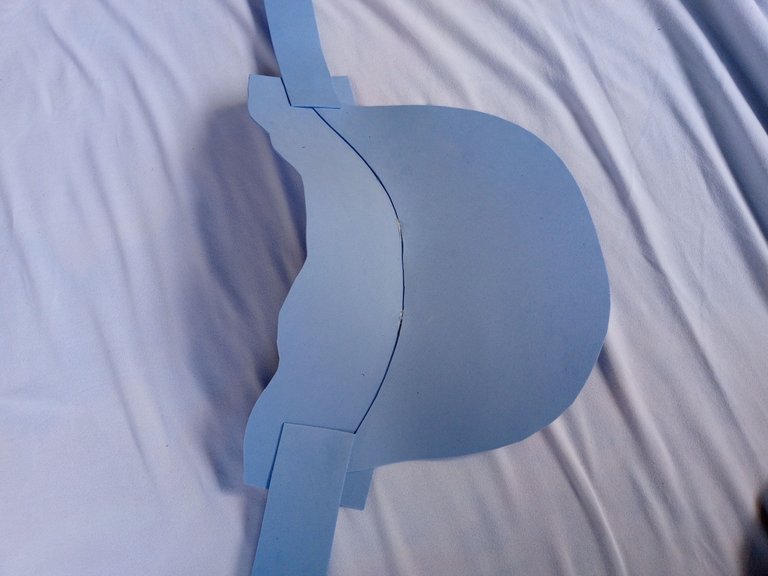
Ahora tomaremos los sujetadores anteriormente hechos y los juntaremos a la gorra 🧢.
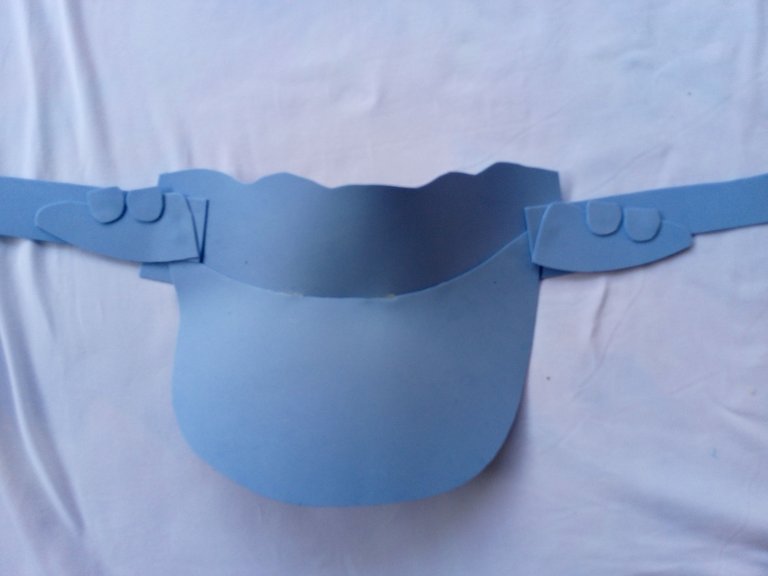
Hecho esto, tomaremos unas de las piezas decorativas las cuáles serían las aletas junto unos óvalos que le colocaremos arriba de la aleta para decorar y las juntaremos a la gorra, así nos quedaría:
Ahora realizaremos la cola de la ballena la cual tendrá unos óvalos en su parte trasera. (Está la usaremos más adelante).
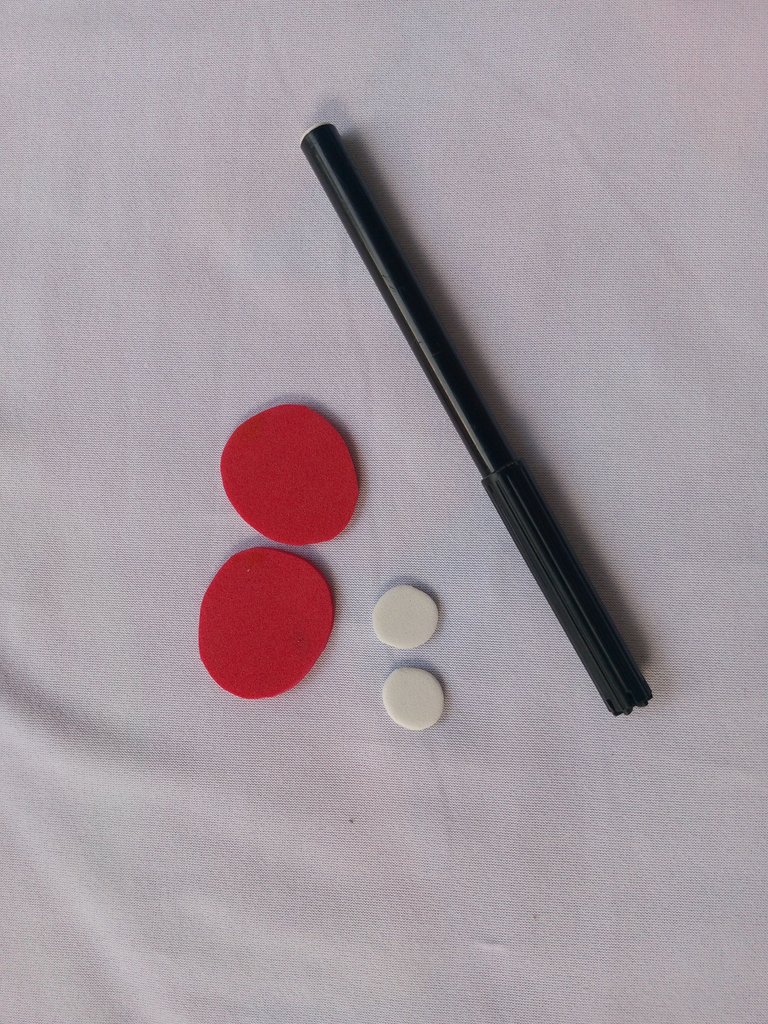
Ahora tomaremos unas de las piezas decorativas las cuáles serían: 2 círculos rojos y 2 círculos blancos, seguido de esto tomaremos un marcador.
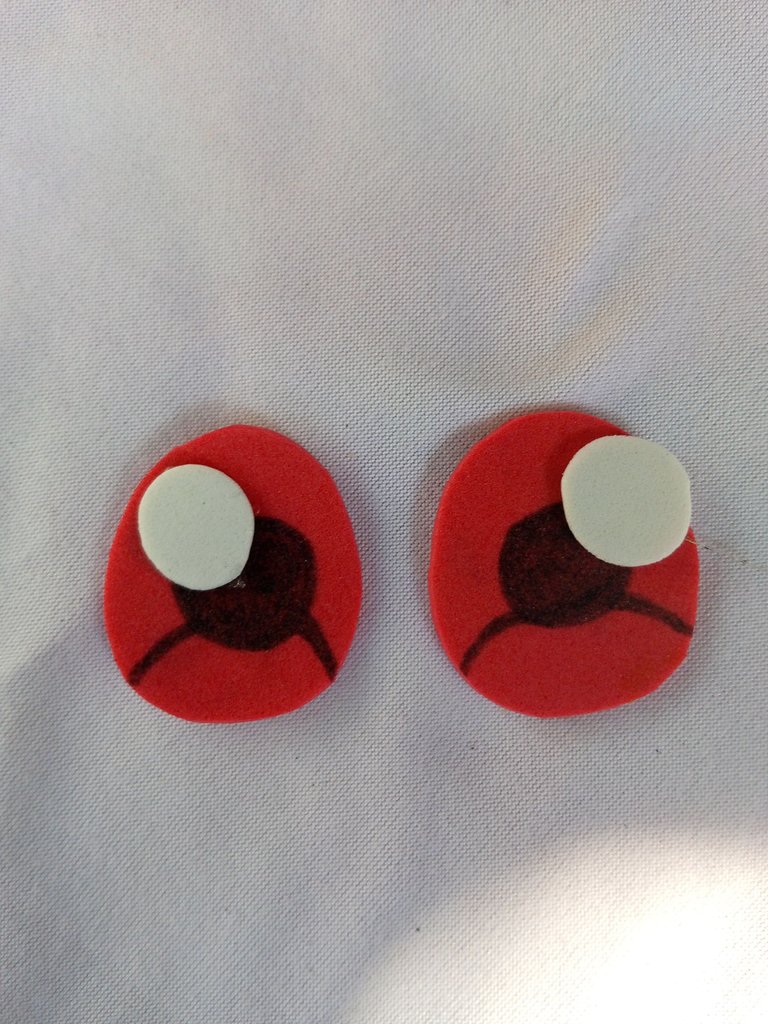
Ahora procederemos a realizar los ojos agregando detalles con el marcador y el círculo blanco anteriormente realizado será el brillo.
Posteriormente los pegaremos con una barra de silicona en la parte delantera de la gorra.
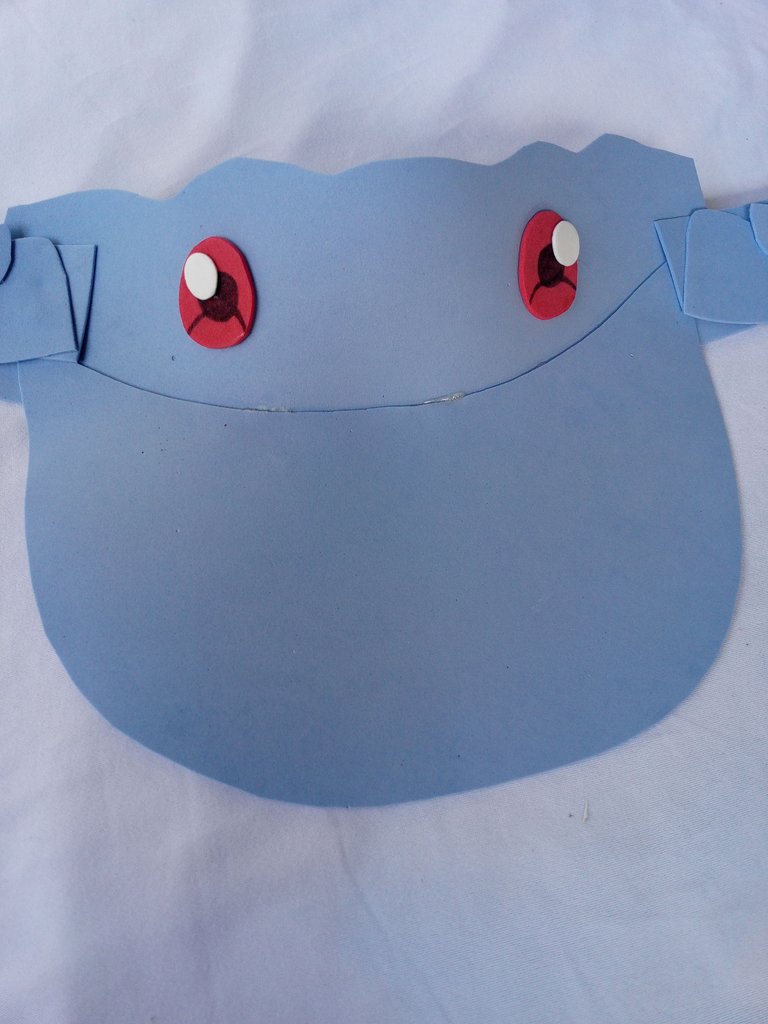
Seguido de esto uniremos tirante con tirante y los juntaremos con una barra de silicona.
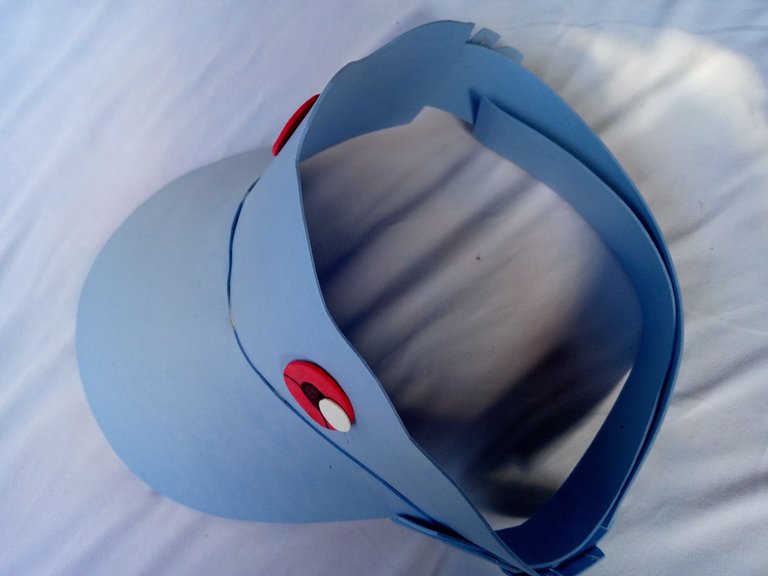
Ahora le colocaremos la cola que realizamos anteriormente y terminaríamos con este proceso dejando un bonito resultado.
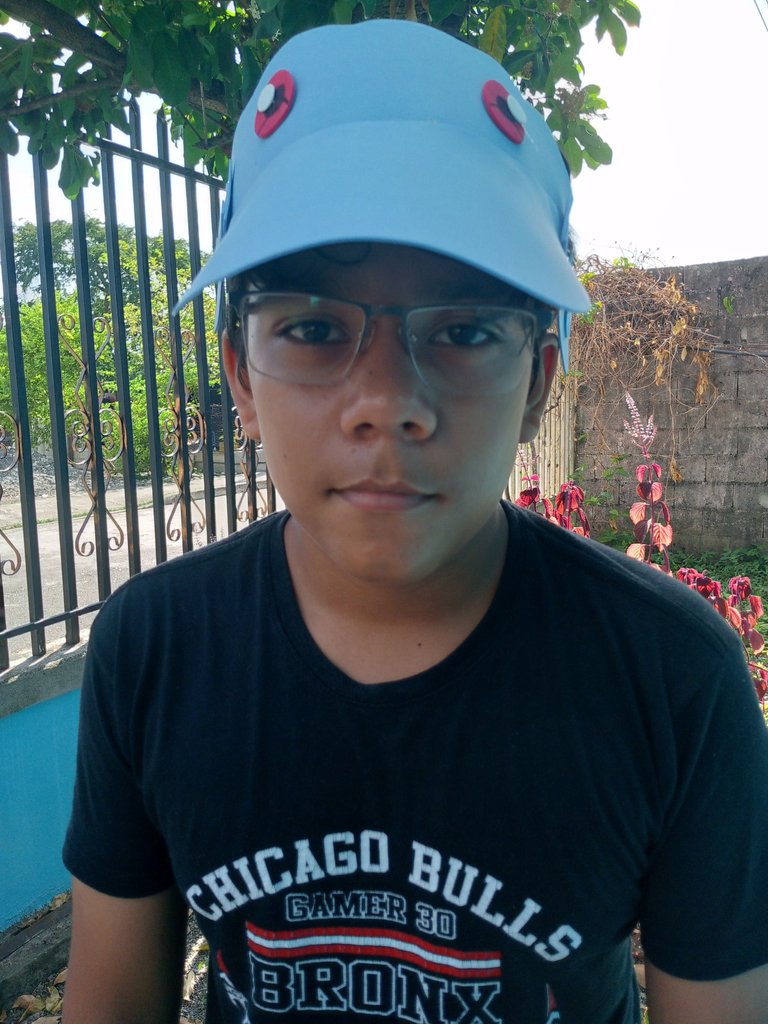
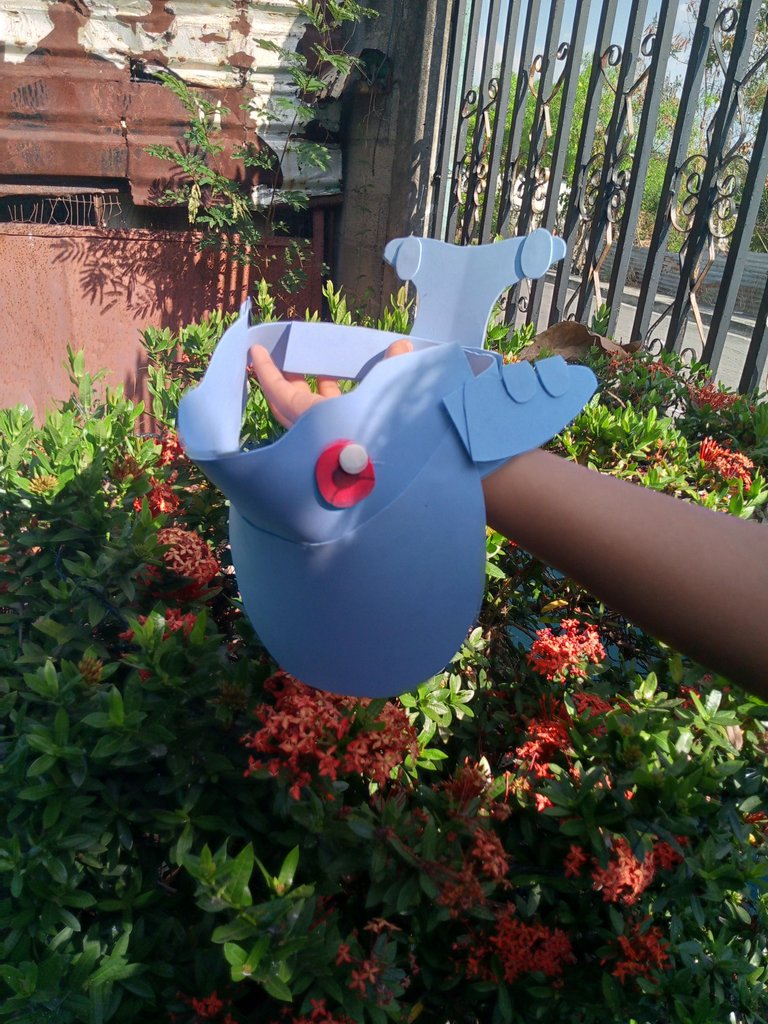
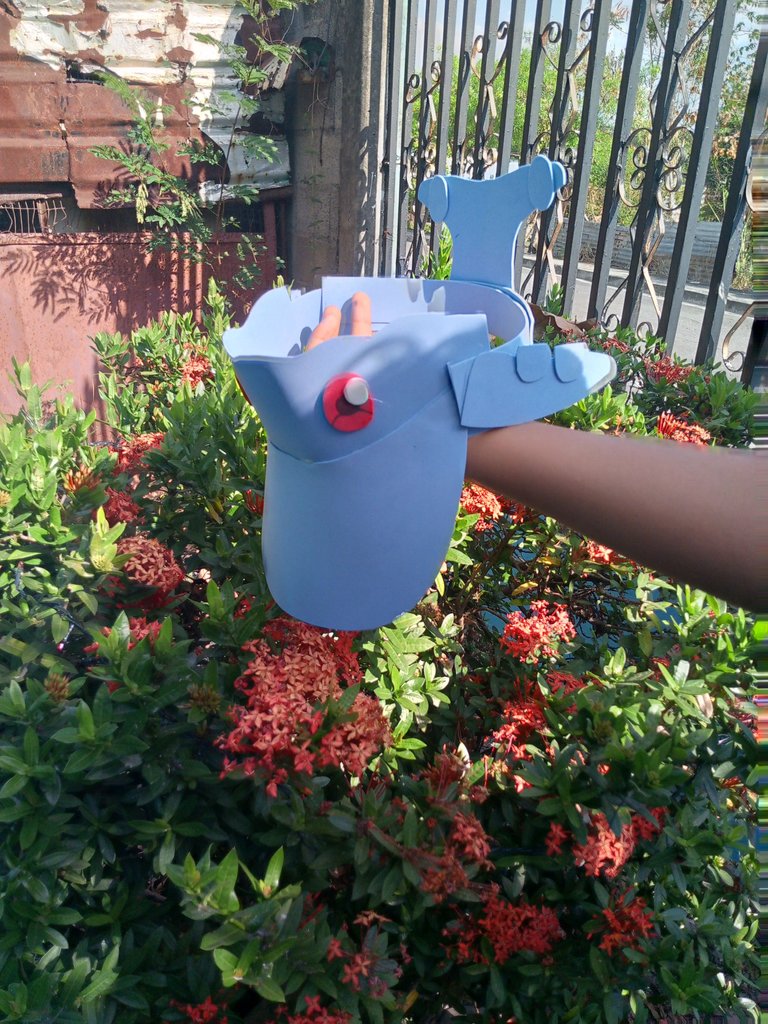
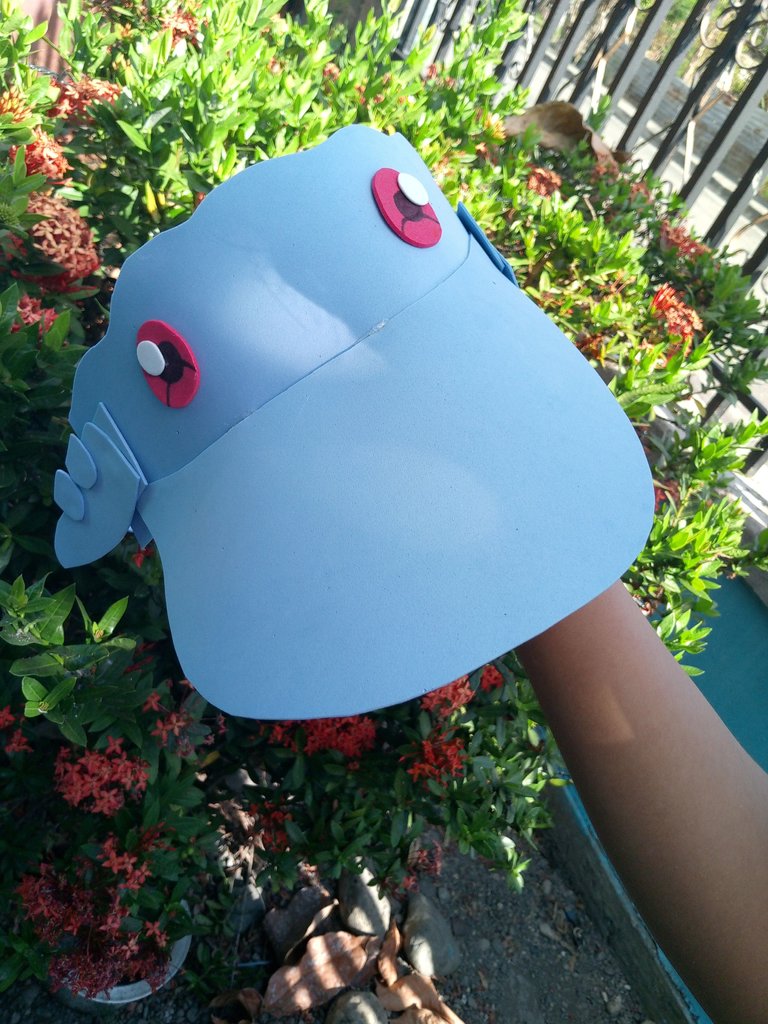
Acá una sesión de fotos de la ballena 🐋🐳
Pues bueno. Espero les haya gustado mucho este post, no se olviden de dejar en la caja 📦 de comentarios que tal les pareció, sin más nada que decir, Adiós.
English Versión:
Hello friends of the Holozing community. After approximately 3 days of starting the class period again, it has become somewhat difficult for me to publish. Due to time and fatigue, in addition to extra high school activities. Well, I was getting sleepy 🥱 and I was going to rest, but today I bring you a craft that my mom helped me do.
What I made today was a Water Whale cap with light blue foam and red foam. The truth is that it is a craft that can be done with fairly simple and inexpensive materials. This type of cap is ideal to personalize for a children's gathering or also a gift that they have pending. For the cap they will only use 2 different colors basically, in addition to silicone.
Now without anything else to say, let's get to work!
Well, the materials we will use will be:
1- A marker
2- blue foam
3- red foam
4- white foam (or can also be replaced with white paint)
5- Silicon.
Well, with these materials already gathered. We can now begin the creative process once and for all.
Clearly, first of all we must first measure our head 😃
First we will have to take our light blue and red foamis and cut some pieces which would be the front and back parts of the cap along with other pieces such as the bra and other decorative pieces that we will make.
Now we will have to take one of the pieces we made in particular. In this case it is the piece that has rounded edges and is rectangular. We will put this piece together with the front part of the cap 🧢.
Now we will take the previously made fasteners and attach them to the cap 🧢.
Once this is done, we will take some of the decorative pieces which would be the fins together with some ovals that we will place on top of the fin to decorate and we will attach them to the cap, this is how it would look:
Now we will make the tail of the whale which will have some ovals on the back. (We will use this later).
Now we will take some of the decorative pieces which would be: 2 red circles and 2 white circles, followed by this we will take a marker.
Now we will proceed to make the eyes adding details with the marker and the white circle previously made will be the shine.
Later we will glue them with a silicone bar to the front of the cap.
Following this we will join strap to strap and join them with a silicone bar.
Now we will add the glue that we did previously and we would finish this process leaving a beautiful result.
Here is a photo session of the whale 🐋🐳
Well well. I hope you liked this post a lot, don't forget to leave what you thought in the comments box 📦, with nothing more to say, Goodbye.
Te quedó muy linda la gorra 😊💚
Muchas gracias 👍👍😃😃
Chévere, muy creativo... Te felicito!
Muchas gracias 😃
Que linda gorra, una idea muy original y creativa, es la primera vez que veo una gorra de ballena.
Saludos!