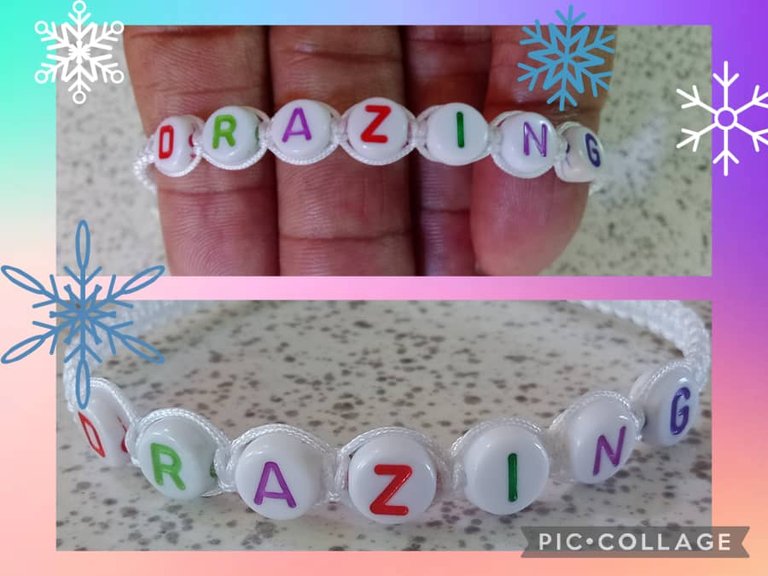
Today I want to share with you a fan art inspired by Drazing one of the new creatures in the game.
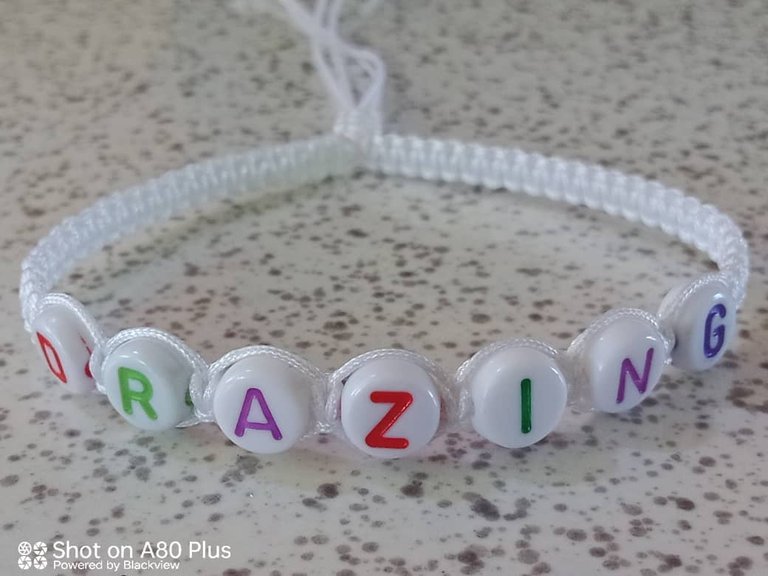
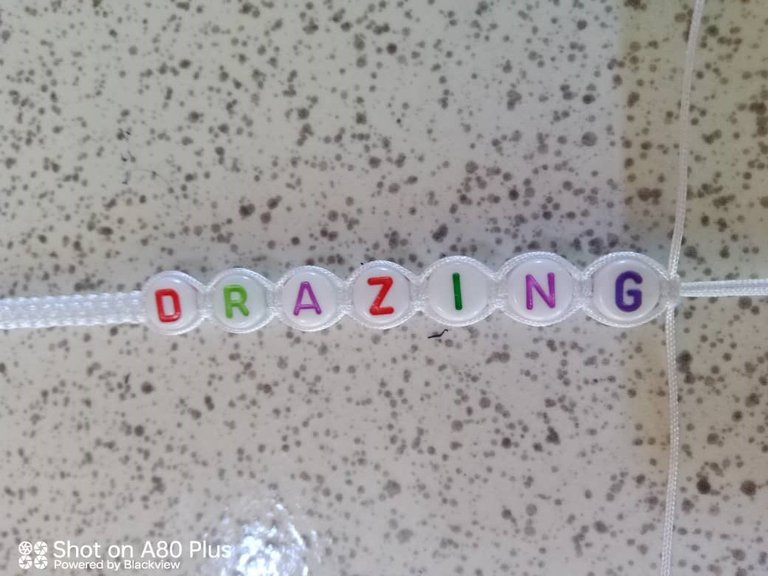
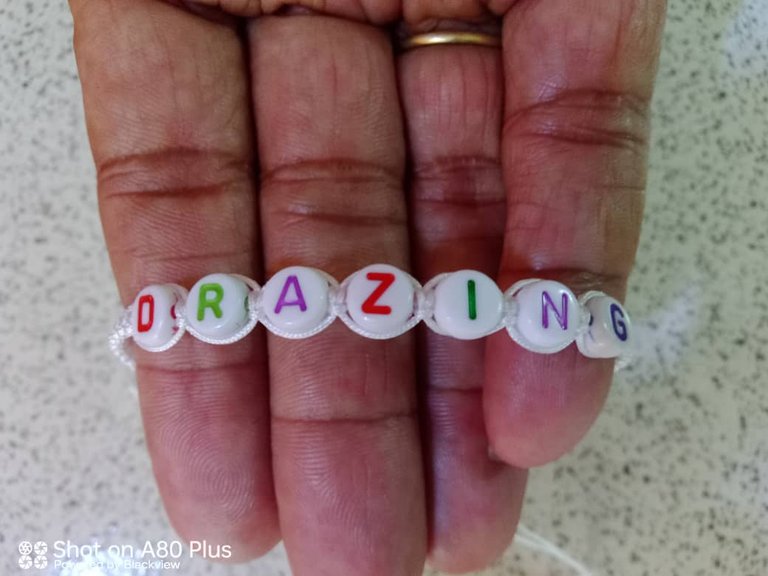
It is a beautiful flat knot bracelet inspired by the name of the character. It turned out very delicate, beautiful and attractive.
It is very simple to make and in just a few minutes we have it ready to wear.
God bless you and I hope you like my creation.
Hello #holozing community, back with you again in this beautiful community to share my creative project.
Hoy quiero compartir con ustedes un fan art inspirado en Drazing una de las criaturas nuevas del juego.
Se trata de una hermosa pulsera nudo plano inspirada en el nombre del personaje. Quedó muy delicada, hermosa y atractiva.
Es muy sencilla de hacer y en tan sólo pocos minutos lo tenemos listo para lucir.
Que Dios les bendiga y espero les guste mi creación.
Hola comunidad #holozing nuevamente con ustedes en esta hermosa comunidad para compartir mi proyecto creativo.
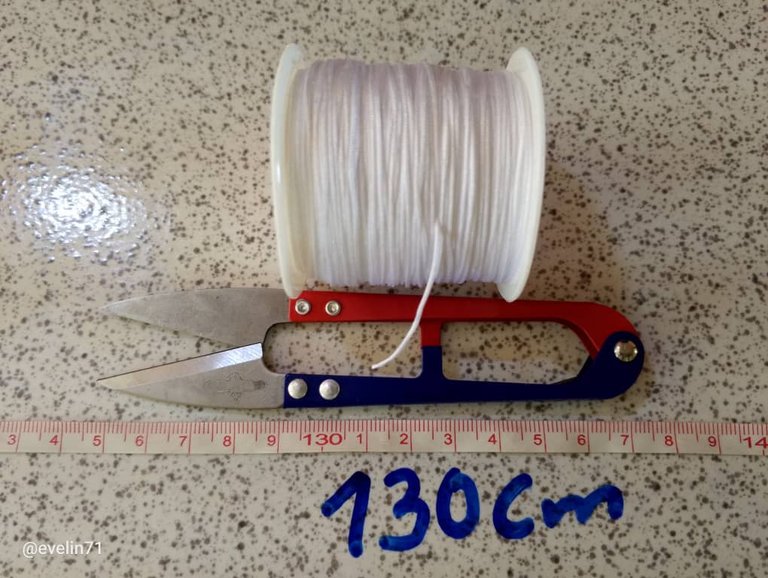
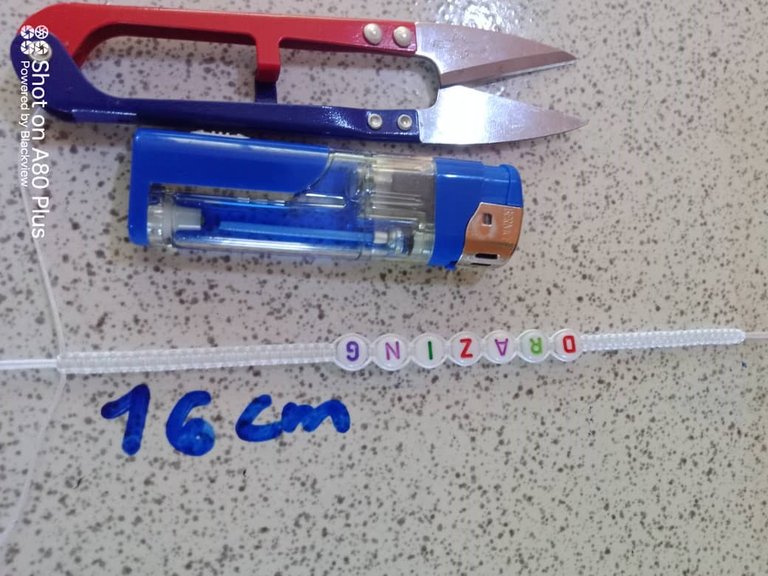
MATERIALS
Scissors
Adhesive tape
Chinese thread
Tape measure
Lighter
Letters
MATERIALES
Tijera
Cinta adhesiva
Hilo chino
Cinta métrica
Encendedor
Letras

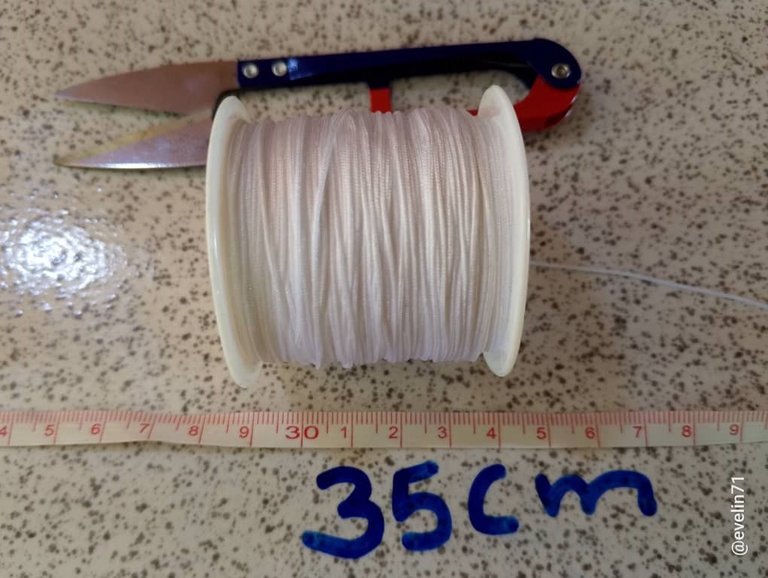
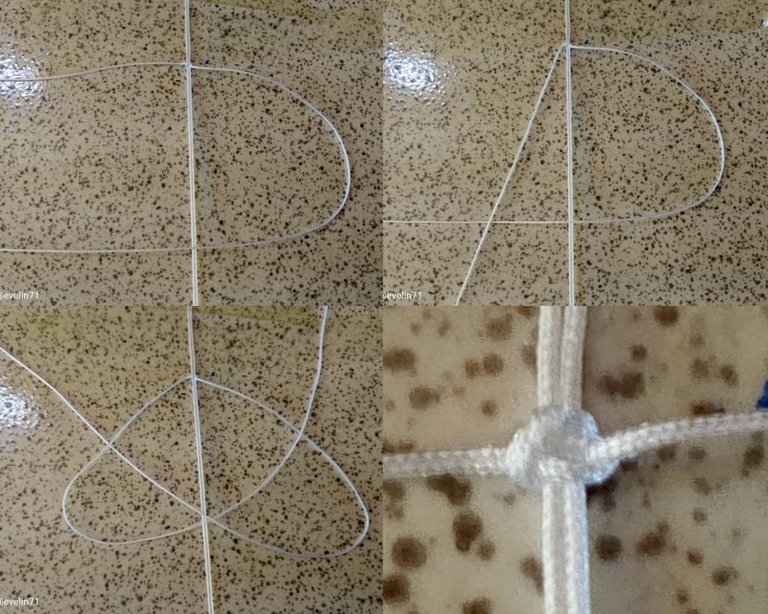
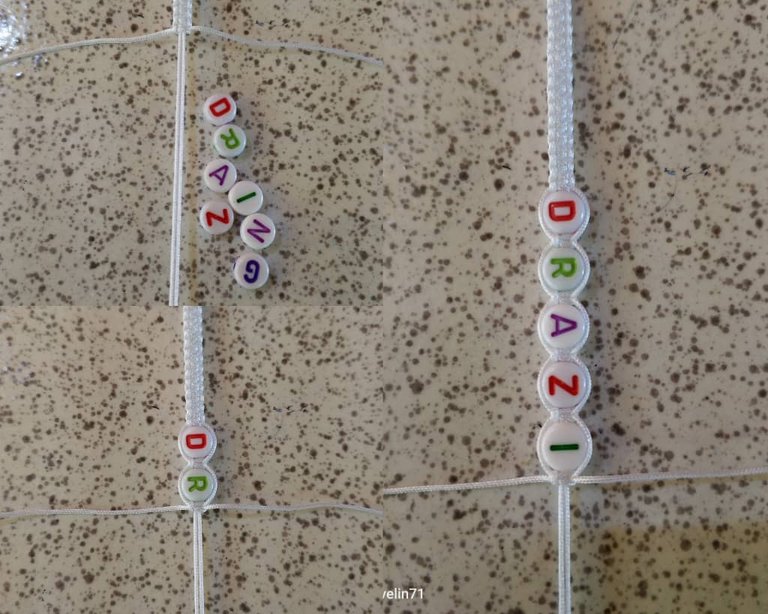
ELABORATION
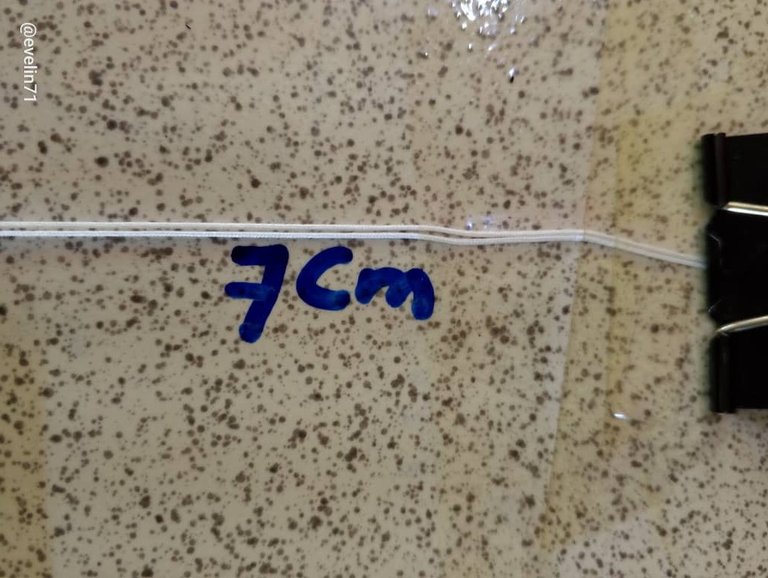
To start this delicate bracelet we are going to cut a 35cm strand of thread that we will use as a base.
ELABORACIÓN
Para comenzar ésta delicada pulsera vamos a cortar una hebra de hilo de 35cm que usaremos como base
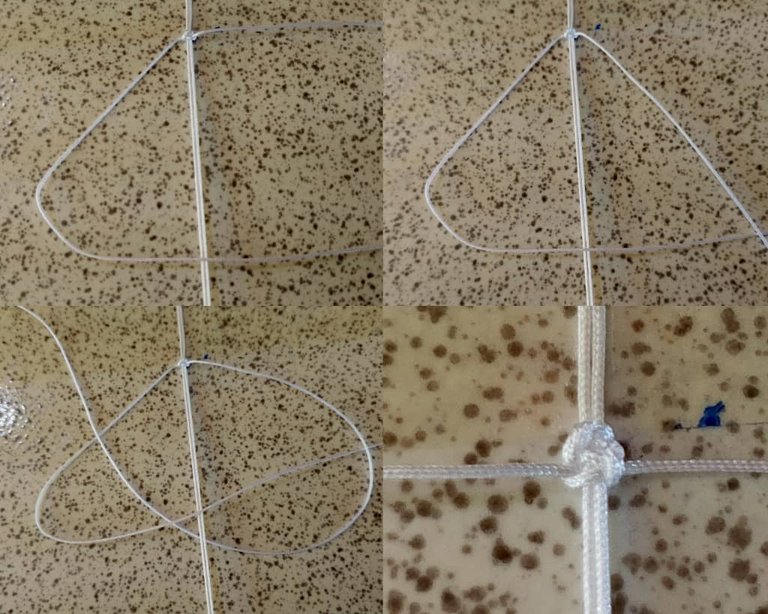
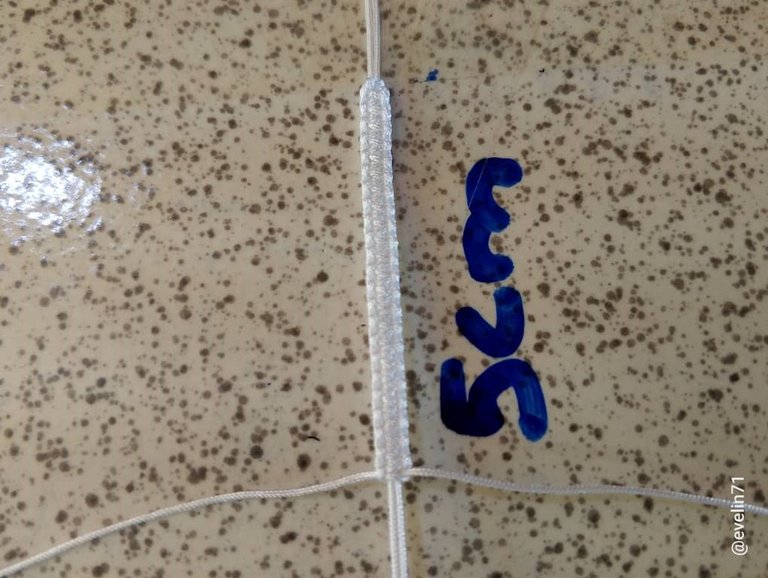
Seguimos tejiendo hasta llegar a 5cm.

     Todas las imágenes son de mi autoría

      All the images are of my authorship
Your bracelet looks so beautiful friend and the letters on the beads made it more fashionable and wonderful. Great work and thanks for sharing.