Pastel, rays, and lots of shine
I've been wanting to make a fanart for @Holozing for a long time, and finally the day has come. Imagine that I promised to do it a month ago, but I'm very slow at painting, but I've fulfilled it! And since so much time has passed, I've decided to go straight to the evolutions.
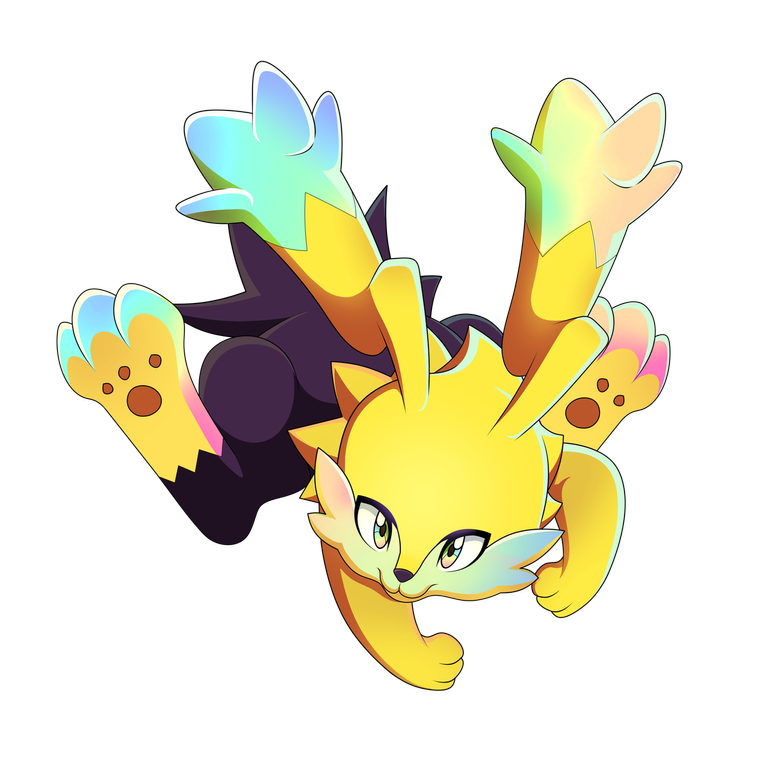
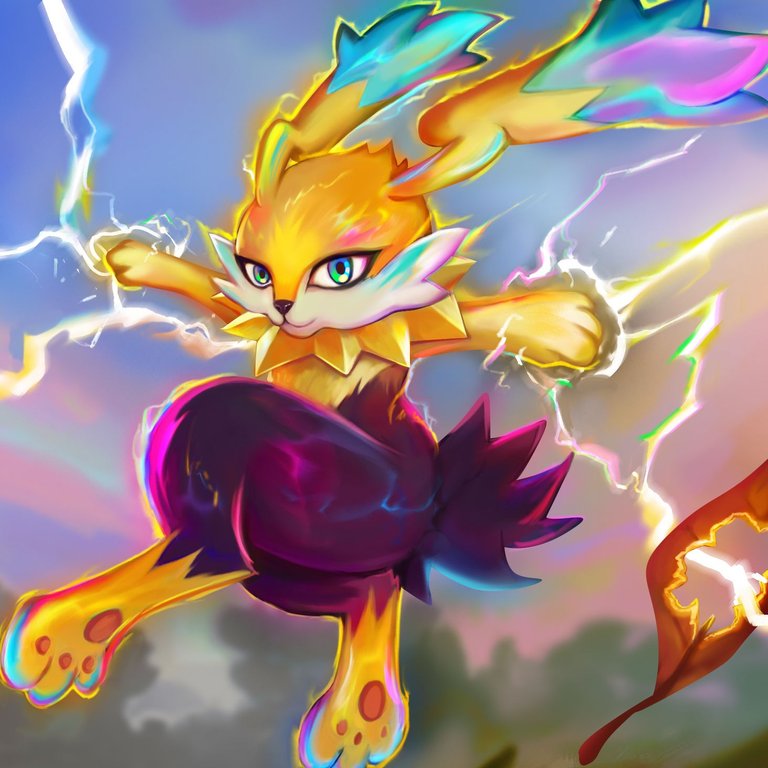
My first approach to Holozing was to redesign the characters as proposed in their Healer Traits contest, but when I saw the creatures and their Radiant and Holomax evolutions, I had to go for it, and Zappit looked amazing with the new colors of his Radiant HoloMax skin, so I went straight to choosing pastel colors and giving them a lot of brightness to enhance the spectacular nature of this Holo.


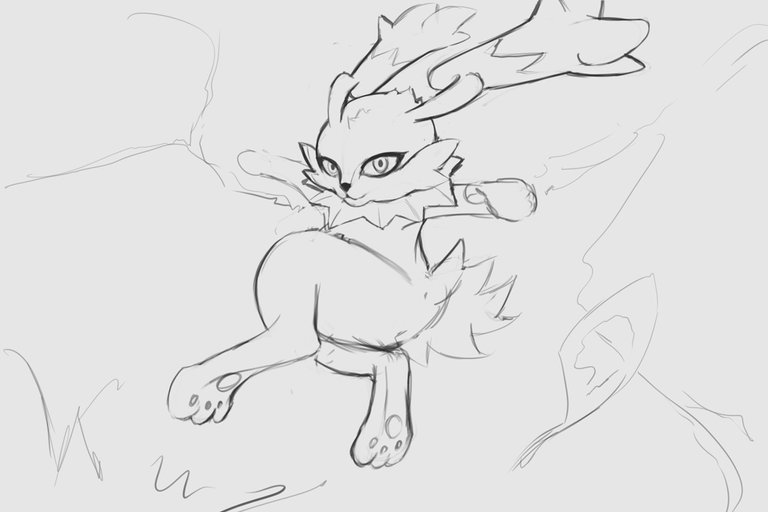
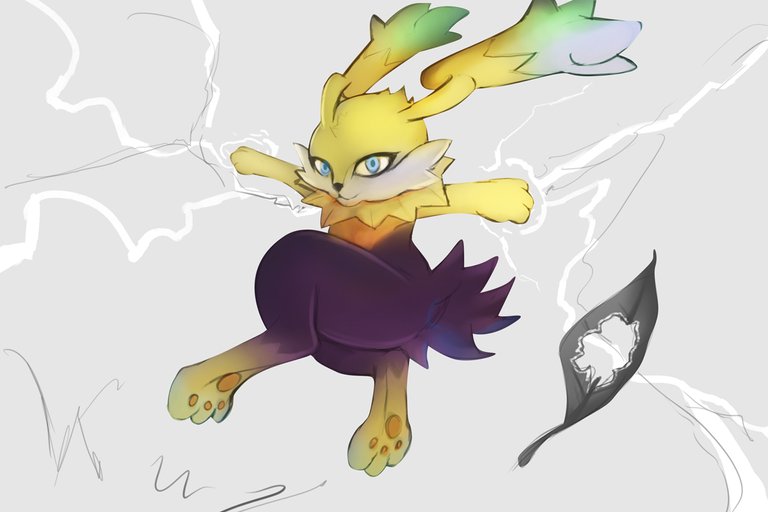
-Step 1:
The most important thing was to maintain Zappit's cute appearance, even if he's in a dynamic and action-filled pose, although what would give the scene the most dynamism would be the rays around him. It's also important to note that this time I decided to use grays to give volume to the character.
 |  |
|---|
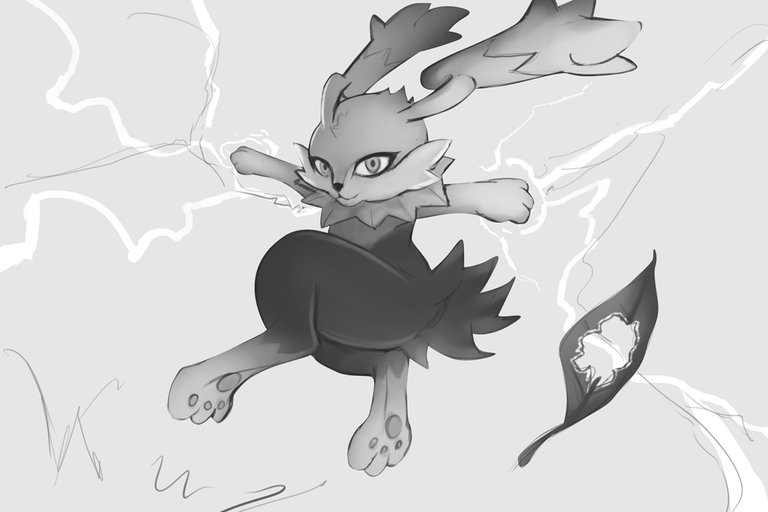
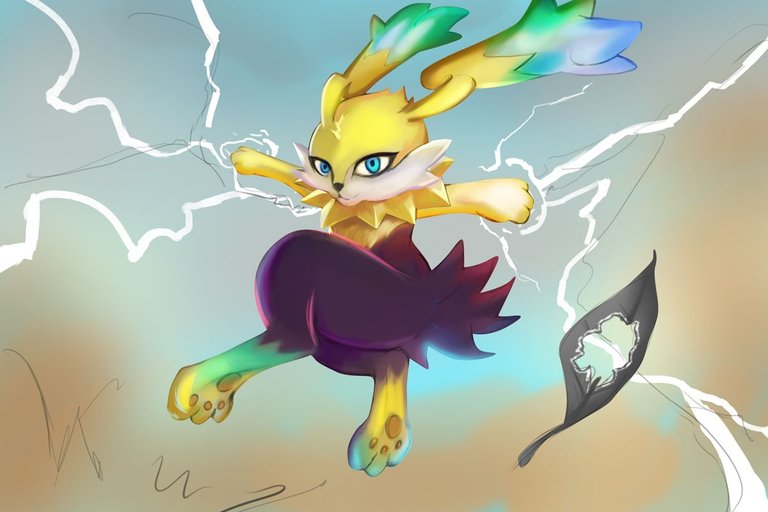
-Step 2:
Since I used the grayscale for the initial shading and volume of Zappit, the next step was to add color through blending modes, specifically "color," "soft light," and "overlay" because these modes don't affect the grayscale work done previously. However, it's worth mentioning that the coloring obtained with this method doesn't produce very vibrant colors. Therefore, I use this method more to establish the volume and lighting before focusing on the color palette.
 |  |
|---|
-Step 3:
The original color of Zappit is a strong orange, and while it's true that his Radiant Holomax version is very yellow, I wanted to incorporate some of that orange to accentuate the volume of the character and work on the shadows in the folds of his ears and under his neck. I also used the "hard light" blending mode to diversify colors for the iridescent effect.
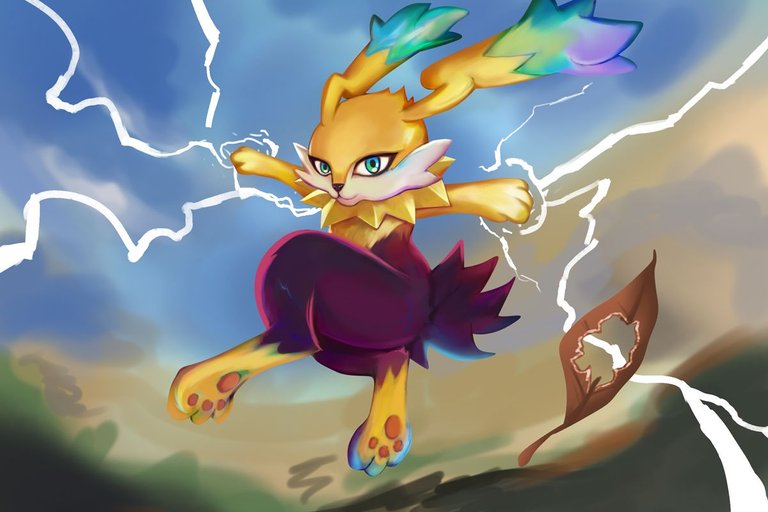
-Step 4:
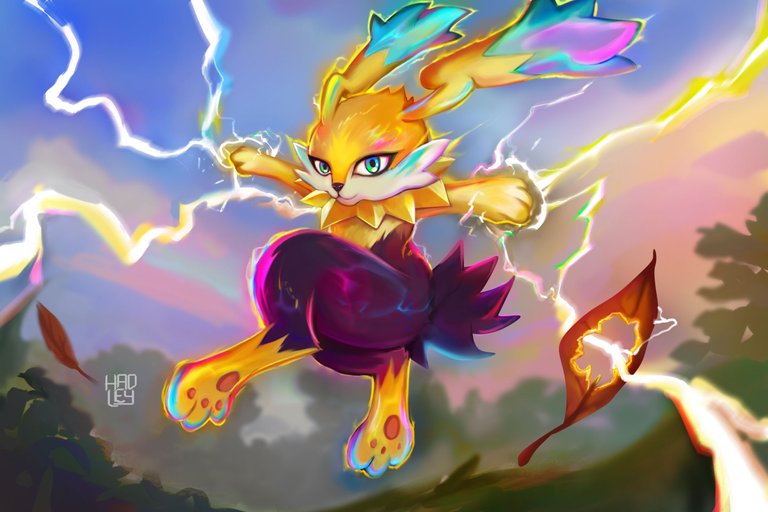
I worked on the background to give depth to the scene, and at the same time, I took the opportunity to highlight Zappit's power and brightness by adding a bright border around him and blending it with the Smudge tool to separate the character from the background. Here, I also added the variety of iridescent or radiant colors subtly in places like the "whiskers," the legs, but especially at the tips of his ears, and not forgetting the rays which, for me, are part of the character.

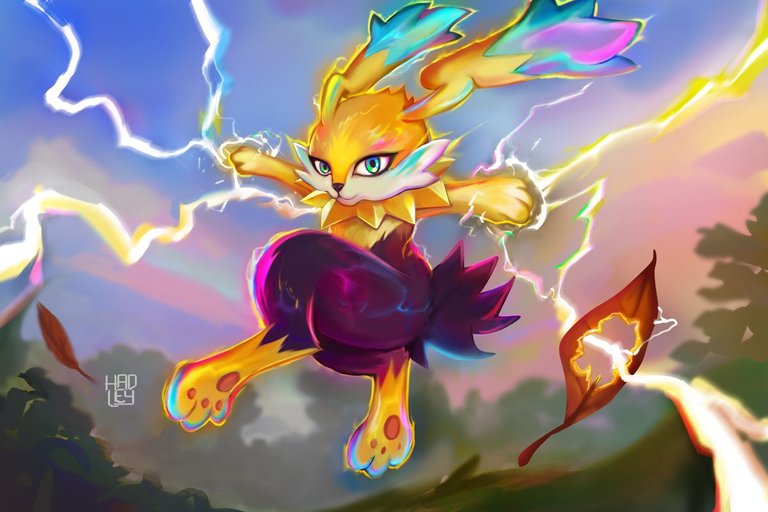
-Step 5:
The final rendering of the painting was based on accentuating the radiance of the character, where I think I may have even gone a bit overboard with the color saturation, but I was able to maintain my initial intention of having a daytime scene with pastel colors. I tried darkening the background, and the character stood out much more, with the rays becoming 100% the protagonists, but I've done that before and wanted to try something new to gain more experience.
But I also promise you that this is the first Radiant Holomax, so I can still practice even more while continuing to share more of my art with you, dear readers.
I will leave you a GIF with the whole process on it, so you can better appreciate the illustration process.

See you in a future post!
Thank You for Supporting My Artwork
▶️  |
| |
| |
| |
| |
| ◀️
◀️
TWITTER | GHOSTMARKET |TERRA VIRTUA |NFT SHOWROOM | INSTAGRAM | FACEBOOK
⬆️ Follow ⬆️

I loved it! The lights and colors were great! the detail that I liked the most is the lightning bolt going through the leaf, the perspective was great<3
Wow, that effect of the rays going through the leaf is great, well done friend, the natural landscape in the background contrasts well with the electric hare. Happy day!