ENGLISH VERSION (click here!)
Pencil holder inspired by Miu fanart
Hi hiver friends video game and #holozing lovers, a few weeks ago I found out about this new game within Hive and I really liked the theme and the story that it will focus on and the characters that have been revealed a few days ago I made my first delegation.
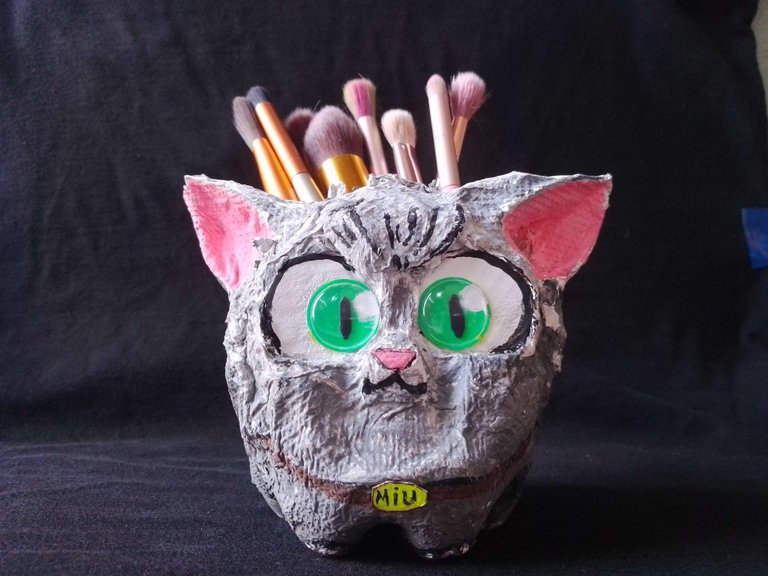
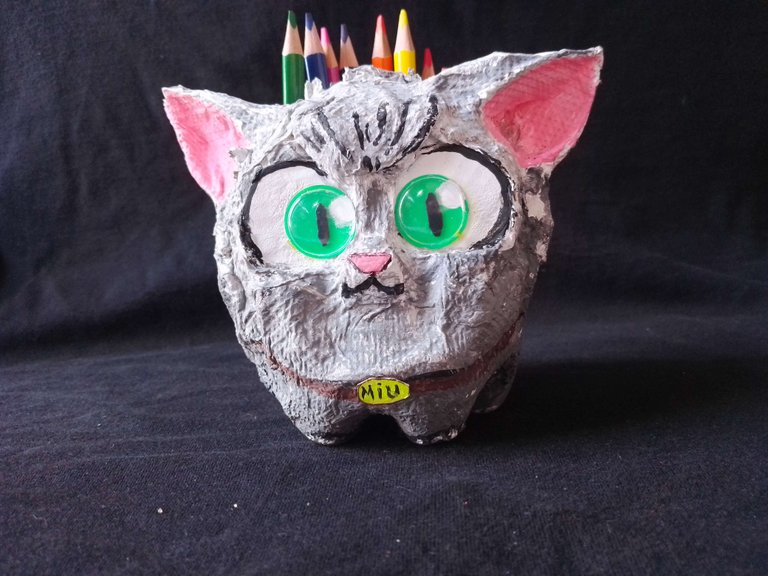
One of the characters I liked the most is Mui. I am a cat lover, so I wanted to make this holozing character with recyclable materials that would be decorative, but at the same time help me to get organised, so I made a crayon and brush holder inspired by Miu from holozing
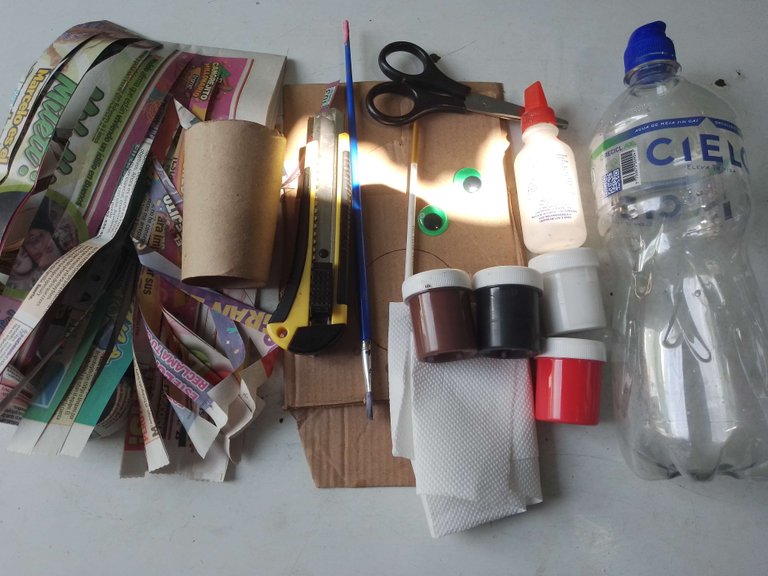
Flat cardboard.
Cardboard cylinder.
One litre water container.
Magic eyes.
Scissors.
Paintbrushes.
Paints: white, grey, brown, pink, black and yellow.
Cutting or exacto blade.
Newspaper cut into strips.
White glue.
Procedure:
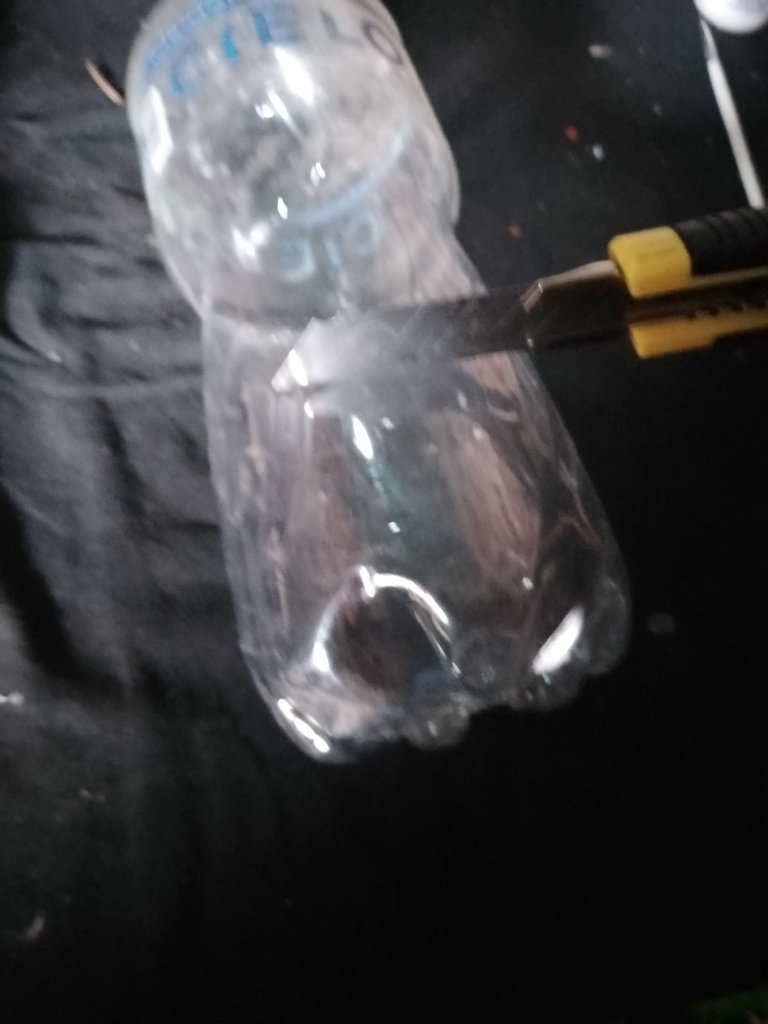
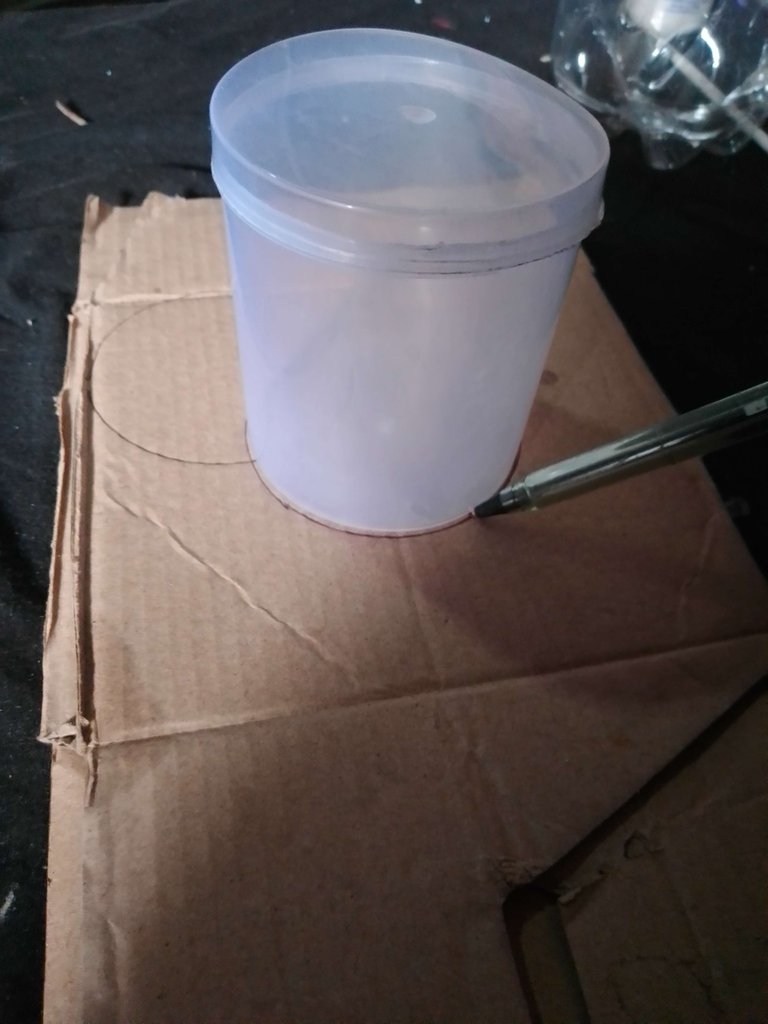
First of all I cut the plastic bottle 1/4 down the middle and, to what was left of the bottle, I chose a side that would be the front and on it I placed a circle of cardboard that I had previously cut, so that it would be Mui's face. On flat cardboard, I drew and cut out two circles that would be the character's eyes. Then, using newspaper strips, I began to line the bottle and glue the cardboard face onto the bottle.

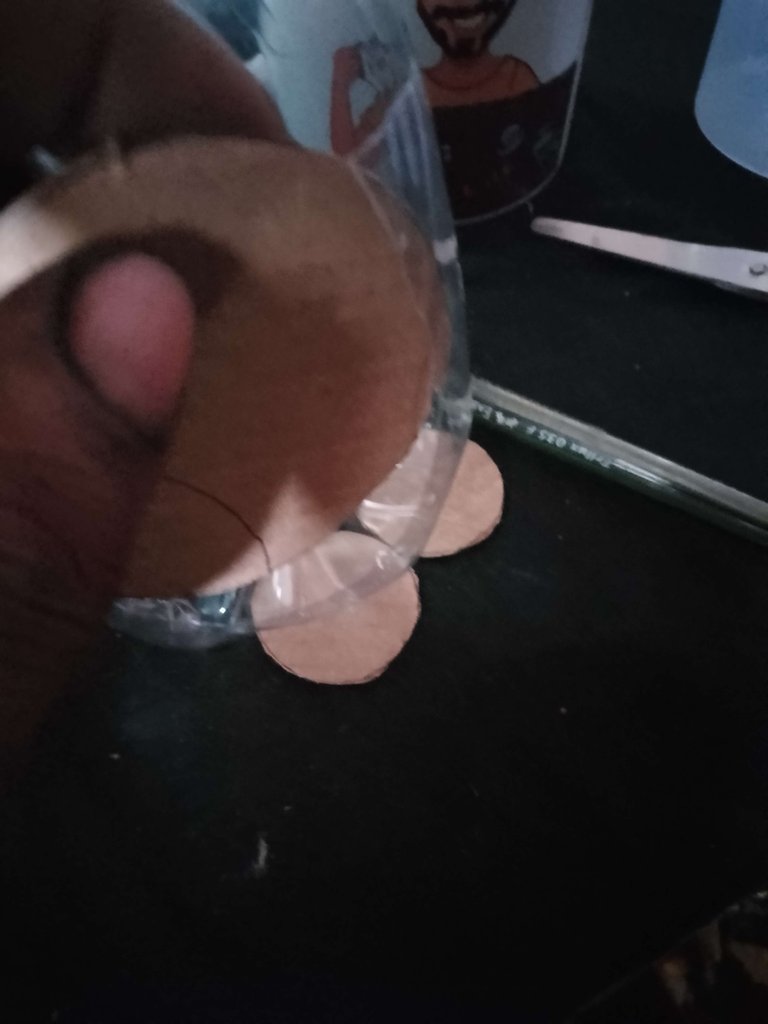
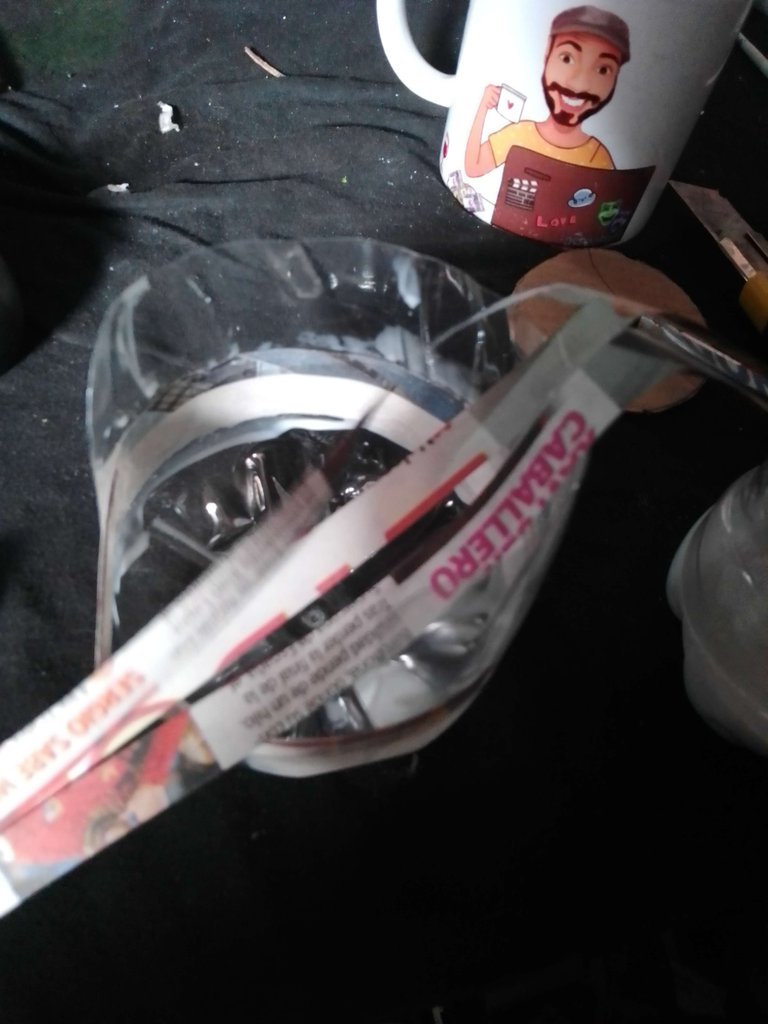
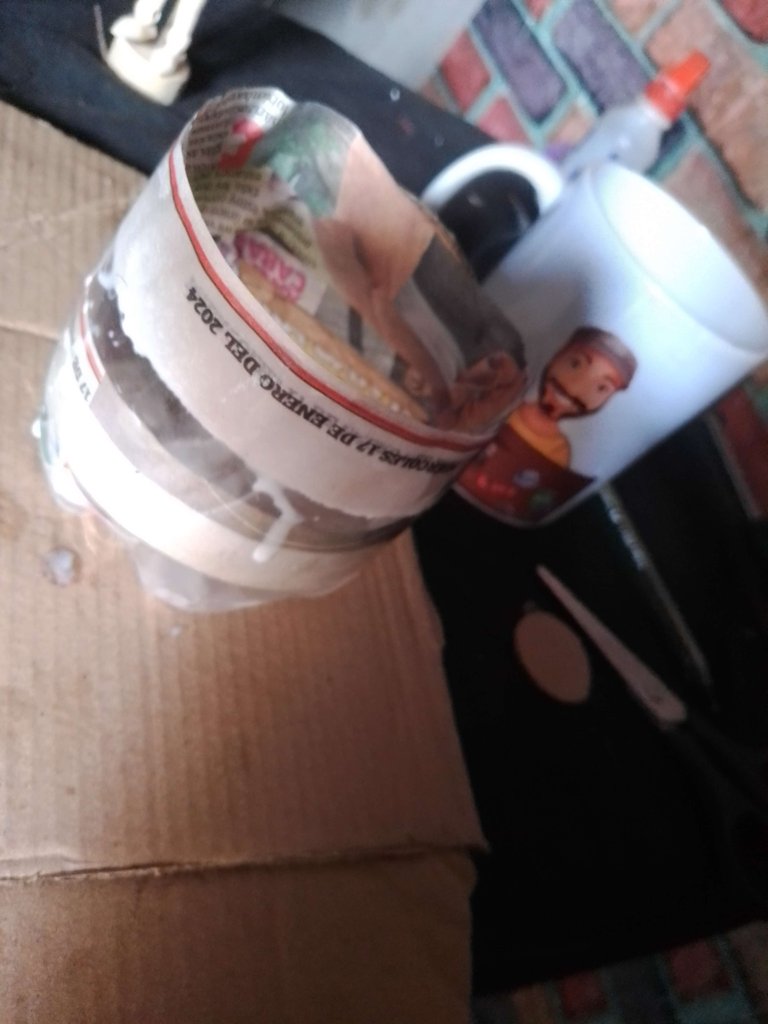

I also cut a piece of plastic from the rest of the bottle and placed it as the top of the container that I am lining with newspaper. The strips of newspaper while covering the bottle I use to attach all the cardboard and plastic elements to the bottle without using silicone.
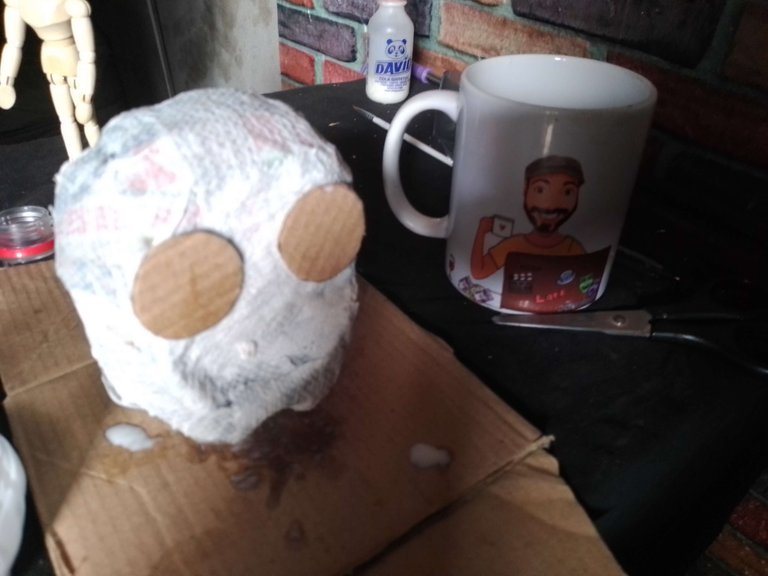
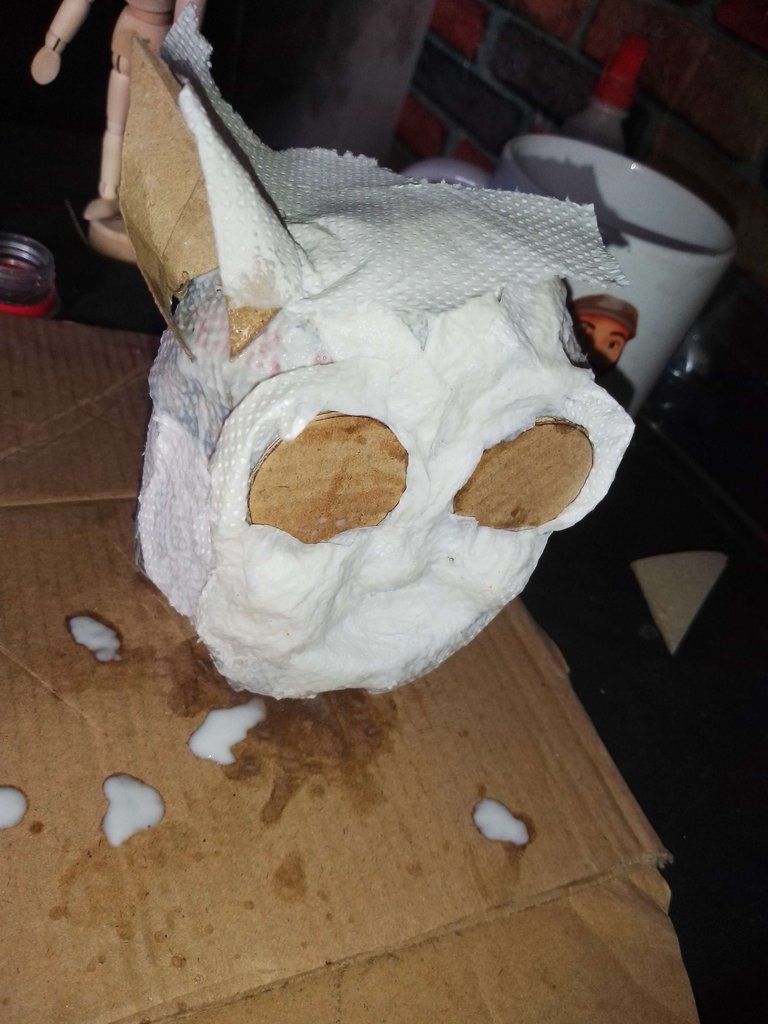
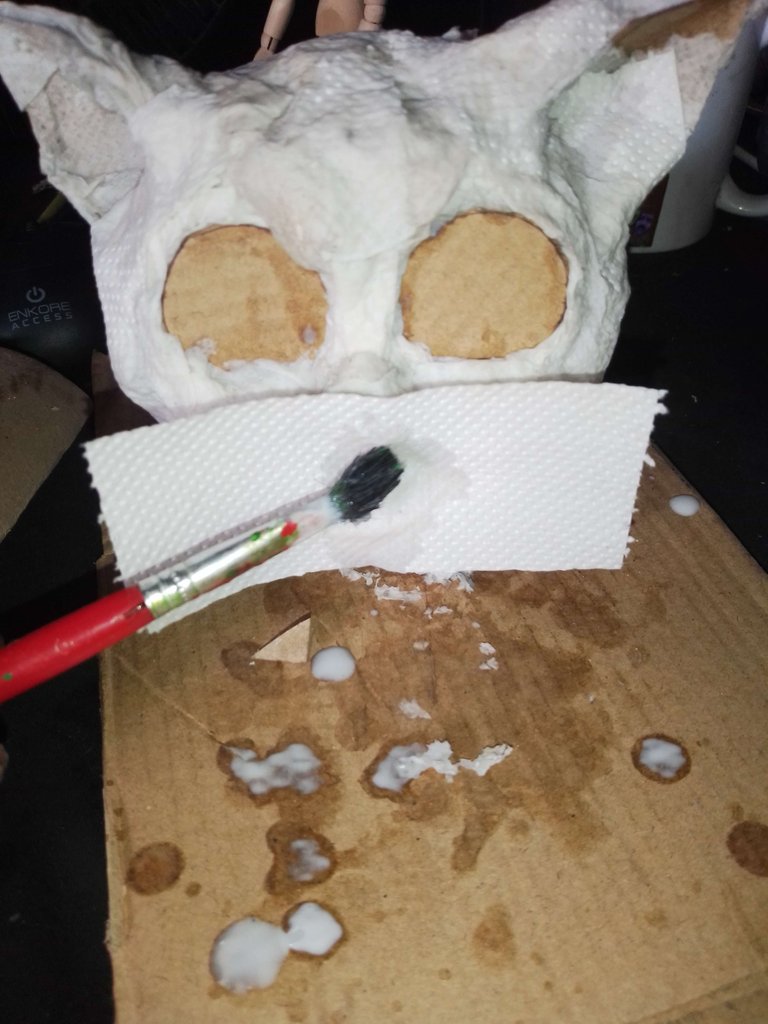
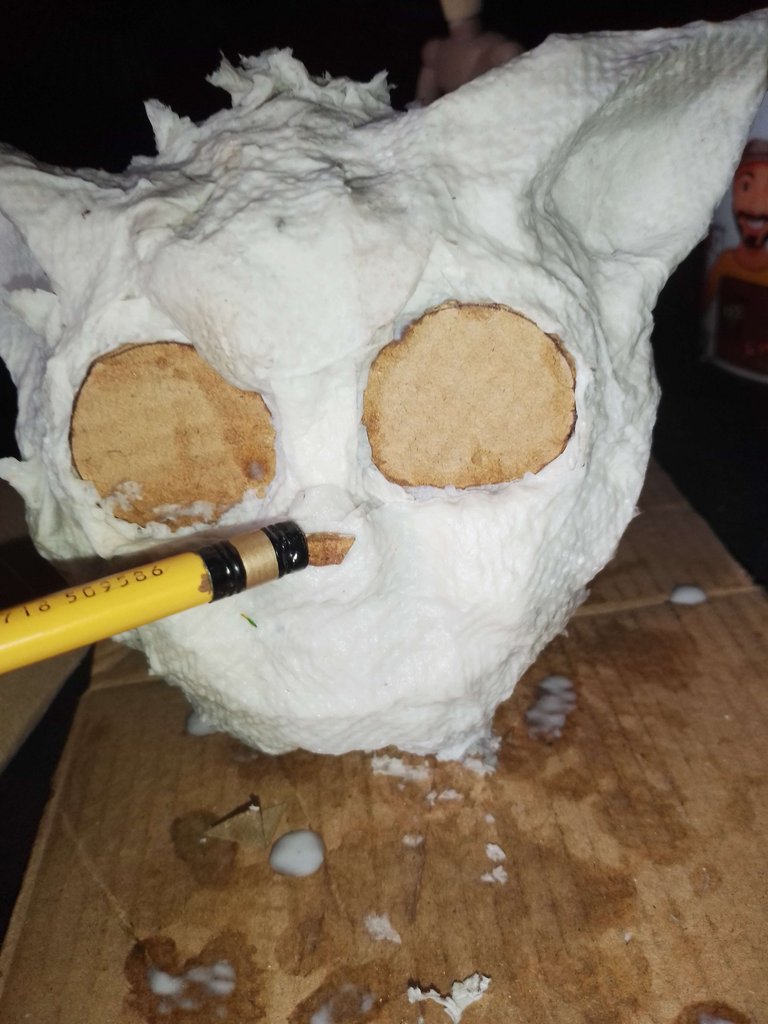
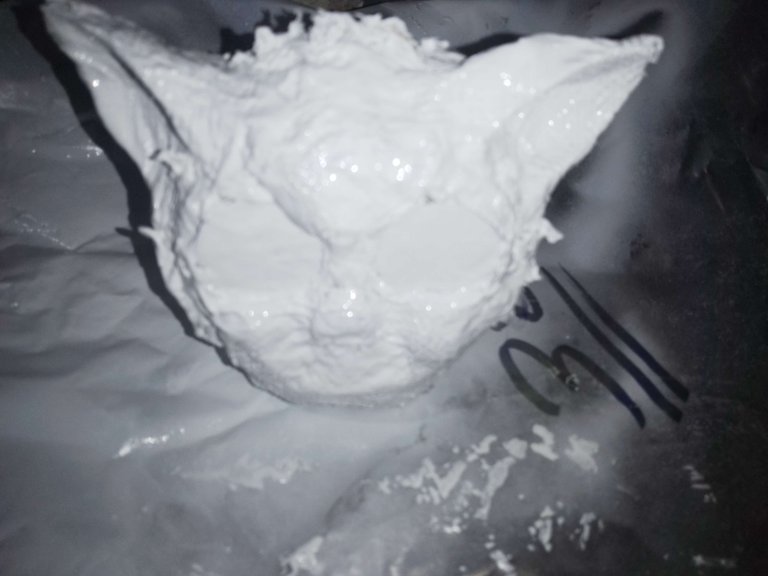
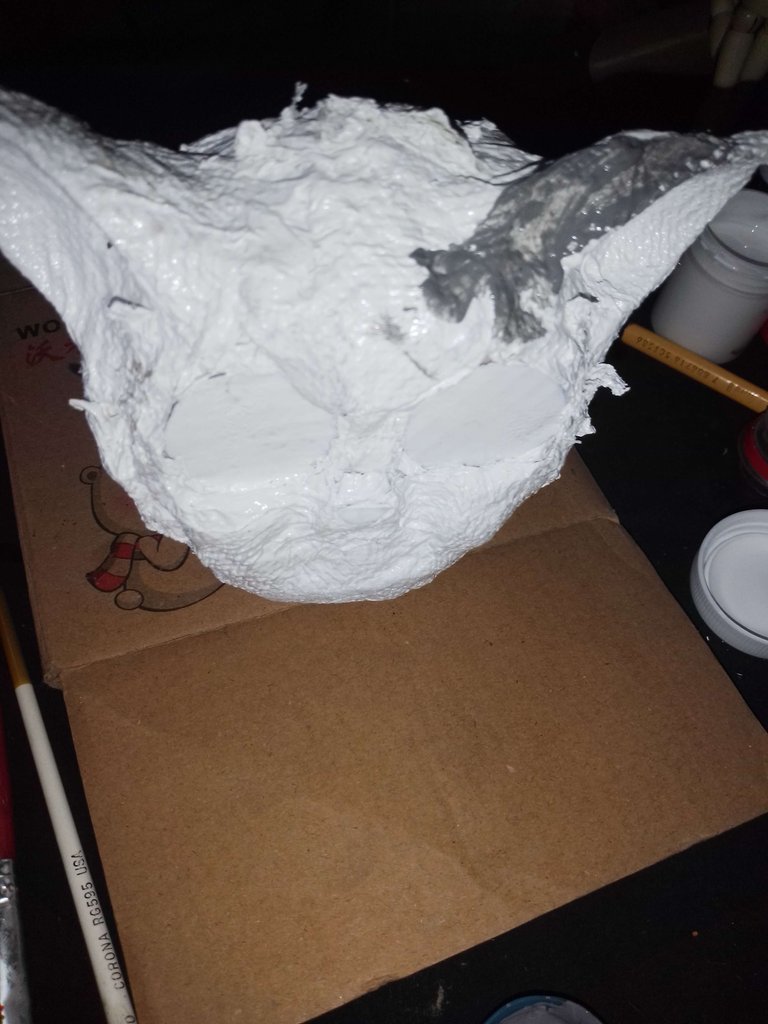
Once the first layer was covered with newspaper, I proceeded to line with paper towel or toilet paper using white glue diluted in water and with the help of a paintbrush, then I dipped small pieces of paper towel with glue, flattened and placed them on the face of my figure to give it relief and demarcate the cheeks and the muzzle. I also glued the two circles to the character and moulded the surroundings of the eyes and the forehead of MIU.

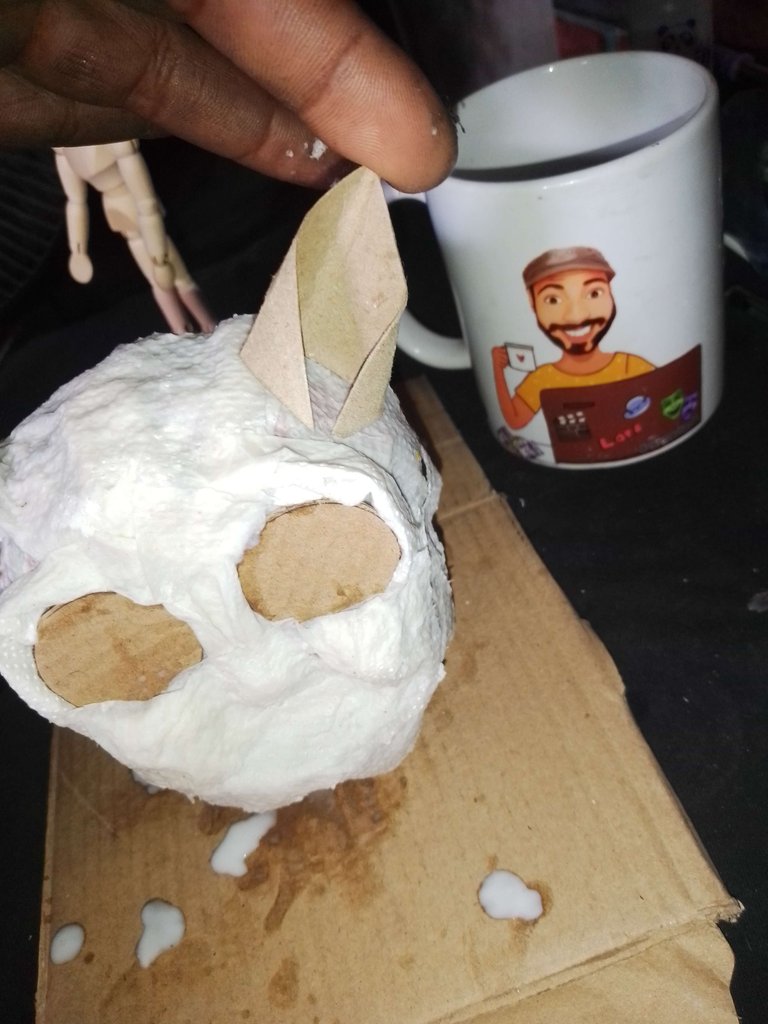
With the cardboard cylinder I cut two corners in the shape of a triangle and then attached it to the figure using paper, towel and white glue, placing several layers to create a solid structure and placed the figure in the sun for 20 minutes.
While my figure was drying, I started working on the eyes.
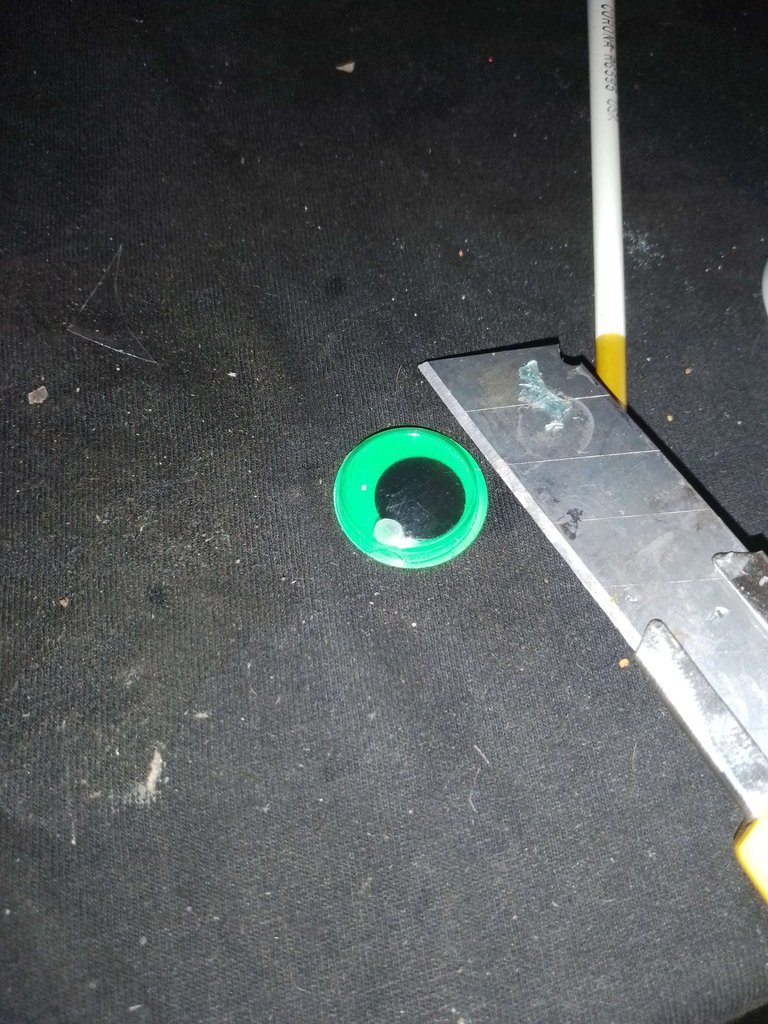
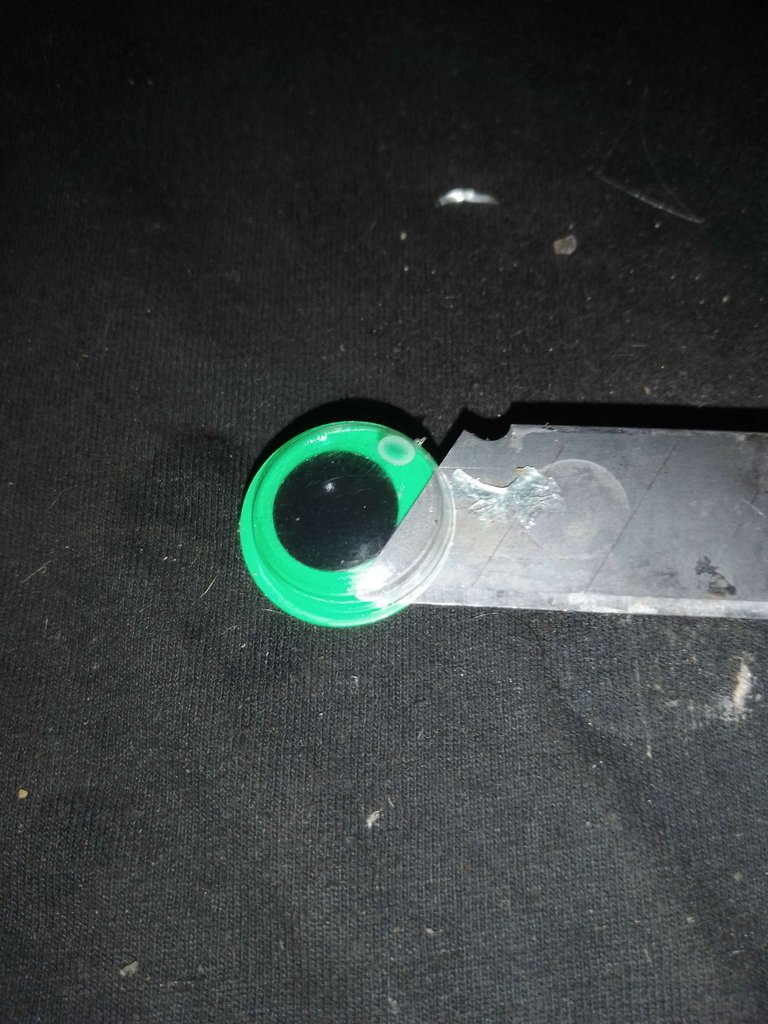
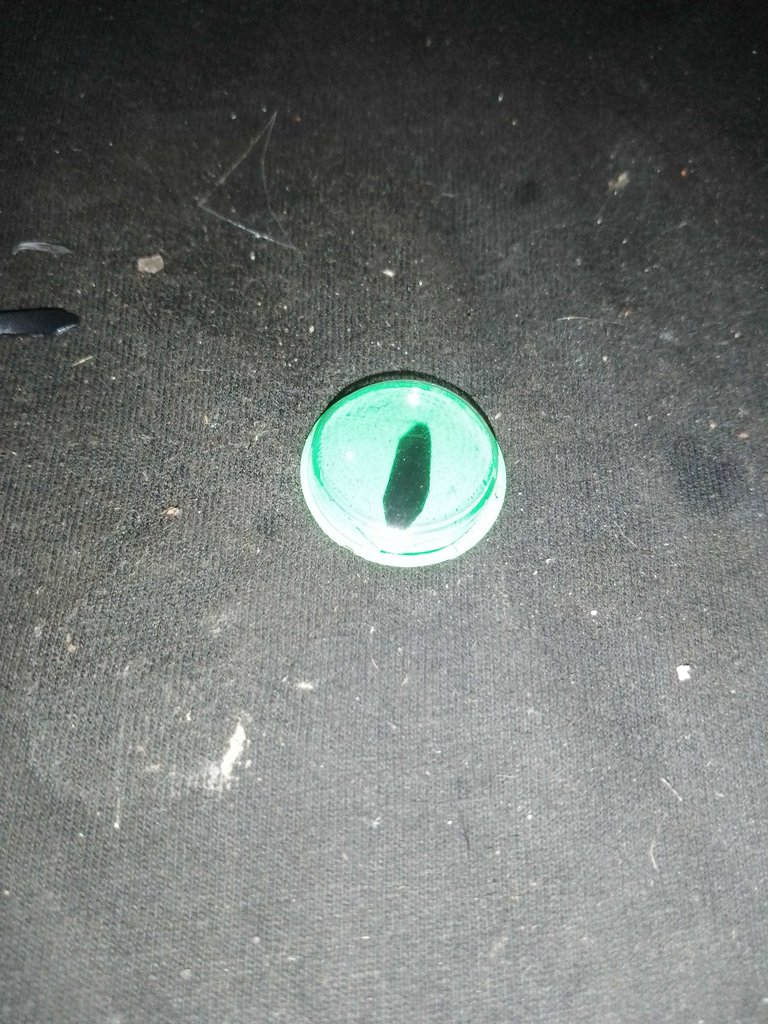
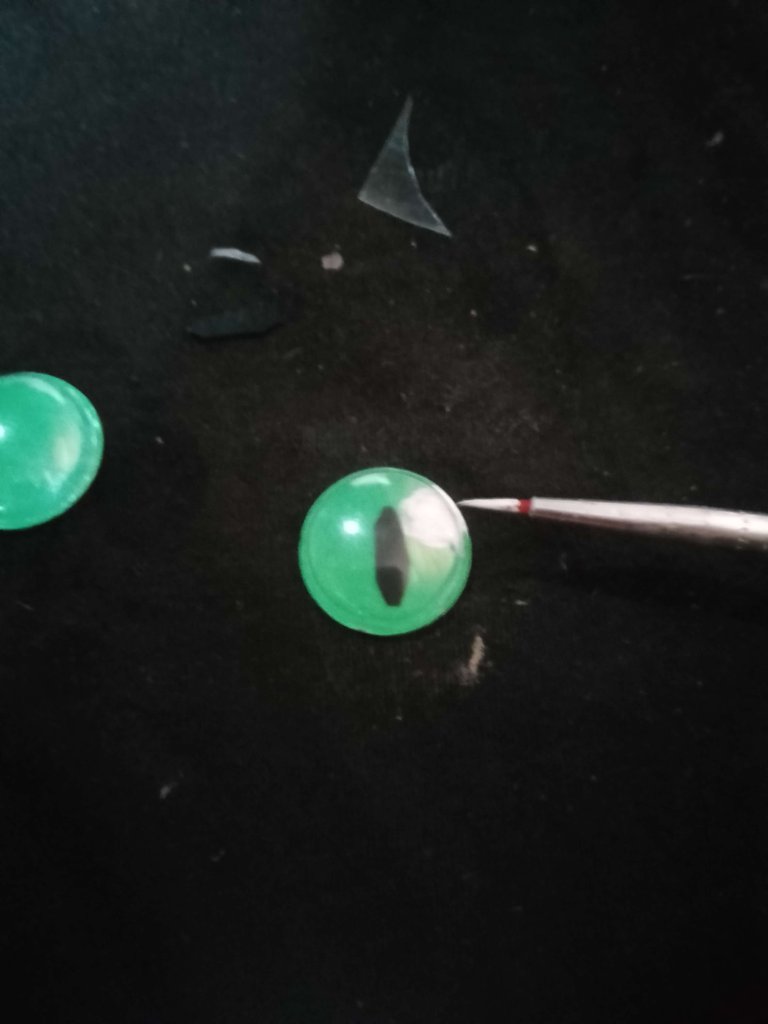
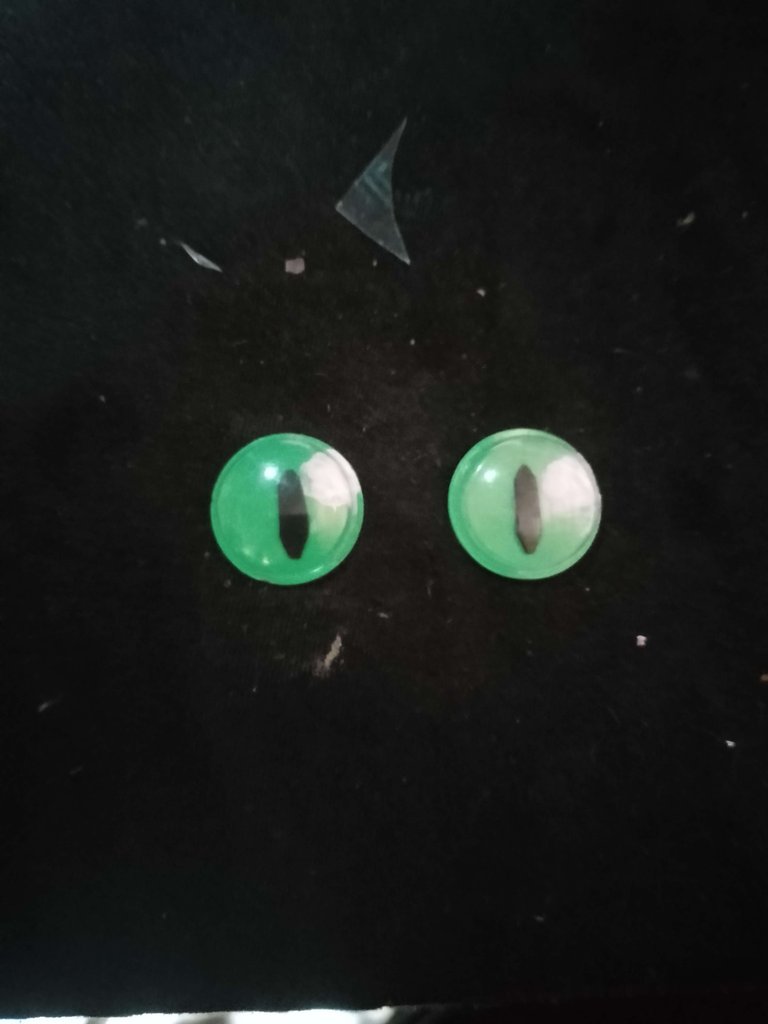
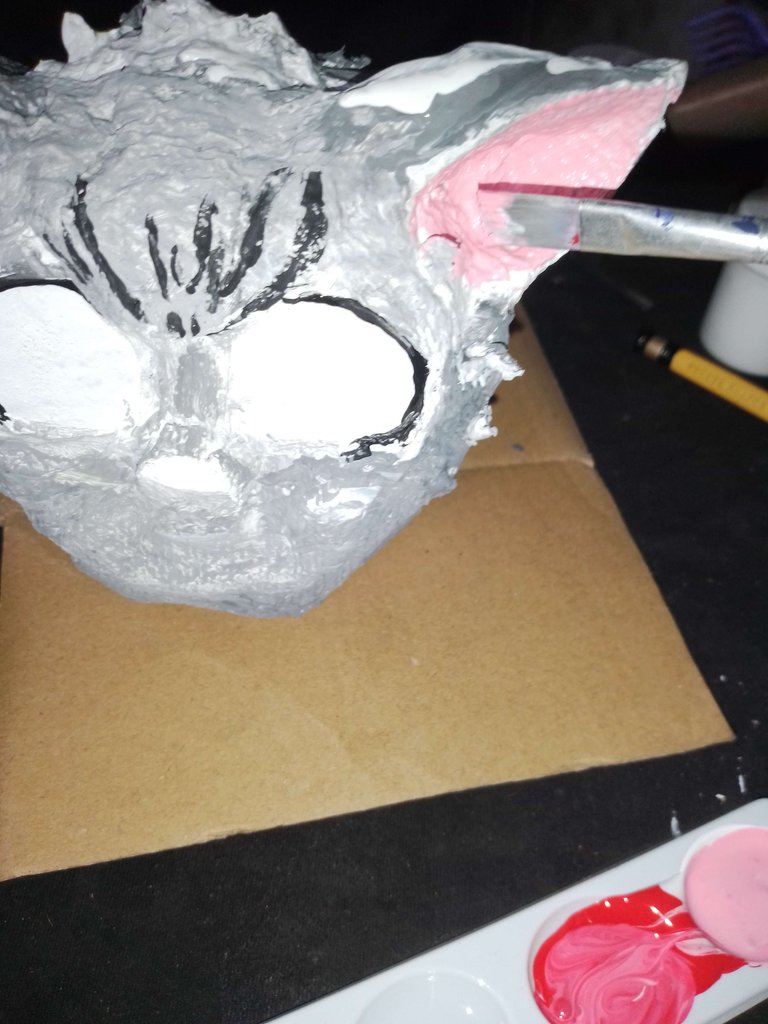
The eyes that I had for my cat were with the circular pupil and this was a disadvantage, since Mui has them in the form of needle, so with a blade or exact cut the side of the magic eyes and remove the circular tab (pupil) and with the scissors cut them in the form of needle then I reinserted it to the eye and with a thin brush No. 00 I put a point of glue and fixed the pupil in the eye then with the same brush I put white dots to give life to the look of the kitten.

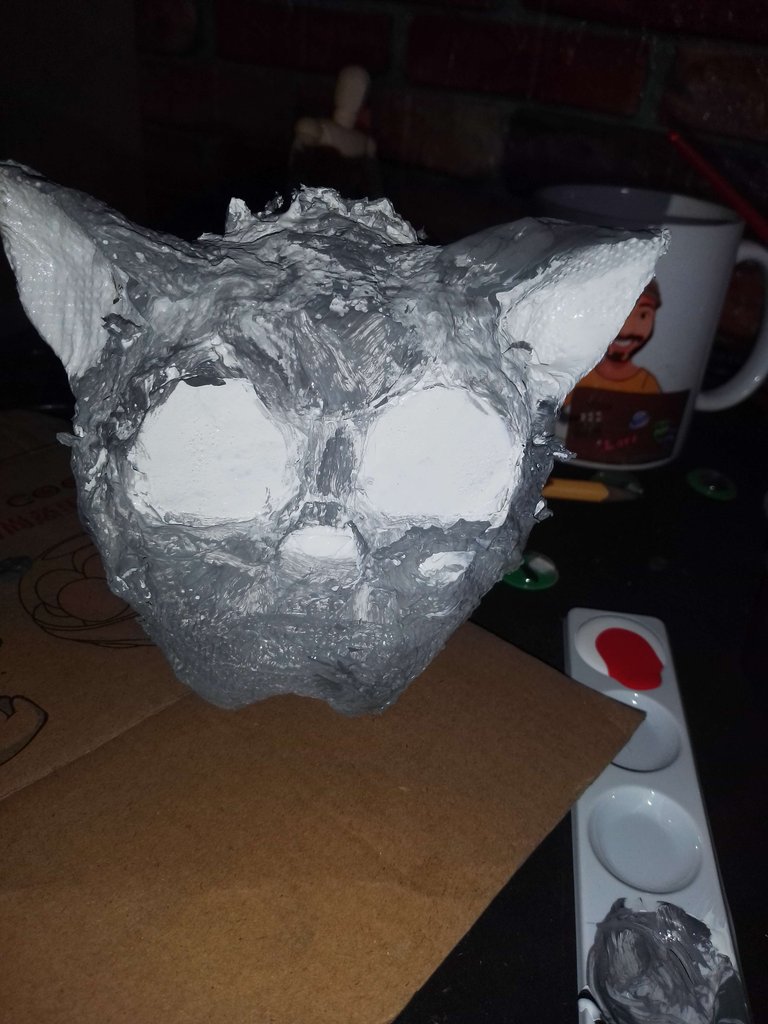
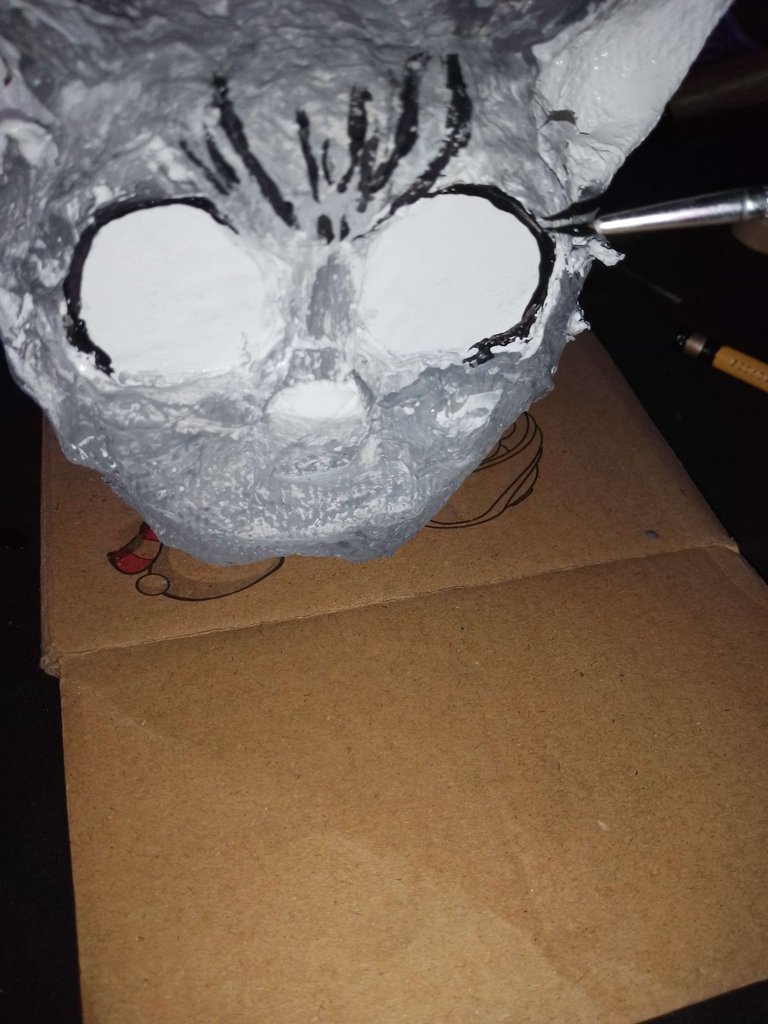
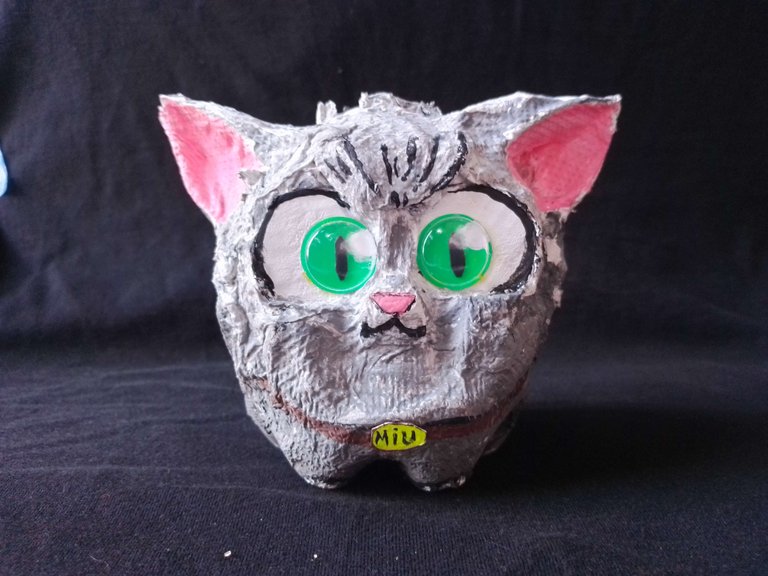
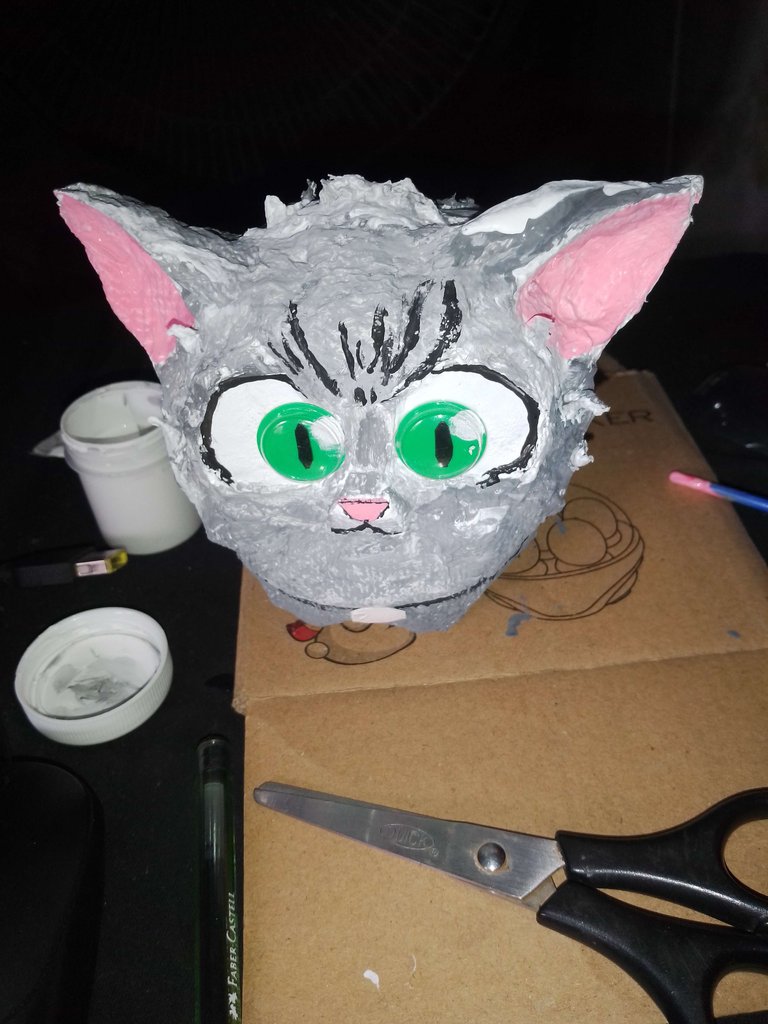
Once the figure was dry, I proceeded to fill the whole character with white and after it was dry I began to paint grey with a thick brush combining it with white so that it would not be too dark. and with glue put the eyes to the kitten then with the thin brush outline the eyes and the hairs of the forehead also I added a necklace and a plate with his name and ready our Mui is ready (remember to leave a space in the part of behind to place pencils, crayons or your brushes),


this was my whole process creating this holder, pencils and brushes inspired by Miu from Holozing. I hope you like it and I invite you to leave your comments on what you thought of my Miu. Thank you very much.
The pictures were taken with my mobile phone.
Translated with DeepL.com (free version)
Portalapices inpirado en Miu fanart
Hola amigos hiver amantes de los videojuegos y de holozing hace algunas semanas me enteré de este nuevo juego dentro de Hive y me ha gustado muchísimo la temática y la historia en la cual se centrará y los personajes que se han revelado hace unos días hice mi primera delegación.
Uno de los personajes que más me han gustado es Mui. Soy un amante de los gatos, de modo que quise hacer este personaje de holozing con materiales reciclables que fuera decorativo, pero que a la vez me ayudara a organizarme, así que hice una porta crayones y pinceles inspirado en Miu de holozing
Materiales:
Cartón plano.
cilindro de cartón.
Envase de agua de un litro.
Ojos mágicos.
Tijera.
Pinceles.
Pinturas: blanco, gris, marrón, rosado, negro y amarillo.
Cuchilla de corte o exacto.
Periódico cortado en tiras.
Pega blanca.
Procedimiento:
Lo primero corte la botella de plástico 1/4 más abajo de la mitad y, a lo que me quedó de la botella, escogí un lado que sería el frente y en él coloqué un círculo de cartón que previamente corte, de modo que sería el rostro de Mui. Sobre cartón plano, dibuje y corte, dos círculos que serían los ojos del personaje. Después, con periódico en tiras, comencé a forrar la botella y a pegar el cartón rostro en la botella.
También recorté un pedazo de plástico del resto de la botella y la coloqué como techo del envase que estoy forrando con periódico. Las tiras de periódico a la vez que cubre la botella me sirve para unir todos los elementos de cartón y plástico a la botella sin necesidad de usar silicona.
Una vez cubierta la primera capa con periódico, procedí a forrar con papel toalla o papel de baño usando pega blanca diluida en agua y con la ayuda de un pincel, luego sumergí pequeños trozos de papel de toalla con pegamento, planco y fui colocando en la cara de mi figura para darle relieve y demarcar las mejillas y el hocico también pegue los dos círculos al personaje y moldee los alrededores de los ojos y la frente de MIU.
Con el cilindro de cartón corte dos esquinas en forma de triángulo y lo fije posteriormente a la figura usando papel, toalla y pegamento blanco, colocando varias capas para que se creara una estructura sólida y coloque la figura 20 minutos al sol.
Mientras mi figura secaba, comencé a trabajar en los ojos.
Los ojos que tenía para mi gato estaban con la pupila circular y esto era un inconveniente, ya que Mui los tiene en forma de aguja, de modo que con una cuchilla o exacto corte el costado de los ojos mágicos y saque la ficha circular(pupila)y con la tijera los recorte en forma de aguja luego lo volví a introducir al ojo y con un pincel delgado N.º 00 coloque un punto de pega y fije la pupila en el ojo luego con el mismo pincel coloque puntos blancos para darle vida a la mirada del gatito.
Una vez seca la figura procedí a fondear de blanco todo el personaje y luego que seco comencé a pintar de gris con un pincel grueso combinando a la vez con blanco para que no quedase muy oscuro limpie el pincel
Con rosado pinte la parte interna de las orejas deje secar y con pega coloque los ojos al gatito luego con el pincel delgado delinee los ojos y los pelitos de la frente también le agregue un collar y una placa con su nombre y listo nuestro Mui ya esta listo (recuerden dejar un espacio en la parte de atrás para colocar lápices, crayones o sus pinceles si no desean que sea una porta lápices también pueden sellar esa parte con papel y pega blanca)
Y listo el gatito este fue todo mi proceso creando esta porta, lápices y pinceles inspirándolo en Miu de Holozing. Espero que les guste y los invita a dejar su comentario de que les ha parecido mi Miu. Muchas gracias.
Las fotos fueron tomadas con mi celular.
I'm glad someone is doing a project with recycling. It was very beautiful this version of Miu
I like the challenge of transforming a received object into a new and functional one. Thank you very much for your comment
https://reddit.com/r/holozing/comments/1agfc1q/portalapices_inpirado_en_miu_fanart_pencil_holder/
The rewards earned on this comment will go directly to the people( @cetb2008 ) sharing the post on Reddit as long as they are registered with @poshtoken. Sign up at https://hiveposh.com.
Interesante, he escuchado mucho de este juego , voy a ver qué tal ...quien quita y también me animé, gracias por darme la idea...... saludos