¿Como están?
Hello friends!
How are they?
♣︎♦hace unos días estuve viendo algunos tutoriales de dibujos cuando me encontré con uno que explicaba como hacer stickers caseros de manera muy sencilla y con muy pocos materiales, así que hoy quiero mostrarles como realizarlos para que ustedes lo intenten también :) ♦♣︎
♣︎♦A few days ago I was watching some drawing tutorials when I came across one that explained how to make homemade stickers in a very simple way and with very few materials, so today I want to show you how to make them so that you can try it too :) ♦♣︎
.
.
.
.
.
.

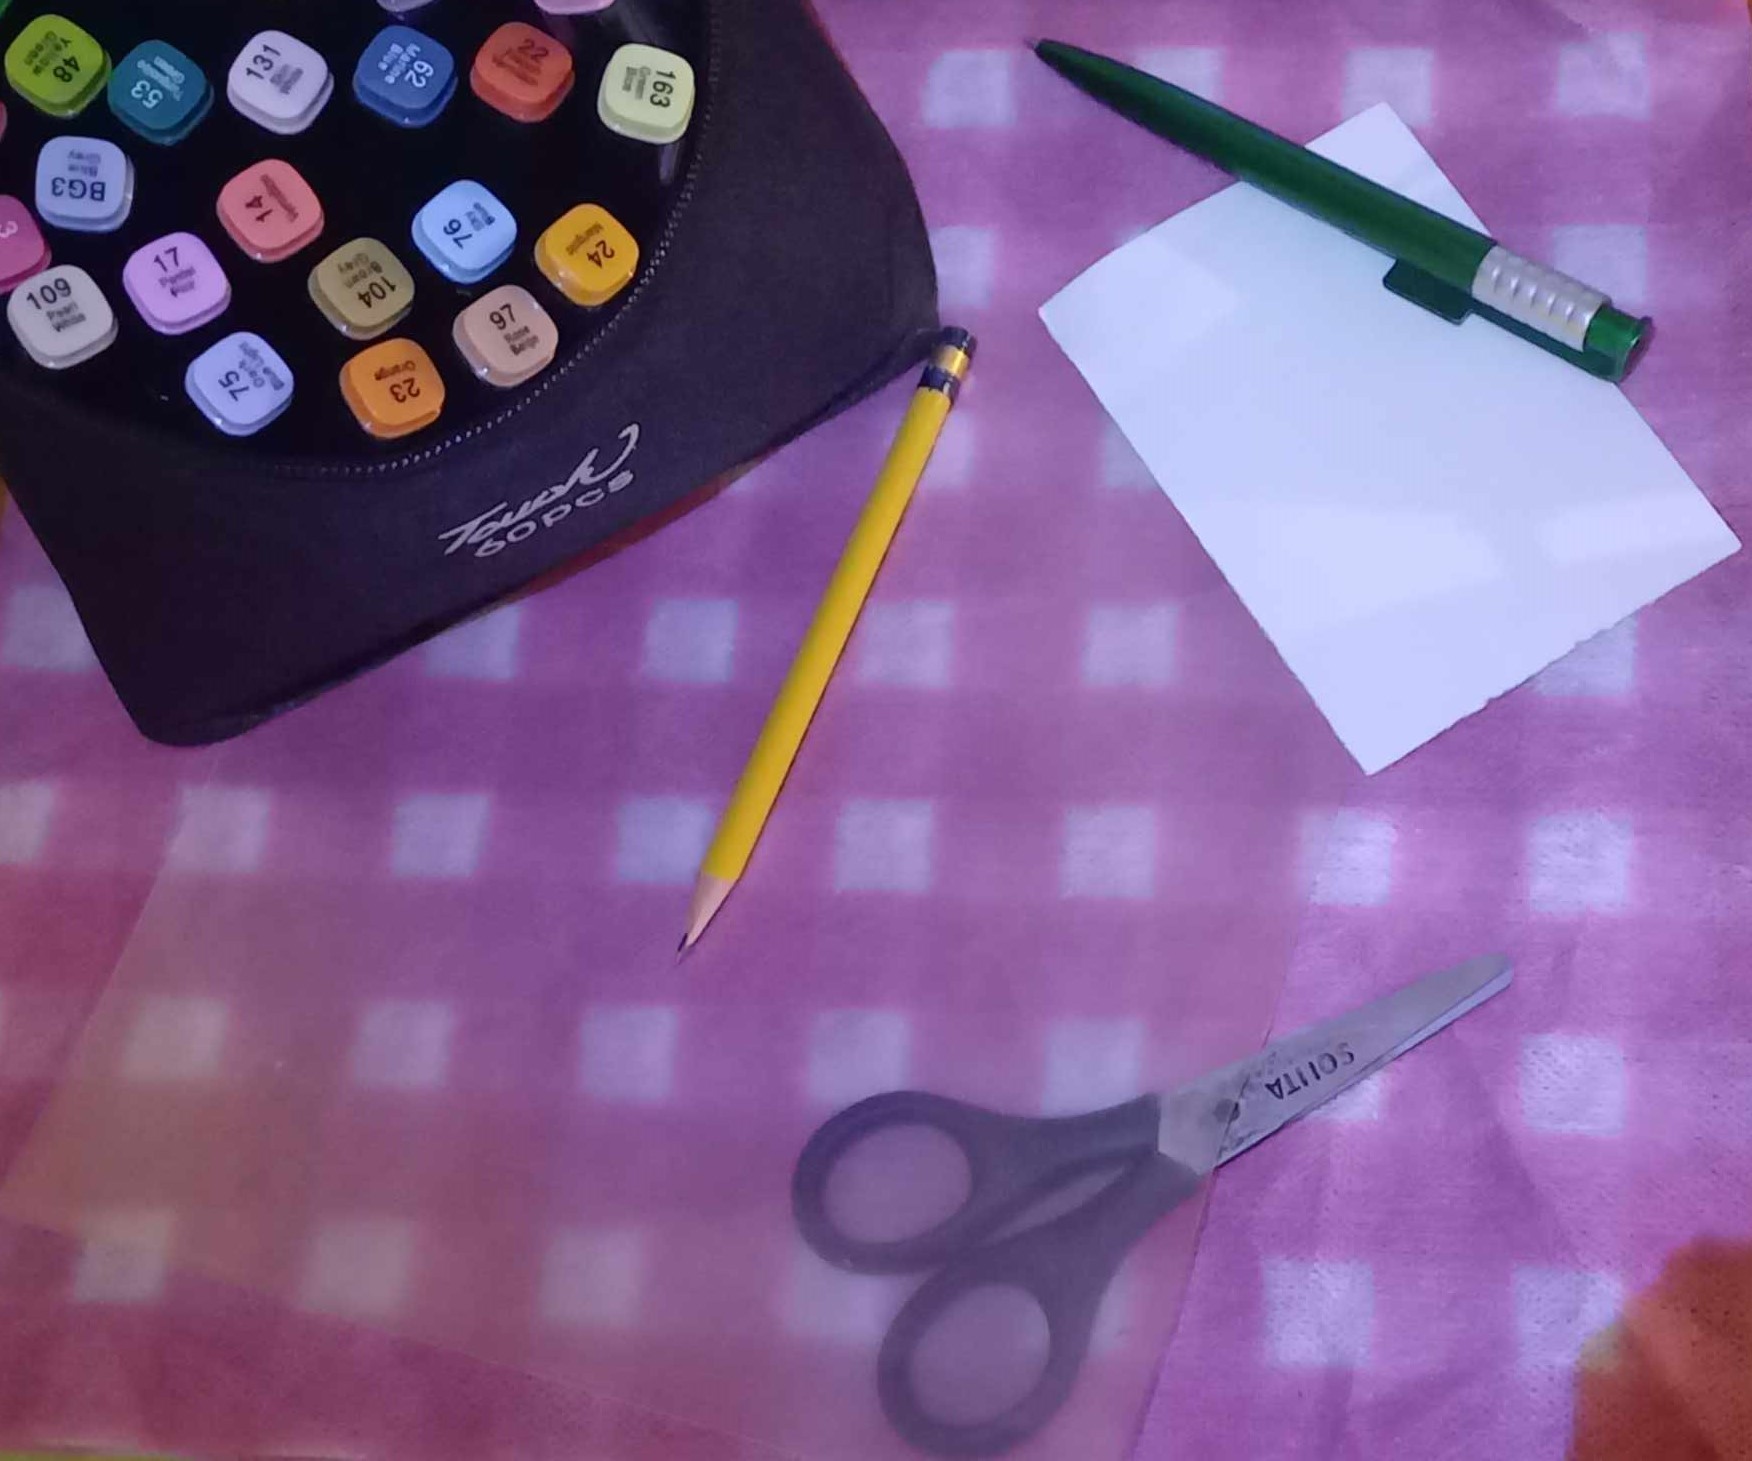
☆Materials☆
. ☆Marcadores o colores de tu preferencia
.Cinta transparente (celoven) o papel contac transparente
.Un trozo de papel
.Carpeta transparente o de acetato
.Lápiz
.Tijeras
.Lapicero para delinear☆
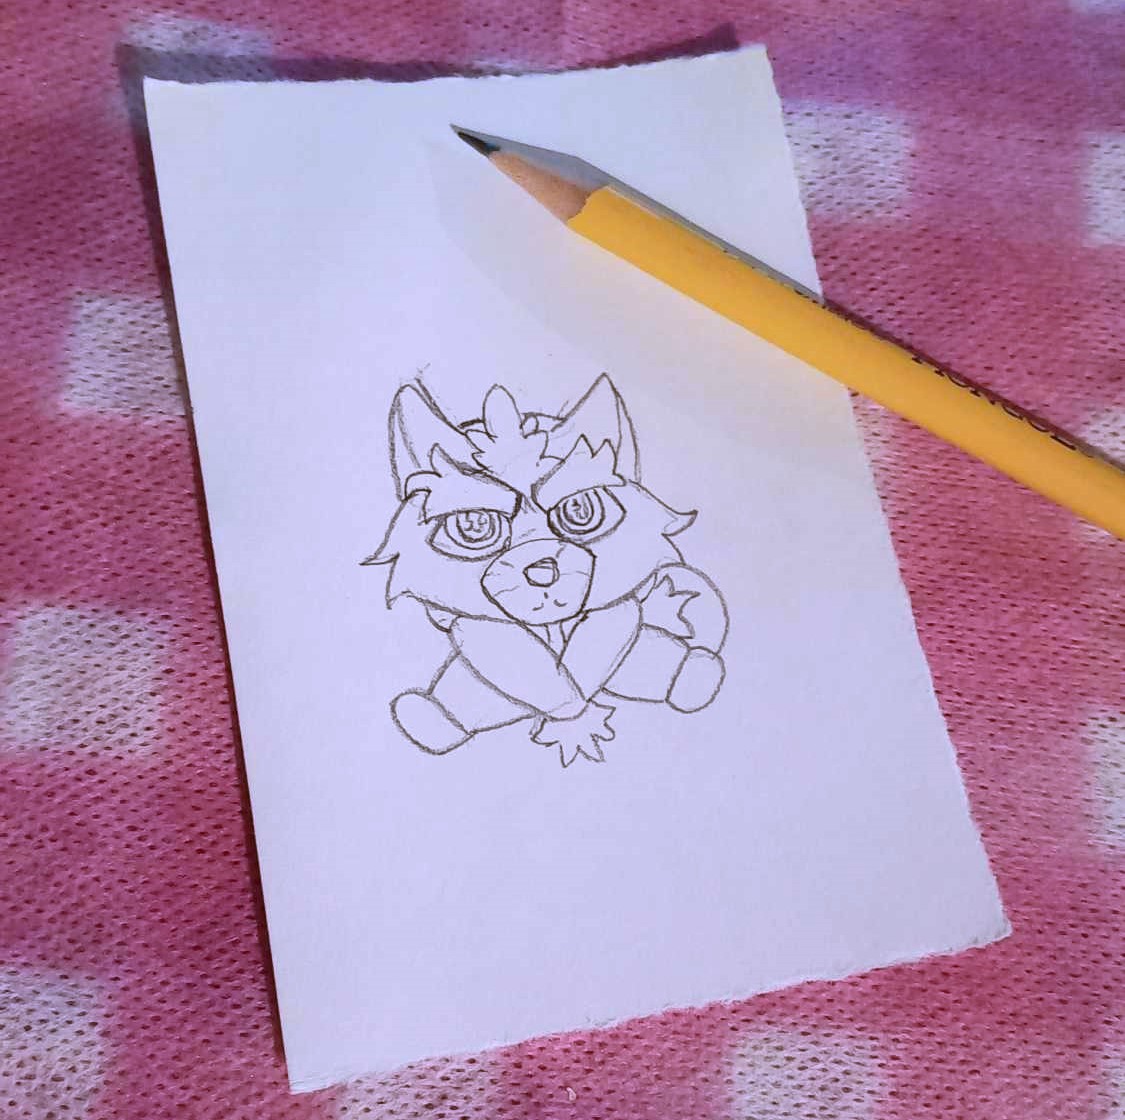
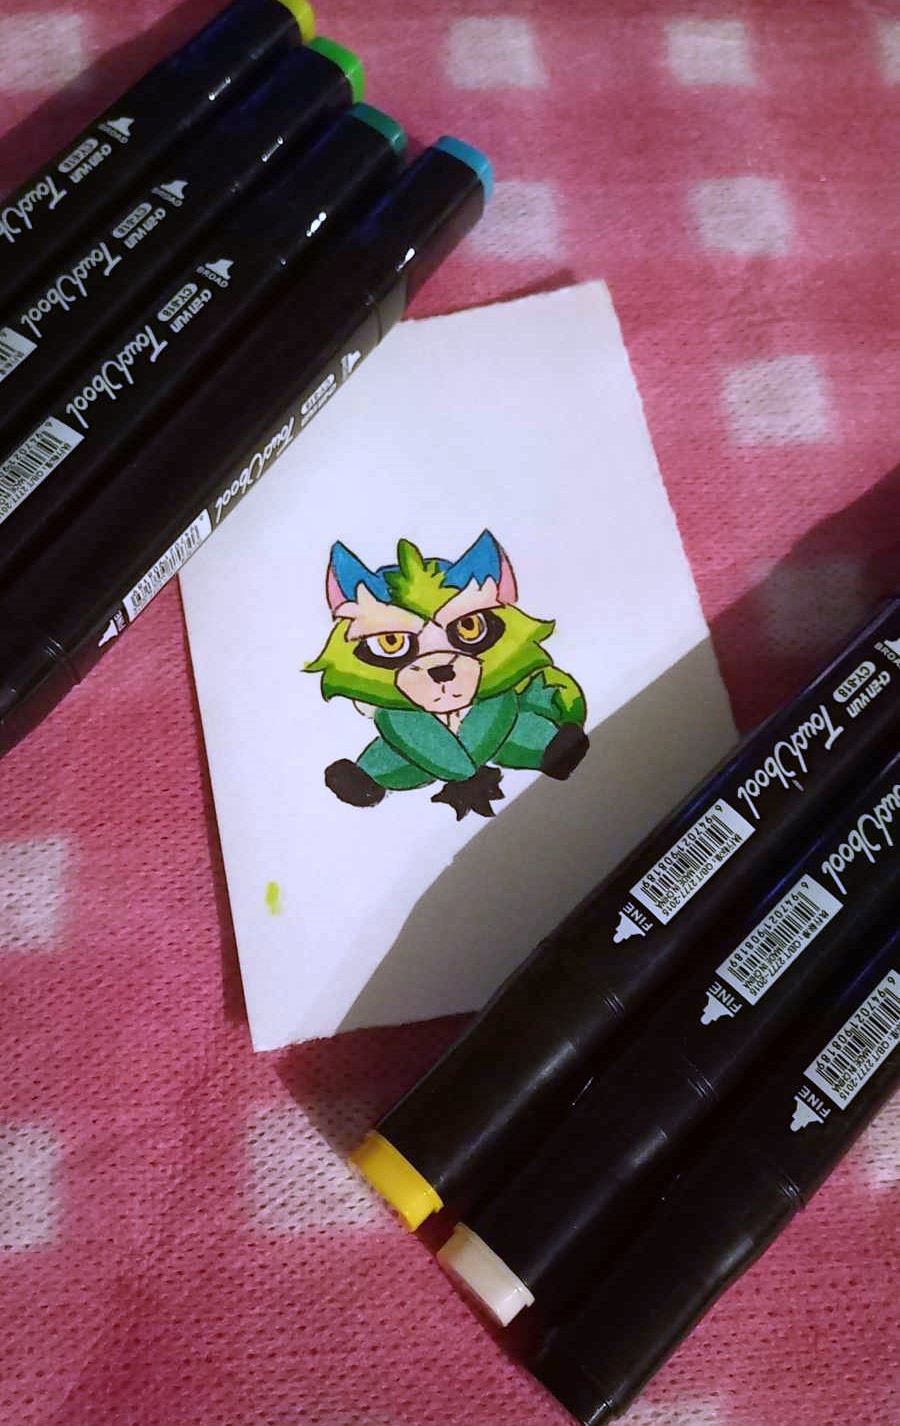
♣︎♦︎First we will make the image we want for our sticker, in this case I will use one from Raccon which I made in my previous post♦︎♣︎
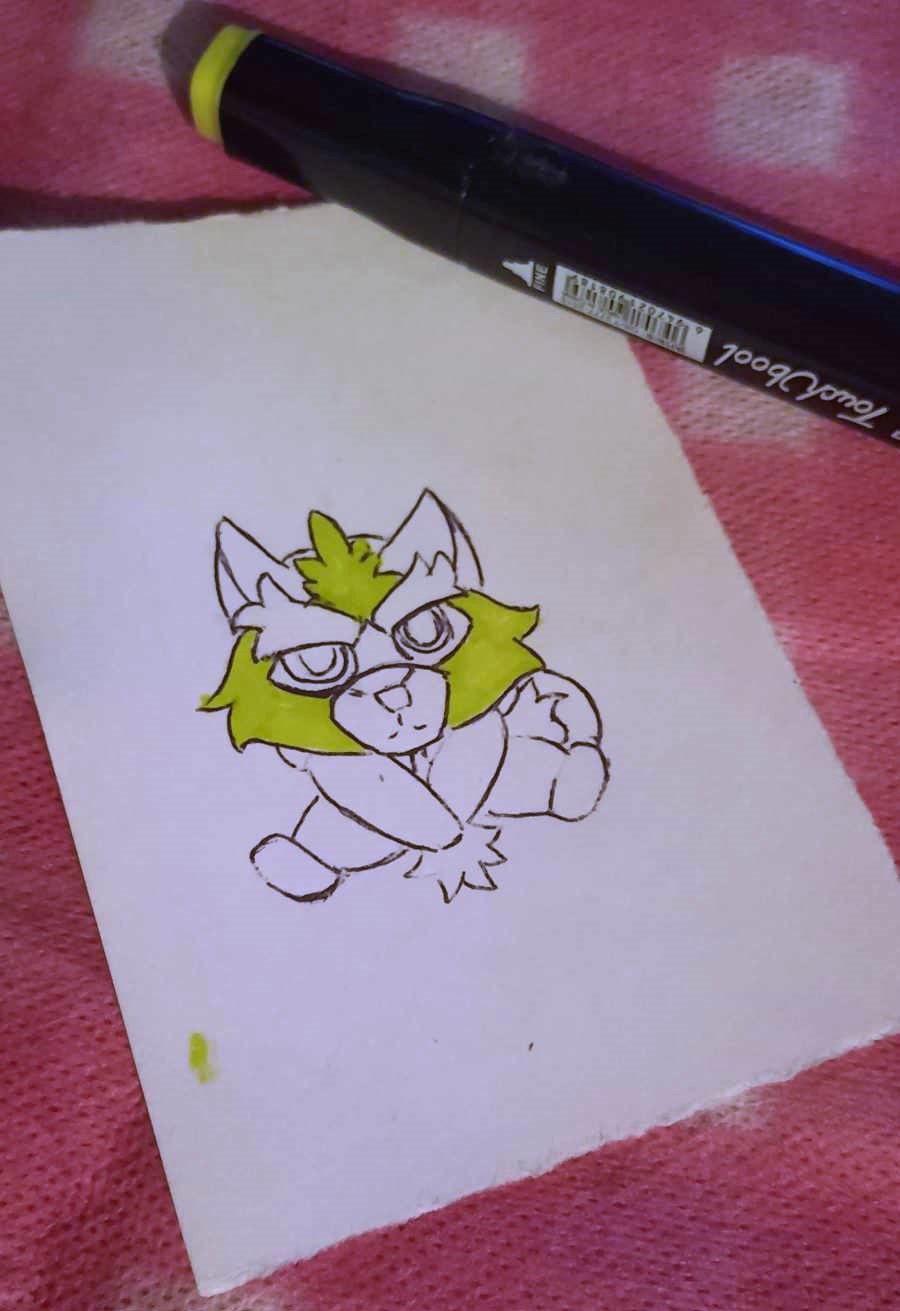
♣︎♦Then with my pencil I will outline my drawing and erase the remains of pencil♦︎♣︎

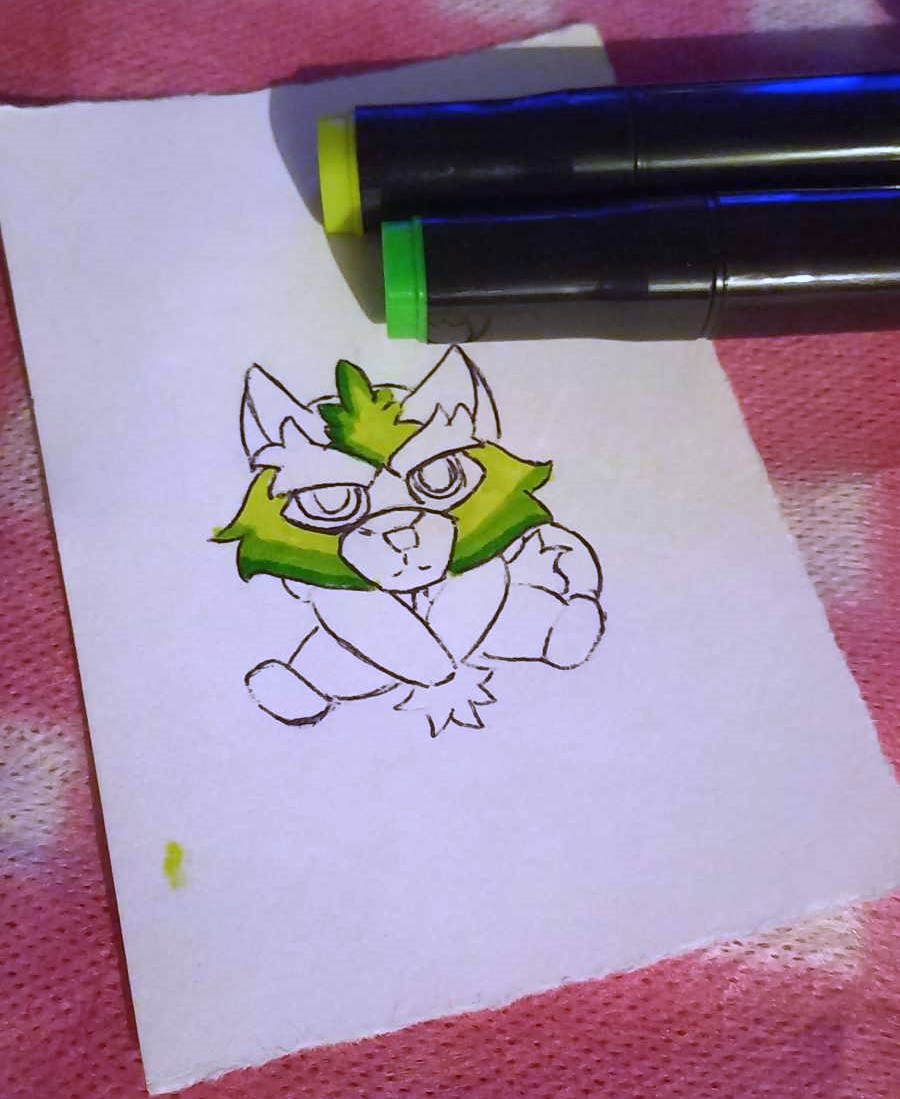
♣︎♦Now I'll start painting it♦︎♣︎
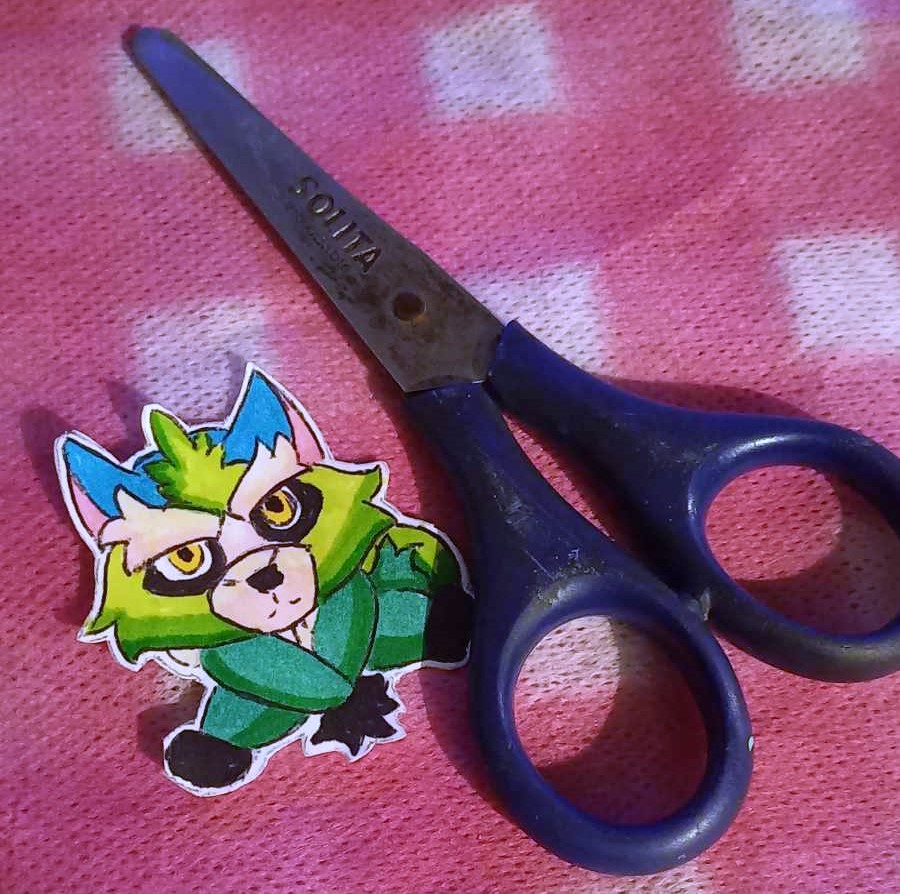
♣︎♦Now we proceed to cut out leaving a small white margin♦♣︎
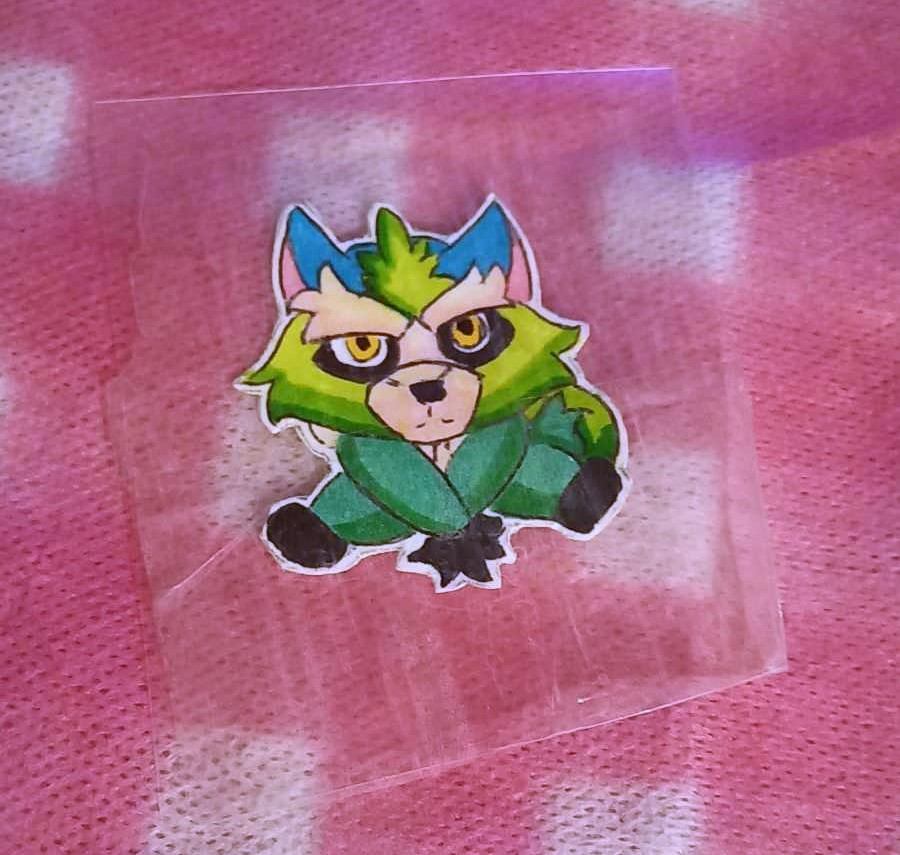
♣︎♦Finally we will cut out a piece of acetate folder or transparent folder and we will fix our drawing to the piece with contact paper or celloven and we will cut around it leaving a margin♦♣︎

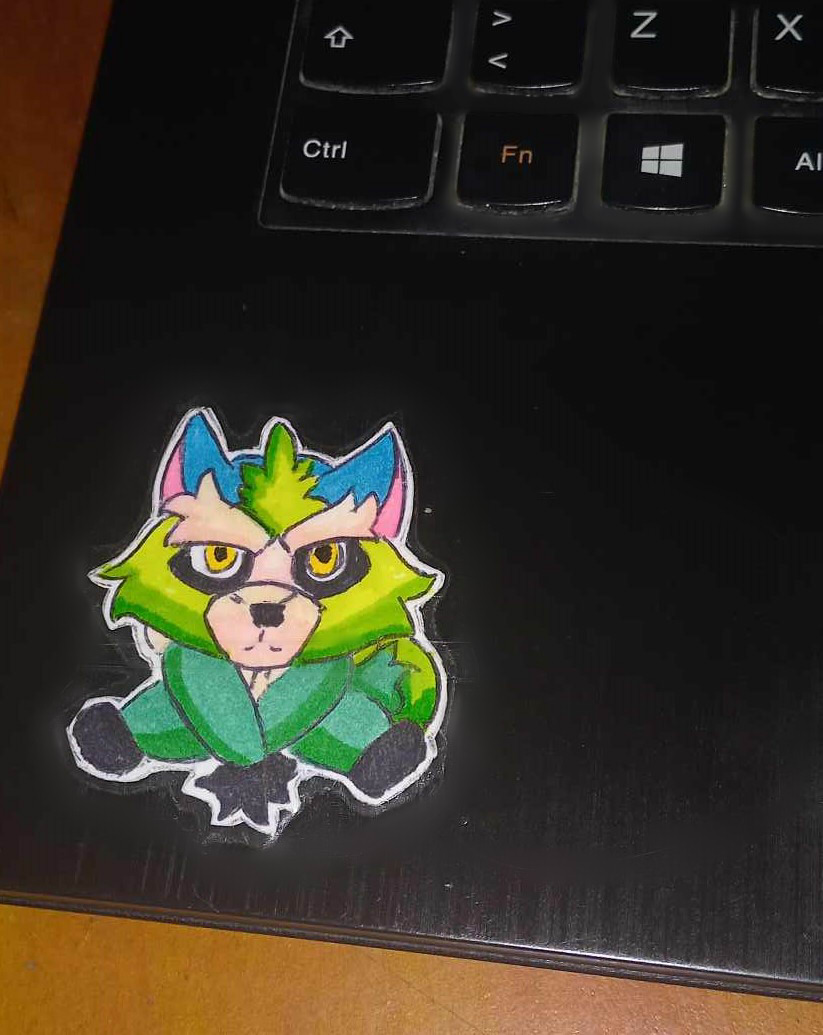
♣︎♦Now you can simply remove it from the transparent folder and stick it on the surface you want, in this case I placed it on my laptop♦♣︎
.
.
.
.
.
.
☆Friends!☆
☆☆This is all for today, I hope you liked this idea to create your own stickers, see you very soon again in my next post, so without further ado I say goodbye. I hope you have a great day!☆☆
(Me disculpo por la calidad de las imágenes)
Thank you for taking the time to read my post!
(I apologize for the quality of the images)
super!! Te quedó se lo voy hacer a mi hija que le encanta los dibujos muy bueno y creativo 💚
@yukensy Muchas gracias!!