🔸Sin más que añadir, a continuación los dejo con el paso a paso:
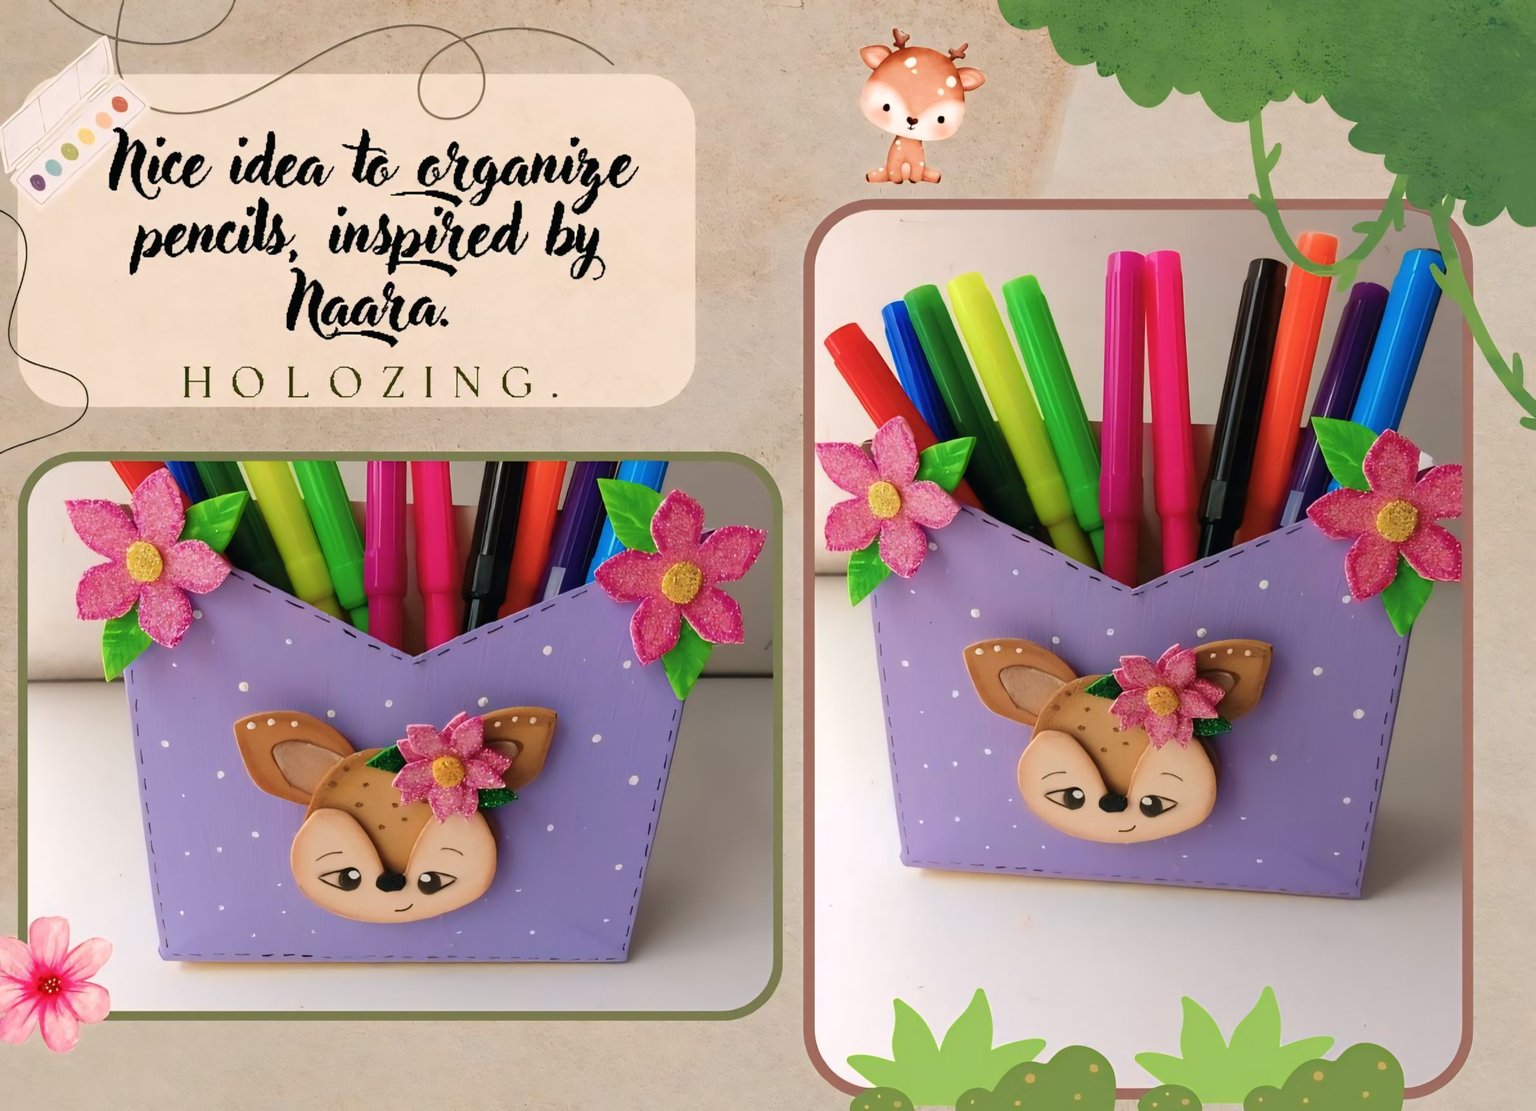
✨Good afternoon, holozing friends!✨ As always, I'm happy to stop by here again to share a nice idea for organizing pencils, inspired by Naara. This new creature is a very polite deer with greater agility/speed and a plant type. I fell in love with the design of this new and cute creature, because I love flowers, all the details and colors it has. I couldn't pass up the opportunity to make a creation with Naara, so I thought of a simple idea, with colors that match her design and, obviously, add some extra flowers to the decoration.
🔸Without more to add, then I leave you with the step by step:
♥️ESPERO QUE TE GUSTE,
¡Empecemos!
♥️I HOPE YOU LIKE IT,
Let's start!

✂️ MATERIALES | ✂️ MATERIALS
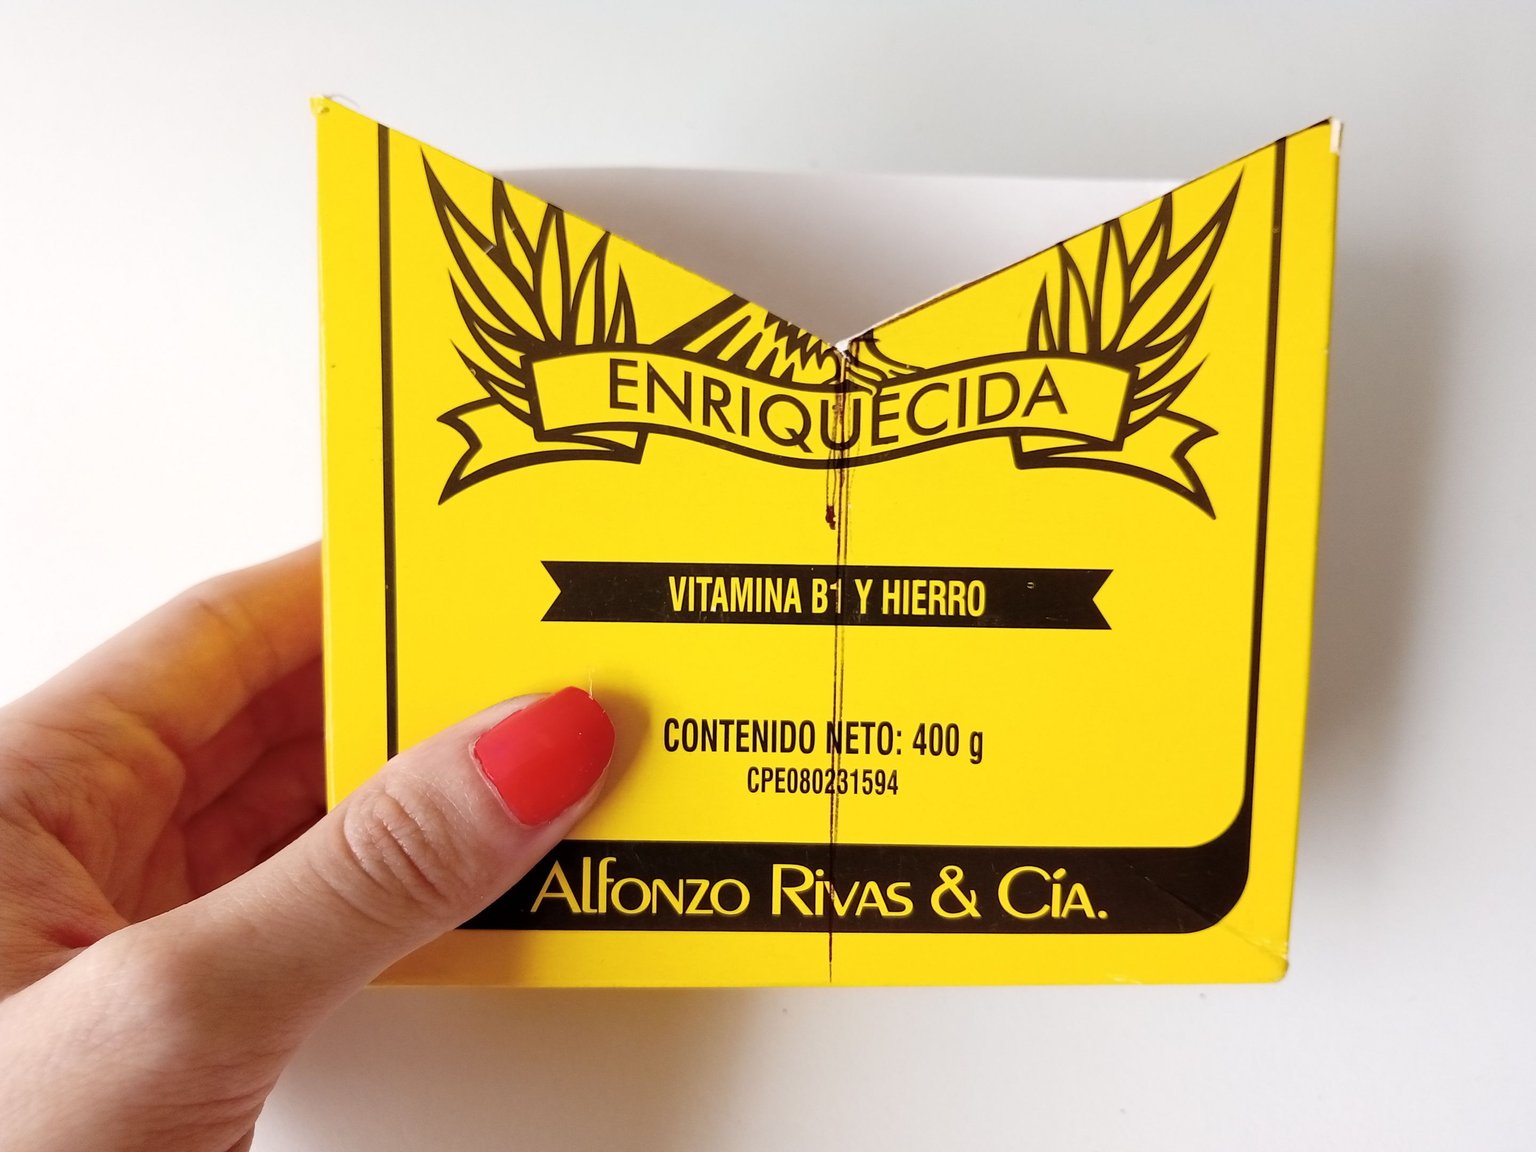
- Caja de maicena.
- Foami escarchado rosa.
- Foami escarchado negro.
- Foami escarchado dorado.
- Foami verde.
- Foami marrón.
- Foami crema.
- Pinturas y marcadores.
- Hoja blanca.
- Tijeras.
- Lápiz.
- Cornstarch box.
- Pink frosted foam.
- Black frosted foam.
- Gold frosted foam.
- Green foam.
- Brown foam.
- Cream foam.
- Paints and markers.
- White sheet.
- Scissors.
- Pencil.
✨ PROCEDIMIENTO | ✨ PROCESS
✨ PASO 1:
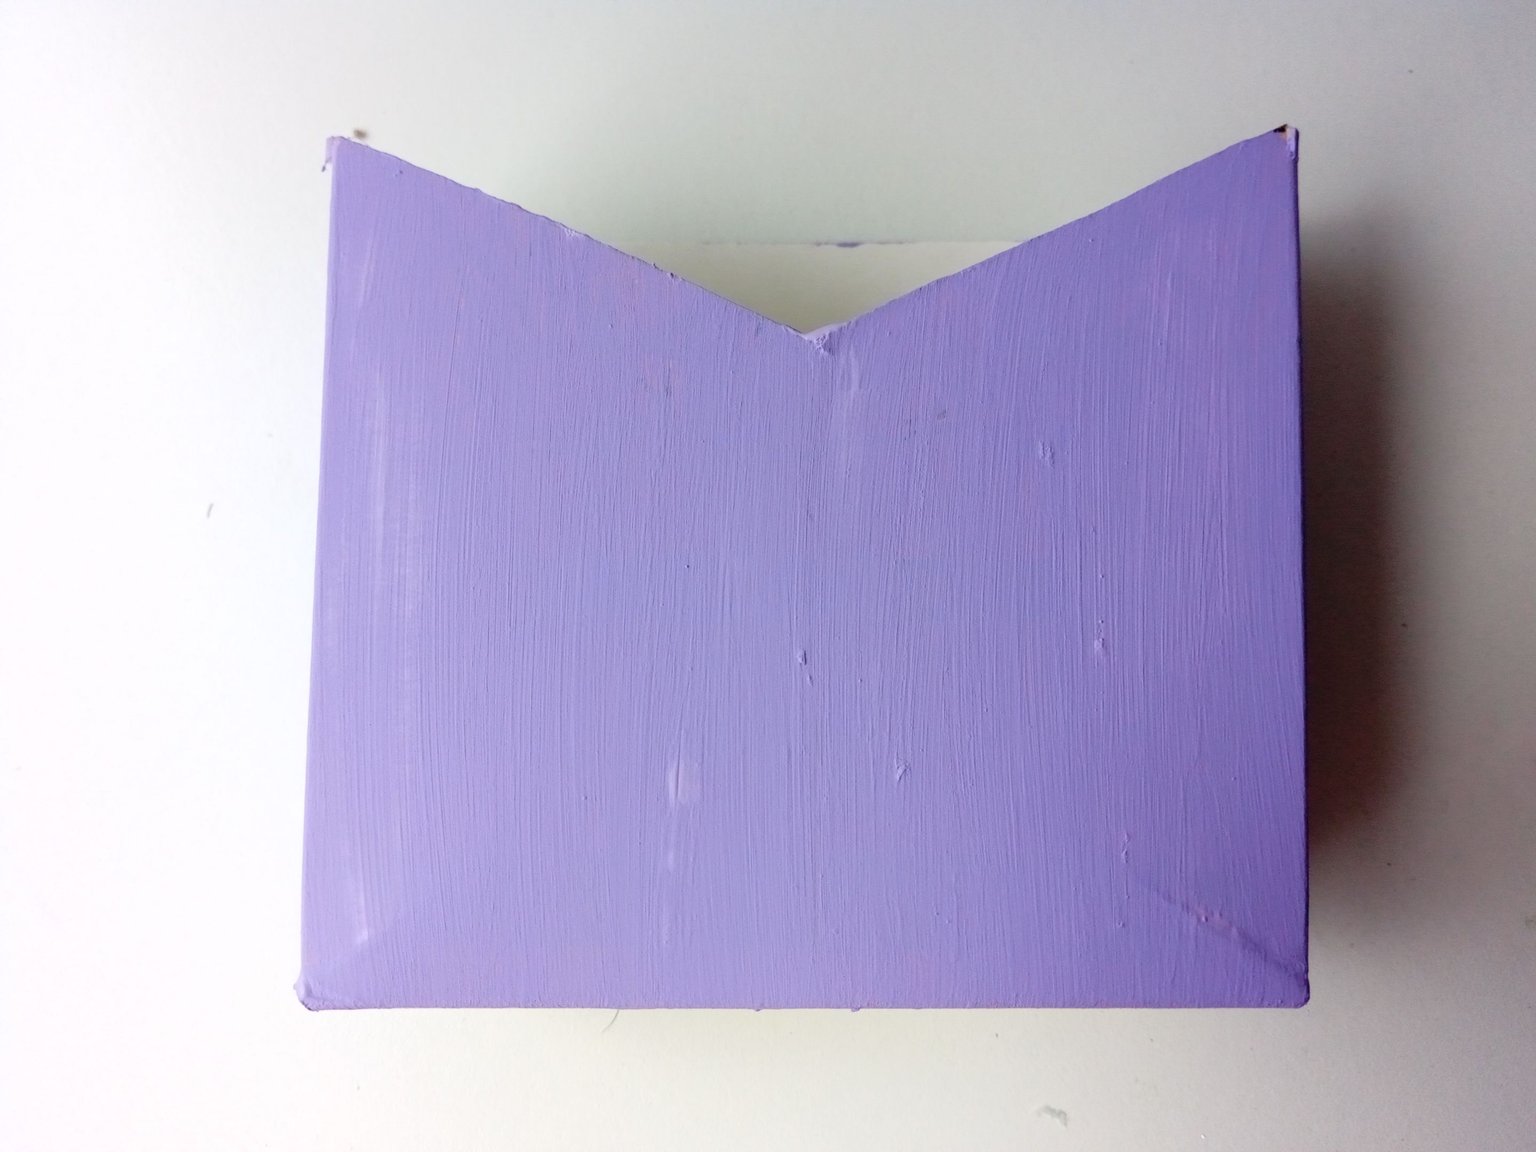
En este caso, ya tenía listo el diseño en la caja de maicena porque lo reutilicé de otra creación que tenía. Sin embargo, les explico rápidamente que lo que hice fue recortar la caja de maicena a la mitad y en medio recorté un triángulo invertido a los 7 cm de altura, aproximadamente. Seguidamente, tomé las pinturas y comencé a pintar. En ese caso utilicé una pintura lila y pasé unas dos o tres capas, para cubrir del todo.
✨ STEP 1:
In this case, I already had the design ready in the cornstarch box because I reused it from another creation I had. However, I'll quickly explain that what I did was cut the cornstarch box in half and cut out an inverted triangle in the middle, approximately 7 cm high. Next, I took the paints and started painting. In this case, I used a purple paint and applied two or three layers to cover it completely.
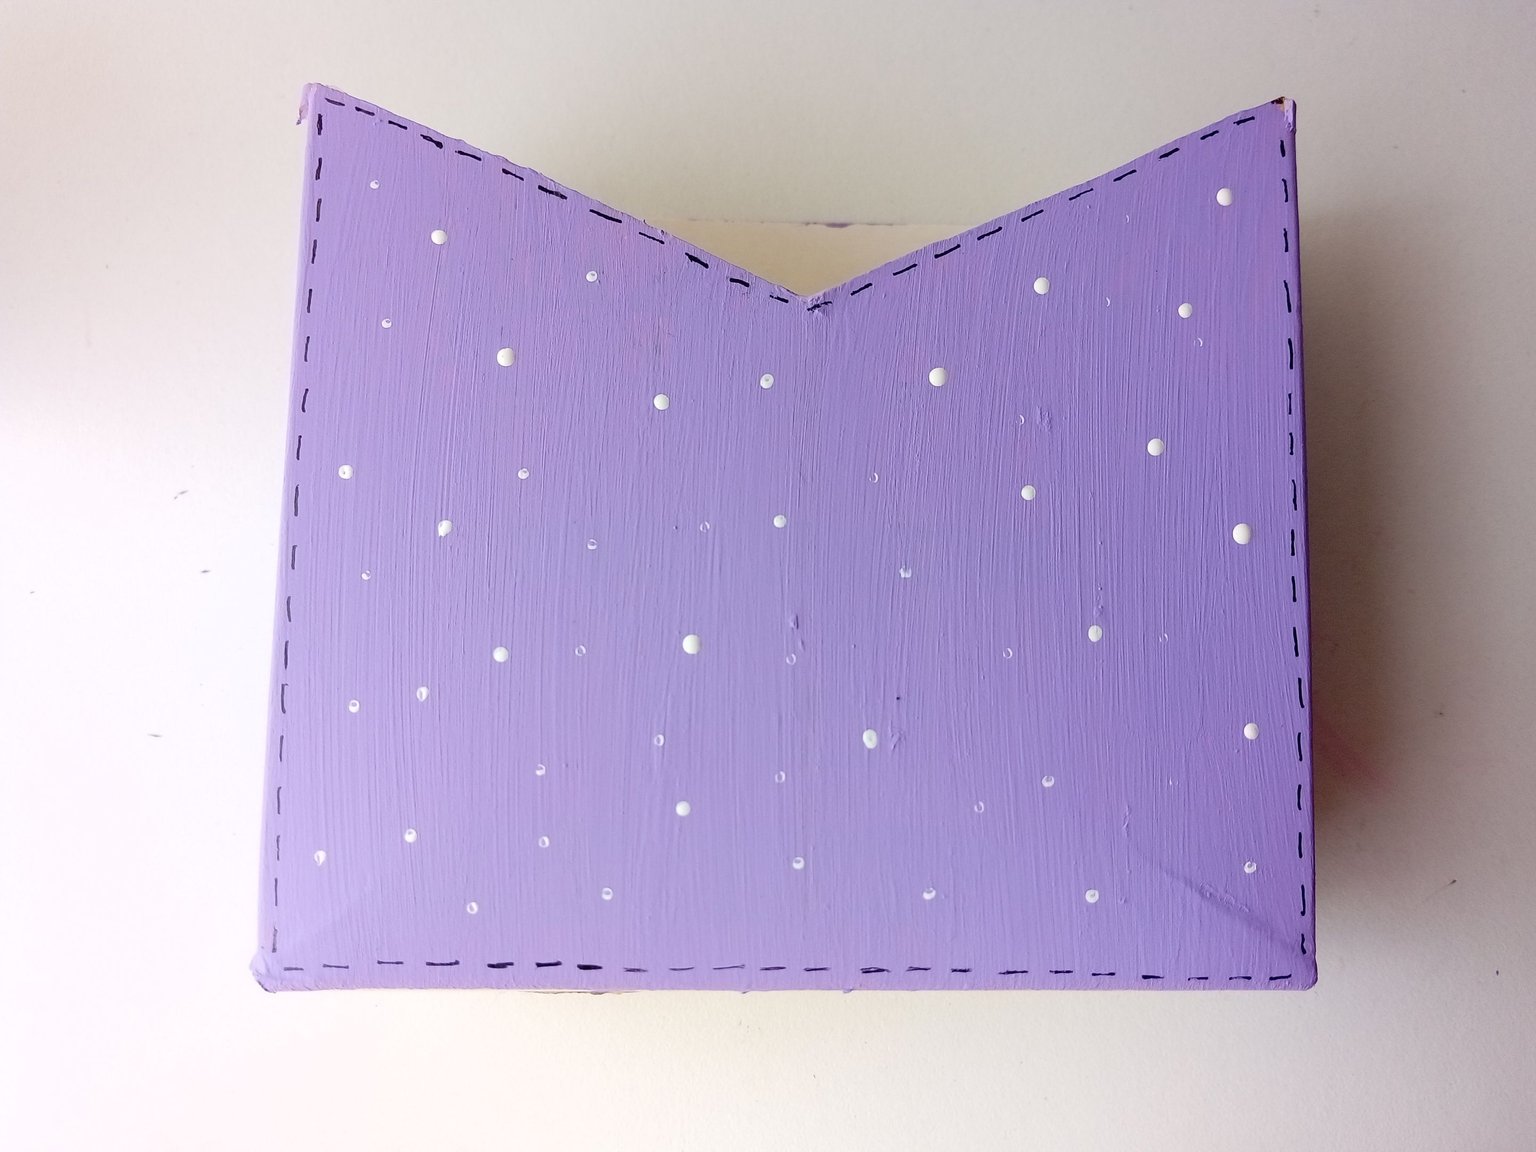
✨ PASO 2:
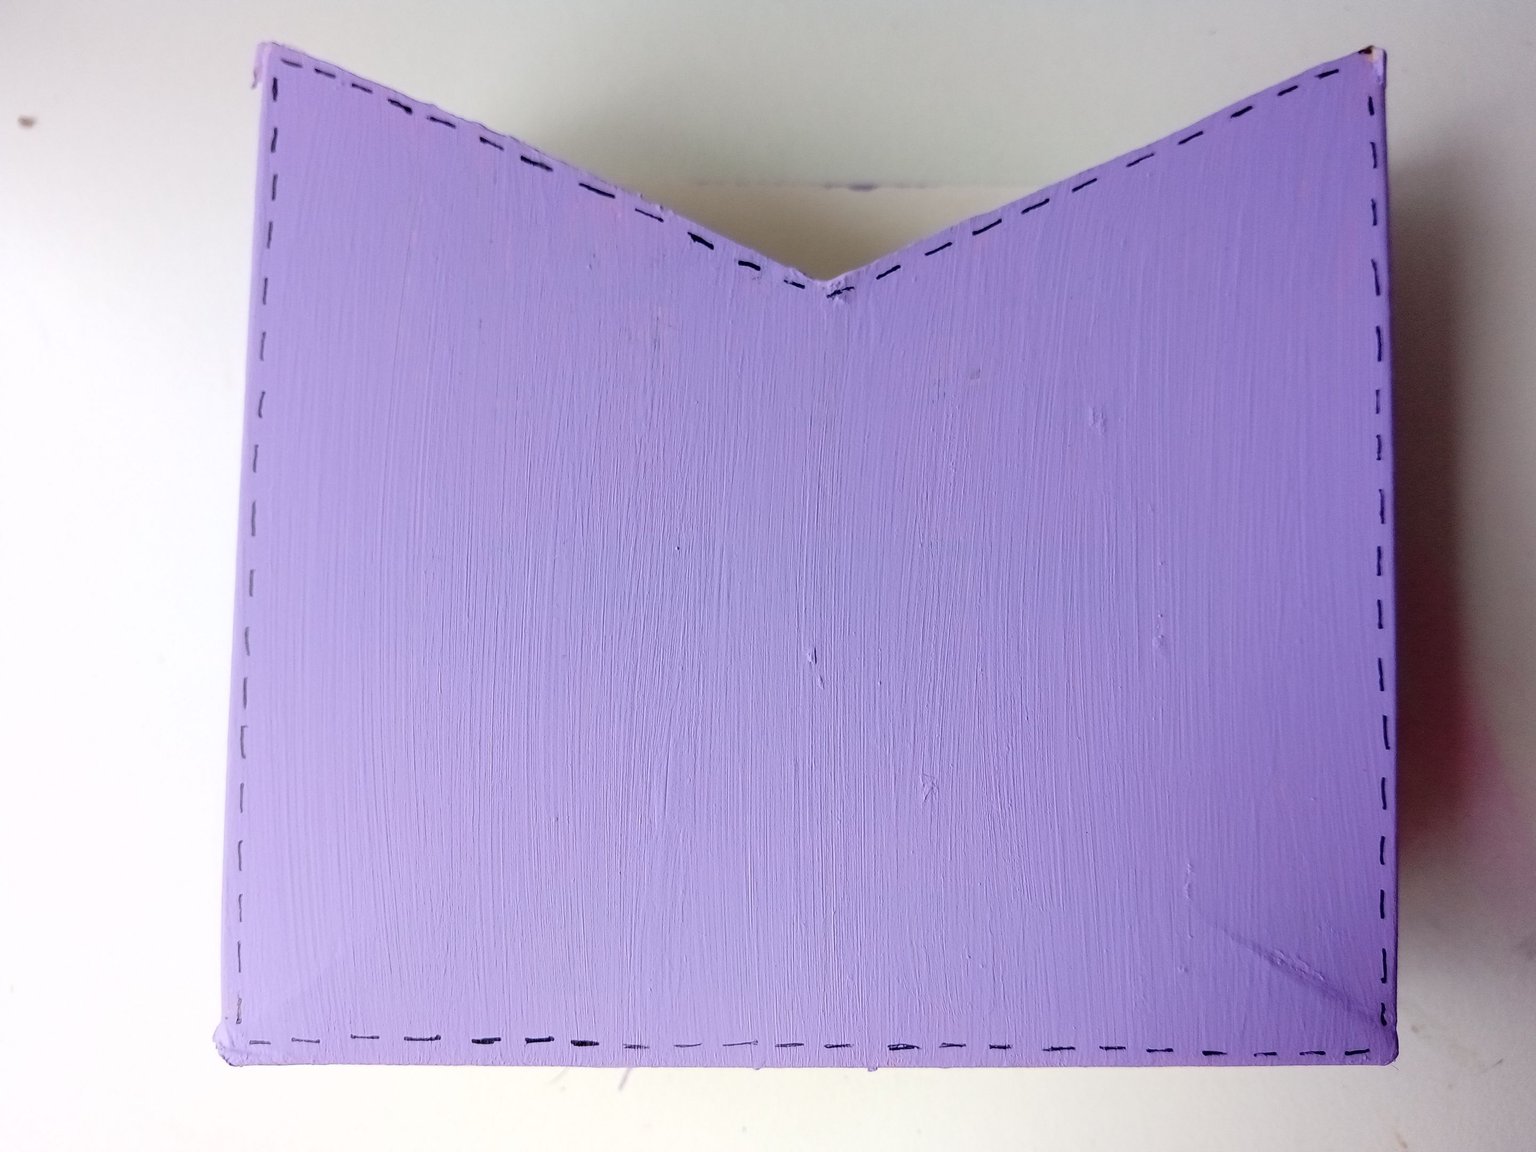
Al secar la caja, quise darle un diseño con marcador negro por todo el borde, el cual consiste en hacer pequeñas líneas, dejando espacio de por medio entre cada una. También, quise pintar puntos con pintura blanca por todas las partes de la caja y dejé secar.
✨ STEP 2:
When the box dried, I wanted to give it a design with a black marker all around the edge, which consists of making small lines, leaving space between each one. I also wanted to paint dots with white paint all over the parts of the box and let it dry.
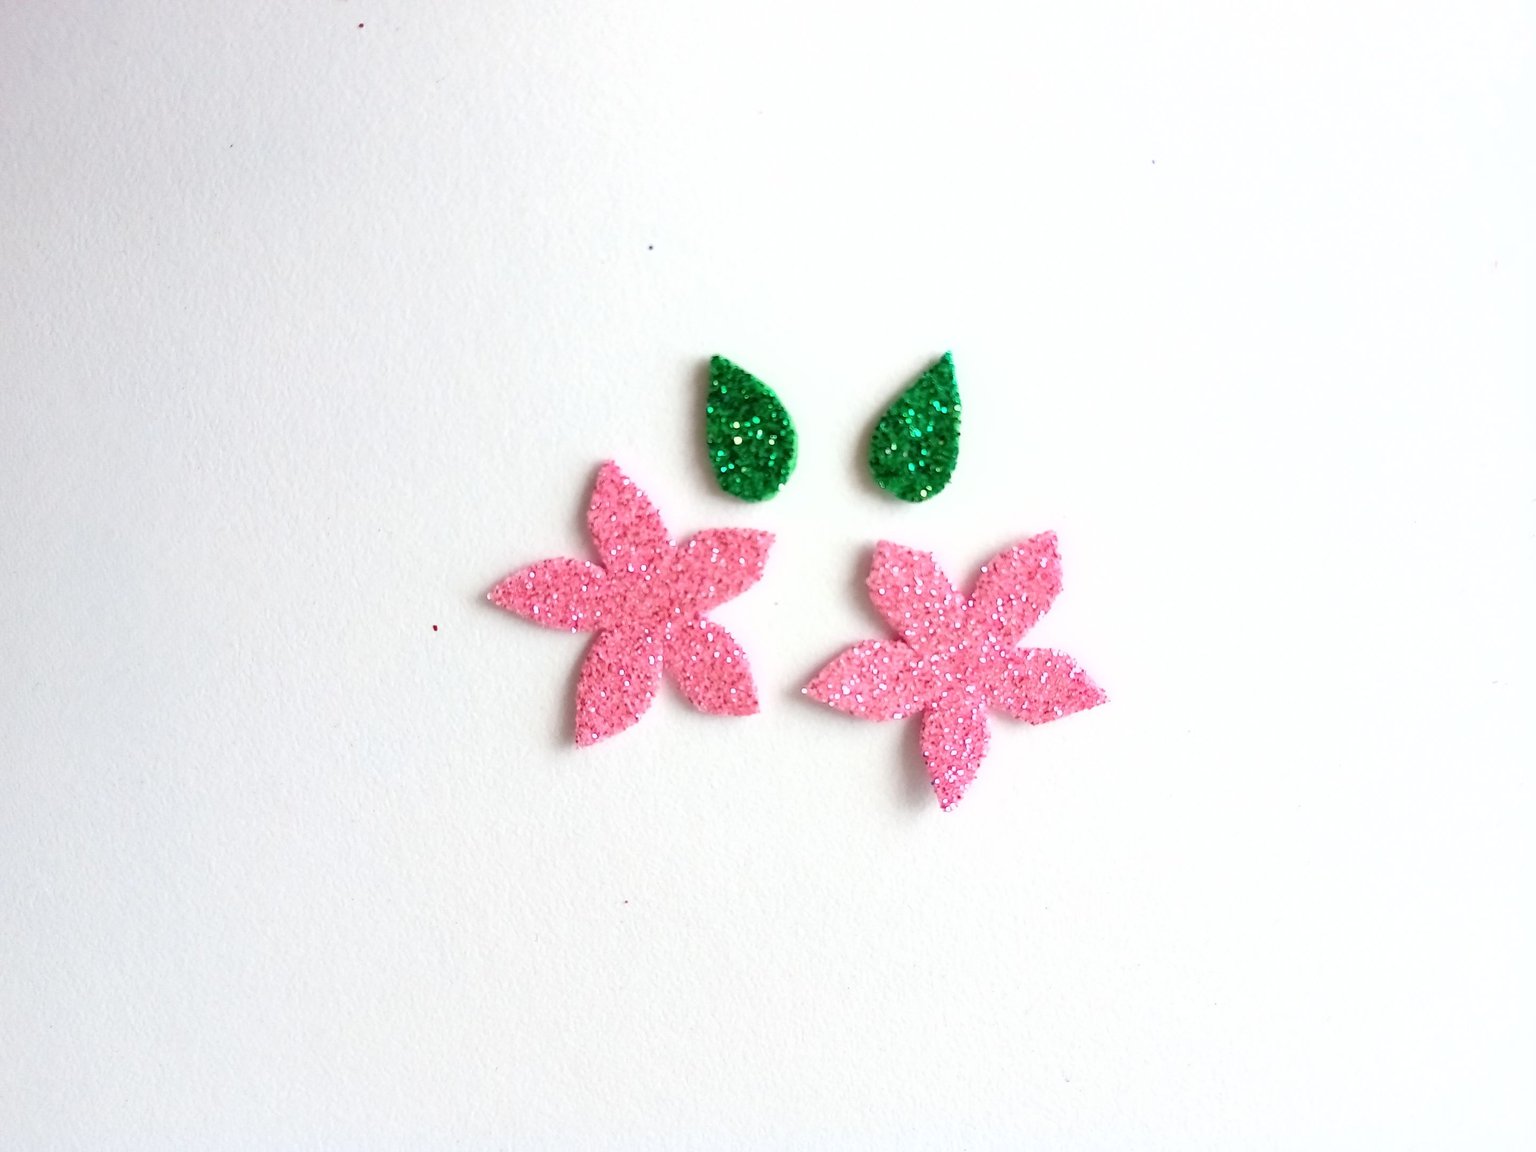
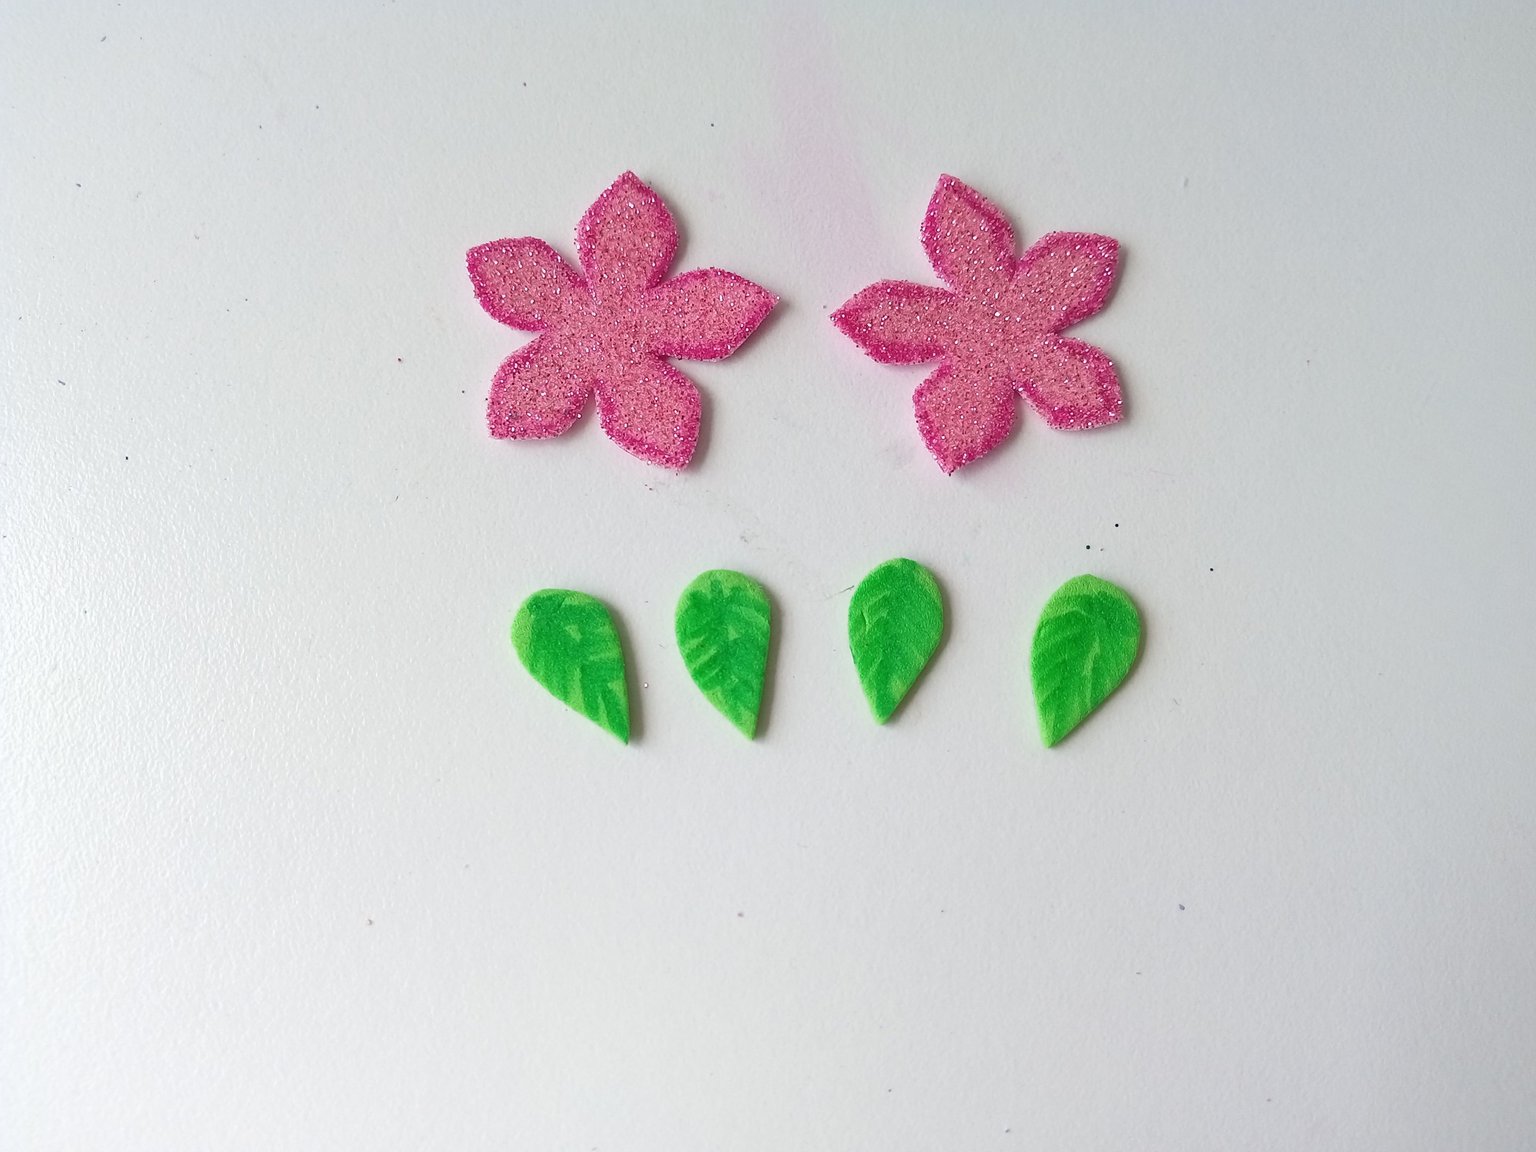
✨ PASO 3:
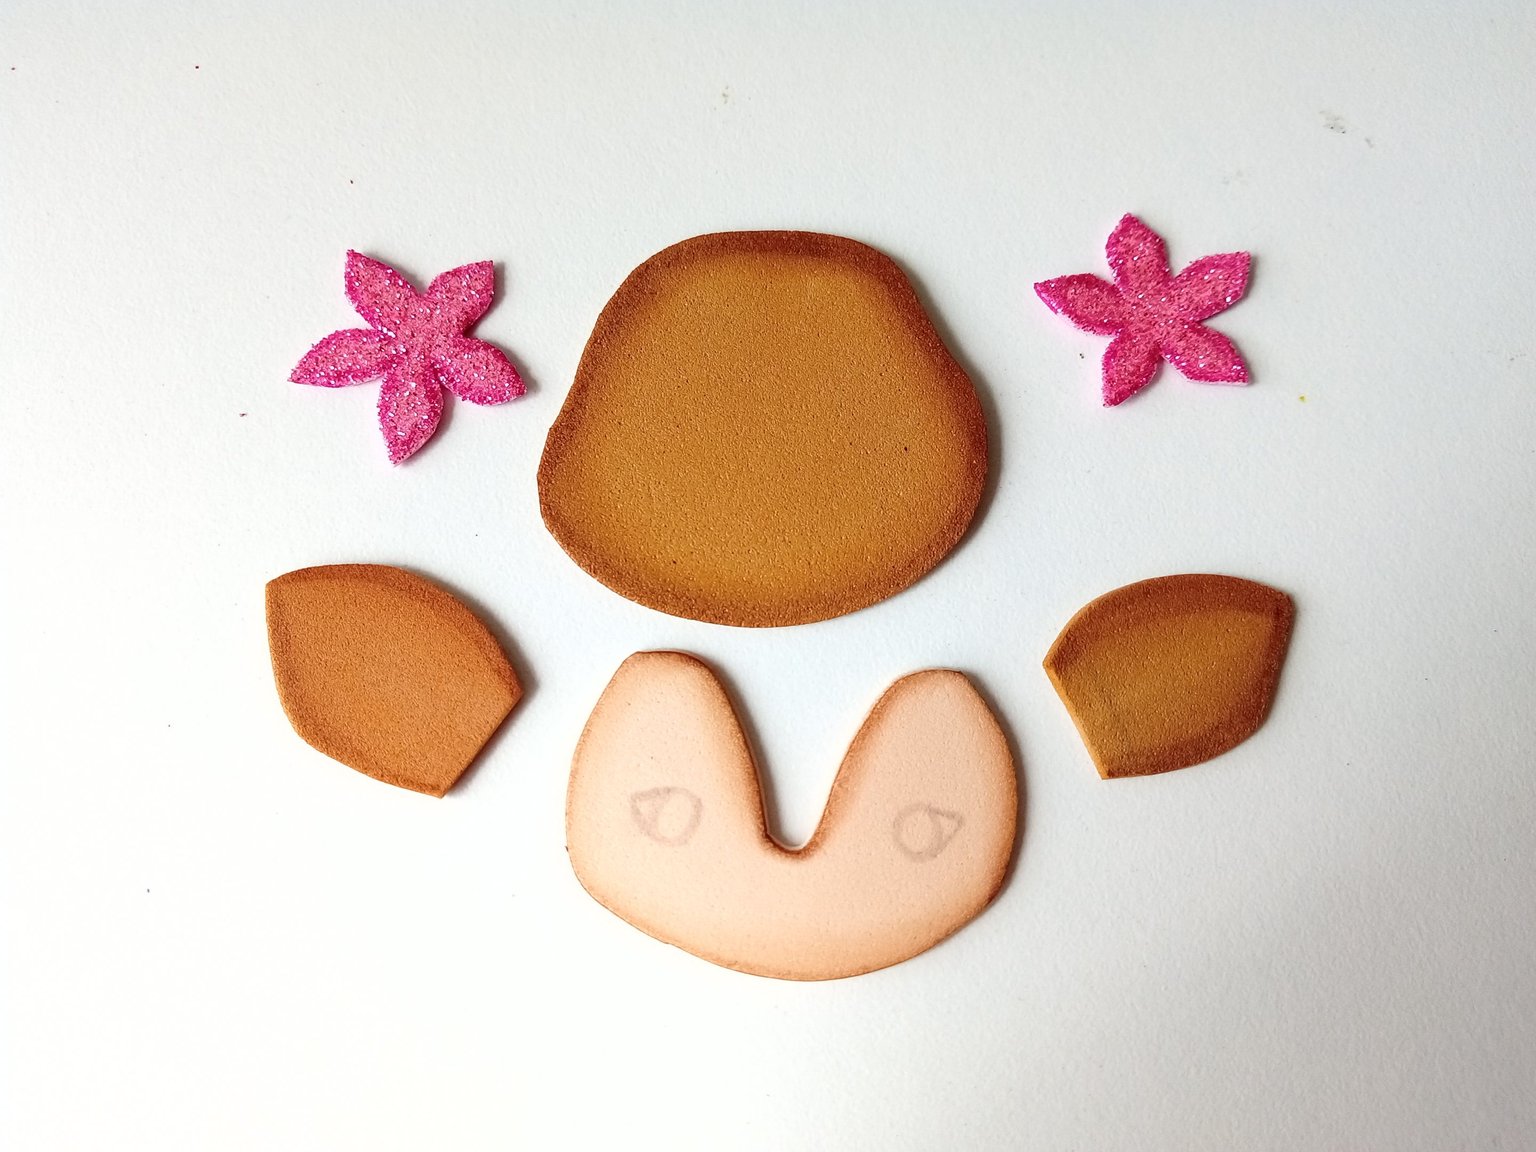
Ahora sí, llegó el momento de dibujar en una hoja blanca a Naara y al tener el diseño que quería, pasé a los colores correspondientes de foami, como explico a continuación:
✨Cabeza y orejas en foami marrón.
✨Parte del rostro en foami crema.
✨Nariz en foami negro escarchado.
✨Flores en foami escarchado rosa.
✨Hojas en foami escarchado verde.
✨ STEP 3:
Now, it was time to draw Naara on a white sheet of paper and once I had the design I wanted, I moved on to the corresponding colors of foam, as I explain below:
✨Head and ears in brown foam.
✨Part of the face in cream foam.
✨Nose in black frosted foam.
✨Flowers in pink frosted foam.
✨Leaves in green frosted foam.

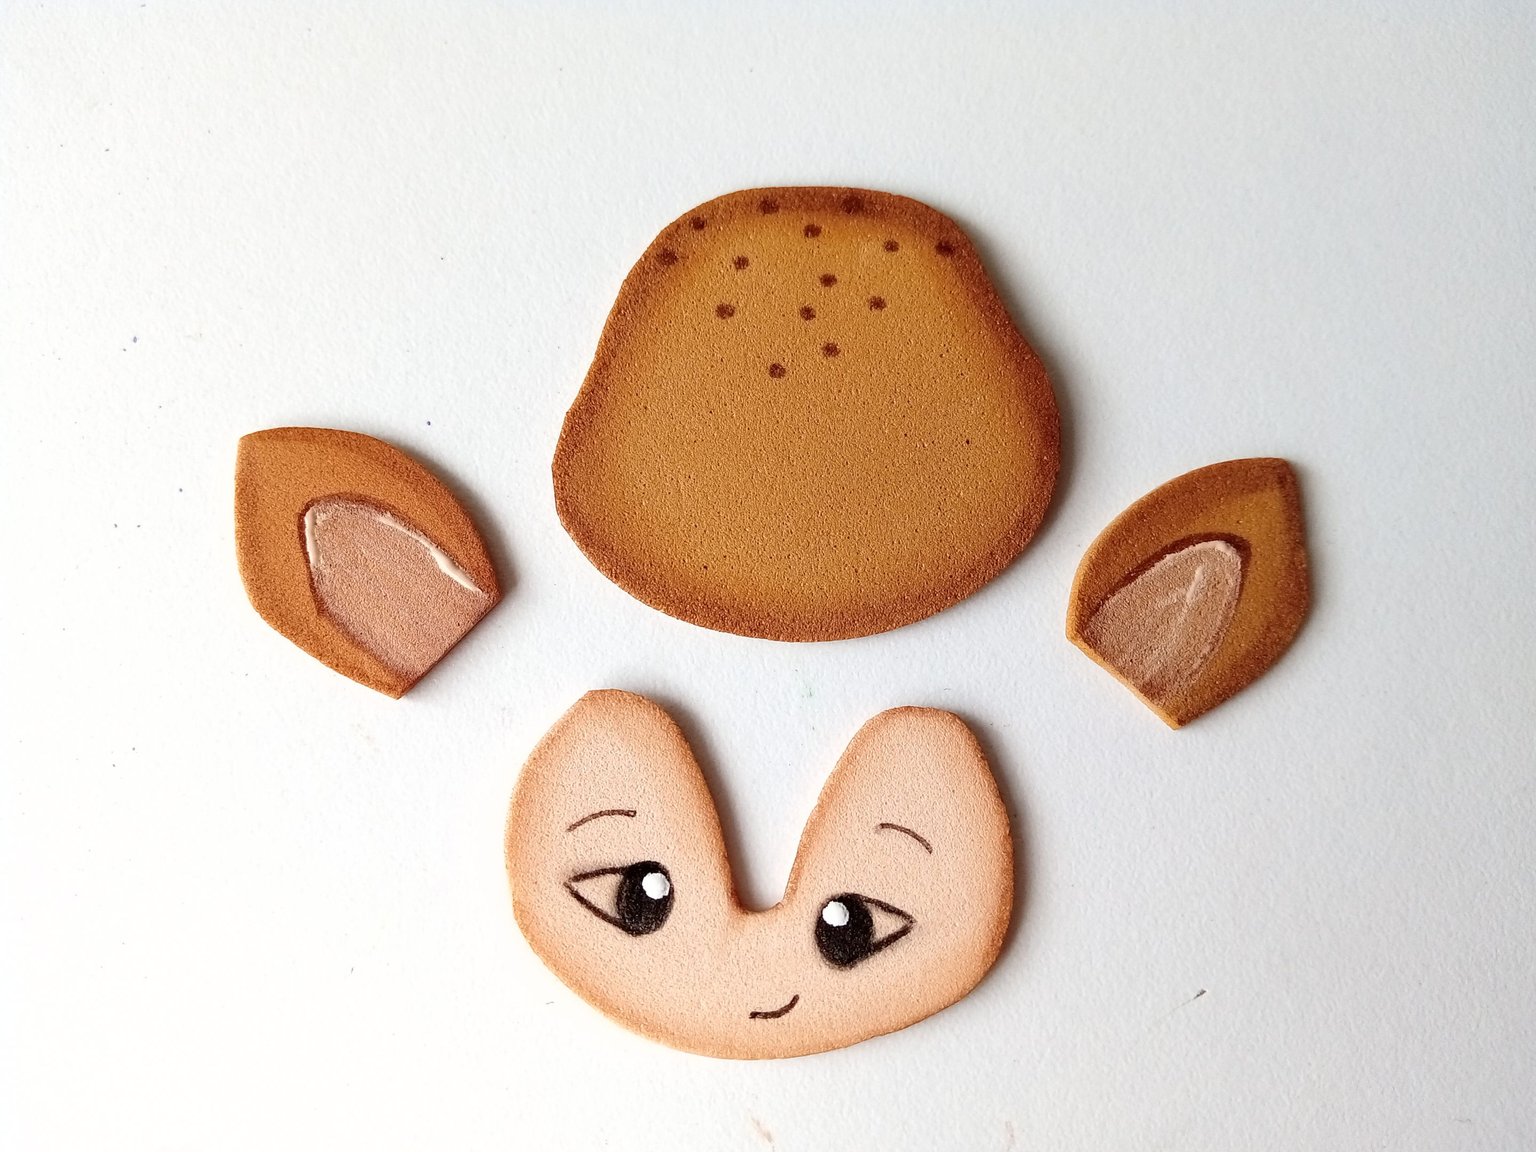
✨ PASO 4:
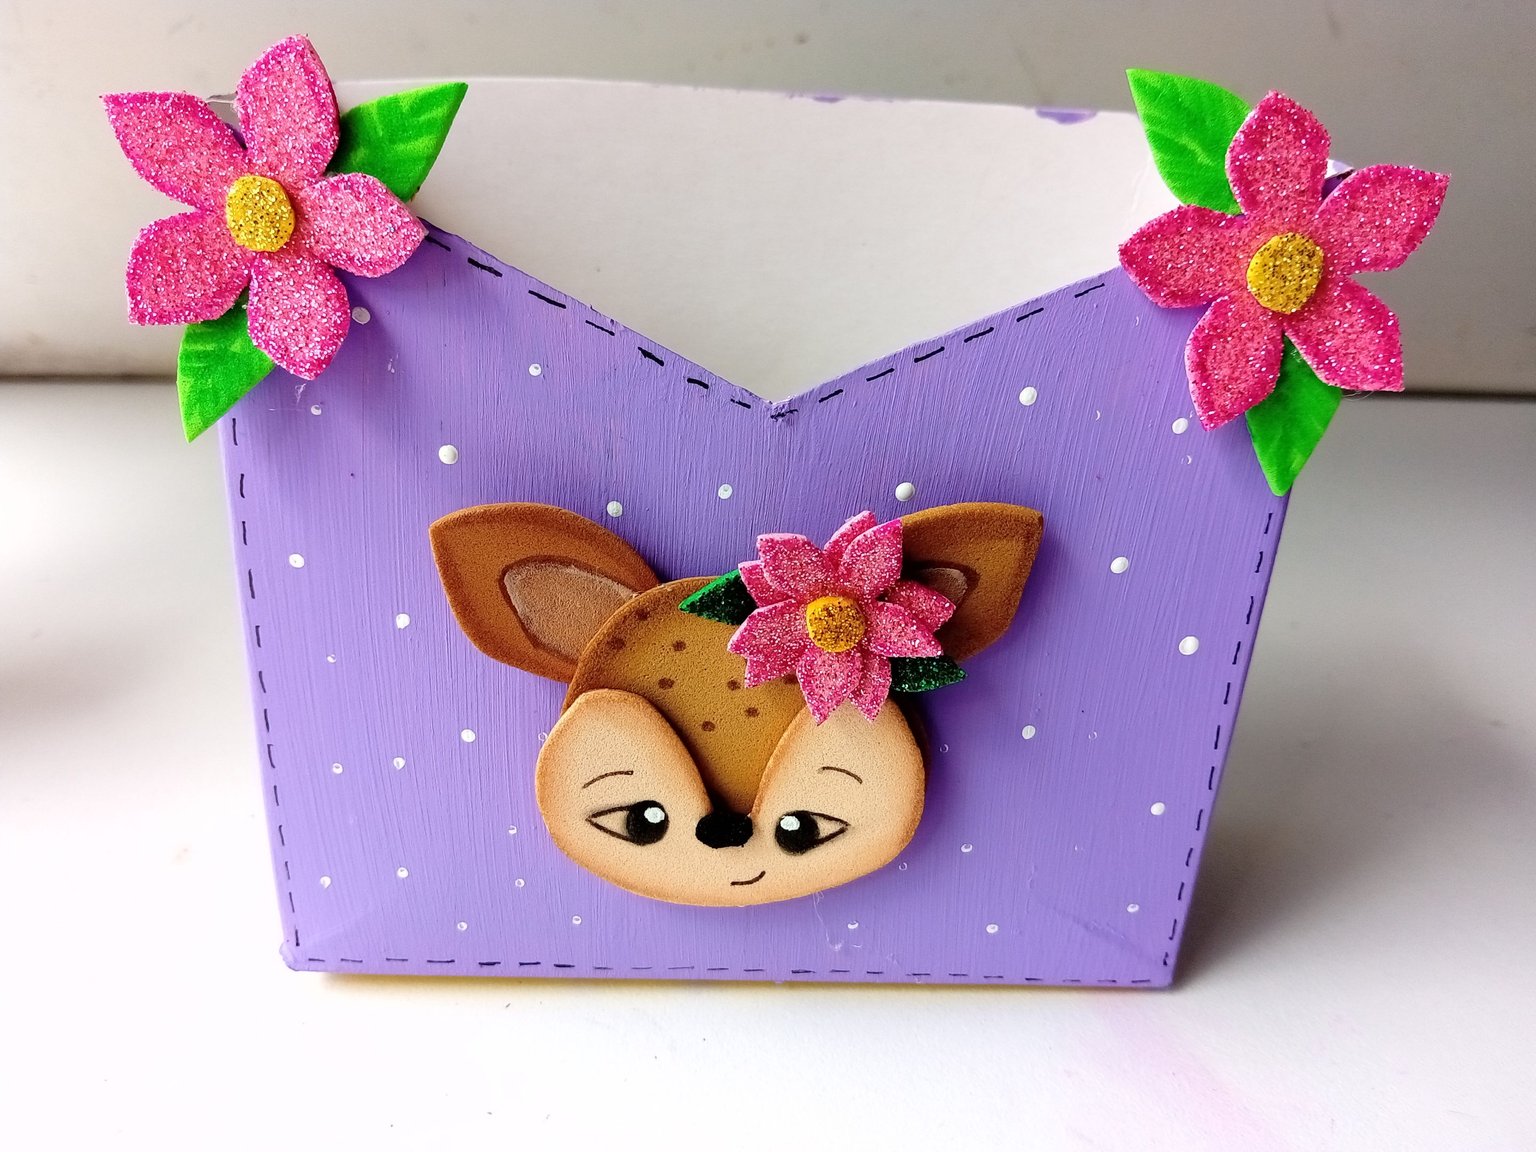
Seguidamente, comencé a dar color con pinturas en los bordes de todas las piezas y al estar seco, comencé a dibujar detalles con marcadores como son los ojos, cejas, boca, orejas, etc. Luego, pegué todas las piezas, hasta formar a Naara y la flor y pegué en medio de la caja.
✨ STEP 4:
Next, I began to color the edges of all the pieces with paints and when it was dry, I began to draw details with markers such as eyes, eyebrows, mouth, ears, etc. Then, I glued all the pieces together, until I formed Naara and the flower and glued them in the middle of the box.

✨ PASO 5:
Ya casi para finalizar, recorté un par de flores en foami escarchado rosado, pero más grandes que la anterior. El centro de las flores en foami escarchado dorado y las hojas en foami verde. Seguidamente, les di color a los bordes y diseños extras con marcadores. Por último, formé las flores y pegué en las esquinas laterales de la caja.
✨ STEP 5:
Almost to finish, I cut out a couple of flowers in pink frosted foam, but larger than the previous one. The center of the flowers in golden frosted foam and the leaves in green foam. Next, I colored the edges and extra designs with markers. Finally, I formed the flowers and glued them to the side corners of the box.
❤️ Hasta la próxima publicación.
❤️ Until the next post.

Todas las fotografías son de mi propiedad.
Separador y Fotos editadas en Canva
All photographs are my property.
Photos edited in Canva
Posted Using INLEO
Que buen uso le diste a la caja de Maicena, cuando estábamos niñas usábamos este tipo de cajas para hacer camas,closet y cositas de este tipo pa jugar con las demás niñas de la cuadra 🤣🤣
Lindisimo amii🥰 jamas hubiese pensado que era una caja de maizena jeje
Discord Felicitaciones, su publicación ha sido votada por @ dsc-r2cornell. Puedes usar el tag #R2cornell. También, nos puedes encontrar en
Beautiful organizer girlfriends, it is very cute and it is very good the color combination you made. The little Naara in the center is very cute.
Me encantó ese organizador! Muy creativa Ami ❤️
Amiiii que hermosooo❤️Me encantó la armonía que le aporta ese color lila
Cómo siempre haciendo bellezas!
Congratulations @valenpba! You received a personal badge!
You can view your badges on your board and compare yourself to others in the Ranking
Check out our last posts: