🔸Sin más que añadir, a continuación los dejo con el paso a paso:
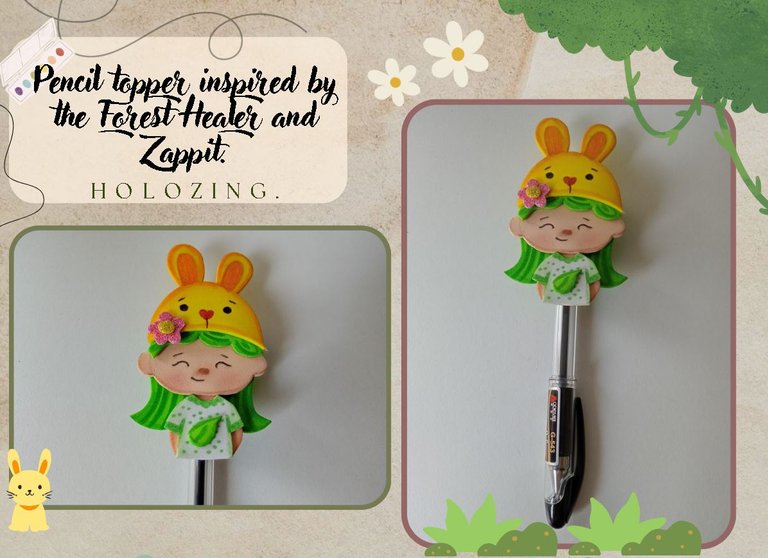
✨Good afternoon, holozing friends!✨ As always, I'm happy to stop by here again to share a nice pencil decoration idea inspired by the Forest Healer and Zappit. A few months ago I made a beautiful similar creation, combining a Healer with a creature and, since it's an idea that I love, because it's so creative and adorable, I wanted to try it again, this time with a Healer and Rappit. Also, I really liked the color palette I used, I think they go well together.
🔸Without more to add, then I leave you with the step by step:
♥️ESPERO QUE TE GUSTE,
¡Empecemos!
♥️I HOPE YOU LIKE IT,
Let's start!

✂️ MATERIALES | ✂️ MATERIALS
- Foami escarchado rosa.
- Foami escarchado dorado.
- Foami verde.
- Foami amarillo.
- Foami crema.
- Foami blanco.
- Pinturas y marcadores.
- Hoja blanca.
- Pegamento.
- Tijera.
- Regla.
- Lápiz.
- Pink frosted foam.
- Gold frosted foam.
- Green foam.
- Yellow foam.
- Cream foam.
- White foam.
- Paints and markers.
- White sheet.
- Glue.
- Scissors.
- Ruler.
- Pencil.
✨ PROCEDIMIENTO | ✨ PROCESS
✨ PASO 1:
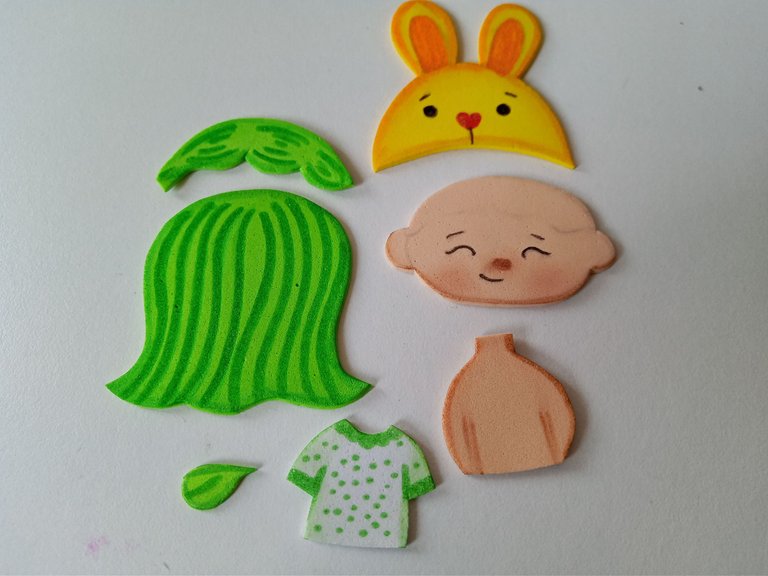
Lo primero que hice fue dibujar el diseño que quería esta vez para combinar a la Sanadora del bosque y a Zappit. Así que, al tener el diseño listo en la hoja blanca, transferí cada una de las piezas a los colores correspondientes de foami, como explico a continuación:
🌼Para la Sanadora del bosque:
✨Cabeza de 5 cm x 3.5 cm en foami crema.
✨Cuerpo de 3 cm x 2.5 cm en foami crema.
✨Parte delantera del cabello de 4.5 cm x 1 cm en foami verde.
✨Parte trasera del cabello de 5 cm x 4.5 cm en foami verde.
✨Camisa de 2.5 cm en foami blanco.
✨Hoja de 1 cm en foami verde.
🐰Para Zappit Radiant:
✨Gorro de 4.5 cm x 4.5 cm en foami amarillo.
✨Mini flor en foami escarchado rosa y centro en escarchado dorado.
✨ STEP 1:
The first thing I did was draw the design I wanted this time to match the Forest Healer and Zappit. So, once I had the design ready on the white sheet, I transferred each of the pieces to the corresponding colors of foam, as explained below:
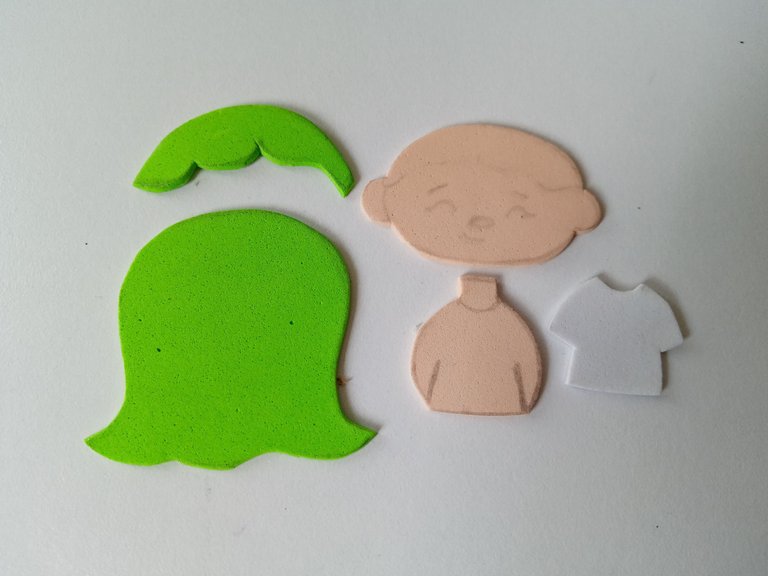
🌼For the Forest Healer:
✨Head 5 cm x 3.5 cm in cream foam.
✨Body 3 cm x 2.5 cm in cream foam.
✨Front part of the hair 4.5 cm x 1 cm in green foam.
✨Back of hair 5 cm x 4.5 cm in green foam.
✨Shirt 2.5 cm in white foam.
✨Leaf 1 cm in green foam.
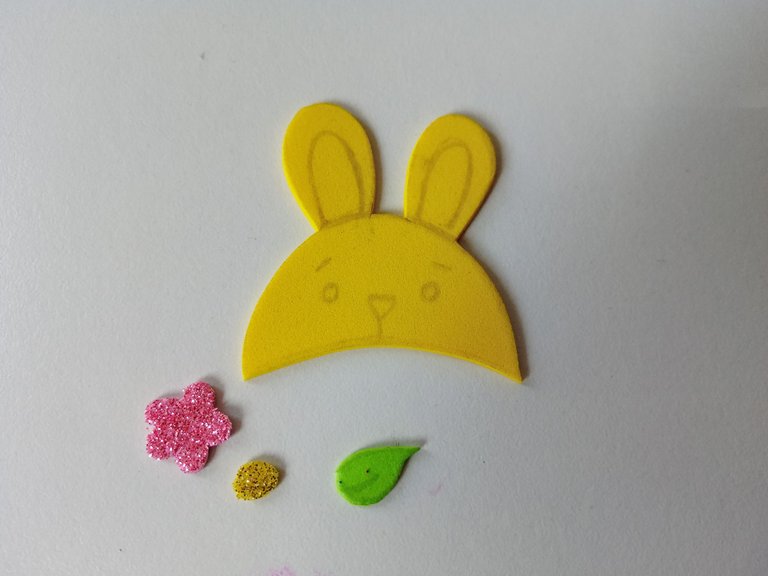
🐰For Zappit Radiant:
✨Hat 4.5 cm x 4.5 cm in yellow foam.
✨Mini flower in pink frosted foam and center in gold frosted.
✨ PASO 2:
Una vez recortadas todas las piezas, es momento de hacer lo que más me gusta, que es dar color a cada una de las piezas con pinturas o marcadores, utilizando un tono más oscuro o que simplemente dé un contraste a cada una de las piezas y difuminé con un pañito. Al estar secas, es momento de dar muchos más detalles con marcadores, que en este caso utilicé un marcador negro para dibujar todos los detalles de la cara, como ojos, cejas, boca de la Sanadora, pero la nariz un tono marrón y un poco de rubor en las mejillas. Luego, repetí el mismo proceso con el rostro de Zappit y la nariz en forma de corazón con rosa. Para el cabello y camisa utilicé un color verde al que le hice un par de puntos como diseño y para las orejas de Zappit un naranja.
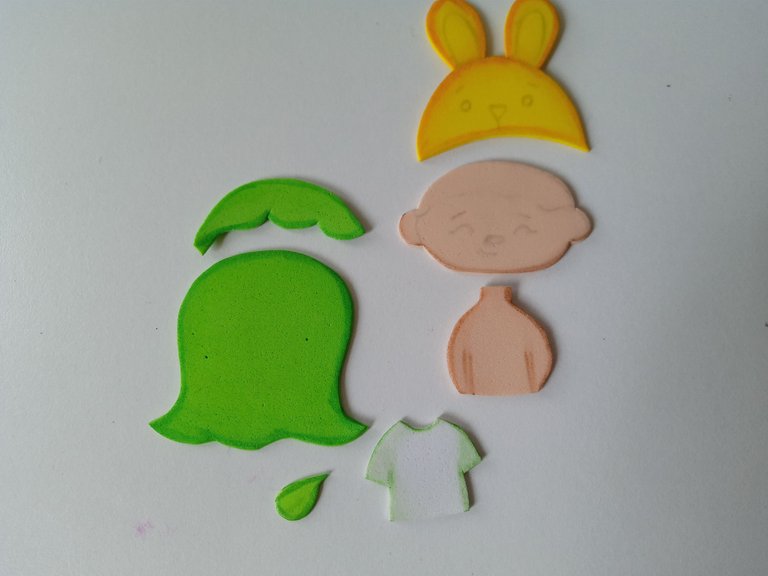
✨ STEP 2:
Once all the pieces are cut out, it's time to do what I like best, which is to color each of the pieces with paints or markers, using a darker tone or one that simply gives a contrast to each of the pieces and blending with a cloth. Once they are dry, it's time to give many more details with markers, which in this case I used a black marker to draw all the details of the face, such as eyes, eyebrows, mouth of the Healer, but the nose in a brown tone and a little blush on the cheeks. Then, I repeated the same process with Zappit's face and the pink heart-shaped nose. For the hair and shirt I used a green color with a couple of dots as a design and for Zappit's ears I used orange.
✨ PASO 3:
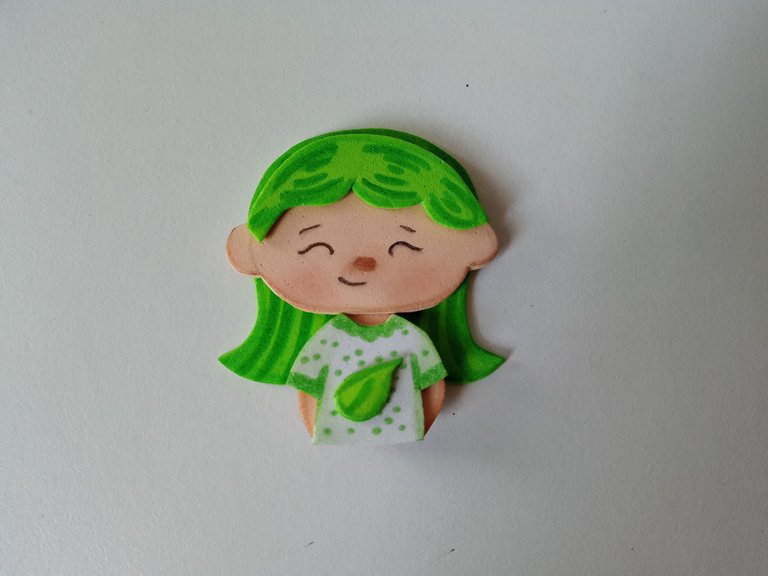
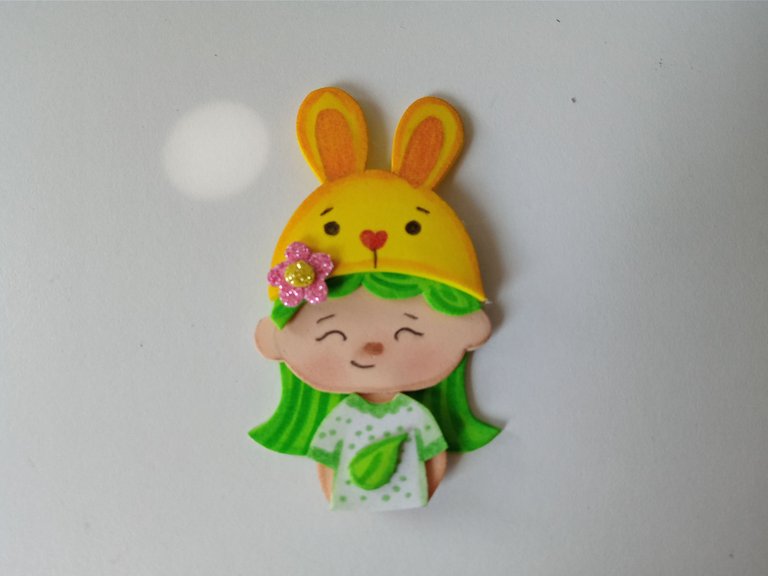
Al estar todo seco, fue momento de comenzar a pegar. En mi caso comencé pegando la cabeza, el cabello, el cuerpo y, por último, la ropa, para luego pasar por el gorro la flor en la parte baja del gorro.
✨ STEP 3:
Once everything was dry, it was time to start gluing. In my case I started by gluing the head, the hair, the body and, finally, the clothes, then moving on to the hat and the flower at the bottom of the cap.
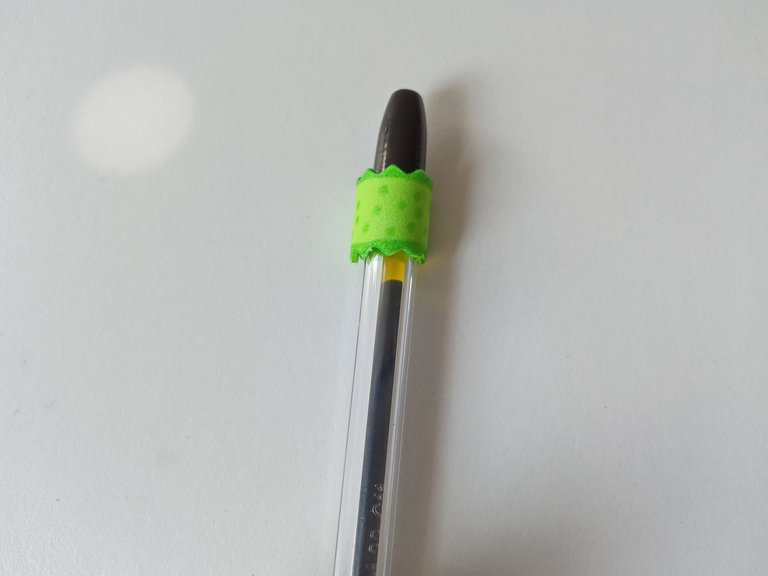
✨ PASO 4:
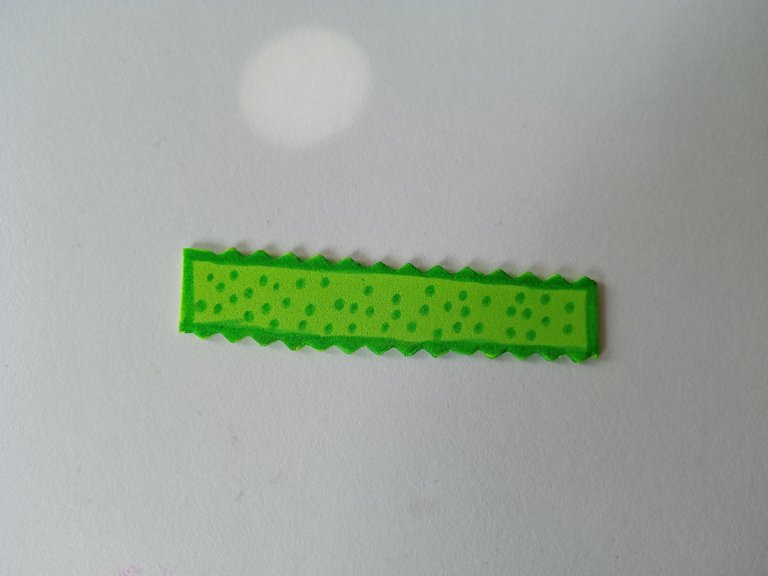
Por último, recorté una tira en foami verde de 1 cm con tijeras decoradas, le di color a los bordes con marcador verde oscuro, hice algunos puntos por el resto de la pieza, pegué alrededor del lápiz o lapicero, retiré el exceso de la tira y encima, pegué la decoración.
✨ STEP 4:
Finally, I cut a 1 cm strip of green foam with decorative scissors, I colored the edges with a dark green marker, made some dots along the rest of the piece, glued around the pencil or pen, removed the excess from the strip and on top, I glued the decoration.

❤️ Hasta la próxima publicación.
❤️ Until the next post.

Todas las fotografías son de mi propiedad.
Separador y Fotos editadas en Canva
All photographs are my property.
Photos edited in Canva
Posted Using INLEO
Me encanta como te están quedando los difuminados ami, se ven tan cuchis😍😍
Muchas gracias amiga! Le pongo mucho amor jaja 🤭
Quedó súper lindo Ami, ese calorcito verde está precioso 🥰🥰😍
Gracias mi Vane linda! 💕
Discord Felicitaciones, su publicación ha sido votada por @ dsc-r2cornell. Puedes usar el tag #R2cornell. También, nos puedes encontrar en
Muchas gracias amigos 💕
Qué hermoso amiga 🥰🥰