🔸Sin más que añadir, a continuación los dejo con el paso a paso:
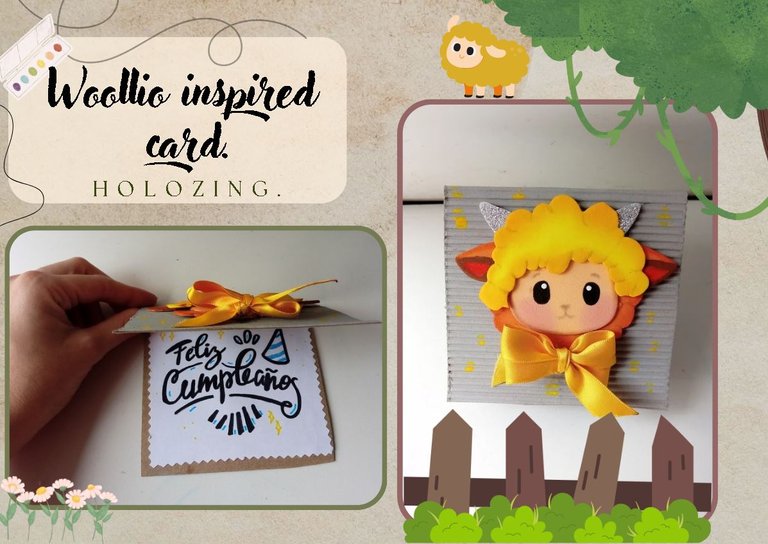
Good afternoon, holozing friends!I hope you are feeling pretty well and I am happy to stop by here again to share a nice idea for a Woolio-themed birthday card. This time I wanted to make something different, but one that was quite simple and easy to make, with just some materials and a little creativity.
I know that I always say that it is easy and with few materials and yes, you can use few, only since I have a variety of colors; frosted and smooth, because I take advantage of having fun using what I have, but they can use repeated colors in many of the creations. Returning to the main topic, I don't know, I hadn't thought about doing something for a birthday, but when the idea came to mind I thought why not? So I got to work and started creating.
🔸Without more to add, then I leave you with the step by step:
♥️ESPERO QUE TE GUSTE,
¡Empecemos!
♥️I HOPE YOU LIKE IT,
Let's start!

✂️ MATERIALES | ✂️ MATERIALS
- Cartulina corrugada.
- Foami amarillo.
- Foami naranja.
- Foami crema.
- Foami escarchado plateado.
- Hoja blanca.
- Marcadores.
- Pinturas.
- Pegamento.
- Lazo.
- Tijeras.
- Regla.
- Lápiz.
- Corrugated cardboard.
- Yellow foam.
- Orange foam.
- Cream foam.
- Silver frosted foam.
- White sheet.
- Markers.
- Paintings.
- Glue.
- Ribbon.
- Scissors.
- Ruler.
- Pencil.
PROCEDIMIENTO | PROCESS
- ✨ PASO 1:
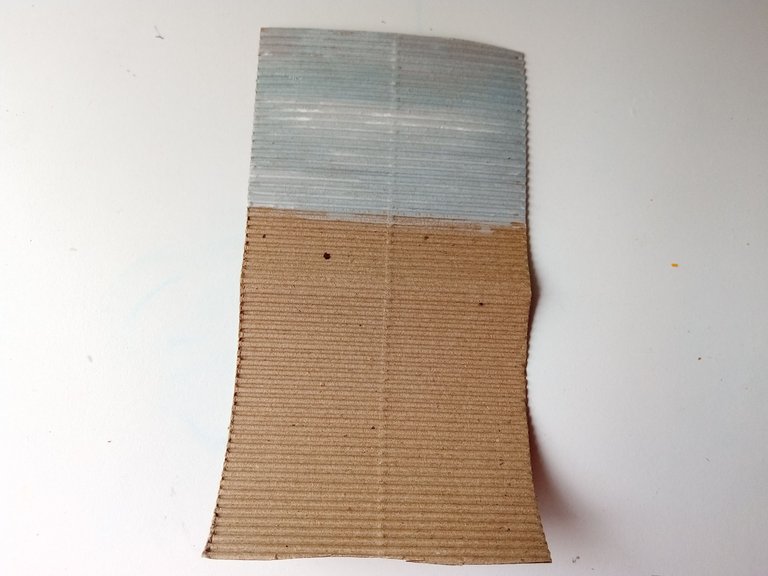
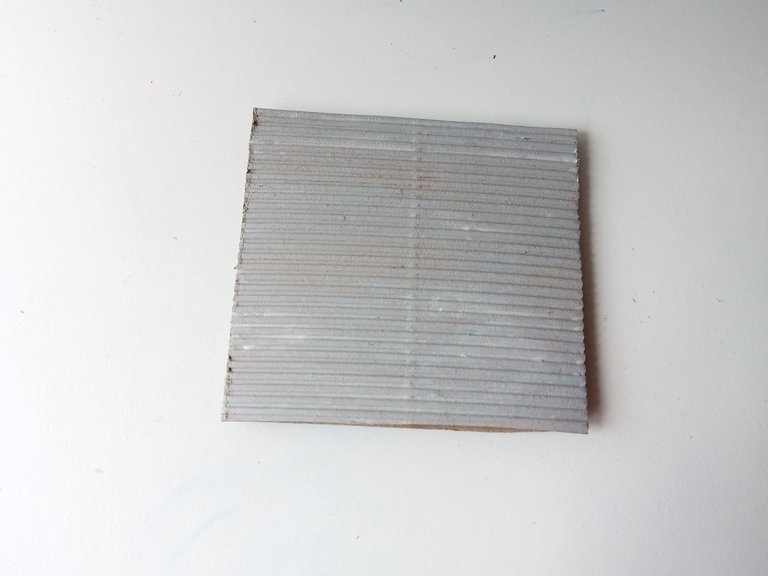
Lo primero que hice fue tomar las medidas que quería para mi tarjeta en cartulina corrugada, las medidas fueron de 21 cm x 11 cm y recorté. Como no tenía el color de cartulina que quería, lo que hice fue pintarla con pintura gris, dejé secar muy bien y doble a la mitad.
- ✨ STEP 1:
The first thing I did was take the measurements I wanted for my card on corrugated cardboard, the measurements were 21 cm x 11 cm and I cut them out. Since I didn't have the color of cardboard I wanted, what I did was paint it with gray paint, let it dry very well and fold it in half.
- ✨ PASO 2:
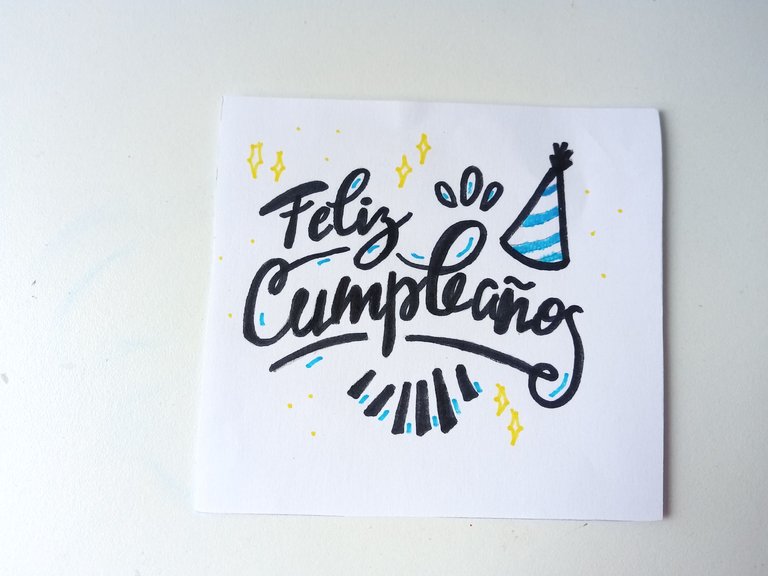
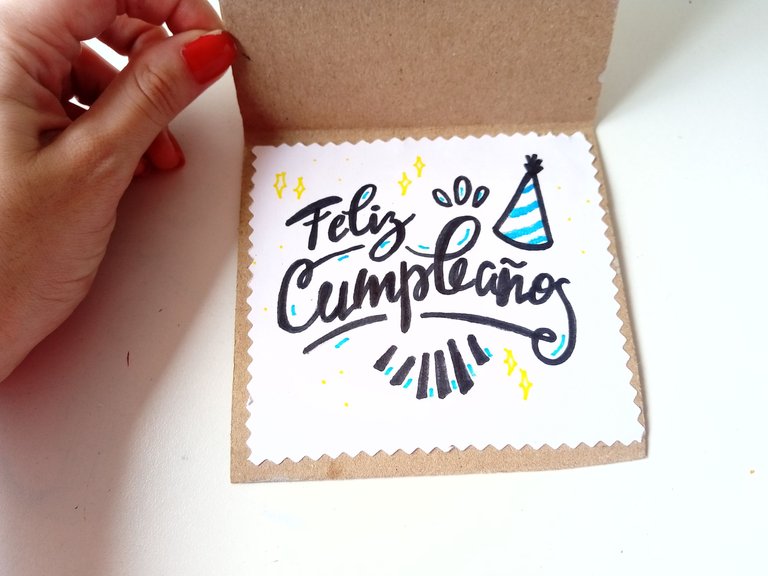
Mientas se secaba la cartulina, recorté una hoja blanca con las medidas de 10 cm x 9.5 cm, recorté con tijeras decorativas, escribí ‘‘feliz cumpleaños’’, remarqué con marcador negro y di más detalles con marcadores de colores. Al terminar, pegué en una de las paredes internas de la tarjeta.
- ✨ STEP 2:
While the cardboard was drying, I cut out a white sheet measuring 10 cm x 9.5 cm, cut it out with decorative scissors, wrote 'happy birthday', highlighted with black marker and gave more details with colored markers. When finished, I glued on one of the inside walls of the card.
- ✨ PASO 3:
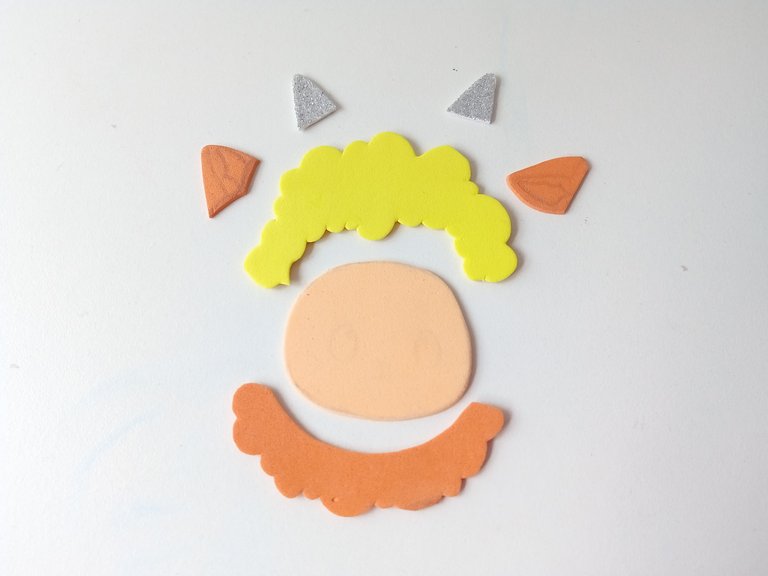
Ahora sí, vamos con la decoración. Lo primero que hice fue dibujar a Woollio por pares, es decir; la cara por un lado, los cuernitos, etc. Luego, los transferí a los colores correspondientes de foami, de la siguiente manera: el rostro en color crema, La lana superior en foami amarillo, la inferior en foami naranja al igual que las orejas y los cuernitos en foami escarchado plateado.
- ✨ STEP 3:
Now, let's get to the decoration. The first thing I did was draw Woollio in pairs, that is; the face on one side, the horns, etc. Then, I transferred them to the corresponding colors of foam, as follows: the face in cream, the upper wool in yellow foam, the lower wool in orange foam, as well as the ears and horns in frosty silver foam.
- ✨ PASO 4:
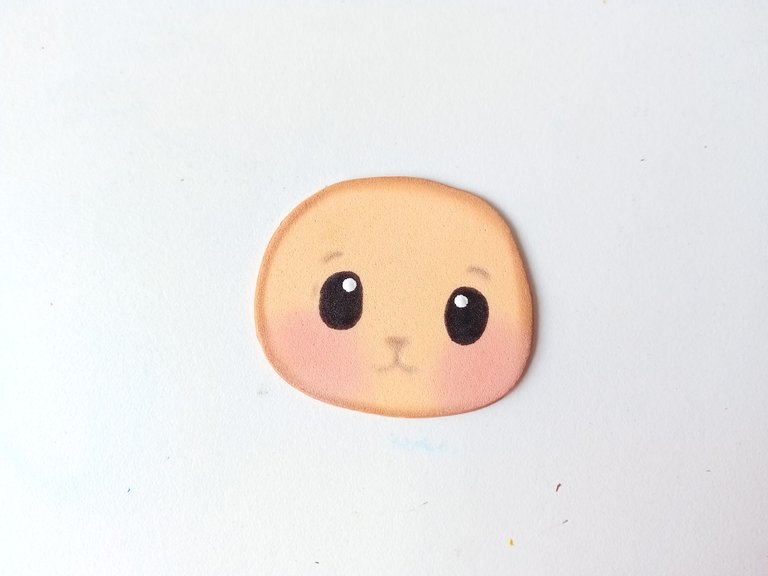
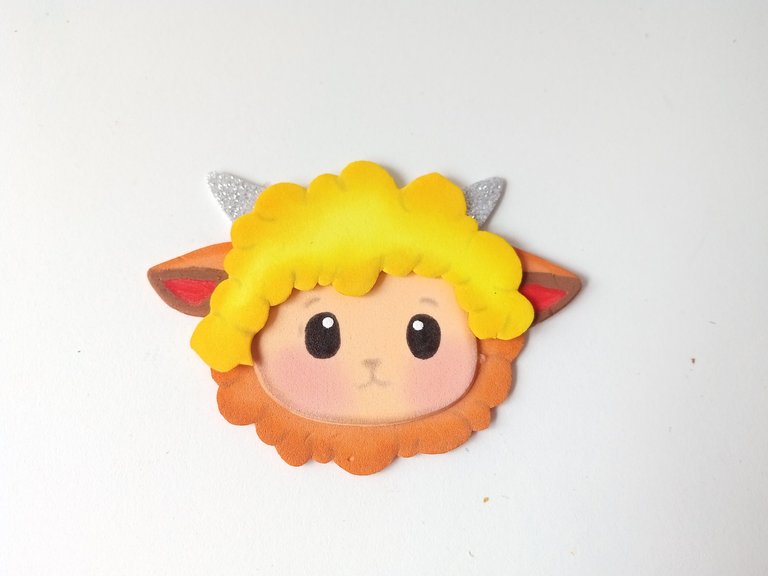
Al tener todas las piezas listas, pase pintura por los bordes de cada pieza, utilizando un color que contrastara. También, pinté el rostro con marcador, di color a las mejillas y pinté las orejas para dar más definición. Al estar todo listo, pegué las piezas.
- ✨ STEP 4:
Once you have all the pieces ready, paint the edges of each piece, using a contrasting color. Also, I painted the face with marker, colored the cheeks and painted the ears to give more definition. When everything was ready, I glued the pieces.

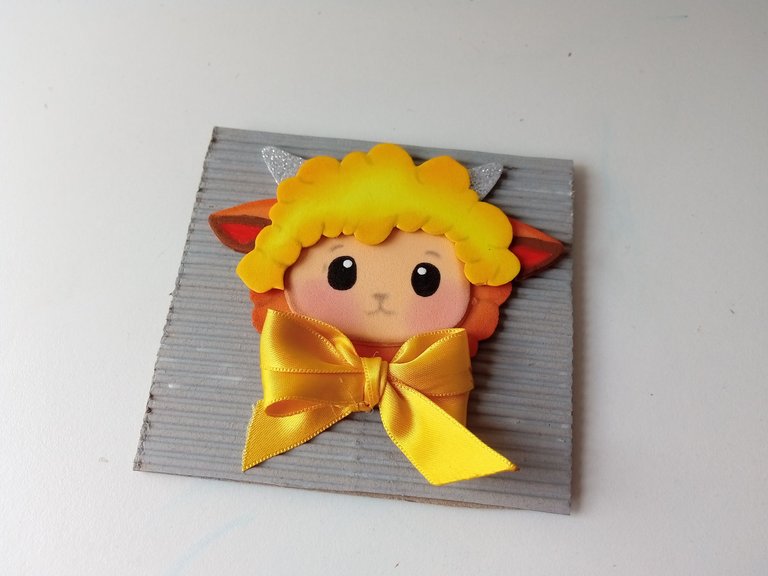
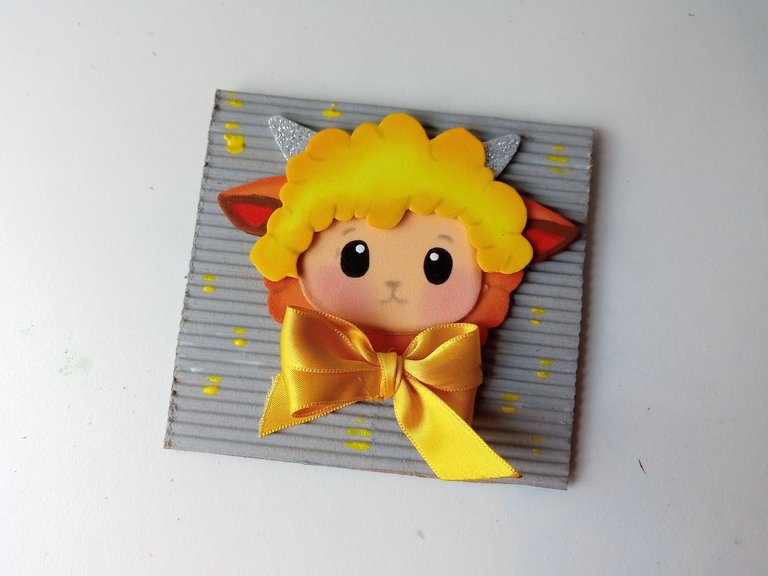
- ✨ PASO 5:
Después, pegué a Woolio en la portada de la tarjeta, pegué justo abajo un lazo amarillo y para que no se viera tan simple la tarjeta, pinté algunos puntos amarillos en la portada.
- ✨ STEP 5:
Then, I glued Woolio on the cover of the card, I glued a yellow bow just below and to make the card not look so simple, I painted some yellow dots on the cover.
✨¡And ready!✨This way you can create a beautiful, easy and simple idea to give a gift to a loved one or little one at home. Personally, I think it is an original idea, which can easily be adapted to any of the holozing characters or creatures. I hope you liked the step by step and are encouraged to make it.
❤️Until the next post.
❤️ Hasta la próxima publicación.
❤️ Until the next post.


Todas las fotografías son de mi propiedad.
Separador y Fotos editadas en Canva
All photographs are my property.
Photos edited in Canva
Ay nooo, que cosita tan tierna y hermosa mi Valen. Te quedó demasiada hermosa esa tarjeta, me encantaron los colores que usaste y como le diste sombras 😍💕
Muchas gracias mi Vane bella 🥰. Estaba un poco nerviosa con este nuevo personaje, pues tiene colores que no suelo utilizar , pero si logré un resultado tierno 🤭🥰. Gracias por pasarte mi Vane 💕
From Venezuela, our witness drives decentralization and the adoption of Web3 technology, creating opportunities for the local community and contributing to the global ecosystem. // Desde Venezuela, nuestro testigo impulsa la descentralización y la adopción de la tecnología Web3, generando oportunidades para la comunidad local y contribuyendo al ecosistema global.
Sigue, contacta y se parte del testigo en: // Follow, contact and be part of the witness in:
Muchas gracias por el apoyo amigos 😊
Que ternurita, te quedó precioso 😍
Muchas gracias, linda! 💕✨
Me encantan esas ideas sencillas pero muy hermosas 😍
Muchas gracias mi Eve! Así es, bastante sencillo, pero con un toque de ternura🤭🥰
Que belleza amiga, se ve tan cuchi que quede enamorada🥰🥰
Gracias mi Yage! Agradezco mucho tu comentario 💕
Wowwww🩷🥹
¿Cuando no mi amiga con sus cuchituras?
No conocía a woolio y debo decir que es tierno, pero tú te pasaste de ternura;
Me encanto, gracias por compartir ami bella!🌷🩷
Ay! Te quiero 💕. Cierto? Es un personaje bastante tierno y diferente al resto de las criaturas 🤭
Gracias a ti por comentar amiga mía💕🌷
Que preciosura de tarjeta ami 😍😍 Ese personaje te quedó super tierno y el detalle del lazo me encantó. Es toda una belleza esta manualidad 🥰
Gracias mi Mary bella 🥺🥰 Gradezco muchísimo tus comentarios, no sé, es lindo porque a veces no estoy del todo satisfecha con los resultados. Te mando un abrazo 🥰