🔸Sin más que añadir, a continuación los dejo con el paso a paso:
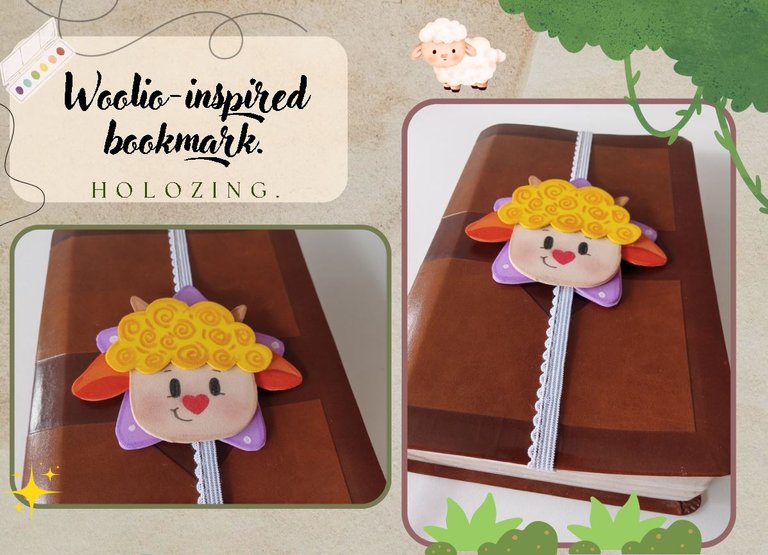
✨Good afternoon, holozing friends!✨ As always, I'm happy to stop by again to share a lovely Woolio-inspired bookmark decoration idea. I'd never made a bookmark like this before, but I was inspired by one I had at home because it seemed like a great way to display whatever decorations you like, whether it's Holozing characters and creatures or whatever you'd like. Besides, this idea is much more visible, convenient, and practical.
🔸Without more to add, then I leave you with the step by step:
♥️ESPERO QUE TE GUSTE,
¡Empecemos!
♥️I HOPE YOU LIKE IT,
Let's start!

✂️ MATERIALES | ✂️ MATERIALS
- Foami morado.
- Foami amarillo.
- Foami naranja.
- Foami crema.
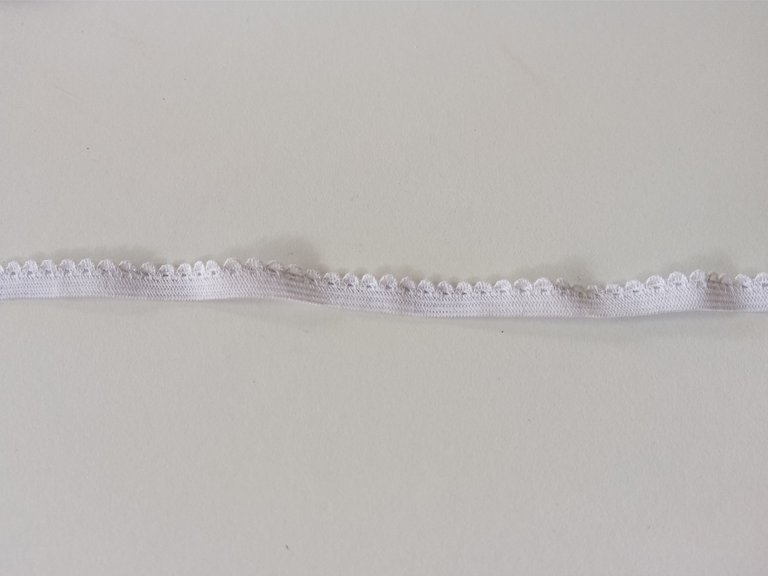
- Liga de 1 cm.
- Pinturas y marcadores.
- Pegamento.
- Hoja blanca.
- Tijeras.
- Regla.
- Lápiz.
- Purple foami.
- Yellow foami.
- Orange foami.
- Cream foami.
- 1 cm rubber band.
- Paints and markers.
- Glue.
- White paper.
- Scissors.
- Ruler.
- Pencil.
✨ PROCEDIMIENTO | ✨ PROCESS
✨ PASO 1:
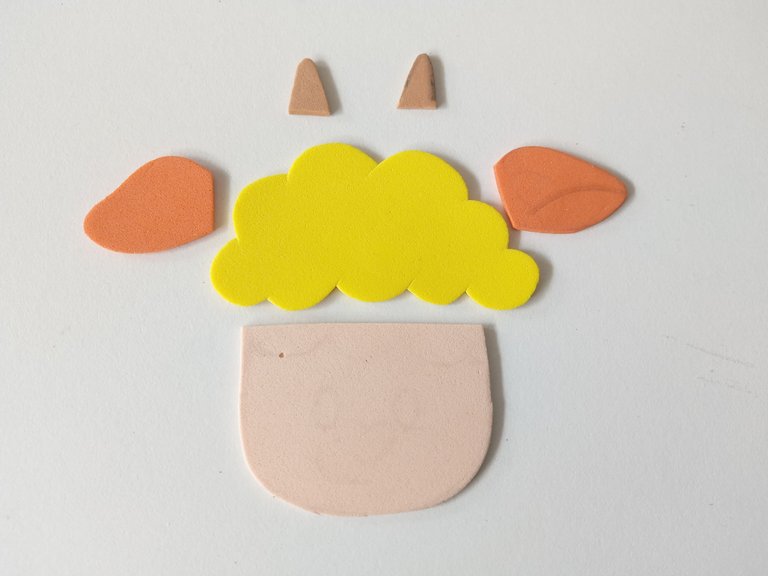
Lo primero, como siempre, es hacer el diseño que quiero de Woolio y el resto de piezas en una hoja blanca y luego los transferí a los colores correspondientes de foami, como explico a continuación:
✨Cabeza de 5 cm x 4 cm en foami crema.
✨Lana de 7 cm x 3.5 cm en foami amarillo.
✨Orejas de 3 cm x 2 cm en foami naranja.
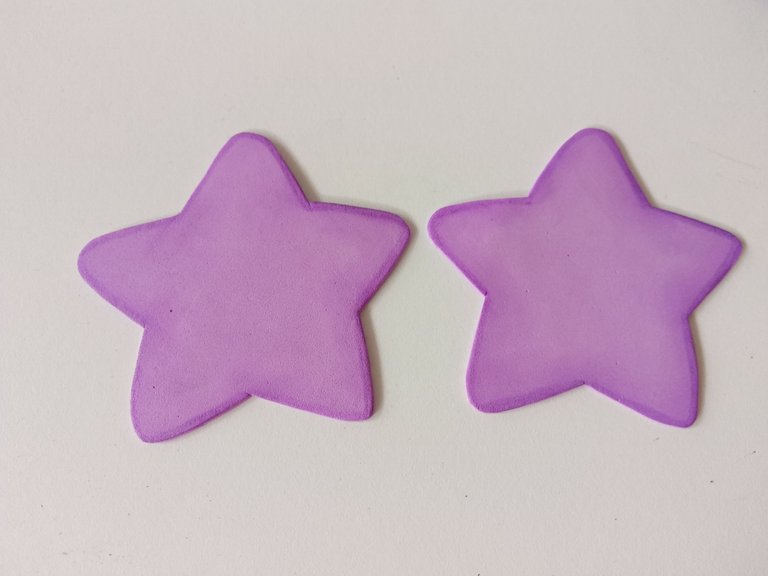
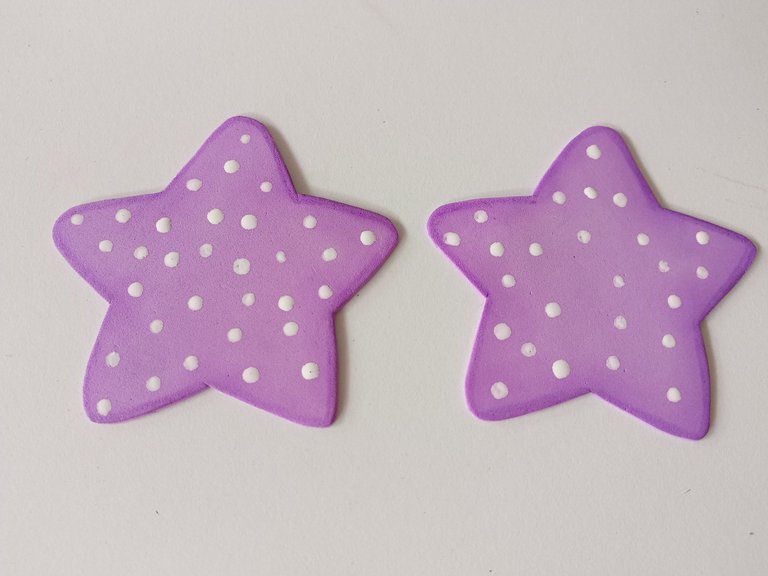
✨2 estrellas de 8 cm en foami morado.
✨ STEP 1:
The first thing, as always, is to make the Woolio design I want and the rest of the pieces on a white sheet of paper, and then transfer them to the corresponding colors of foami, as explained below:
✨5 cm x 4 cm head in cream foami.
✨7 cm x 3.5 cm wool in yellow foam.
✨3 cm x 2 cm ears in orange foam.
✨Two 8 cm stars in purple foam.
✨ PASO 2:
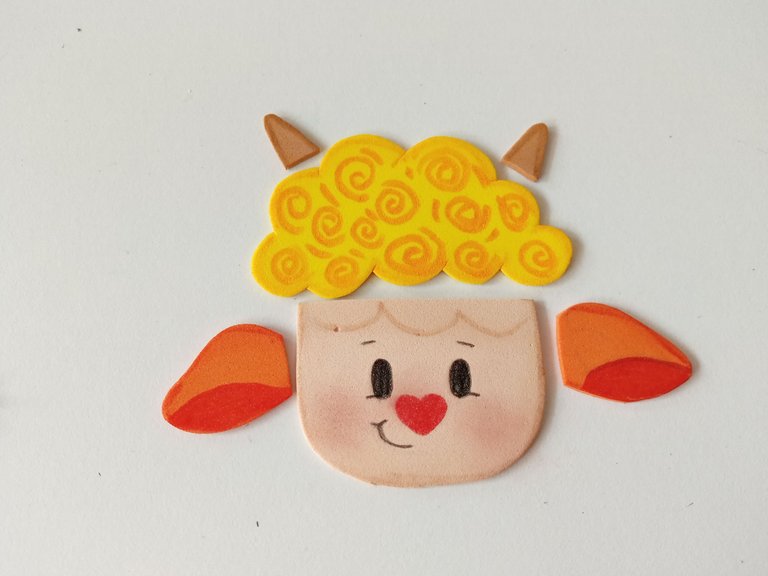
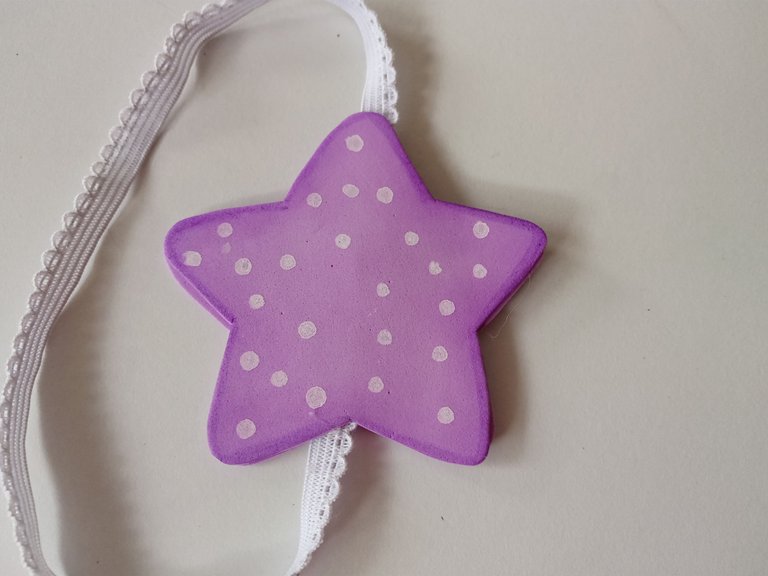
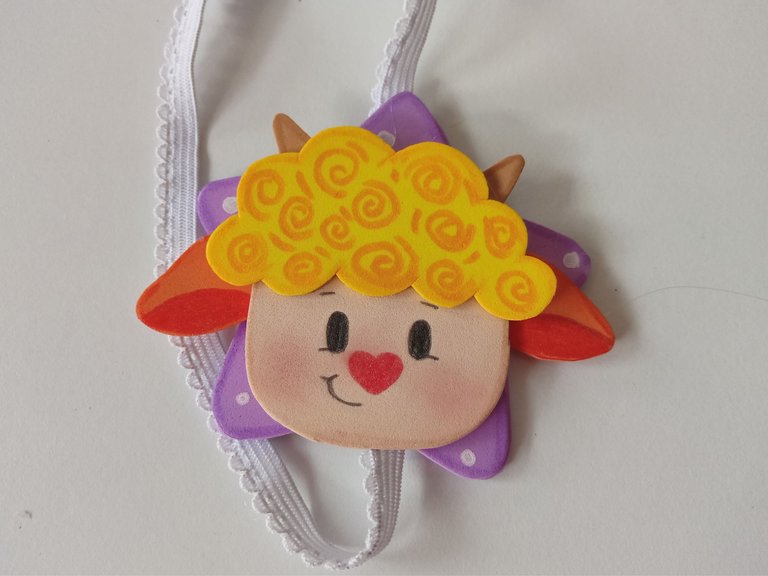
Luego, es momento de dar color a los bordes con pinturas que hagan contraste o colores que combinen y se deja secar muy bien. Al estar seco, es momento de dar más detalles específicos con marcadores, que en este caso los ojos, las cejas y la boca son con marcador negro. Para las orejas pinté la parte interna con un tono más oscuro de naranja, y para el cabello igualmente con un tono naranja, e hice espirales. Para la nariz utilicé un tono rojo y a las estrellas les pinté puntos blancos con pintura.
✨ STEP 2:
Next, it's time to color the edges with contrasting or matching paints and let it dry completely. Once it's dry, it's time to add more specific details with markers, in this case the eyes, eyebrows, and mouth are made with black marker. For the ears, I colored the insides with a darker shade of orange, and for the hair, I also colored them with orange, and I made spirals. For the nose, I used a red shade, and for the stars, I painted white dots with paint.
✨ PASO 3:
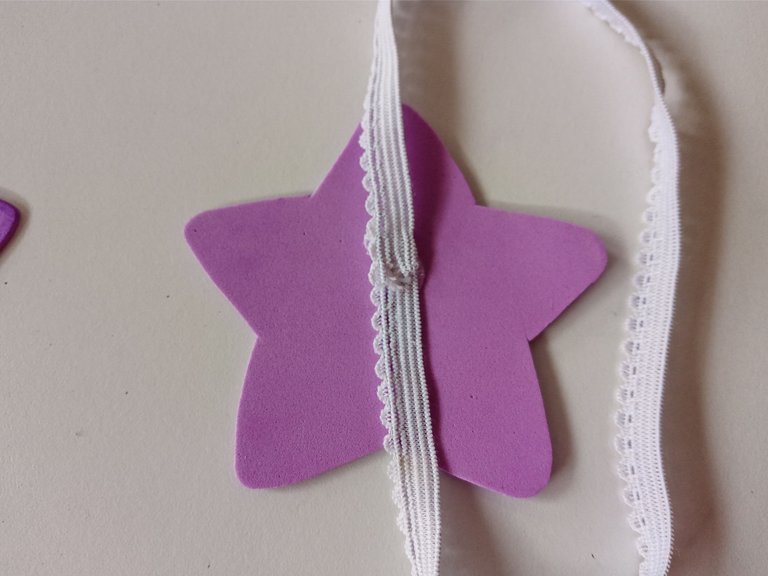
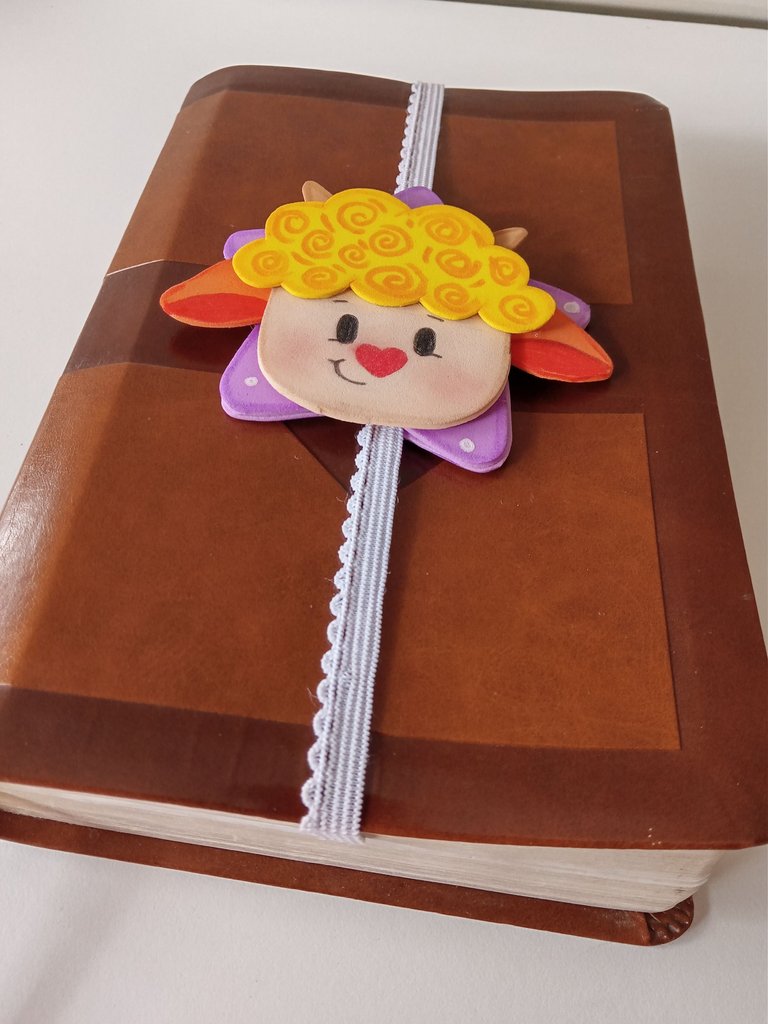
Al estar todo seco, comencé a pegar poco a poco a Woolio; comenzando con la cabeza, la lana y las orejas. Seguidamente, recorté un trozo de liga de 38 cm, pegué las puntas y, justo en la unión, hice una especie de sándwich con las dos estrellas, es decir, la estrella, en medio pegué la liga y encima, la otra estrella. Al estar listo, pegue a Wollio en medio de una de las dos estrellas.
✨ STEP 3:
Once everything was dry, I began gluing the Woolio little by little, starting with the head, the wool, and the ears. Next, I cut a 38cm piece of elastic, glued the ends together, and made a sort of sandwich with the two stars at the junction. I glued the star, the elastic in the middle, and the other star on top. Once that was done, I glued Wollio in the middle of one of the two stars.
 |  |
|---|
❤️ Hasta la próxima publicación.
❤️ Until the next post.

Todas las fotografías son de mi propiedad.
Separador y Fotos editadas en Canva
All photographs are my property.
Photos edited in Canva
Posted Using INLEO
Me encantó! Quedó muy bonito y práctico, además con uno de nuestros queridos personajes Holozing. Gracias por compartirlo. Bendiciones 🙏🏻
Muchas gracias amiga! Me alegra que te haya gustado.💕
Well, I think your handicraft is very beautiful, I find it very difficult to make such small pieces.
A mí me pasaba cuando comencé, pero poco a poco he ido aprendiendo y me resulta más fácil . Muchas gracias por comentar 💕
There’s no greater feeling than being inspired by random things and characters and representing or creating them in your own way. Amazing job friend and thanks for sharing your beautiful bookmark with us.
selected by @ibbtammy
Thank you so much for always leaving such lovely comments. It's much appreciated. 💕
Ay qué hermoso Marcapaginas! Creo que Olí necesita uno hecho por su tía ❤️
Ay mi pequeñita necesita muchos! Ojalá vivir por ahí para darle muchos 💕