
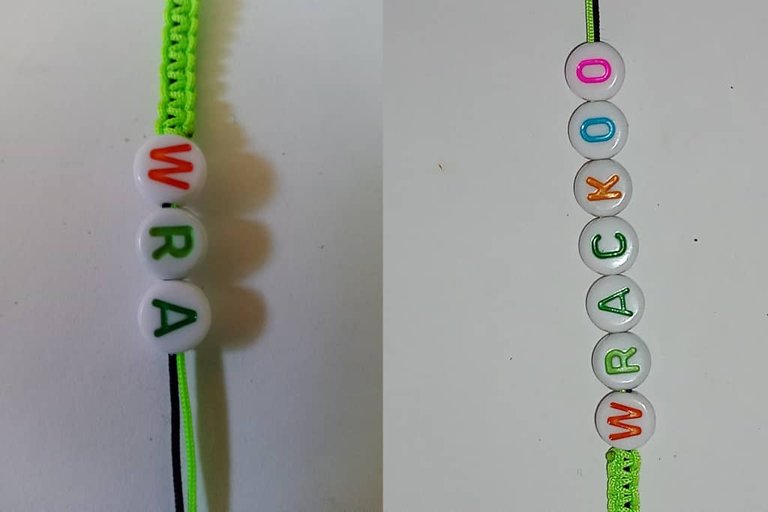
Hello #holozing community, happy to greet you and wish you a happy and blessed Sunday. This time I share with you a fan art inspired by the name of the character Wrackoo.
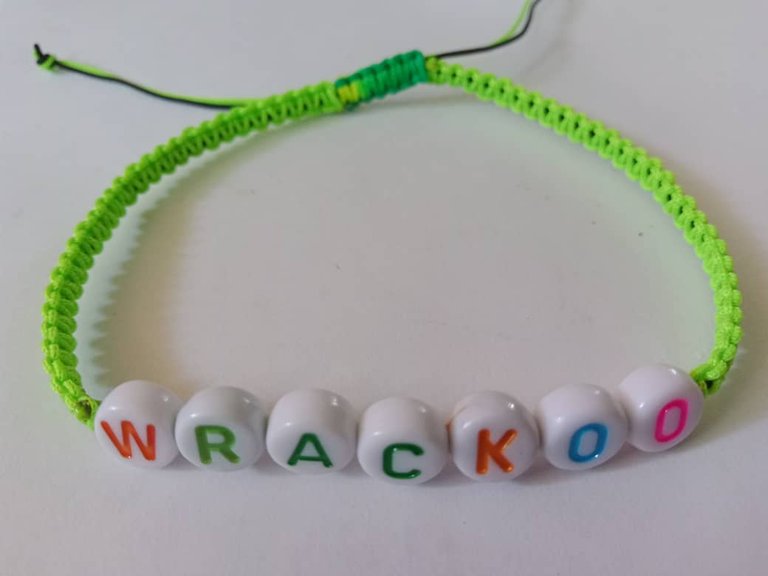
My fan art is about a beautiful personalized bracelet.
I invite you to work with me to make this beautiful jewelry for Wrackoo.
Hola comunidad #holozing encantado en saludarles y desearles feliz y bendecido domingo. En esta ocasión les comparto un fan art inspirado en el nombre del personaje Wrackoo.
Mi fan art se trata de una hermosa pulsera personalizada.
Les invito a elaborar conmigo esta hermosa joya para Wrackoo

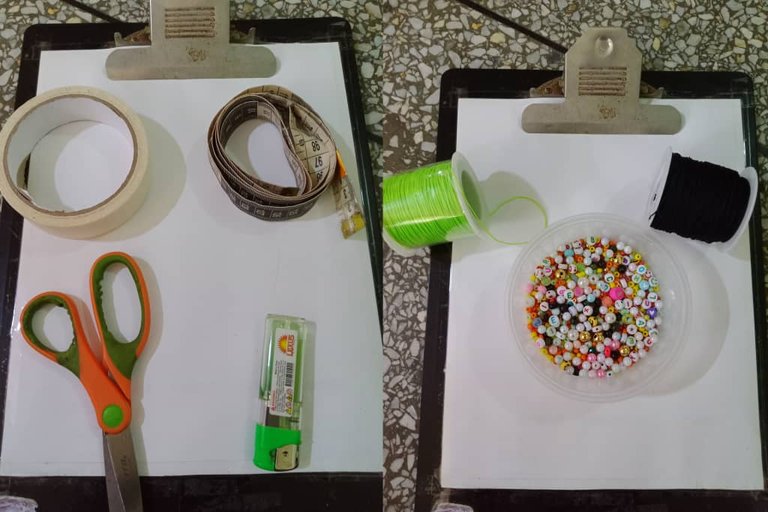
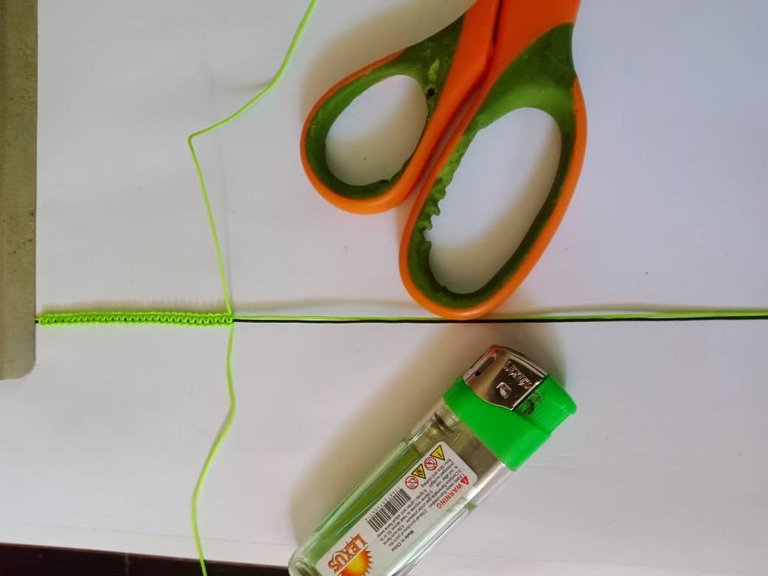
The materials I used to make this fan art are the following:
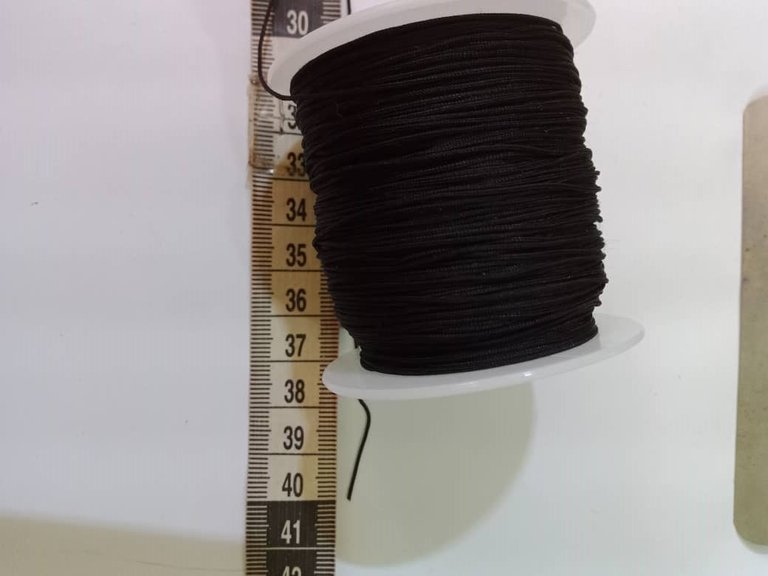
Chinese thread
Scissors
Tinder
Character letters
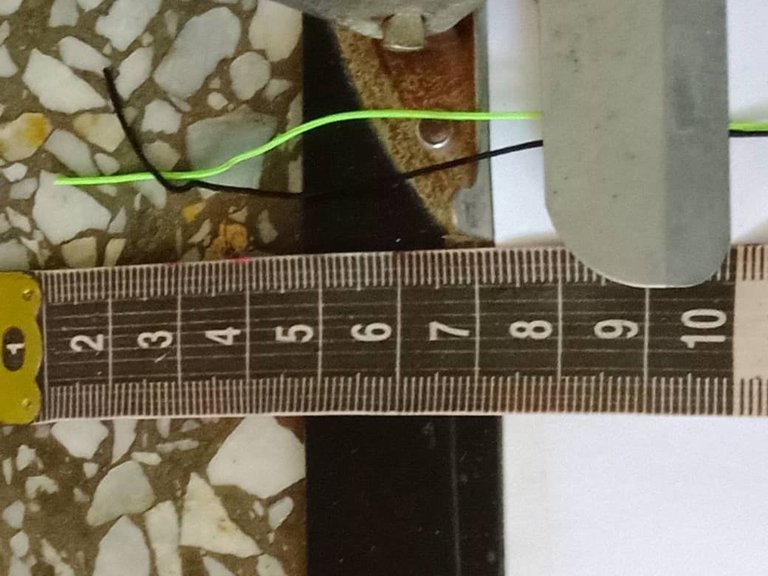
Tape measure
Adhesive tape
Los materiales que usé para realizar éste fan art son los siguientes:
Hilo chino
Tijera
Yesquero
Letras del personaje
Cinta métrica
Cinta adhesiva
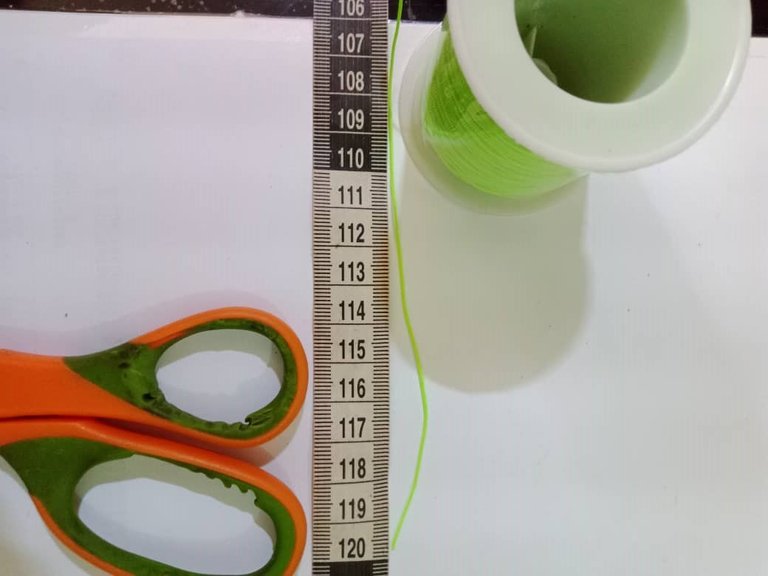
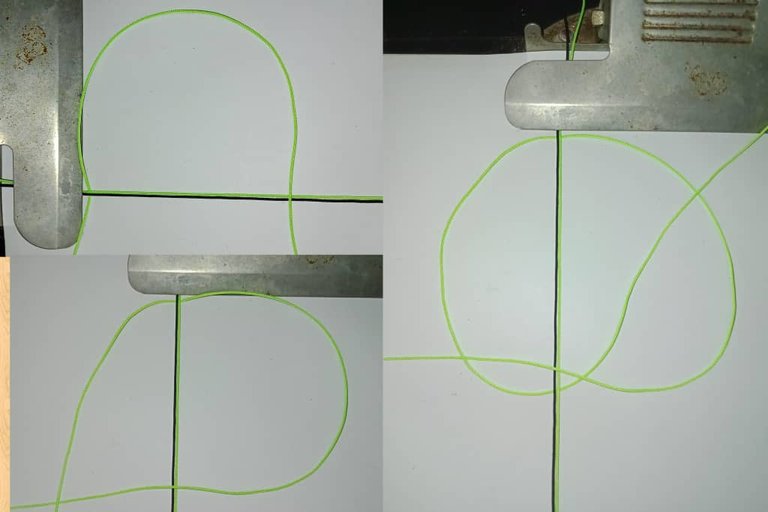
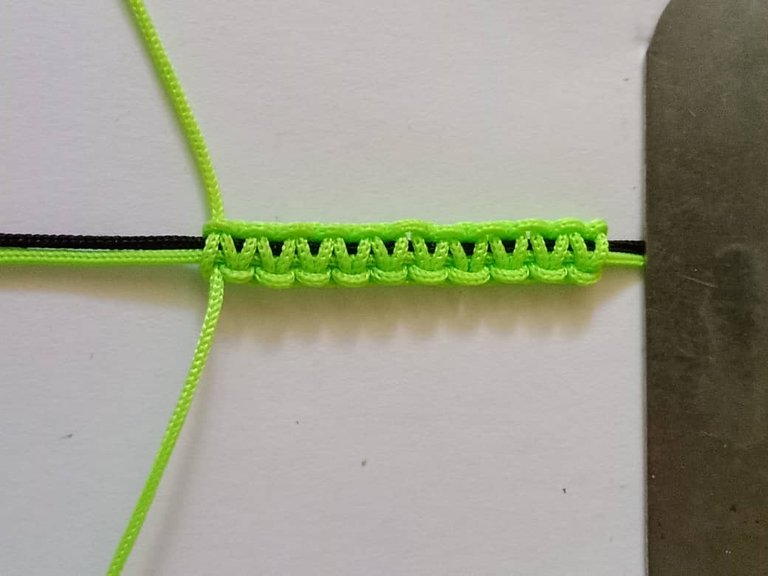
Then I cut two strands of 120cm thread that I will use to weave the flat knot on both sides of the bracelet.

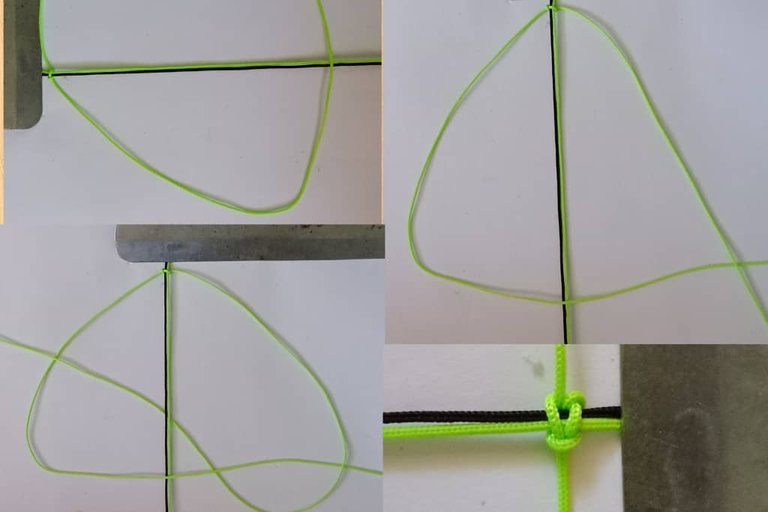
Then I took the threads to the board at a distance of 10cm from the top downwards and fastened them with a hook. From that distance I started to make my flat weave.
Seguidamente llevé los hilos a la tabla a una distancia de 10cm de la parte superior hacia abajo y sujeté con un gancho. A partir de esa distancia empecé a realizar mi tejido plano
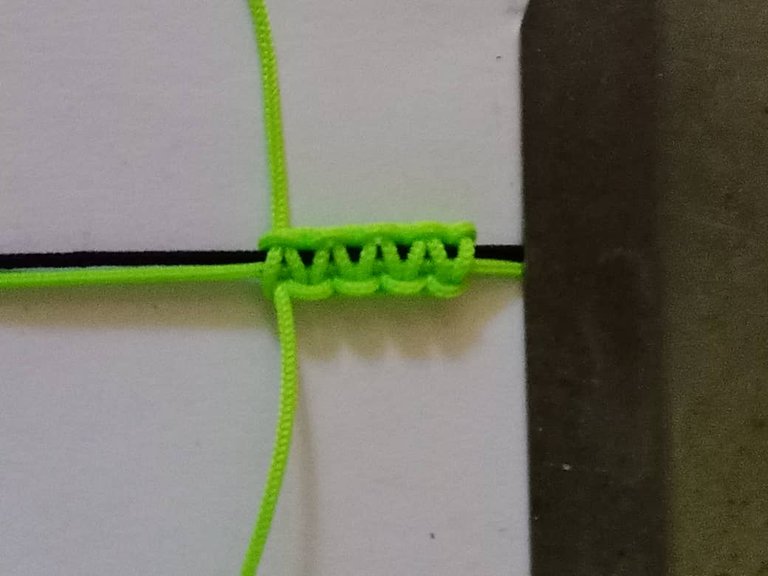
After reaching the desired size, I cut off the excess threads and sealed


Translated with https://www.deepl.com/translator
                  All images are my own, dividers courtesy of @kattycrochet.


             Todas las imágenes son de mi autoría, divisores cortesía de @kattycrochet.
Me encanta deseo aprender a hacer estás pulseras gracias por traerlo excelente. 💞
Gracias a ti querida por pasar y comentar. Estas pulseras son muy sencillas de realizar, sólo es cuestión de ponerse
bracelets that are able to be personalized like this are always a delight. Fine job
Thank you very much for supporting my content