
Hello Guys!
Yeeeey it's not too long since my last post,Amazing Battle VS The Scary MORDEUS! and I'm back again for the Splinterlands Secret Mage Weekly Challenge. This week's theme is Back to Basicts Rulesets, And after playing for a long time, I finally got a battle with these rulesets. I hope my post doesn't miss the deadline.
Battles with these rulesets in my opinion are easy already, and really rely on the right strategy because all abilities of monsters are lost, and all monsters only have initial stats, namely Health, Armor, and Attack. Obviously, the selection of the right Summoner greatly affects the victory. The battle strategy that I will share is actually a little different from the Back To Basic strategy that I usually apply because there are other rulesets that influence.
Are you curious about how this battle went? Without further ado, let's get straight to the point of this post. Well, I'm neither a proplayer nor a tournament hero. I just enjoys sharing strategy and battles that I find interesting in my own view. I did this battle in the modern battle Gold league, and maybe the strategy I used was not suitable for other leagues because of the differences in the abilities of each monster that was different in each league.

BATTLE PREPARATION
Challenge Rules

RULESET: Back to Basics
Description: Monsters lose all abilities.
Summoner effects are still active (IE: Yodin Zaku).

Battle Rulesets

The rulesets in this battle are:
- Equal Opportunity (All Monsters habe the Opportunity Ability)
- Back to Basics (* Monster lose all abilities*)
- Taking Sides (Neutral Monsters may not be used in this battle)
- Mana Capacity 37
- Active Element Earth, Life, Death and Dragon.
Line Up and Strategy
Because in this battle all monsters have Opportunity abilities, so I will rely on speed in this battle. Quix the Devious will be the right summoner because it gives the debuff to reduce the speed of all enemy monsters. While the monsters that will act as attackers are monsters that have high speed and also high HP. I think monsters with Magic attacks will be very useful because their attacks will directly penetrate HP. But it would be foolish to use magic monsters as a whole, because the opponent also uses a strategy to anticipate magic attacks. So I will also consider a variety of attack types.
Well, the complete line-up and strategy of each monster that I will arrange in my formation will be explained in the table below:
| Monster | Position | Strategy |
|---|---|---|
 Quix The Devious Quix The Devious | Summoner | Quix The Devious will be very suitable for aggressive attacking sreategi, because it will reduce the opponent's speed. In addition, it will also reduce the range attack. Another consideration I use this summoner is to carry other Dragon monsters who will be attackers in this battle because they have good speed. |
 Djinn Chwala Djinn Chwala | First | If in normal rulesets, the mustard in the first position is a tank, but in the Opportunity rulesets, this monster will only receive attacks from enemy monsters that are also in the first position, and will only be targeted by other monsters if the remaining HP is the smallest among other monsters. I chose Djinn Chwala because he has good stats despite losing ability. |
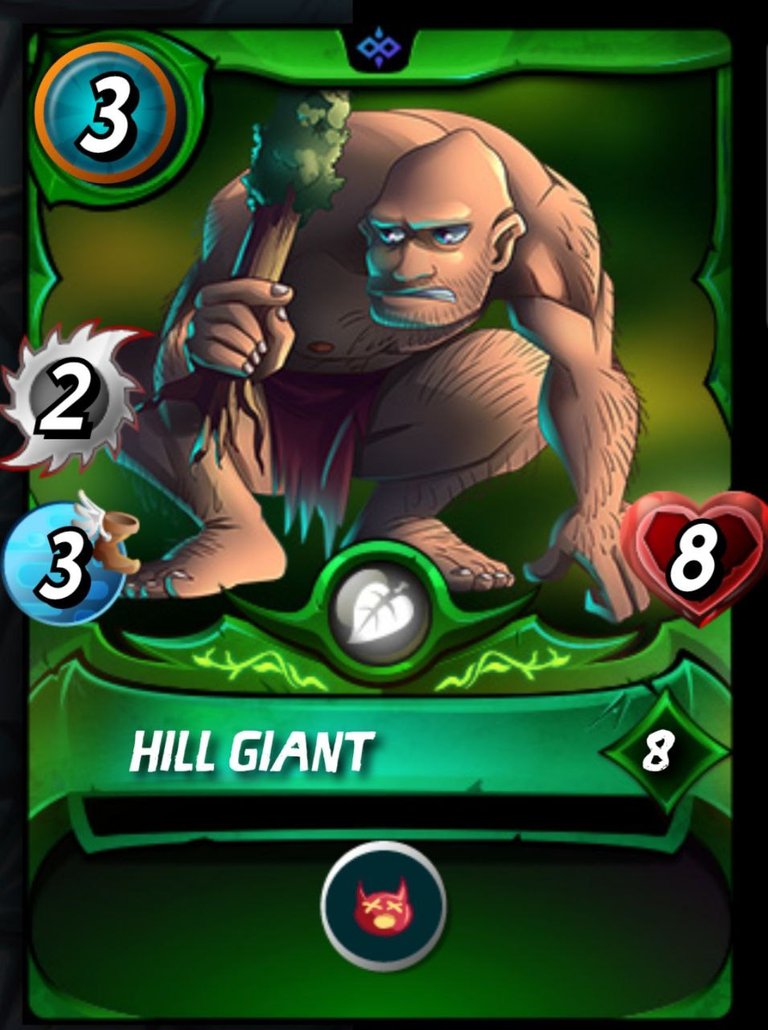 Hill Giant Hill Giant | Second | Hill Giant in the second position I chose because it has a large HP even though it only has Mana 3. yes, even though this is actually a Monster that will be the target of the opponent's monster attack or in other words, I will make it a sacrifice hehehe |
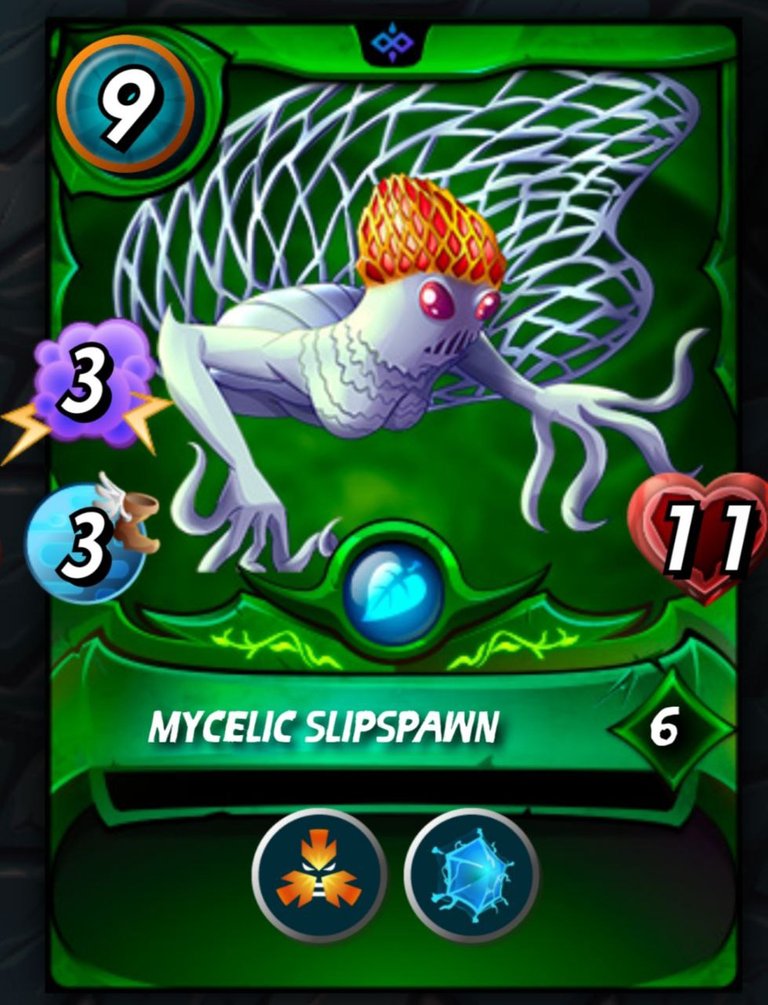 Mycelic Slipspawn Mycelic Slipspawn | Third | Mycelic Slipspawn who loses his Taunt ability will be a good attacker in this battle because he has a large HP, Magic attack, and decent speed. So this monster will survive and attack long enough because of the stats it has. |
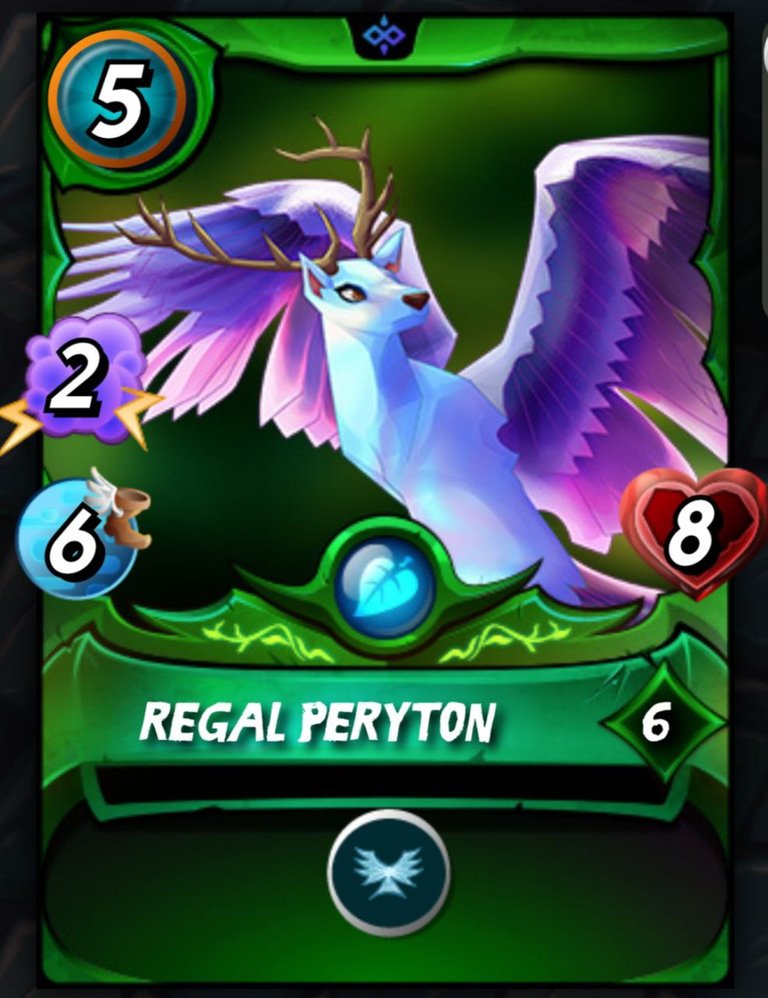 Regal Peryton Regal Peryton | Fourth | Regal Peryton who has a very high speed is the main attacker with Magic attack. Maybe this monster will be the key to my victory, because of its speed and damage. This monster also has a lot of HP, so it won't die at the beginning of the round. |
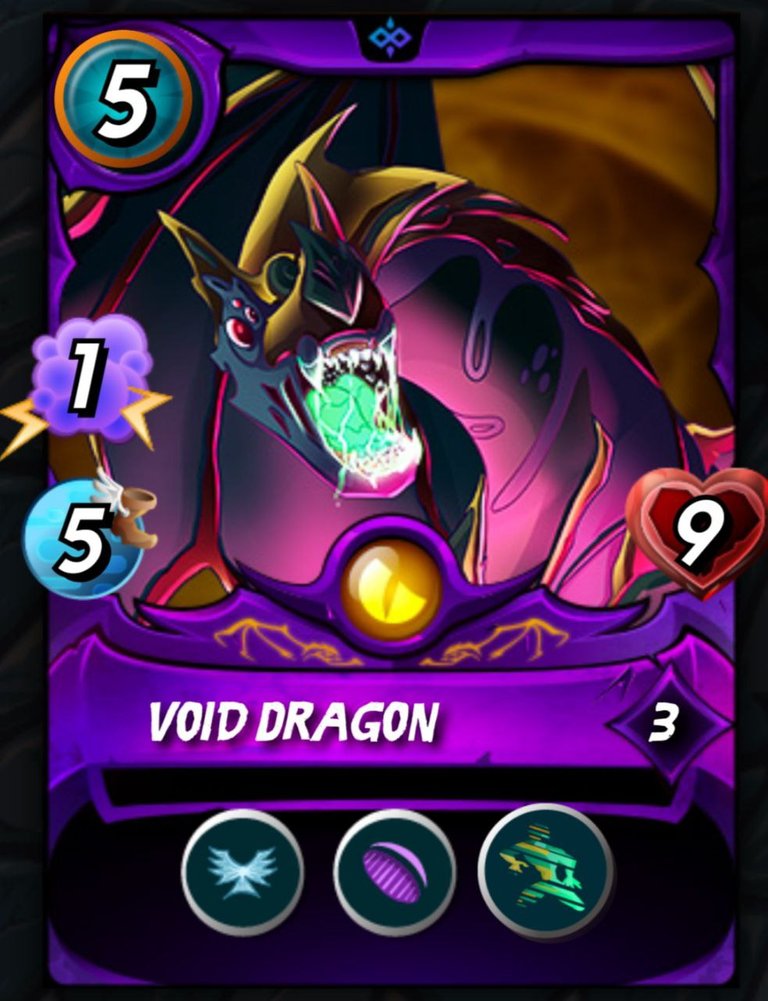 Void Dragon Void Dragon | Fifth | Void Dragon, a monster with large HP and high speed just like Regal Peryton, even though it only has 1 magic damage, its speed will be useful in the strategy I am currently using. |
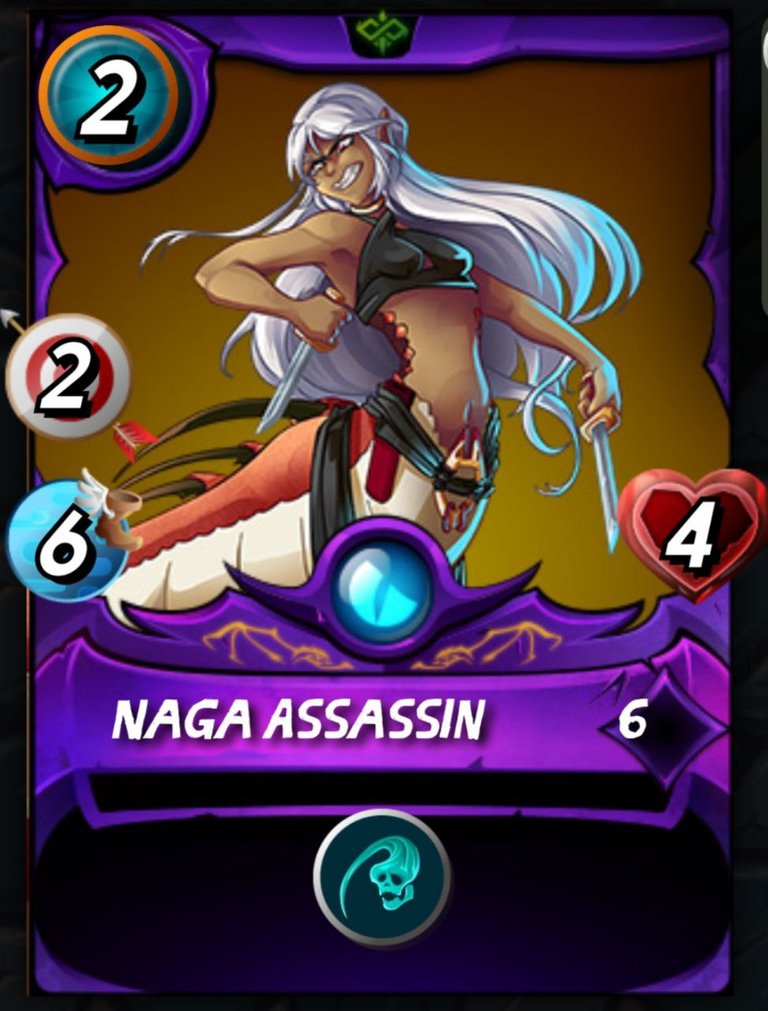 Naga Assassin Naga Assassin | Last | The Assassin Dragon that has 2 mana and very high speed I chose to fill in the remaining Mana that is still there. The reason is of course because the speed is very high. Well, this monster is my first monster that will die because the HP is the smallest among other monsters. |
The opponent uses a defensive strategy by using Summoner Grandmaster Rathe. In the Back to Basic rulesets without Opportunity, I also often use this strategy, because by using Grandmaster Rathe magic attacks will also hit the Armor first and then hit HP.
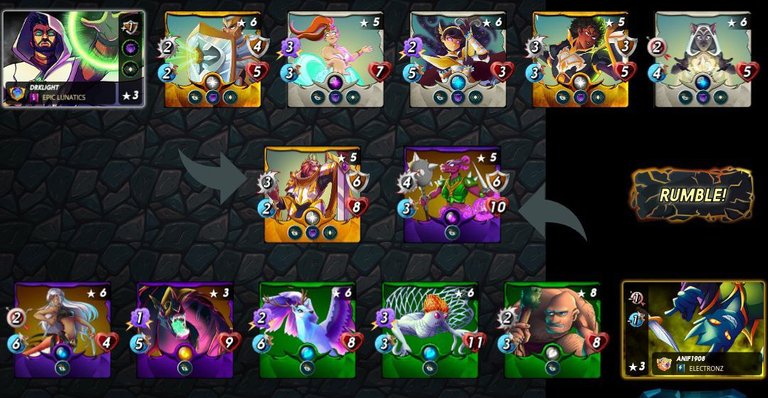
In the first position there is the Imperial Knight who has a fairly large Armor and HP, and has 3 Melee attacks. The second position is the Blinding Reflector, a mana 3 monster melee that also has a noble armor. The third position is Djinn Renova with 3 magic damage, and the fourth position is Time Mage who will be the main target of my monsters because it has a small HP, has 2 magic damage but might die before it can attack. The fifth position is Chaos Knight, melee monster with quite a lot of Armor and HP, and in the last position there is Venari Crystalsmith who has a range attack.
BATTLEFIELD ARENA
I've also included a youtube video of this battle that you can play right away.
This battle in my opinion is quite interesting with a fairly balanced strength. Speed and the aggressive attacks I applied were well restrained by Grandmaster Rathe and his monsters. It doesn't take long to complete this battle, because the ability lost in all monsters makes every round of this battle run quickly. Although this battle requires 6 rounds to determine the winner, it doesn't take long. Let's take a look at the rounds of this battle.
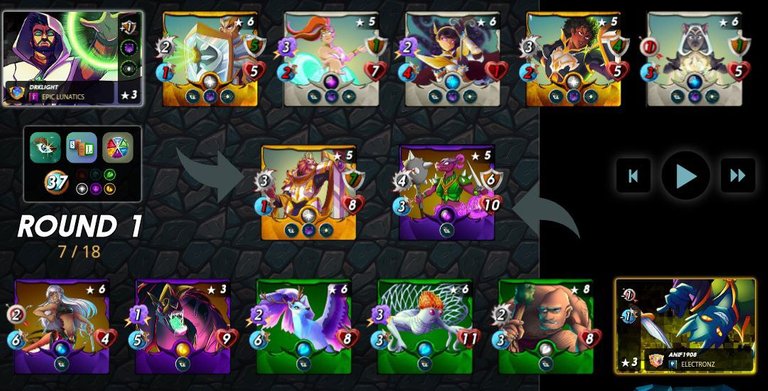
This battle begins with buffs and debuffs from all Summoners. As with my plan, my monsters attacked aggressively at the beginning of the round, resulting in the Time Mage dying after successive attacks from Regal Peryton, the Assassin Dragon and the Void Dragon. Followed by Mycelic Slipspawn's attack on the Blinding Reflector, and then the monster lawsn Venari Crystalsmith retaliated. Finally, the Dragon Assassin died at the end of the first round.
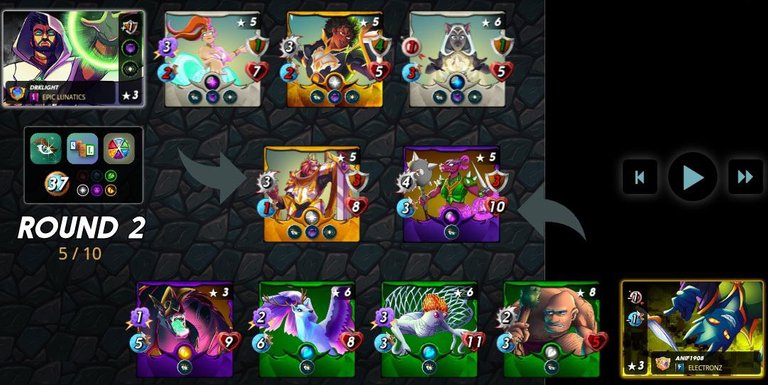
Just like the first round, the second round began with aggressive attacks from Regal Peryton, Void Dragon, and Mycelic Slipspawn that made Blinding Reflector die at the beginning of the round. One miss attack in this round was the Chaos Knight's attack on Hill Giant. None of my mobters died in this second round.
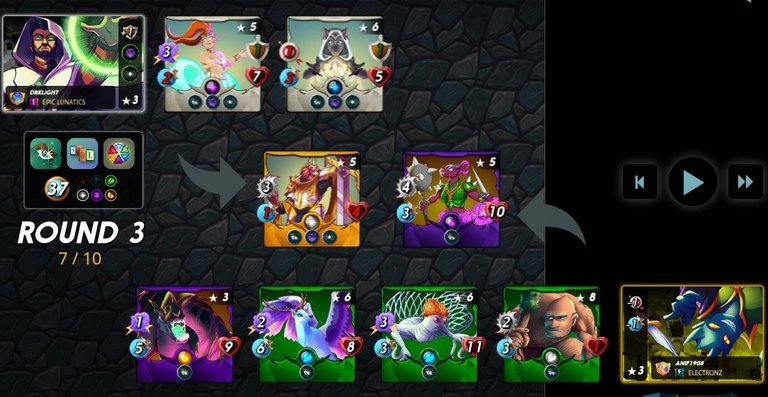
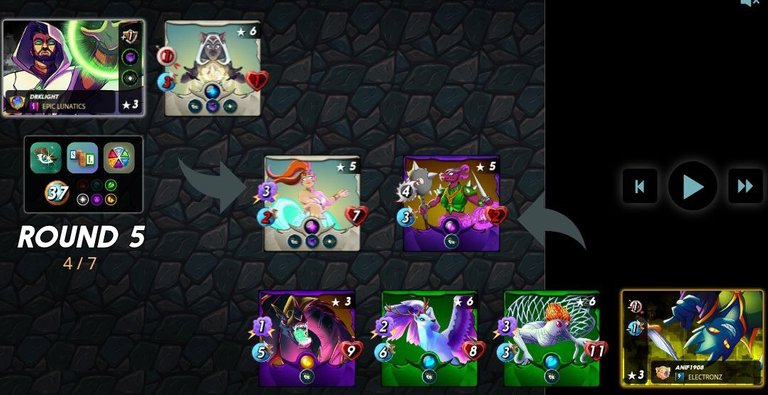
Chaos Knight was targeted by my monsters in this third round. Finally, the Chaos Knight and Hill Giant died in this round. Now there are 3 monsters left on the opposing side and 4 monsters left on my team.
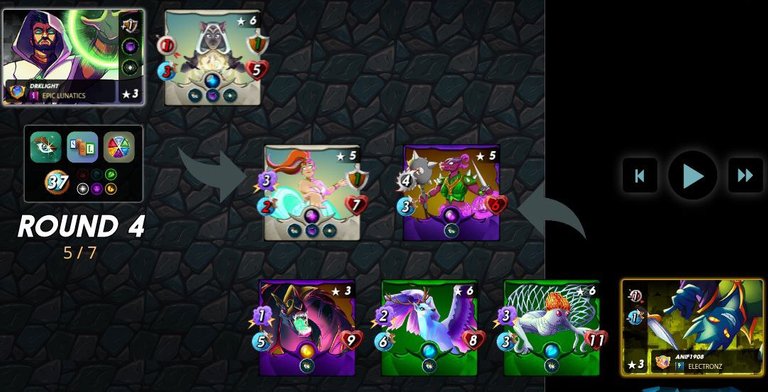
in the fourth round, the Imperial Knight died after being attacked by Regal Peryton, the Void Dragon, and Mycelic Slipspawn. After the fourth round ended, there were only 2 monsters left on the opponent's side.
In the fifth round, the Venari Crystalmisth that was the target of my monster sasan did not die until the end of the round, but instead my Djinn Chwala died. Now my monsters are only 3 left.
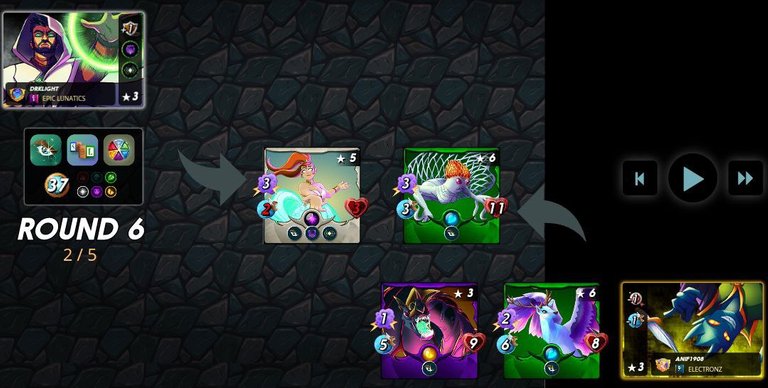
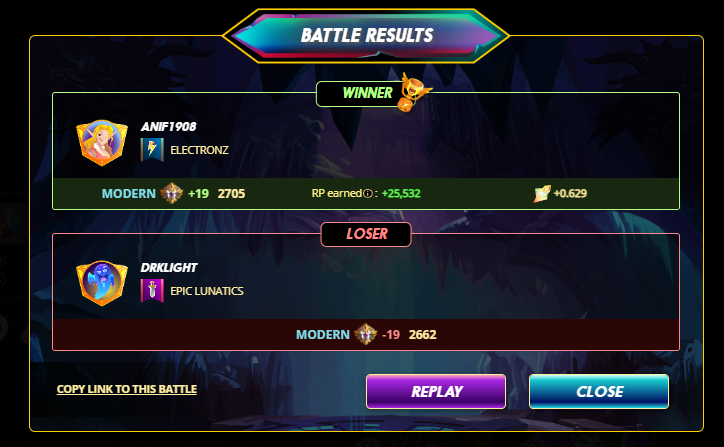
The sixth round was the last round, both opposing monsters died from the back-to-back attacks of my monsters without being able to retaliate. Finally, I won with 3 attractive monsters, namely Mycelic Slipspawn, Regal Peryton, and Void Dragon. You can see the final result of this battle in the picture below.
Ok guys, I think my post is enough here, thank you for visiting my blog, don't forget to upvote and leave a comment. If you want to start playing Splinterlands and don't have an account yet, don't hesitate to use my referral:
https://splinterlands.com?ref=anif1908
Credits:
The wonderful divider by kyo-gaming
Thumbnail created using canva
All images taken from Splinterlands website

The rewards earned on this comment will go directly to the people( @anif1908 ) sharing the post on Twitter as long as they are registered with @poshtoken. Sign up at https://hiveposh.com.
Do you know you can win a Chaos Legion pack and many other things just by following some simple steps ?? Check out our Latest Daily Showcase and Participate our latest Giveaway. Thanks
Thanks for sharing! - @yonilkar
