
Hello Splinterlands Community, for this week I just want to share a ranked battle I had against an opponent that deploys high level monsters. My opponent uses a level 4 summoner which is very superior against my summoner which is only level 1. I somehow manage to win that battle despite being the underdog during the match.
The Battle
This is the ranked battle I had against an opponent which has Level 4 Tyrus Paladium summoner alongside it's leveled up monsters , I will share more details about this match. If you're interested on the outcome you can watch the battle using the link below.
(https://splinterlands.com/?p=battle&id=sl_7ea7669accaac438fe8bd00d3a0895d5)
The Ruleset
Little League

There are two ruleset for this match, first is Little League. This rule only allows 4 Mana or below Monsters and Summoners to be used in the battle. It very fits well in this match since the mana available is 17 and there are a lot of good cards that fits in that range.
Fog of War

The other rule is Fog of War which disables the sneak and snipe ability of all the monsters in the battlefield. It is effective with my team since my Venari Bonesmith and Life Sapper wouldn't be defeated immediately unless my opponent uses monsters that has opportunity ability
My Lineup
Summoner : Thaddius Brood
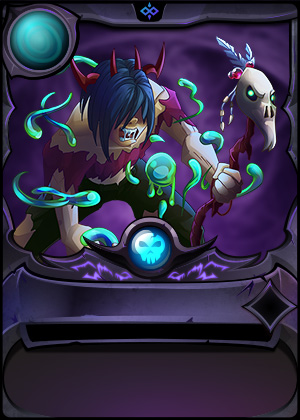
I used Thaddius Brood as my summoner for this battle. It debuffs 1 magic damage and 1 health to all enemy monsters at the start of the match. It is a very effective summoner to used in this battle since I'm going with the Venari Bonesmith and Life Sapper combination.
Monster 1 : Carrion Shade

I used my Gold Foil Carrion Shade in the first position as a frontline against burst attacks from the opponent. It is not very durable and would get killed instantly but it's death would be beneficial for my Riftwing
Monster 2 : Corpse Fiend
I put the Gold Foil Corpse Fiend behind Carrion Shade for the same purpose. It does not cost any mana so it would not deal too much damage and would also not last long in the battle, but it's death would also be beneficial for my Riftwing.
Monster 3 : Riftwing
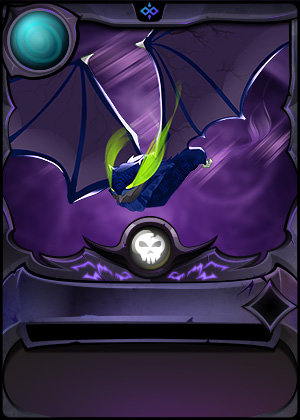
This is probably my main frontline for this battle. It has a scavenger ability which gives the card +1 health for every monster that is defeated in the match. I purposely placed it behind Carrion Shade and Corpse Fiend so it would gain some health before taking on the first position
Monster 4 : Creeping Ooze
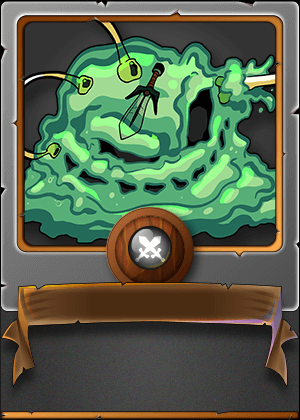
I used one of my favorite cards in the game which is Creeping Ooze. It does not deal any damage and does not have a good amount of health but it's slow ability is very useful in ranked battles and it is very cheap to use since it only cost 1 mana.
Monster 5 : Life Sapper
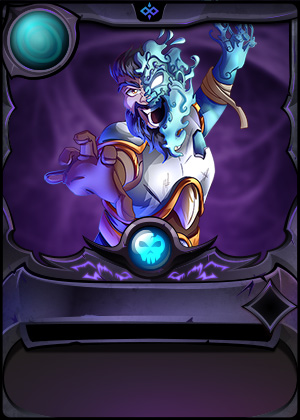
This is one of my main damage dealers in this battle. It has a Life Leech ability which grants this card +1 Health every time it deals damage to an opponent which would make this card very durable at the later stage of the match.
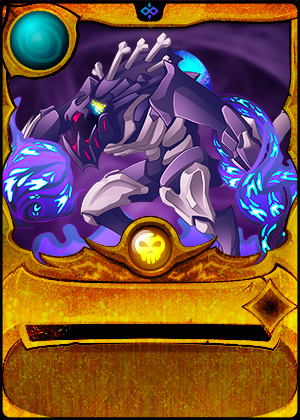
Monster 6 : Venari Bonesmith
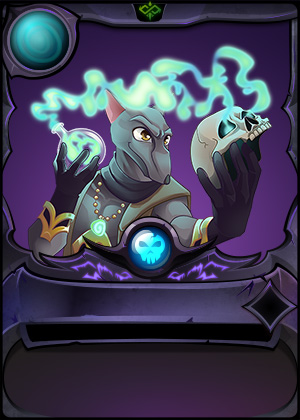
Lastly I put my Venari Bonesmith at the last position as also one of my main damage dealers in this battle. It also has the same ability with Life Sapper which is Life Leech. This card alongside with Life Sapper would benefit a lot from the Fog of War ruleset which allows these cards to gain a lot of health as the battle progresses.
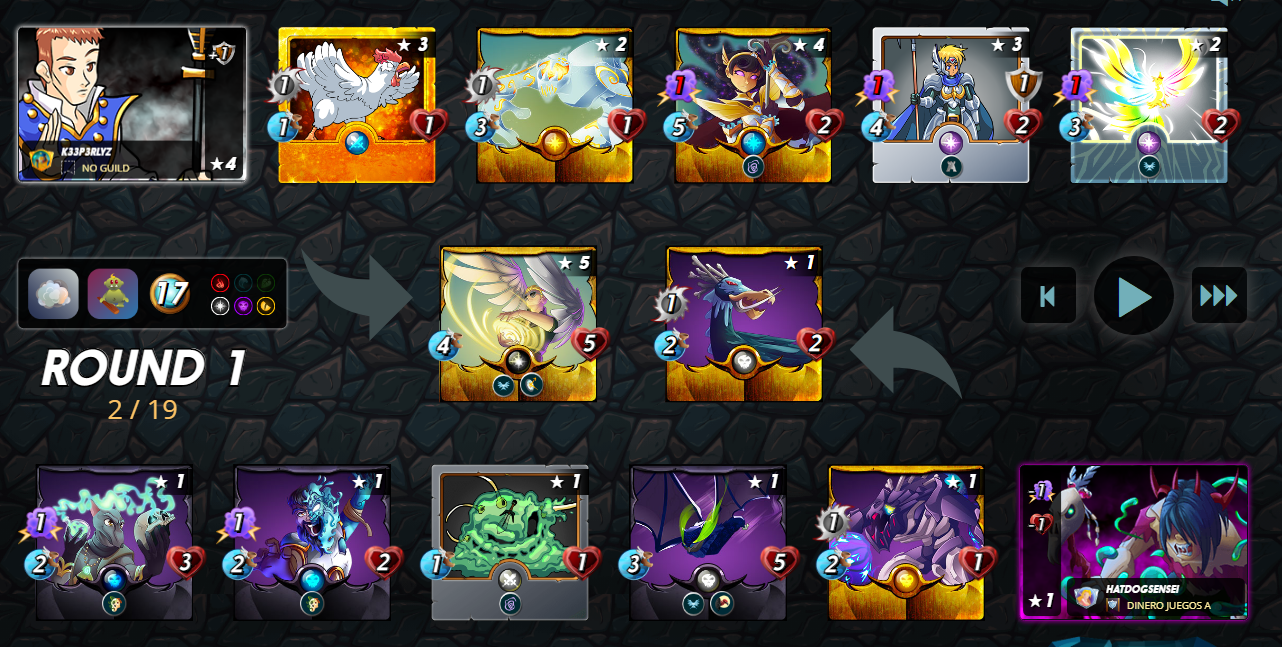
ROUND 1
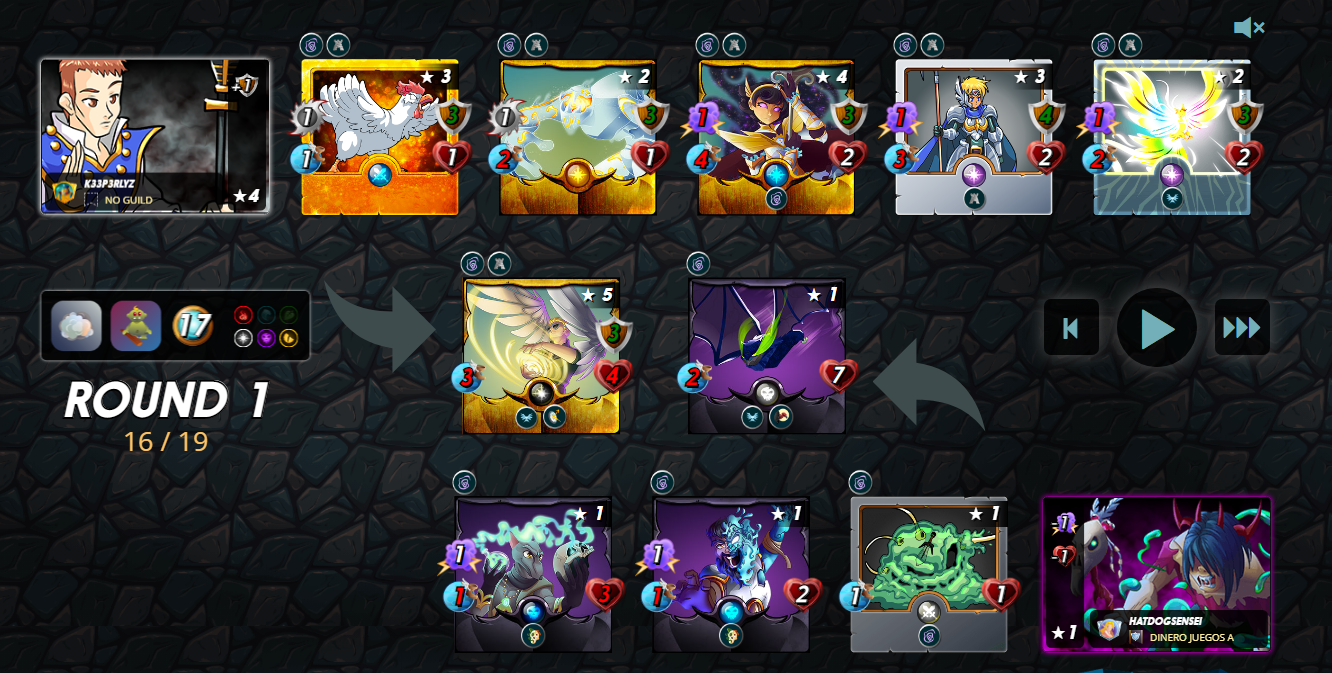
I'm already at disadvantage at the end of round 1. My Carrion Shade and Corpse Fiend did not last long which I already anticipated and their deaths gives my Riftwing +2 health with the Scavenger ability before taking the frontline duty. My Venari Bonesmith and Life Sapper wasn't able to utilize the life leech ability due to the magic reflect ability from the opponent's Level 5 Pelacor Conjurer
ROUND 2
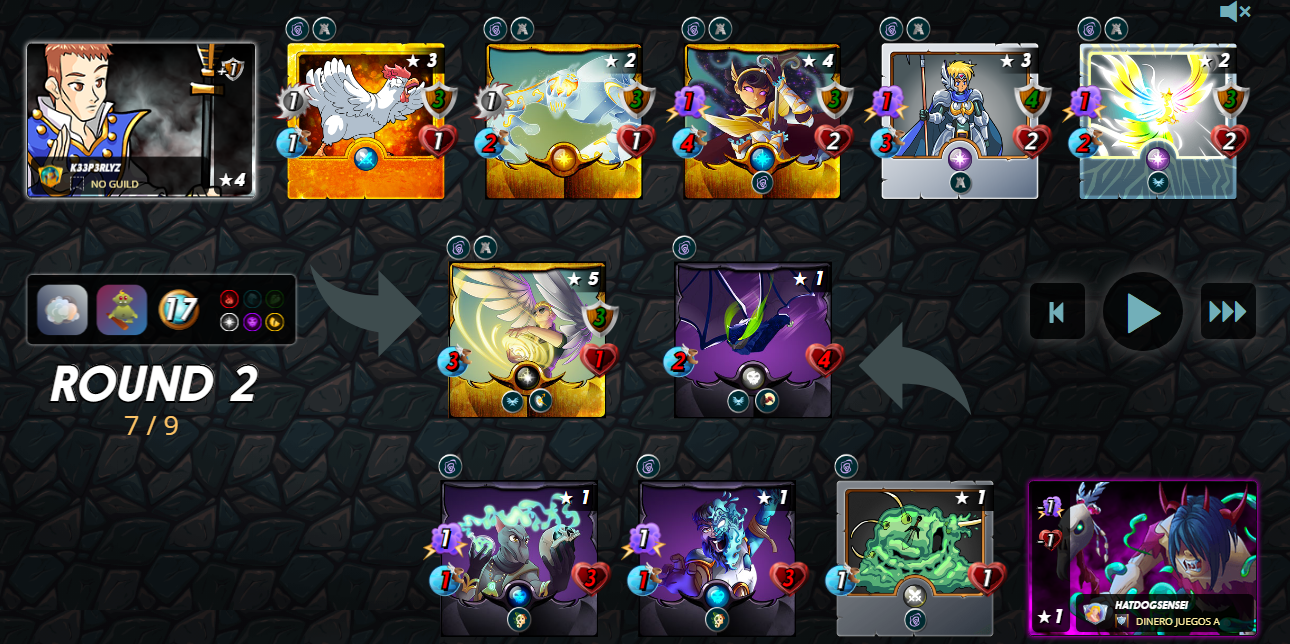
There are no casualties on both sides during the second round. My Venari Bonesmith and Life Sapper still wasn't able to utilize the life leech ability due to the magic reflect ability from the opponent's Level 5 Pelacor Conjurer. This should change at the upcoming rounds.
ROUND 3
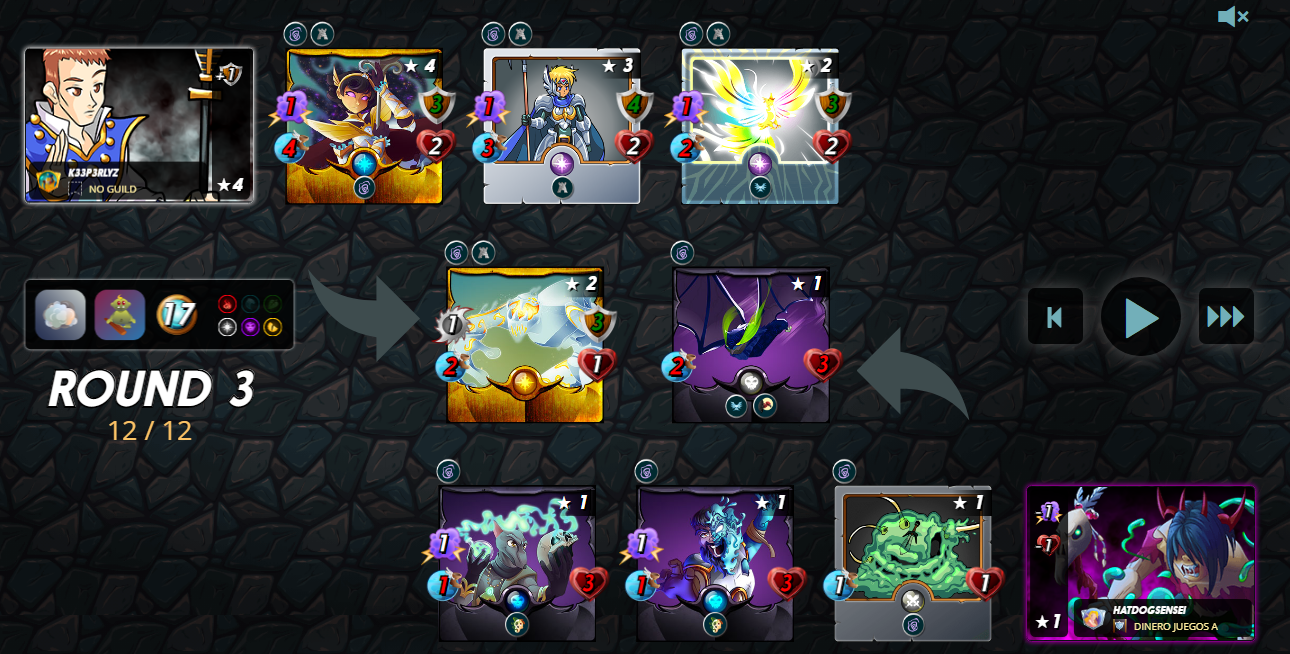
During the third round I manage to overcome the biggest huddle which is the Pelacor Conjurer with the Magic Reflect ability. This round also gives my Riftwing +2 health when my team took down the Pelacor Conjurer and Furious Chicken.
Round 4
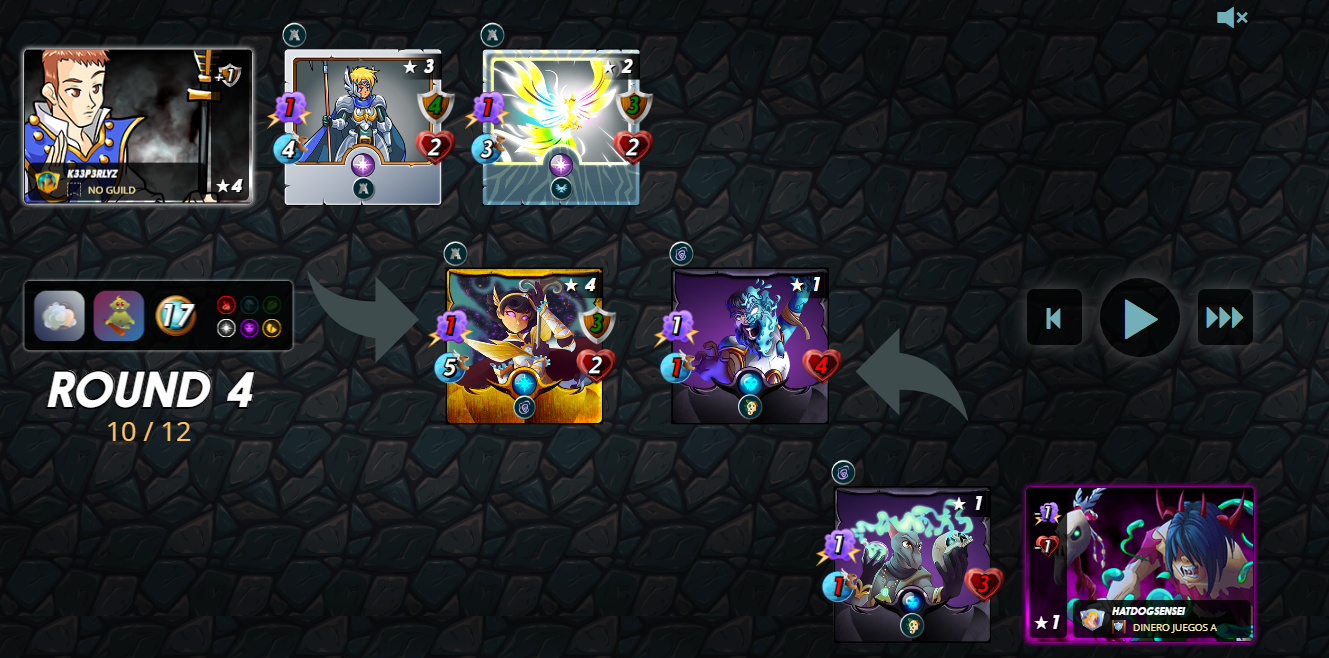
On the fourth round my Riftwing didn't survive the magic damages from the enemy monsters. My Creeping Ooze was also taken down in this round which only leaves me with my two magic damage dealers in this battle.
Round 5
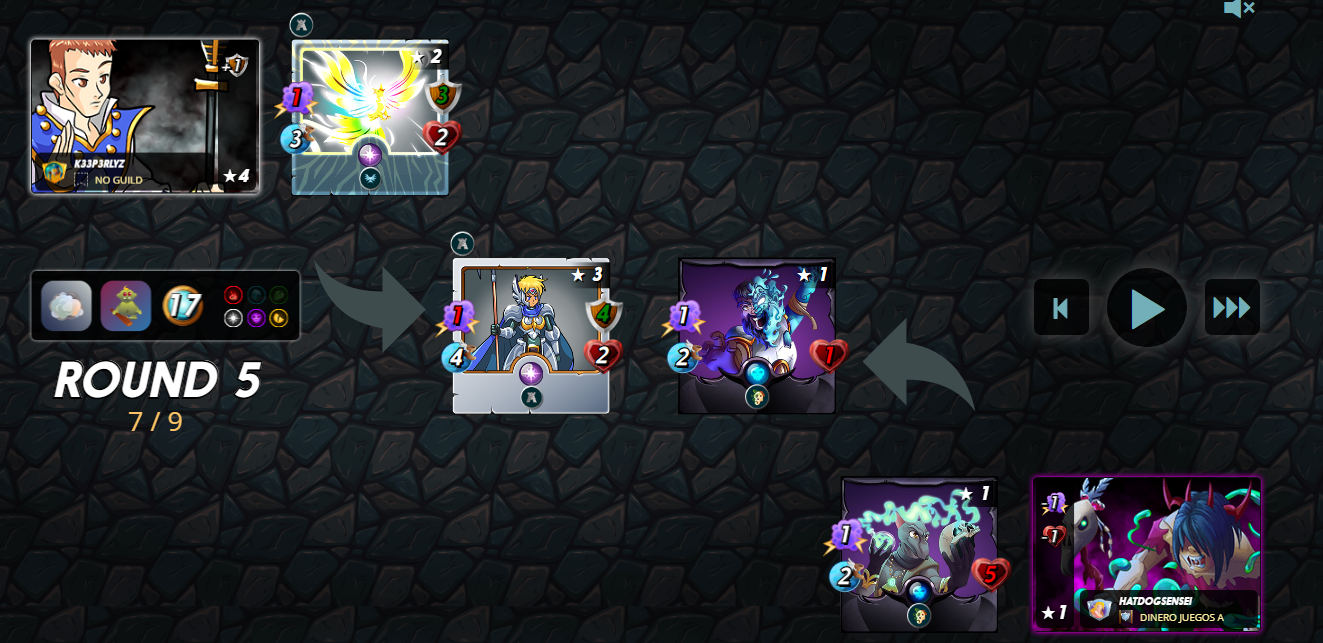
The battle is still close in this round, my team manages to take down the opponent's Time Mage which makes this match 2 on 2. The Life Leech ability from my Life Sapper was enough to survive the magic damages coming from the opponent.
Final Rounds
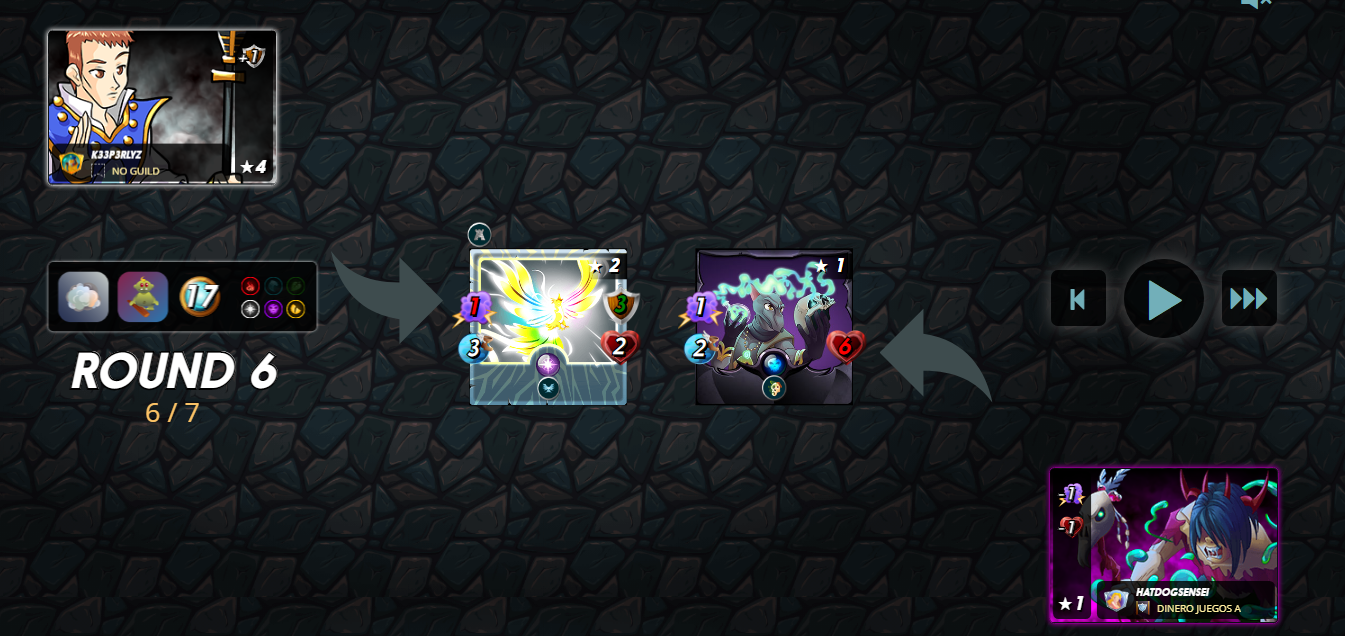
During the sixth round, My Life Sapper was defeated at the same time the opponent's Defender of Truth was also defeated. By this time my Venari Bonesmith was able to gain a good amount of health from the Life Leech ability which gives the card a huge advantage against the opponent's Light Elemental. The seventh and eight round was a one on one standoff between the two monsters but my Venari Bonesmith has a sustain and also has a higher amount of health which gives me this victory
Thank you so much for reading this post, I'll try my best to share more exciting battles as well as other contents from Splinterlands. If you haven't tried playing Splinterlands, I'll suggest to start playing right now by clicking the link below.
https://splinterlands.com?ref=hatdogsensei
Thanks for sharing! - @alokkumar121
