
THE MOLTEN ASH GOLEM
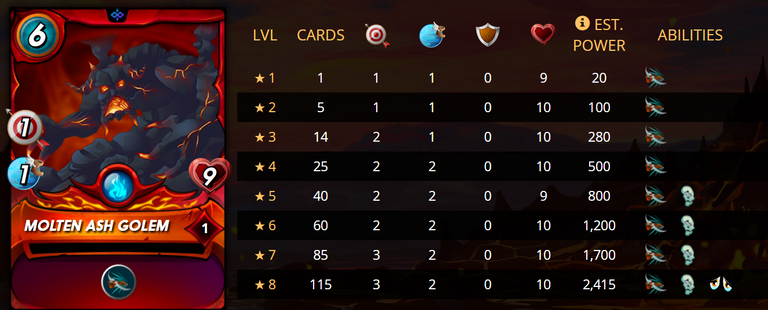
The Molten Ash Golem is a monster I like so much especially because of its high health that starts at 9 and is immediately maxed to 10 at level 2. It does not have any shield but the health is ok for me. This monster's speed, however, is not so great because it starts at 1 and is maxed to just 2 at level 4. The damage is also not so great with the max damage at just 3x.
When it comes to abilities, the Molten Ash Golem starts with the Close Range ability which makes sense because of the high health. Later on, this monster gains debuffing abilities which are the Weaken ability and Demoralize ability. Not so bad if you ask me.

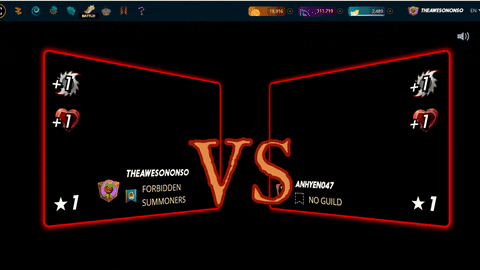
The Combat Rules and My Strategy
| COMBAT RULES |  |
|---|---|
| MODIFICATIONS | NONE |
| ACTIVE SPLINTERS | ALL SPLINTERS ARE PLAYABLE |
Strategy
I noticed that the enemy likes to use a sneak attack strategy so I will try my best to protect the backline. Let's see how it goes.
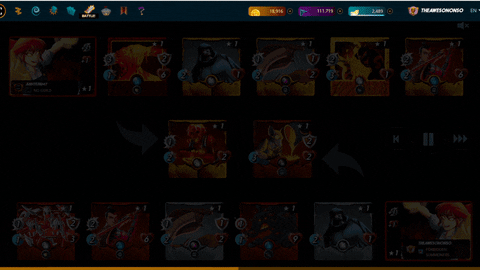
| SUMMONER |  |
|---|---|
| NAME | TARSA |
| SPLINTER | FILE |
| EDITION | CHAOS LEGION |
| RARITY | RARE |
| LEVEL | 1 |
| MANA COST | 4 |
| BUFFS | +1 MELEE ATTACK, +1 HEALTH |
| MONSTER 1 | 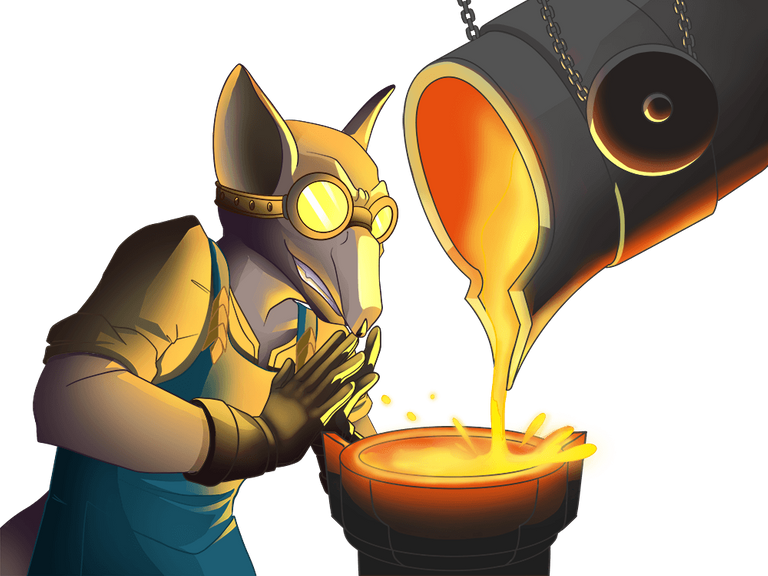 |
|---|---|
| NAME | VENARI HEATSMITH |
| SPLINTER | FIRE |
| EDITION | REWARD |
| RARITY | COMMON |
| LEVEL | 1 |
| MANA COST | 3 |
| ATTACK | NONE |
| SPEED | 4X |
| HEALTH | 4X |
| TOUGHNESS | 3X |
| ABILITIES | VOID ARMOR |
| MONSTER 2 |  |
|---|---|
| NAME | AGENT OF CHAOS |
| SPLINTER | NEUTRAL |
| EDITION | CHAOS LEGION |
| RARITY | COMMON |
| LEVEL | 1 |
| MANA COST | 1 |
| ATTACK | NONE |
| SPEED | 2X |
| HEALTH | 1X |
| TOUGHNESS | 0 |
| ABILITIES | NONE AT LVL 3 |
| MONSTER 3 |  |
|---|---|
| NAME | MOLTEN ASH GOLEM |
| SPLINTER | FIRE |
| EDITION | CHAOS LEGION |
| RARITY | RARE |
| LEVEL | 1 |
| MANA COST | 6 |
| ATTACK | 1X RANGE ATTACK |
| SPEED | 1X |
| HEALTH | 9X |
| TOUGHNESS | 0 |
| ABILITIES | CLOSE RANGE |
| MONSTER 4 | 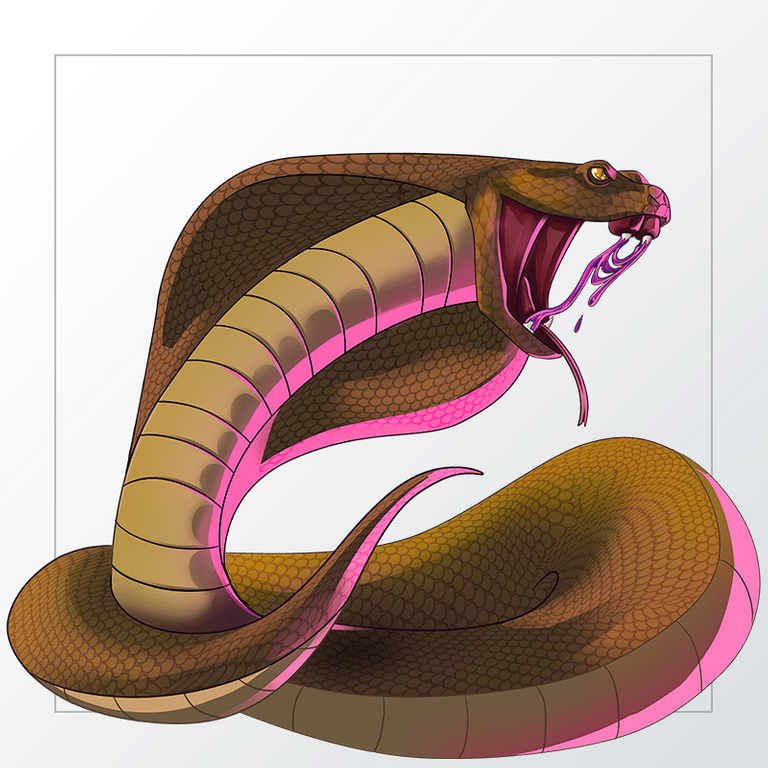 |
|---|---|
| NAME | URAEUS |
| SPLINTER | NEUTRAL |
| EDITION | REWARD |
| RARITY | EPIC |
| LEVEL | 1 |
| MANA COST | 3 |
| ATTACK | 1X MELEE ATTACK |
| SPEED | 2X |
| HEALTH | 2X |
| TOUGHNESS | 1X |
| ABILITIES | SNEAK |
| MONSTER 5 |  |
|---|---|
| NAME | TENYII STRIKER |
| SPLINTER | FIRE |
| EDITION | CHAOS LEGION |
| RARITY | RARE |
| LEVEL | 1 |
| MANA COST | 5 |
| ATTACK | 2X MELEE ATTACK |
| SPEED | 2X |
| HEALTH | 6X |
| TOUGHNESS | 0 |
| ABILITIES | SNEAK |
| MONSTER 6 | 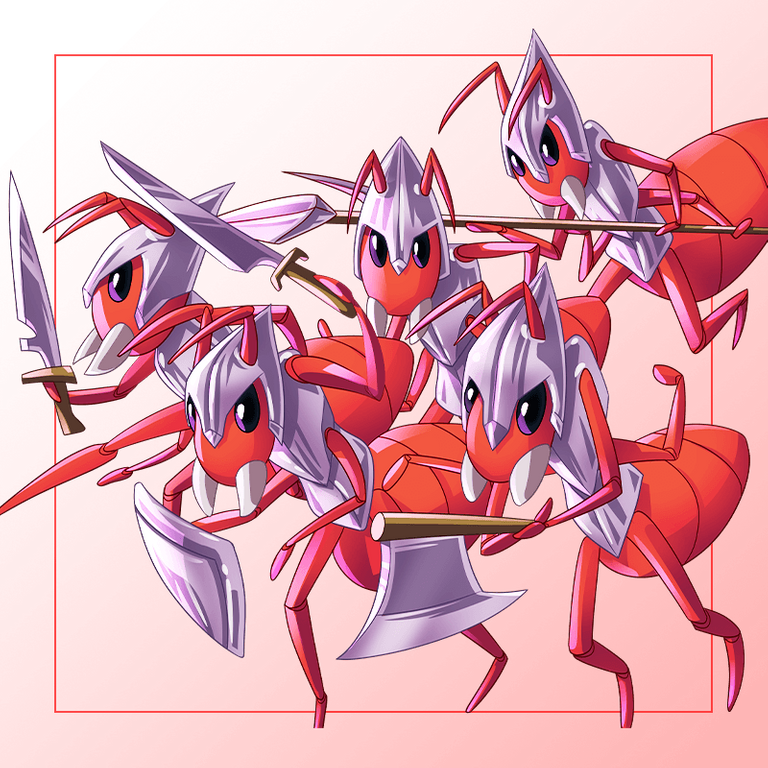 |
|---|---|
| NAME | ANTOID PLATOON |
| SPLINTER | FIRE |
| EDITION | CHAOS LEGION |
| RARITY | COMMON |
| LEVEL | 1 |
| MANA COST | 4 |
| ATTACK | 1X MELEE ATTACK |
| SPEED | 1X |
| HEALTH | 3X |
| TOUGHNESS | 2X |
| ABILITIES | SHIELD |
The Battle Highlights
| My Splinter | Enemy's Splinter |
|---|---|
 | |
Round 1:
- Both Tarsas increase the attack damage and health of their monsters.
- The enemy's serpentine spy immediately takes out my Chaos Agent.
- The enemy's Uraeus and Tenyii Striker launch sneak attacks on the armored Antoid Platoon.
- My Uraeus and Tenyii Striker strike back at the enemy's Tenyii Striker.
- Radiated Scorcher hits the venari Heatsmith and destroys his armor.
- Molten Ash Golem throws a blade at Radiated Scorcher.
Round 2:

- Serpentine Spy quickly takes out the Venari Heatsmith.
- Uraeus launches a weak attack on the Antoid Platoon.
- Uraeus and Tenyii Striker destroy the enemy's Tenyii Striker and Serpentine Spy respectively.
- Radiated Scorcher and Molten Ash Golem exchange blows with the Golem taking more damage.
Round 3:
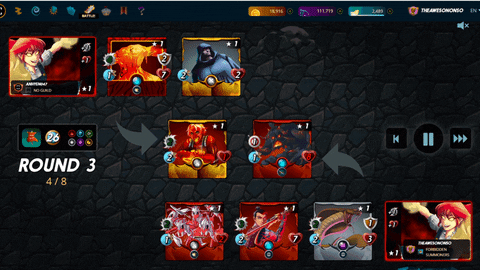
- My Uraeus goes for the enemy's backline with a 2x blow.
- The enemy's Uraeus tries one last time to take out the Antoid Platoon but fails before Tenyii Striker finishes him off.
- Radiated Scorcher and Molten Ash Golem exchange blows again but this time, the radiated scorcher does not survive.
- Living Lava rushes to the frontline and hits Molten Ash Golem with a massive 4x attack.
Round 4:

- Uraeus takes out the enemy's Chaos Agent.
- Tenyii Striker and Molten Ash Lava work together to attack the armored Living Lava.
- Living Lava launches another heavy attack on Molten Ash Golem but Sadly he does not survive this round.
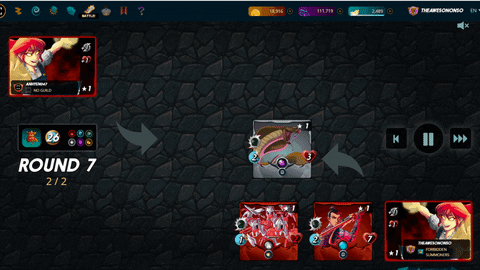
Round 5-7:
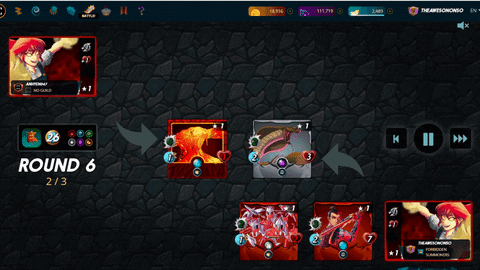
- Uraeus and Tenyii striker exchange blows with the monstrous Living Lava.
- The Living Lava makes a deadly mistake when he misses an attack on Uraeus.
- The slippery snake takes the opportunity and destroys the Lava monster. DEFEATED!
Victory!
At the end of the day, only one Tarsa can be the stronger one. The enemy had a good lineup but, clearly, mine was much superior.
Check out the battle by clicking the link below👇
CLICK HERE TO WATCH THE BATTLE
Did My Strategy Work?
My strategy worked just fine. Just like I suspected, the enemy tried to cripple my team from the back but I was prepared for him. The Antoid Platoon were just there to take the sneaky hits and at the end of the day, they were just as strong as they started.
Using the enemy's strategy against him was also very smart. With an unprotected backline, the enemy's team was weak and I was able to exploit that weakness.
Do I like the Molten Ash Golem
Yes of course. I already mentioned that I really like this monster mostly because of the amount of health it has. This monster is one of the first fire monsters I ever bought. I also like the close range ability that this monster has. I have the card at level 4 and hope to level it up eventually.

And That's All For Today!
- All images used in this post are from the Splinterlands game.
- All GIFs used are screen recordings from the Spinterlands game edited on GIPHY.
- All dividers were made by me with Canva.
- Don't be shy :) Join Splinterlands by clicking on THIS LINK.

The rewards earned on this comment will go directly to the people( @theawesononso ) sharing the post on Twitter as long as they are registered with @poshtoken. Sign up at https://hiveposh.com.
Thanks for sharing! - @alokkumar121
