Photo image made by me in Paint
It may seem silly for me to think of 'Gaming Photography' as a separate aspect of a game that isn't just a fanciful way of saying 'I took a Screenshot', but it is. It is using every part of the game to highlight the featured object in the picture and doing as much as possible to remove elements that quickly give away that the photo a person is seeing was taken from a Video Game. If a person sees a photo I've taken in-game and wonders for a split second where in the (Actual)world it was taken before realizing that its from a game then I feel like I have accomplished my goal.
Many Video Games feature a 'Photo Mode' now and a lot of the features available are surprising! Zooms, Focus, Filters, options to pose, maneuvering the 'camera' view to get different angles not usually seen in the game, and other things that can make a 'scene from the game' into a 'Cinematic view of the world'. Bit of an overstatement, but the game worlds are created to feel 'alive' in a sense and players use of the "photo mode" or even saving screenshots give players the option to explore how 'alive' it could be.
-What's the point of this post?-
I figured other people might be interested in trying their hand at 'Gaming Photography' and having a "Tips and Hints" post could jumpstart the process.
- How to Start?
- Check your game settings and look at every option that messes with visuals and check out what works best for your machine.
- If available, explore the Photo Mode and see how and when it would best be useful.
- See if there are options to limit the HUD/UI or check the key-bindings for a button that toggles it on and off.
- Set a 'Capture Image' or "Screenshot' button
- Get used to the new settings and start searching for things to capture!
- What do I look for?
- Whatever interests or catches your eye about the game.
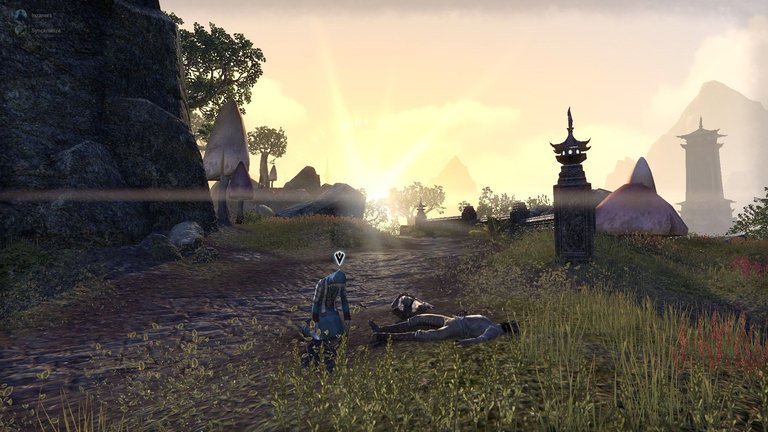
It could be landscape:

Taken from Elder Scrolls Online in Wrothgar
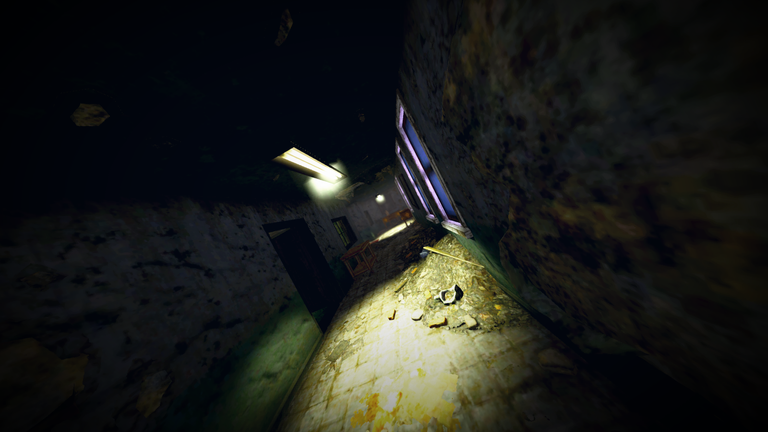
Setting ambience:
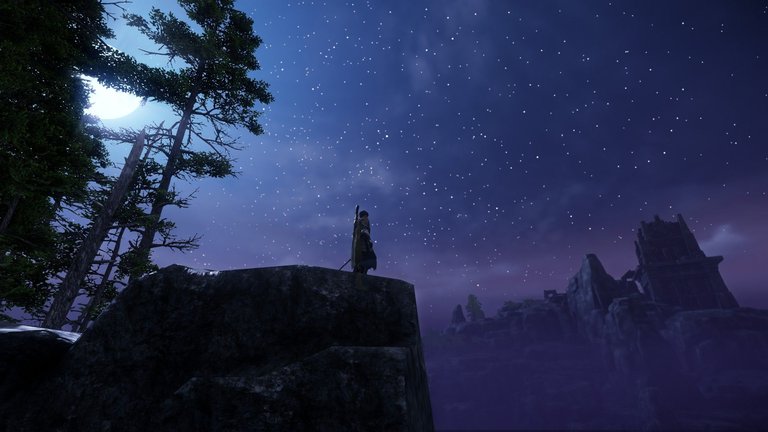
Taken from New World. Previously posted in the community by me
Action:
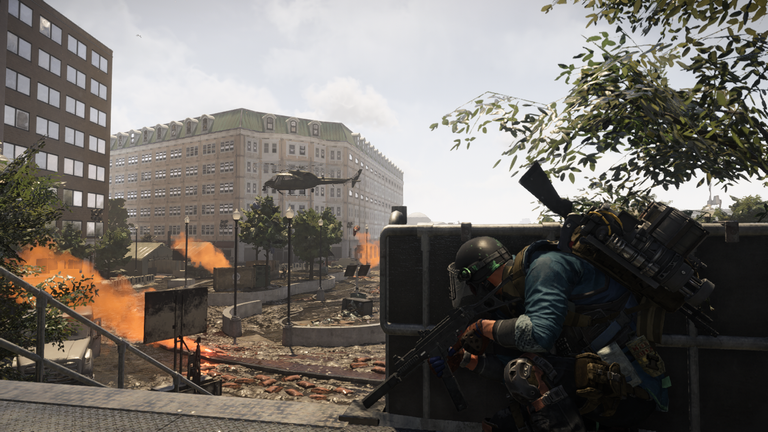
Taken from Division 2
Oddities:

Taken from Fallout 76 at a players house
How things settled after an event:
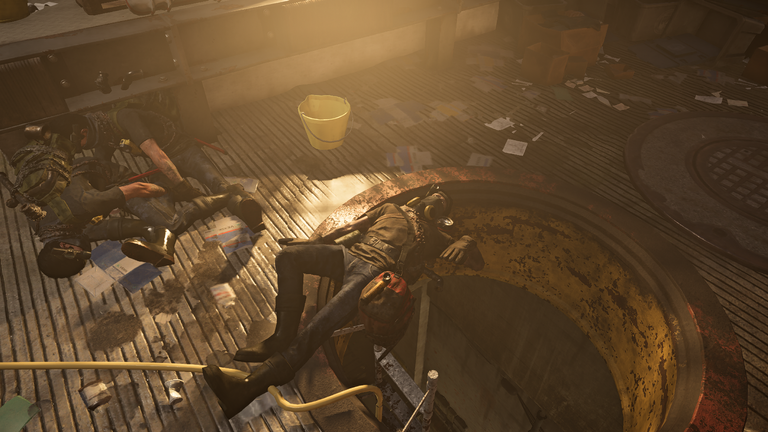
Taken from Division 2. The hand is going 'As if!"
Objects/people in different lighting & angles:
Taken in Elder Scrolls Online outside Shadowfen
Anything! "Beauty is in the eye of the beholder" rings just as true in the virtual space as it does in real life.
- Who is this for?:
- Anybody curious in participating in the community or wanting to spend more time in a game and learning how to capture a moment. Seeing the difference between a 'screenshot taken' and a 'photo captured' as you hone your eye in 'Gaming Photography' will be amazing.
-Why I do it-
I do Gaming Photography because it gives me the ability to take a photo of settings that aren't what one would normally see in everyday life, along with the option to share any whacky and cool things that are in a game that most people might pass up while playing normally. Gaming Photographer also gives me another activity to do in a game with an end result being a picture that adds depth or looks unique to what is regularly seen in-game.
-Slide show-
Taken from Fallout 76. Previously posted in the community be me
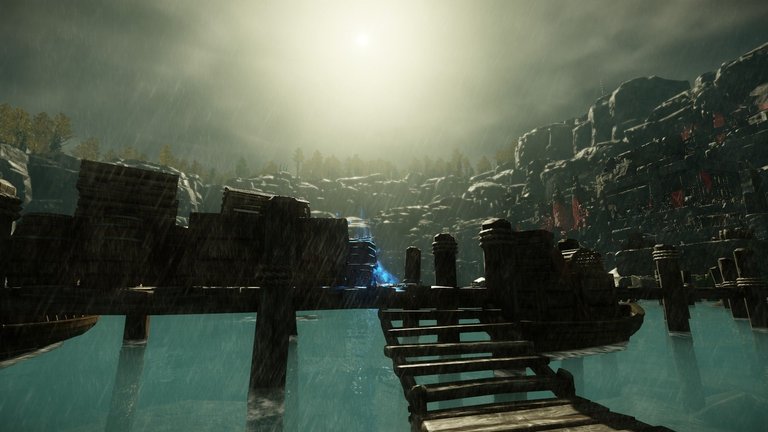
Taken from New World
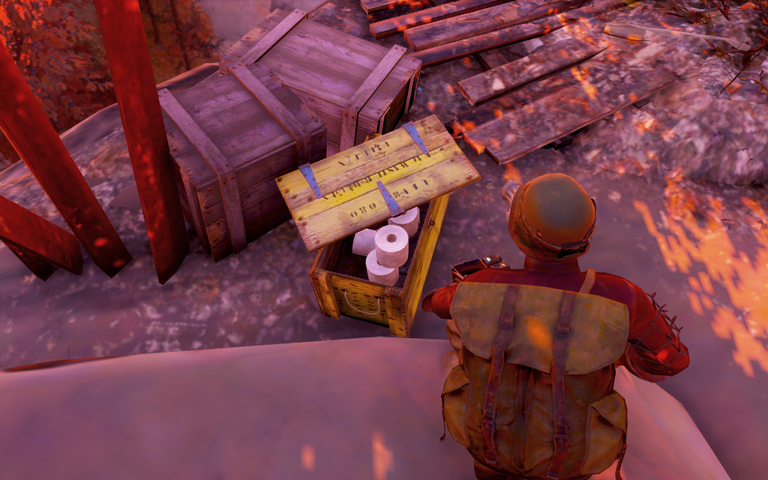
Taken from Fallout 76. Toilet paper stash
-End-
Thank you for your interest in reading this (hopefully) helpful post!
If you require more information about 'Virtual'/'Gaming Photography' there are videos on Youtube along with articles found on Google to check out that give an explanation with visuals. Feel free to ask any questions you may have in the comments of this post and I'll do my best to answer them. Thanks for reading and participating in the community.
Happy 'Photo' Hunting!