¡Un saludo a todos! Estoy de regreso con un nuevo edit en Photoshop. Esta vez de una portada de disco ficticia siendo esta, el tercer proyecto del curso básico de Photoshop de platzi.com que actualmente estoy cursando. Este también es el penúltimo proyecto del curso ¡ya casi lo acabo! Así que pronto les estaré enseñando el ultimo proyecto, que me parece es un último bonus del curso antes de ser finalizado. Por ahora quiero mostrarles este, donde aplique lo recién aprendido. Así que los dejo con el proceso ¡Espero les guste!
Greetings to all! I'm back with a new Photoshop edit. This time of a fictitious album cover being the third project of the platzi.com basic Photoshop course I'm currently taking. This is also the penultimate project of the course, I'm almost done! So soon I will be showing you the last project, which I think is a final bonus of the course before it is finished. For now I want to show you this one, where I apply what I just learned. So I leave you with the process I hope you like it!
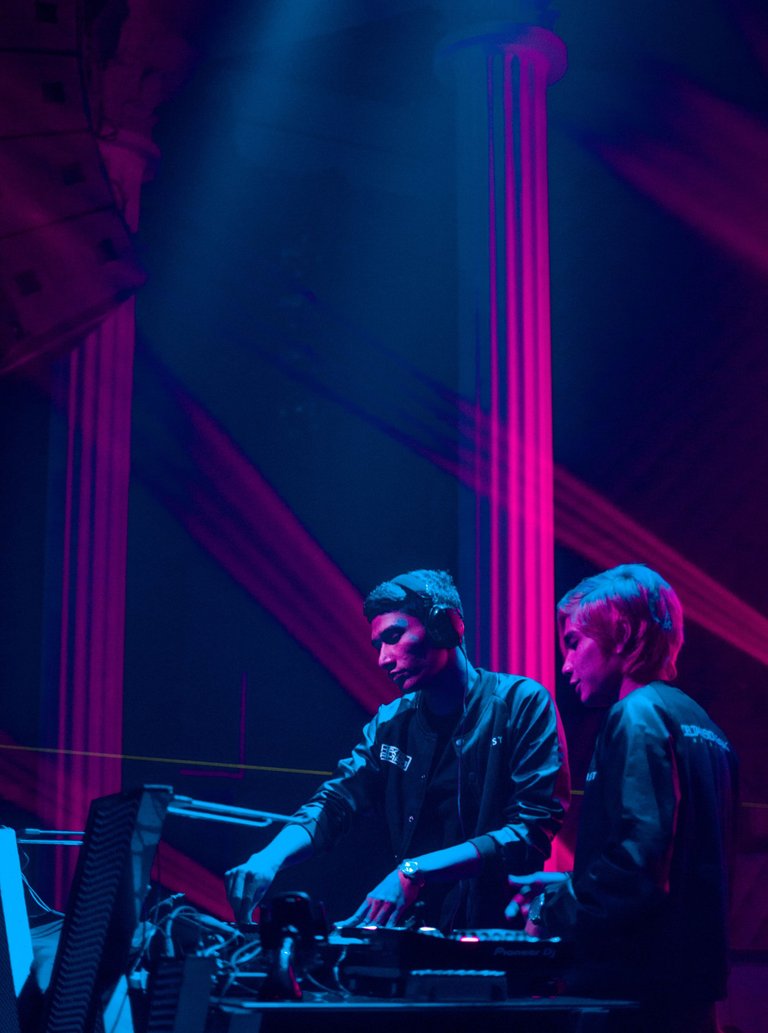
Lógicamente, lo primero que hice fue una búsqueda para encontrar la fotografía que iba a usar. Así que me fui a unsplash.com y finalmente me quede con esta:
Logically, the first thing I did was a search to find the photograph I was going to use. So I went to unsplash.com and finally got this one:
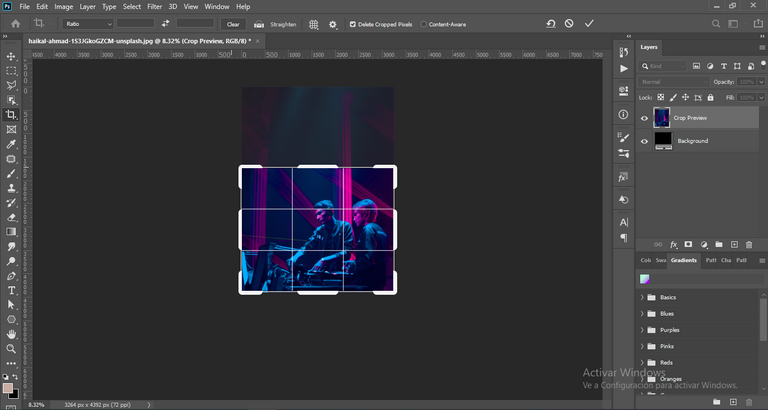
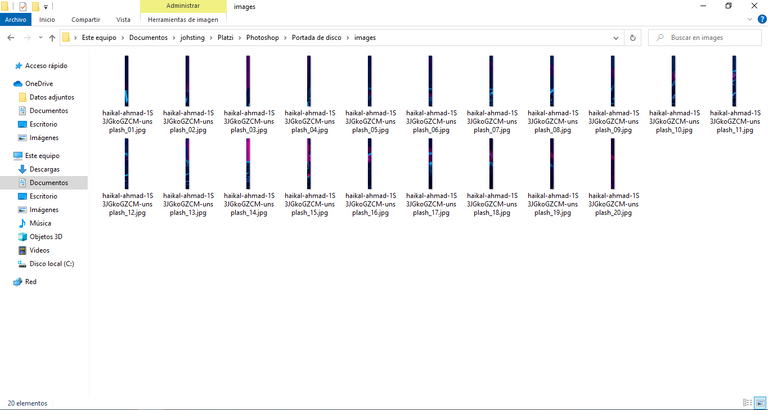
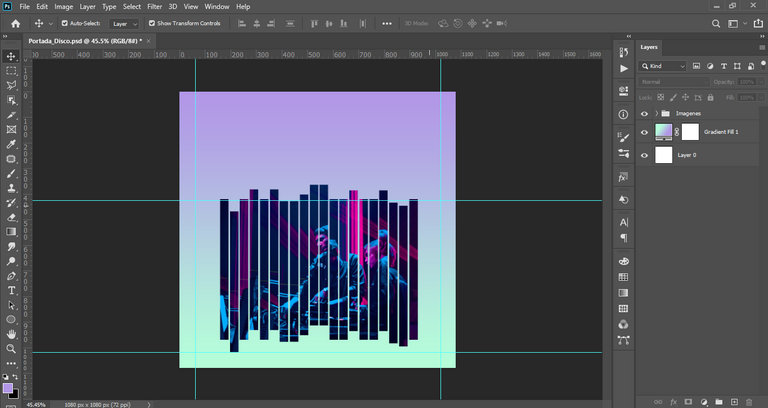
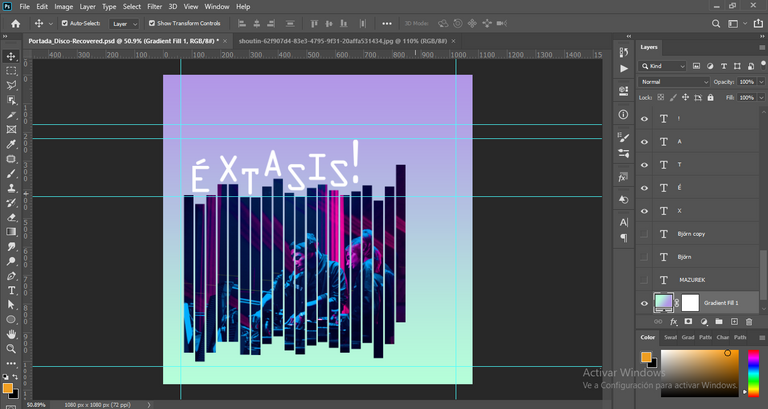
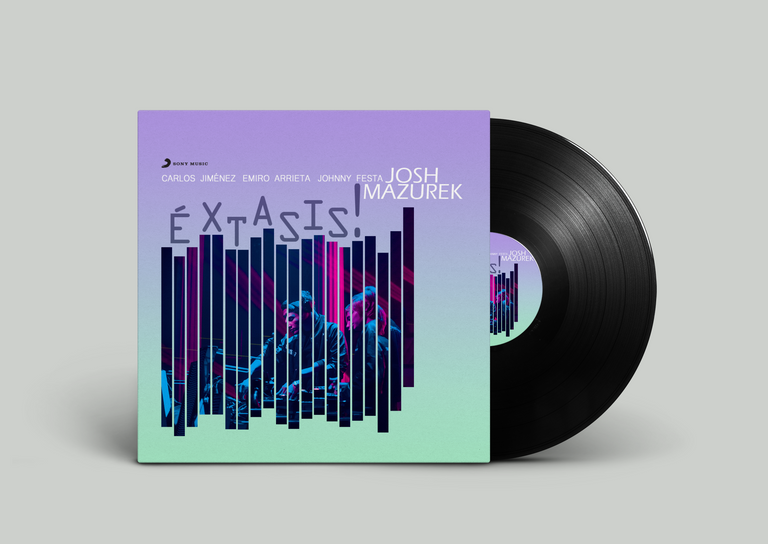
Lo segundo, fue recortarla un poco, ya que la fotografía original era demasiado alargada para lo que tenía en mente. Luego, utilizando la herramienta Slice select, dividí la imagen en 20 partes. Después, sencillamente guarde y el resultado fueron estas 20 partes de la imagen, ahora había que ordenarlas y esto fue relativamente sencillo ya que tenía cada imagen enumerada. De seguro hay otras maneras mucho más prácticas de dividir una imagen, pero sinceramente no sabía cómo hacerlo aparte de este método. Lo más seguro es que aprenderé con el tiempo cuando vaya agarrando más experiencia sobre la herramienta.
Second, I cropped it a bit, as the original photograph was too long for what I had in mind. Then, using the Slice select tool, I divided the image into 20 parts. Then, I simply saved and the result was these 20 parts of the image, now I had to sort them and this was relatively easy since I had each image numbered. I'm sure there are other much more practical ways to split an image, but I honestly didn't know how to do it apart from this method. I will most likely learn over time as I get more experience with the tool.
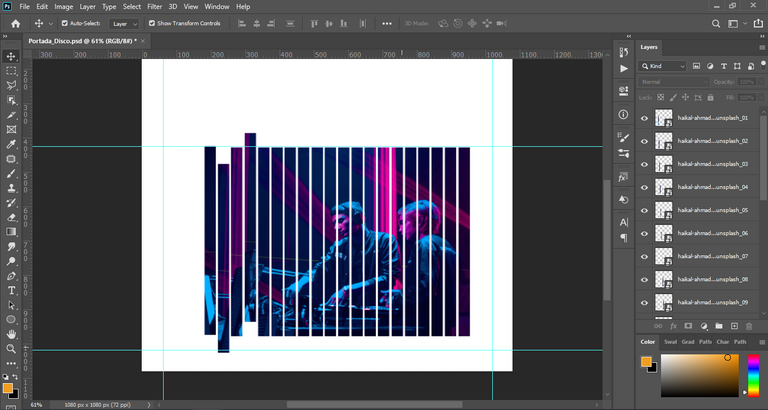
No quise tocar la imagen, me pareció que los ajustes de colores que tenía eran perfectos. Así que me fui directamente al fondo, al cual le aplique un degradado acorde a la imagen teniendo en cuenta el contraste para darle siempre el protagonismo a las imágenes segmentadas.
I didn't want to touch the image, it seemed to me that the color settings I had were perfect. So I went directly to the background, to which I applied a gradient according to the image taking into account the contrast to always give prominence to the segmented images.
Ya con eso listo, empecé a buscar la tipografía para el titulo de la portada del disco y al final me decidí por la que esta seleccionada.
With that ready, I started looking for the typography for the title of the album cover and in the end I decided for the one selected here.
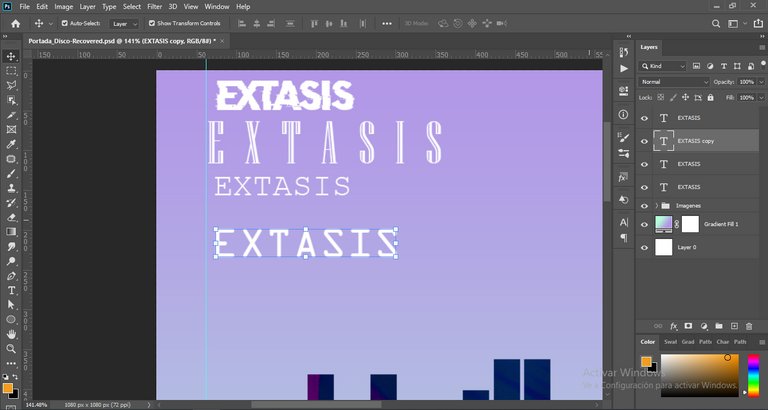
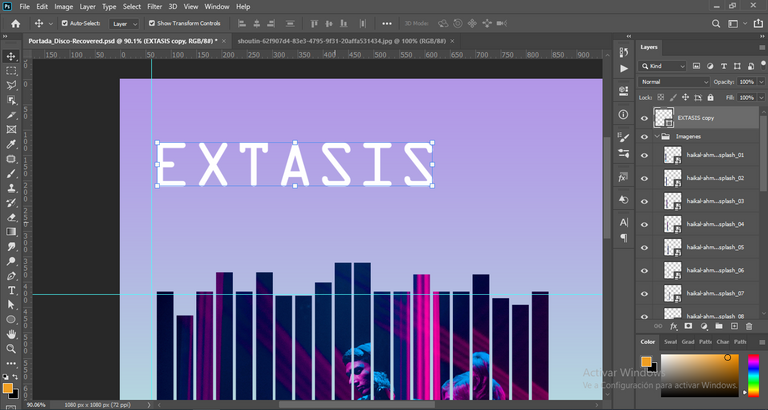
Luego, escribí cada letra individualmente para posicionarla donde quisiera y acoplarlas a la imagen principal y que la composición tuviese sentido.
Then, I wrote each letter individually to position them where I wanted them to fit into the main image so that the composition would make sense.
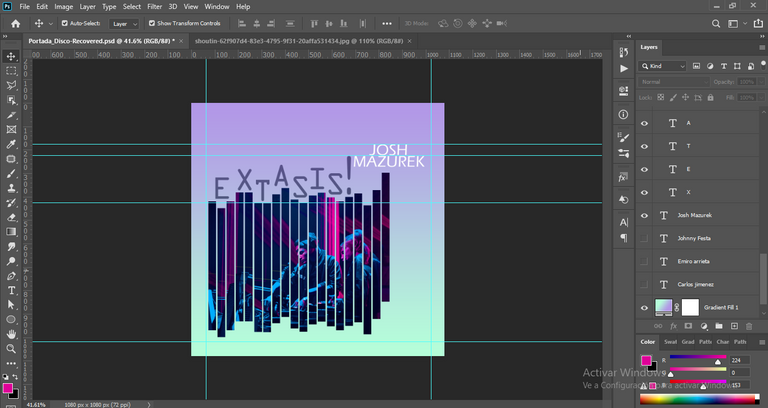
De igual forma, agregue el título del “artista” (Es decir, yo. Recordemos que es una portada de un disco ficticio) en una tipografía diferente para crear jerarquía y posicionándola donde me parecía que quedaba mejor y que fuera acorde a la composición que estaba buscando. Además de eso, cambie el color del titulo del disco por un violeta opaco.
In the same way, I added the title of the "artist" (i.e. me. Remember that it is a fictitious album cover) in a different typography to create hierarchy and positioning it where I thought it would look better and according to the composition I was looking for. Besides that, I changed the color of the album title to an opaque violet.
Después, agregue los nombres de los colaborades (Los cuales son los nombres de dos profesores de platzi y el nickname de mi hermano) en una tipografía levemente diferente y nuevamente siguiendo la composición de los demás elementos de la portada.
Then, I added the names of the collaborators (which are the names of two platzi teachers and my brother's nickname) in a slightly different font and again following the composition of the other elements of the cover.
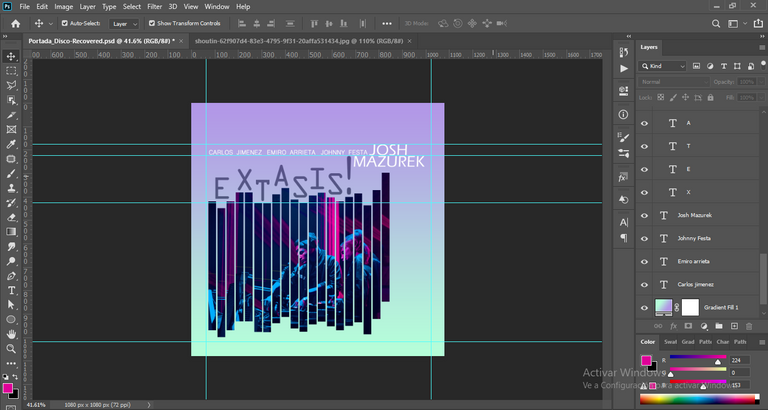
Ya con prácticamente todo listo, quise agregarle un toque final, el sello discográfico. Para ello me fui a seeklogo.com y busque el sello discográfico aleatorio (El de sony me gusto) lo descargue, lo abrí en illustrrator (ya que estos suelen ser vectores) y lo importe a Photoshop y lo coloque en la portada.
With practically everything ready, I wanted to add a final touch, the record label. For this I went to seeklogo.com and searched for the random record label (I liked the sony one) I downloaded it, opened it in illustrrator (since these are usually vectors) and imported it to Photoshop and placed it on the cover.
And that's it!

Here we can appreciate the cover much better from this mockup.
Thanks for watching, I hope you liked my post. A hug and see you next time.😊
Te quedó genial mi amooor!!!
Muchas gracias mi amor 😊