AUTOMATIC1111's Stable Diffusion WebUI is widely recognized as the most popular method for running Stable Diffusion on your personal computer. This guide will assist you in setting up an installation that enables you to run Stable Diffusion or any other desired model.
NOTE: This guide specifically caters to NVIDIA GPUs.
Hardware Requirements Ensure that your system meets the following requirements:
16GB RAM NVIDIA GPU (GTX 7xx or newer) with a minimum of 2GB VRAM (While AMD GPUs are compatible, NVIDIA is recommended) Linux or Windows 7/8/10/11+ or Mac M1/M2 (Apple Silicon) 10GB of disk space (includes models)
Step 1: Install Git Proceed to the official Git website to download Git Here
Choose the Standalone Installer and select the appropriate Git installer based on your Windows operating system. If you are unsure whether your Windows OS is 32-bit or 64-bit, refer to this link (new tab).
Once downloaded, open the .exe file and follow the instructions. Click Next to accept the license.
The default installation options are suitable. Click Next.
Several screens with various options will appear. It is recommended to stick with the default selections. Click Next for each of them. Git will now be installed.
Important: During the installation process, make sure to check the box that says "Add python.exe to PATH."
Step 3: Download Web UI Press the Windows key on your keyboard or click on the Windows icon (Start icon). Search for "Command Prompt" and click on the Command Prompt App when it appears.
The Command Prompt should display a line similar to this:
C:\Users\YOUR_USER_NAME
To navigate to a specific folder, use the following command:
cd FOLDER_NAME
To move up one level in the folder hierarchy, use this command:
cd ..
To list all the folders within the current directory, use this command:
dir
For instance, if you want to install Stable Diffusion in your Documents folder, execute this command:
cd documents
Once you are inside the desired installation folder, copy and paste the following command:
" git clone https://github.com/AUTOMATIC1111/stable-diffusion-webui.git "
Allow some time for the Web UI to download.
After the download is complete, you will be able to locate the stable-diffusion-webui folder in the Windows Explorer.
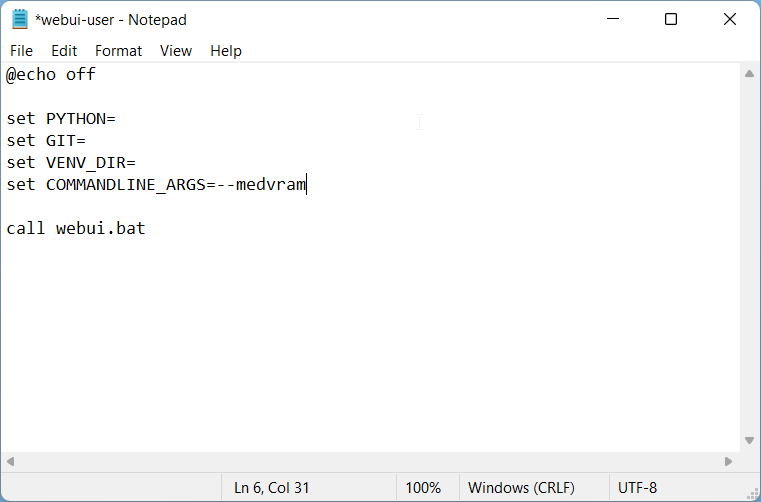
Now, let's configure your VRAM settings. Failure to configure this correctly may result in "out of memory" errors.
To check your VRAM capacity, type "dxdiag" in the search bar and click on "dxdiag," which corresponds to the DirectX Diagnostic Tool. Your VRAM capacity will be displayed under Display Memory in the Display (or Display 2) tab.
If your VRAM is 2GB or less, you need to utilize the --lowvram option. If your VRAM is 4GB or less, you need to utilize the --medvram option. If your VRAM exceeds 4GB, no additional options are required, and you can skip this step.
Open the recently downloaded stable-diffusion-webui folder. Locate the file named webui-user.bat (Windows Batch File) and right-click on it. Then, select Edit (On Windows 11: Right-click -> Show more options -> Edit).
Add the command you need after the set COMMANDLINE_ARGS= line. For example: 2GB of VRAM or less, you will need to use --lowvram 4GB of VRAM or less, you will need to use --medvram That's all you have to do for the WebUI!
Step 5: Run the WebUI
In the stable-diffusion-webui folder there is a file called ‘webui-user.bat’.
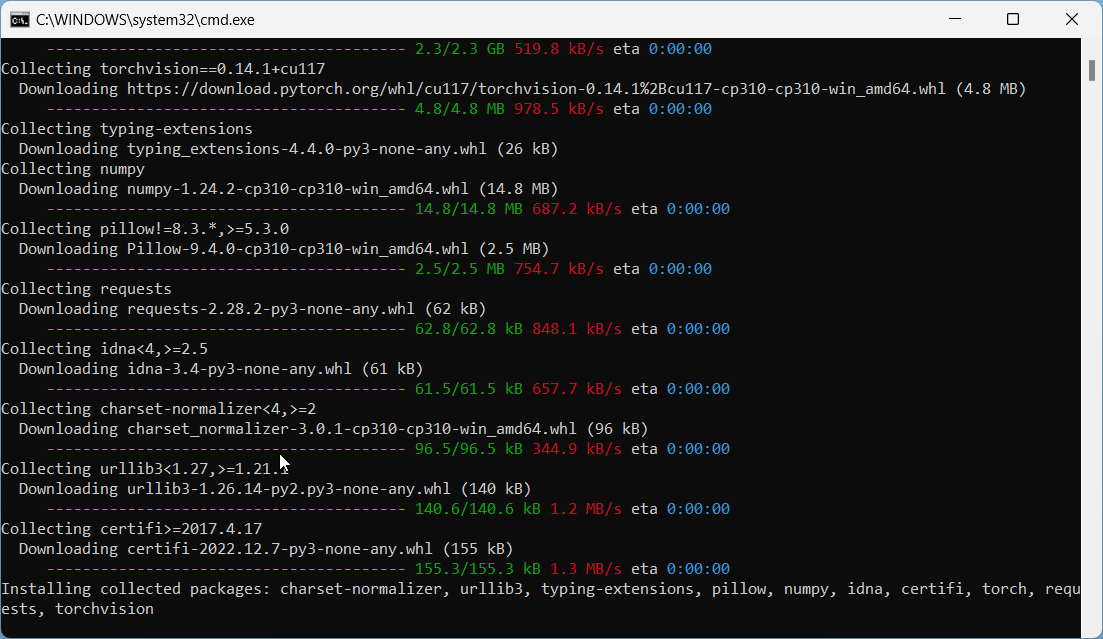
It will take several minutes for the Web UI to install the required modules.
When it is finished you will see the line: Running on local URL: http://127.0.0.1:7860
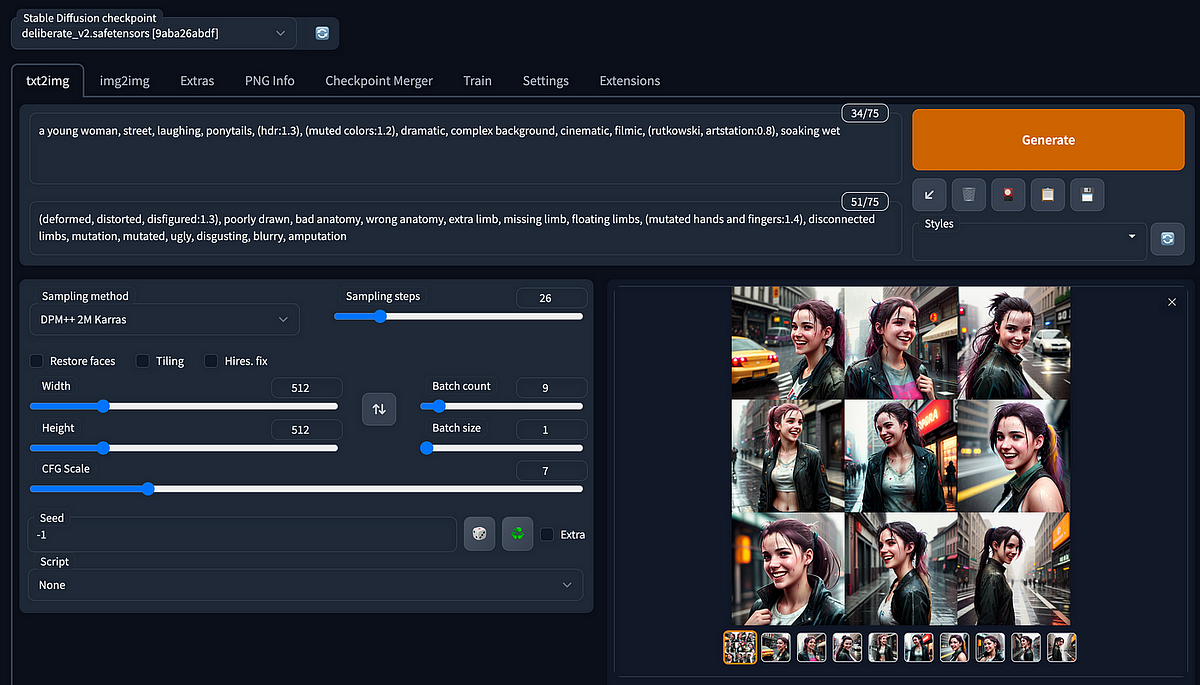
Next Tutorial will be how to download Models to use with Stable Diffusion to start creating artworks! Congrats on installing Stable Diffusion Automatic1111
If you are still confused check out
for a step by step video guide