So again it's been awhile since my last post. Life can get pretty hectic quickly sometimes. For us we just had our second child, so a little free time is a blessing to say the least. I have so much awesome content piling up that I want to share with this great community. Today I want to share a project I did over the summer. If you've been following any of my previous posts you will note that I have fallen completely in love with archery. Not just any archery...Traditional archery! I made my first couple bows out of PVC and they were a blast! But I always knew that one day I would be building my first wooden bow! This is the journey that I will be sharing with you guys hope you enjoy!
Step 1 Figuring out the material
This step in my opinion is the most crucial. You want to use a wood that is good in compression and in tension. The majority of wooden bows come from deciduous trees. Some of the top woods being (north America) Osage Orange, Most Ash's, Hickory, and others. Every region will have different hardwoods available to them so you will have to do some research. This particular project I wanted to get started on ASAP so starting from a stave would take too long. Drying time takes 6months to 2 years depending on the wood. So next cost effective means of making a bow is to go down to your local hardware store. There you will find 1x3x8s boards of hardwoods. At my local home depot we have Red oak and Maple to chose from. Now this is the part the is crucial. you don't want just any board. Whatever board you chose the grain must go straight from one end the board to the other with little to no grain deflection. The straighter the stronger the bow will be, knots and deflections are weak points. I went through about 80 boards before finding the right one. Be patient you will find the right one. I ended up going with a beautiful piece of Red Oak.
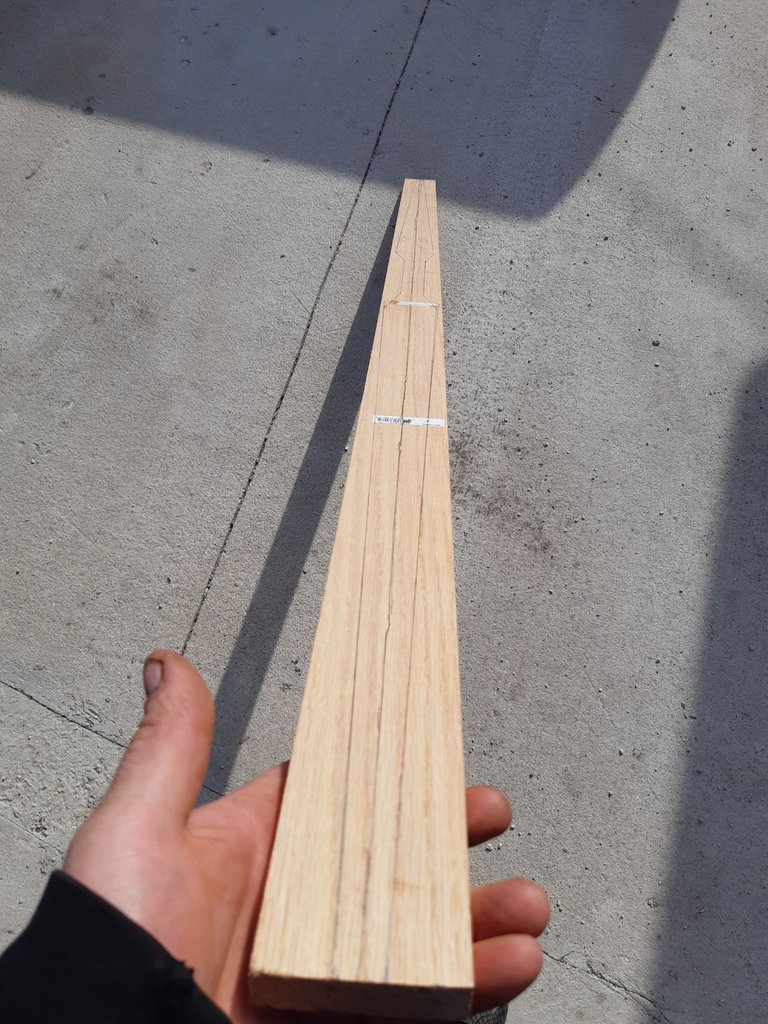
**Step 2 Design **
With a board bow you are a little limited in the designs. I went with the classic pyramid style flat bow. I did 2 inches wide tapered to 3/4 inch tips. The Bow is 68" tip to tip and aiming for 50# at 27" of draw. After drawing out my design I took my Hatchet and rasp to take down the bulk of the material. now off to the vice for the handle... but first I will show you the tools I used.
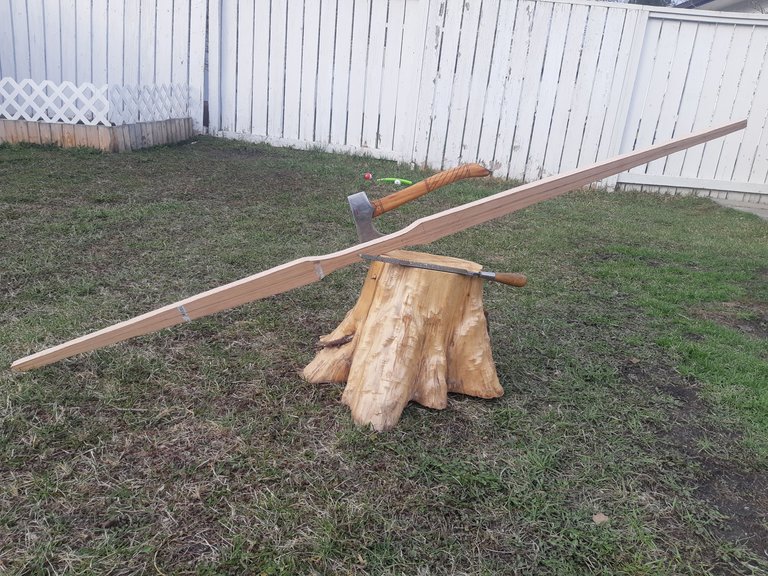
TOOLS
-Hatchet, a Nicholson Wood rasp, coarse file, medium coarse file, round chainsaw file, draw knife, Cabinet scrapper, wood clamps
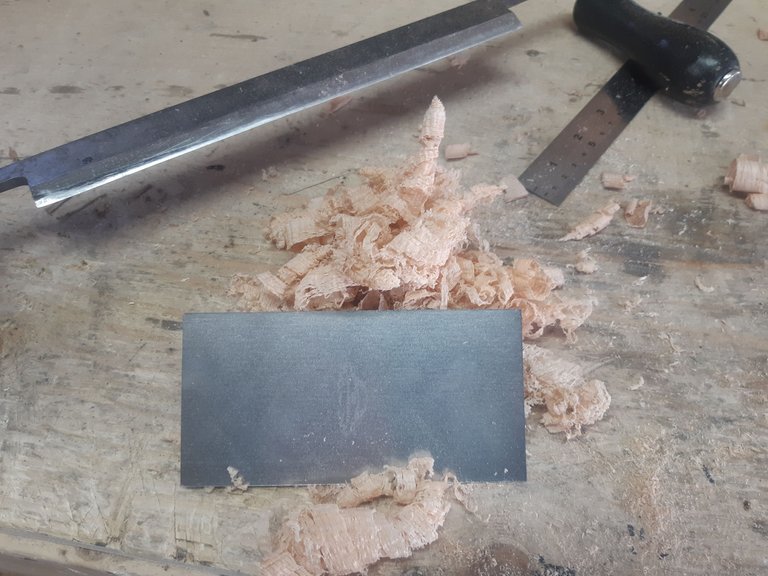
Step 3 the handle
This step is not necessary but it does sit in the hand way more comfortably when you do include a handle. For this you can laminate whatever piece of hardwood you have. I had a piece of white oak that I laminated using gorilla glue and wood clamps. Once it's dry do a rough shaping to your liking. Make it comfortable for you to shoot.
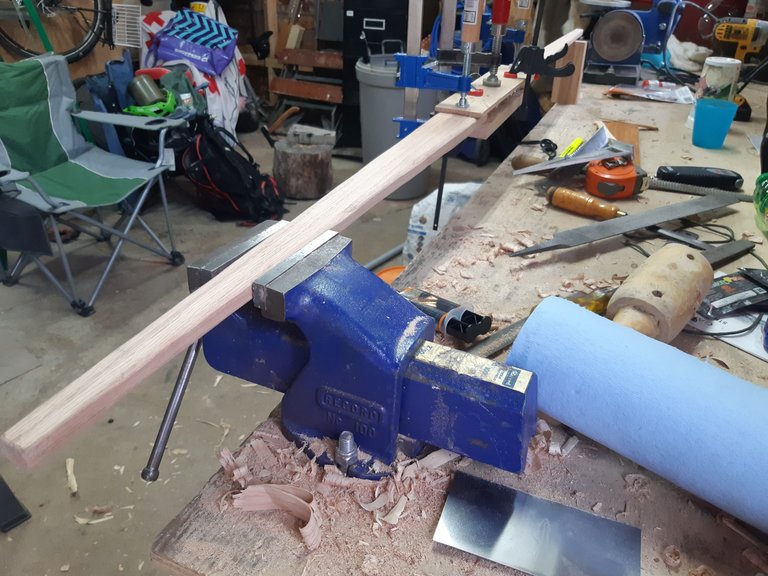
Step 4 Taking down the bulk
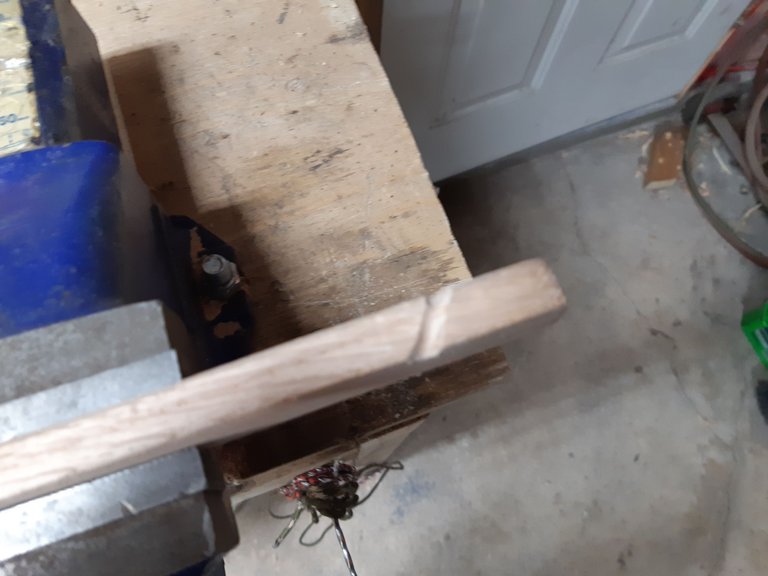
So I'm going to go into great detail with this next section because I'm still an amateur and there is lots of great resources out there. This next step though is removing the bulk of the material in the section you want to bend. I use my draw knife to start off with. You need to be careful and listen to the grain so not to pull off more then intended. Once I get to a point where I'm happy with the amount of flex I'm getting in my limbs with floor tillering I cut my nocks for my bow string.
Step 5 Tiller
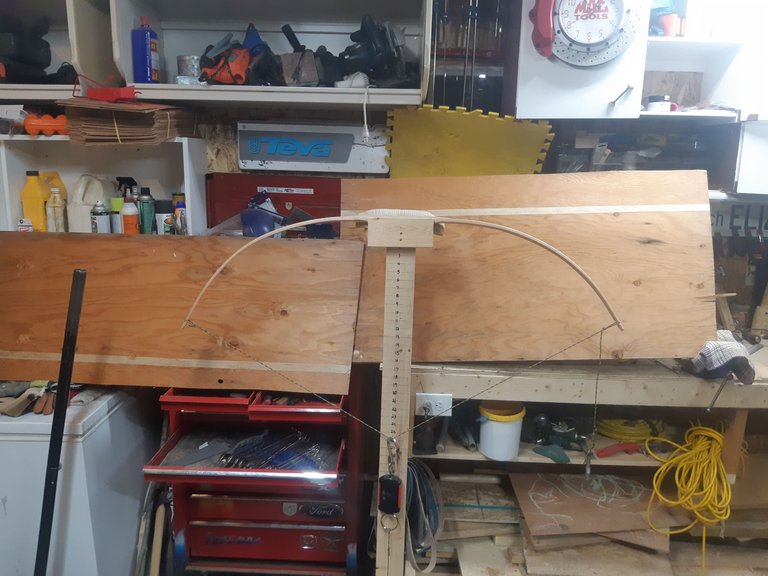
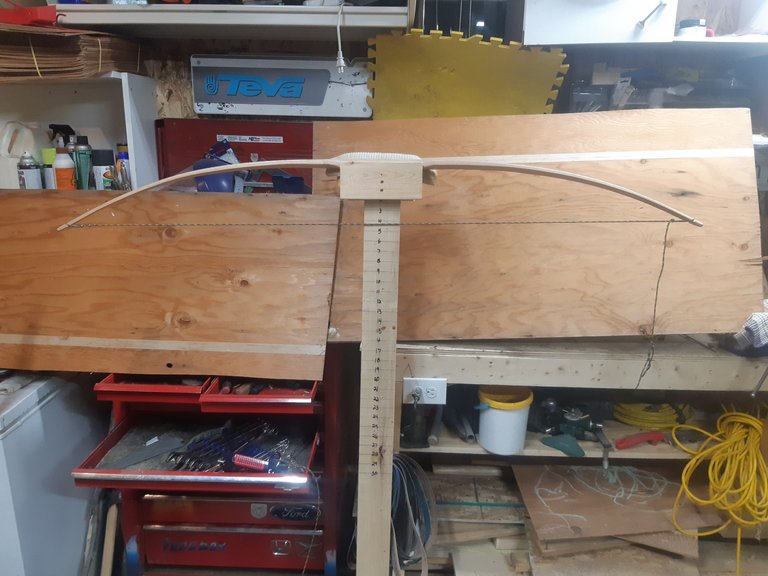
Now this is also a very crucial step. Tillering your bow means to slowly start removing material and working your limbs on a tillering tree until you reach the desired bend and draw weight. It's a long tedious process. The Rasp and cabinet scraper are what do the bulk of the work here. As you're removing material you're constantly checking that your bends are even and have nice arcs.
Step 5 The finish
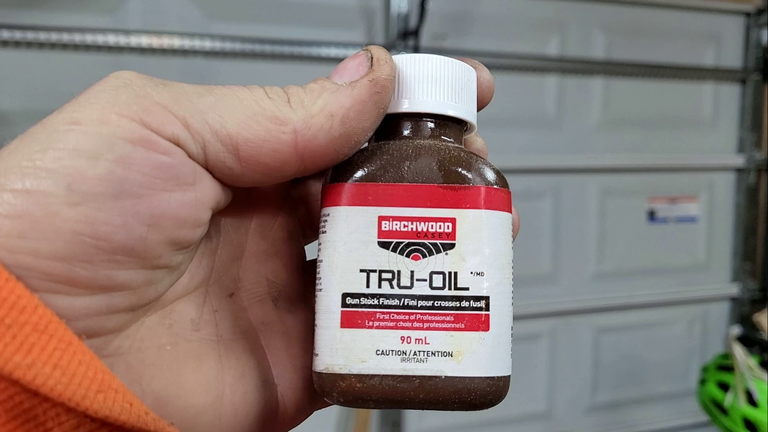
There is a plethora of finishes you can use. If you wanted to go full primitive you could use something like bear grease. I ended up using Tru oil gunstock finishing oil. It's a linseed oil based finish. Very easy to apply and I did 3 coats. You don't want to do too many because it reenters some moisture back into the wood.
Now time to shoot it!
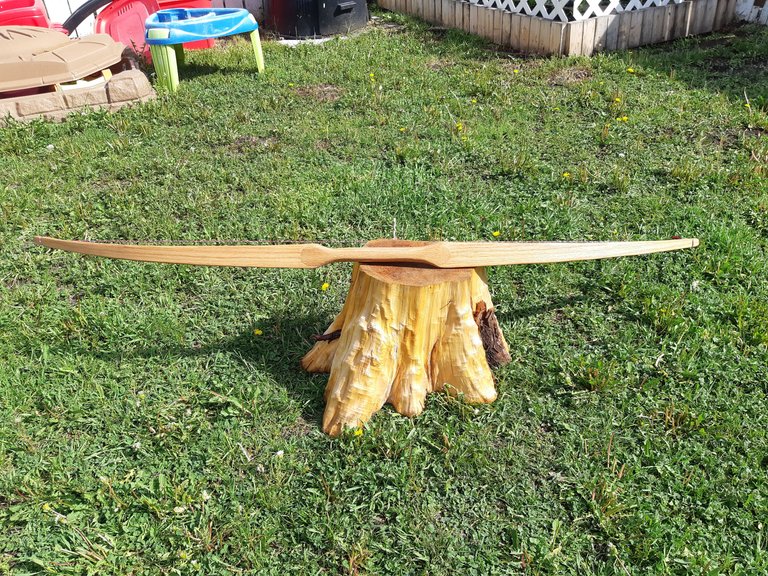
Thanks for checking it out!
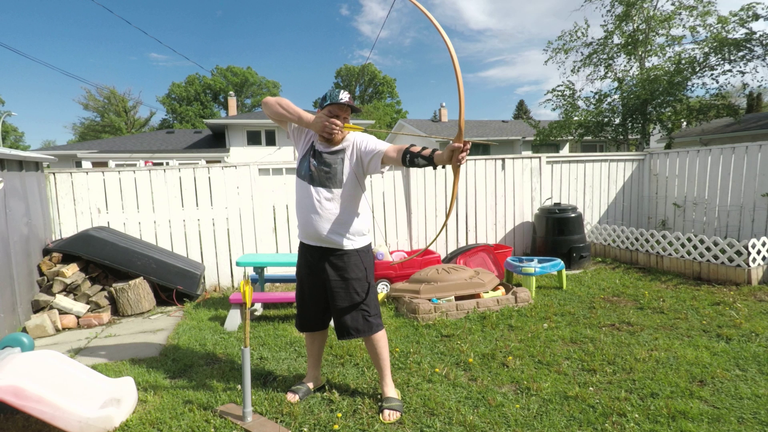
Nice results on that bow build!
This process looks quite familiar. :-)
I built a couple of different bows using lumber yard red oak. If you find the right piece of wood, it's pretty easy to work with. One thing that I found with oak is that the bow limbs tend to take a set, and don't return to straight after you unstring the bow. I'm guessing that most bow woods do that to some extent over time.
Yeah certain woods tend to take on my set then others. Also if you stress the wood out during the tiller process it can also create set
Damn this was awesome dude. I would love to make something like this one day! I can imagine that it’s a fun but difficult process, getting the wood and all that. I don’t doubt that you had to go through 80 boards at the depot, I’ve had issues with that stuff as well but you can’t beat the convenience of it lol.
Congrats on the second child! That's amazing! Do you have both boys, girls or a mix of both?
Thank you. We now have one of each. my 3.5 year old daughter has been joining me lots more these days on my adventures which is awesome. she is getting pretty excited to do some rabbit trapping right away!
Ohhh that's so cool! I love archery but don't own any gear of my own.
I felt the same way thats why I just started making my own gear since I knew I could not afford most bows.
Hell yeah! You've got a superb result. I've watched countless of Youtube videos on the art of archery, but could never get my hands onto really starting one. I'd like to try something with a bamboo laminate on the outside. The only issue is that I think I won't be patient enough for the tillering part (and it does require patience).