Hello gardeners! how are you? This post is the first one I have made in the community. And I have done it to share with you something that happened recently at home.
Many of us already know that pets can sometimes be somewhat naughty and disastrous, so today I come to show you what my puppy did 🐕. The truth is I don't consider her so guilty, since the explosives at the parties and those types of sounds scare them a lot, seeing that, they were all scared and ran over the plants.
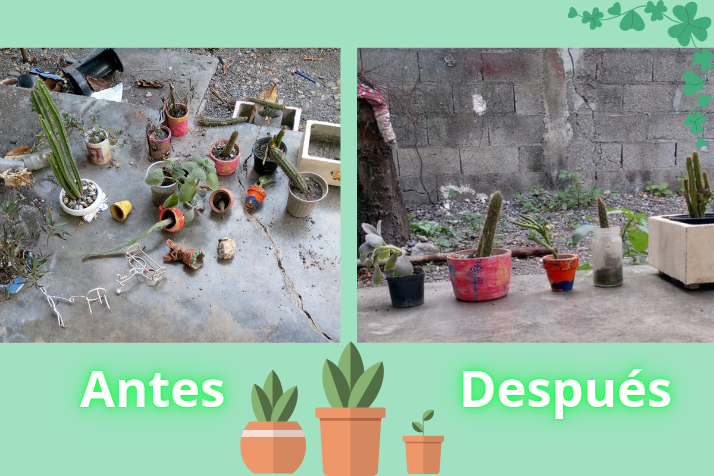
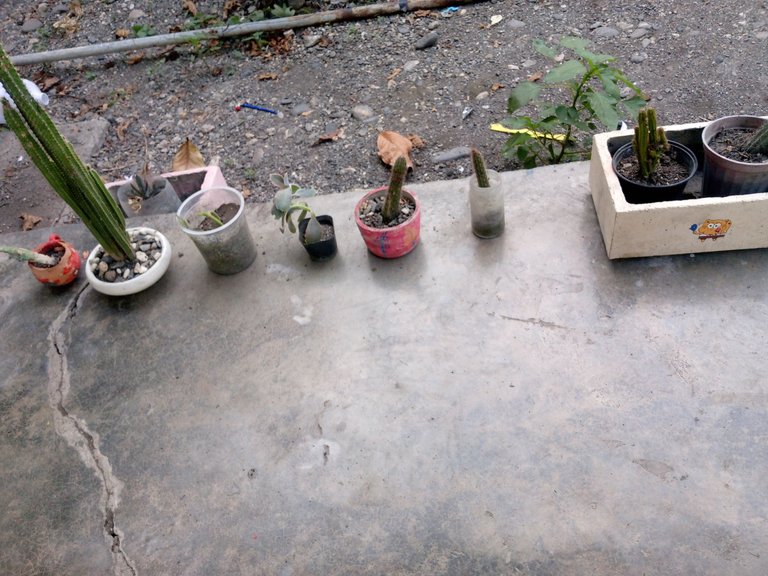
As you can see in the main image, the plants were a mess. My pet took the vast majority of the plants out of her pots, so today we will return them to her place and fix them.
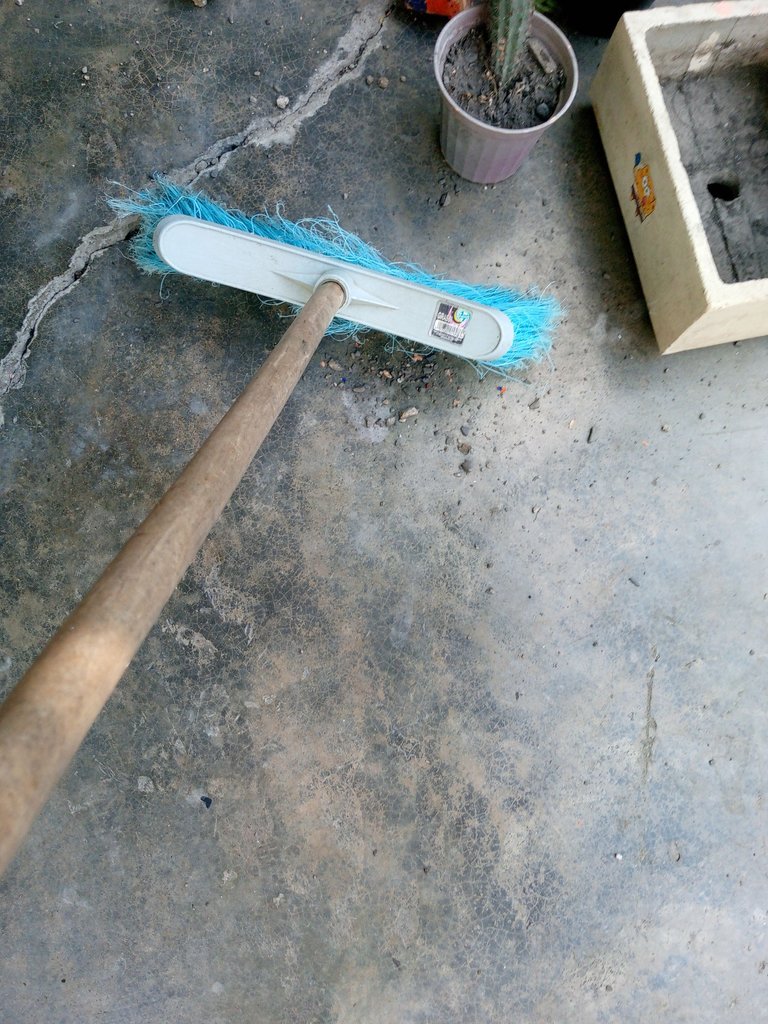
First we will start by cleaning the floor a little with a broom 🧹 because as he made this mess he also threw up some rocks and dirt.
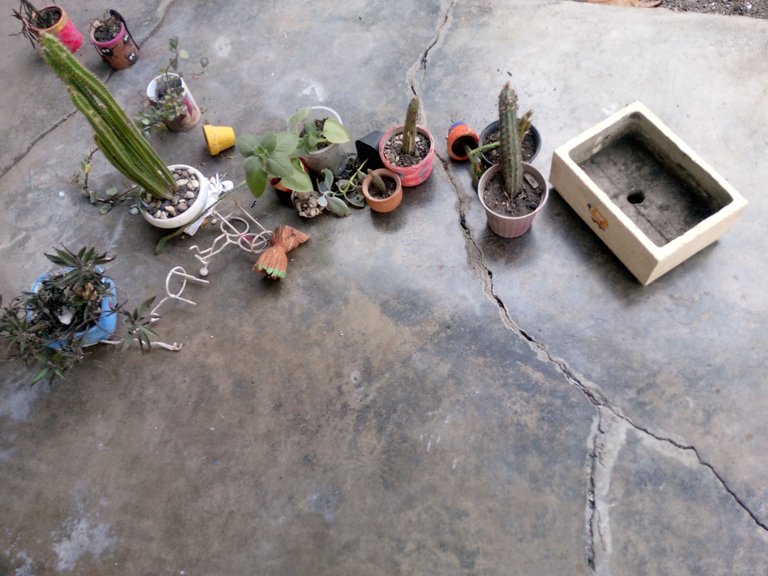
Once cleaned, it would look like this:
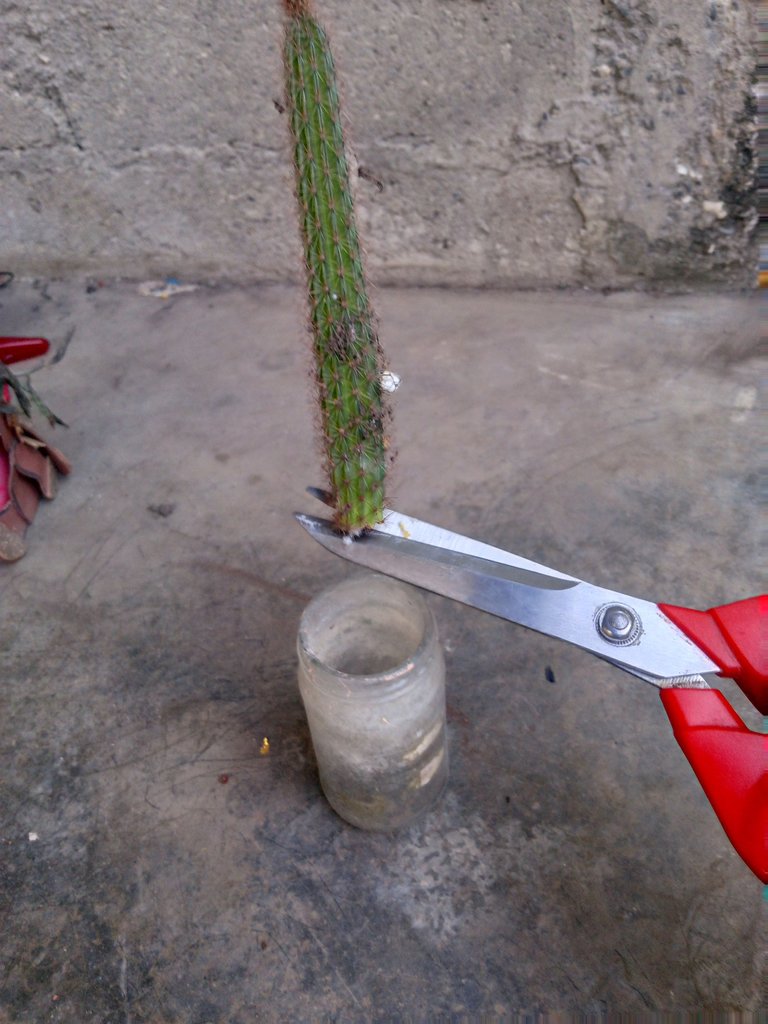
After doing this I found a cactus 🌵 out of its pot.
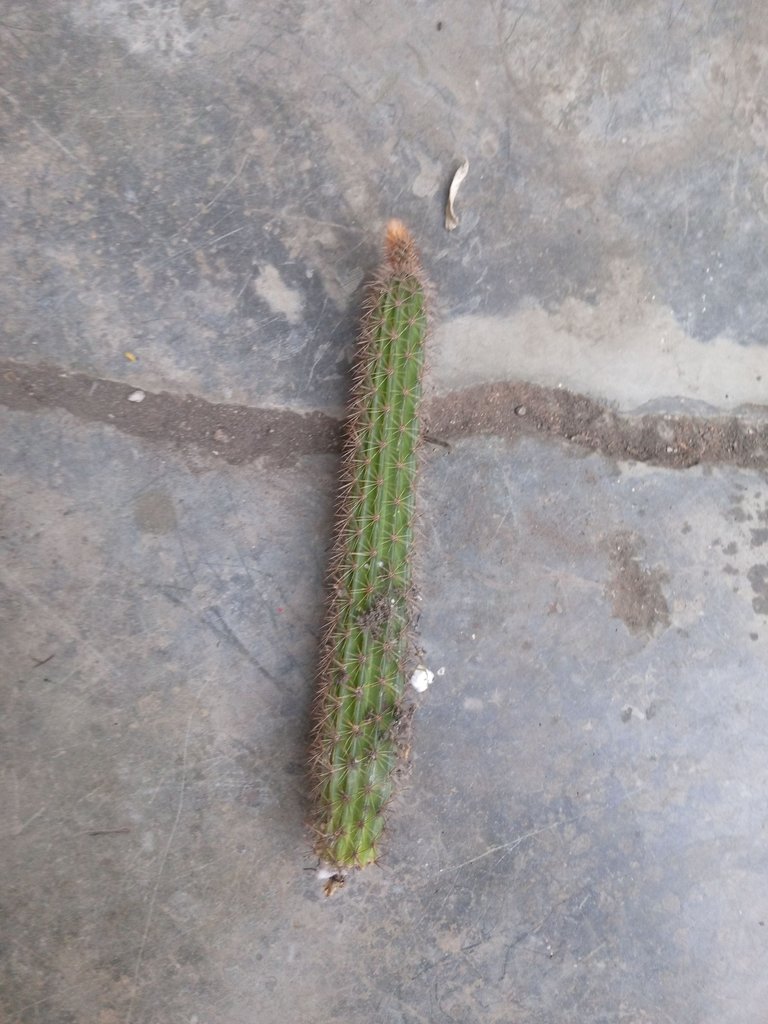
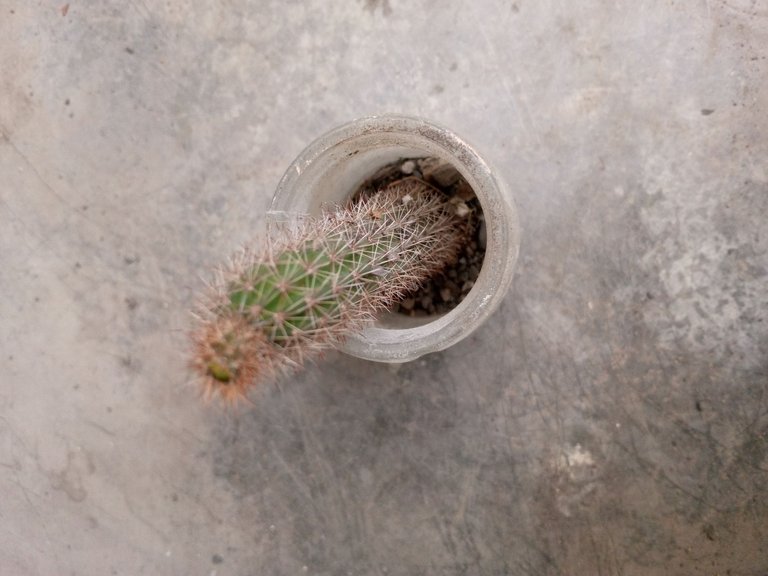
I decided to proceed to take it with some scissors and position it to place it in the pot and add a little soil to it in this way:
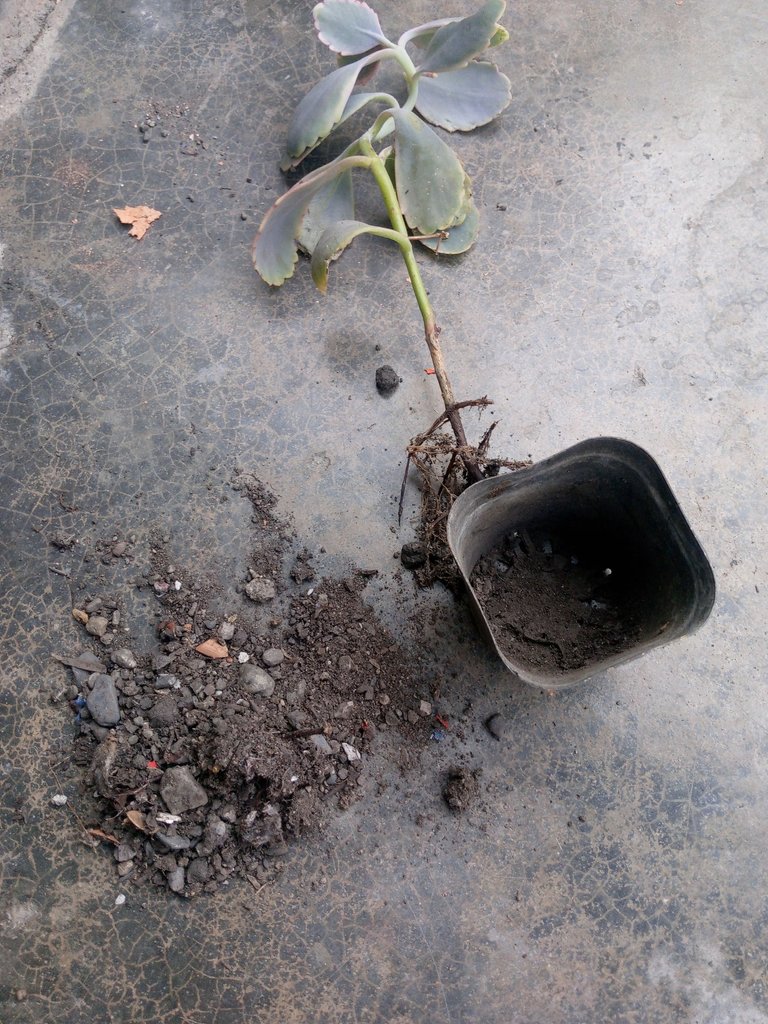
Then I got another plant, which was pretty ruined by my puppy 🐕. Therefore, I took it and placed it in its pot and then put soil in it.
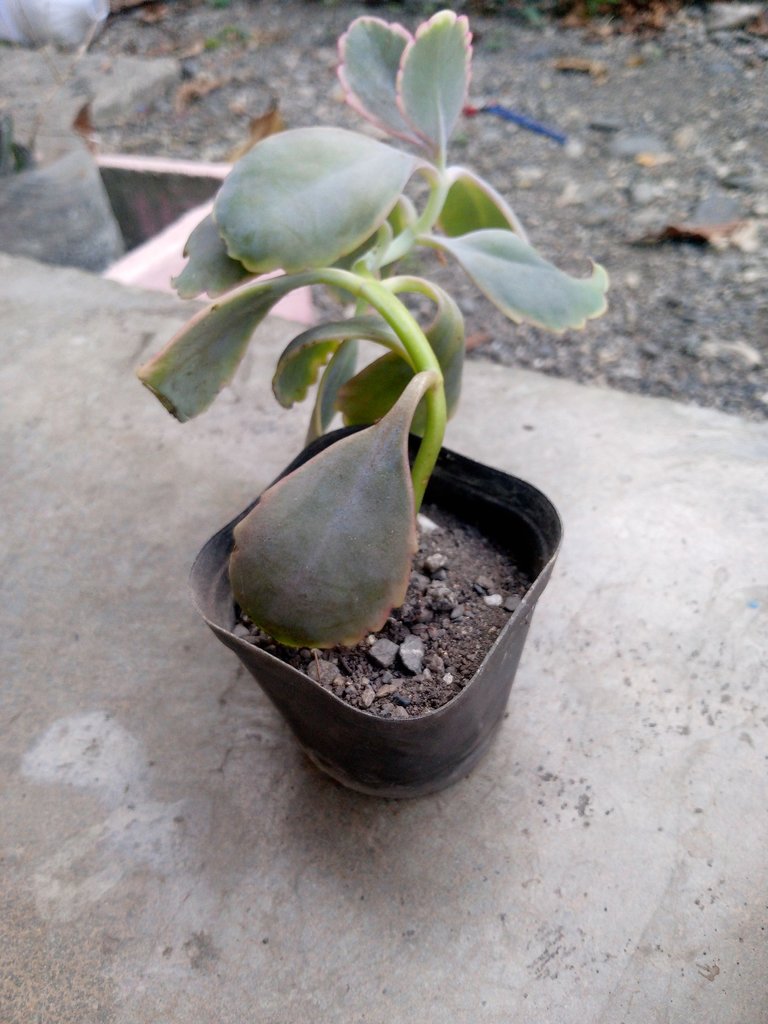
I did the same with other plants, which I fixed with a little difficulty, however the result was quite good and satisfactory. Because I was able to recover most of them.
Here he left them:
Do you think we're done? well no!
Because taking advantage of the occasion we will arrange something else 👽🙌🏻
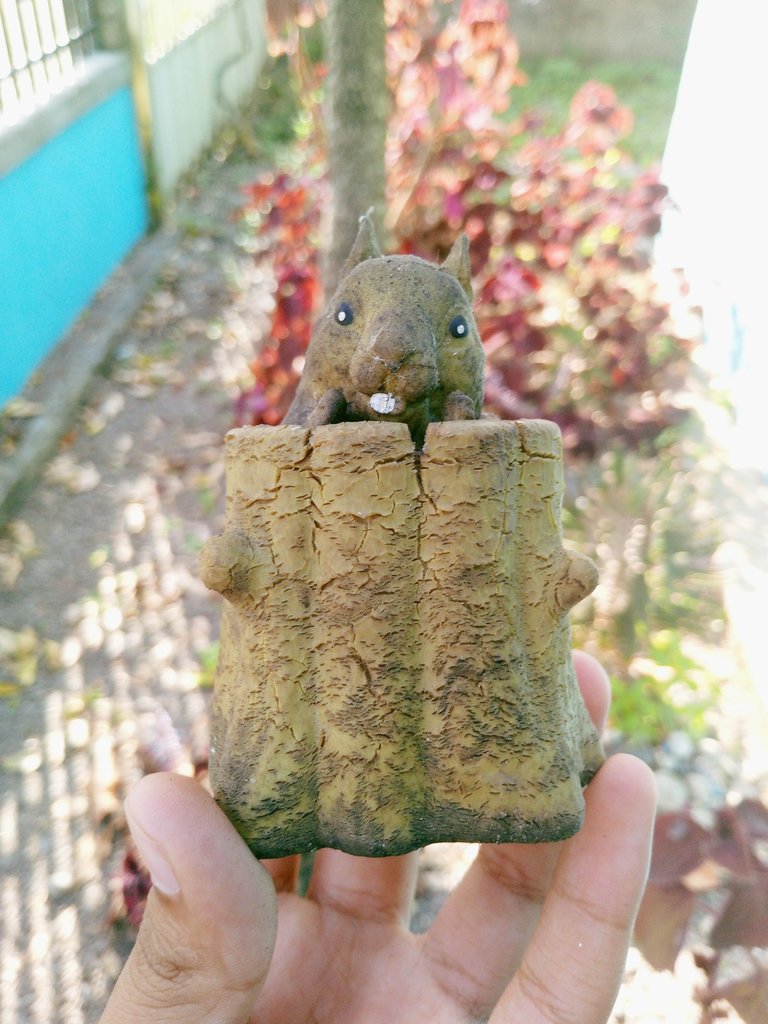
Well, many of us have decorations made of ceramic or any other material near our plants. Whether they are gnomes, animals, mushrooms, elves, etc. However, at my mom and dad's house there is a little rubber squirrel that has a trunk under it as a base. It has been bought for some time, and over time it deteriorated and became dirty. Therefore, today we will leave it like new.
First I will leave you a photo before it was fixed:
Now, let's get started.
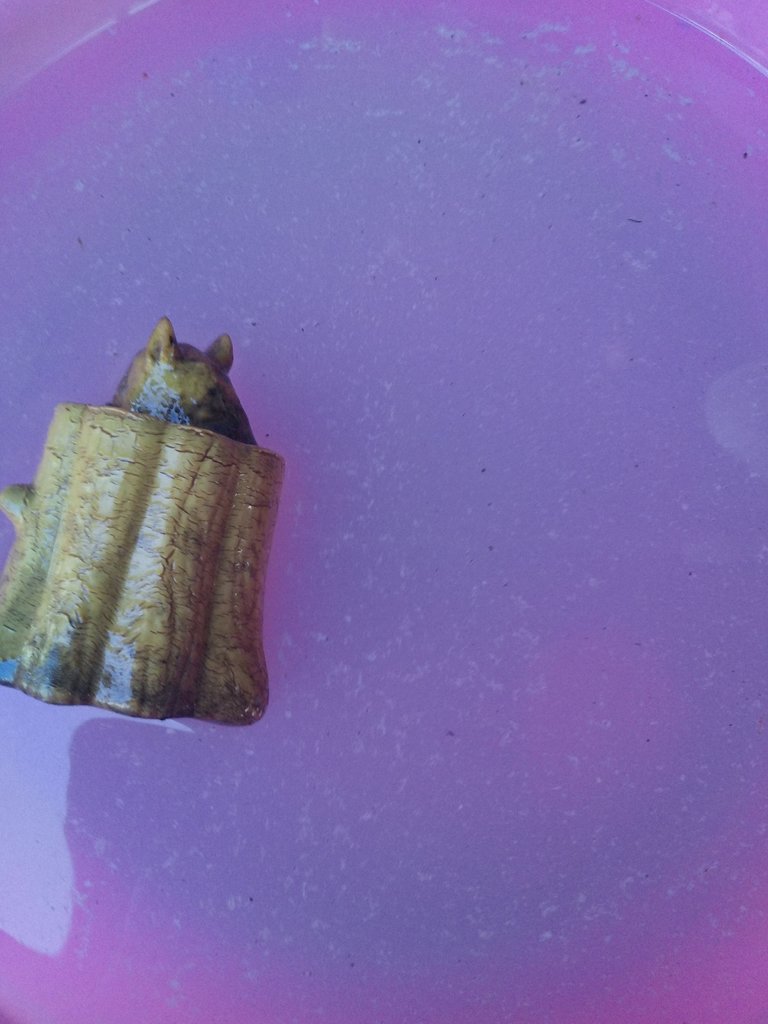
We will start by first putting the trunk of the squirrel in a cup of water and soaking it 💧
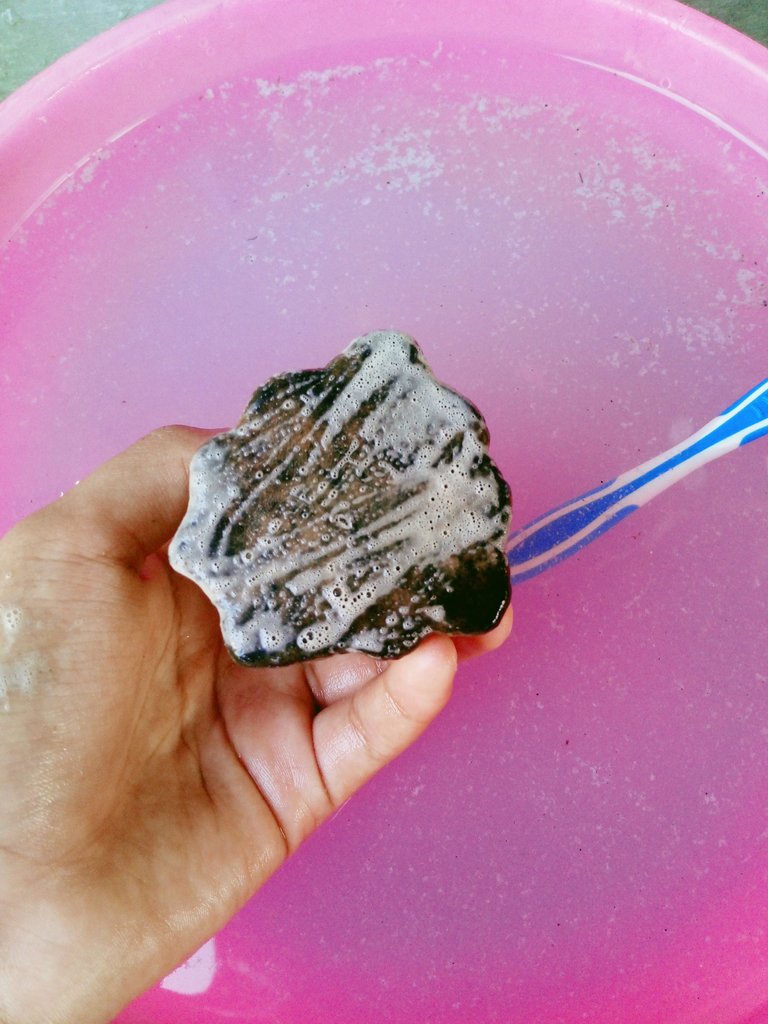
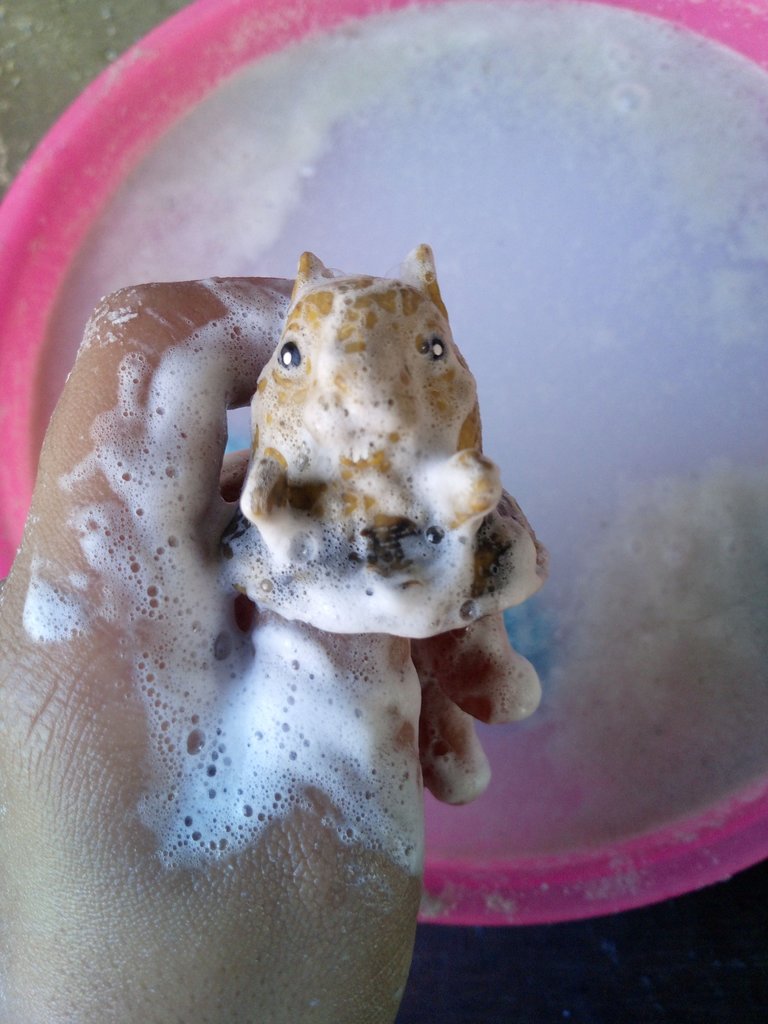
Following this, we will start using a toothbrush or something similar, and we will put soap on it 🧼🫧 and then scrub the squirrel with the brush. (I will start at the bottom of the trunk that the squirrel has 🐿️)
After cleaning, it would look like this:
There isn't that much difference, because the truth is, it got quite dirty, but if we paint it it will look different...
Now let's move on to the squirrel's head, which we will wash in the same way as its trunk.
(He took a very good bath) 🐿️🫧🧼💧
After washing the pieces, we will repaint the base trunk of the squirrel and its head 🐿️ with brown paint.
This is how we would end up:

Then we will paint his eyes and teeth, using white paint for his shine and black marker or paint for his eyes.
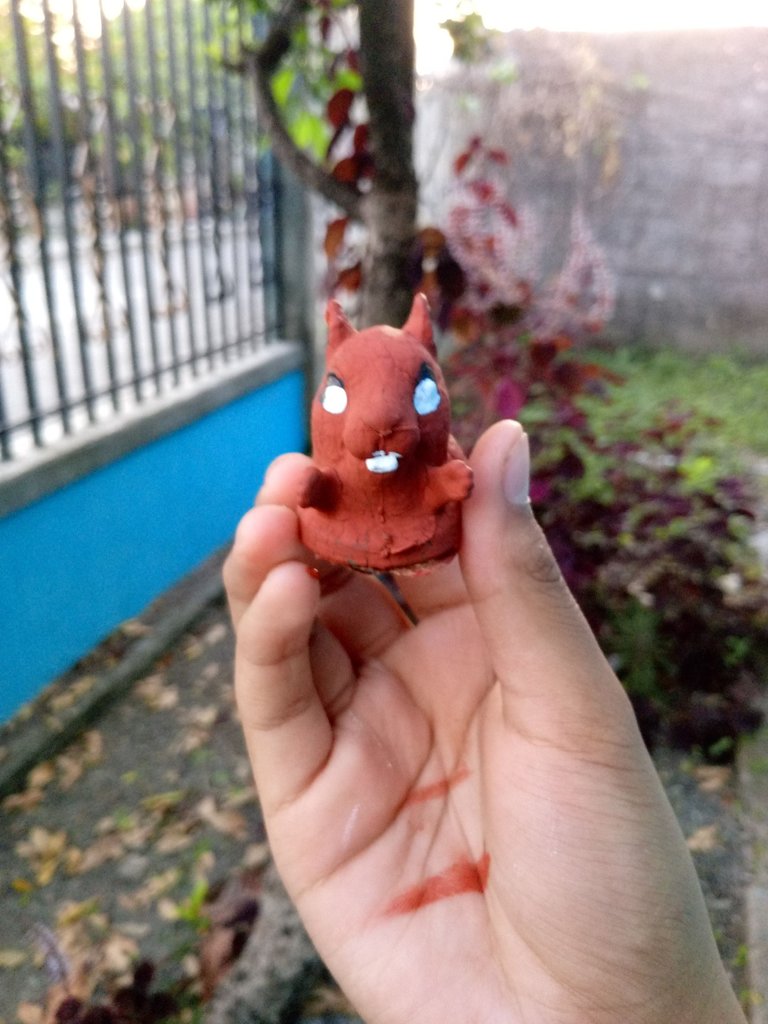
Now all that remains is to join the head with the trunk and we are done.
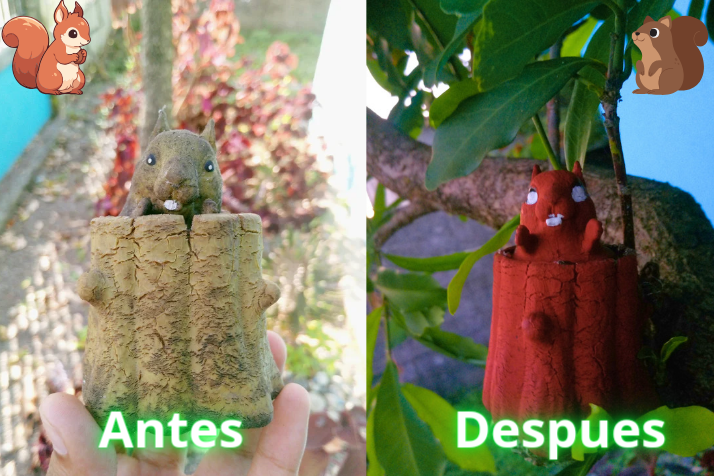
Here I leave you a before and after.
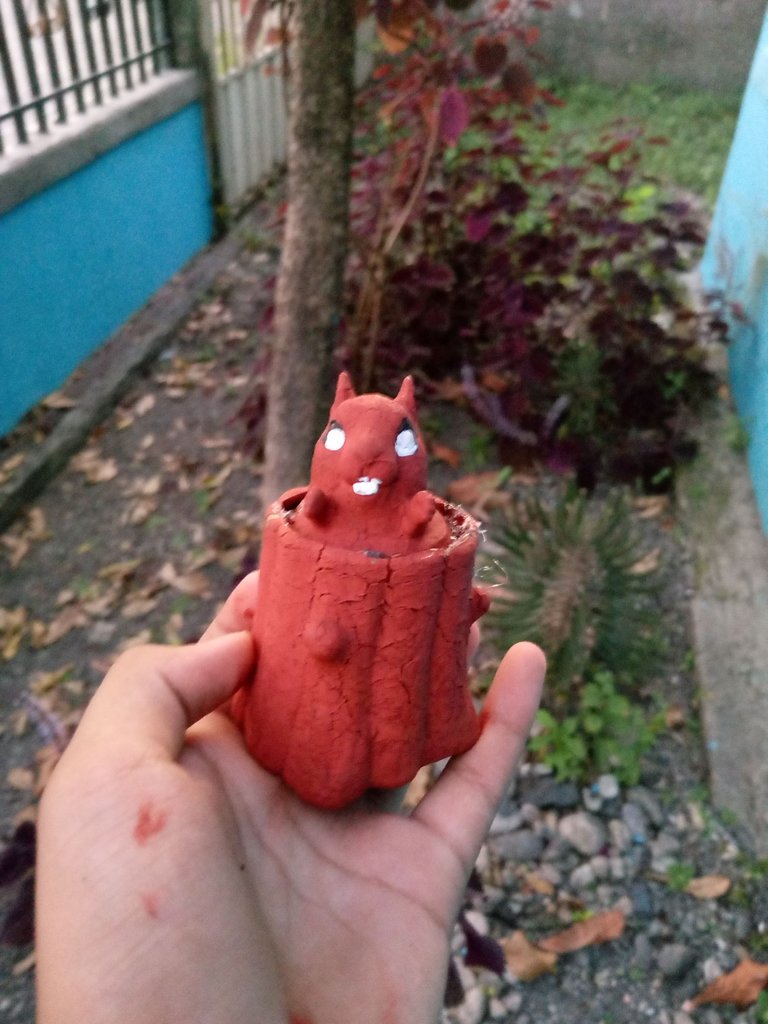
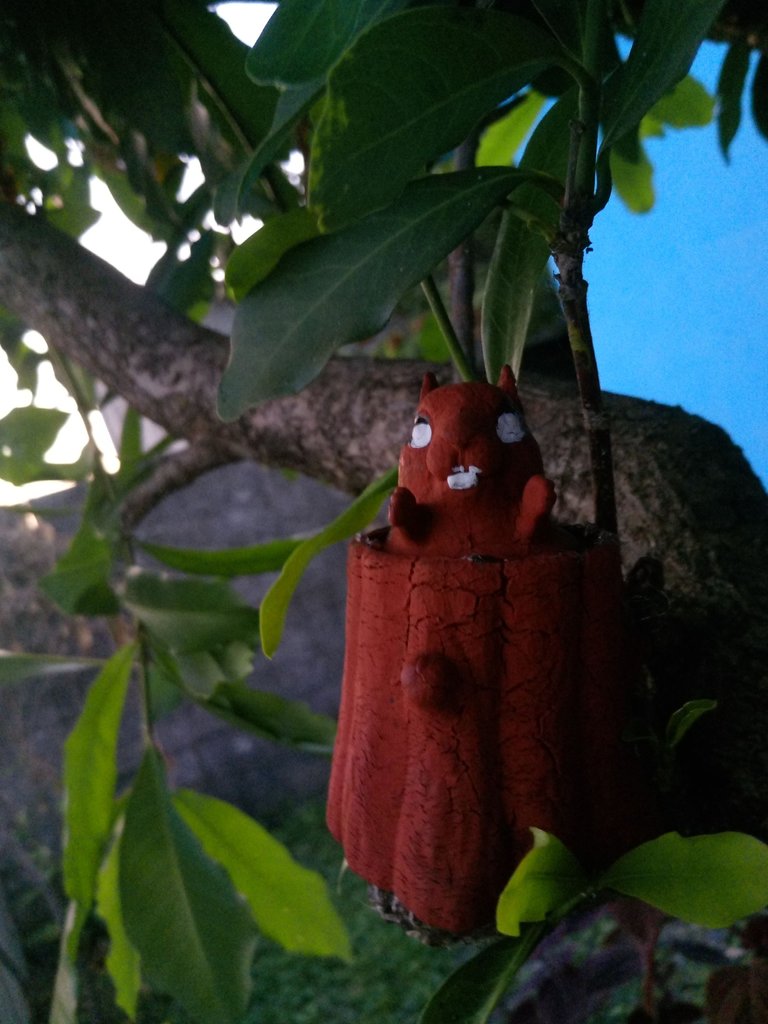
Now a photo session with the squirrel 🐿️📸👍🏻
Well well. I hope you liked my post, you can leave below ↘️ in the comments what you thought of the new fresh air that we gave to the squirrel and also the remodeling of the plants🪴🌵 without anything else to say, goodbye 👽
Español
¡Hola jardineros! ¿qué tal están? este post es el primero que realizo en la comunidad. Y lo he hecho para compartir con ustedes algo que pasó recientemente en casa.
Ya muchos sabemos que las mascotas a veces pueden ser algo traviesas y desastrosas, por ello hoy les vengo a mostrar lo que hizo mi cachorro 🐕. La verdad no la considero tan culpable, puesto que los explosivos de las fiestas y ese tipo de sonidos los asusta mucho, viéndose en eso, toda asustada pasó por encima de las plantas.
Cómo pueden ver en la imagen principal, las plantas estaban vueltas en desastre. Mi mascota saco de sus macetas a la gran mayoría de las plantas, por ello hoy las regresaremos a su lugar y las arreglaremos.
Primero empezaremos limpiando un poco el suelo con una escoba 🧹 debido a que a medida que hizo este desastre también lanzó algunas rocas y tierra.
Una vez ya limpiado, quedaría así:
Luego de hacer esto encontré un cactus 🌵 fuera de su maceta.
Decidí proceder a tomarlo con unas tijeras y posicionarlo para colocarle en la maceta y agregarle un poco de tierra de esta manera:
Luego conseguí otra planta, la cuál estaba bastante arruinada por mi cachorro 🐕. Por ello, la tomé y la coloque en su maceta y luego le coloque tierra.
Esto mismo hice con otras plantas, las cuáles arregle con un poco de dificultad, sin embargo el resultado fue bastante bueno y satisfactorio. Porque pude recuperar a la mayoría.
Acá se los dejó:
¿Piensan que hemos terminado? ¡pues no!
Debido a que aprovechando la ocasión arreglaremos otra cosa 👽🙌🏻
Pues bueno, muchos de nosotros tenemos cerca de nuestras plantas decoraciones hechas con cerámica o cualquier otro material. Ya sean gnomos, animales, hongos, duendes, etcétera. Sin embargo, en casa de mi mamá y mi papá se encuentra una ardillita de goma que tiene un tronco debajo de ella como base, está ya tiene un tiempo de haberse comprado, y con el paso del tiempo se fue deteriorando y ensuciandose. Por ello, hoy la dejaremos como nueva.
Primero les dejaré una foto de antes de ser arreglada:
Ahora sí, empecemos.
Empezaremos primero metiendo el tronco de la ardillita en una taza con agua y remojemosla 💧
Seguido de esto, empezaremos a usar un cepillo de dientes o algo parecido, y le colocaremos jabón 🧼🫧 para luego restregar la ardilla con el cepillo. (Yo empezaré por la parte de abajo del tronco que tiene la ardilla 🐿️)
Después de limpiar, quedaría así:
No hay tanta diferencia, debido a que la verdad, se ensucio bastante, pero si la pintamos se verá diferente...
Ahora pasemos con la cabeza de la ardilla, la cuál lavaremos de la misma manera que su tronco.
(Se dió un muy buen baño) 🐿️🫧🧼💧
Después de lavar las piezas, pasaremos a hacerle un repintado al tronco base de la ardilla y a la cabeza de ella 🐿️ con pintura color marrón.
Así nos iría quedando:
Luego pintaremos sus ojos y sus dientes, usando pintura color blanco para su brillo y marcador o pintura que sea color negro para sus ojos.
Ahora sólo faltaría juntar la cabeza con el tronco y terminamos.
Acá les dejo un antes y un después.
Ahora una sesión de fotitos con la ardilla 🐿️📸👍🏻
Pues bueno. Espero que les haya gustado mi post, pueden dejar acá abajo ↘️ en los comentarios que tal les pareció el nuevo aire fresco que le dimos a la ardilla y también la remodelación de las plantas🪴🌵 sin más nada que decir, adiós 👽
Congratulations @carlpia! You have completed the following achievement on the Hive blockchain And have been rewarded with New badge(s)
Your next target is to reach 2500 upvotes.
You can view your badges on your board and compare yourself to others in the Ranking
If you no longer want to receive notifications, reply to this comment with the word
STOPCheck out our last posts: