Hello Beautiful Hiver,
I hope you had a great weekend in your garden, there is nothing better and relaxing to do some work in the garden, its very beneficial and also grounding experience.....
As i already said in this post spring is around the corner and some of my pre-bonsai trees are waking up. My Prunus Nigra which is very early flowering ornamental cherry tree already started to throw out some leafs so i decided it was the time to dig it out of the ground and give it own Bonsai pot...
As this was my first real Bonsai work this year and i was very busy and didnt have a time to prepare my potting mix i had to start by mixing it up.
Bonsai soil is such a wide subject, i wont be going into much details...but i use fully inorganic mix, my substrate is 50/50 mix of molar clay and perlite..... it works well for me..
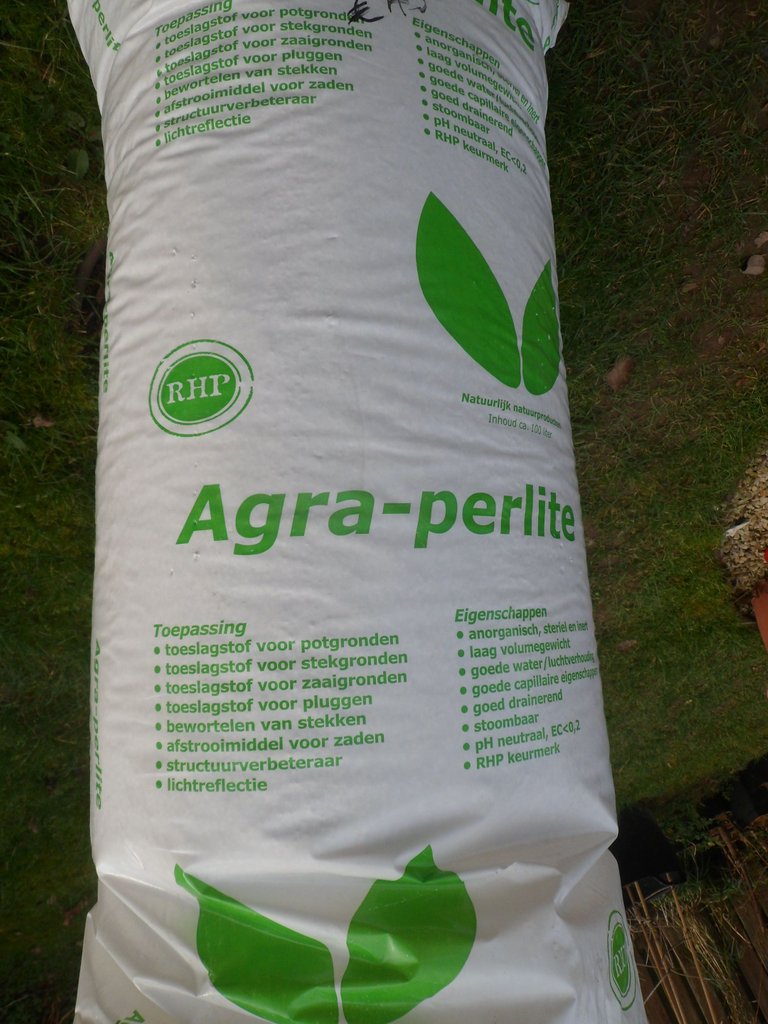
I usually buy a big 100L bag of perlite which last me for a while and its way more economic than buying small 10L bags...
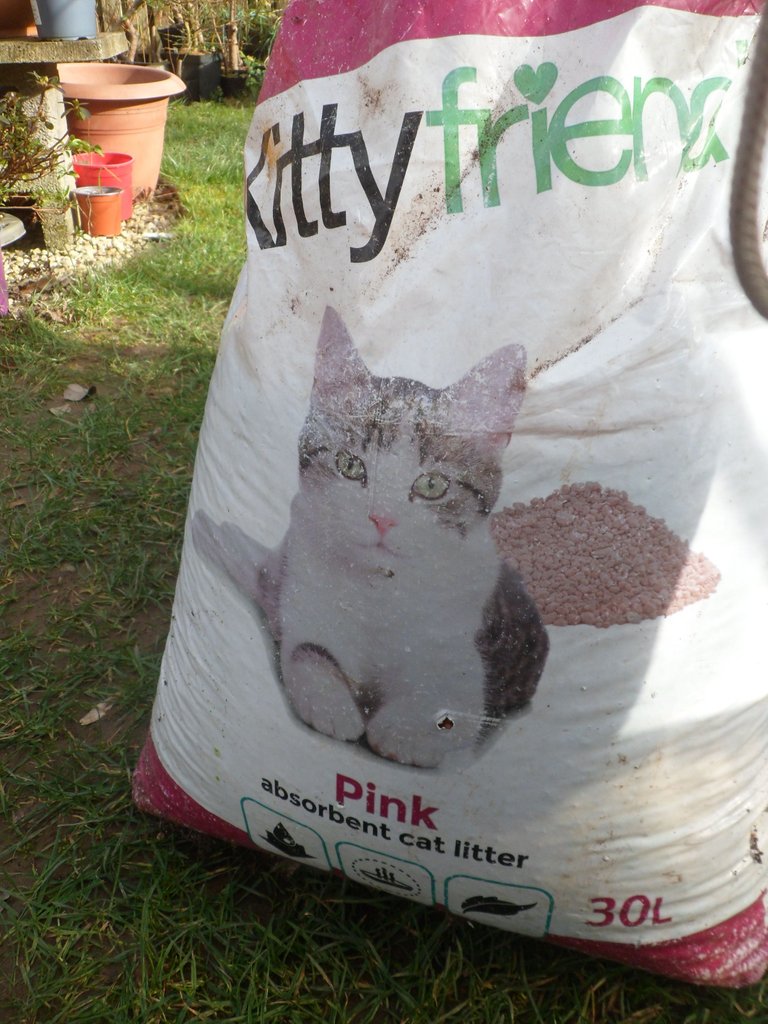
Molar clay - its funny but i used Sanicat Pink cat litter.....sometimes its called Catadama...
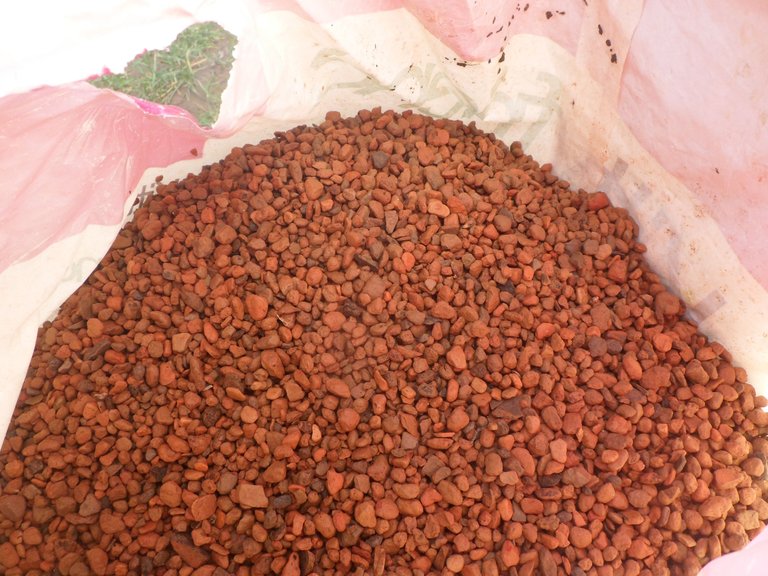
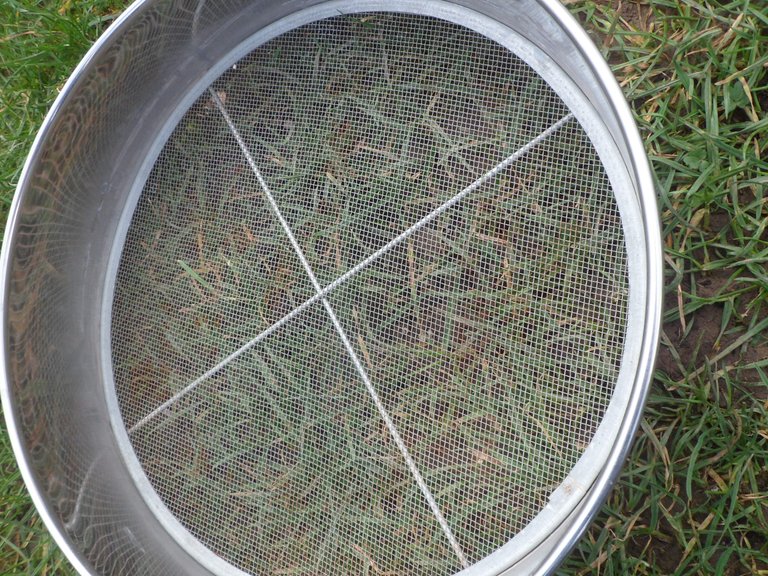
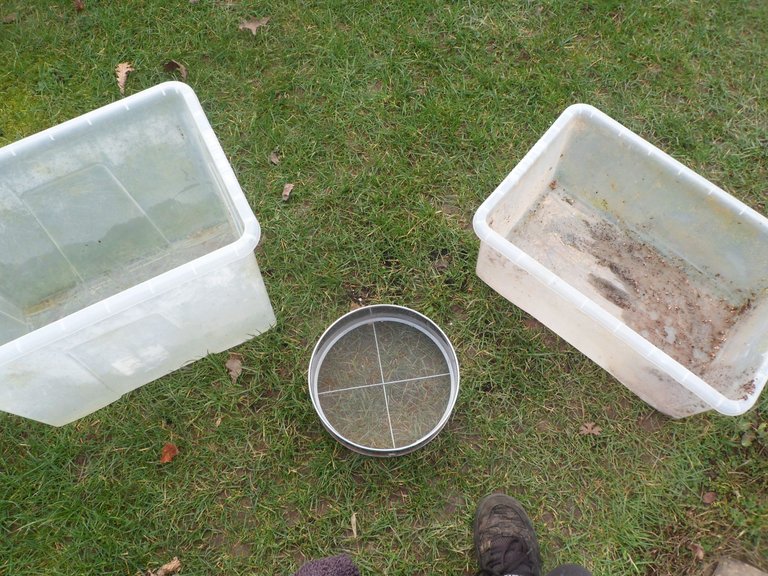
Before i can mix it together i need to sift it to get ride of any particles that are smaller than 2mm, i used sieve with the smaller grid...
So having everything ready i went ahead with sifting task...
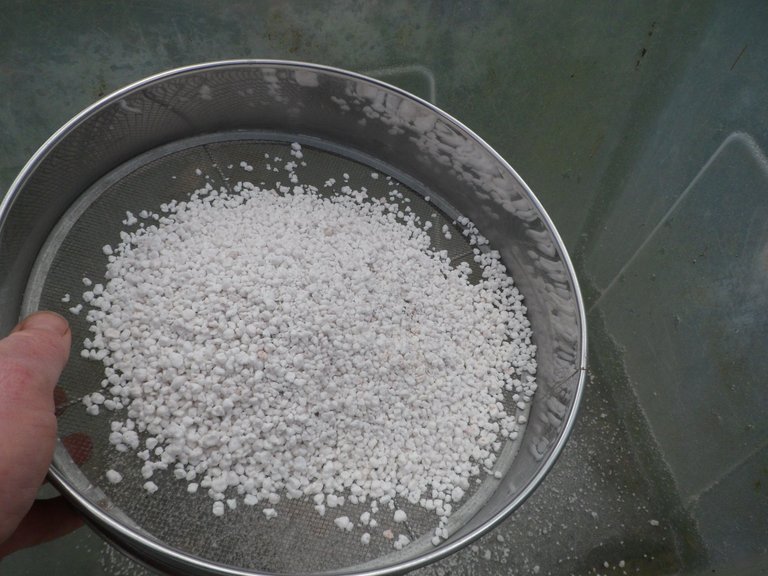
You can see that there is a lot of small particles and dust - i will use it in other part of the garden....
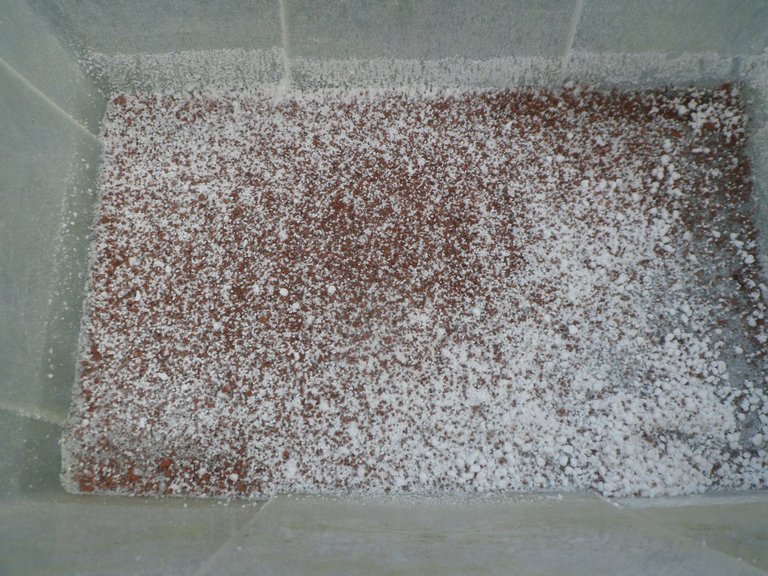
And here is all sifted and ready to be mixed....
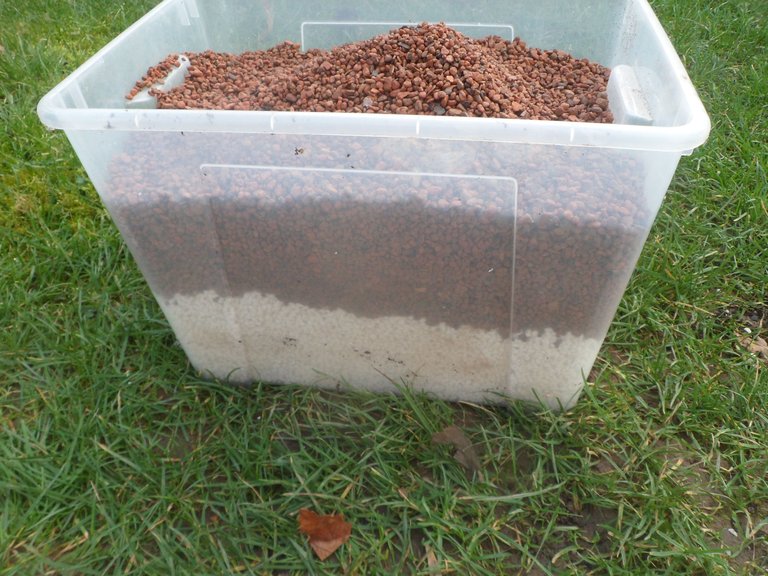
Unfortunately i didnt take photo of mixed product...please excuse me...
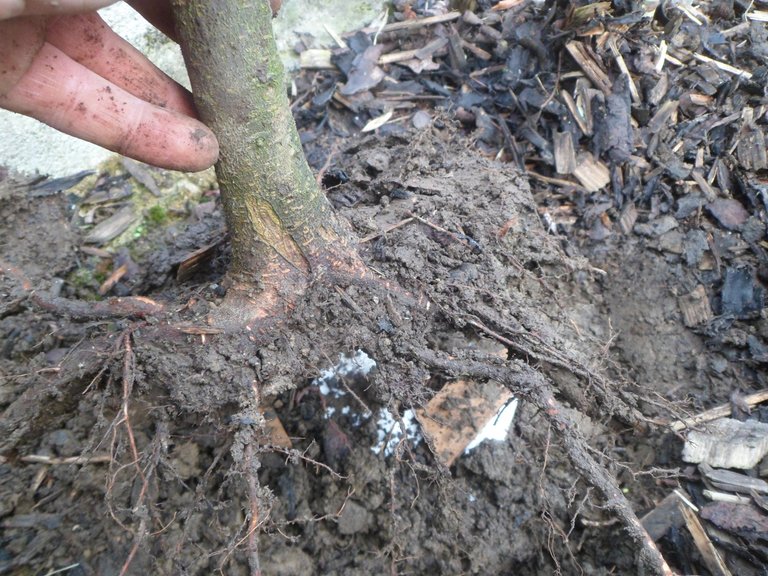
Now it was a time to look at the tree itself...
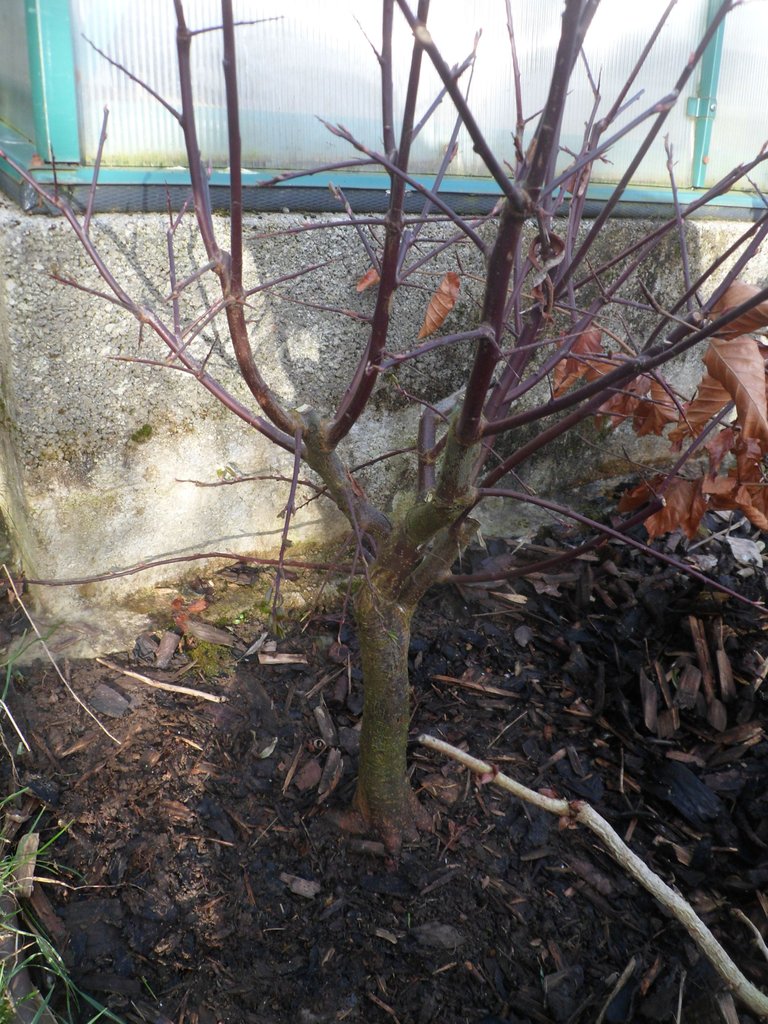
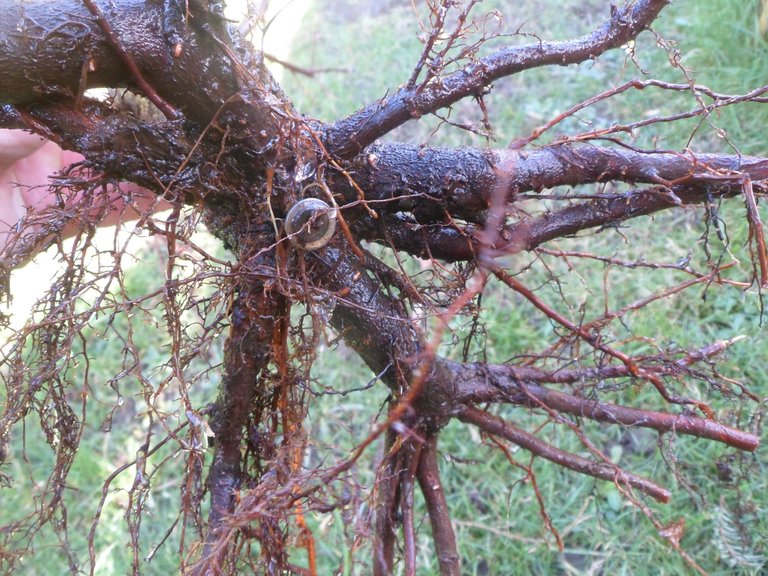
Roots looking promising..
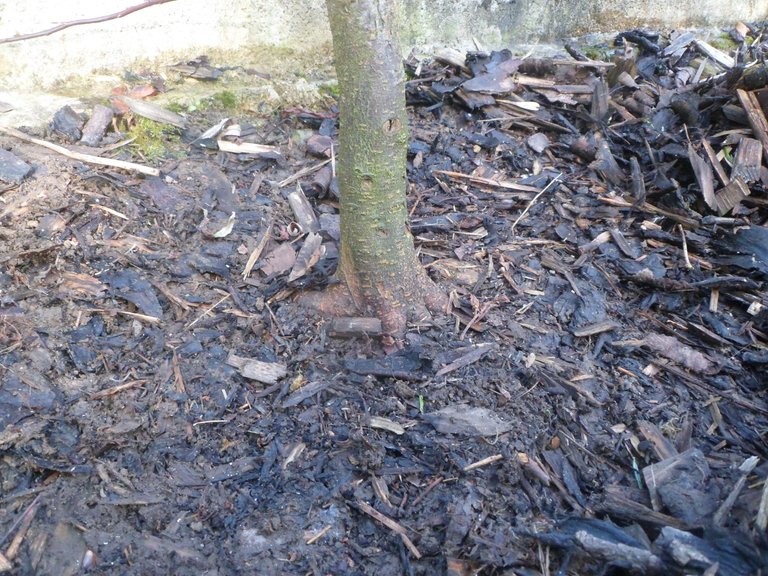
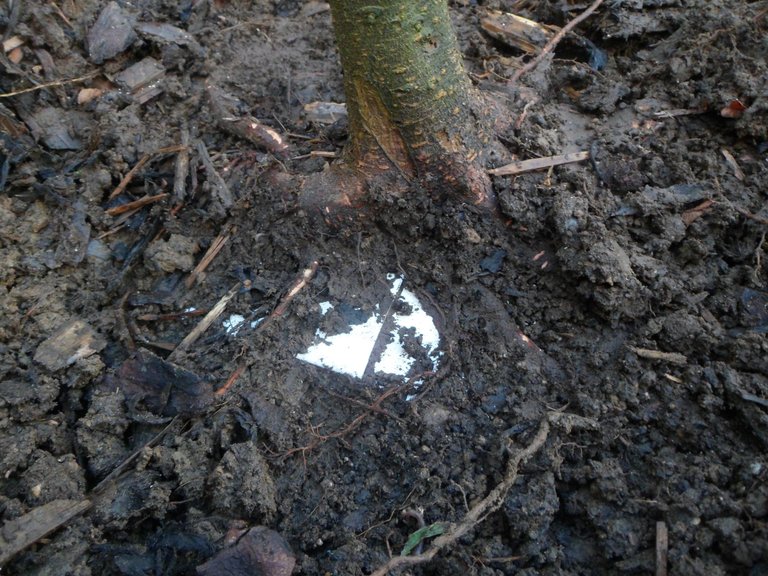
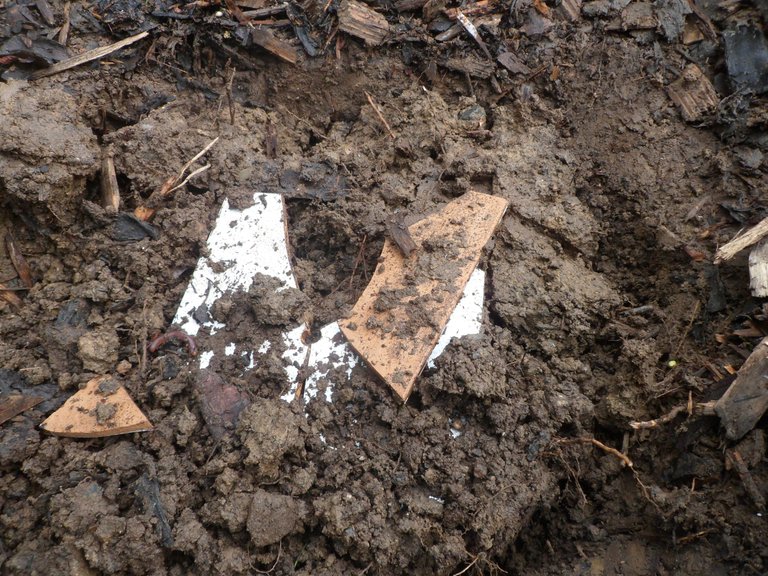
The tree was planted about 3 years ago(it was pencil thick) on the tile to encourage vertical root system, its done by drilling a hole in the tile and screw the tree to it, that way the roots that would go down do not have room to develop...
On the photo you can see that the tree already destroyed the tile:) roots are very powerful...
After playing a bit with spade and cutting some thicker roots i was able to pull out the tree out of the ground, i like the look, roots are quite nice and trunk is descent enough..
I washed off all the muck from the roots and got this...
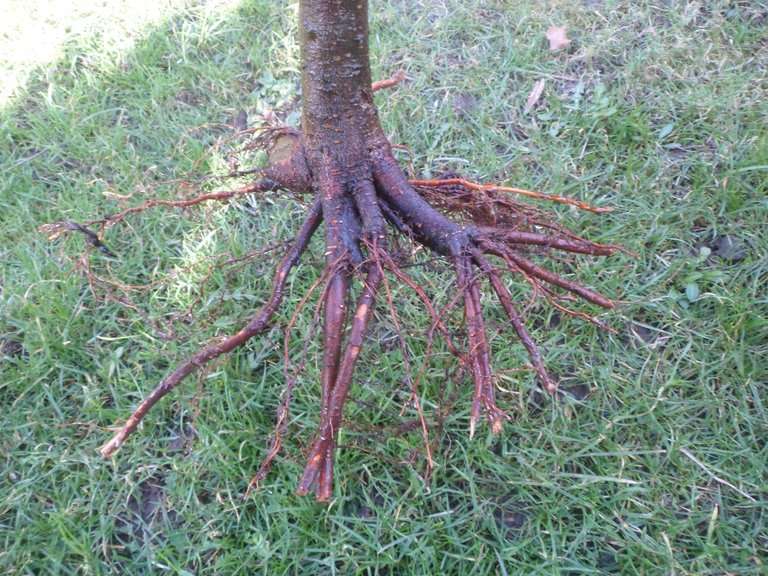
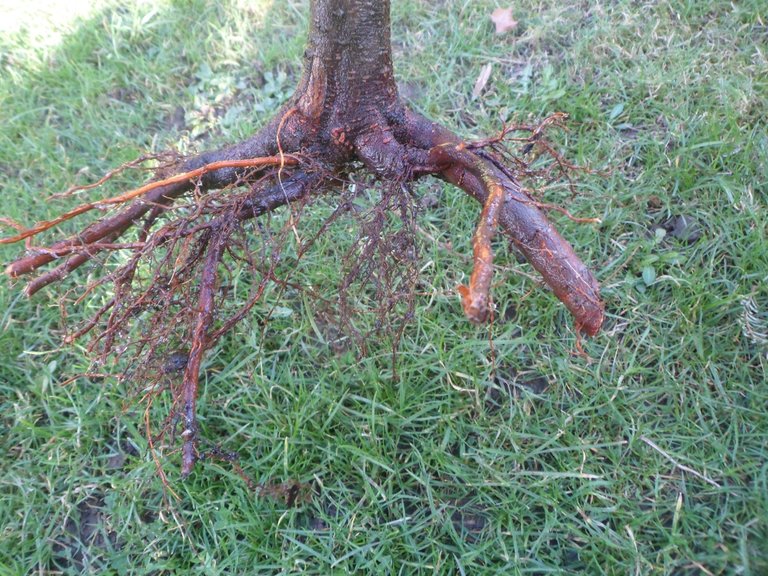
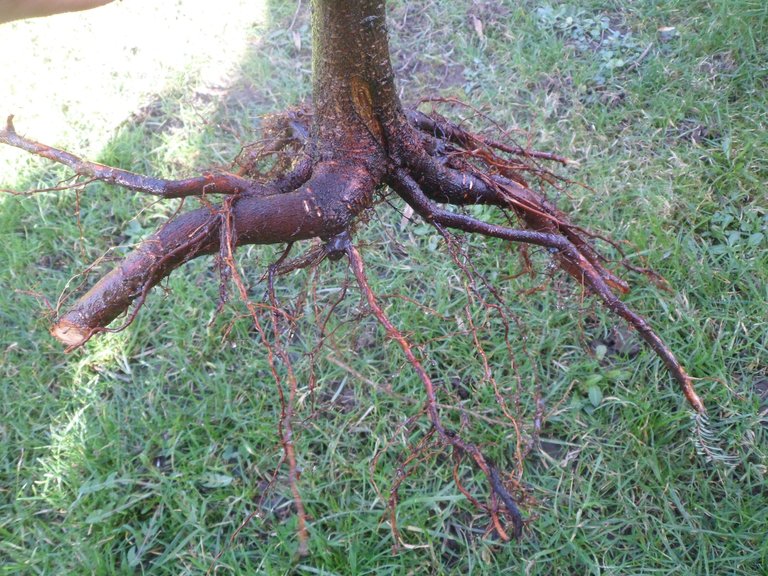
Here you can see the screw that wasused to attach the tree to the tile..
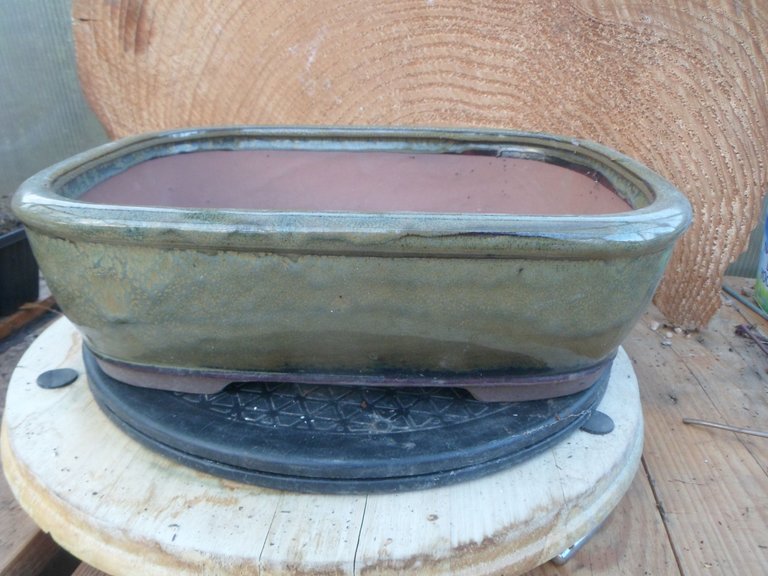
Now time to pick the pot, i decided to go with this one, its not a final pot but for now its perfect, slightly oversized and will help to develop branch structure...In very shallow pots trees are growing extremely slow, now i need good growth and recovery from the transplant...
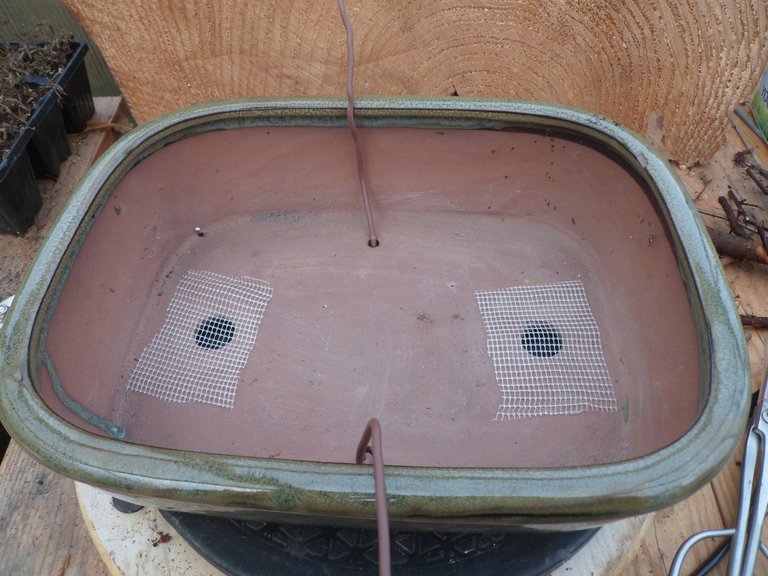
Pot is prepared, drainage holes covered and holding tree wire in place - i use the wire for first year to secure tree to the pot, i had many accidents where either wind or me or my cats took freshly transplanted tree out of the pot and if you have already some roots growing - they would be destroyed...
So after cutting off some big roots and the ones i didnt like i ended up with much smaller root system - im sorry but photo of the root system after prunning the roots is not usable...
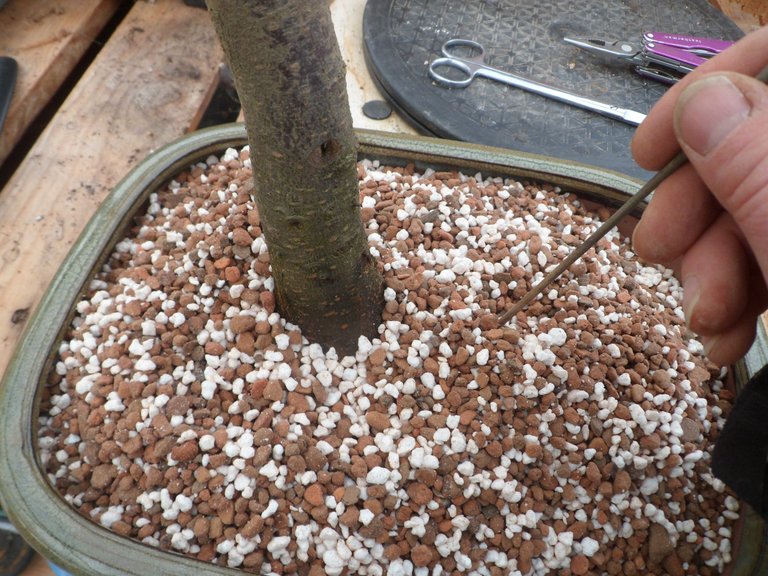
so i filled in a pot with substrate, position the tree and secured it with the wire...I will work on the long root in next repotting, i left it for the moment to make sure the tree will survive whole operation..
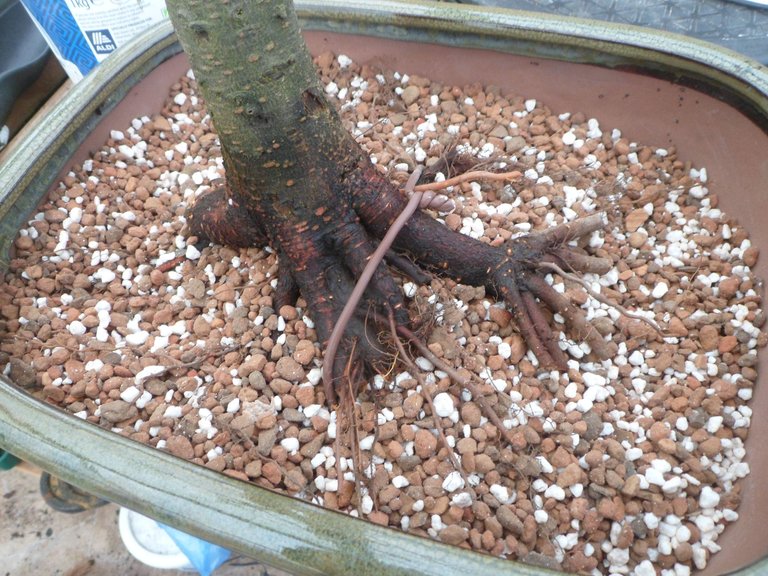
Filled in the pot and made sure there are no air pockets around the roots...
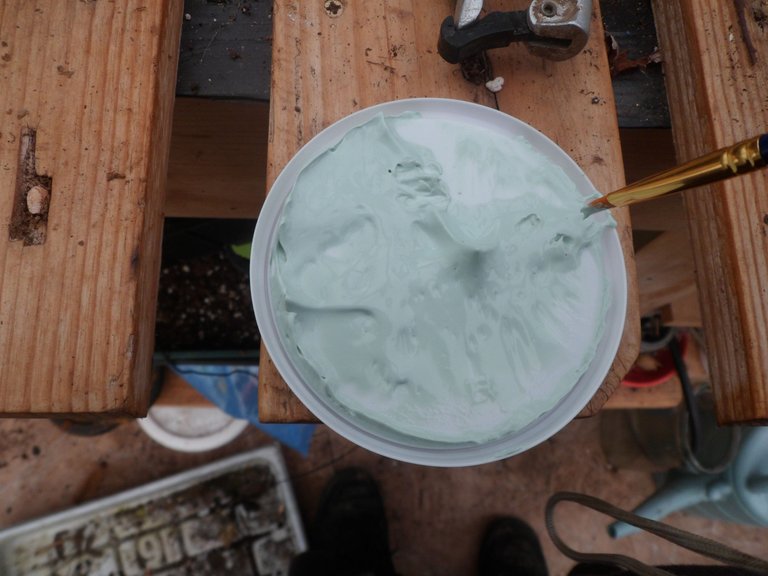
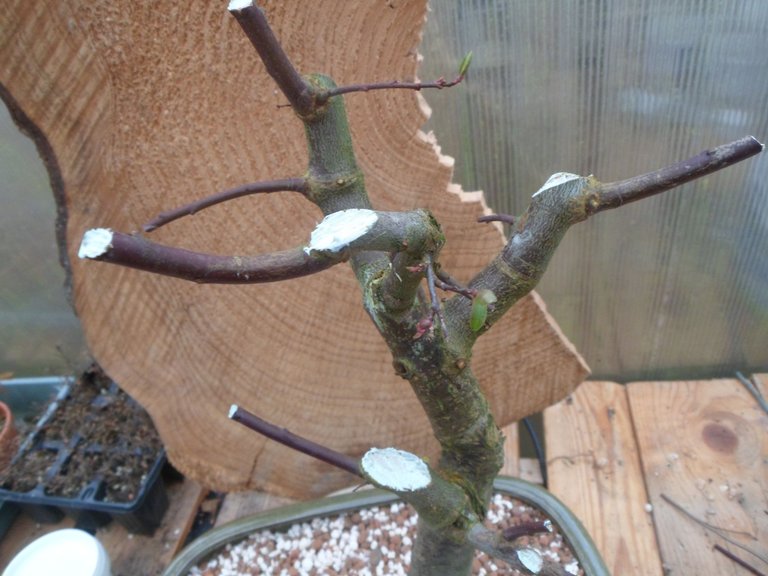
Now i went and cut off all unnecessary branches to give the tree initial style/structure and seal the cuts with cutting paste.
Now, the important part is to water the tree to wash off all the rest of the dust...please note how much it was even substrate was sifted...

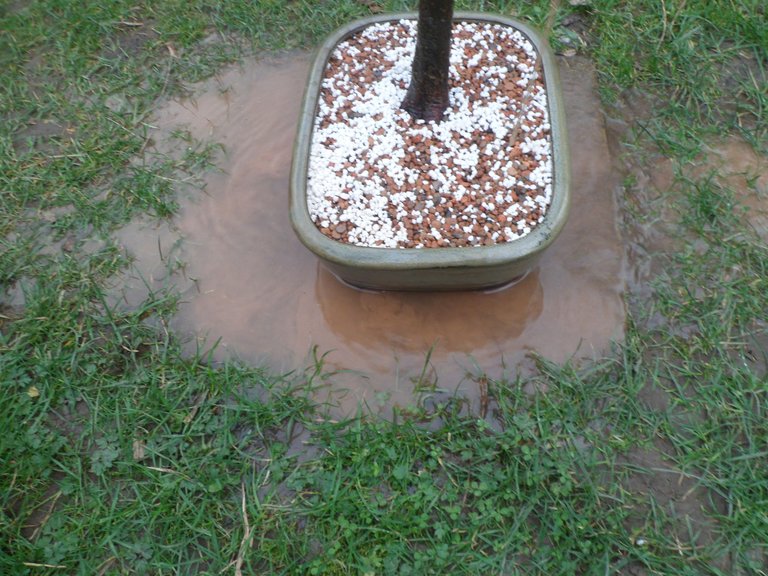
Once the clear water is coming out - the job is done...
Here is final look of the tree...
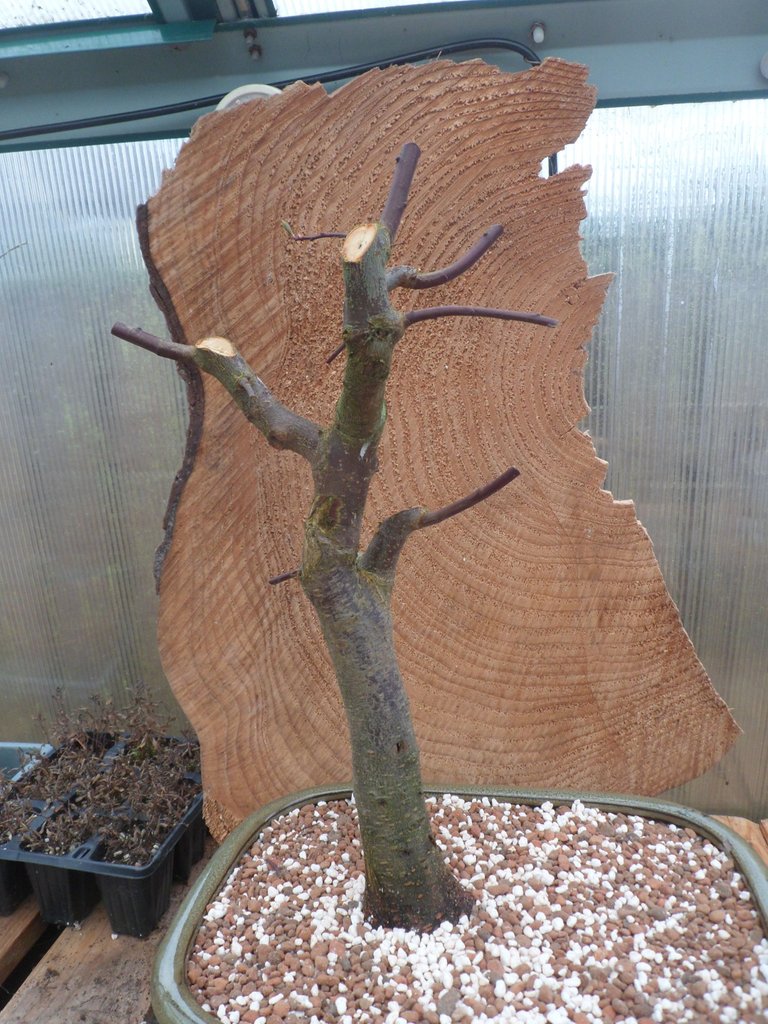
Im very pleased with the end look, not entirely sure with that low thick branch but we will see in future how it would work out - i can always remove it later....
I just wanted to point out im not an Bonsai expert, however i have good knowledge of it and will be happy to share with anyone who want to learn more also Bonsai is about your journey with the tree, you don't need to have all the fancy bonsai tools and other gadgets, you can do most of the work with just regular garden pruners, in future you can invest in some tools but no need to fall in to the trap of buying all of them....
Please let me know what do you think, would you change anything? or would you like to know a bit more about some parts of the procedure, i will be happy to explain
Thank you for stopping by...
Please follow me if you like Bonsai and garden posts..
Till the next time..
In Lak'ech!
Is bonsai hard to take care of?
They're beautiful and cute if they grow well. ☺️
If you have basic knowledge about how plants/tree grow its not that hard, It all depends on the tree, the advancement of tree development as well...
They do need a bit of maintenance, daily watering etc..
But its very rewarding, i would highly recommend to try, there are some easy to grow trees that would suit beginner...