Heeeyho Readers! More updates from our little ranch!
A temporary solution that will become permanent. Isn't that the motto with ranch stuff? There's always something else to do getting in the way of solving problems for good — that's what keep us busy. And alive.
Dad's new house is finished for a while. Because of that, we're in the process of moving stuff from our decrepit wooden barn/garage to the old house, aka the soon-to-be new garage. First on the list is taking out the garden/farming tools from back of the shed (exactly where I constantly bang my head on the low beams trying to reach anything) and set them in a neat, untangled way. If you have your tools piled in a corner you know the struggle to grab anything specific without dropping something else.
Alright! To the doing board, because planning takes too much time.
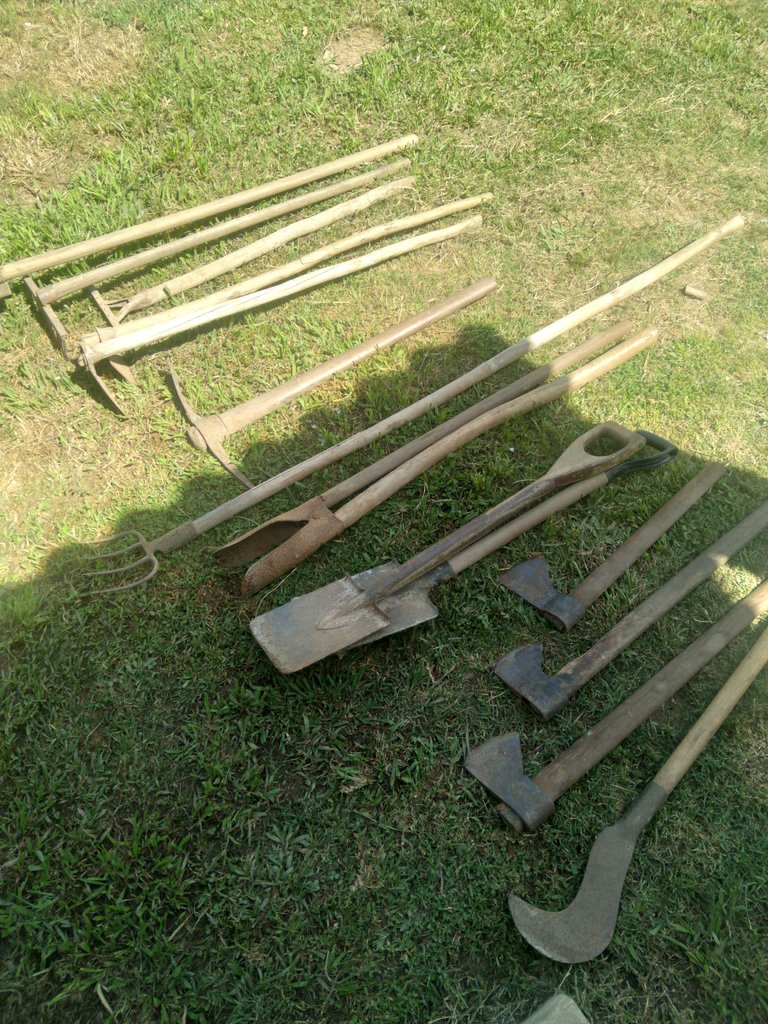
I had the general idea for a freestanding tool rack inside my loose mind. It should accommodate roughly 10-14 tools, most of which see little use on the ranch's day-to-day tasks. The ones we do use all the time should be easy to grab. Also, no over-thinking and aiming for zero-cost build. Those were my self-imposed rules.
Schedule to work on the project? An afternoon, give or take.
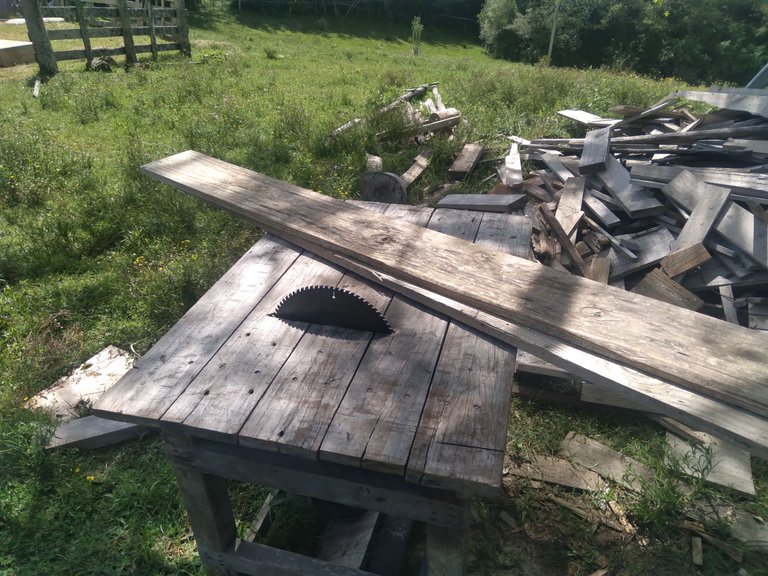
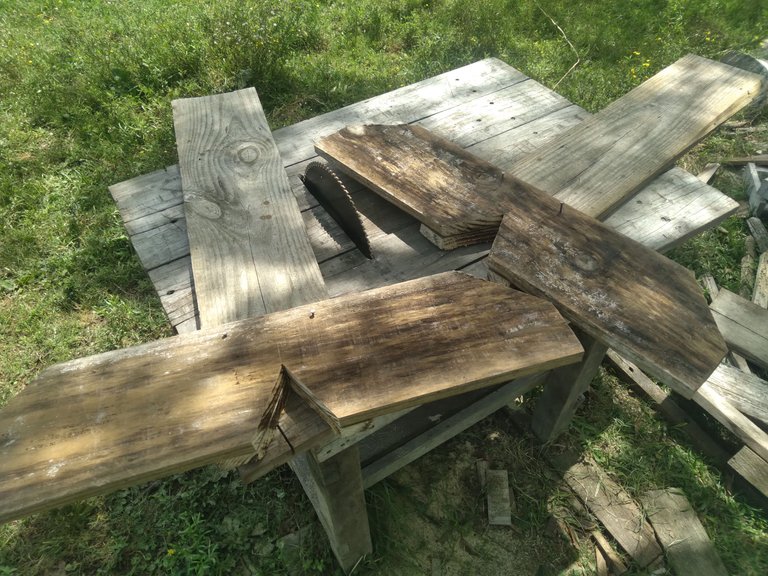
So, vested in a powerful desire to create a masterpiece under a 30°C heat, and against my dad's fear of me chopping off a finger on the table saw, the work began. I went over to our pile of scrap wood and picked two pine boards. Pine is a lot softer to work than eucalyptus (the second option in hand), which made my life easier. Plus they were about the exact length/width needed for the side structures of the rack. The rack would have two boards for the sides, two for the feet, three boards for the tool slots, two structural boards near the feet. Dimensions were eyeballed considering the boards available.
The sides first. After picking the planks and measuring each piece to fit, it was time to cut. Addendum: Those planks are 4x30cm if memory doesn't fail me. The side boards (x2) are 90cm in length and the feet (x2) are 50cm (2.80cm total).
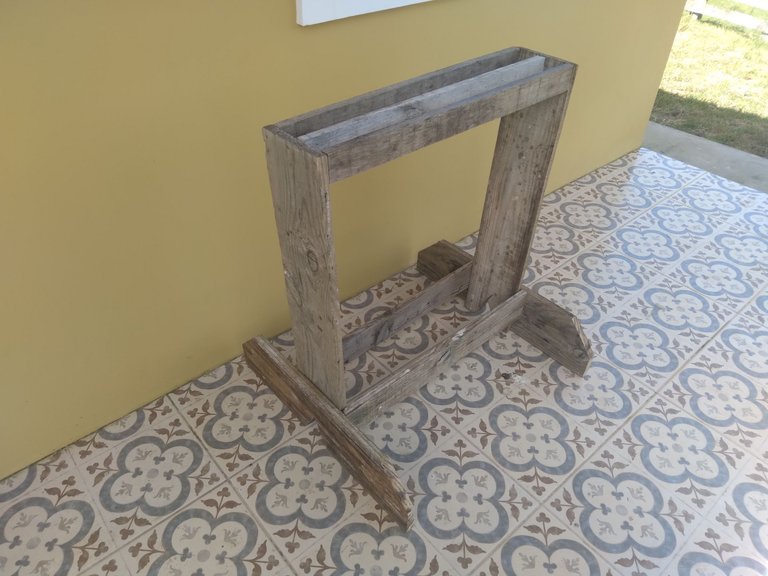
You can see the digdy-digdy triangular cuts and the chopped off corners. Those are purely aesthetic to make the feet look more professional{+10 carpentry points}. There's no secret my fellow peasants. I'm not detailing each and every step on this build since it's so simple. Each piece is nailed in place, which may require another pair of hands to help. See the result below (and later the additions, keep reading).
I thought the rack was done, but soon realized it needed transversal slats to create the slots {UNO reverse slots slats slaps s... enough you bastard}; otherwise, the tools would still lay against each other, which is annoying and defeats the idea of a rack anyways. There are more professional ways to add the slots slaps slats, though the quickest is to simply nail them on top {carpentry reputation severely damaged}. See below.
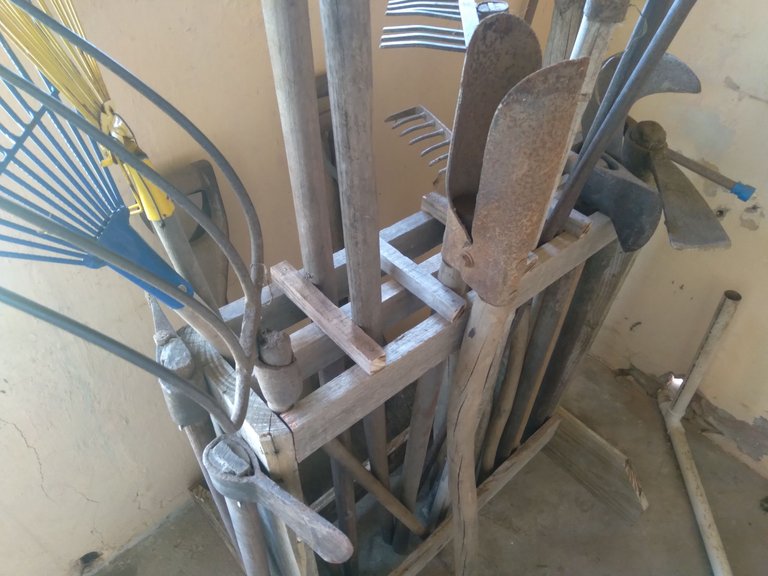
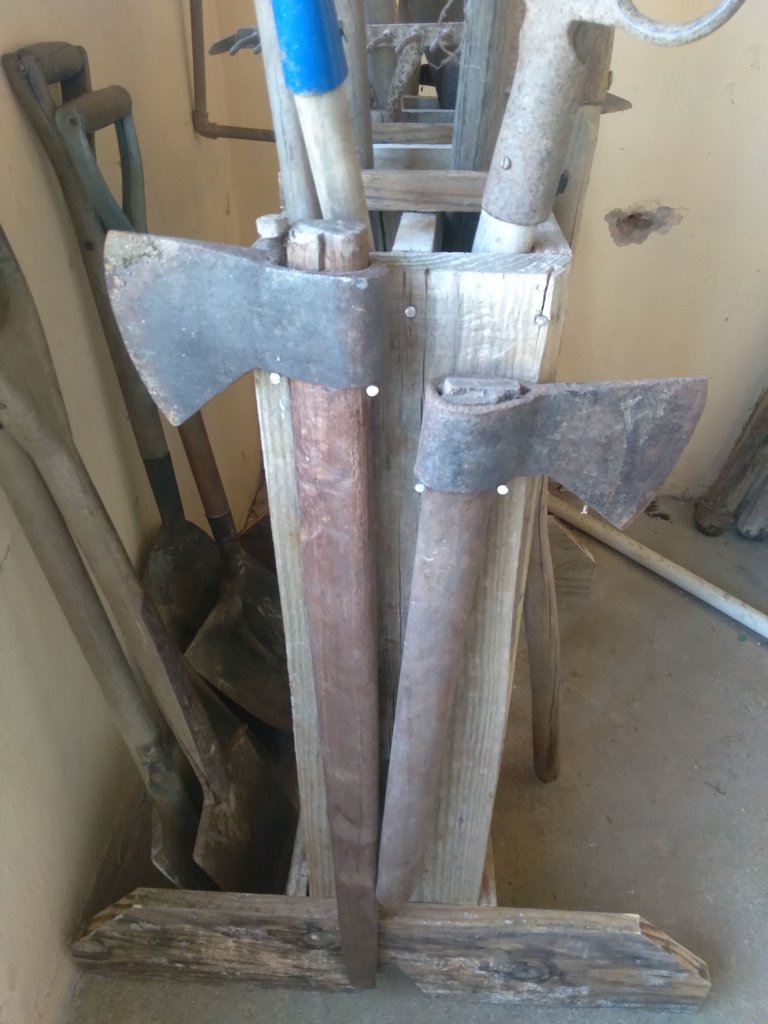
The tools on the left are more frequently used, thus they stay up front. The pain in the behind are the shovels. Shovels don't fit through the slots and I didn't project a way to place them on the rack, so, for now, the best place for them is against the wall {dammit, I said no more wall}. I also placed the axes on the sides.
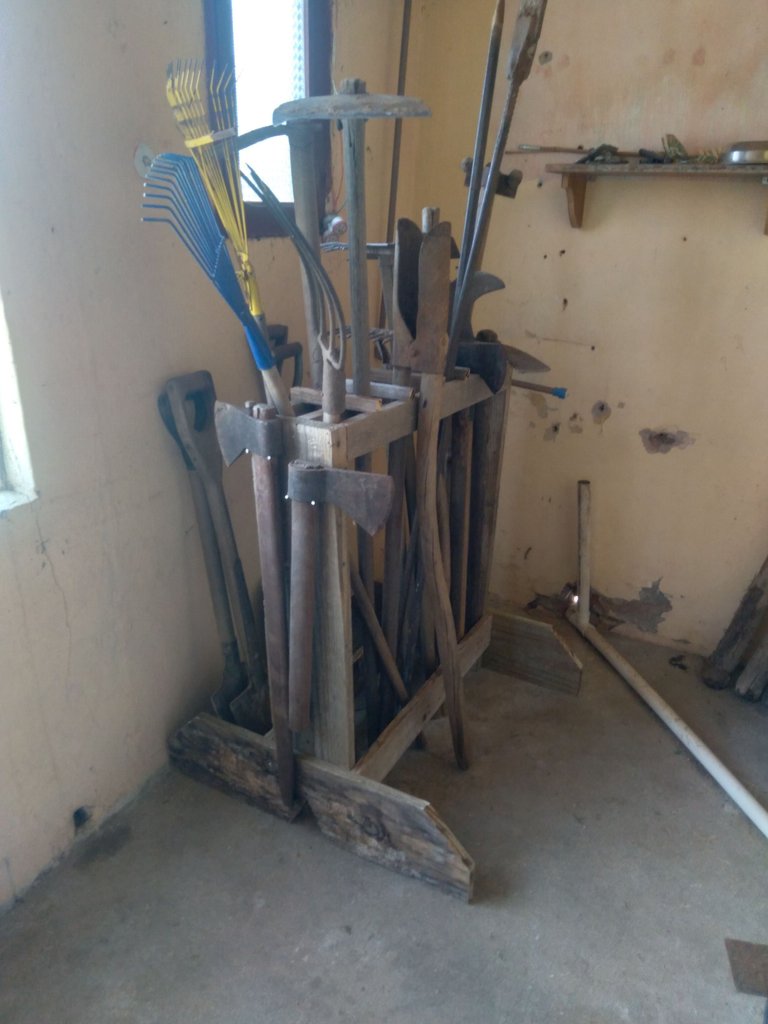
Although built in a rush, the result turned out pretty cool and functional. At least our garden tools are not cluttered in a corner. And I won't bang my head on that mother ducking shed anymore. Are they going to stay there permanently? No. Of course they will.
Anyhow...
Each one of us have a way of organizing stuff, but if you wanna copy this masterpiece of a rack, drop me a message and as soon as I go back to the ranch I'll take the measurements and provide a list of parts.
Until then.
please, don't get excited and chop a finger on the table saw
Peace.
Did you know that I have a book out? Check this!
Access Link: https://www.amazon.com/dp/6500272773?

If you enjoyed this post consider leaving your upvote for a hot coffee.
Find me on Twitter: https://twitter.com/mrprofessor_
~Love ya all,

Disclaimer: The author of this post is a convict broke backpacker, who has travelled more than 10.000 km hitchhiking and more than 5.000 km cycling. Following him may cause severe problems of wanderlust and inquietud. You've been warned.

I'm Arthur. I blog about Adventure Stories, Brazil, Travel, Camping, & Life Experiences.
Follow me to stay tuned for more craziness and tips.
t
I like that freestanding tool rack, it makes organizing garden tool a lot easier.
One of the things I want is to have a chainsaw machine, lucky you already have one to make your work easier.
Do you mean a chainsaw (to cut down trees) or a table saw like mine? A table saw is quite easy to make if you don't seek precision cuts. All you need is a good electric engine and a bench mandrel, then instal them on a study wooden table.
A table saw. ^_^ That was a big help!