¿A quién no le gusta un tierno osito panda?
En esta oportunidad les compartiré el paso a paso que realice para hacer este dibujo especial que me pidió con mucho cariño @jossduarte, espero que les guste mucho. En este espacio no he compartido mucho sobre esta afición, pero la verdad es que ya todos los que hacen vida en @rutablockchain ya saben que me gusta dibujar.
Me gusta dibujar de todo un poco, y aunque no tenga un estudio particular ni un conocimiento muy profundo del tema me relaja mucho plasmar en el papel una creación. Sin más preámbulos, a continuación los pasos que seguí para llevar a cabo este bonito dibujo.
Importante: mi diseño es 100% original😎.
Who doesn't like a cute little panda bear?
In this opportunity I will share with you the step by step I made to make this special drawing that he asked me with a lot of love @jossduarte, I hope you like it very much. In this space I have not shared much about this hobby, but the truth is that all those who make life in @rutablockchain already know that I like to draw.I like to draw a little bit of everything, and even if I don't have a particular study or a very deep knowledge of the subject, I find it very relaxing to put a creation on paper. Without further ado, here are the steps I followed to carry out this beautiful drawing.
Important: my design is 100% original😎.
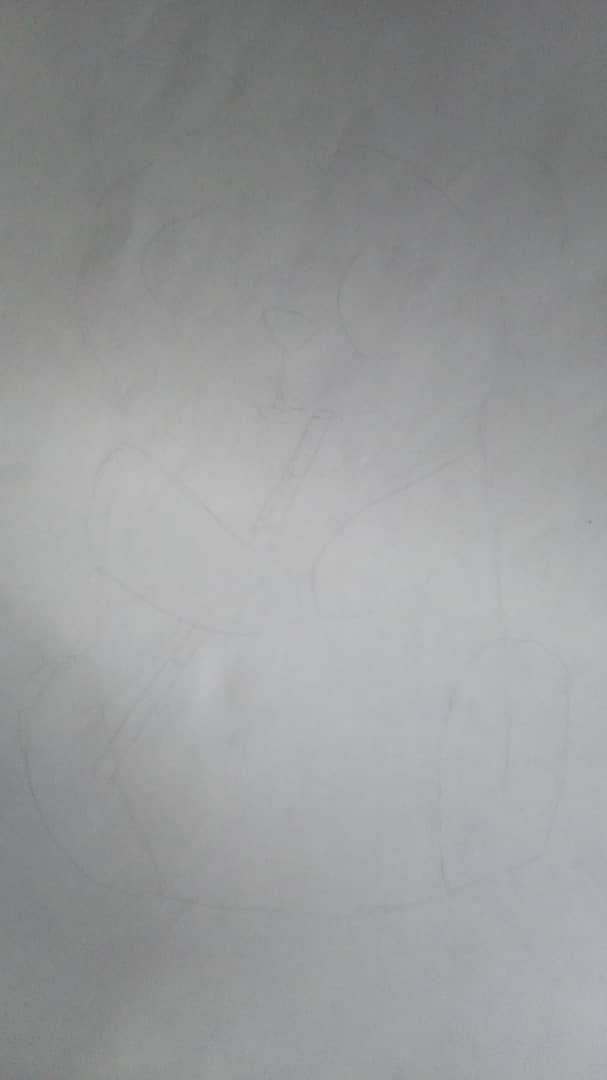
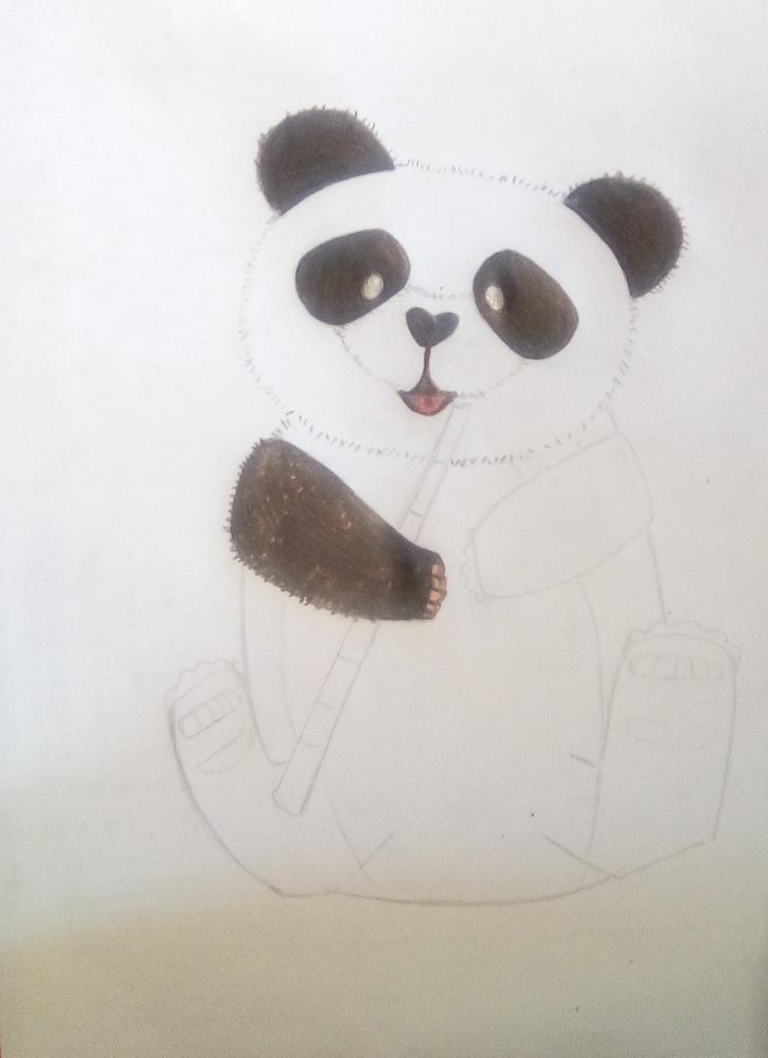
Paso 1:
Dibuje el boceto de lo que quería con un lápiz 4H (uno muy clarito por lo que no se detalla muy bien), suelo hacerlo de esta forma porque yo suelo afincar mucho el lápiz y no quería dejar rastros cuando tuviera que borrar.
Step 1:
I drew the sketch of what I wanted with a 4H pencil (a very clear one so it doesn't detail very well), I usually do it this way because I usually sharpen the pencil a lot and I didn't want to leave traces when I had to erase.
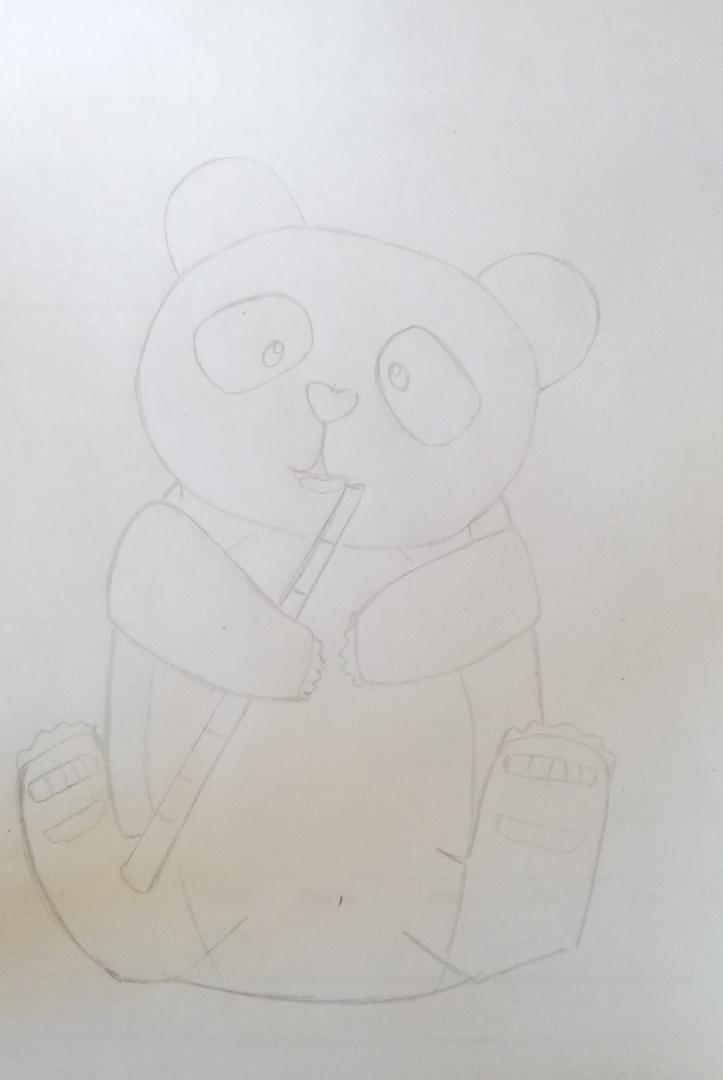
Paso 2:
Con un lápiz H corregí el boceto que había realizado previamente teniendo mucho cuidado para que tuviese la forma que tenía en mente.
Step 2:
With a H pencil I corrected the sketch I had previously made, taking great care to make it the shape I had in mind.
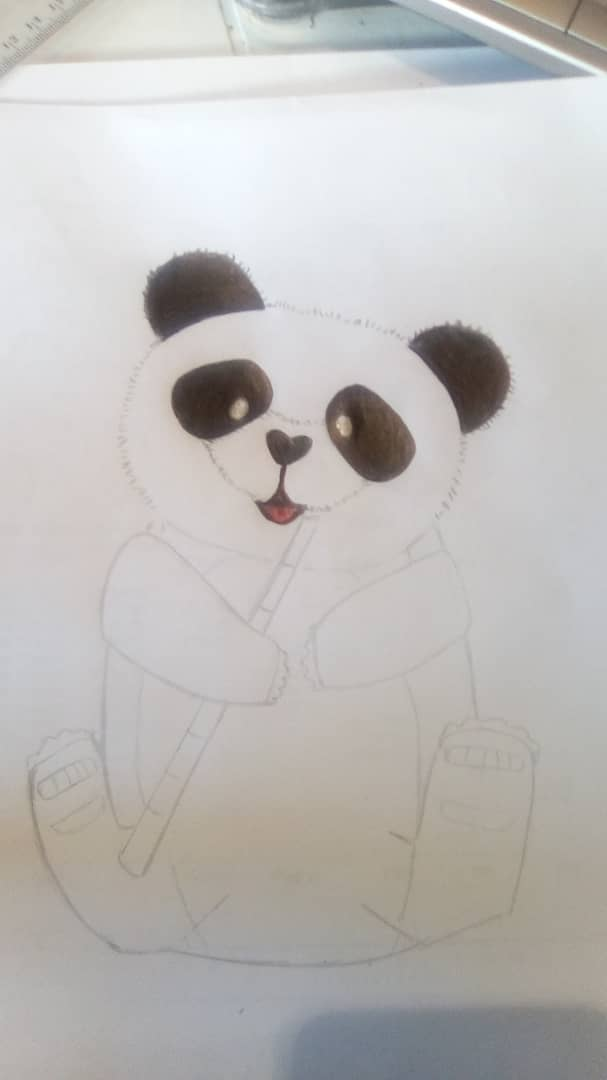
Paso 3:
Empecé a colorear el osito y a dar pequeños detalles en el pelaje para que no fuese completamente plano.
Step 3:
I started to color the teddy bear and to give small details in the fur so that it was not completely flat.
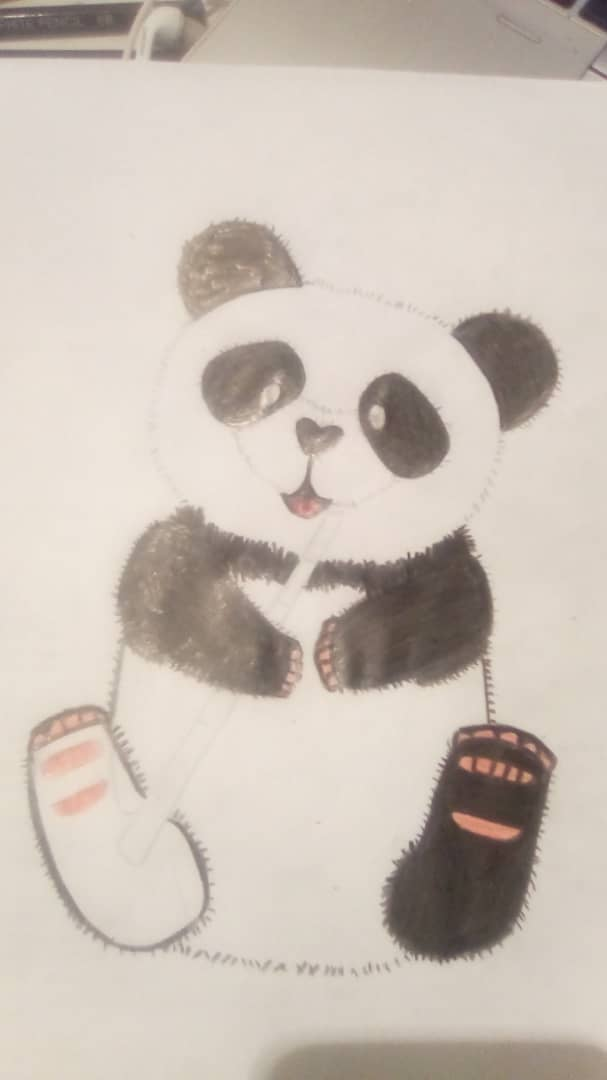
Paso 4:
Empecé a agregar detalles en las garras del panda con un color rosado claro y seguí coloreando el pelaje del panda.
Step 4:
I started adding details on the panda's claws with a light pink color and continued to color the panda's fur.
Paso 5:
Decidí que la pancita del panda sería completamente blanca así que borre el borde que había marcado con lápiz previamente. Además le coloque un poquito de color negro debajo del brazo que vendría a ser de donde sale el mismo y seguí dando detalles al pelaje.
Step 5:
I decided that the panda's belly would be completely white so I erased the edge I had previously marked with a pencil. I also put a little bit of black under the arm that would be where the arm comes from and I kept giving details to the fur.
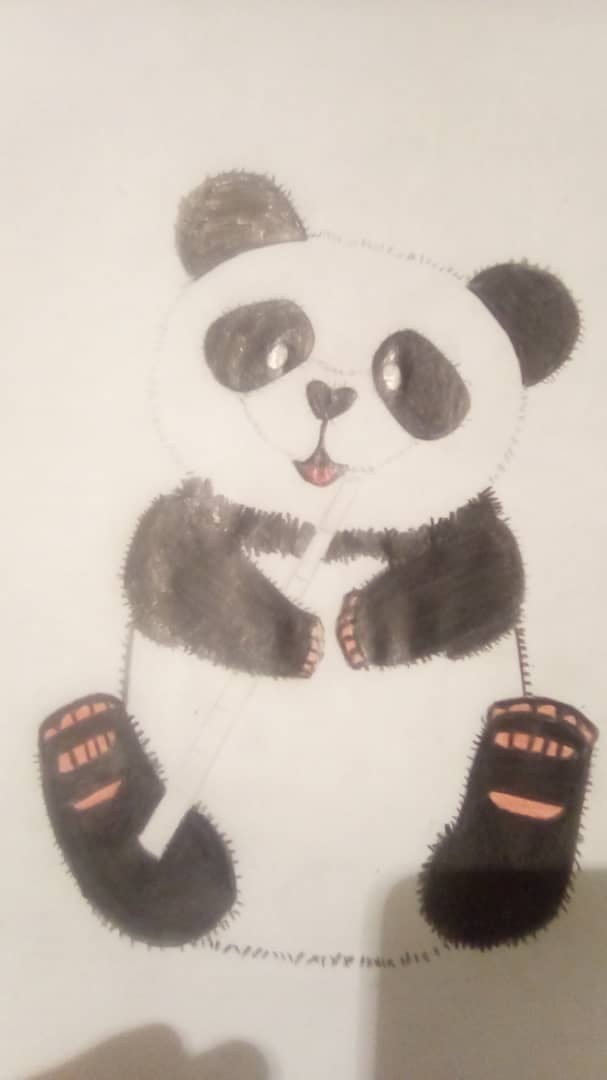
Paso 6:
Para este punto ya había coloreado todo el pelaje del panda así como los detalles en sus garras y me faltaba colorear la ramita de bambú.
Step 6:
By this point I had already colored all the fur of the panda as well as the details in its claws and I was missing the coloring of the bamboo twig.
Paso 7:
Coloree la rama de bambú utilizando color verde oscuro, verde claro y amarillo.
Step 7:
I painted the bamboo branch using dark green, light green and yellow.

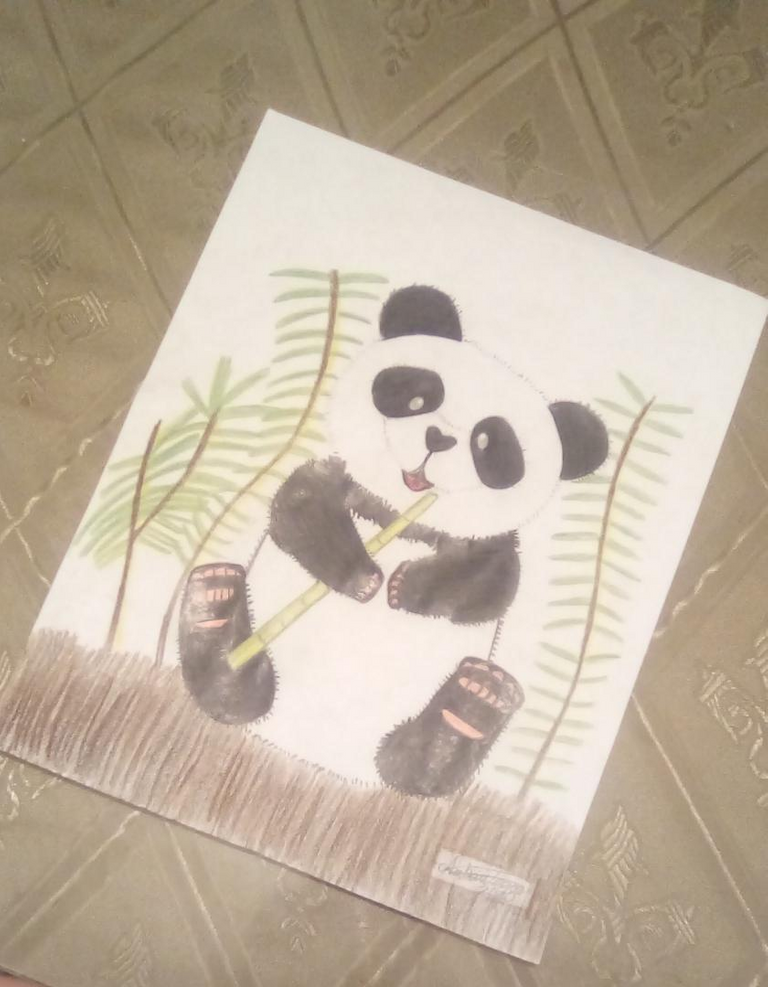
Paso 8 - RESULTADO FINAL:
Para que el pandita no estuviese tan sencillo, decidí realizar un pequeño fondo con un suelo realizado con dos colores marrón y unas plantas, para las hojas utilice los mismos colores que para la rama de bambú.
Step 8 - FINAL RESULT:
Para que el panda no estuviese tan sencillo, decidí realizar un pequeño fondo con un suelo realizado con dos colores marrón y unas plantas, para las hojas utilice los mismos colores que para la rama de bambú.
Espero que les haya gustado este dibujo😁. Nos vemos en un próximo post.
I hope you liked this draw😁. See you in a next post.
@tipu curate
Upvoted 👌 (Mana: 21/28)
A mi me encantó mi pandita, estoy feliz de poder tener arte hecho con cariño en mi colección de pandas.
Como diría Cerati... ¡Gracias Totales!
Tan lindo😍, después nos tienes que mostrar tu colección.
Congratulations @ambarvegas! You have completed the following achievement on the Hive blockchain and have been rewarded with new badge(s) :
You can view your badges on your board And compare to others on the Ranking
If you no longer want to receive notifications, reply to this comment with the word
STOPTo support your work, I also upvoted your post!
Support the HiveBuzz project. Vote for our proposal!
Que bellooooooo jajajjaja. Te quedó hermoso Ámbar... Bueno, yo quiero un gatito 👀 jajaj.
Un beso bella! Gracias por compartir ♥️♥️
Graaaacias ❤️.
Te quedó bonito. Me parece que te divertiste haciéndolo.
Gracias por el tutorial☀️
Muchas gracias por leerme 😍, siii, fue súper divertido.
Te quedo muy hermoso amiga saludos!!
Muchas gracias, me alegra que te haya gustado😋.
Quedó fino ese oso!!! Felicitaciones 🤘
Muchas gracias😇...
Ese osito es tan cuchi como Joss quedó increíble
Siii, es verdad, es que @jossduarte es muy tierno 😚.
Que ternura!! 😍🤩🐻
Siii😍