Hola amigos de hive, hoy quiero compartir con ustedes como hacer estás lindas flores decorativas de cartulina, estás las hice para colocarlas en un florero en la mesa de la sala de manera decorativa, estás las podemos realizar de los colores que queramos eso ya depende del gusto de cada persona, además son fáciles de hacer y quedan muy bonitas.
Hello friends of hive, today I want to share with you how to make these cute decorative cardboard flowers, I made them to place them in a vase on the living room table in a decorative way, we can make them in the colors we want, it depends on the taste of each person, they are also easy to make and look very nice.

Materiales – Materials
- Cartulina
- Tijera
- Silicón
- Lápiz
- Moldes
- Cardboard
- Scissors
- Silicone
- Pencil
- Molds

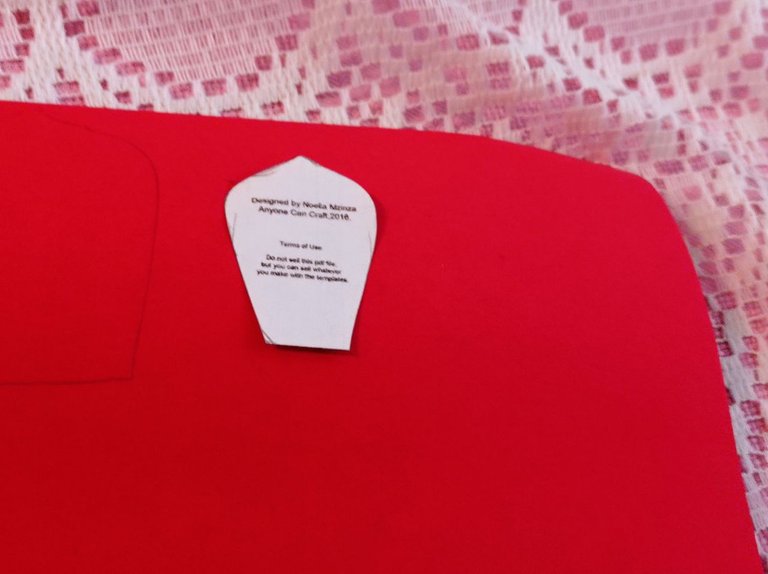
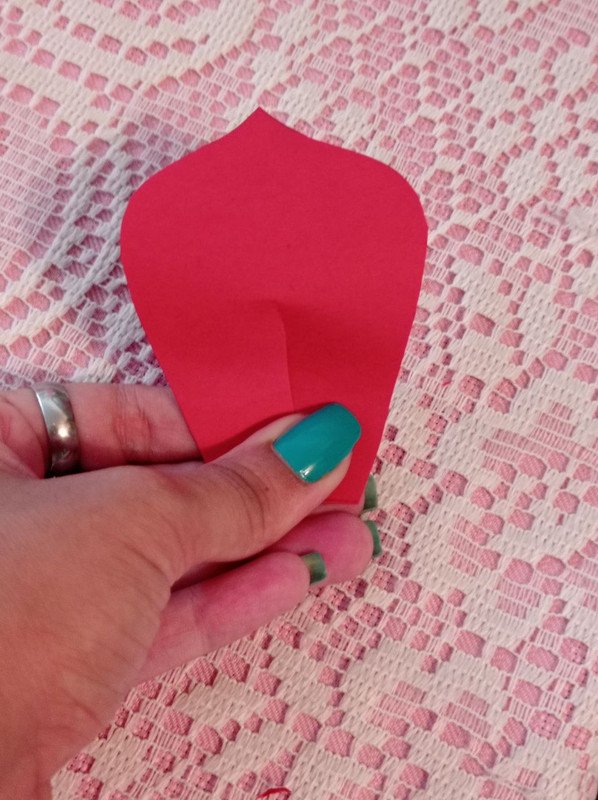
Primero lo que hacemos es sacar los patrones de los pétalos de la flor lo podemos imprimir o dibujar para más comodidad los imprimí ya que son 3 tamaños diferentes de pétalos, luego de tener eso listo empezamos a calcar en la cartulina para más comodidad empezamos por los pétalos más grandes y medianos que son 6 de cada uno y del más pequeño marcamos 5.
First what we do is to draw the patterns of the petals of the flower we can print or draw them for more comfort I printed them since there are 3 different sizes of petals, after having that ready we start to trace on the cardboard for more comfort we start with the largest and medium petals that are 6 of each and the smallest we mark 5. Ahora cuando hayamos terminado de marcar todo comenzamos a recortar cada uno de los pétalos de diferentes tamaños, así con ayuda de un lápiz o marcador agarramos cada pétalo y lo doblamos para que la cartulina agarre la forma que queremos y no quede totalmente plana, luego lo que hacemos es un circulo con la misma cartulina que será la base de la flor.
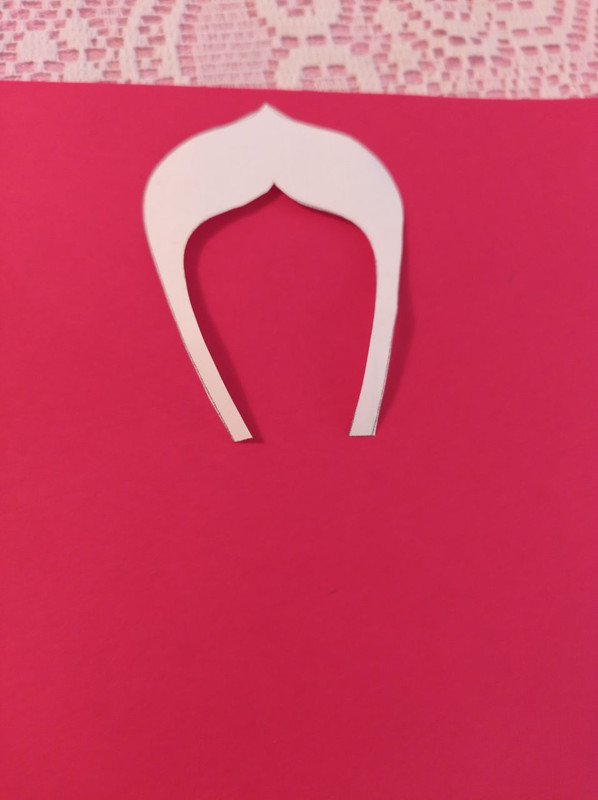
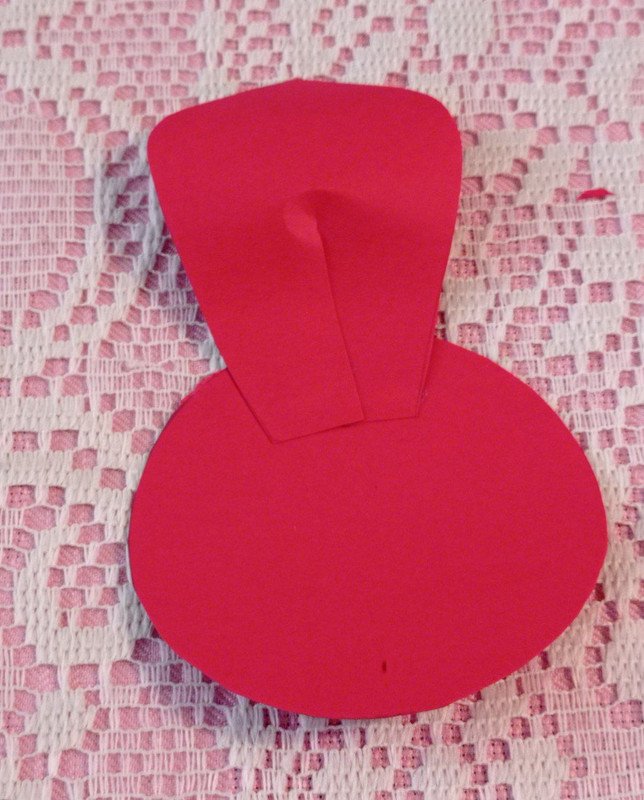
Now when we have finished marking everything we begin to cut out each of the petals of different sizes, so with the help of a pencil or marker we grab each petal and fold it so that the cardboard takes the shape we want and is not completely flat, then what we do is a circle with the same cardboard that will be the base of the flower. Luego lo que hacemos es cortar hasta la mitad o un poco mas en todo el medio del pétalo para luego pegar el borde de un lado sobre otro y así repetimos el mismo proceso con todos para que agarre la forma, después comenzamos a pegar con silicón los pétalos a la base que previamente hicimos para eso empezamos con los mas grandes y así vamos haciendo sucesivamente con los otros hasta que hayamos terminado de cubrir por completo todo así estará casi lista la flor.
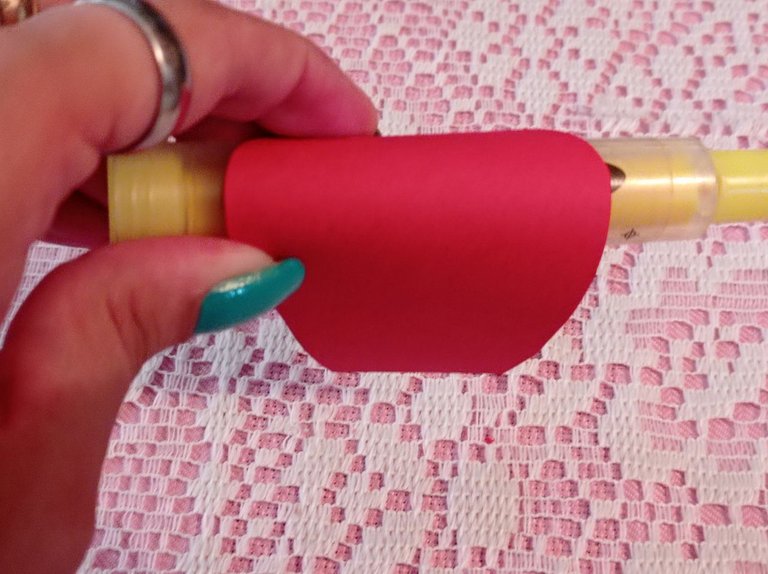
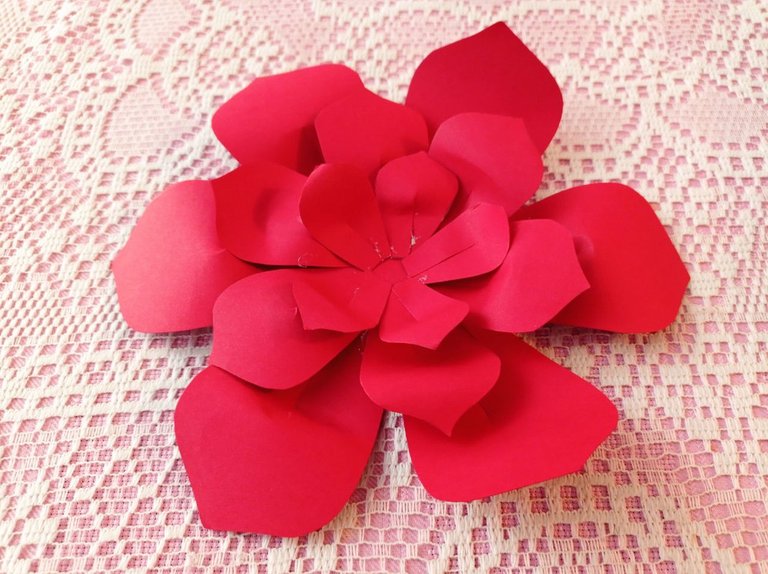
Then what we do is cut in half or a little more in the middle of the petal and then glue the edge of one side over the other and so we repeat the same process with all of them to get the shape, then we begin to paste with silicone the petals to the base that we previously made for that we start with the largest and so we do successively with the others until we have finished completely covering everything so the flower will be almost ready. Por último lo que hacemos es marcar en la cartulina dorada el pistilio de la flor que es la parte del centro para así poder recortarlo ese sería el toque final que nos faltaría, podemos repetir el mismo proceso para hacer varias flores así estarán listas las lindas flores de cartulina.
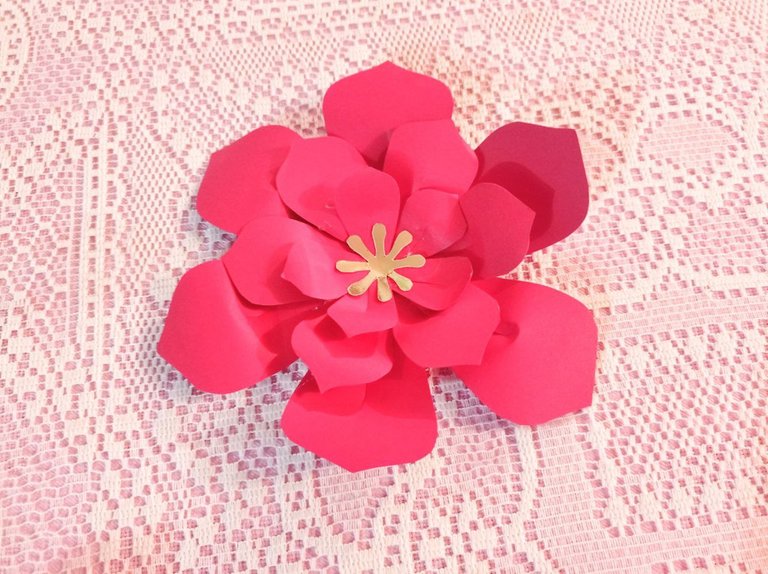
Finally what we do is to mark on the golden cardboard the pistil of the flower which is the part of the center so we can cut it out that would be the final touch that we would be missing, we can repeat the same process to make several flowers so the beautiful cardboard flowers will be ready. Espero les guste. I hope you like it. Gracias por Leer. Thanks for reading. Fotos de mi propiedad. Camara: Telefono Xiaomi Redmi note 9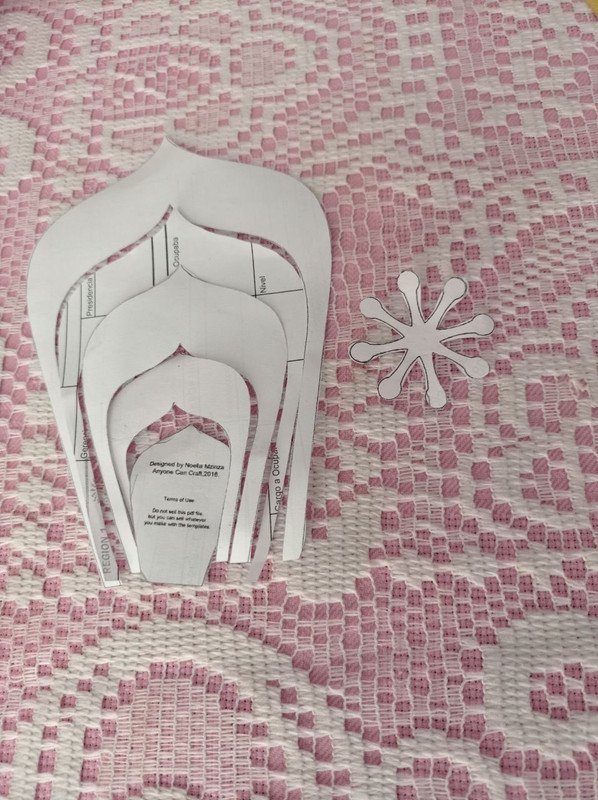


Hola @anyelit, Hermosas flores, que linda manualidad y ademas es muy sencilla de elaborar
Hola amiga gracias, si están muy lindas y eso es lo mejor que es muy fácil de realizar