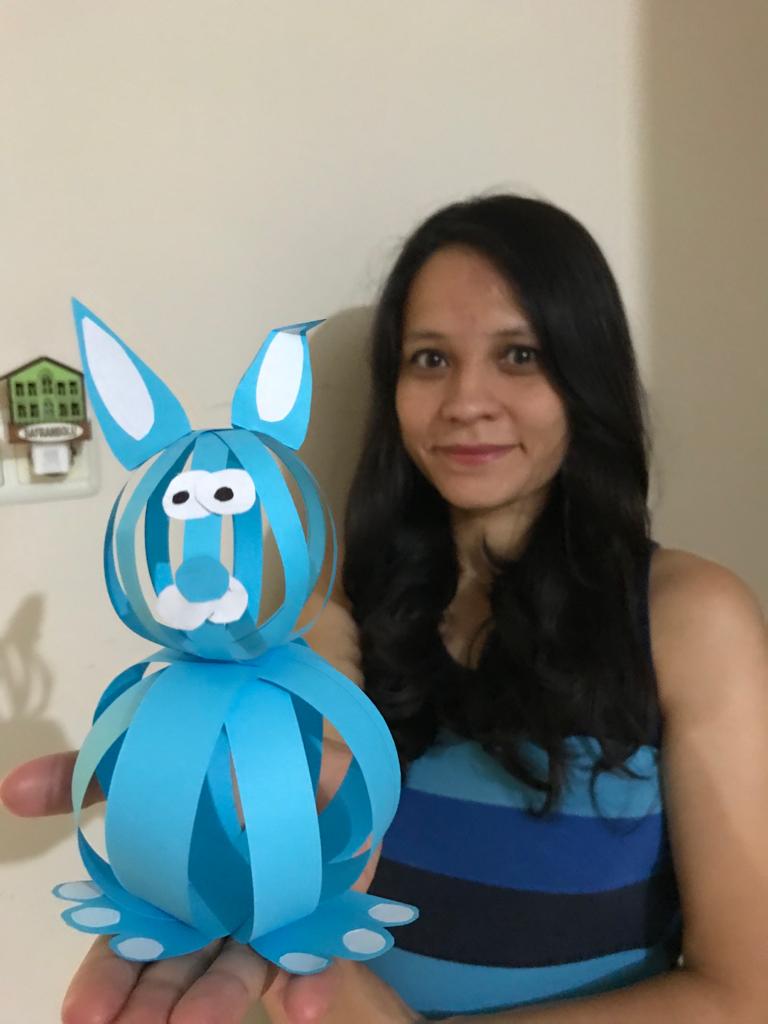
Good morning, dear friends, today I will show you how to make a very cute toy bunny. First, the materials we need are 2 sheets of a 4 paper in the color you want, scissors, adhesive ruler.
Günaydın sevgili arkadaşlar.Bugün sizlere çok sevimli oyuncak bir tavşan yapımını göstereceğim. İlk olarak ihtiyacımız olan malzemeler 2 tane istediğiniz renkte a 4 kağıdı, makas, yapıştırıcı cetvel.
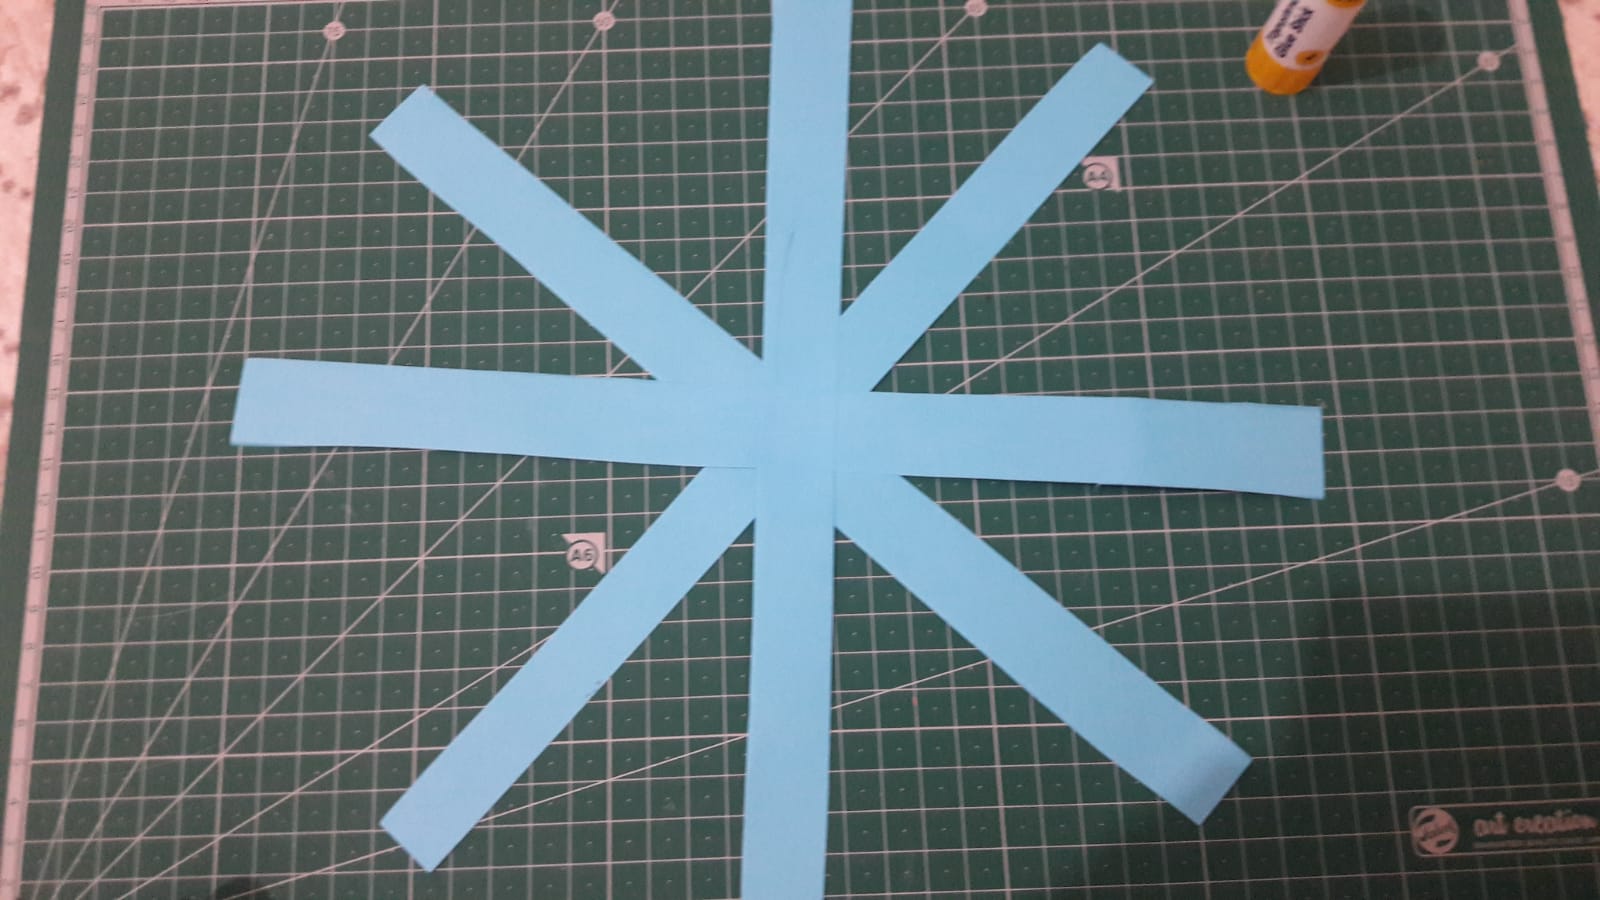
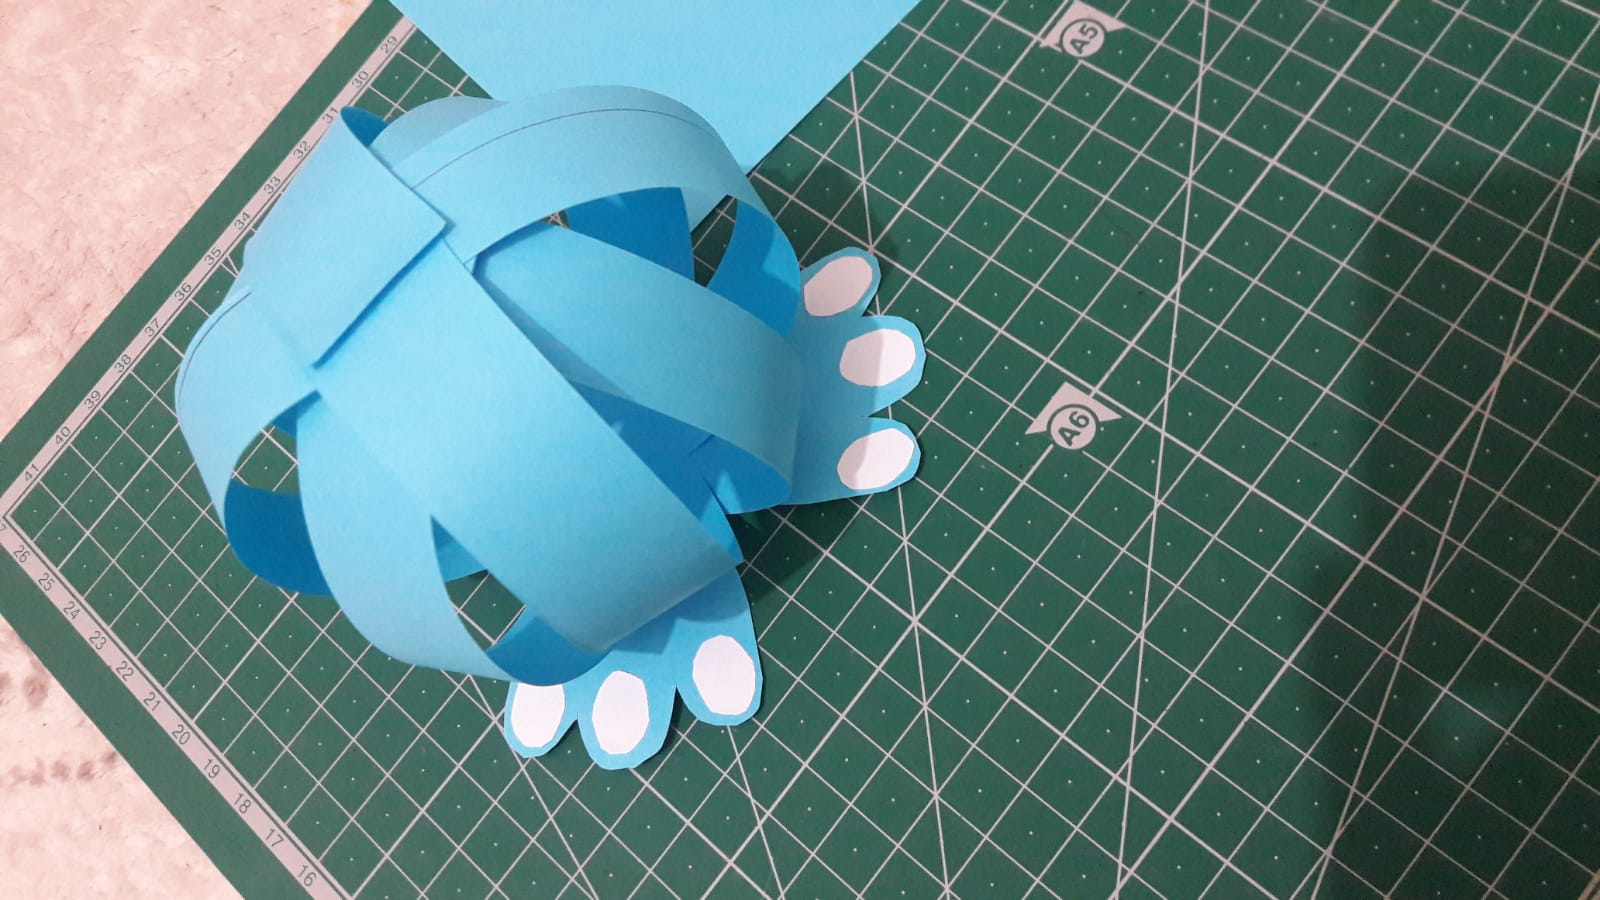
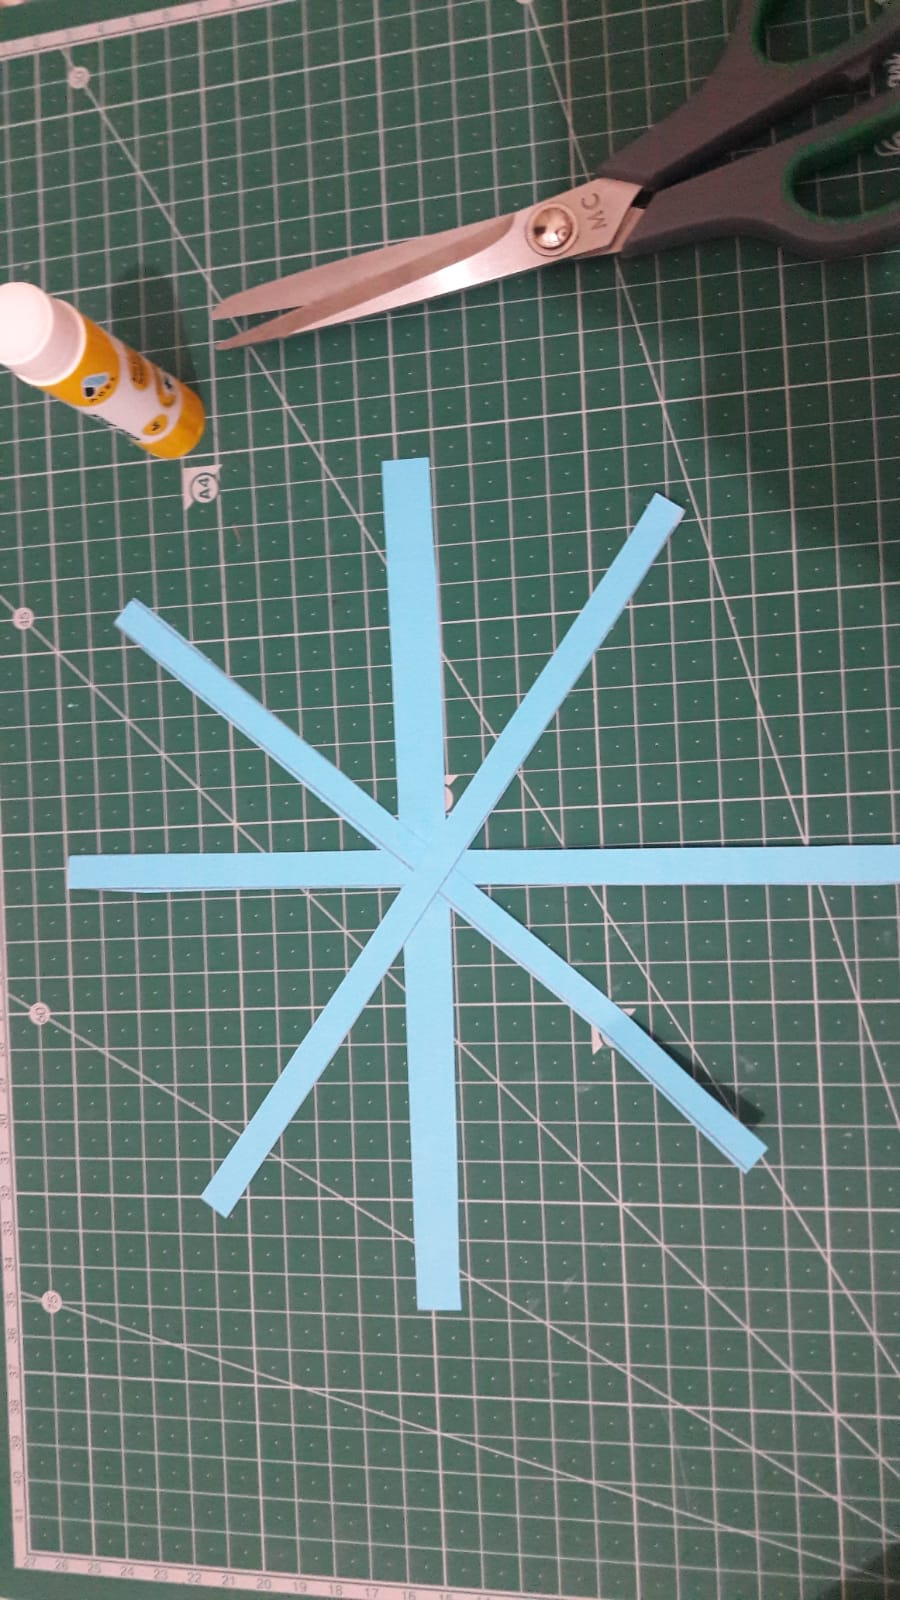
First, let's cut 4 strips of 21 * 3 cm size. Let's fold the strips in half. After the adhesive dries, let's glue the upper part one by one.
İlk olarak 21*3 cm boyutlarında 4 tane şerit keselim.Şeritleri ortadan ikiye katlayalım.Açalım. Katlanılan yerden şeritleri yapıştıralım.Yapıştırıcı kuruduktan sonra sonra üst kısmını da tek tek yapıştıralım.
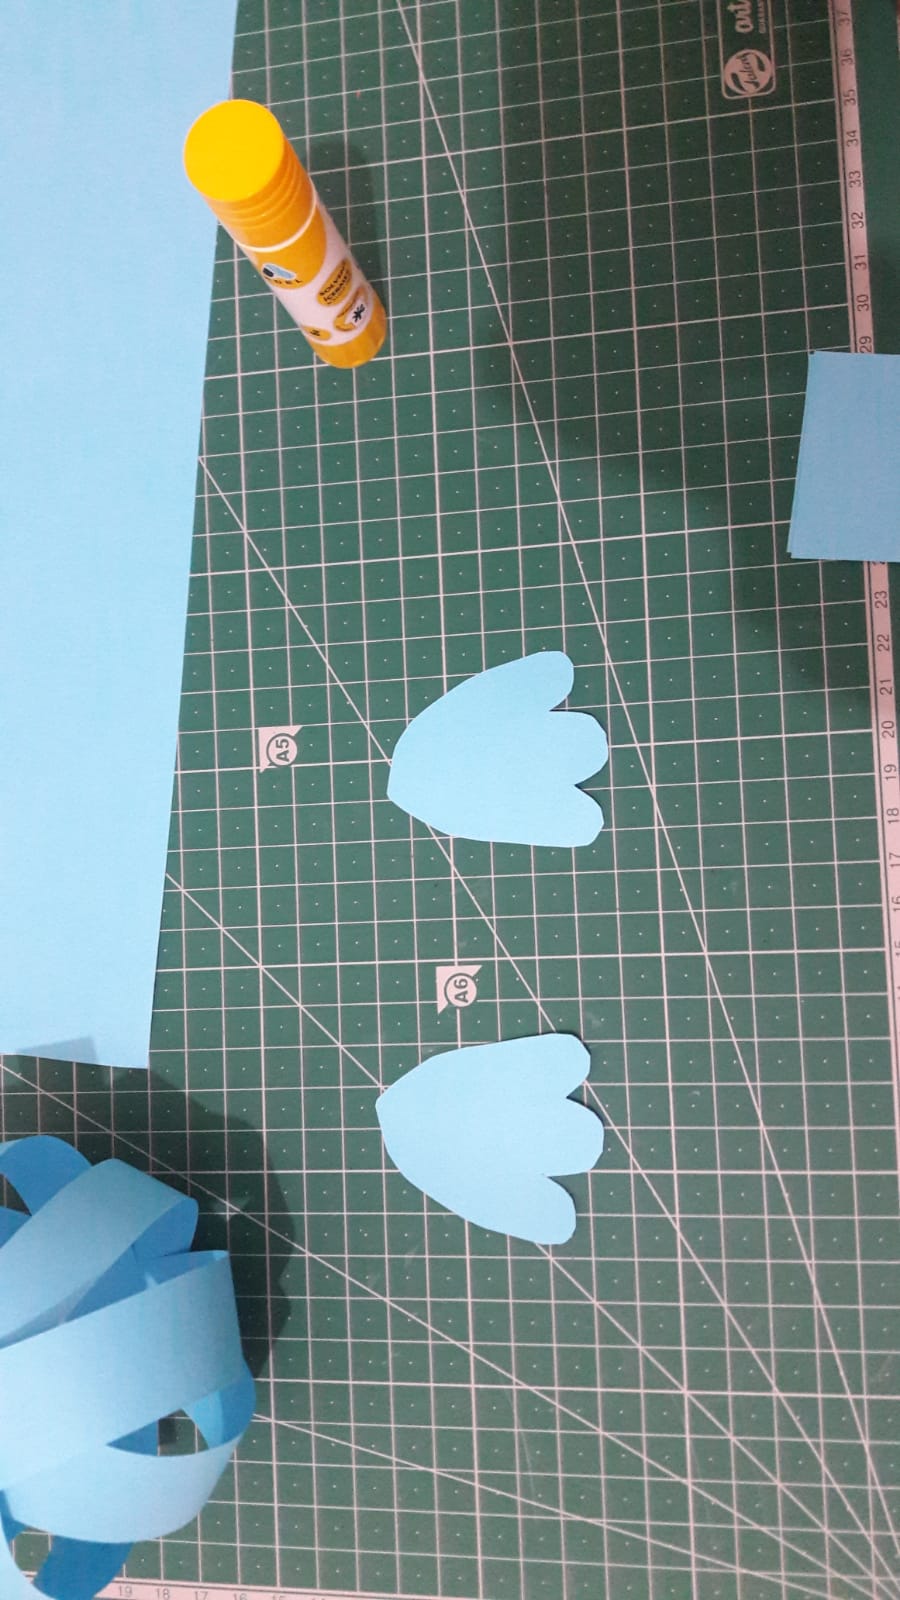
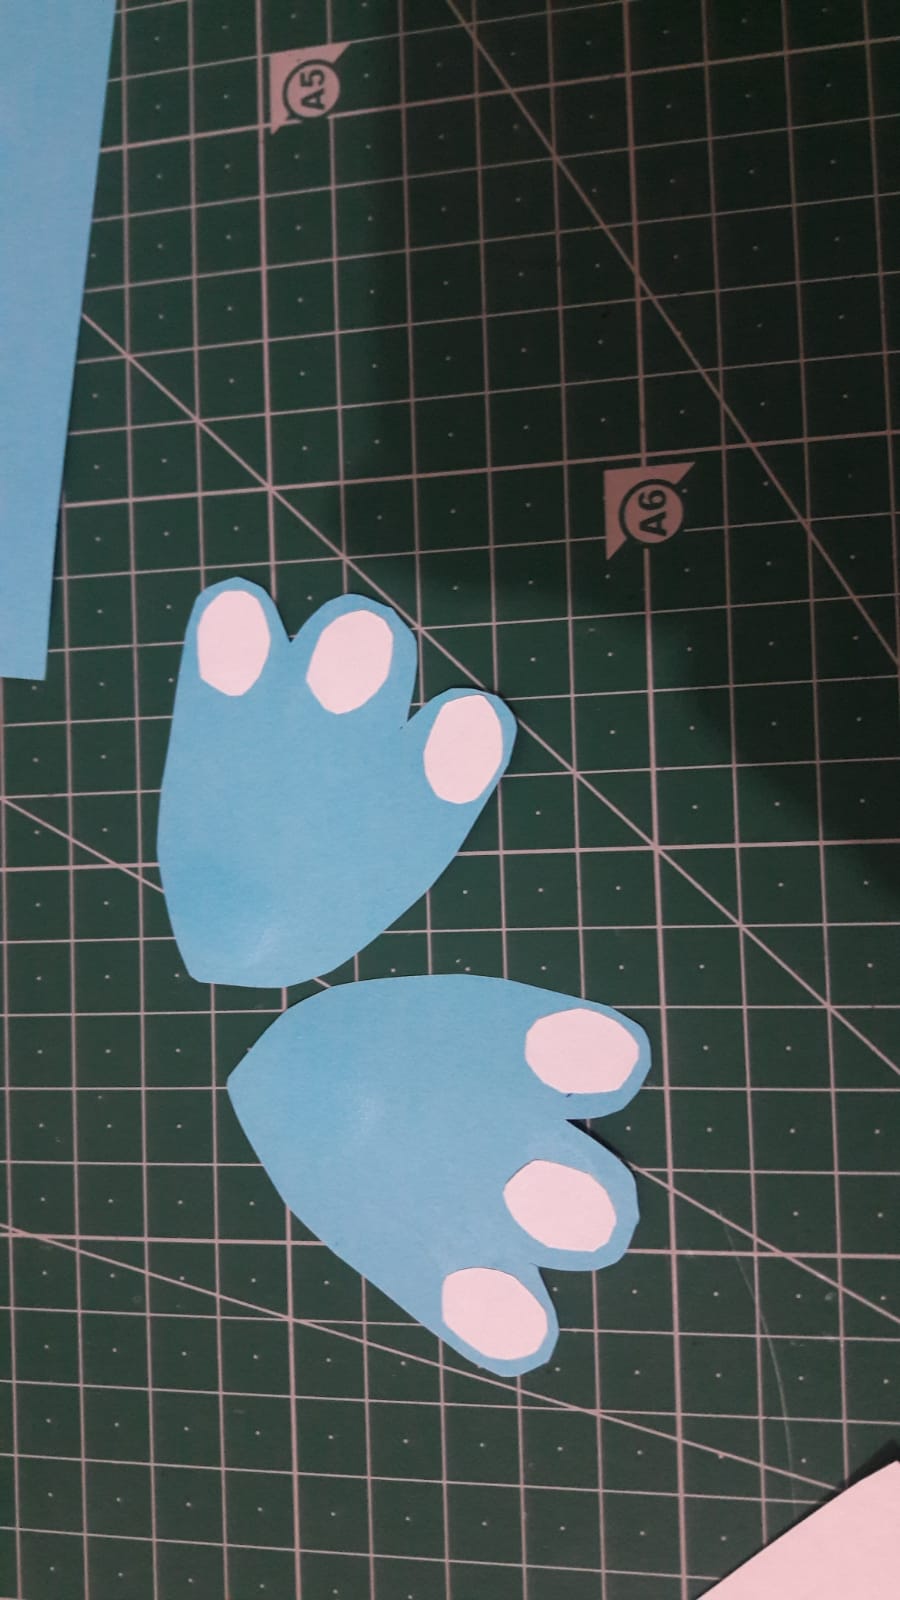
We finished the lower part of our rabbit. Now let's draw a foot on a piece of paper to make feet. Let's cut round sheets of white paper to make his nails. Let's stick it on the fingers. Let's glue the dried feet.
Tavşanımızın alt kısmını bitirdik.Şimdi ayak yapmak için bir kağıda ayak çizelim.Tırnaklarını yapmak için de beyaz kağıttan yuvarlak kağıtlar keselim. Parmaklara yapıştıralım. Kuruyan ayakları yapıştıralım.
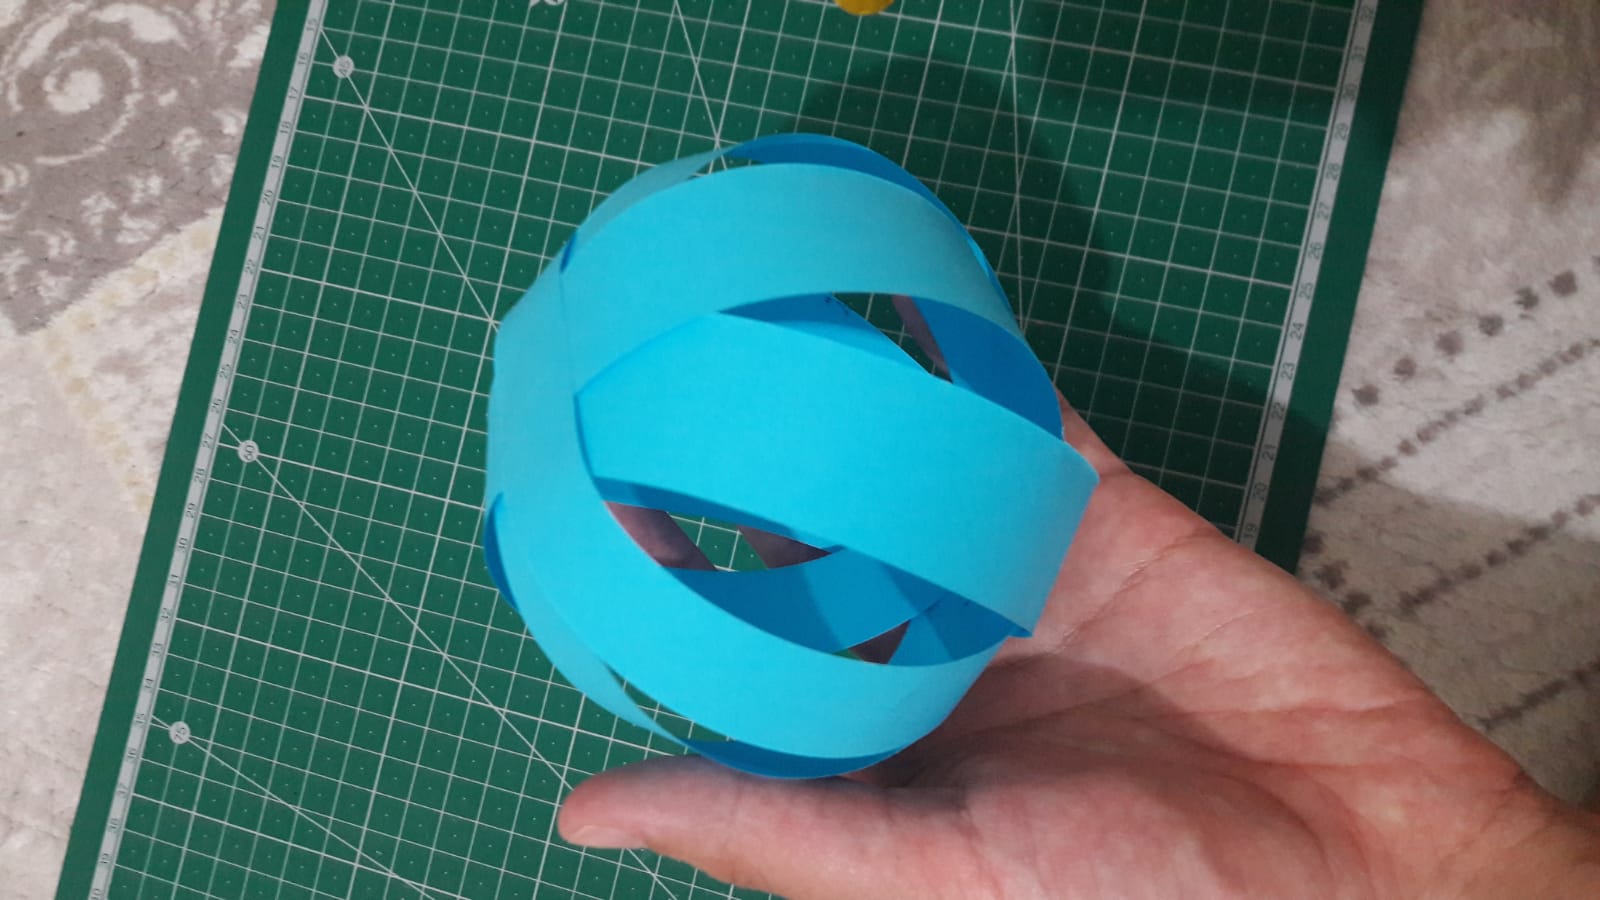
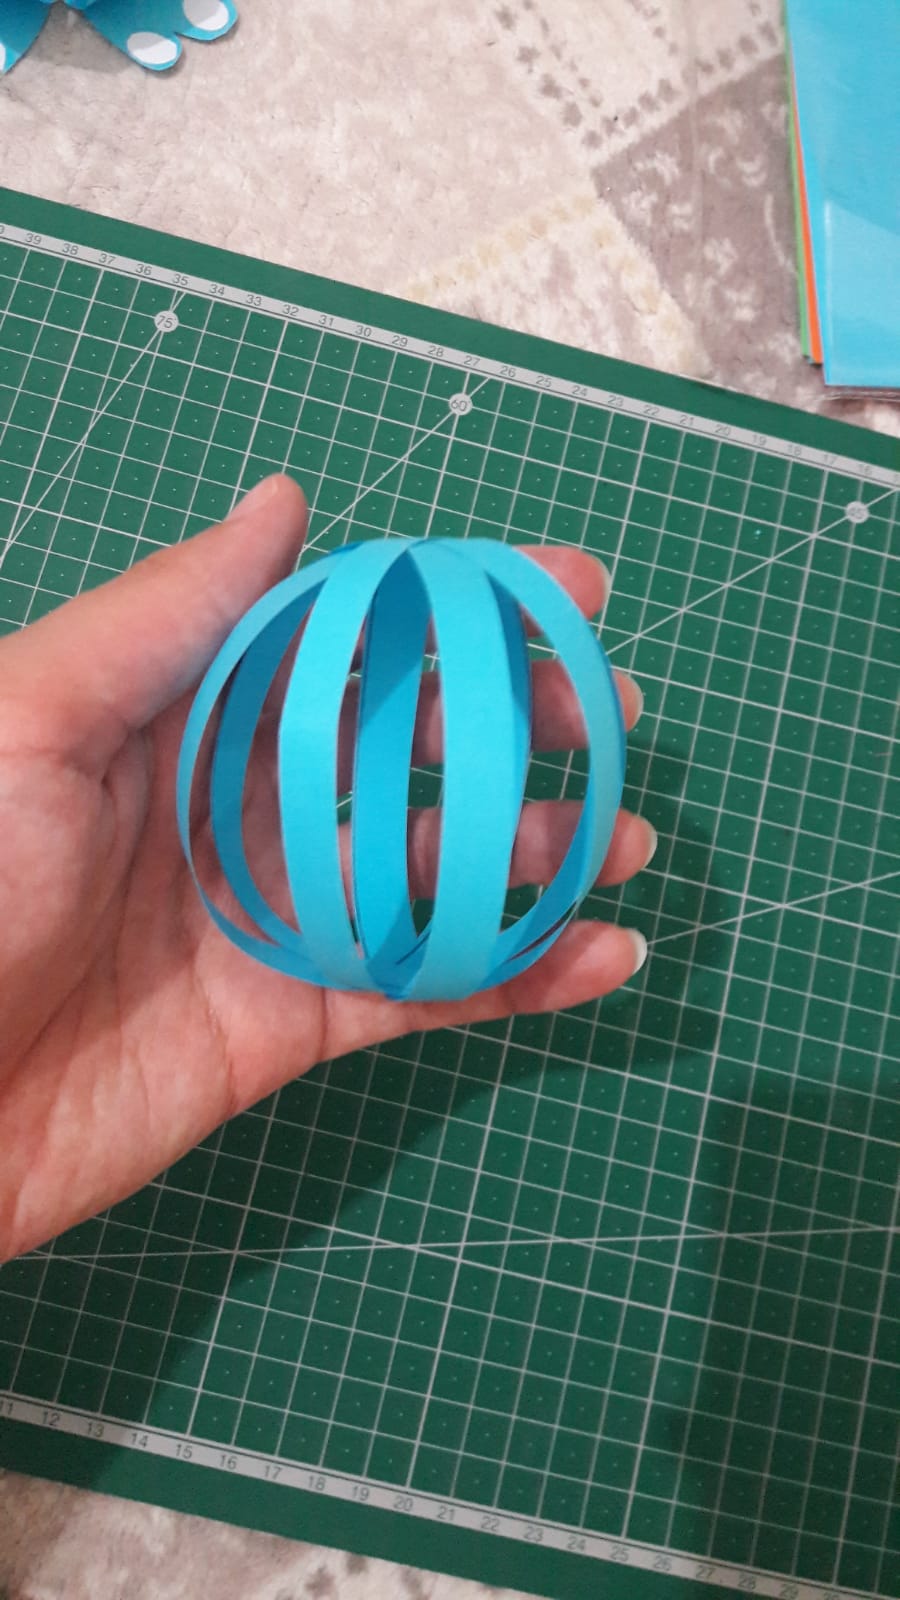
Now let's make the top of the rabbit. We'll make shorter strips. Let's cut 4 more strips of 18 * 1.5 cm. Let's glue the strips.
Şimdi tavşanın üst kısmını yapalım.Daha kısa şeritler yapacağız. 18*1,5 cm boyutlarında 4 tane şerit daha keselim. Şeritleri yapıştıralım.
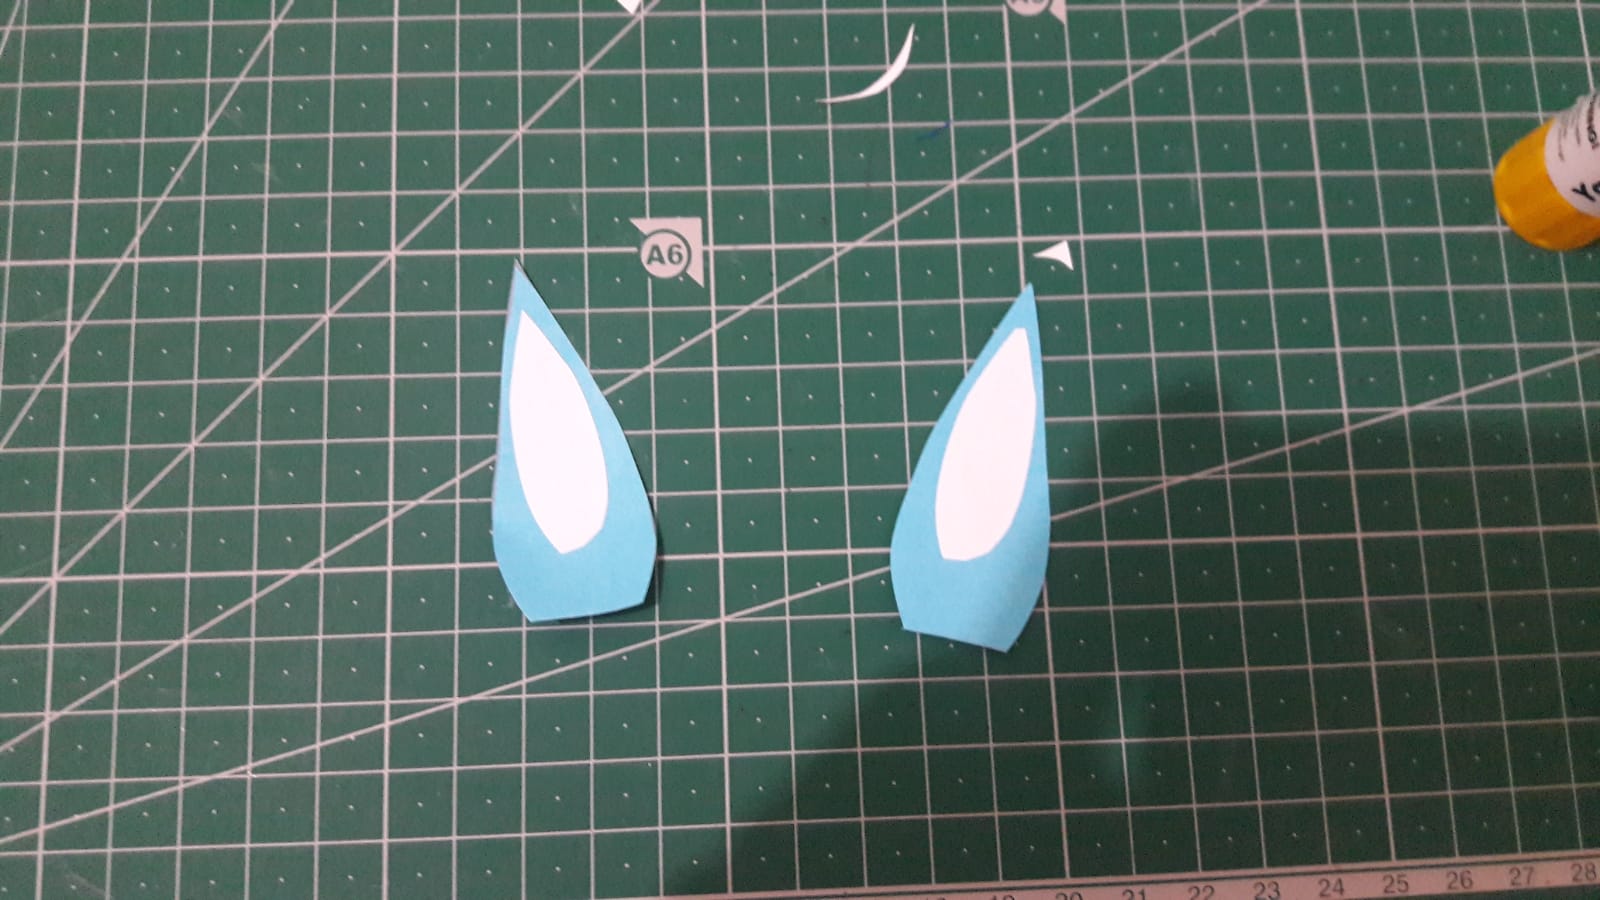
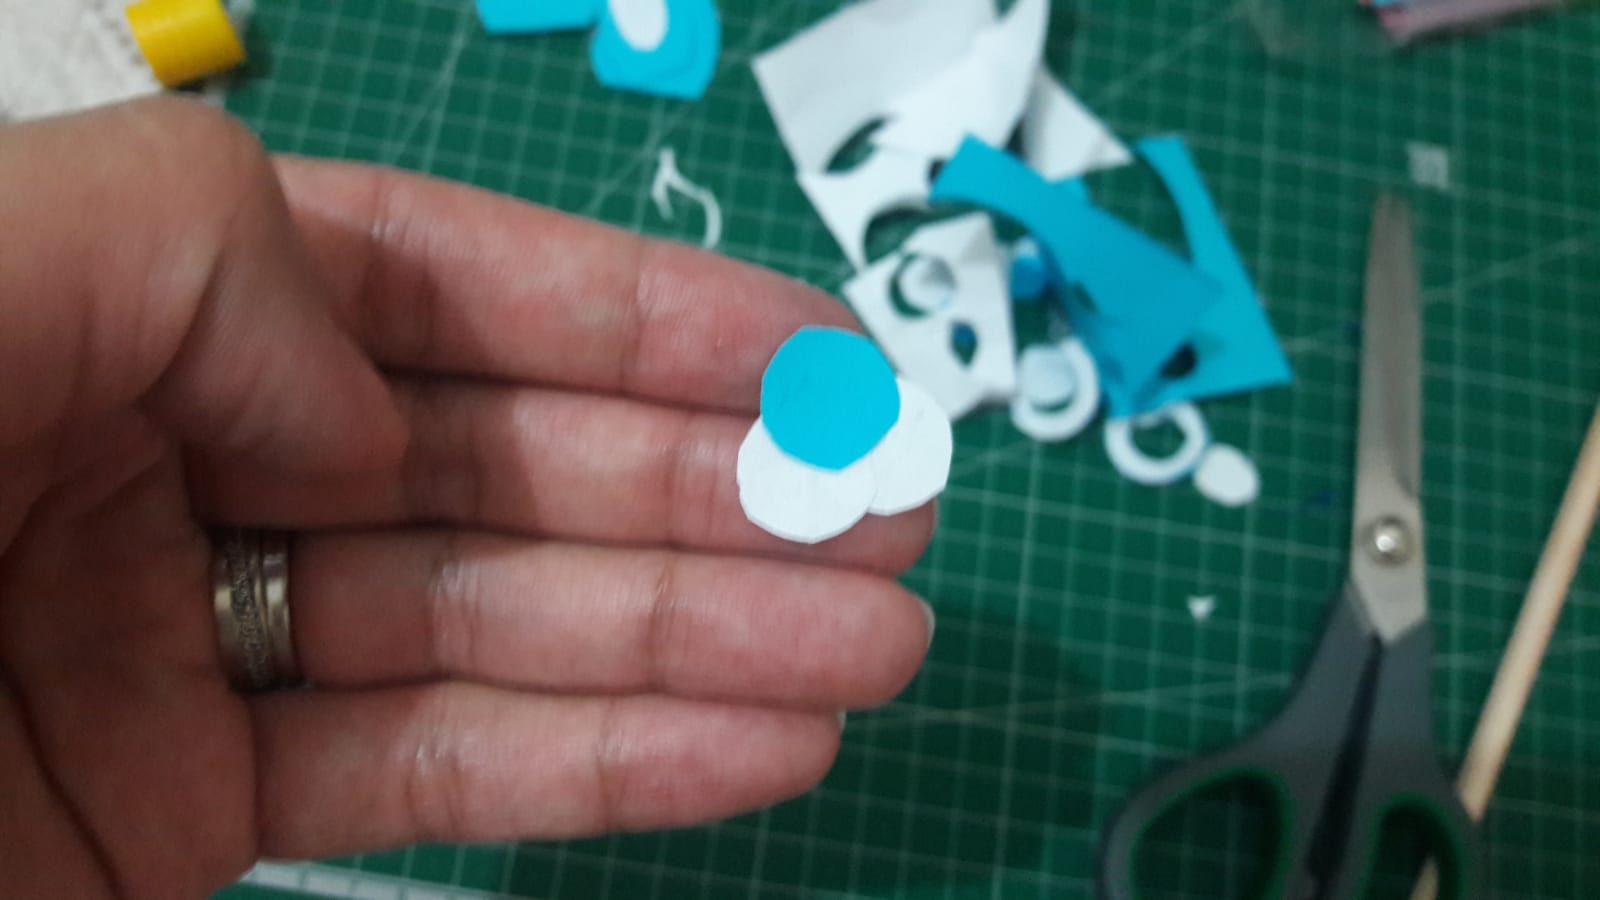
Let's cut ears for our rabbit now. For the ears, you can use blue paper as a background. You can make the inner parts of the ear with white paper. You can stick one blue and 2 white circles for the nose. Glue two white circles for the eyes and make the inside of the eyes with a black pencil.
Şimdi tavşanımız için kulak keselim. Kulaklar için mavi kağıdı arka plan olarak kullanabilirsiniz. Beyaz kağıtla kulağın iç kısımlarını yapabilirsiniz.Burun için bir tane mavi 2 tane beyaz daireyi yapıştırabilirsiniz. Gözler için iki tane beyaz daireyi yapıştırıp.Siyah kalemle gözlerinin iç kısmını yapabilirsiniz.
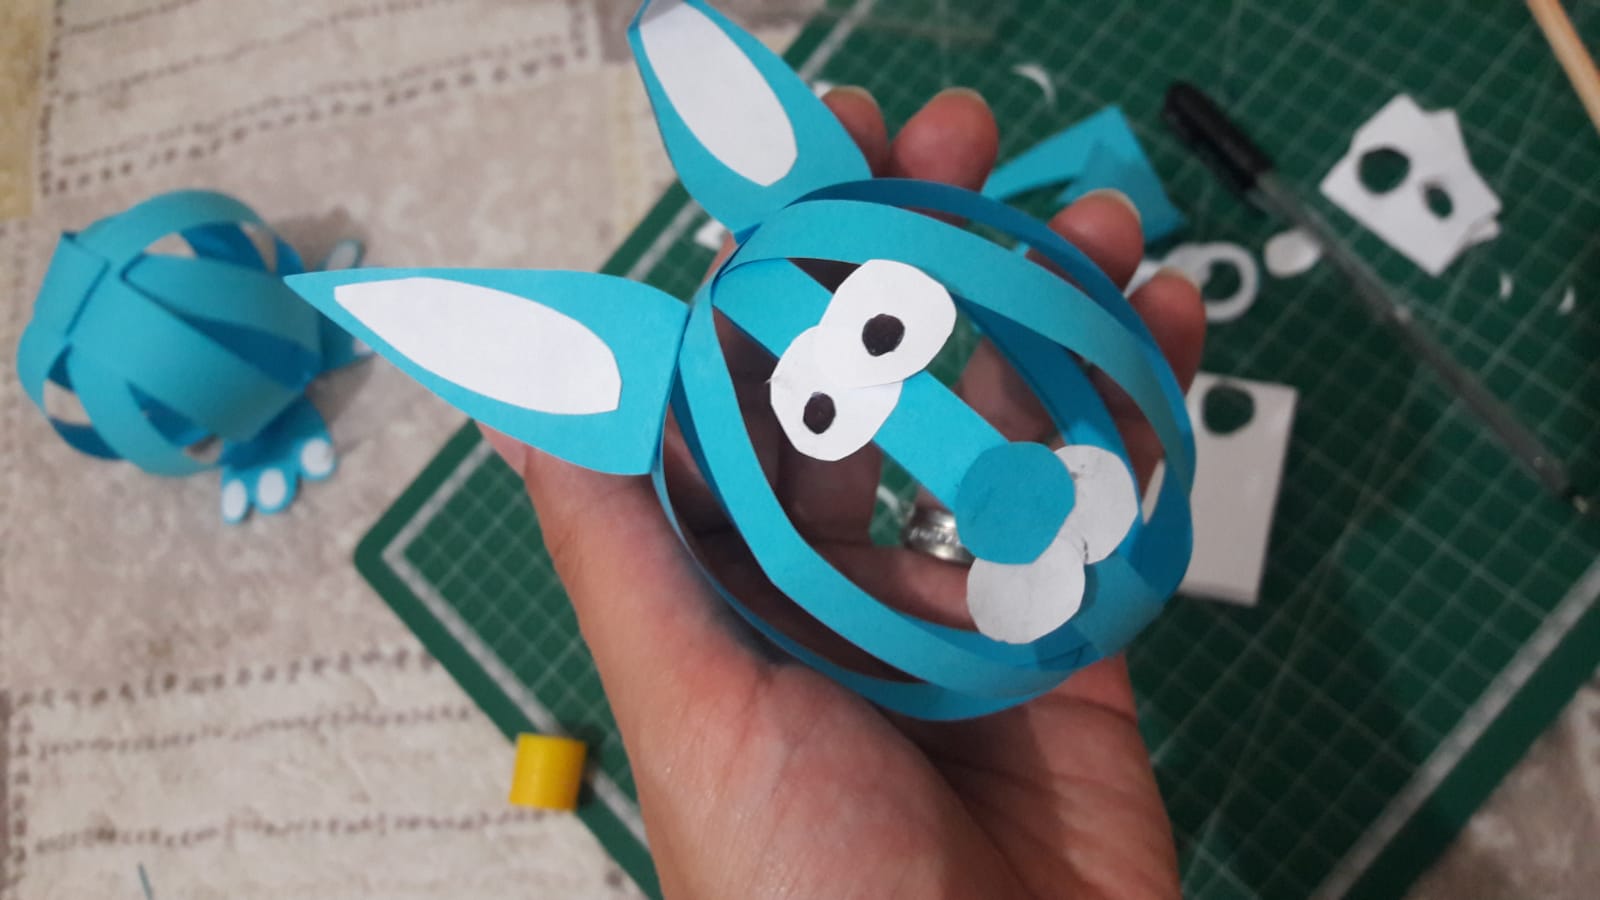
Let's glue the ears, nose and eyes on the little ball.
Kulakları, burnu ve gözleri küçük topun üzerine yapıştıralım.
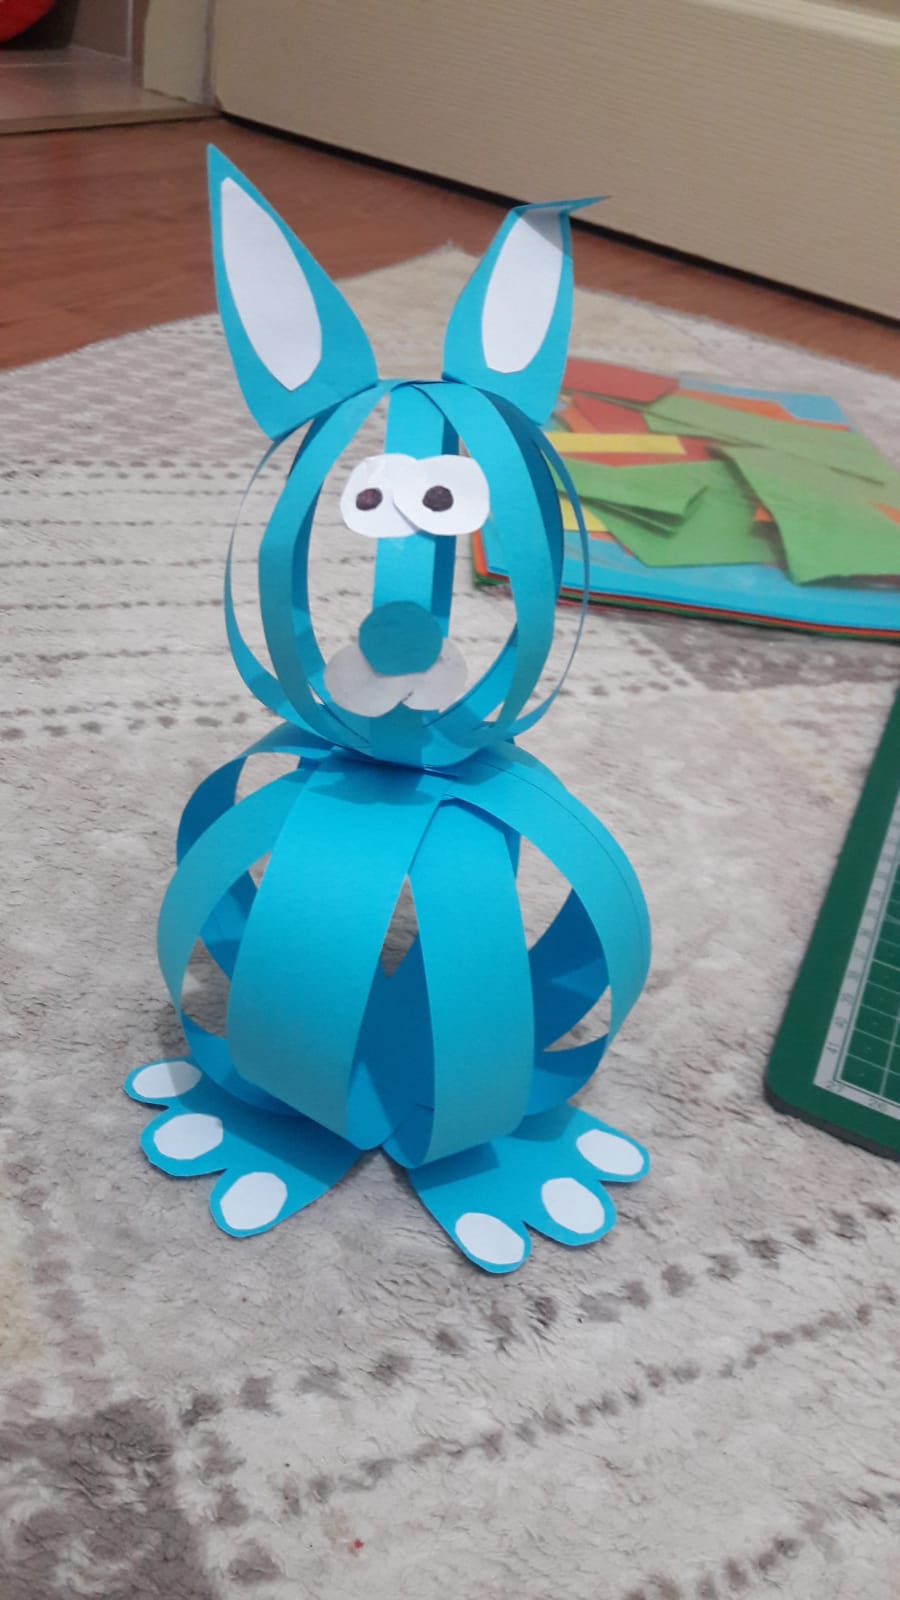
Let's glue the head and the bottom together. And our rabbit is ready. Feel happy while using it. See you in the next projects. Thank you very much for your support.
Kafayı ve alt kısmı birbirine yapıştıralım. Ve tavşanımız hazır. İyi günlerde kullanın. Sonraki projelerde görüşmek üzere.Destekleriniz için çok teşekkür ederim.
impressive as always.
thanks
impressive as always.
Thank you for sharing this amazing post on HIVE!
Your content got selected by our fellow curator @stevenson7 & you just received a little thank you via an upvote from our non-profit curation initiative!
You will be featured in one of our recurring curation compilations and on our pinterest boards! Both are aiming to offer you a stage to widen your audience within and outside of the DIY scene of hive.
Join the official DIYHub community on HIVE and show us more of your amazing work and feel free to connect with us and other DIYers via our discord server!
If you want to support our goal to motivate other DIY/art/music/homesteading/... creators just delegate to us and earn 100% of your curation rewards!
Stay creative & hive on!