Cap making just got easier with my DIY illustration

in GEMS4 years ago

Pleated caps are beautiful, especially when you can create a design yourself. I made a lovely black cap and I'll love to show it to you all.

IMG_20200827_125032_516.jpg


IMG_20200827_123642_846.jpg

IMG_20200827_124959_701.jpg


IMG_20200827_123532_535.jpg


IMG_20200827_125032_516.jpg


IMG_20200827_094851_335.jpg

IMG_20200827_095233_393.jpg


IMG_20200827_123630_854.jpg

IMG_20200827_124915_365.jpg


IMG_20200827_094954_839.jpg


IMG_20200827_095237_761.jpg

IMG_20200827_124846_702.jpg


IMG_20200827_094855_429.jpg

IMG_20200827_094846_594.jpg


IMG_20200827_123610_865.jpg


IMG_20200827_095756_444.jpg


IMG_20200827_094838_220.jpg

IMG_20200827_101833_584.jpg

IMG_20200827_123448_808.jpg

IMG_20200827_094950_265.jpg

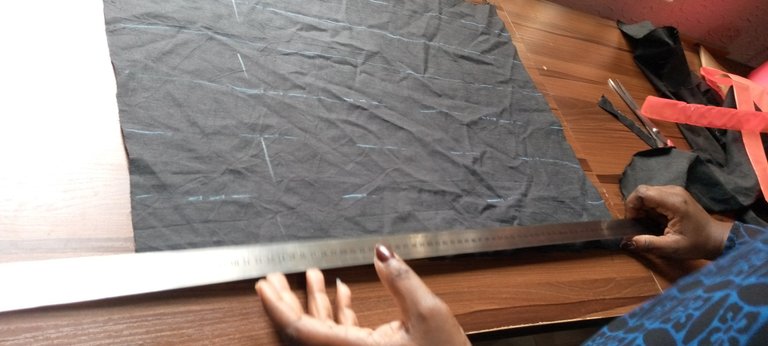
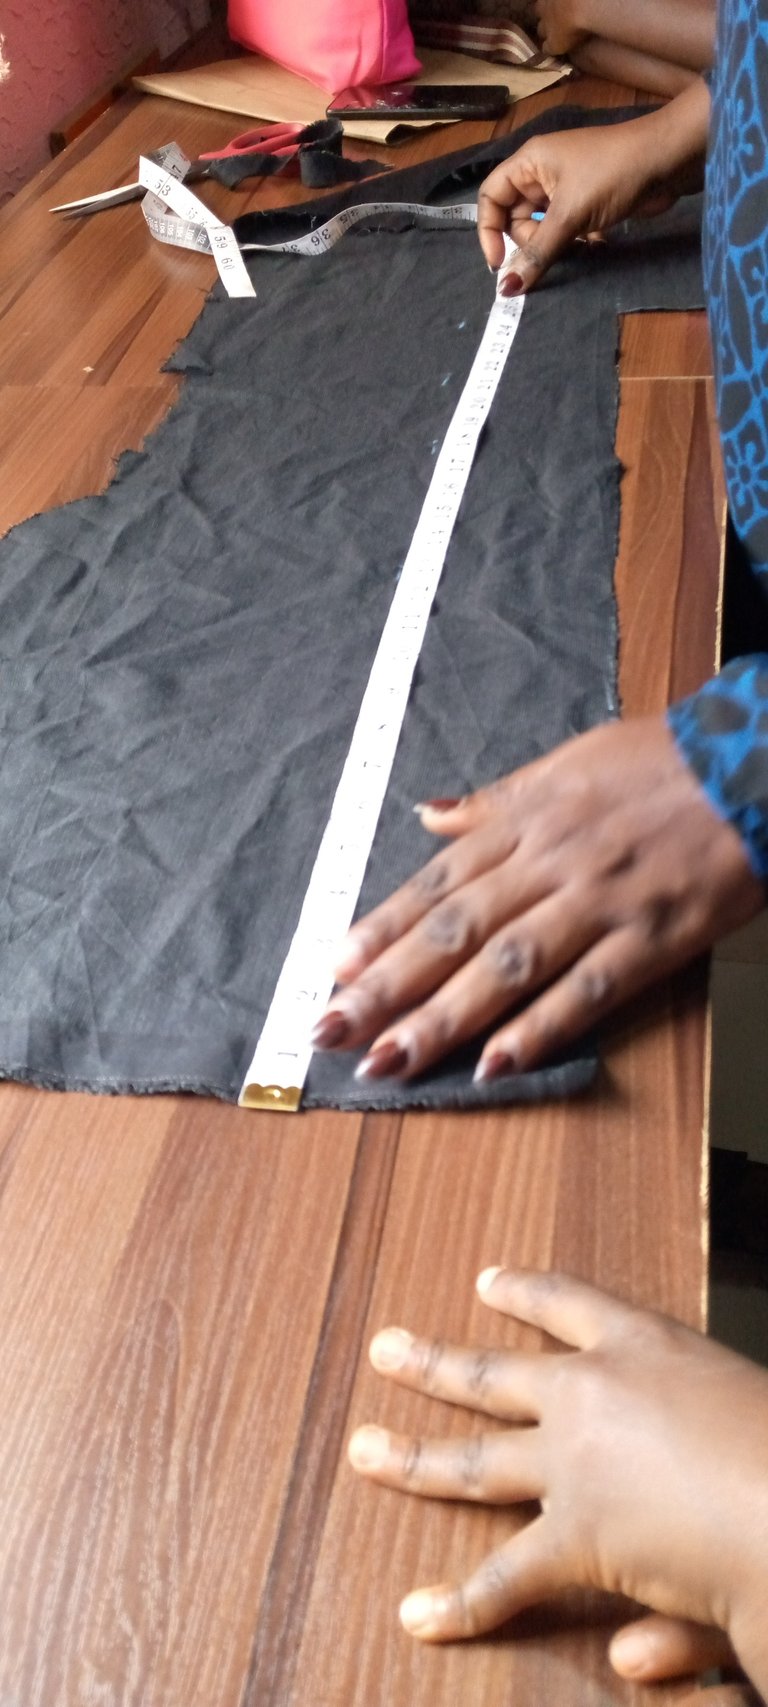
  • measure your head circumference
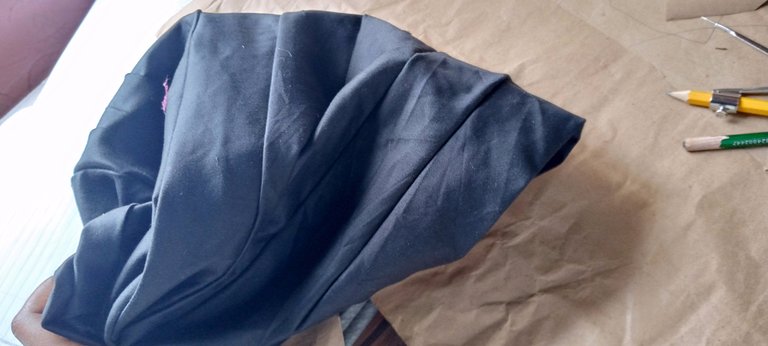
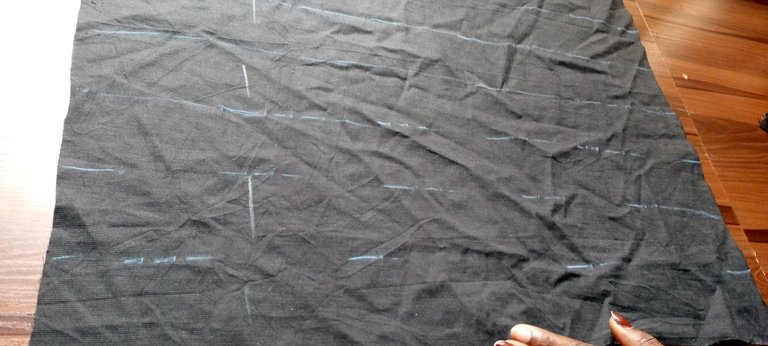
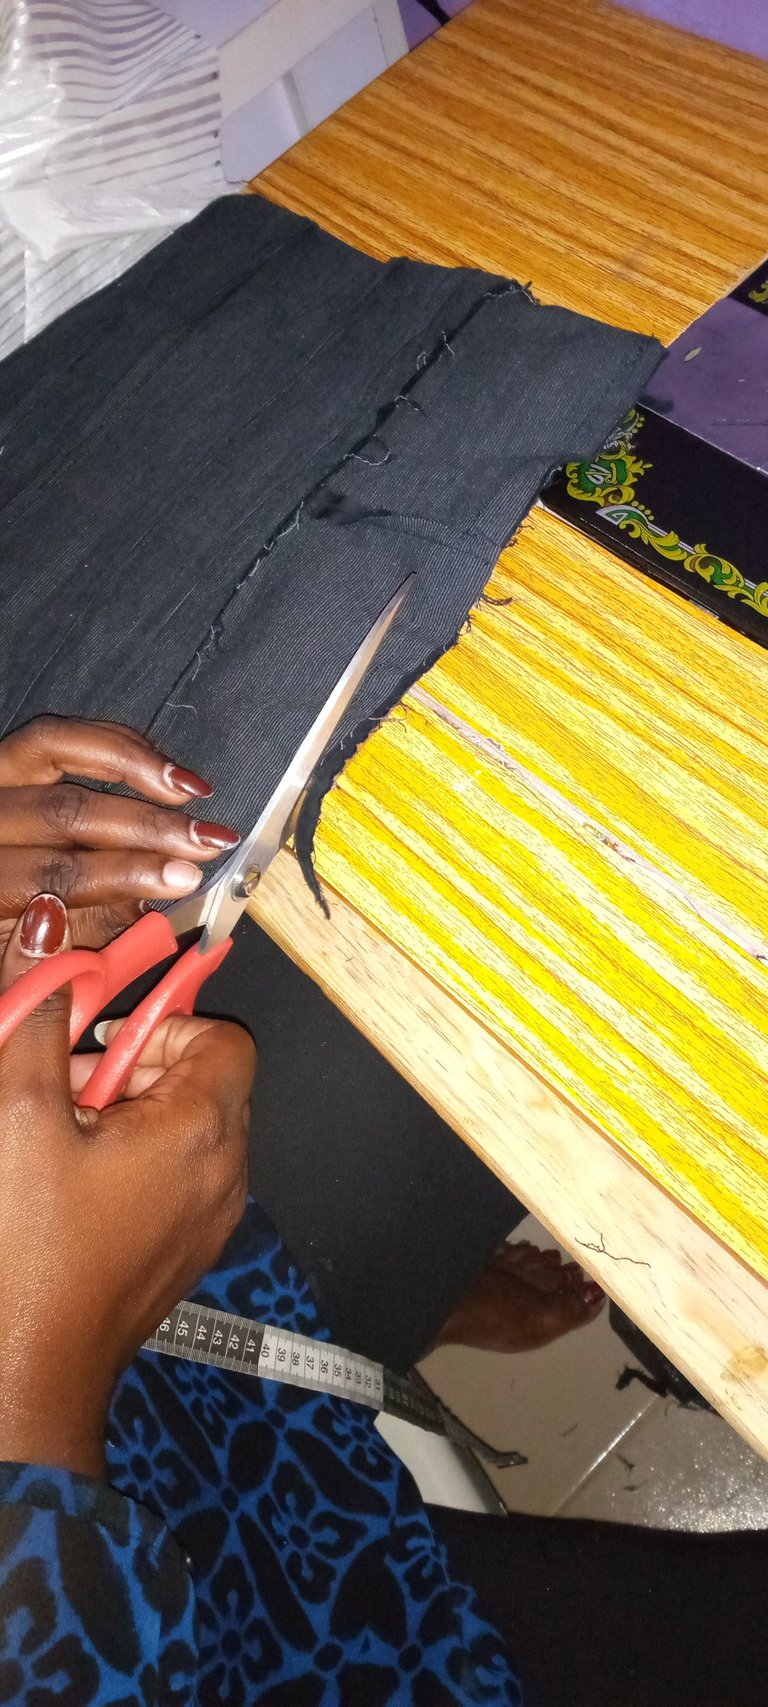
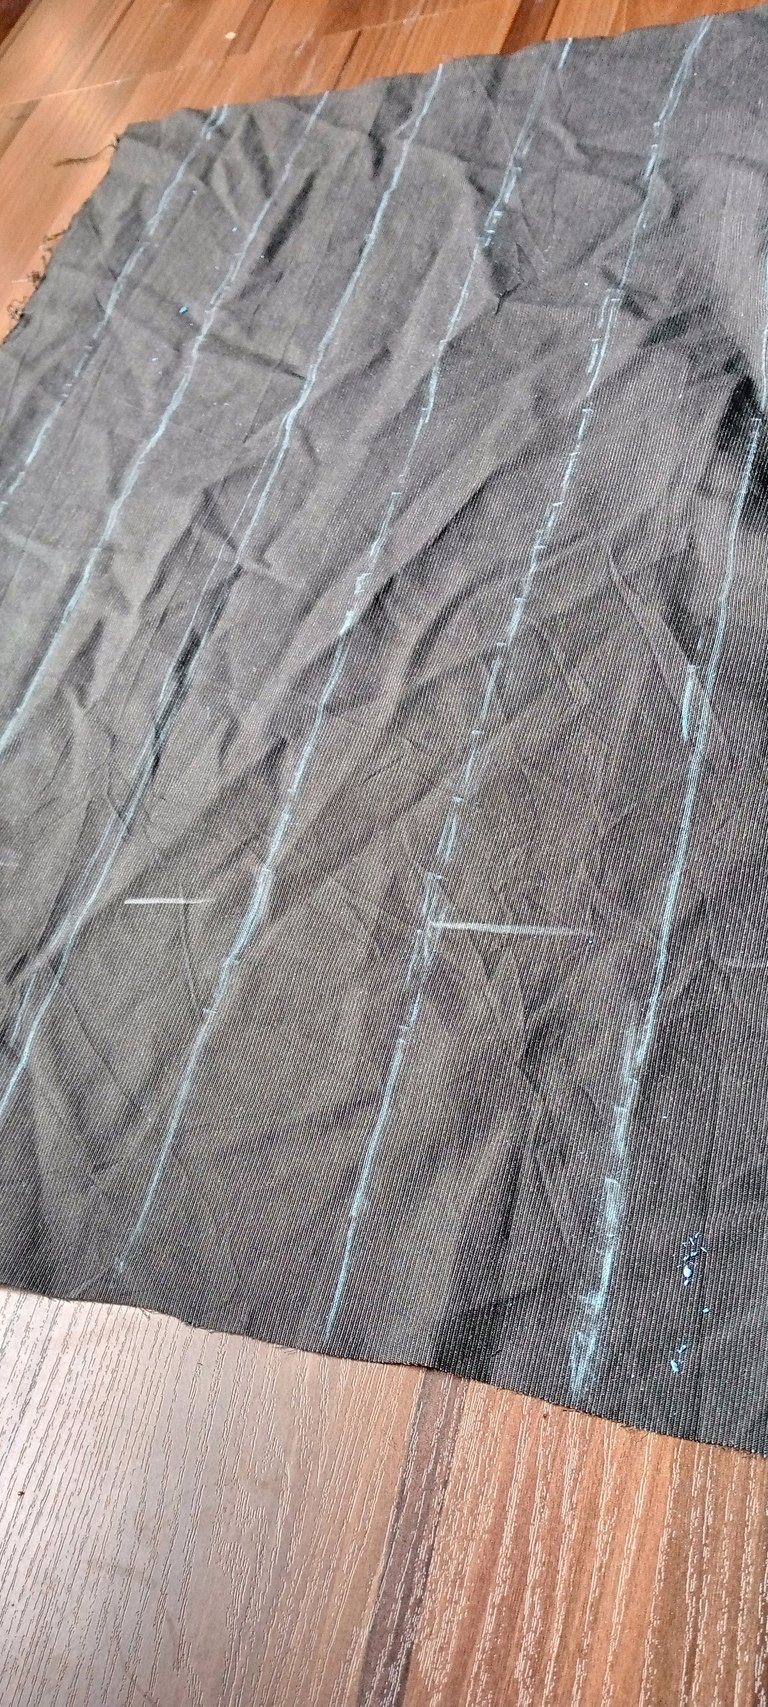
  • cut out a fabric of your head circumference long and width 17inches
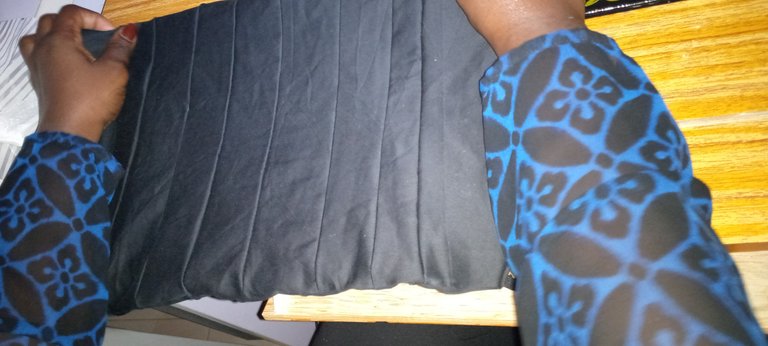
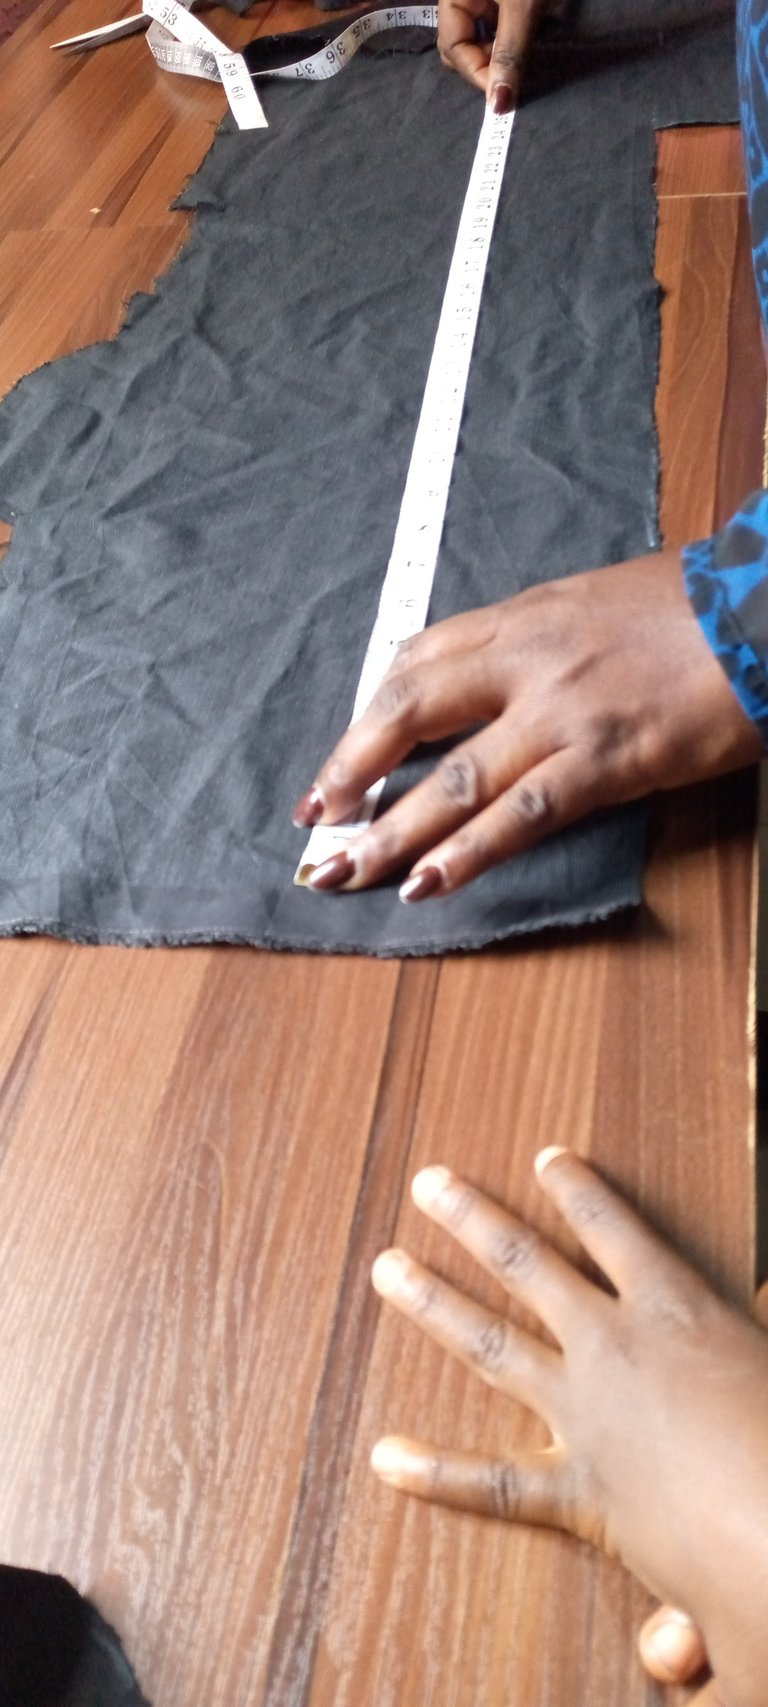
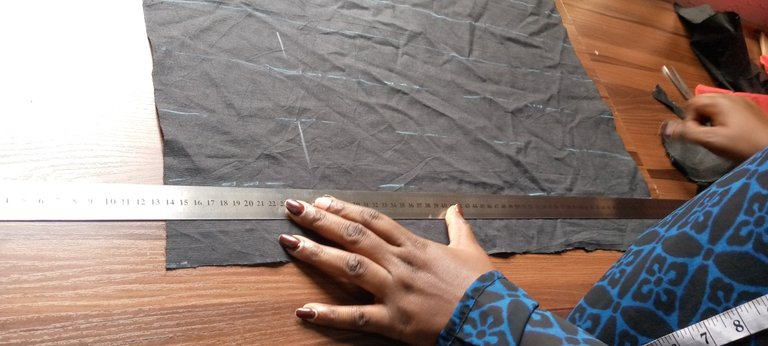
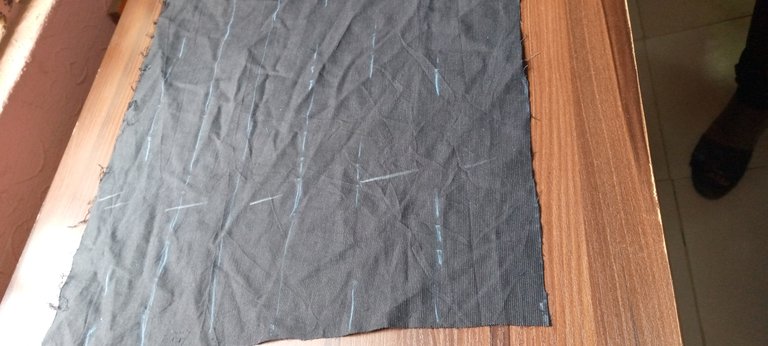
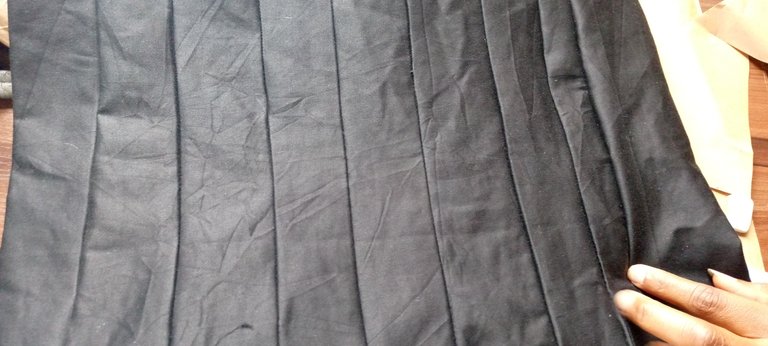
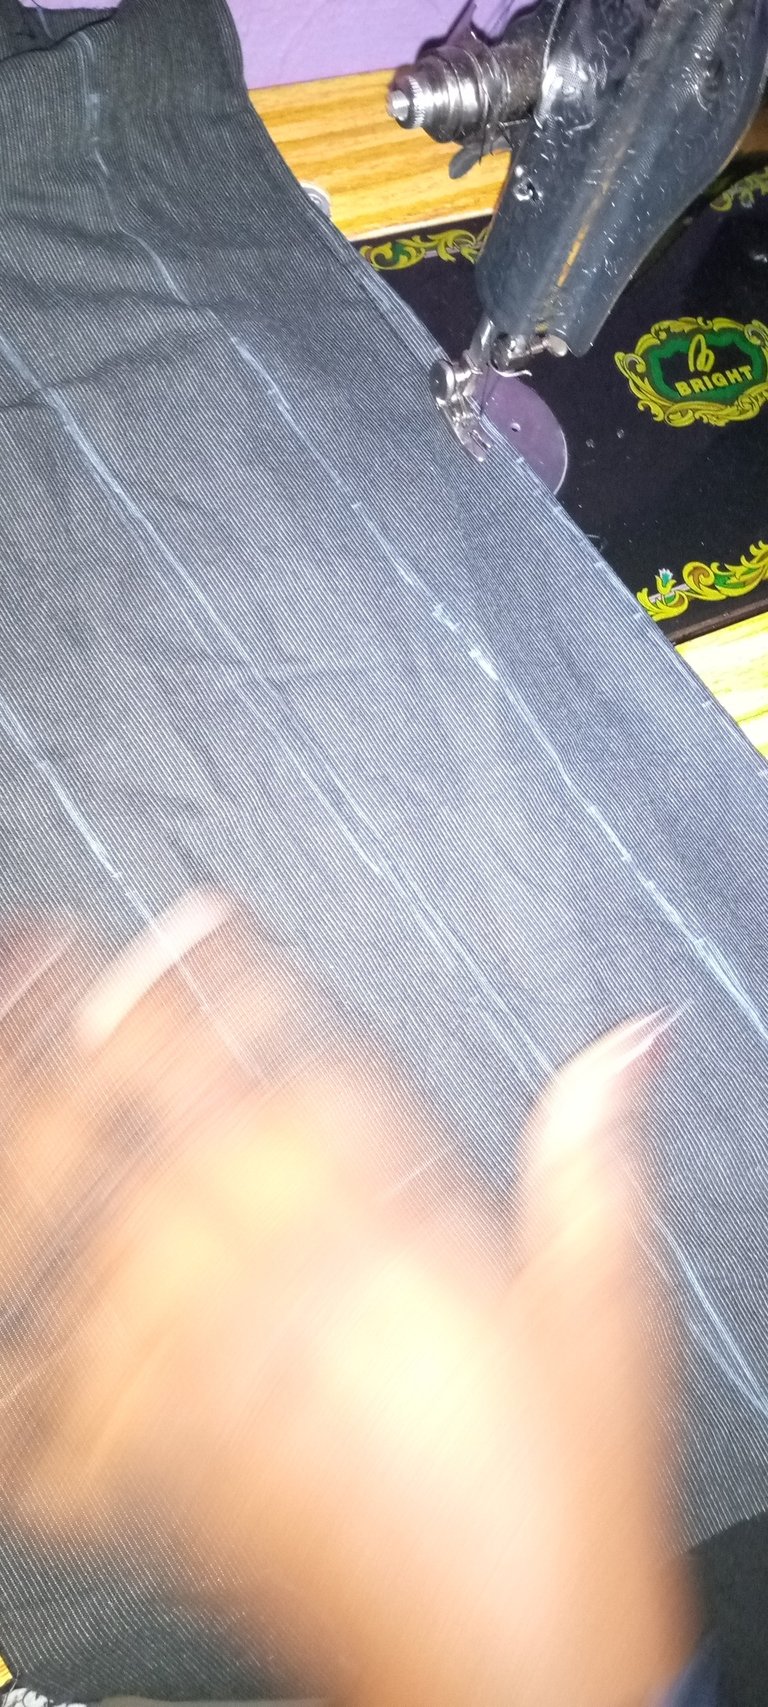
  • chalk out 2inches line all through
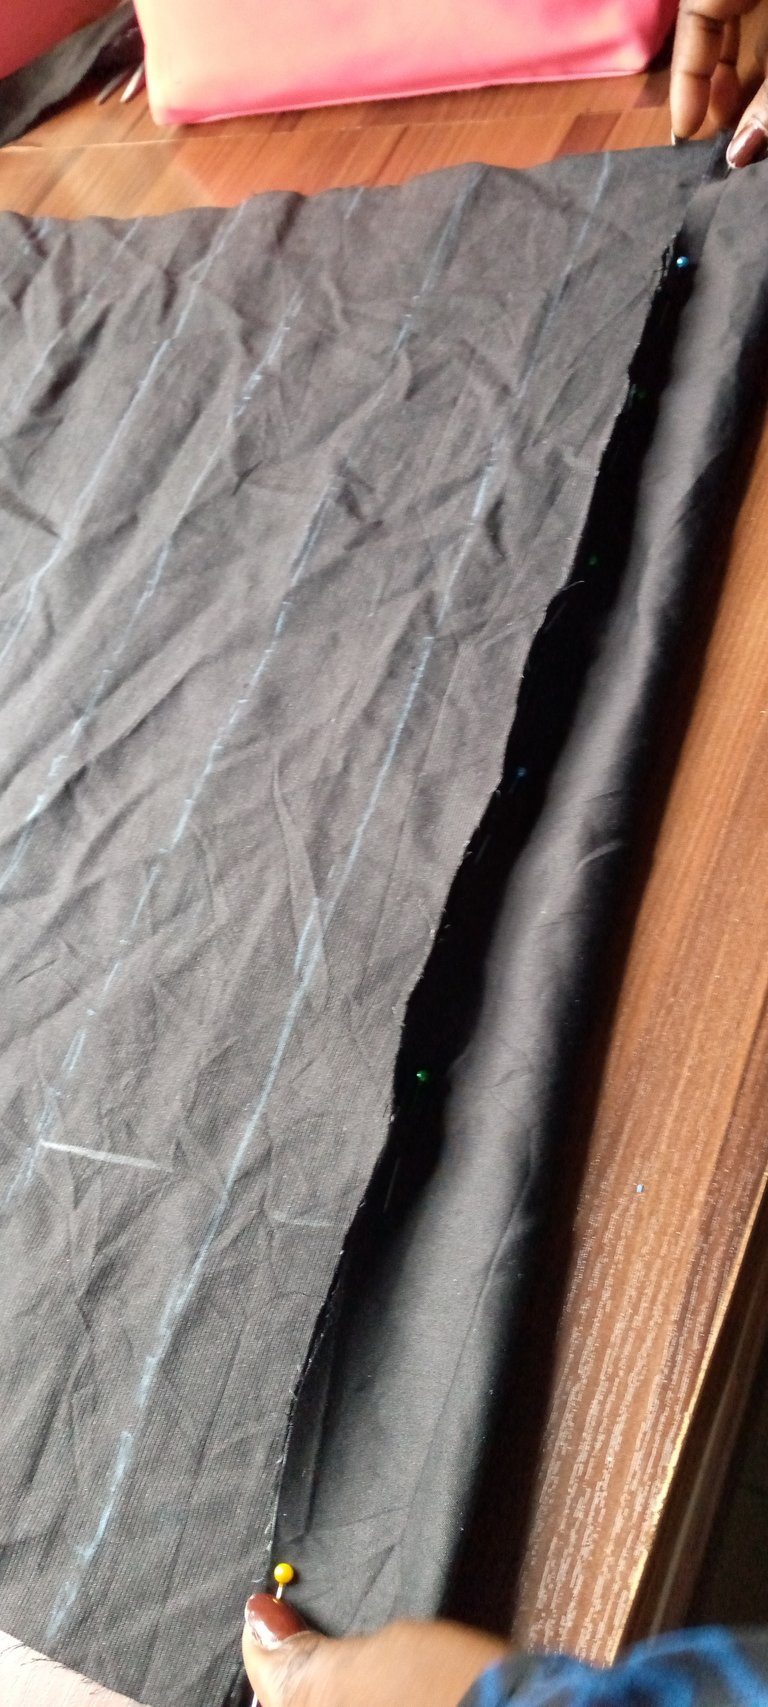
  • fold the lines by 1/2 inches with sewing machine
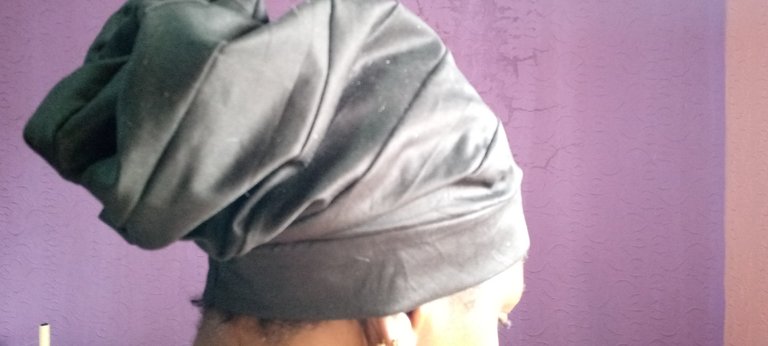
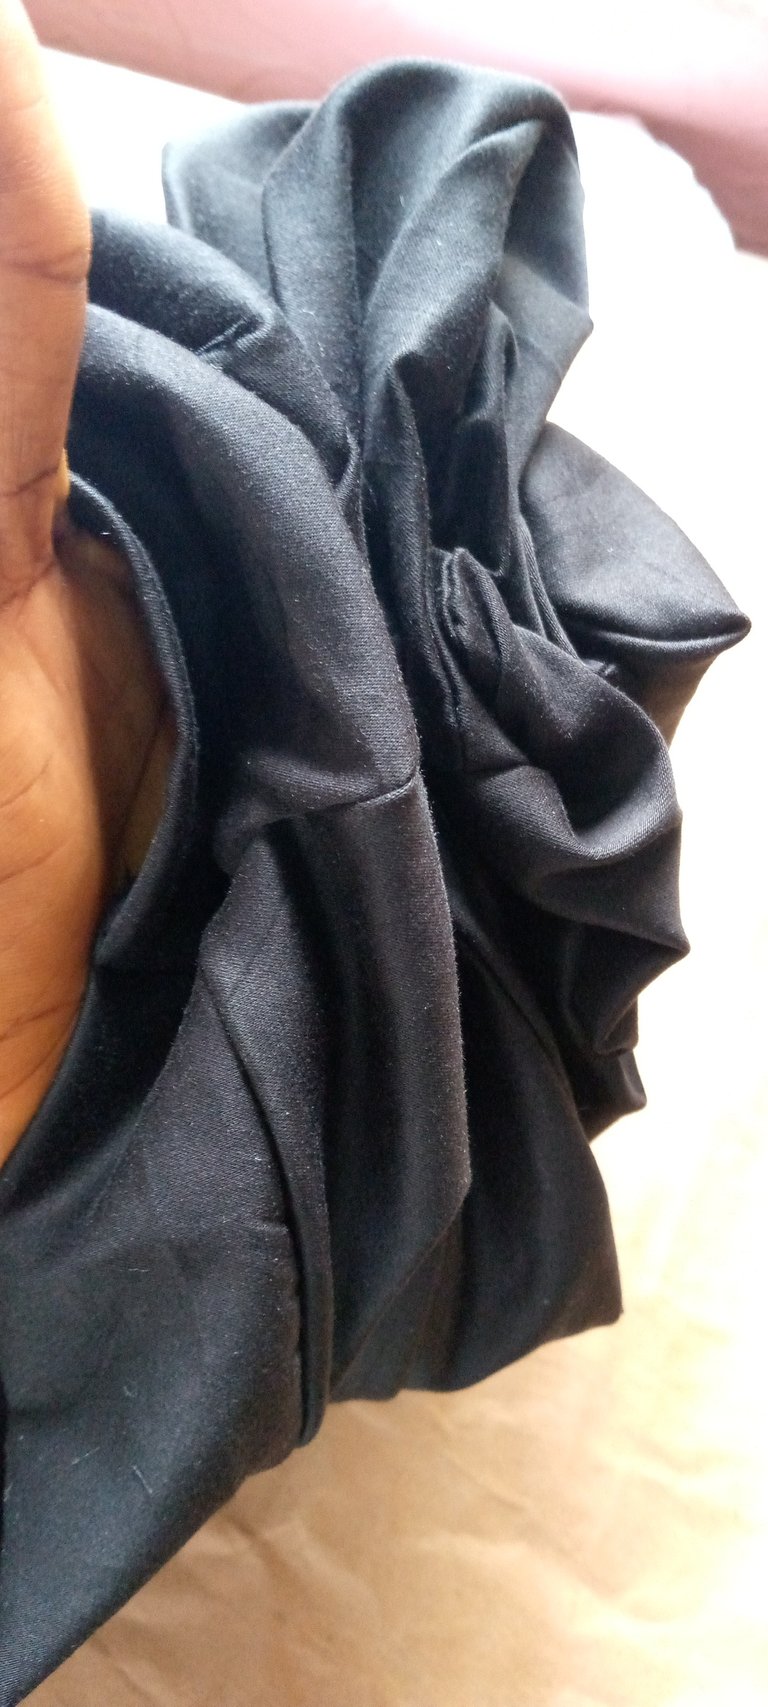
  • cut out band for the cap
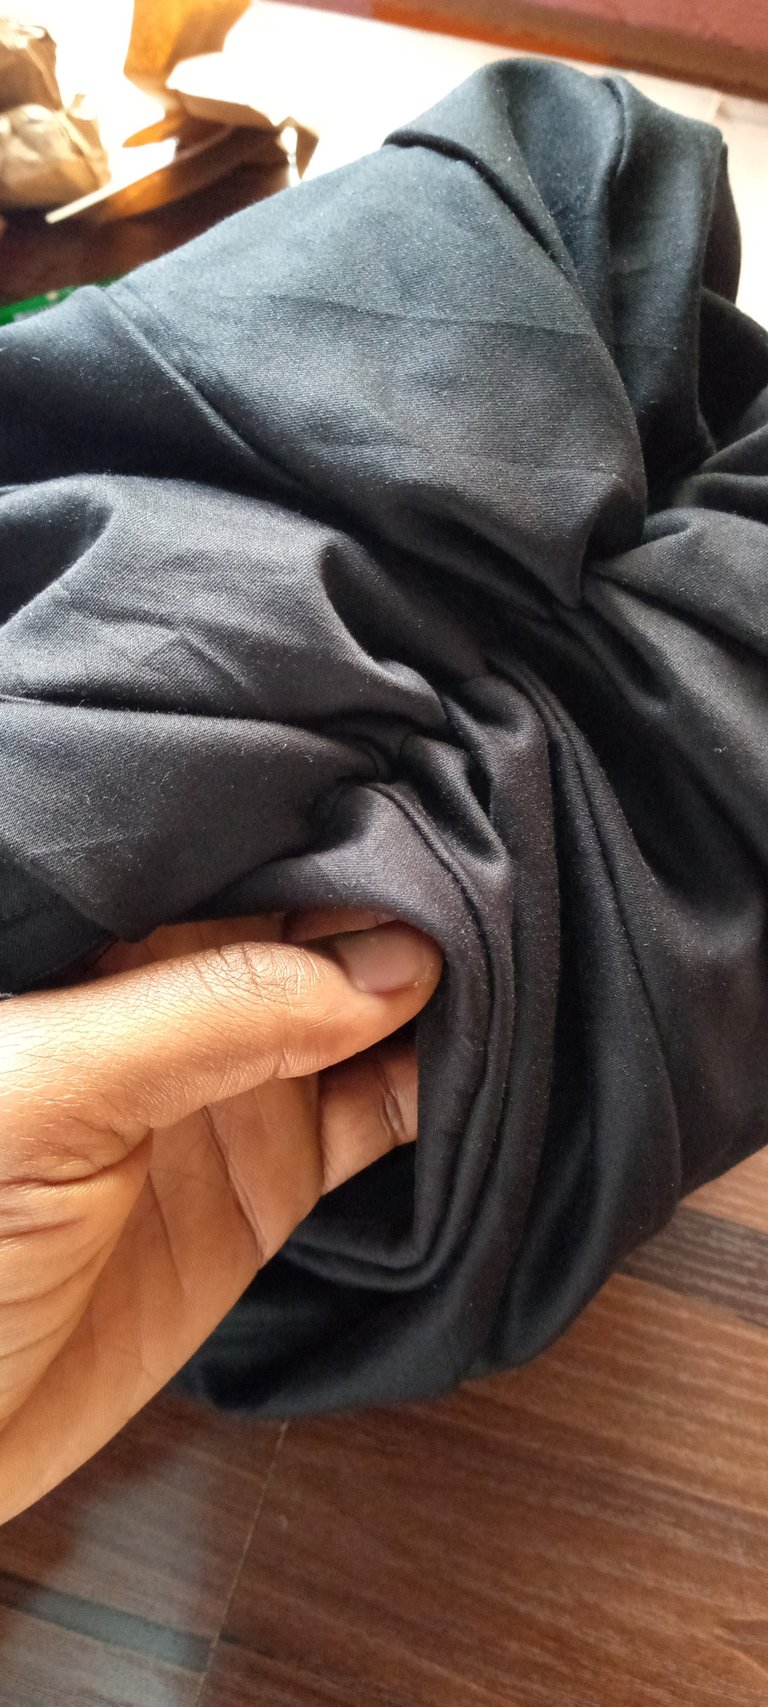
  • attach to the cap
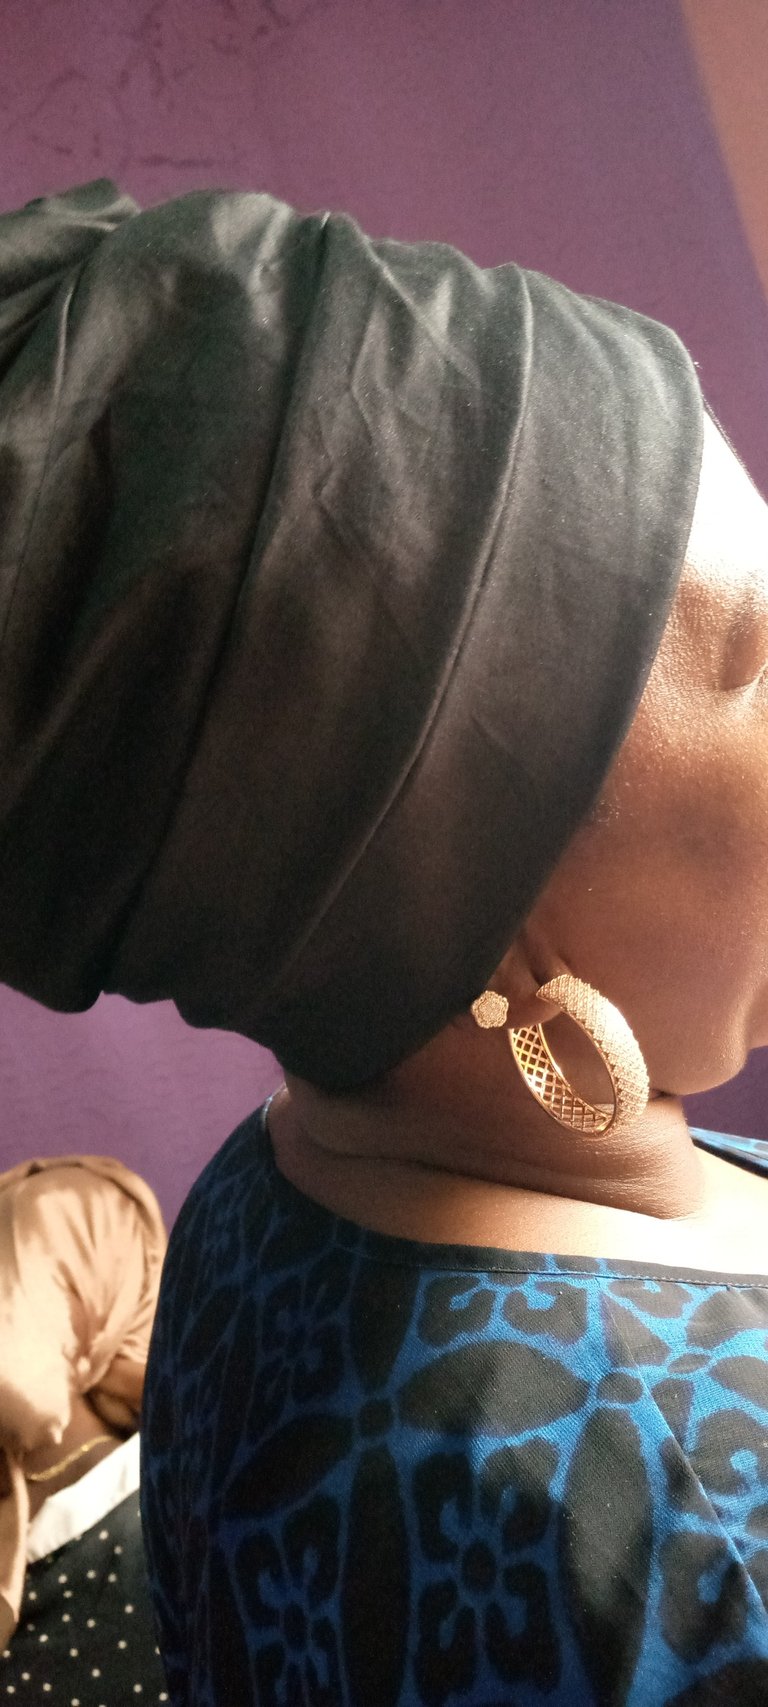
  • fold the back side of the cap with a needle and thread
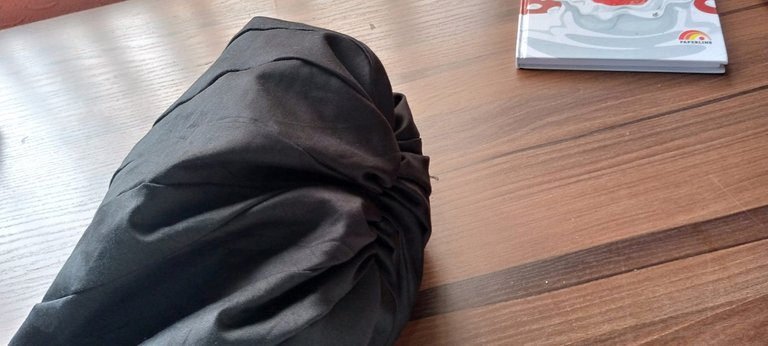
  • and your cap is ready

Thank you for reading
Reblog and comment 😊