Hola mi gente querida 😚 espero se encuentren llenos de mucha salud y creatividad, para seguir compartiendo nuestras creaciones siempre con las mejores vibras.
Hello my dear people 😚 I hope you are full of good health and creativity, to continue sharing our creations always with the best vibes.
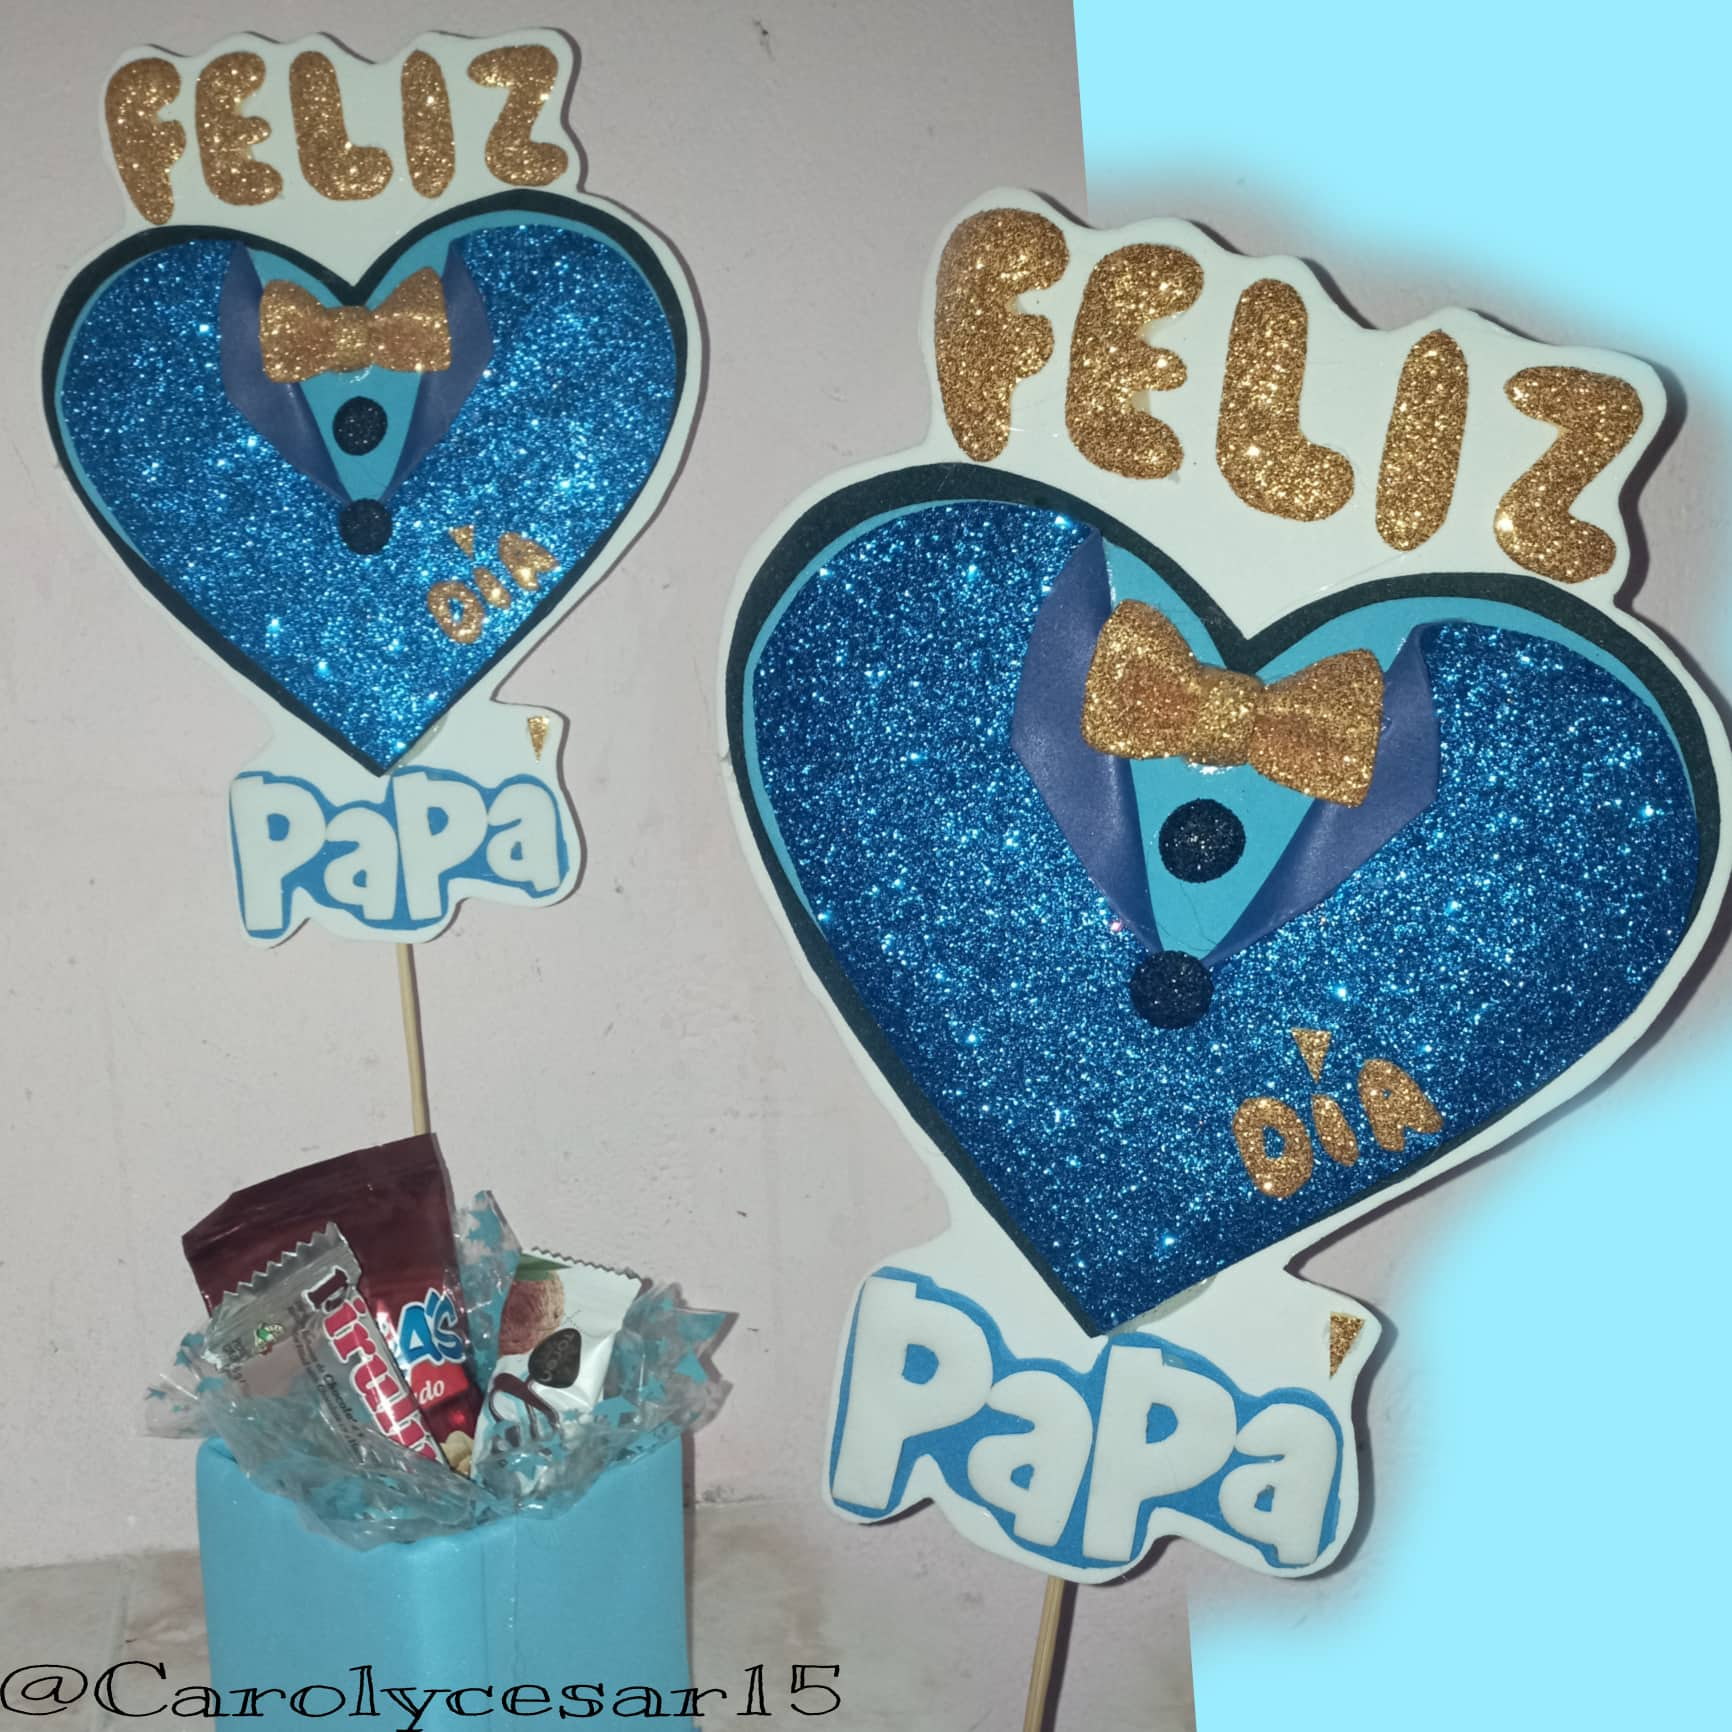
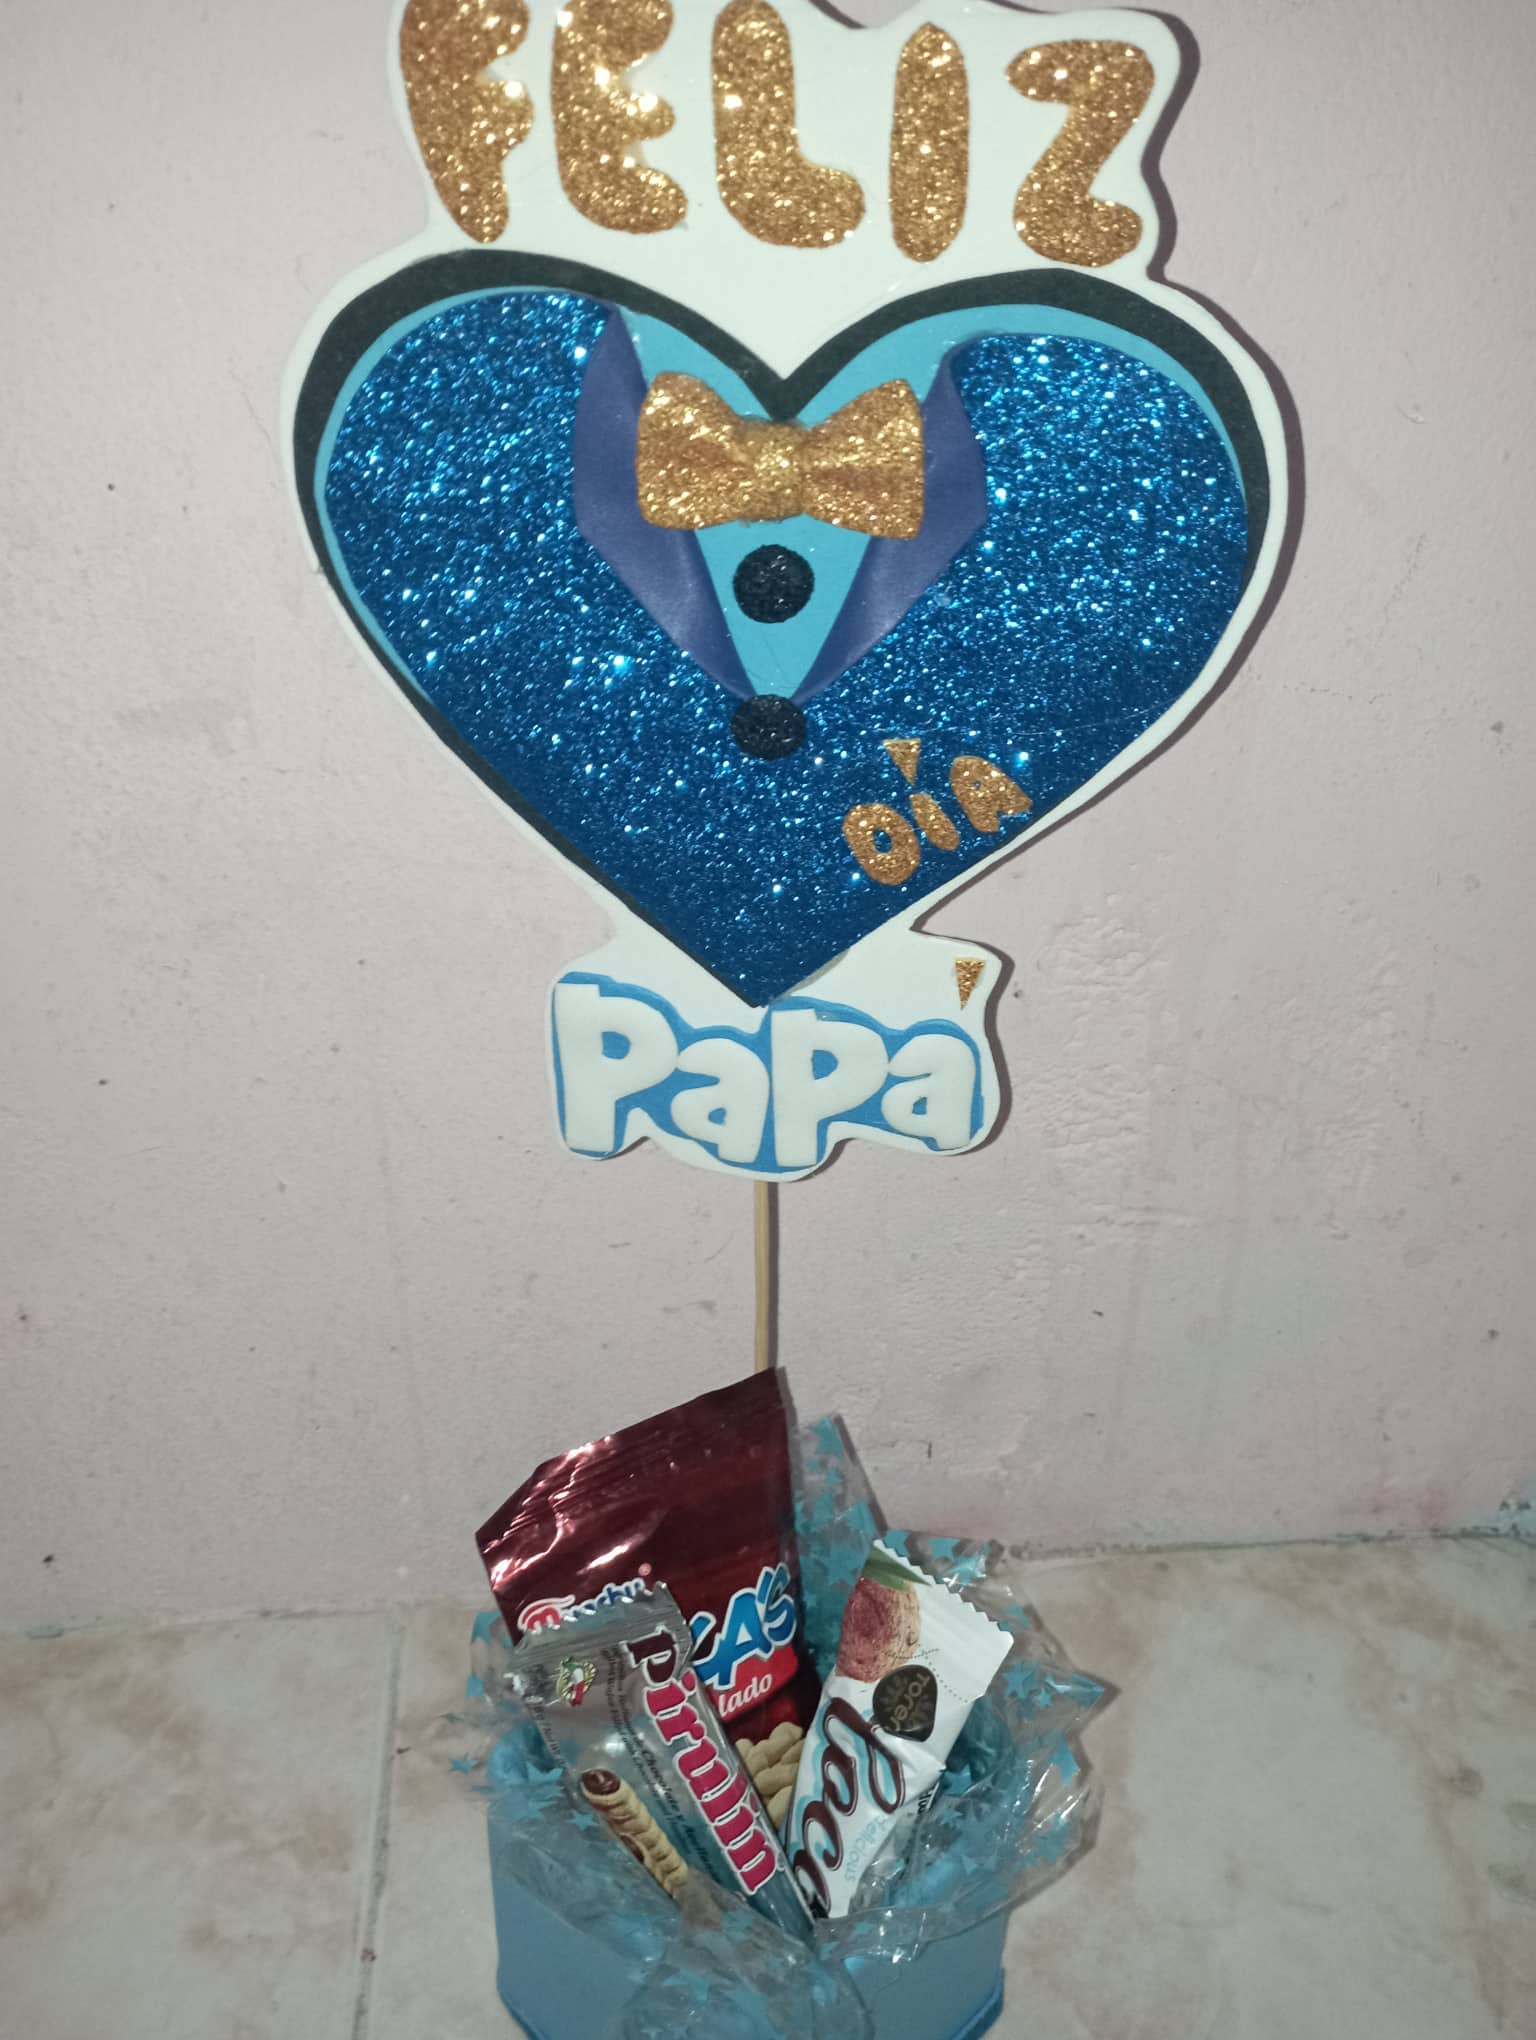
Les quiero compartir éste lindo tooper de corazón para decorar un detalle para obsequiar a una persona muy especial, un padre ejemplar que ama sus hijos..y que al igual que el día de las madres se deben celebrar todos los días
I want to share with you this cute tooper with a heart to decorate a detail to give to a very special person, an exemplary father who loves his children... and who, like Mother's Day, should be celebrated every day
Ahora les cuento como lo hice y los materiales que utilice.
Now I'll tell you how I did it and the materials I used.
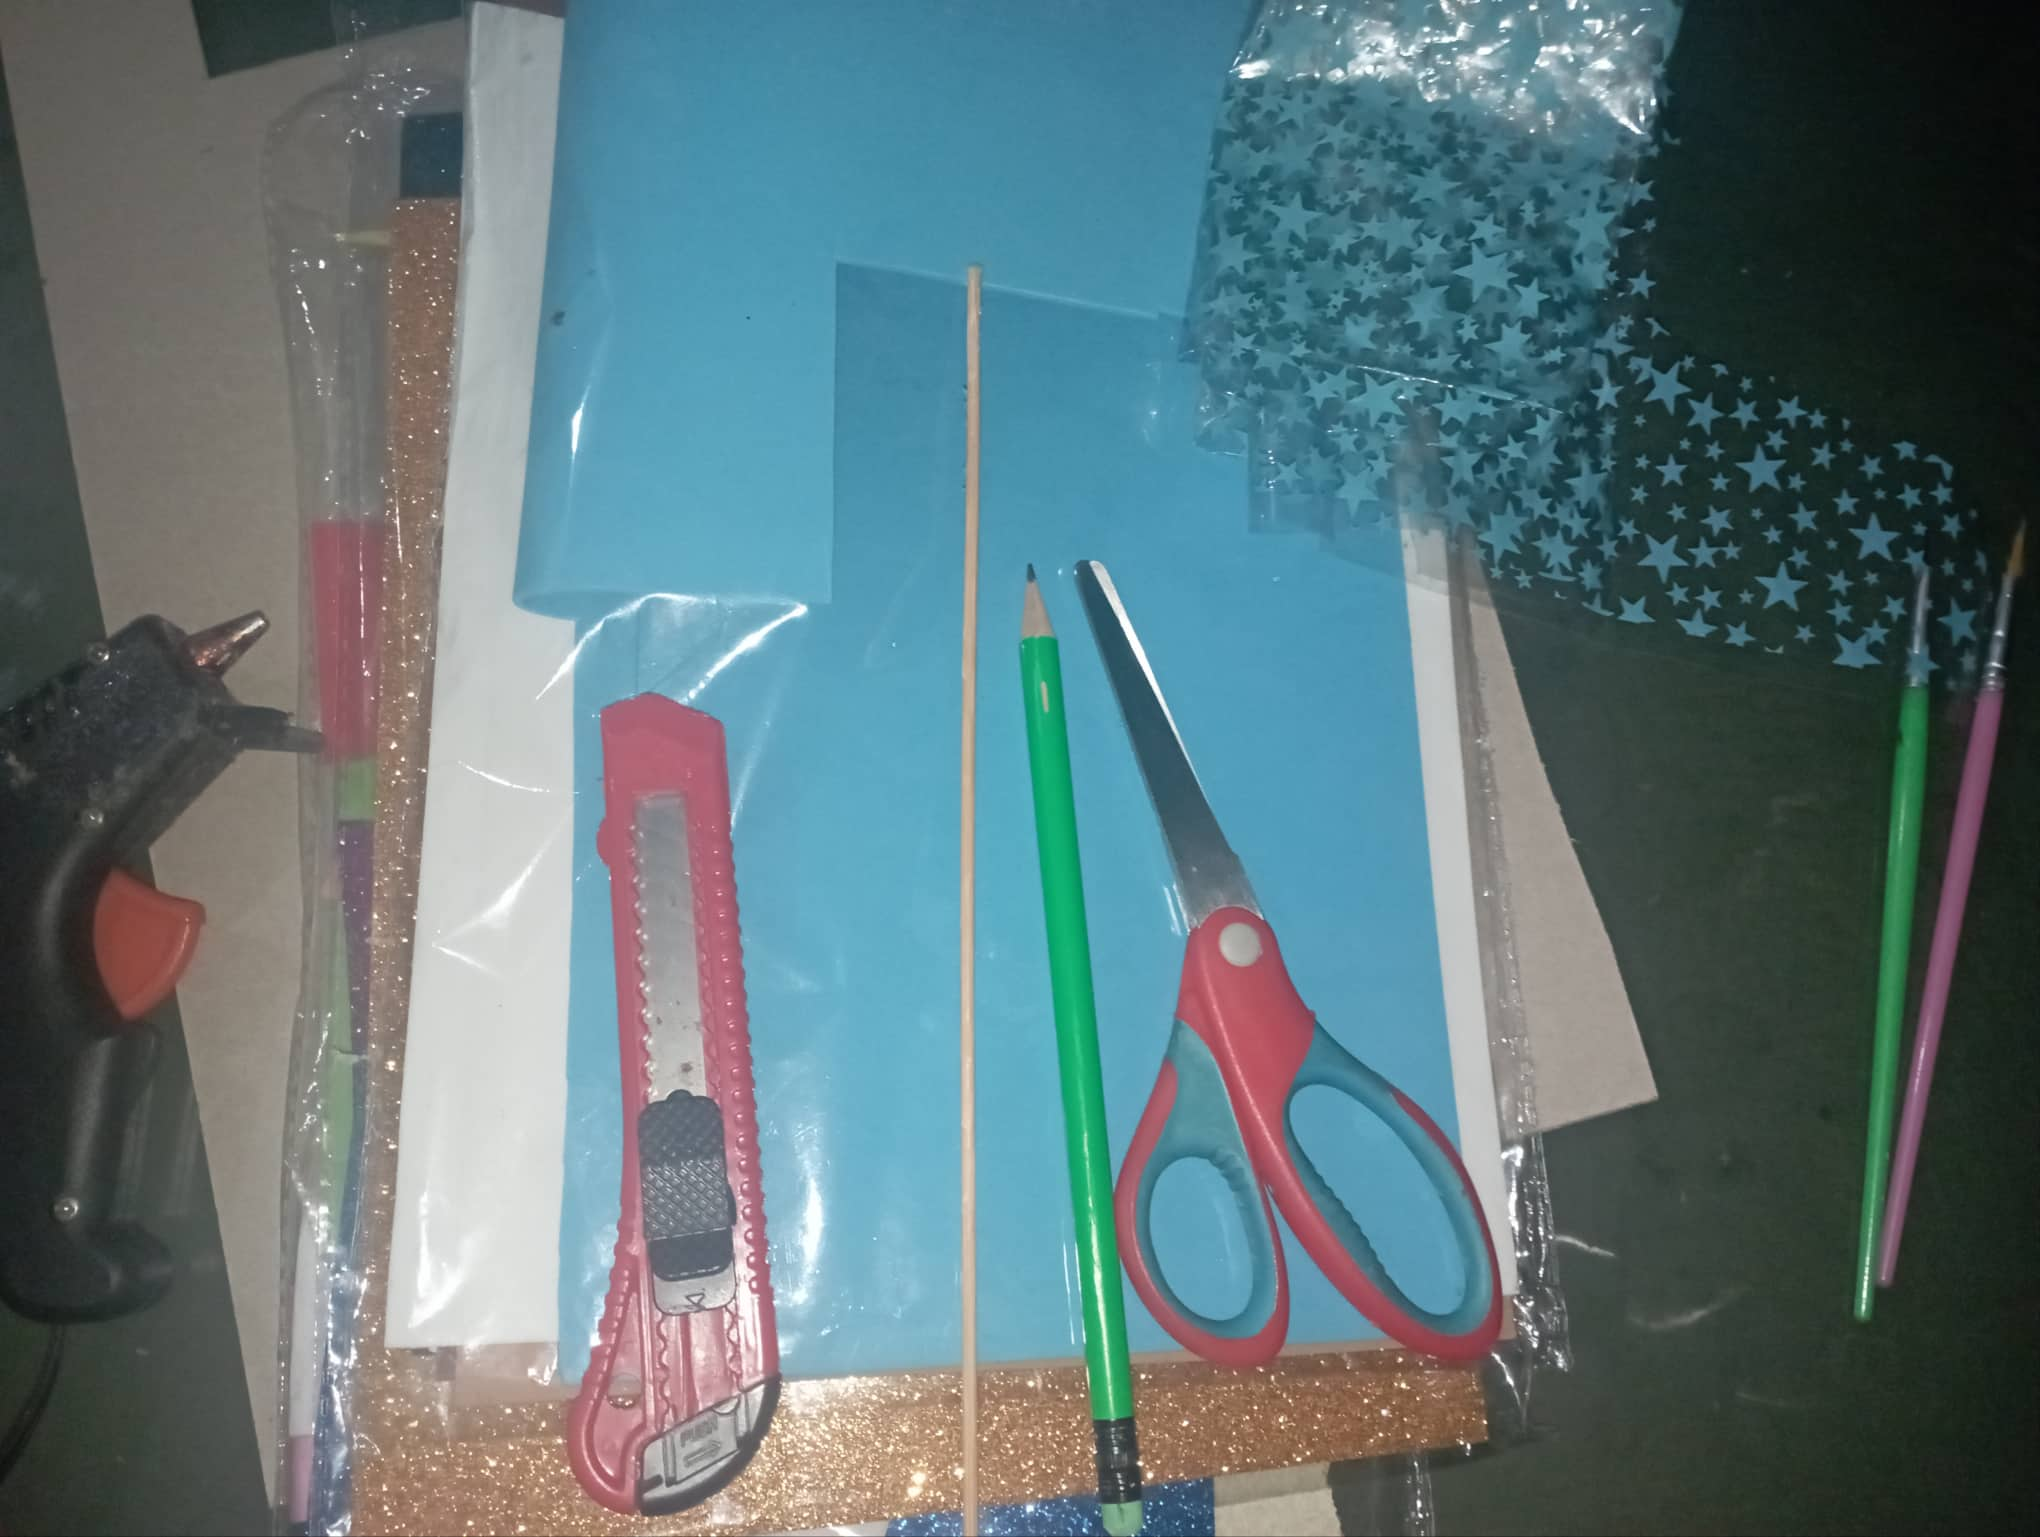
Materiales:
- Carton.
- Foami.
- Papel celofan.
- Palitos de altura.
- Silicon caliente.
- Tijeras.
Materials:
- Cardboard.
- Foami.
- Celofan paper.
- Height sticks.
- Hot silicone.
- Scissors.
Elaboracion:
Elaboration:
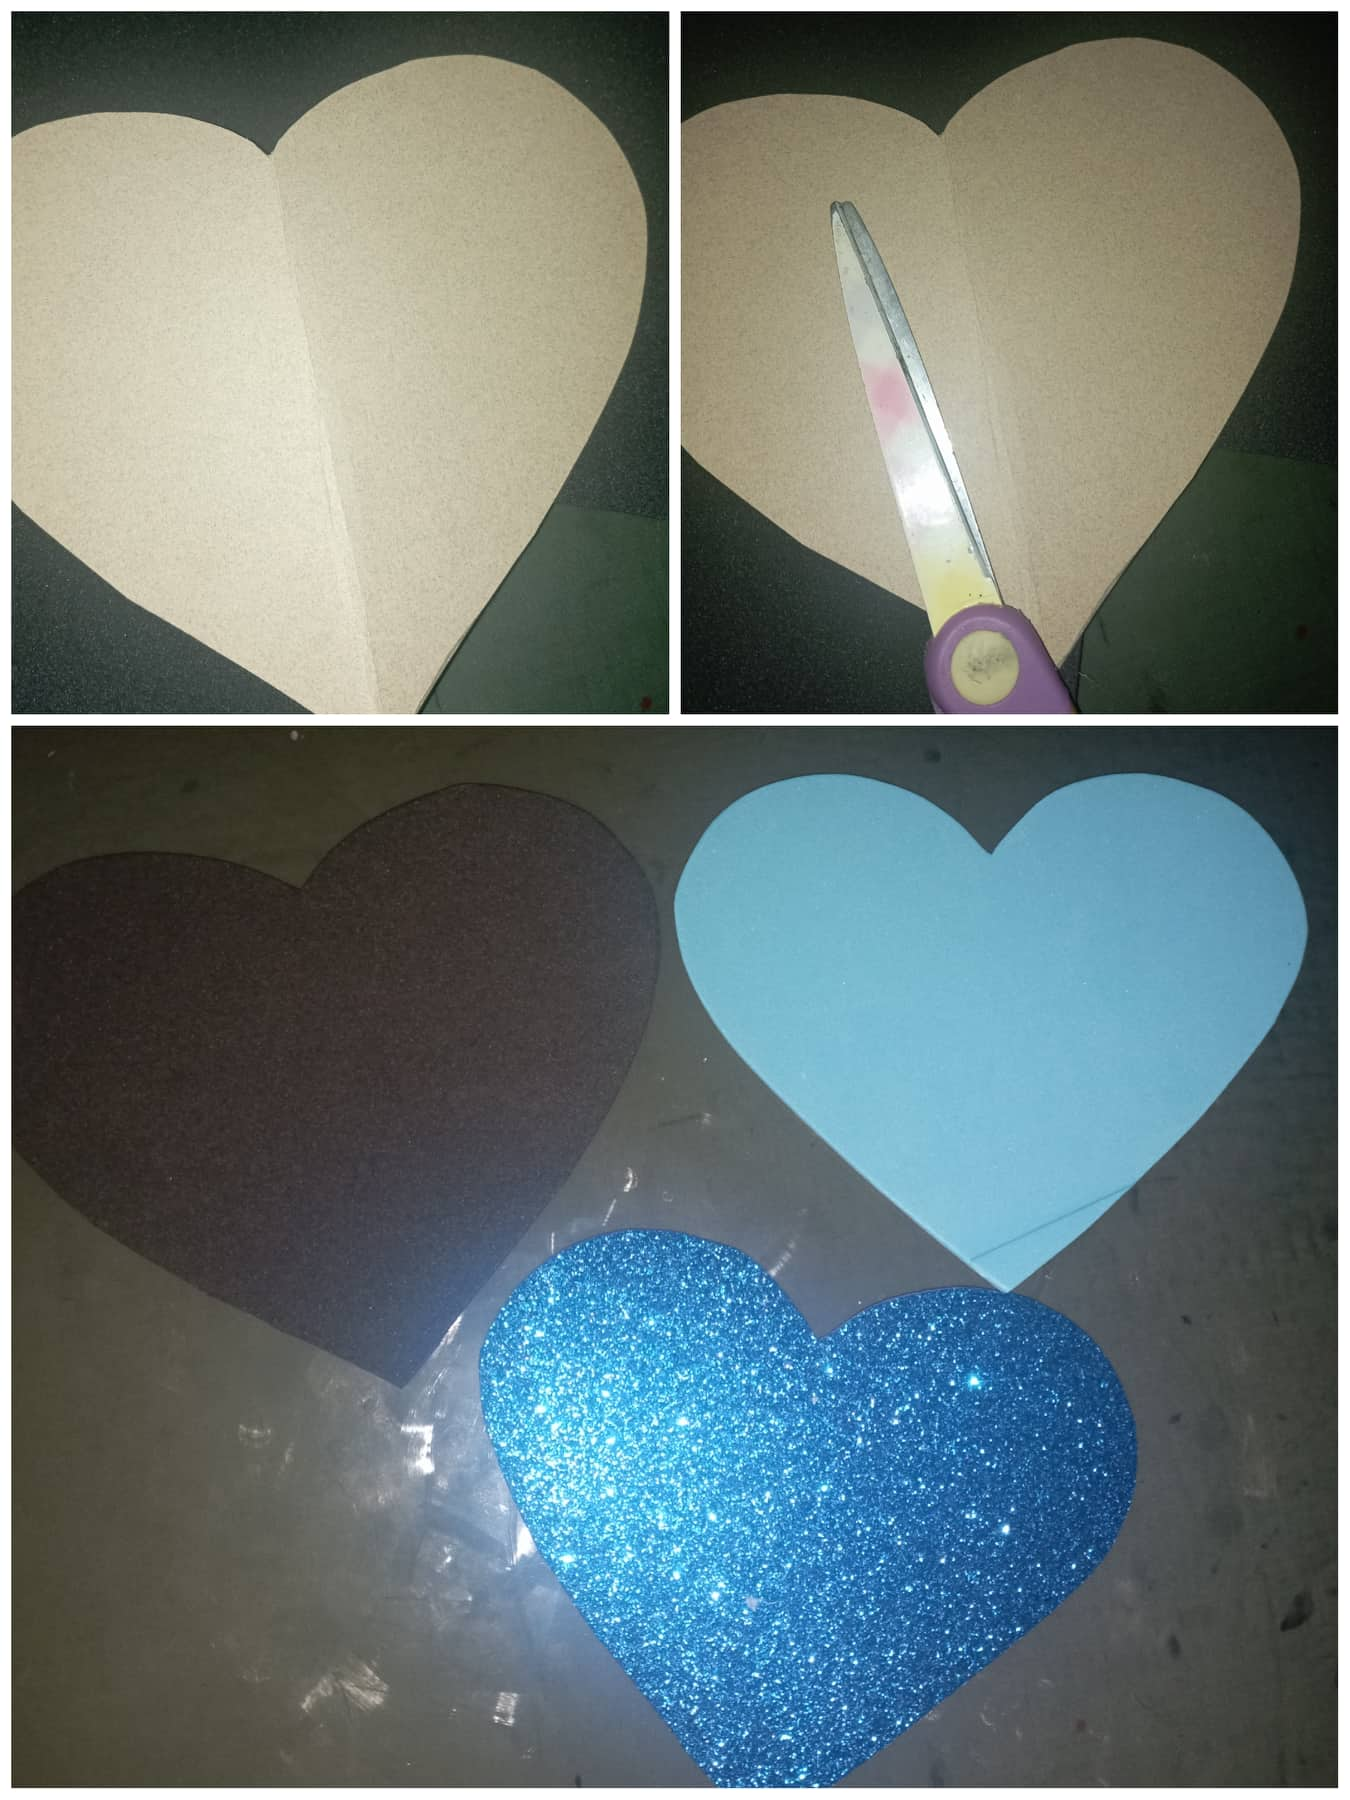
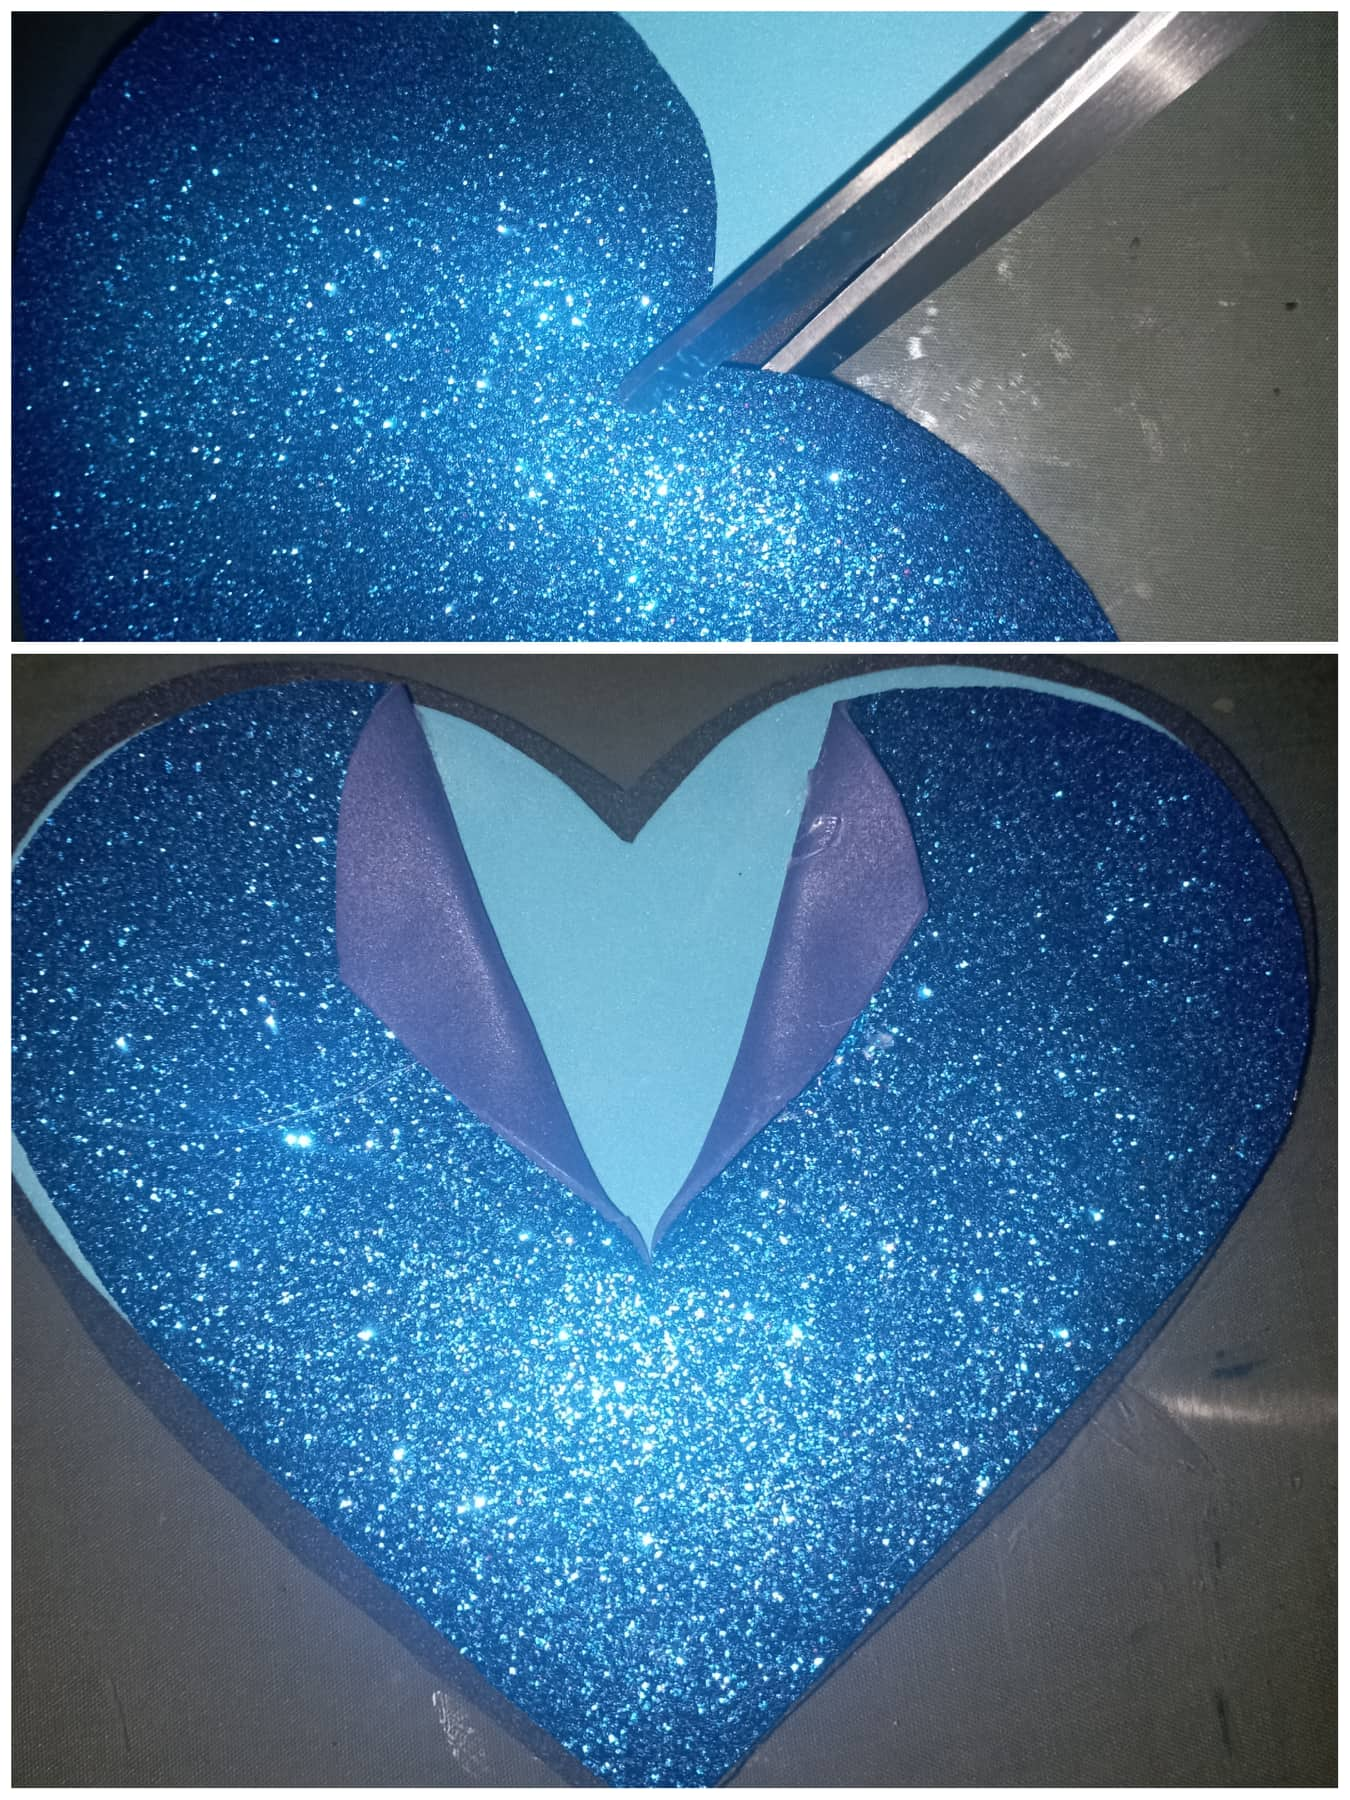
- Lo primero que hay que hacer es dibujar y recortar la figura de un corazon, luego procedimos a marcar y recortar en 3 foamis 2 azules y 1 negro la figura del corazon.
- The first thing to do is draw and cut out the figure of a heart, then we proceeded to mark and cut out the figure of the heart in 3 foamis, 2 blue and 1 black.
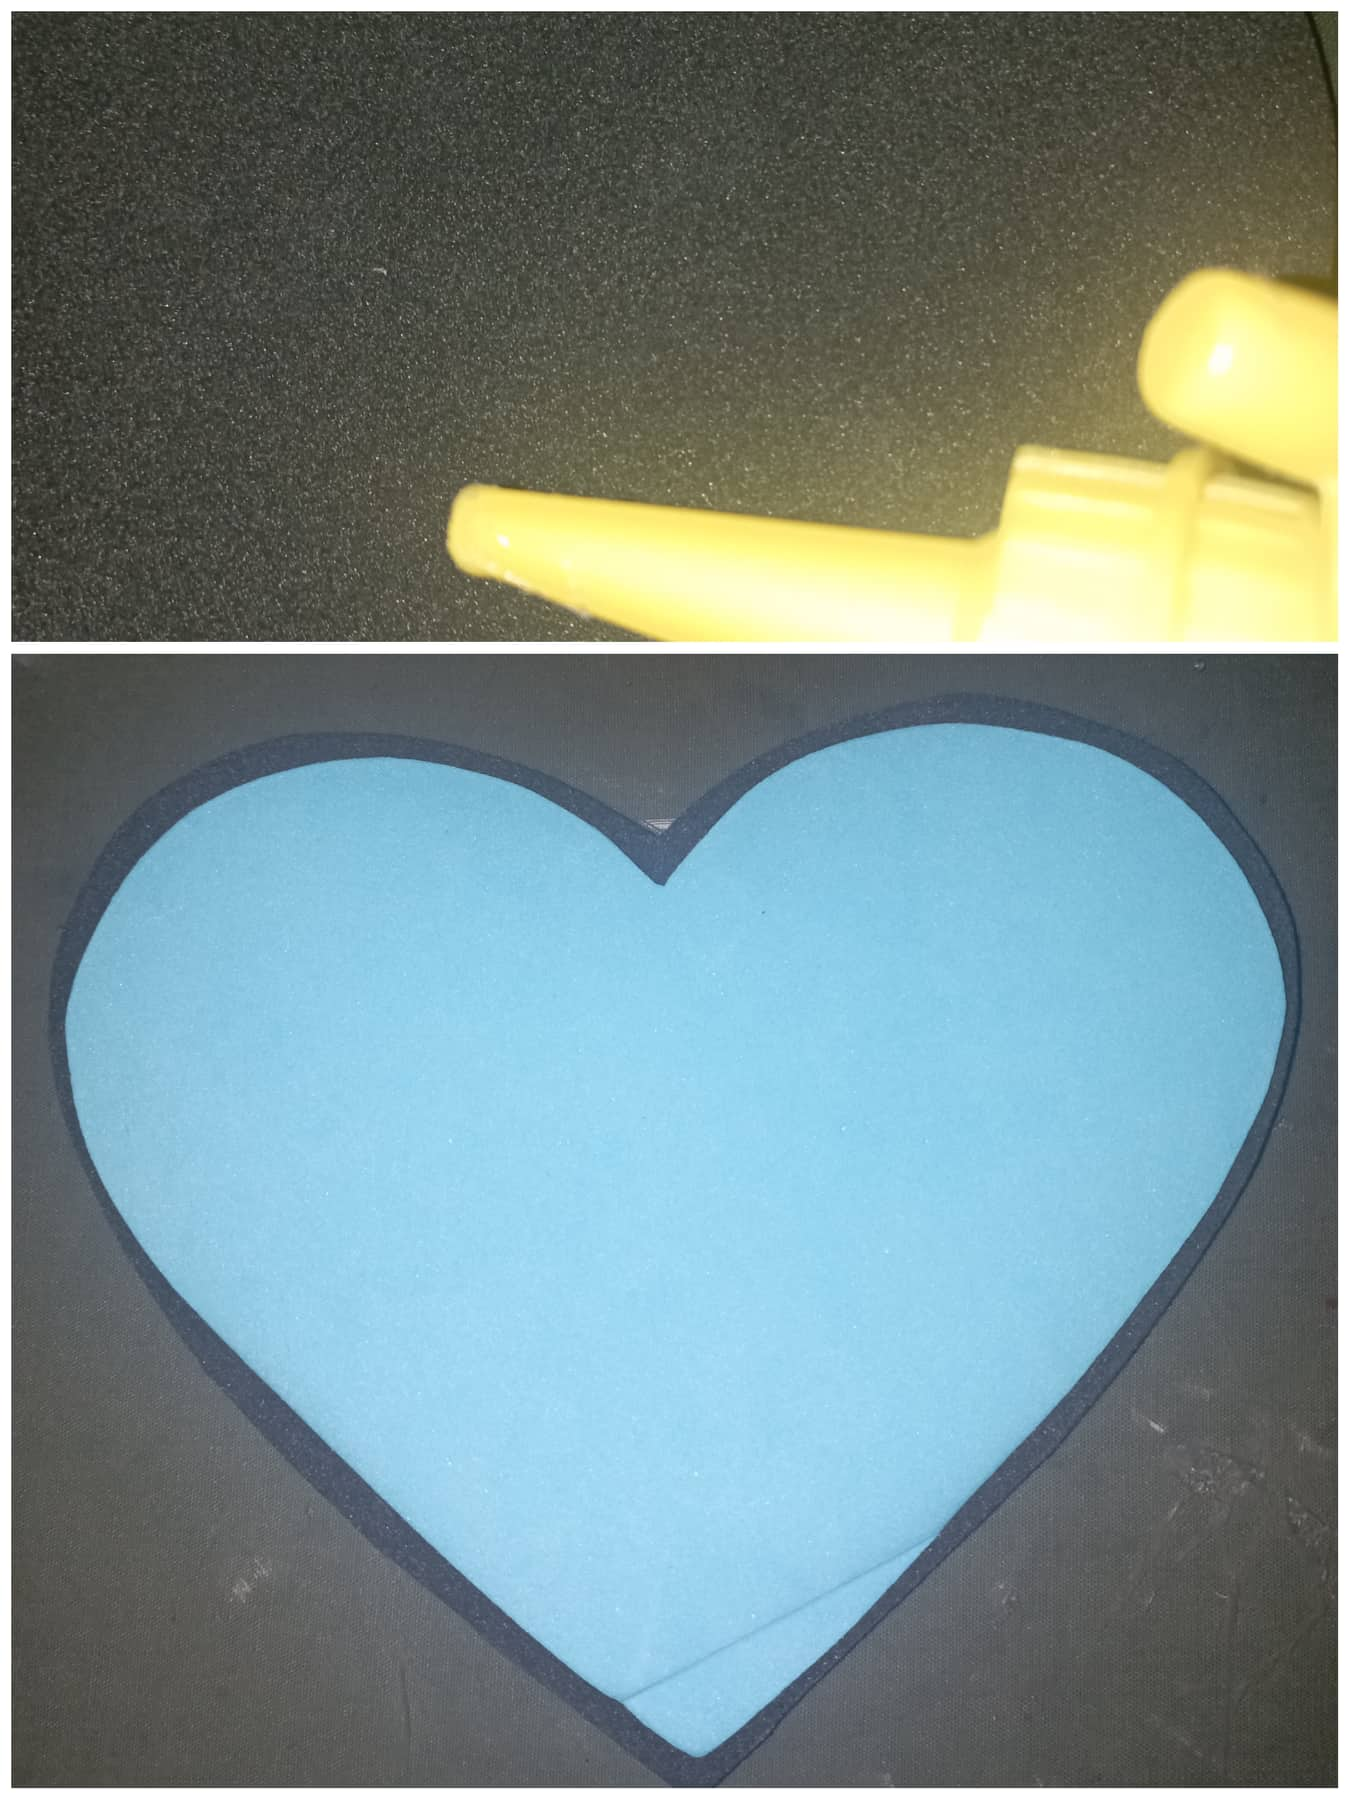
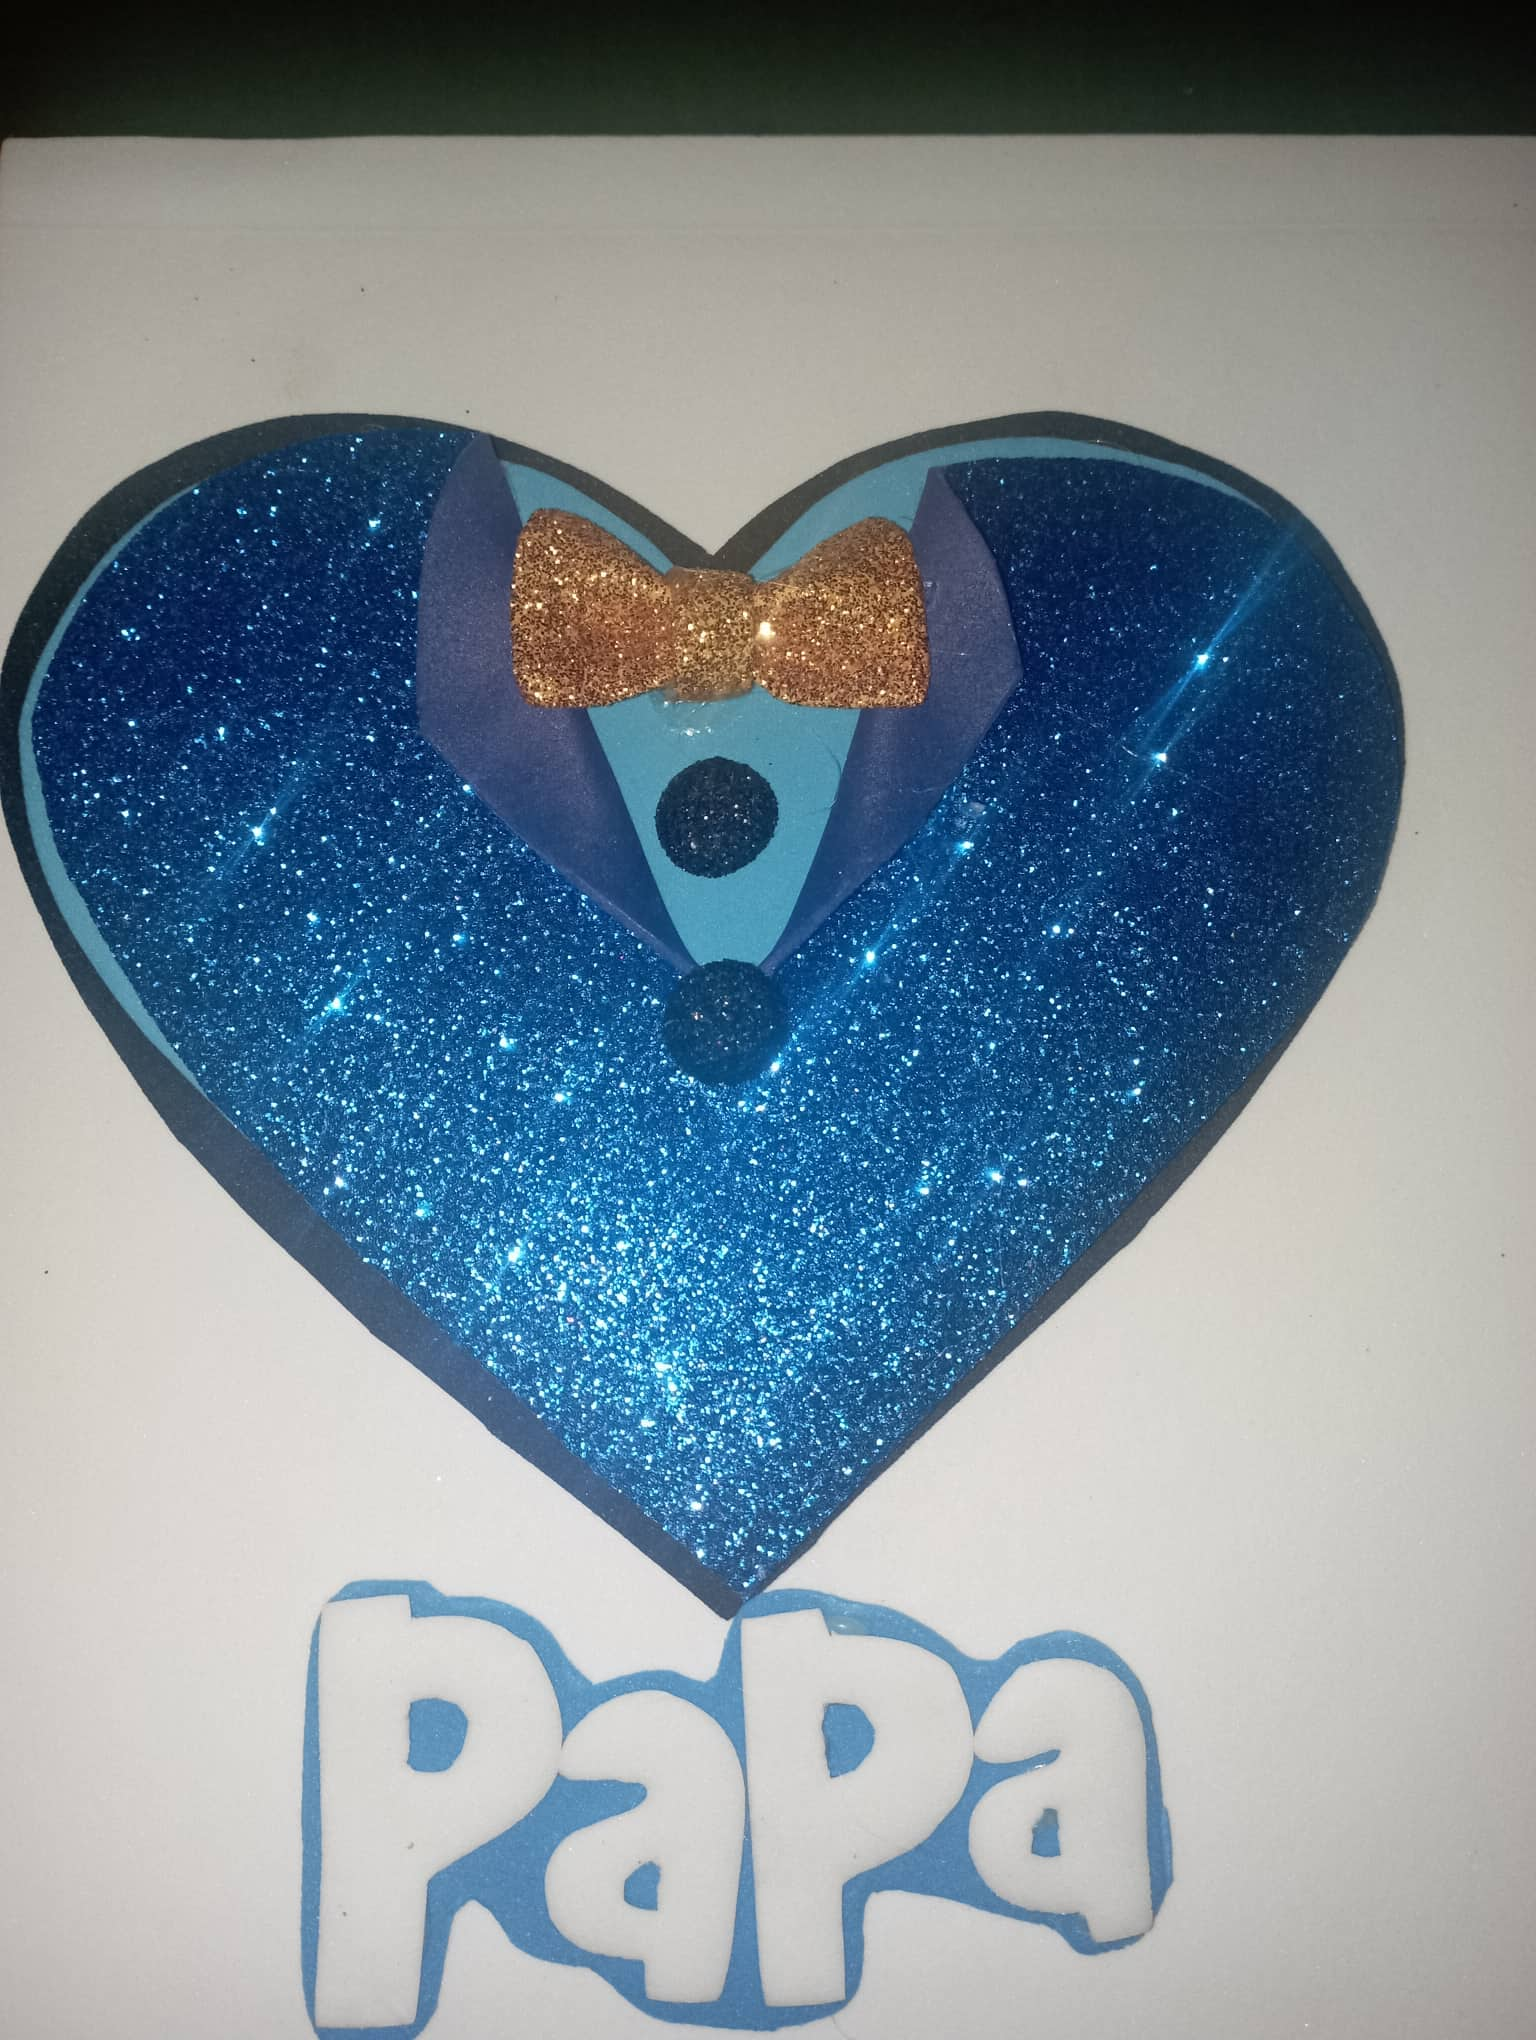
- Luego pegue 2 de los corazones, y el tercero lo corte un poco en la parte superior y pegue a cada lado como si fuera un traje como se muestra en la foto.
- Then glue 2 of the hearts, and the third cut it off a bit at the top and glue to each side like a suit as shown in the photo.
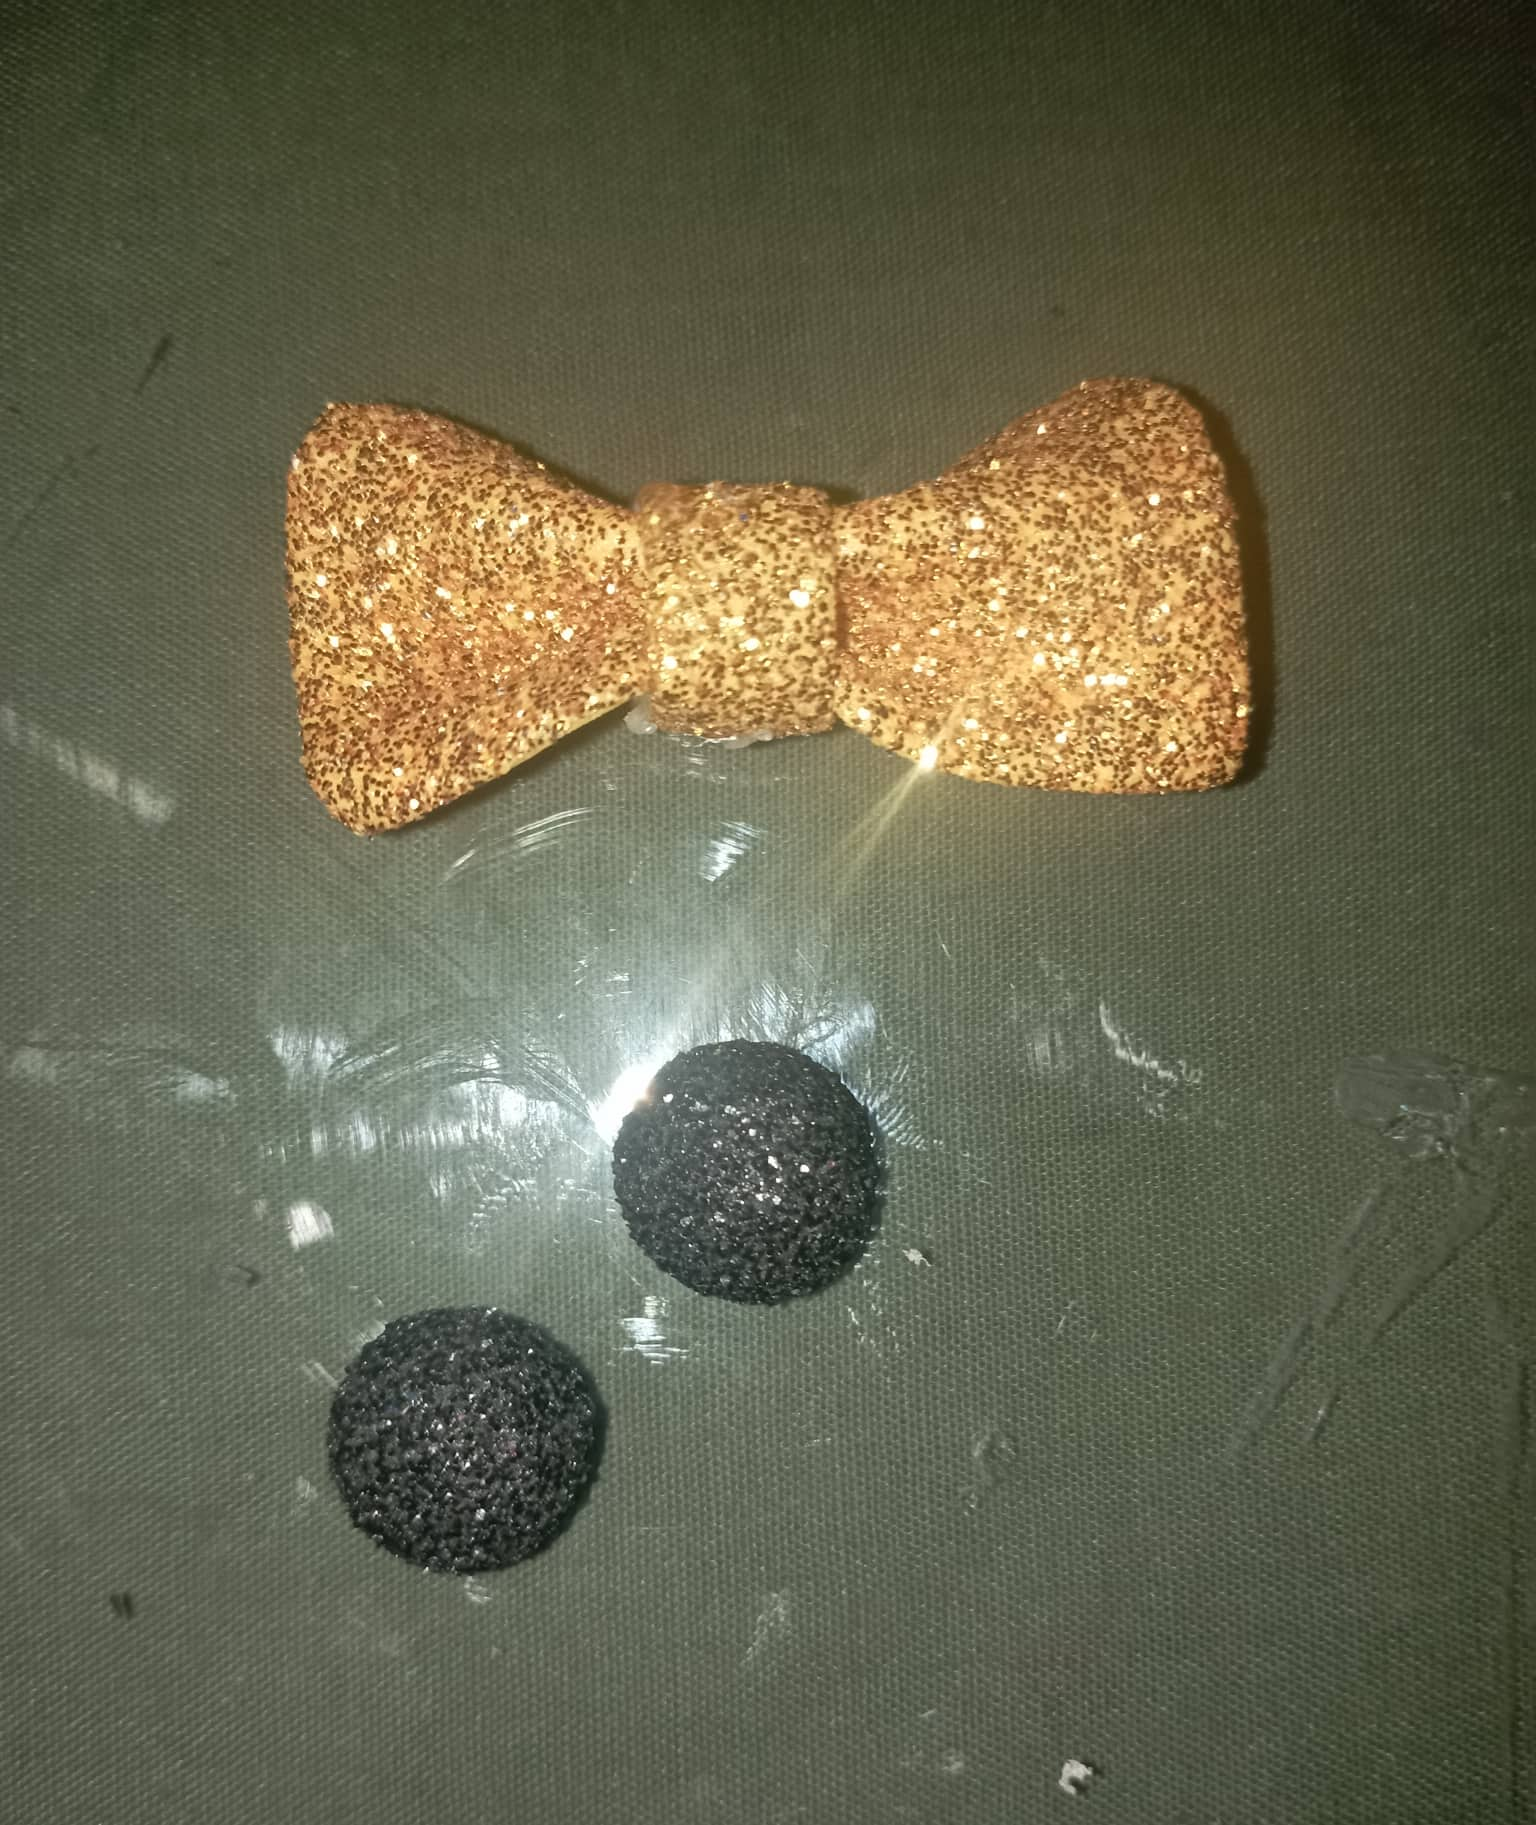
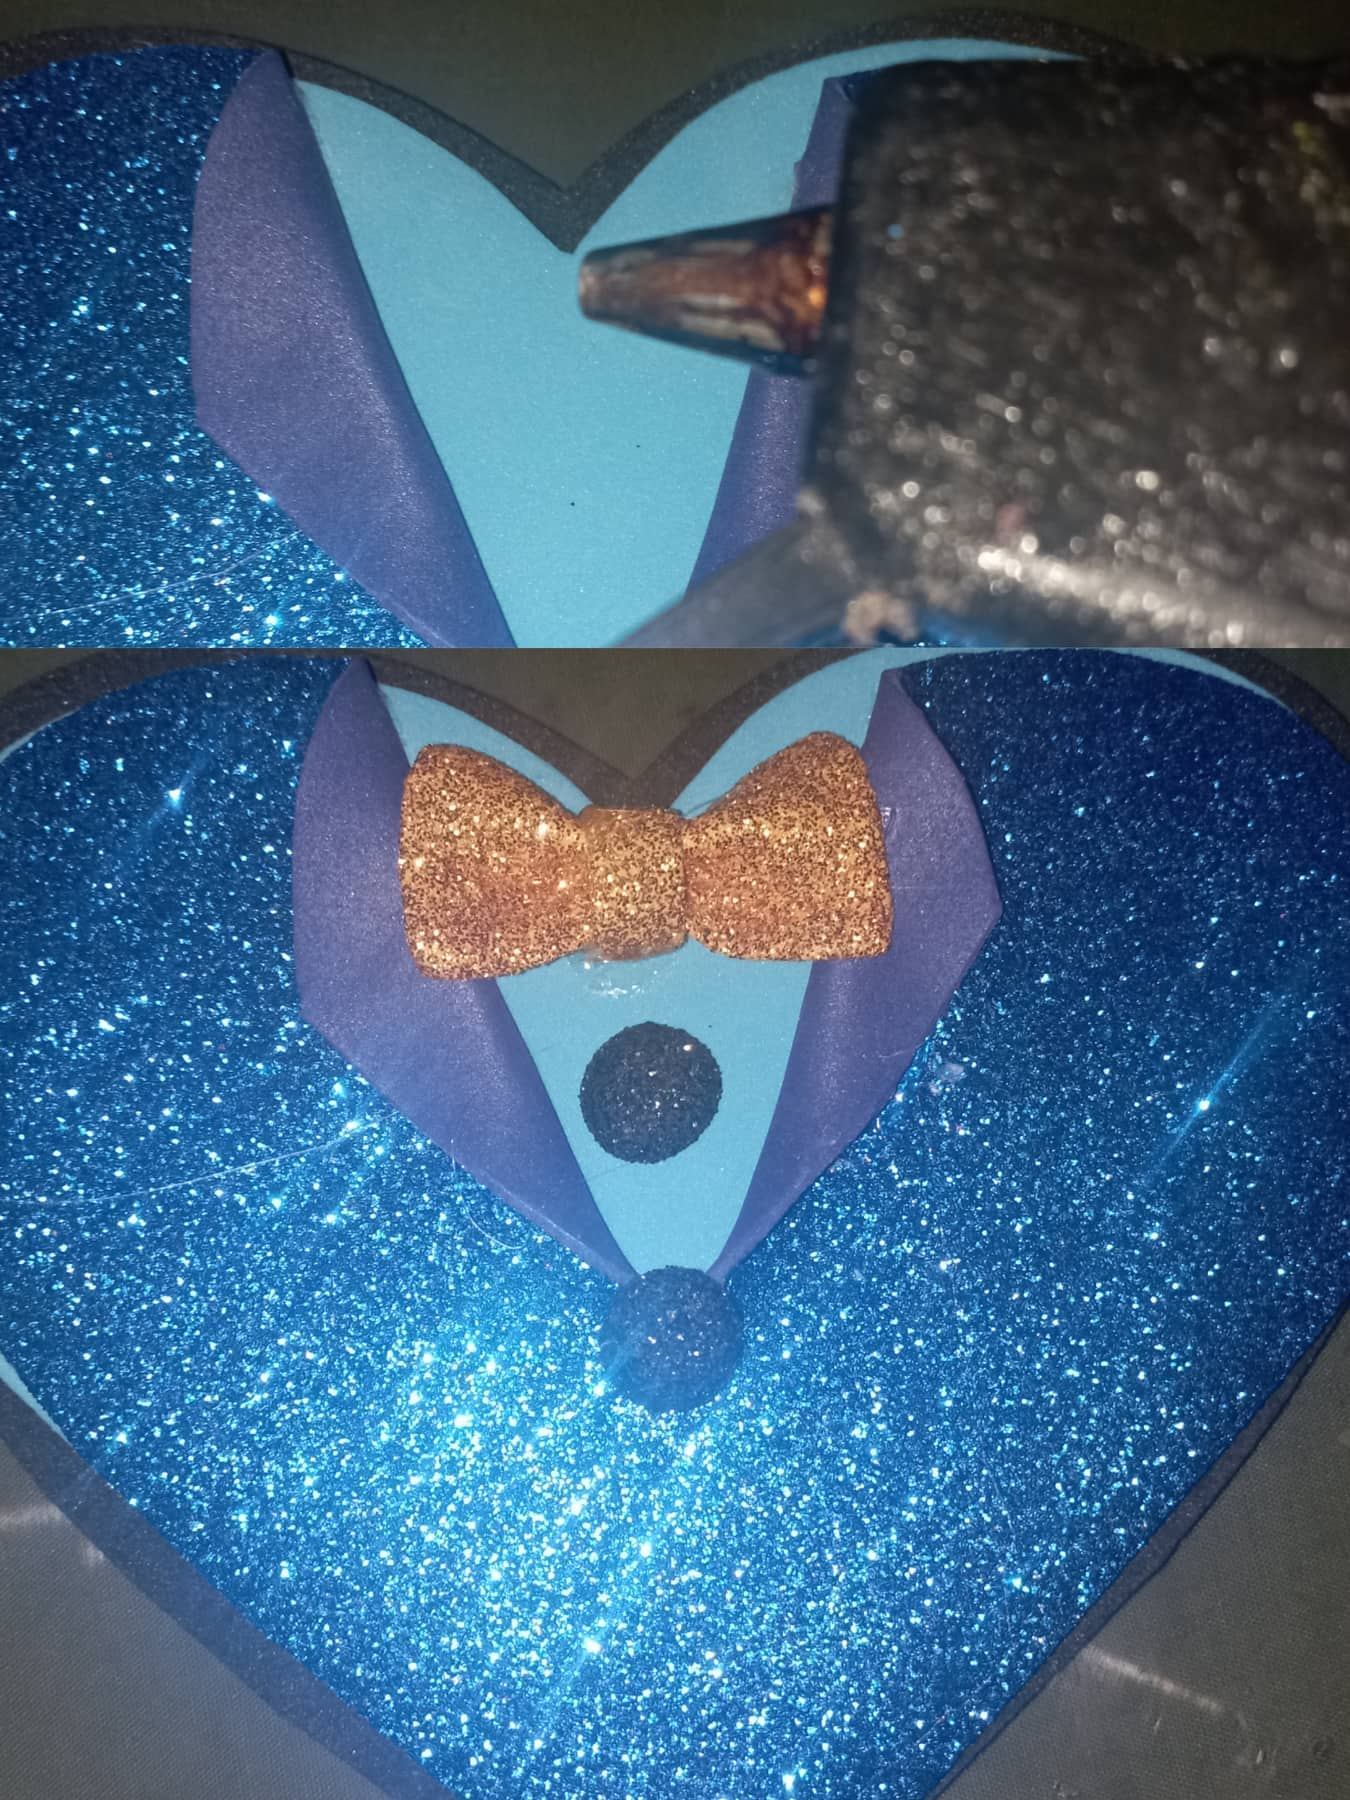
- Luego recorte 2 pequeños circulos que los pase por una plancha caliente para darles algo de forma. Al igual que un pequeño cuadrado que lo calente un poco para que fuera mas facil moldearlo, lo estire un poco, y pegue una tira de manera vertical y asi obtuve un pequeño lazo y 2 botones, que procedi a pegarlos al corazon en forma de traje.
- Then cut out 2 small circles and pass them through a hot iron to give them some shape. Like a small square that I heated a little to make it easier to mold, I stretched it a little, and glued a strip vertically and thus obtained a small bow and 2 buttons, which I proceeded to glue to the heart in the shape of a suit .
- Luego dibuje y recorte los patrones de unas letras con las palabras " Feliz dia papa" y procedi a marcarlos en en foami variando los colores entre dorado y blanco como se indica en a foto.
- Then draw and cut out the patterns of some letters with the words "Happy day dad" and proceeded to mark them on the foami varying the colors between gold and white as indicated in the photo.
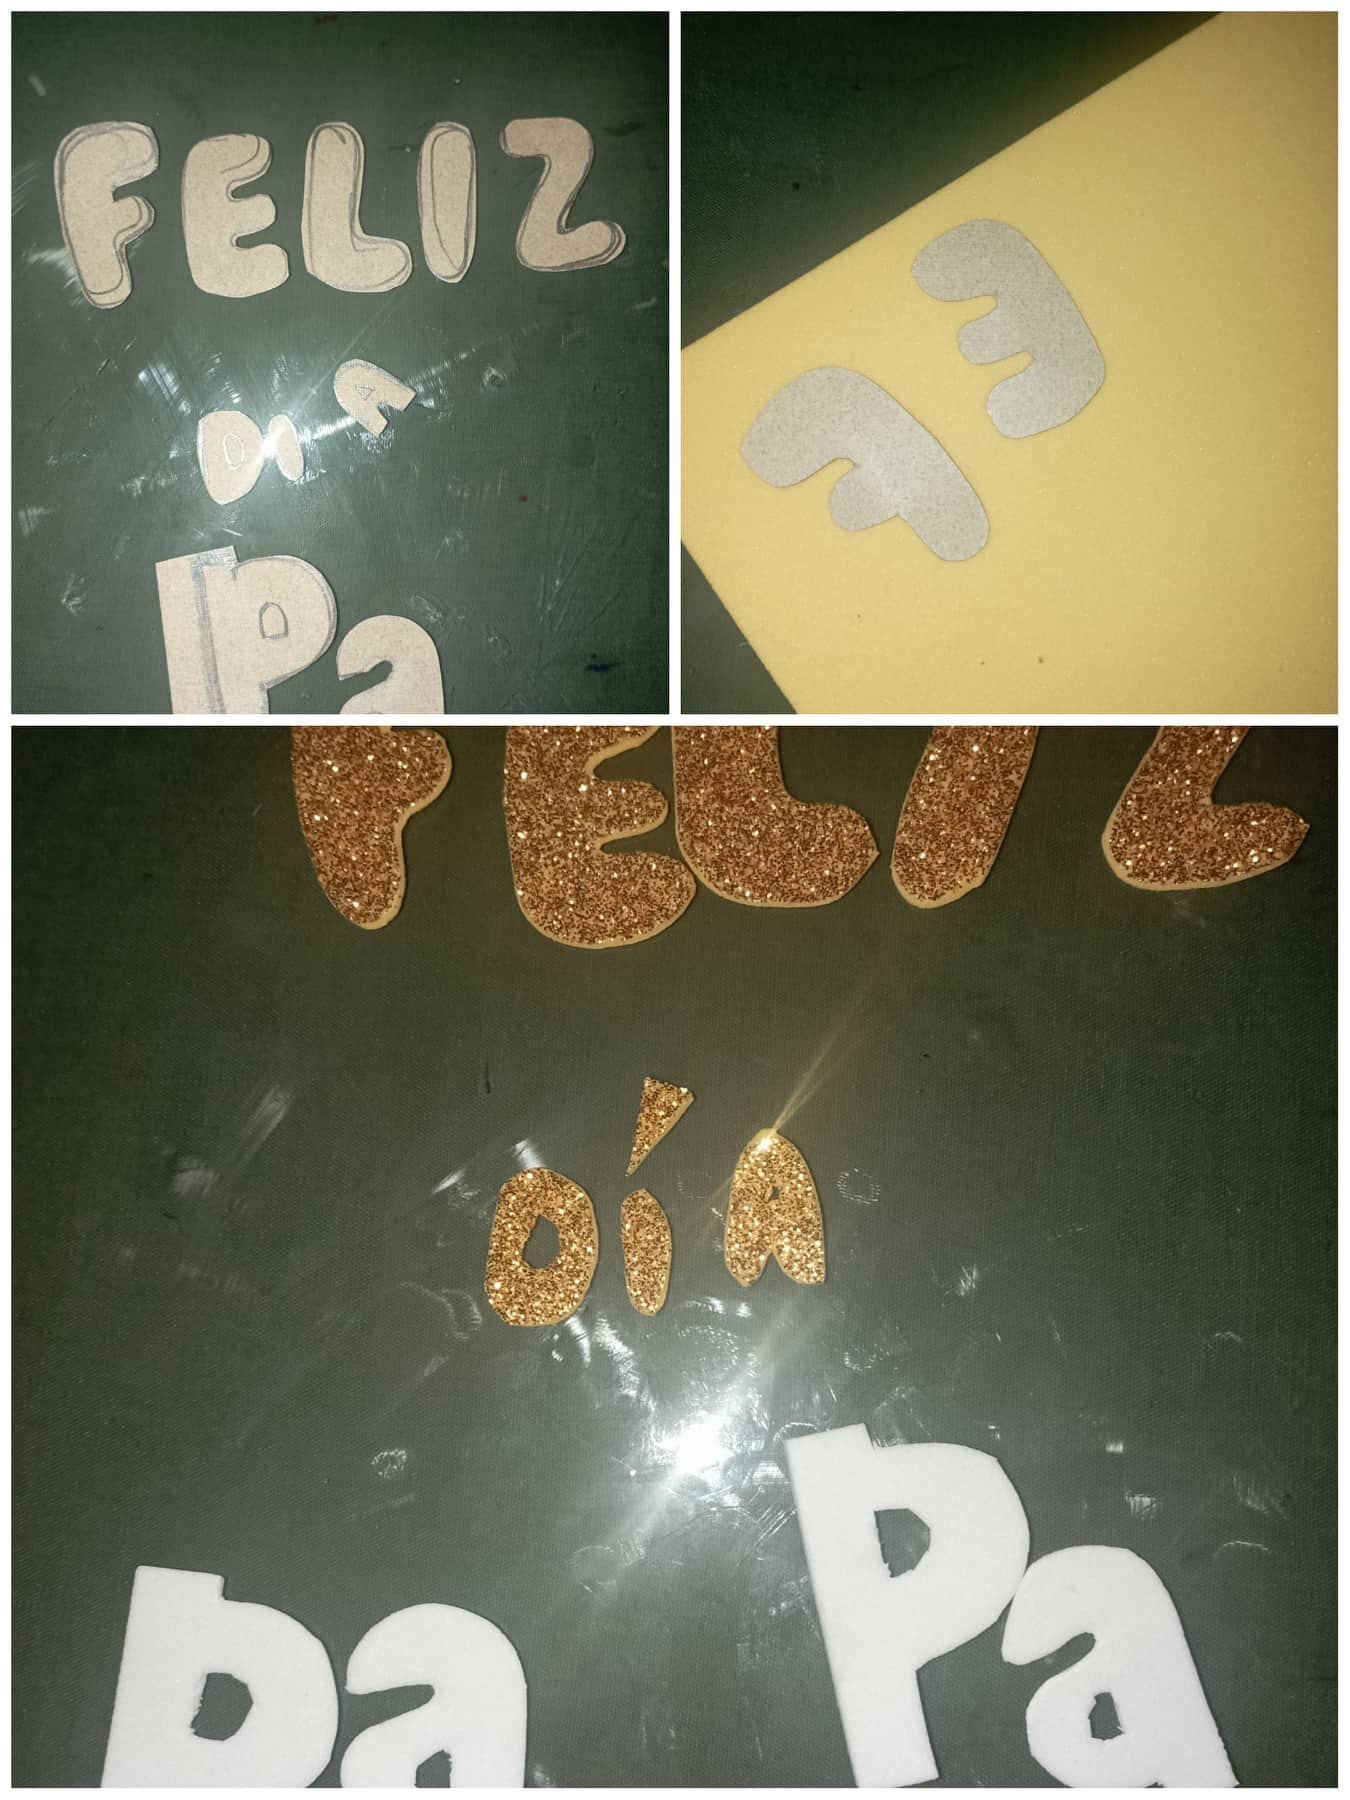
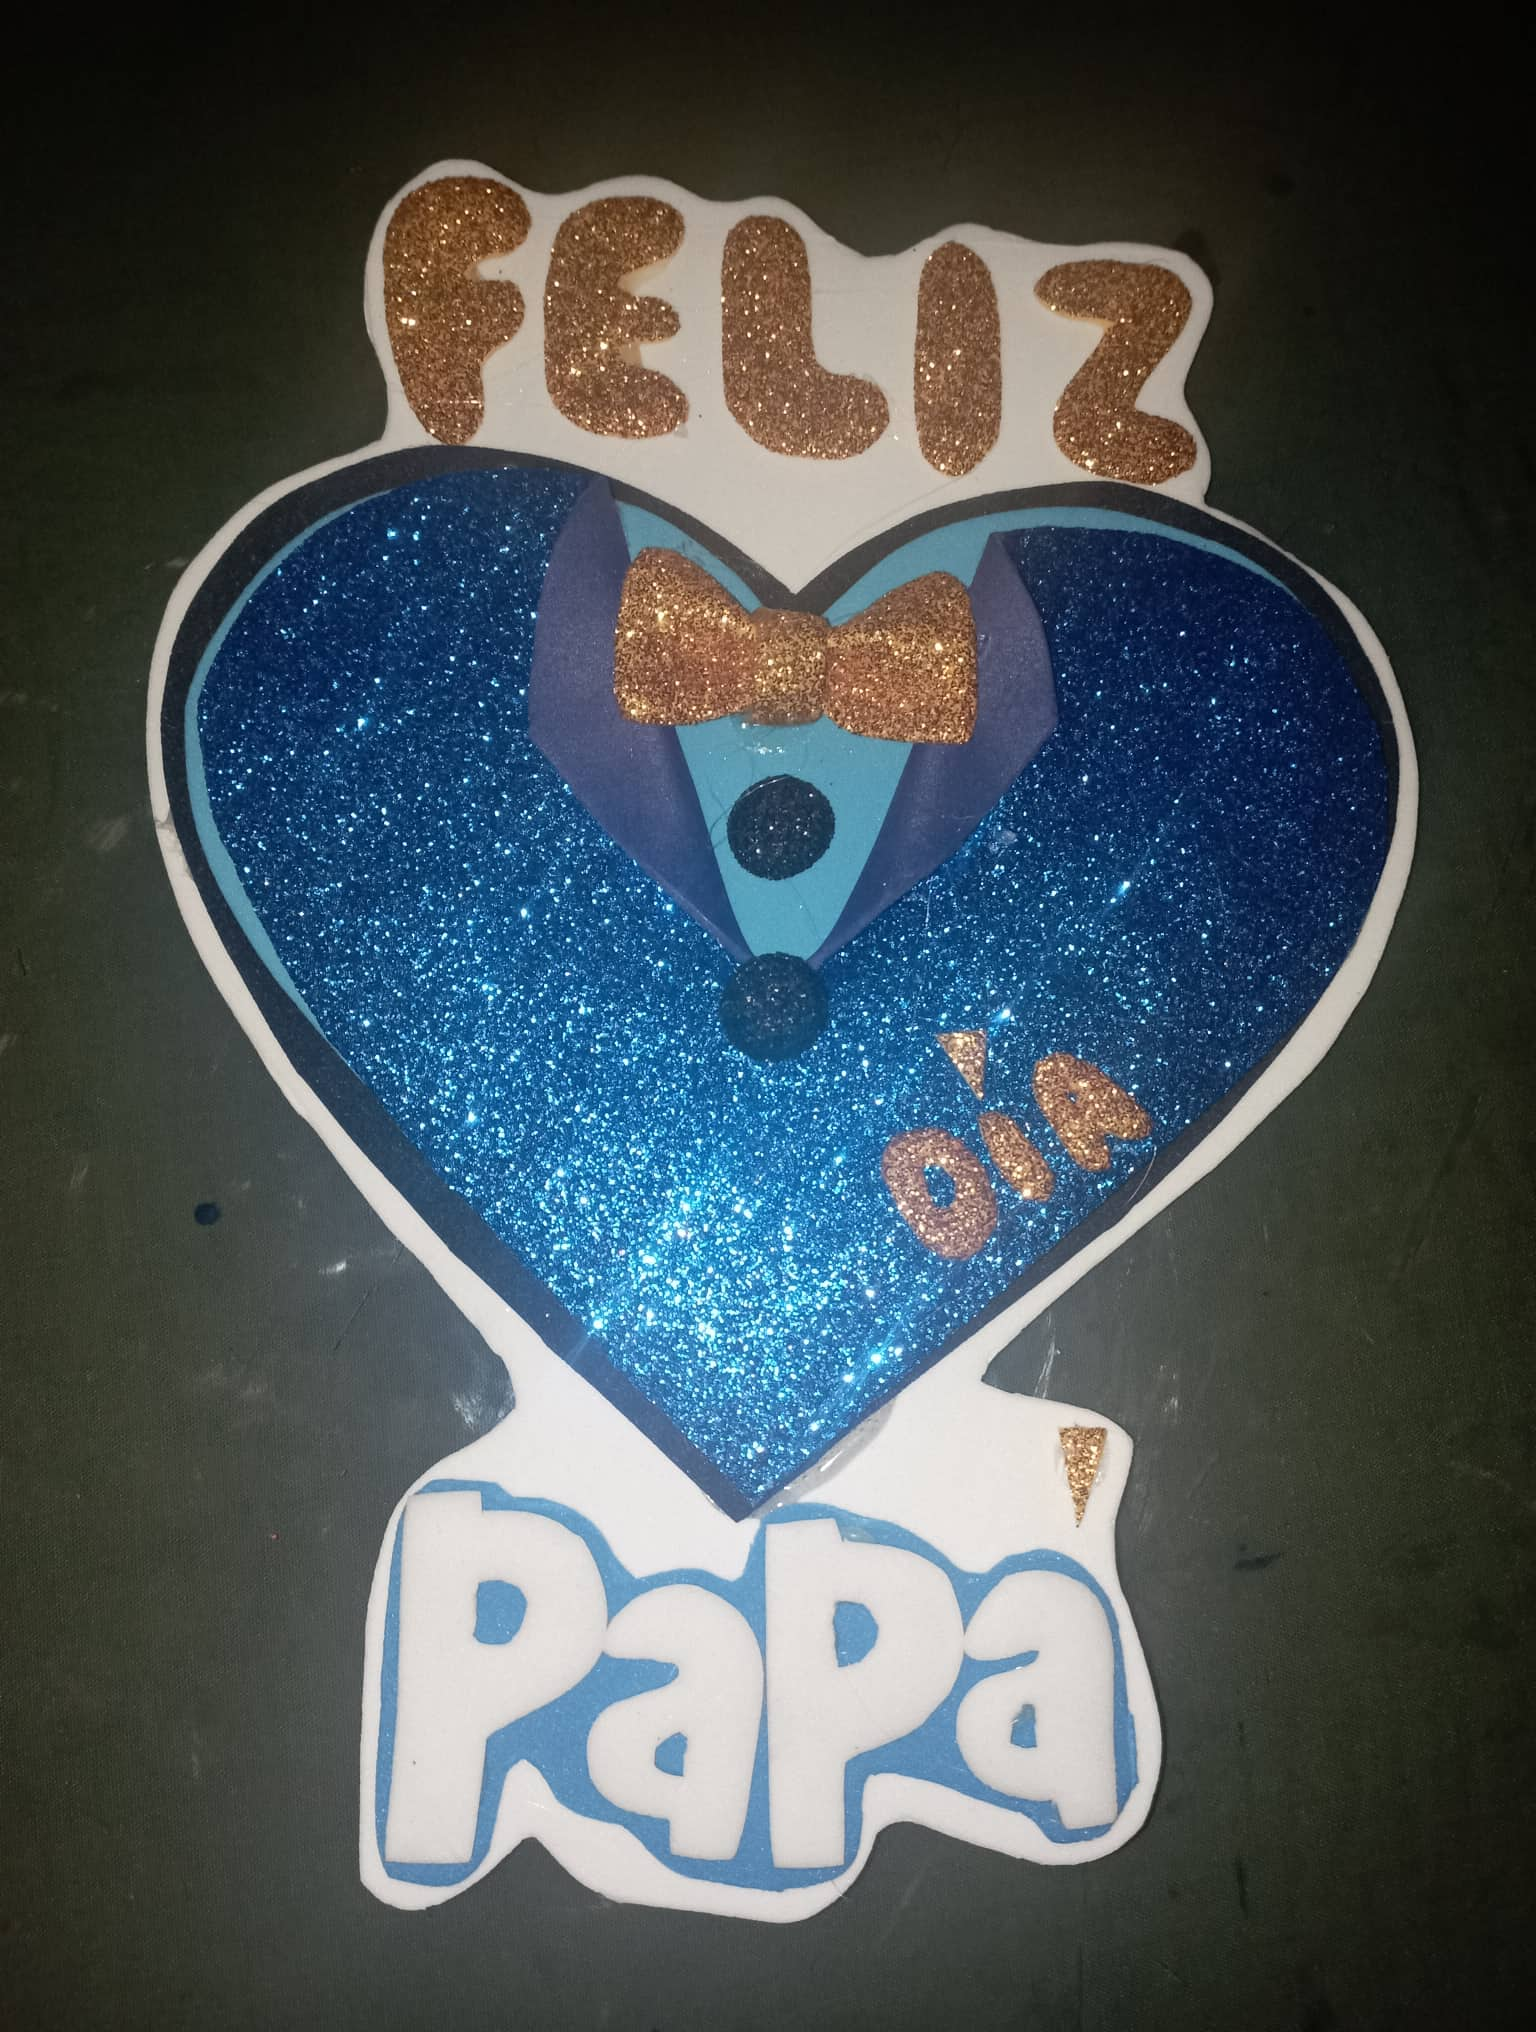
- Luego procedi a pegar el corazon y las letras a un foami blanco que sera el fondo, colocando la palabra "FELIZ" en la parte superior del corazon, "DIA" en el corazon y "PAPA" en la parte inferior, y luego recorte por todo el borde
- Then proceeded to glue the heart and the letters to a white foami that will be the background, placing the word "HAPPY" in the upper part of the heart, "DAY" in the heart and "DAD" in the lower part, and then cut out all around the edge
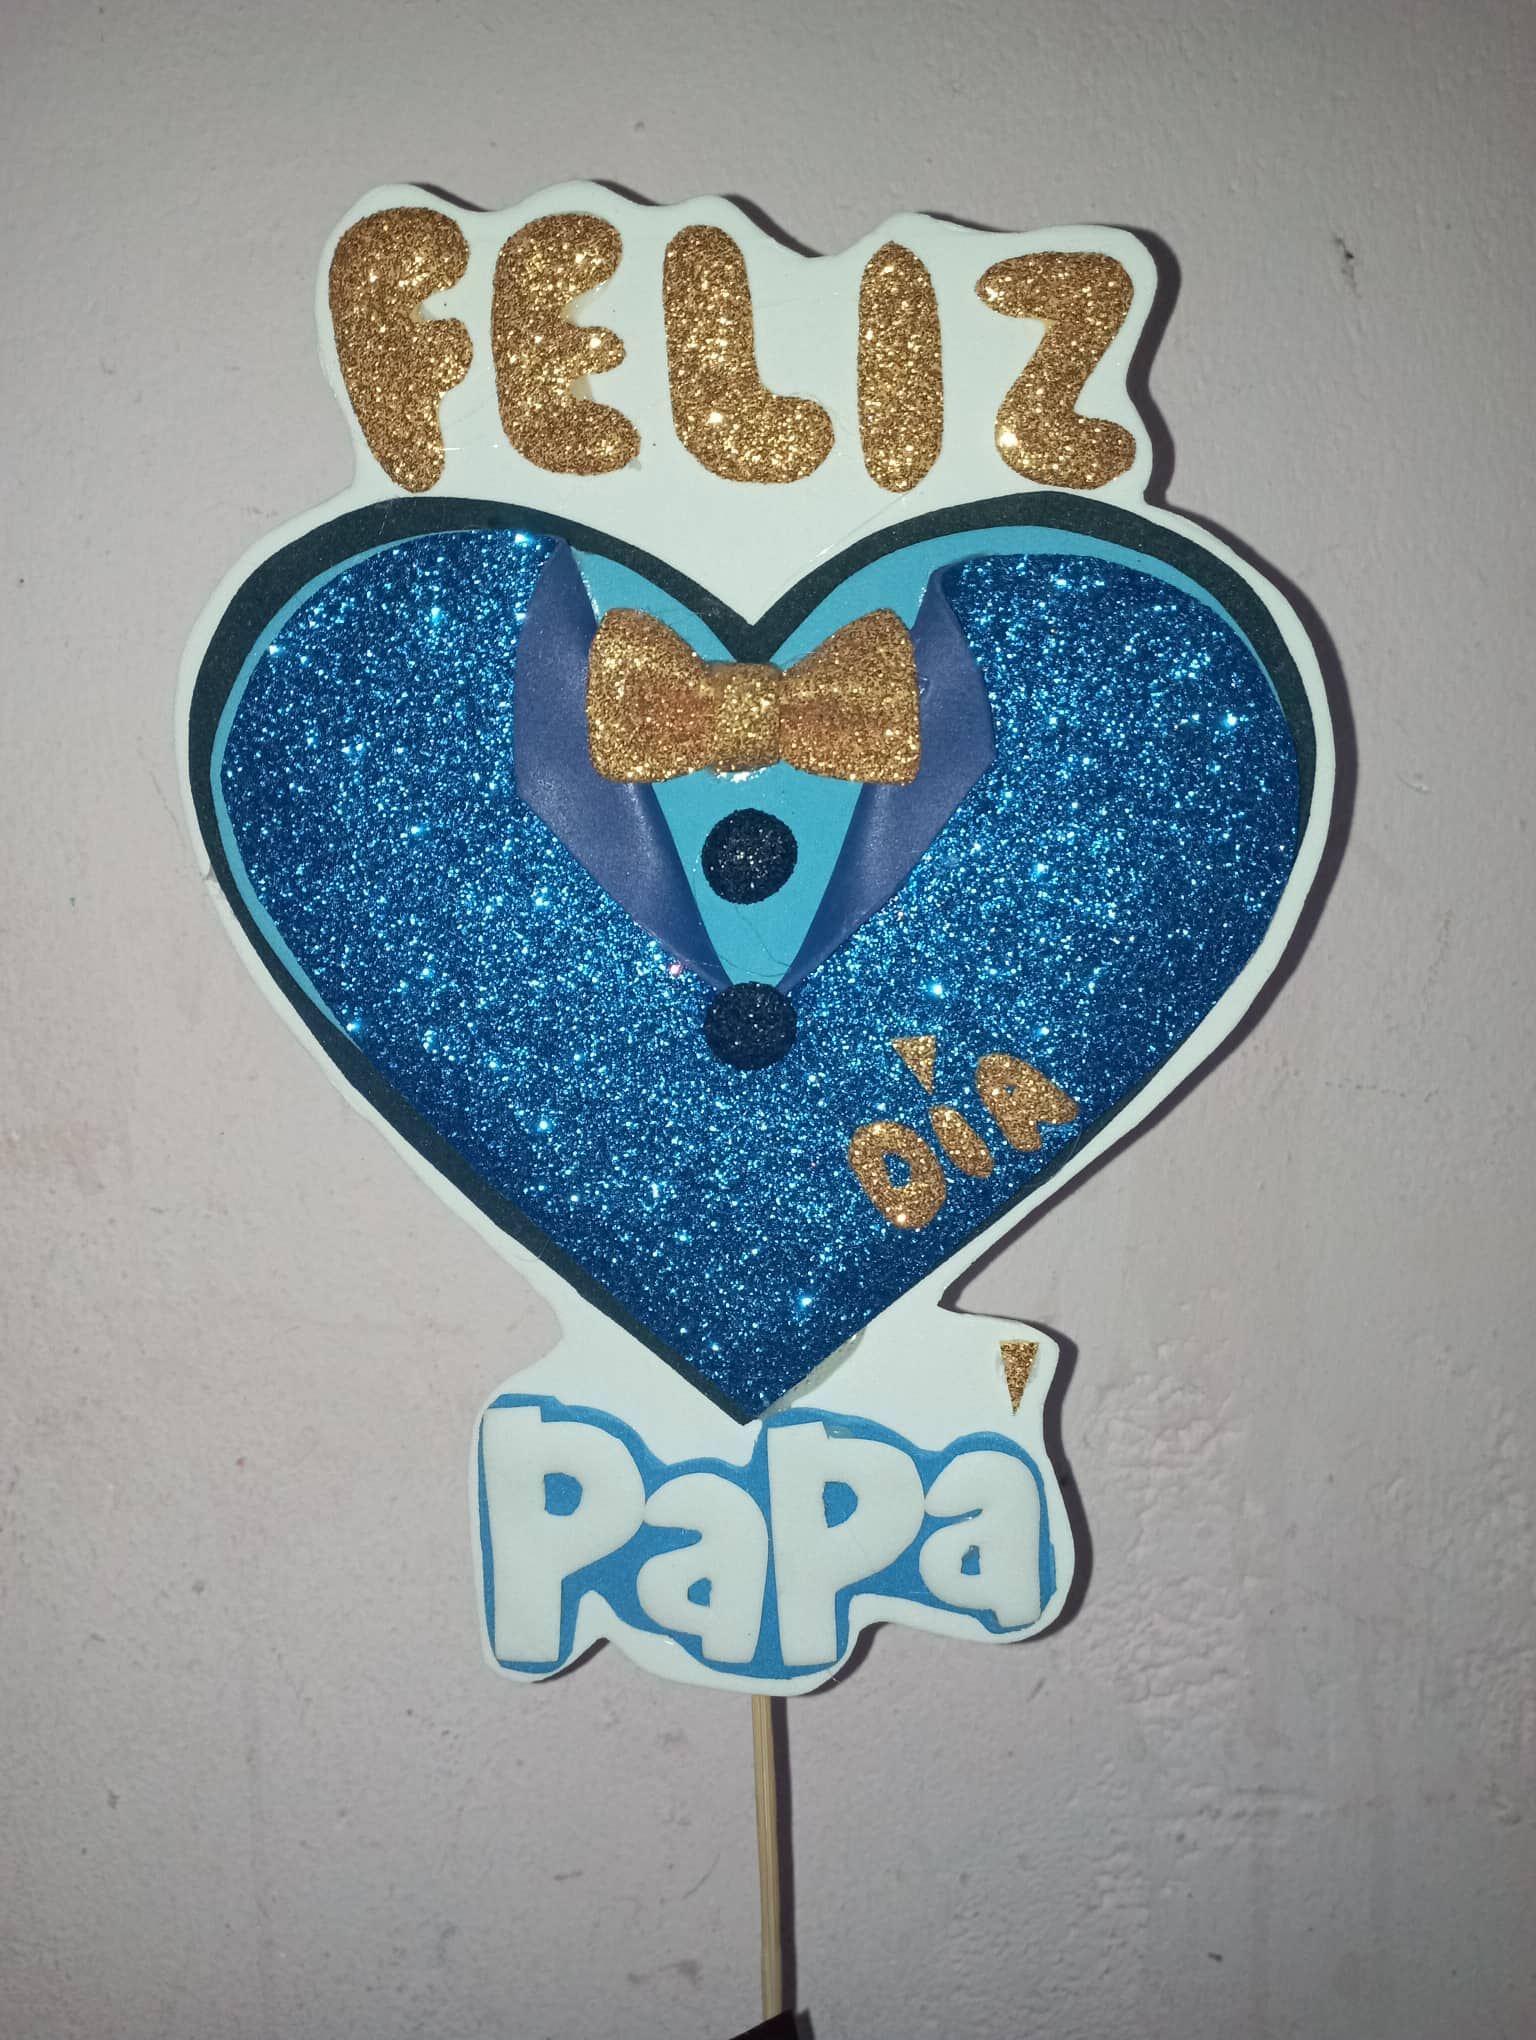
- Luego lo pegue a un palo de altura.
- Then glue it to a tall stick.
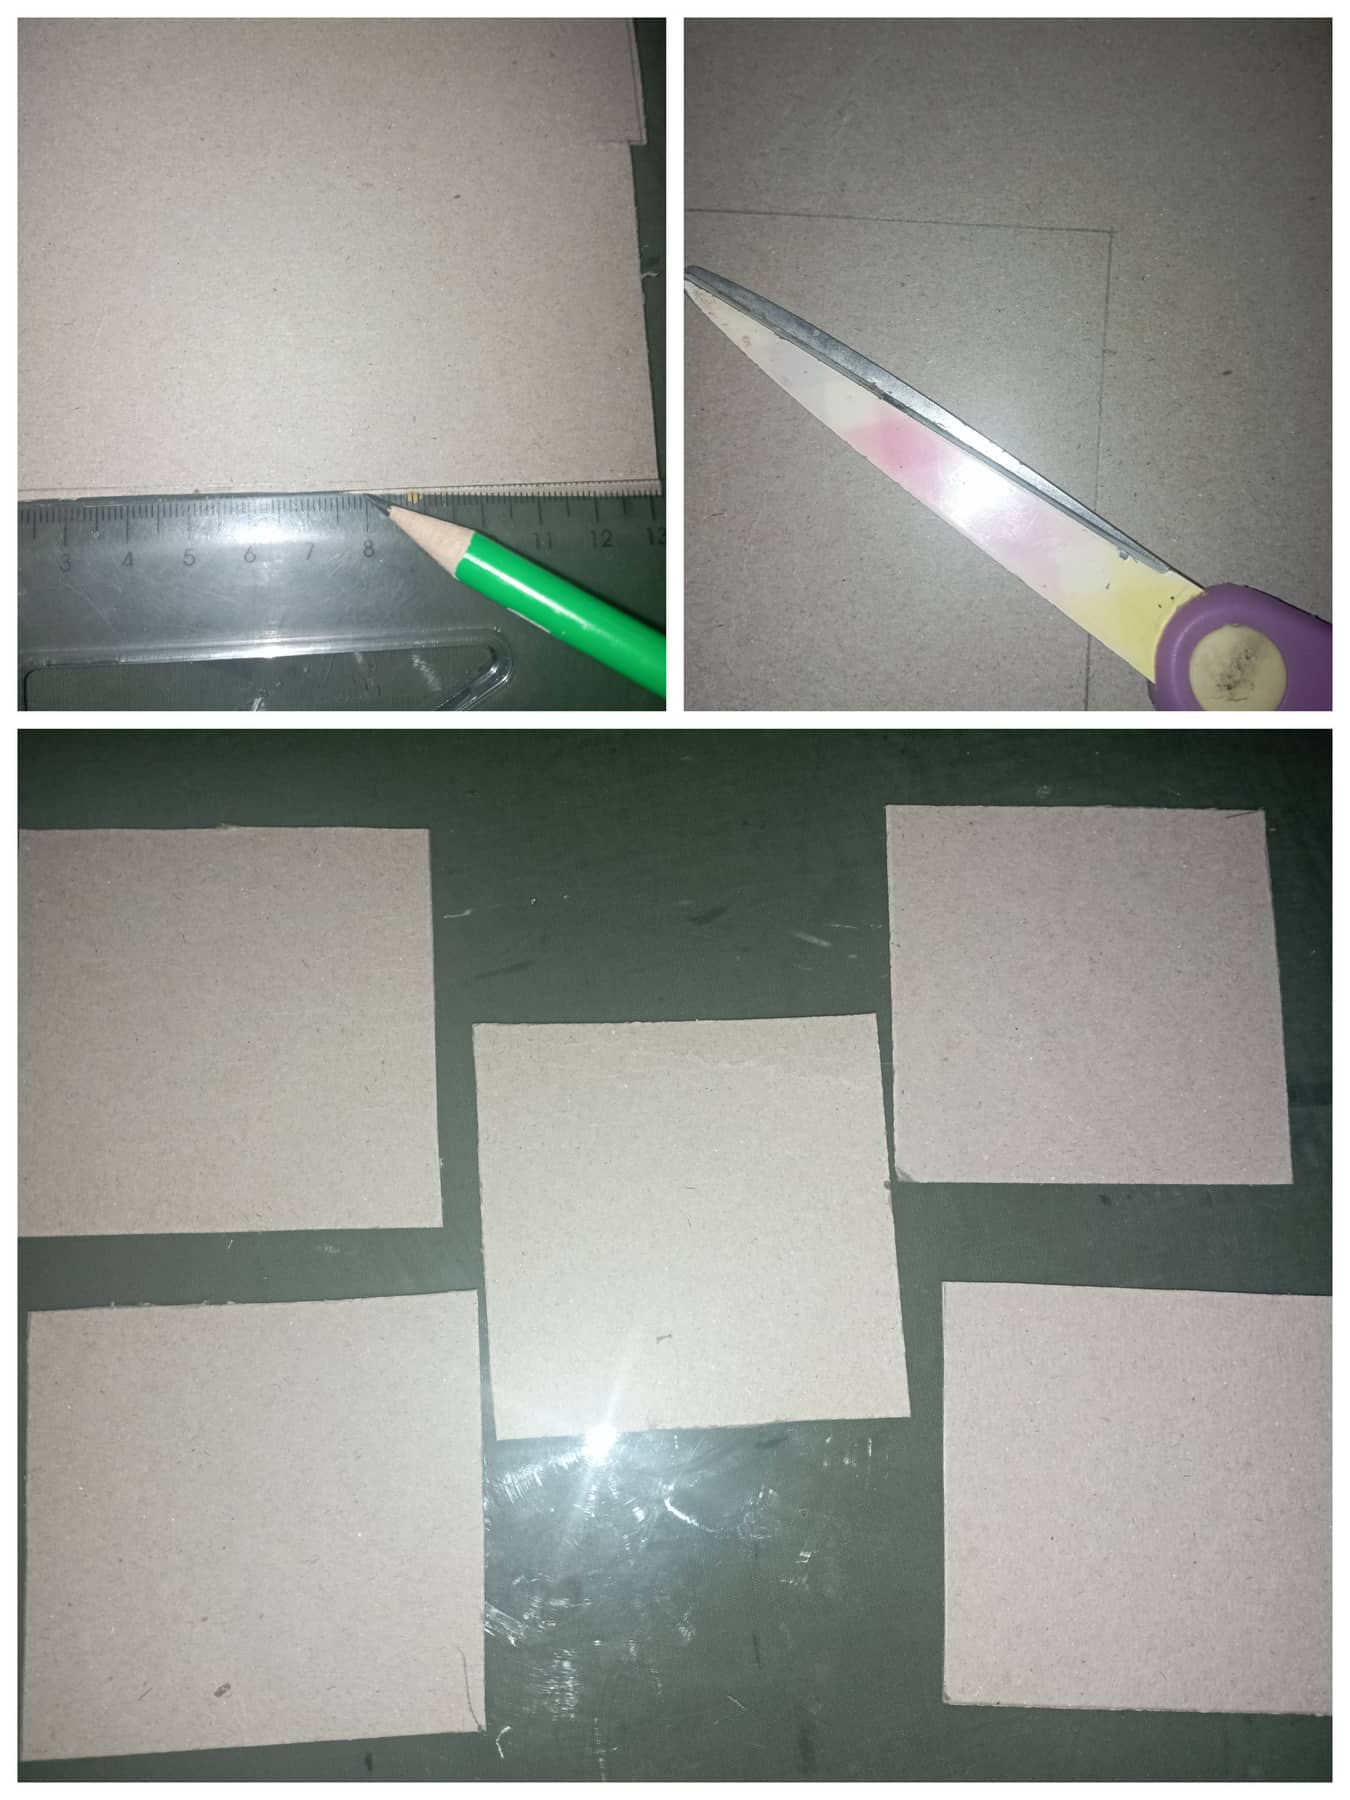
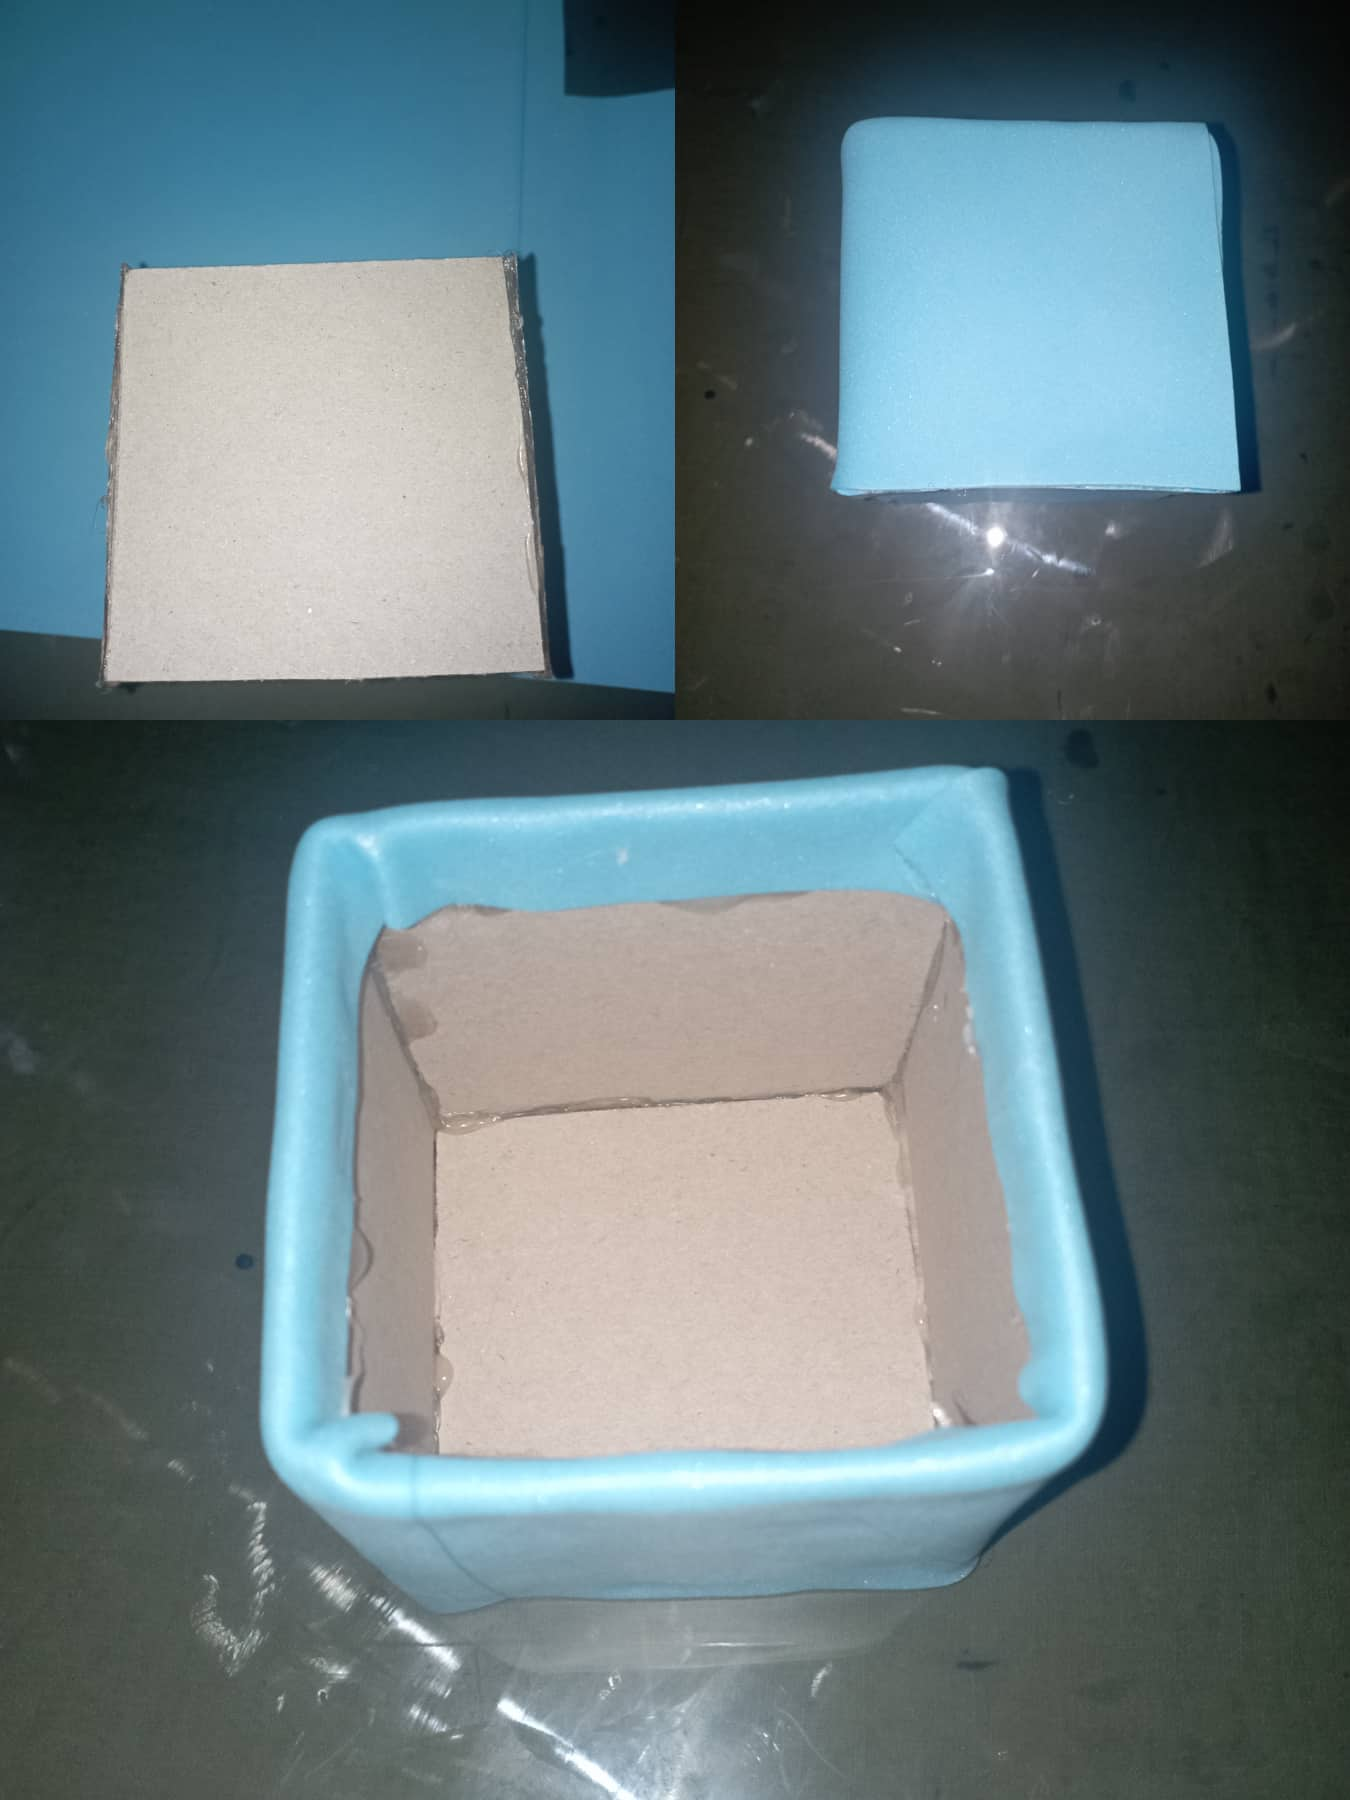
- Por ultimo hice un pequeña caja: en el carton, recorte 5 cuadrados
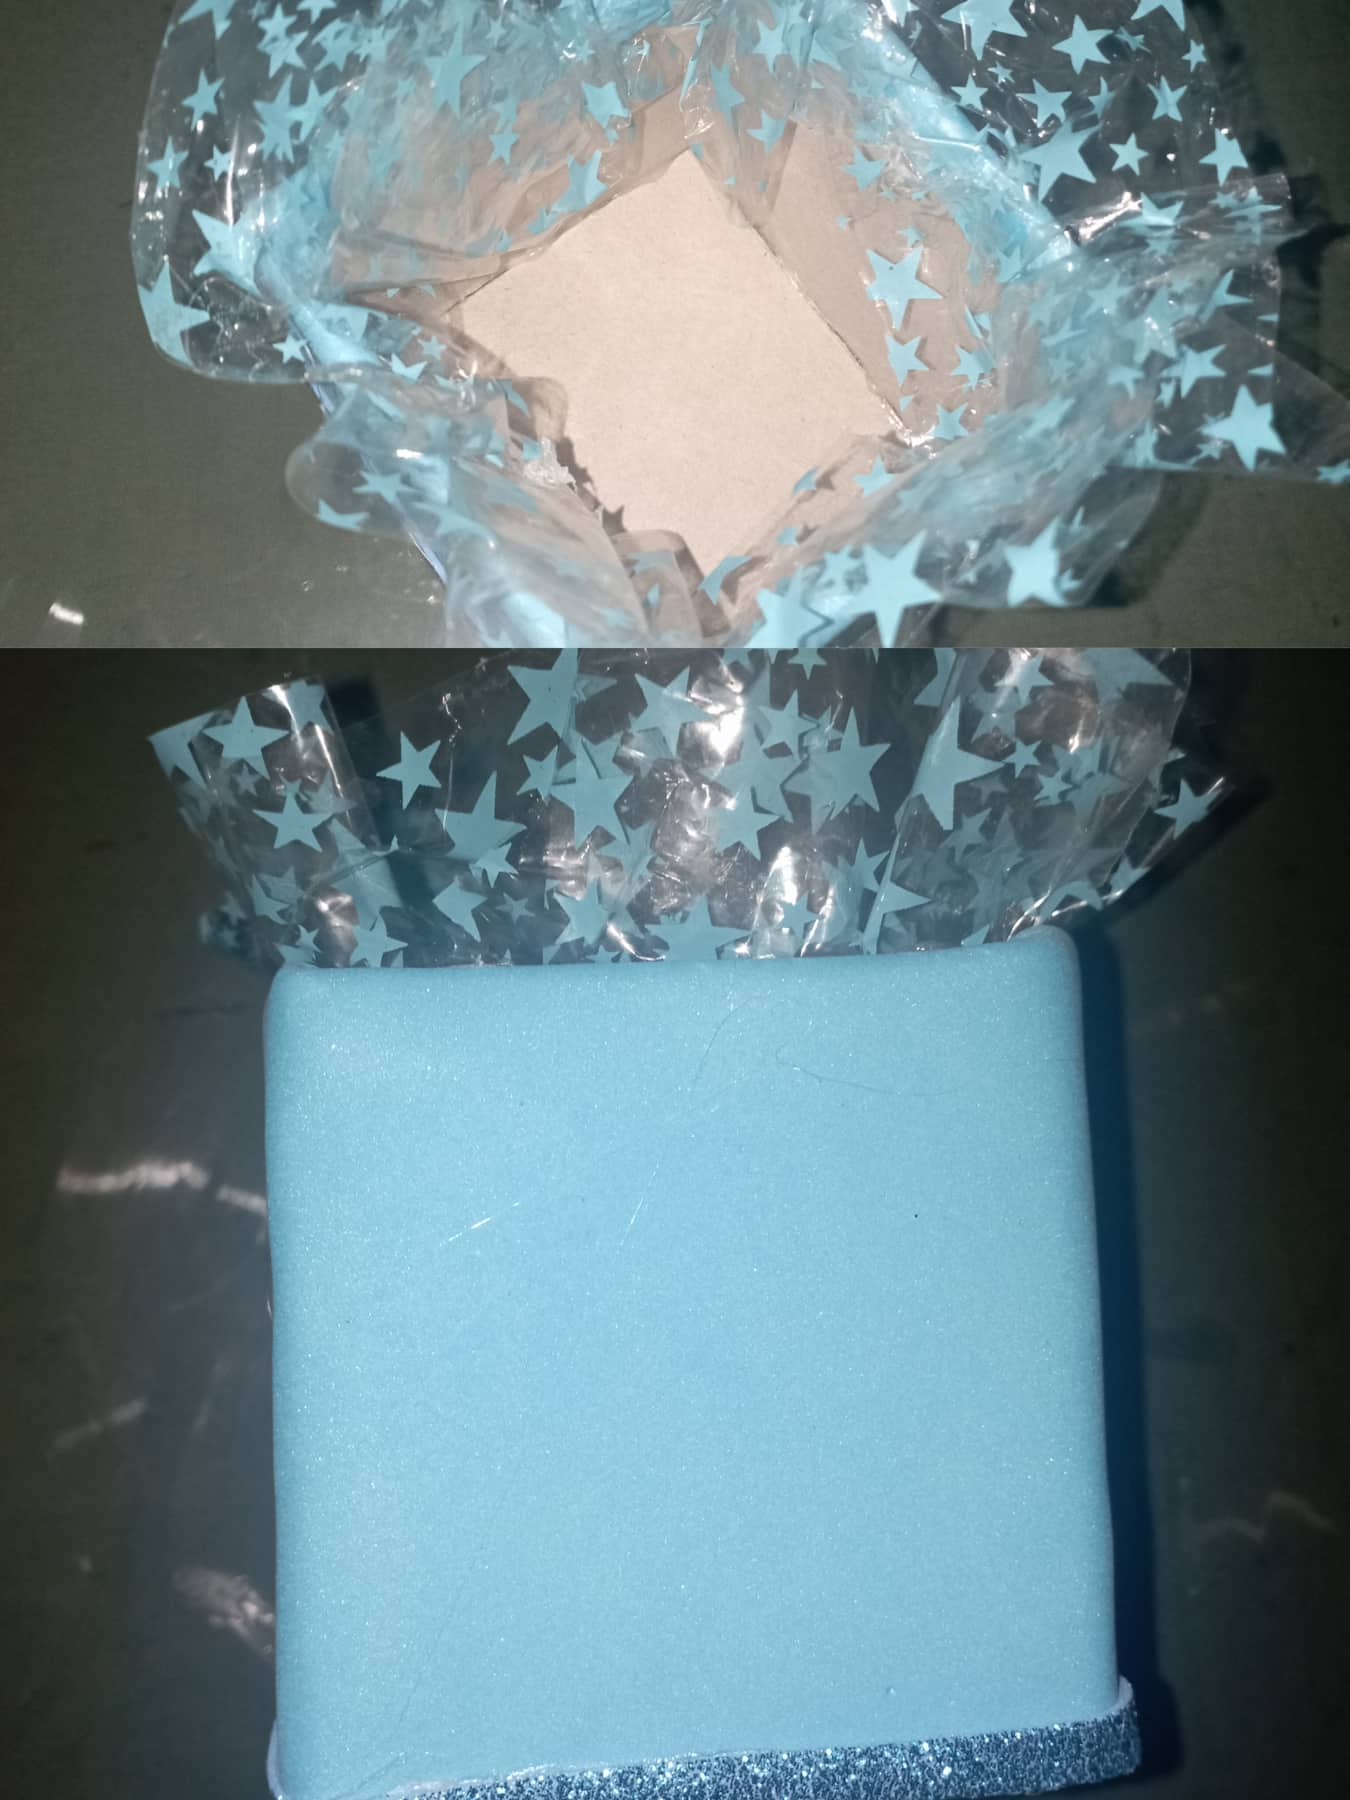
de 8x8 cm, y los pegue armando un pequeña cajita, la forre con foami azul, le coloque una tira de foami escarchado en la parte inferior, y en la parte superior le coloque papel celofan.
- Finally I made a small box: on the cardboard, cut out 5 squares
8x8 cm, and glue them together by putting together a small box, line it with blue foami, place a strip of frosted foami on the bottom, and put cellophane on the top.

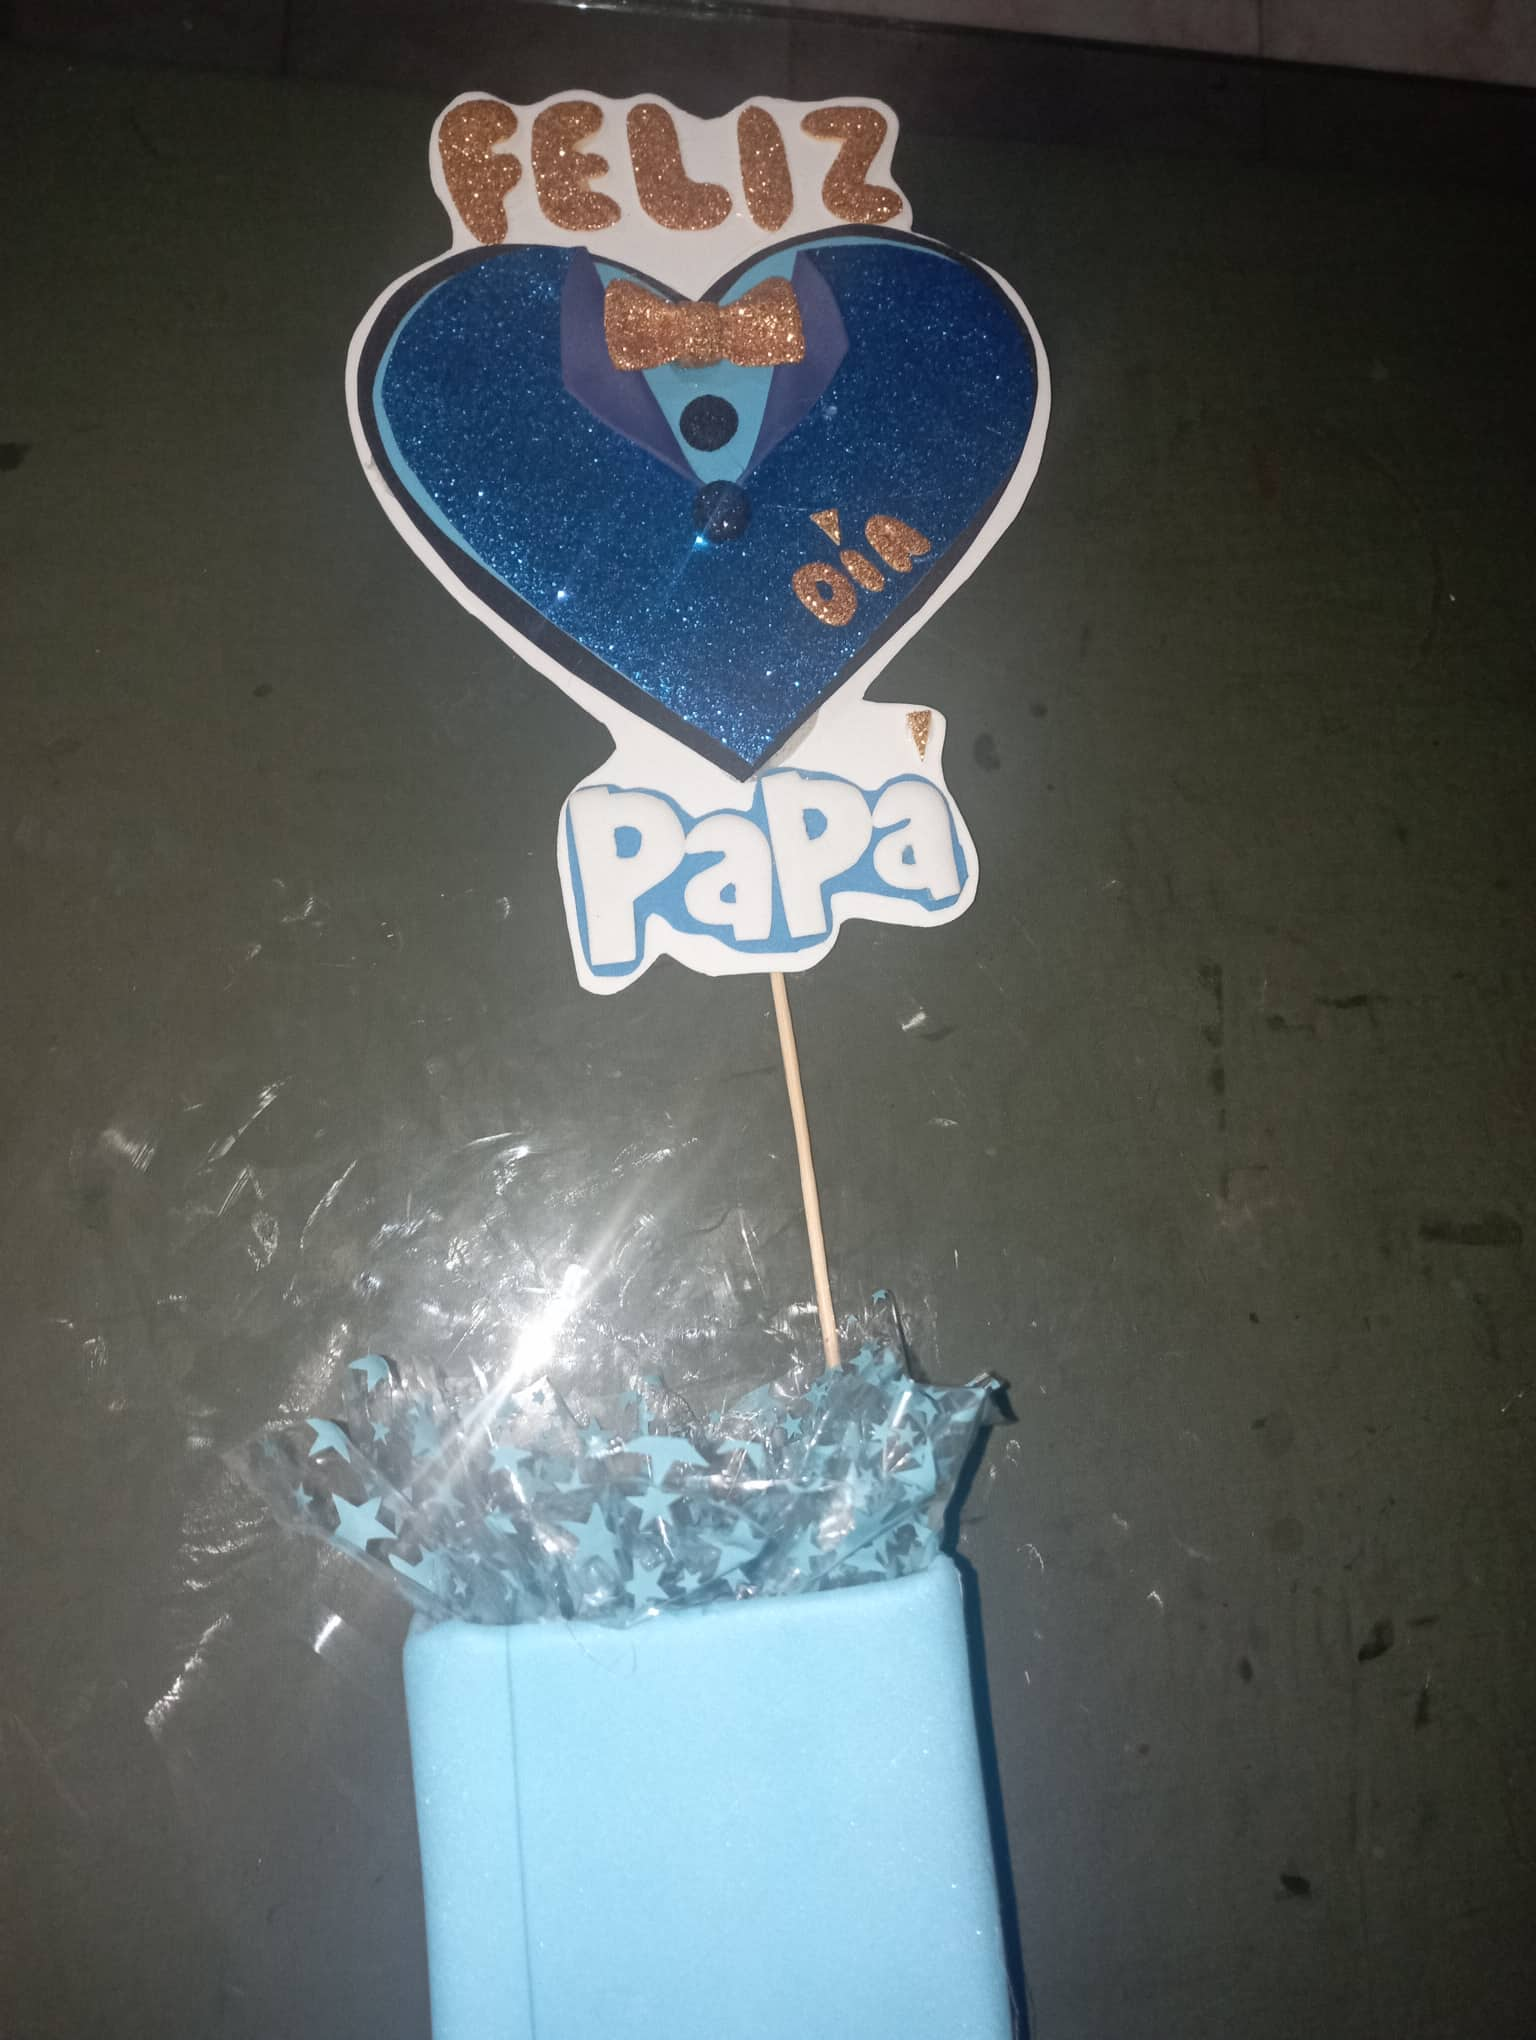
- Pegue el topper a la caja que la llene de chocolates y dulces.
- Stick the topper to the box that fills it with chocolates and candies.
Asi quedo este lindo y unico detalle para obsequiar a esos padres ejemplares en su dia
This is how this beautiful and unique detail remained to give to those exemplary parents on their day
Les doy las gracias por todo el apoyo recibido y su linda visita a mi blog..
I thank you for all the support received and for your nice visit to my blog..
Hasta una nueva oportunidad..
Until a new opportunity..
Las fotografias son de mi autoria capturadas desde mi telefono inteligente Redmi 8a. Y editadas en la APP de Picsart.
The photos are my own, captured from my Redmi 8a smartphone. And edited in the Picsart APP.