(EN) Hello Hive Family. I am with you again with the DİY concept. Today I made another beautiful object. I am really happy for create new objects with wooden sticks everyday. Today, I made a Pencil Case. So, how was Pencil Case made with wooden sticks?
(TR) Merhaba Hive Ailesi. DİY konsept ile tekrar sizler ile birlikteyim. Bugün çok güzel bir obje daha yaptım. Tahta çubuklar ile yeni objeler yaratarak çok mutlu oluyorum. Bugün sizler için kalem kutusu yaptım. Peki kalem kutusu nasıl yapılıyor?
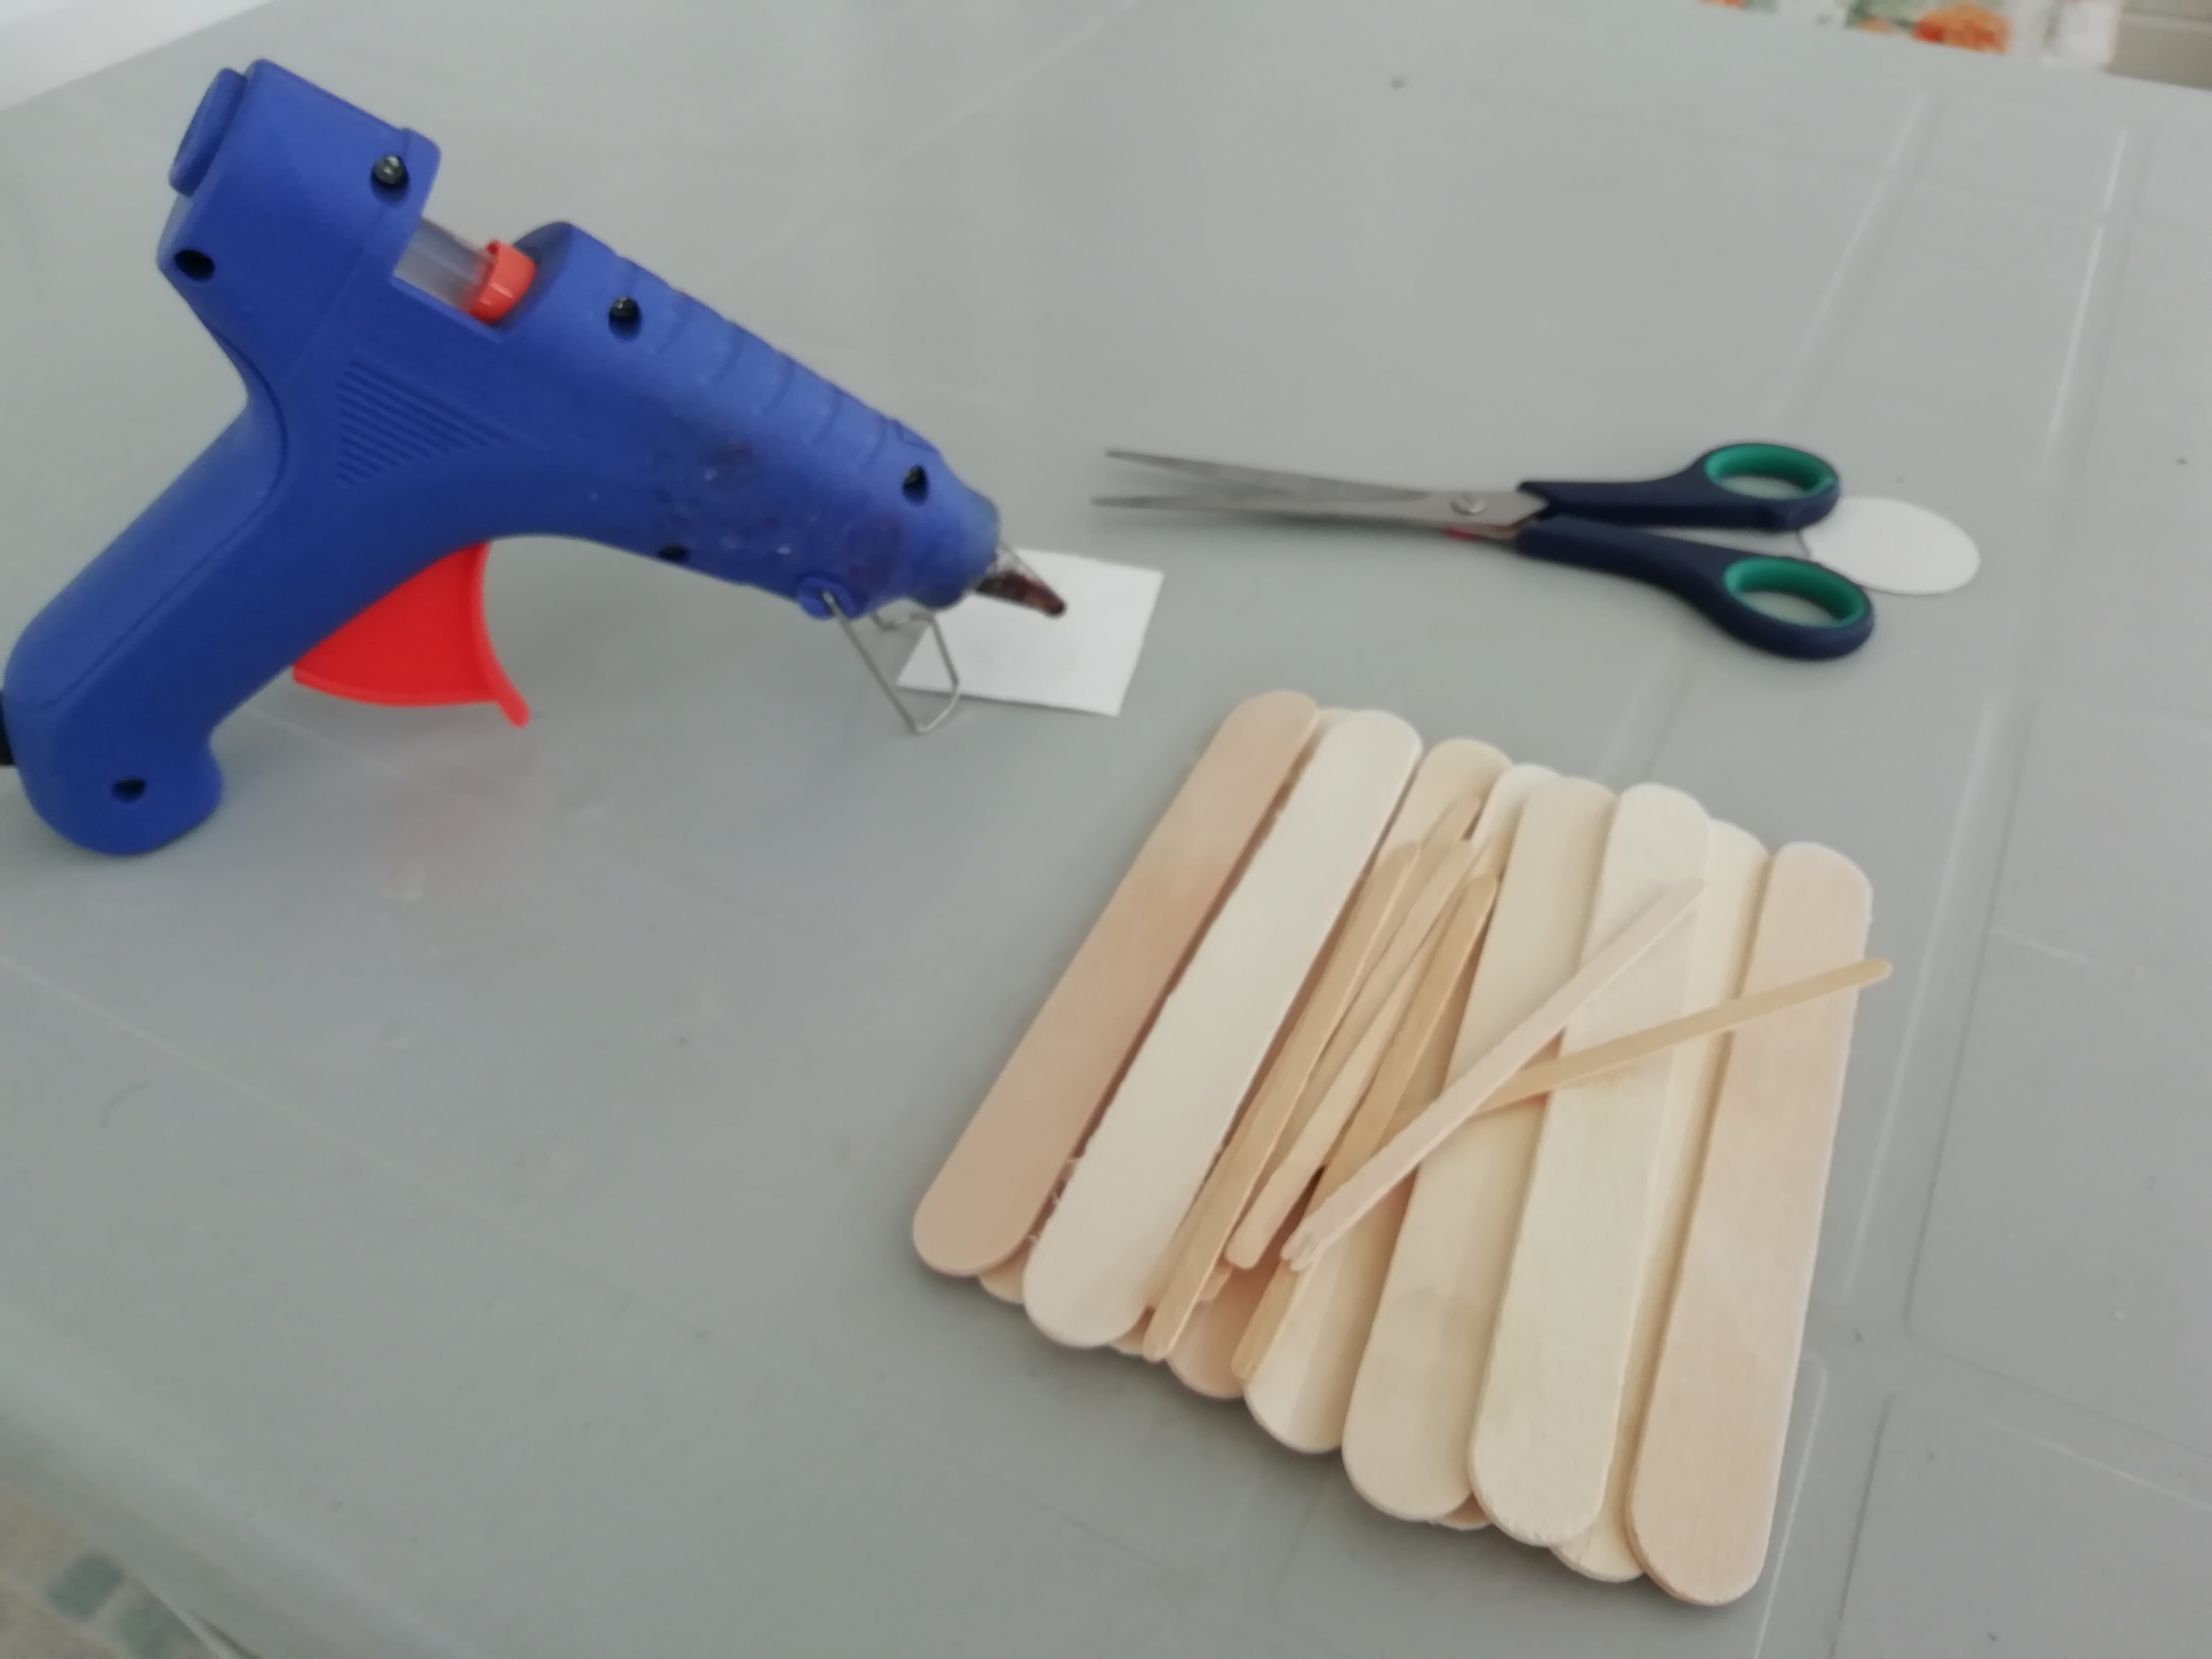
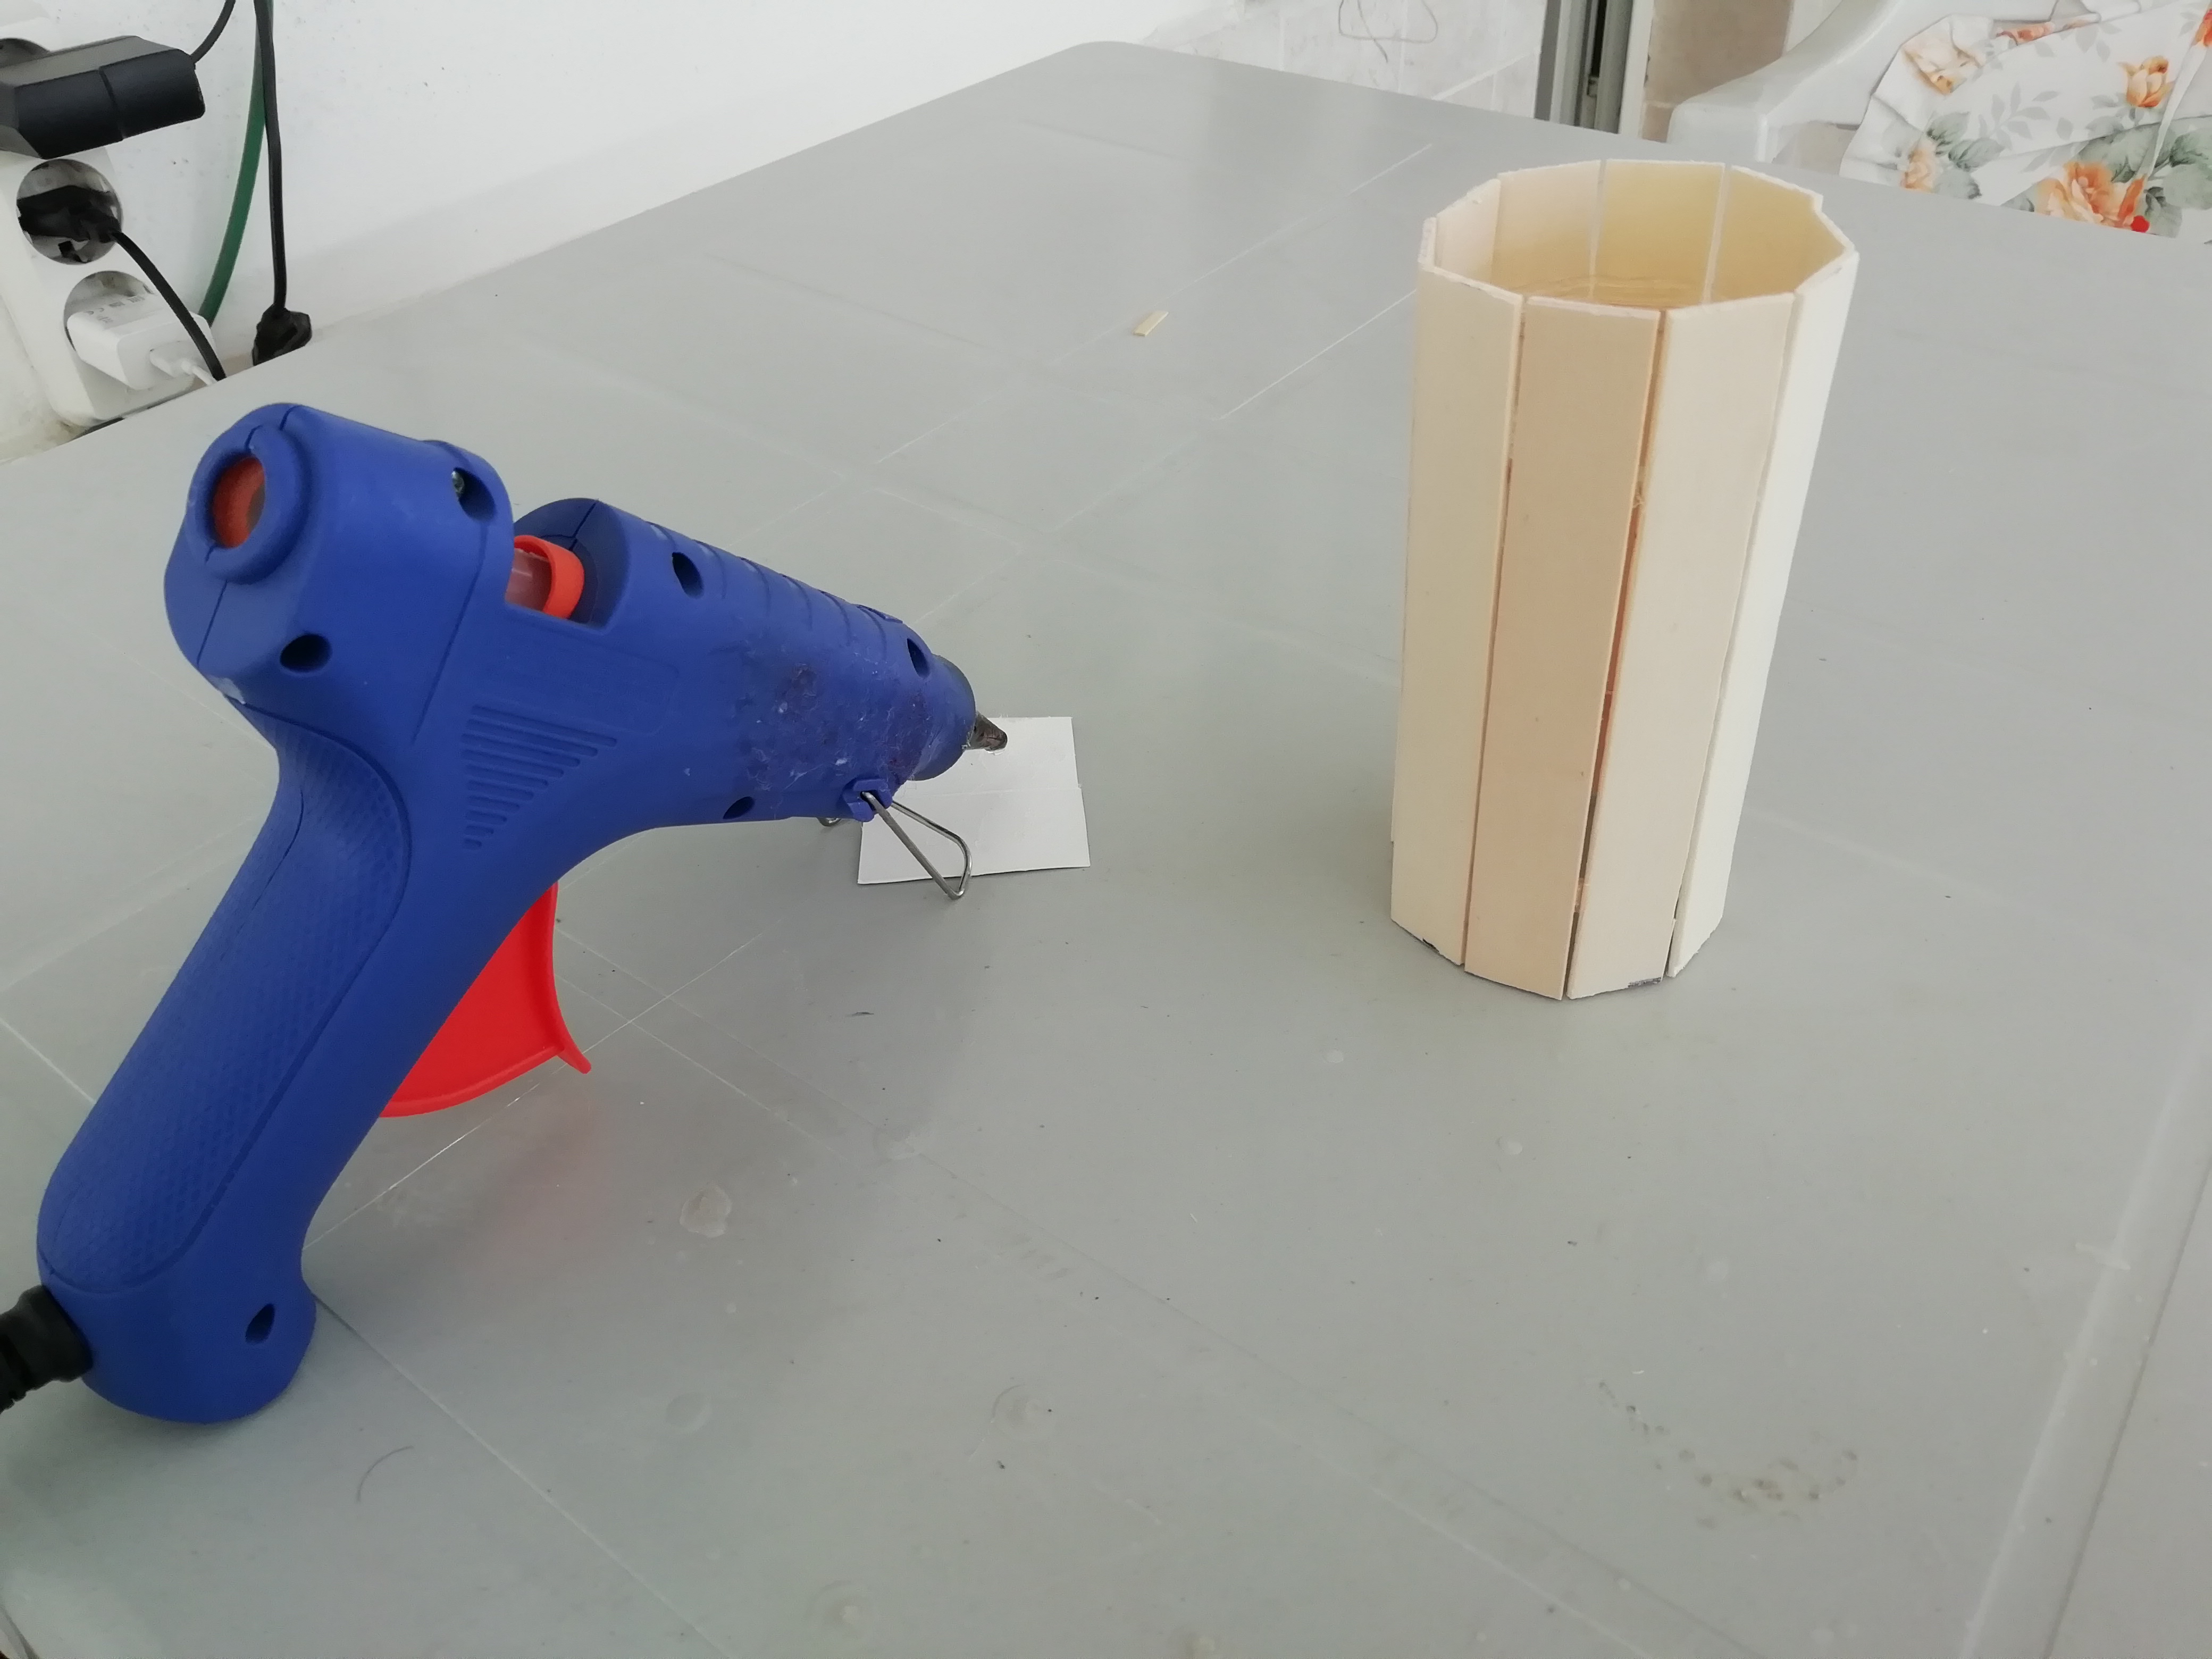
(EN) As a priority, our materials; wooden sticks, scissors, hot silicone gun. Our ingredients are ready. Now I have to think a little bit about how to build the Pencil Case.
(TR) Öncelik olarak, malzemelerimiz; kürdan, makas, sıcak silikon tabancası. Malzemelerimiz hazır. Şimdi kalem kutusunu nasıl yapacağıma dair biraz düşünmem gerekiyor. :))
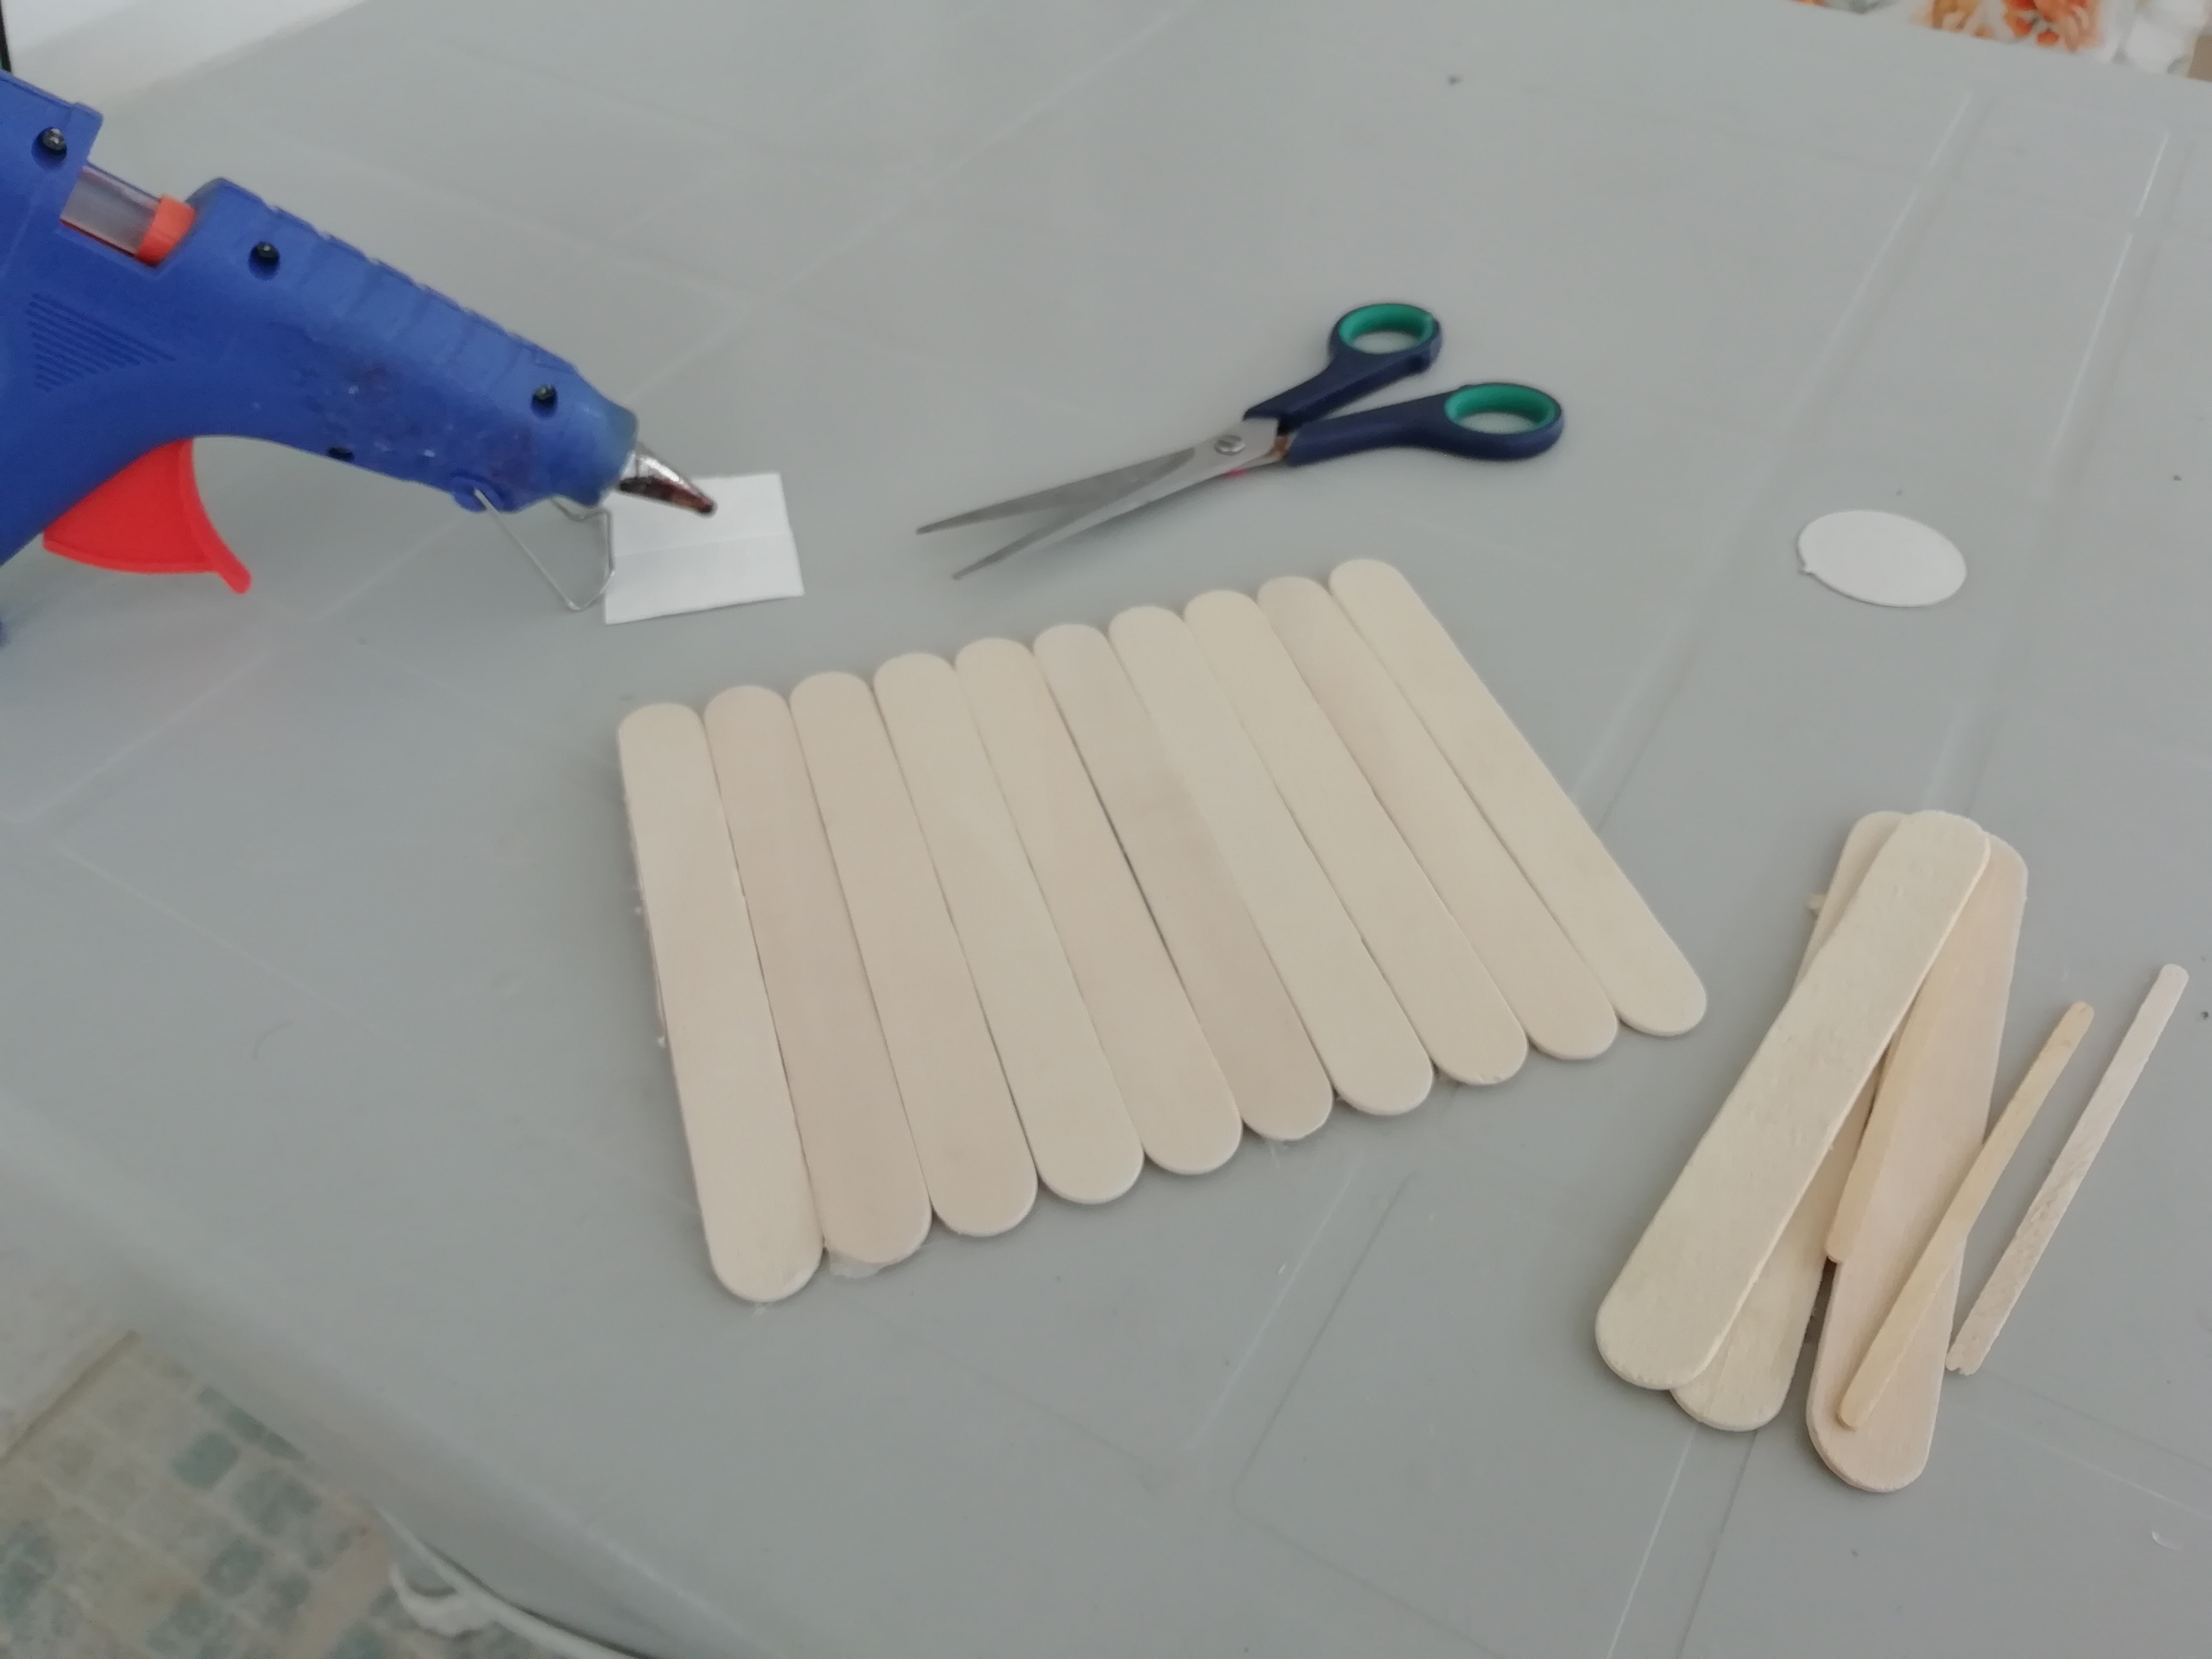
(EN) First, we glue the wooden sticks as you can see in the picture.
(TR) İlk olarak, tahta çubukları resimde gördüğünüz gibi yapıştırıyoruz.
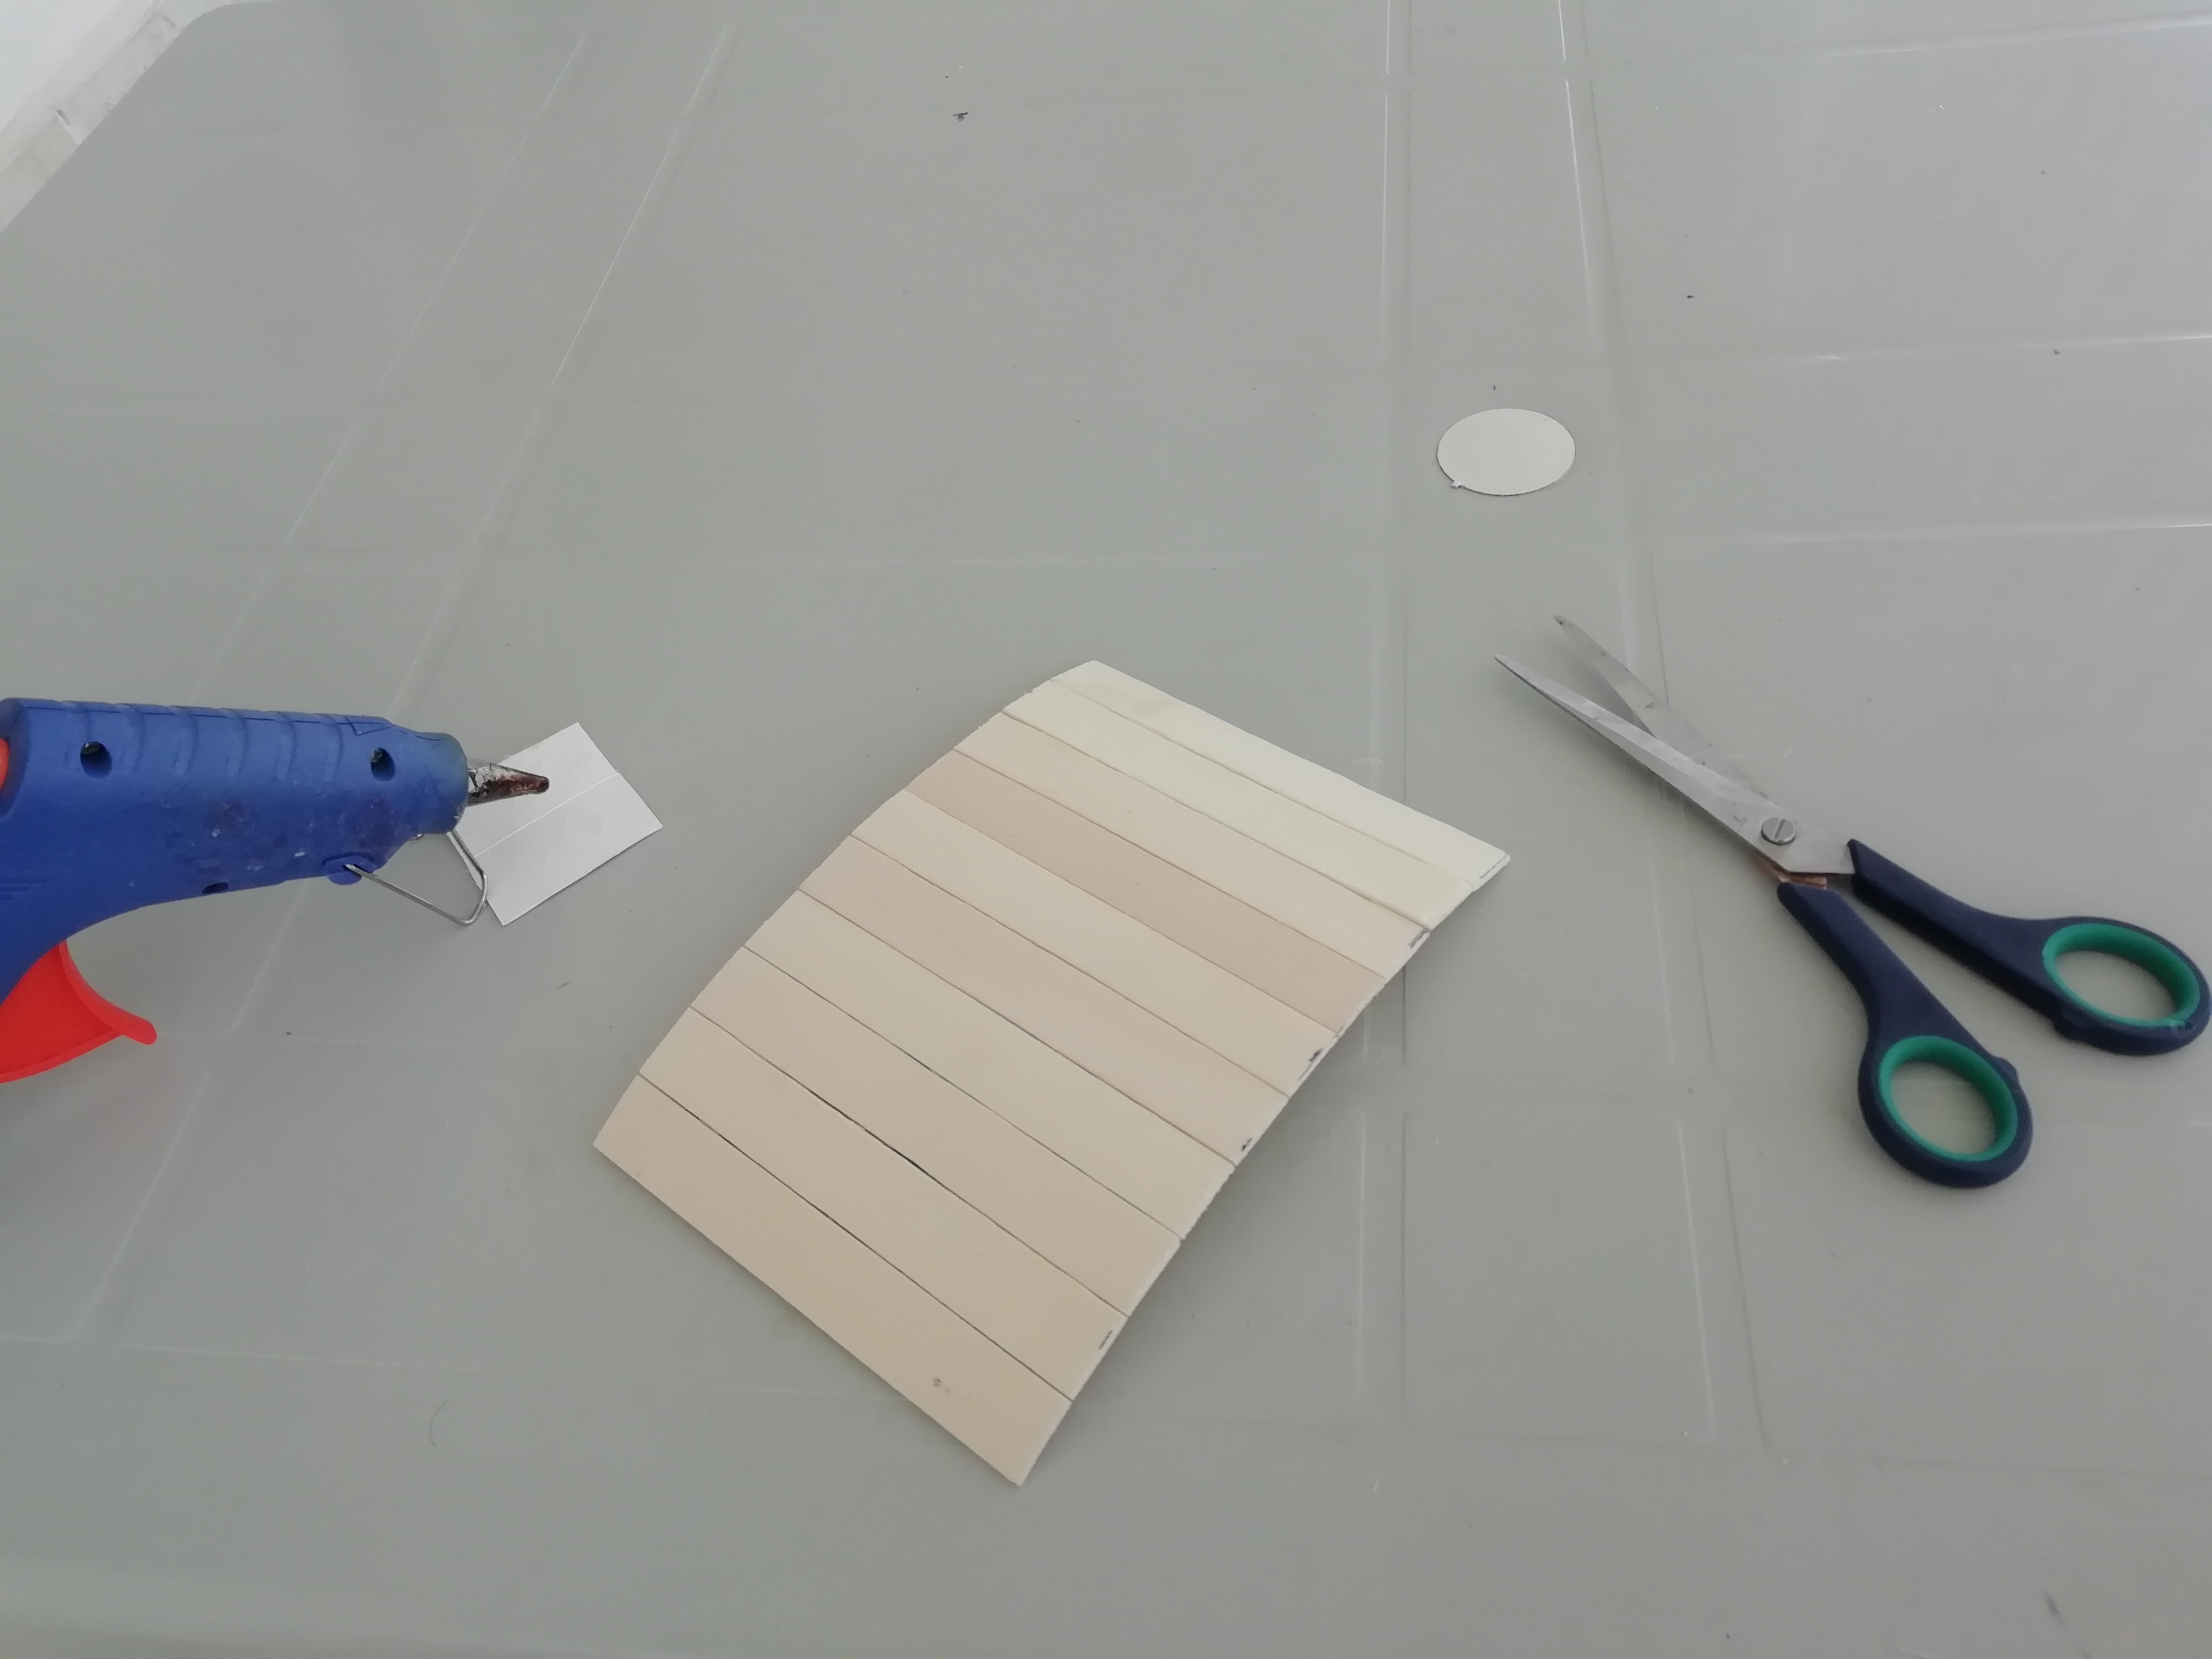
(EN) Then I cut the ends of the wooden sticks with scissors.
(TR) Sonra, tahta çubukların uç kısımlarını makas ile kestim.
(EN) Next, we fold and glue the wooden sticks as you can see in the picture.
(TR) Sonra, resimde gördüğünüz gibi tahta çubukları katlıyoruz ve yapıştırıyoruz.
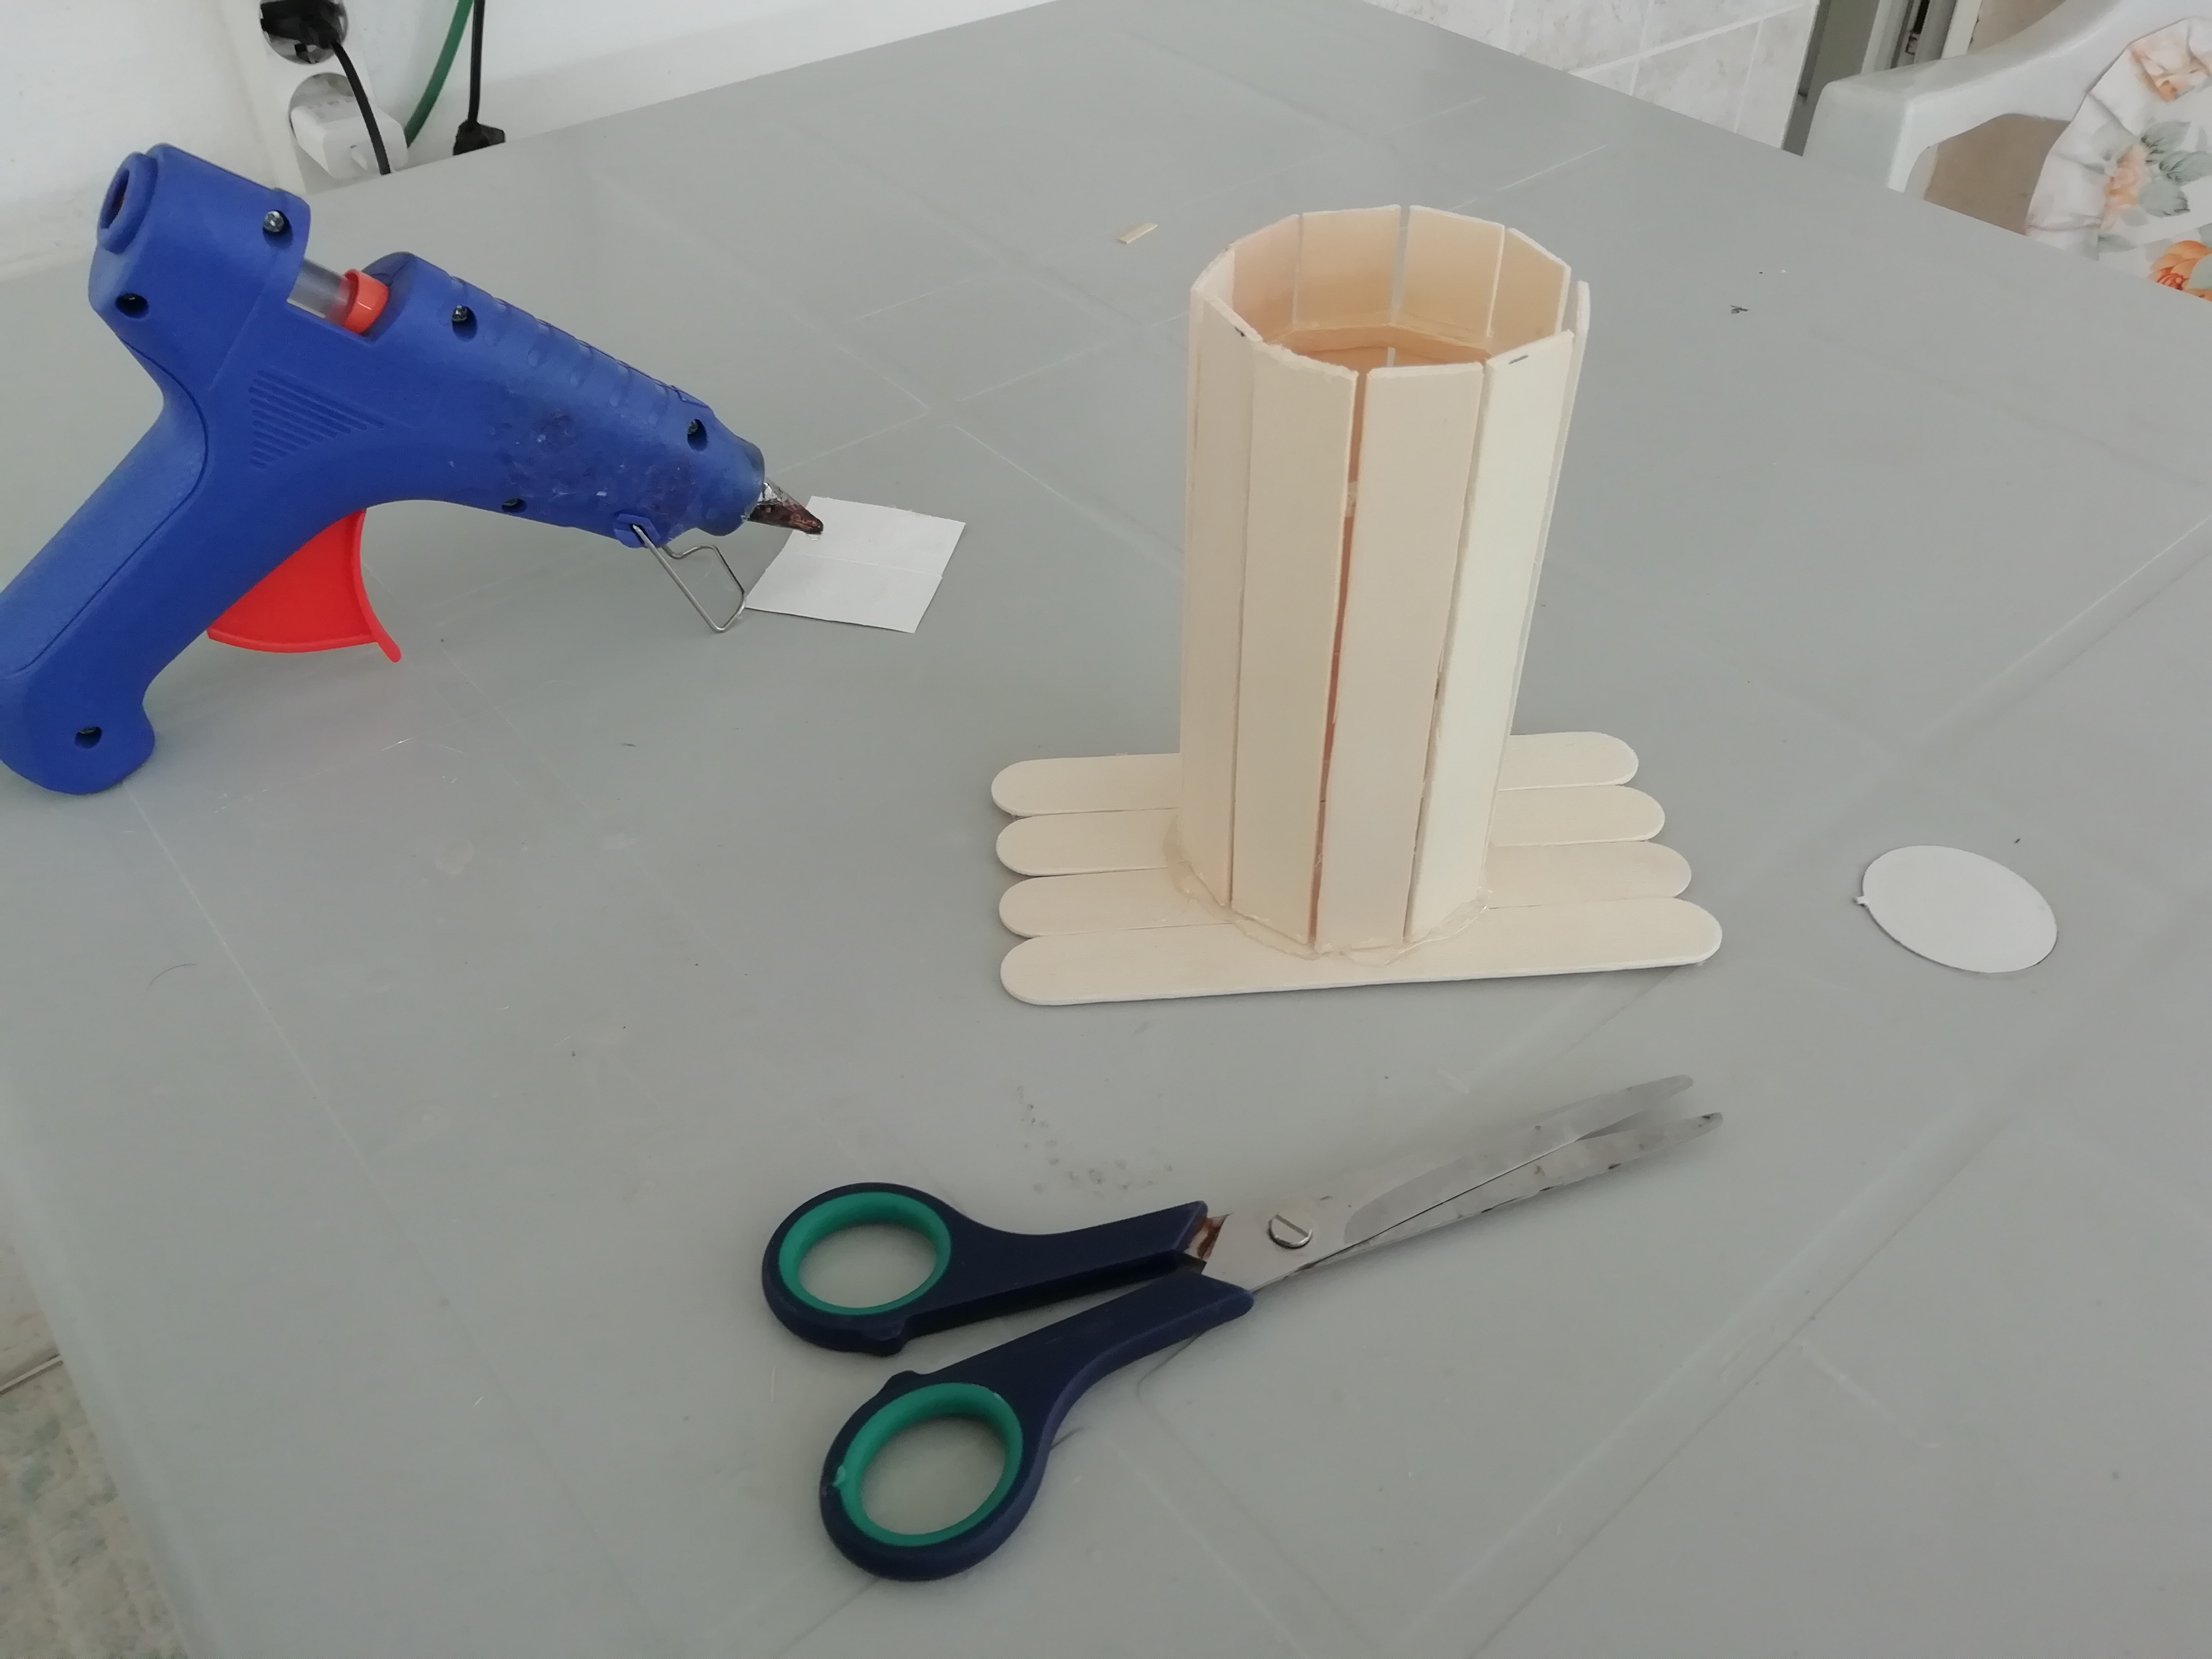
(EN) Next, we create a floor with wooden sticks. We glue the two parts as you can see in the picture.
(TR) Sonra, tahta çubuklar ile bir zemin oluşturuyoruz. İki parçayı resimde gördüğünüz gibi yapıştırıyoruz.
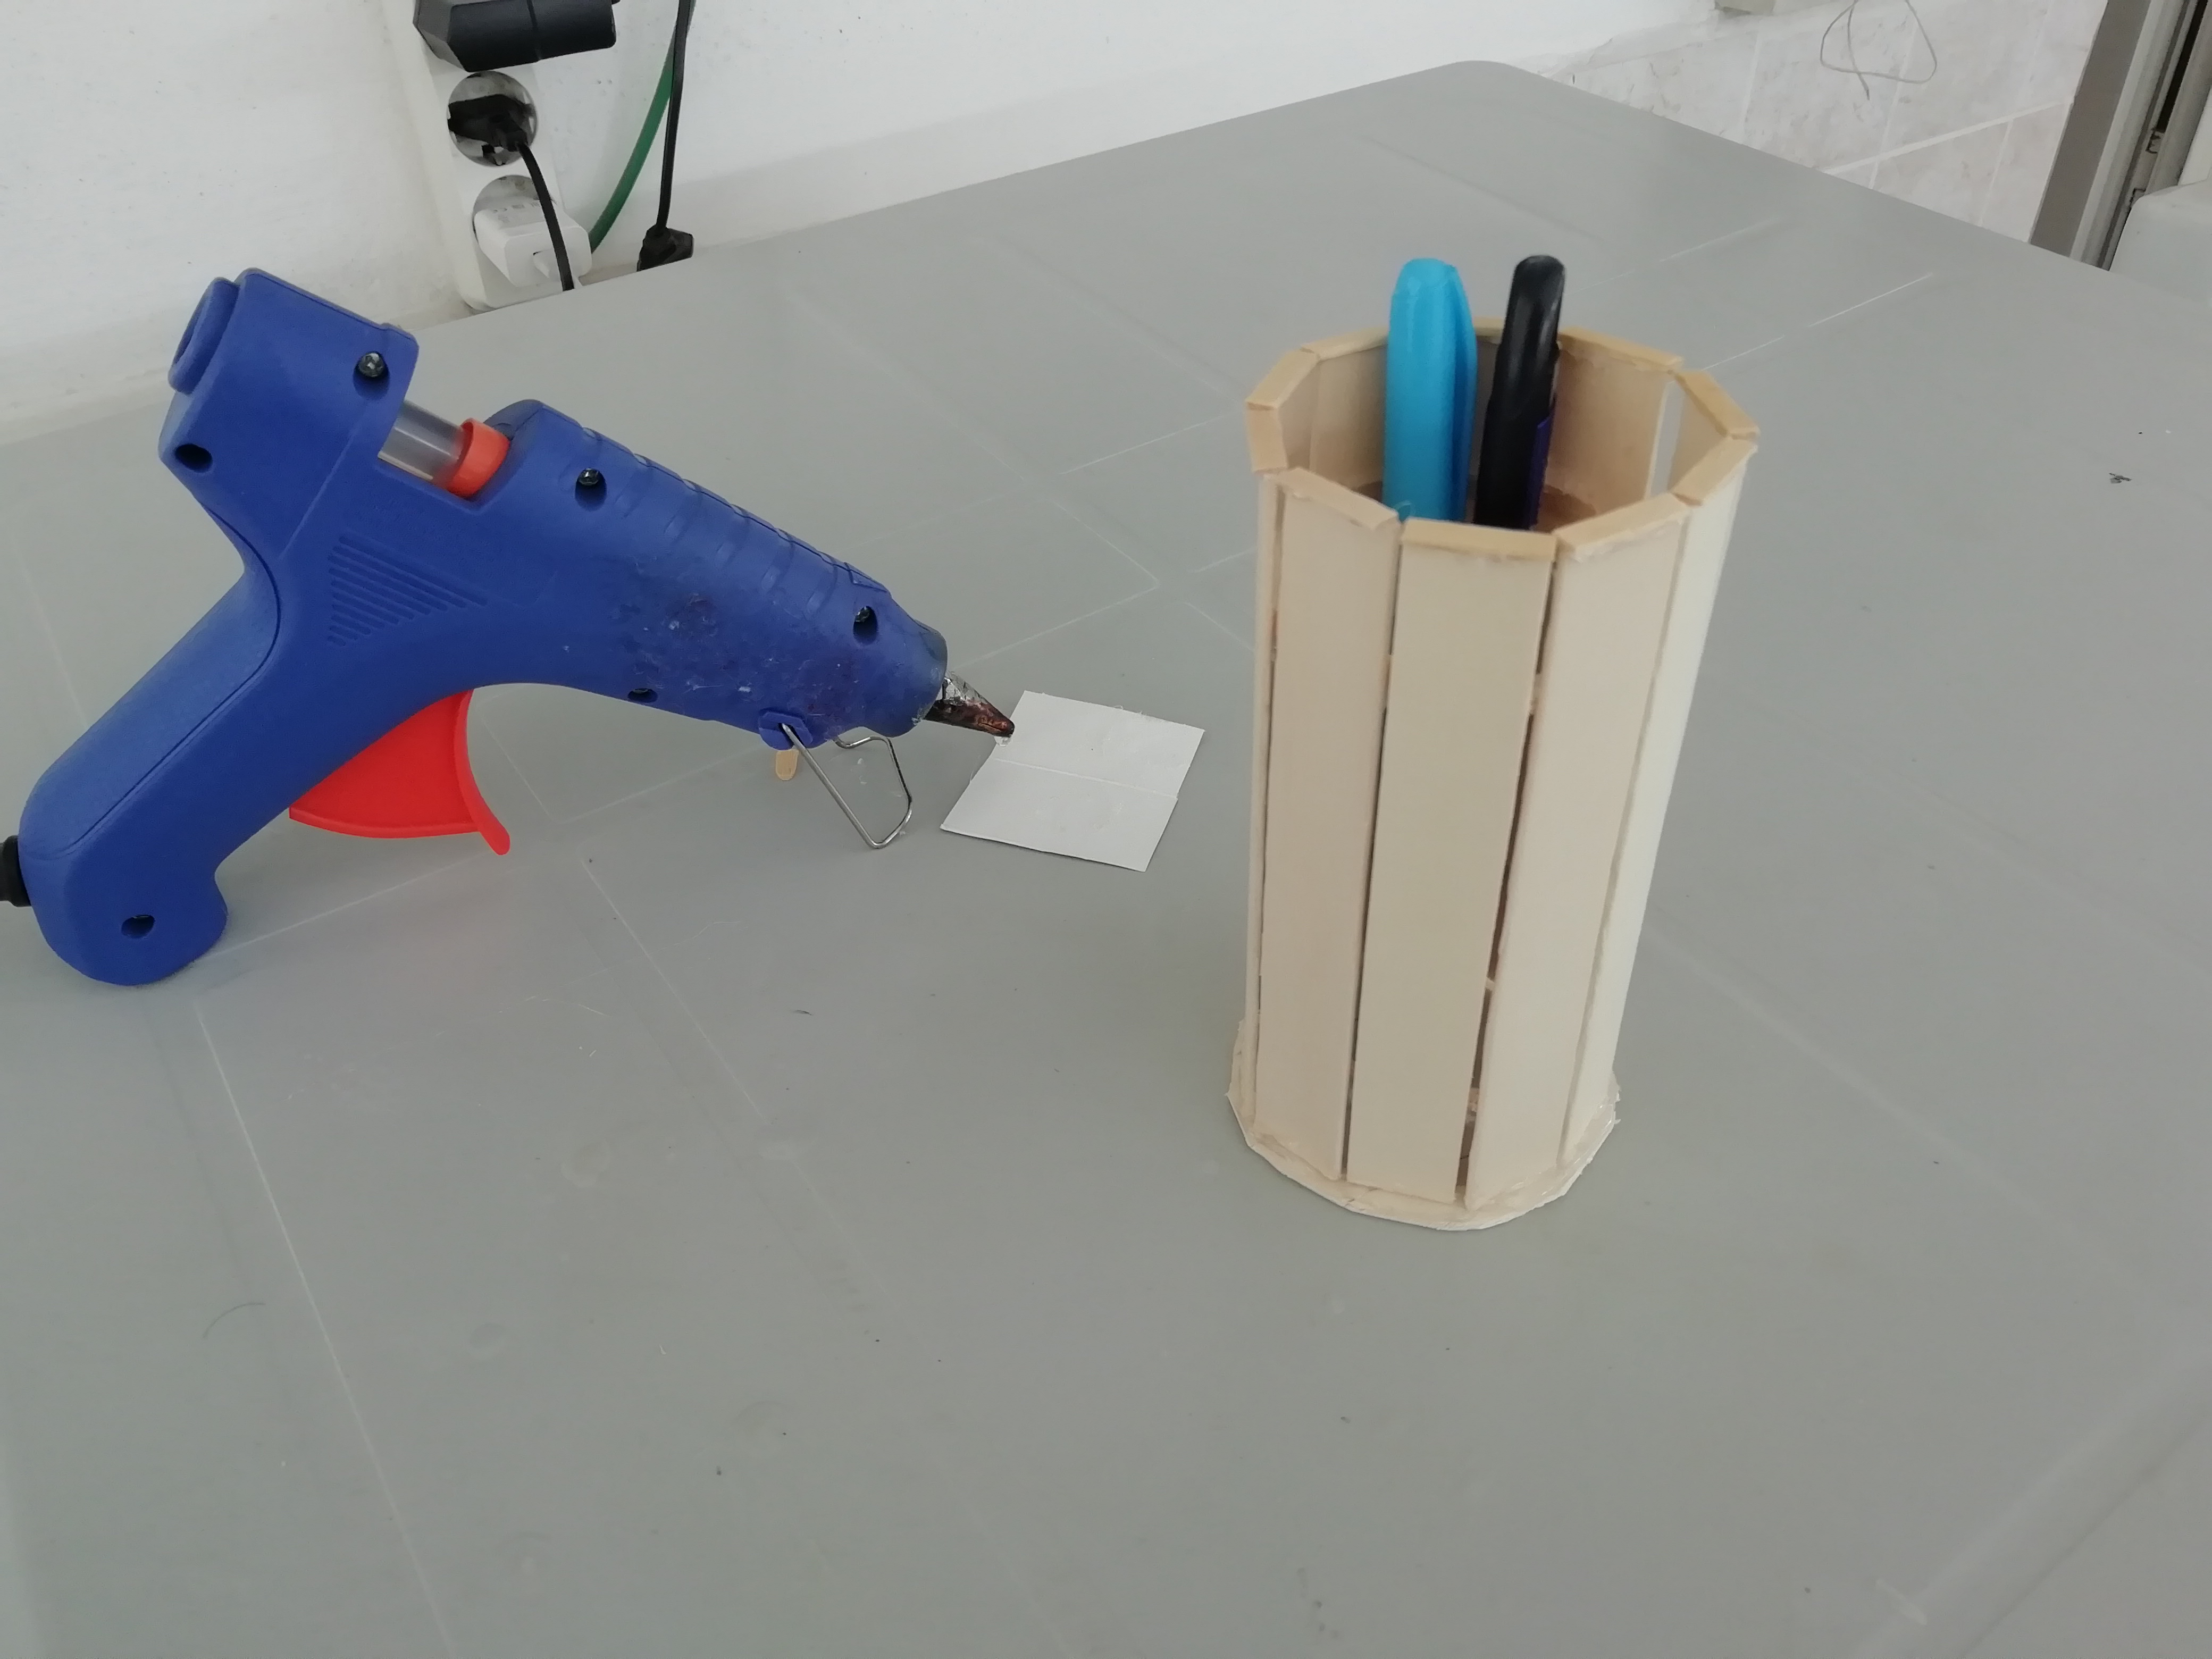
(EN) Finally, we cut off the excess of the floor with scissors. We glue small wooden sticks to the tops of the wooden sticks. We finished all the processes. The pencil case is now ready to use. Feel happy while using it. :))
(TR) Son olarak, zeminin fazla kısmını makas ile kesiyoruz. Tahta çubukların üst kısımlarına küçük tahta çubuklar yapıştırıyoruz. Bütün işlemleri bitirdik. Artık kalem kutusu kullanmak için hazır. İyi günlerde kullanın. :))
Previous Diy Concept: Making a Scaffolding with toothpicks;
https://hive.blog/hive-148441/@crysis/diy-concept-making-a-scaffolding-with-toothpicks

(EN) Thanks for Reading and Thanks for Supports.
(TR) Okuduğunuz için teşekkür ederim. Destekleriniz için teşekkürler.
Congratulations, your post has been upvoted by @dsc-r2cornell, which is the curating account for @R2cornell's Discord Community.
Enhorabuena, su "post" ha sido "up-voted" por @dsc-r2cornell, que es la "cuenta curating" de la Comunidad de la Discordia de @R2cornell.
Çok güzel ya. Benim ne böyle bir şeyi hayal edecek hayal gücüm ne de hayal ettiğimi gerçekleştirecek el becerim vardır. :))
@sahinadm :) Teşekkürler
This is a nice little DIY post; Thanks for the step-by-step images and description. Nice effort.
Also, why don't you check out the Engage the weekend Community - A community dedicated to the weekend! It's a community you can post about anything weekend-related; What you do, or did, on your weekend, what you would like to do and so on. I curate in there all weekend so I hope you'll drop in sometime.
Thank you so much @galenkp I will do my best. :)