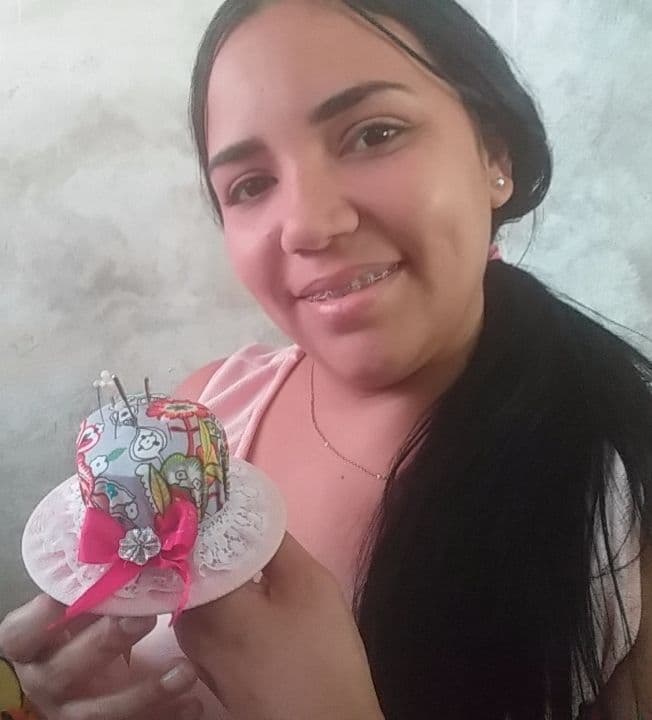
Hola amigos de hive estoy muy contenta de estar nuevamente con ustedes espero y pasen una bonita noche, en esta oportunidad les traigo una hermosa idea, ya no tendrán excusa para dejar tirados los alfileres y las agujas.Hoy les enseñare a hacer un alfiletero con forma de sombrero con esta pieza ustedes van a tener sus alfileres siempre a la mano, espero les guste y puedan realizarlo en casa. A continuación les mostrare los materiales utilizados y el paso a paso.
Hello friends of hive I am very happy to be with you again I hope you have a nice evening, this time I bring you a beautiful idea, you will no longer have an excuse to leave pins and needles lying around, today I will teach you how to make a hat-shaped pincushion with this piece you will always have your pins at hand, I hope you like it and you can make it at home. Next I will show you the materials used and the step by step.
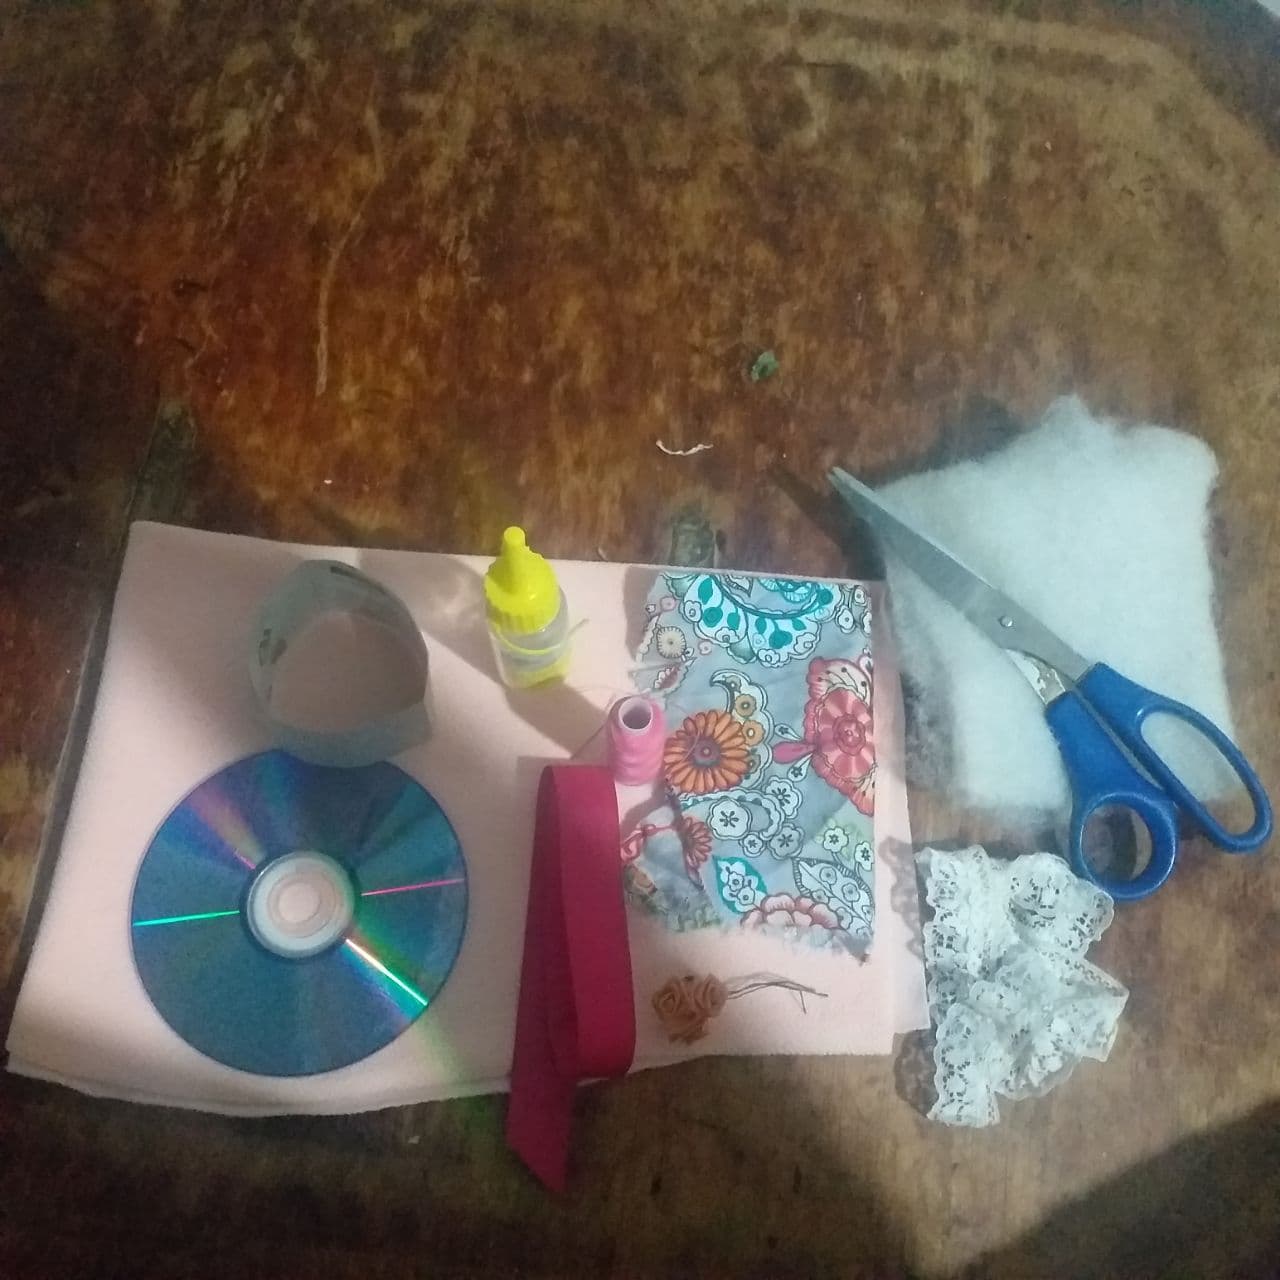
Materiales.
1 CD.
Cartón.
Relleno.
Tela unicolor de tu preferencia.
Tela estampada.
Tijera.
Hilo.
Encaje bordado.
Cinta de razo.
Silicon frio.
Materials.
1 CD.
Cardboard.
Stuffing.
Unicolor fabric of your choice.
Printed fabric.
Scissors.
Thread.
Embroidered lace.
Loop ribbon.
Cold silicon.
Elaboración.
Elaboration.
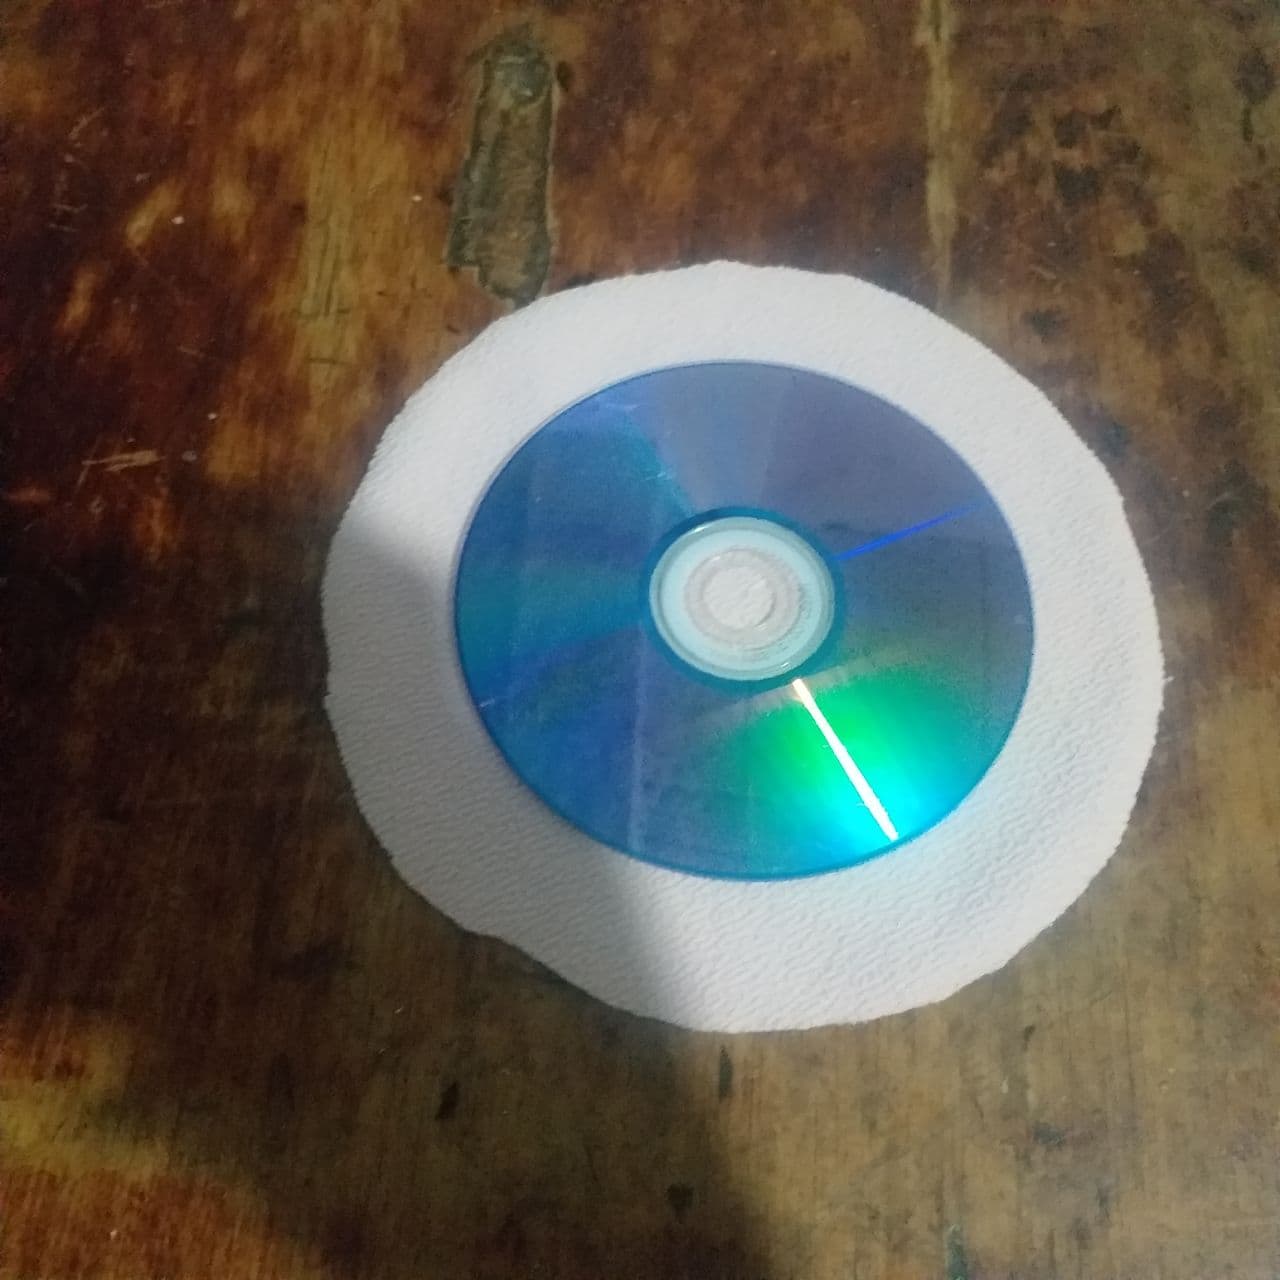
- Cortamos un circulo en la tela rosada de 22 cm para el cd.
- Cut a 22 cm circle in the pink fabric for the cd.
- Sobre la tela estampada saque un circulo de 18 cm para el sombrero.
- On the printed fabric, draw a circle of 18 cm for the hat.

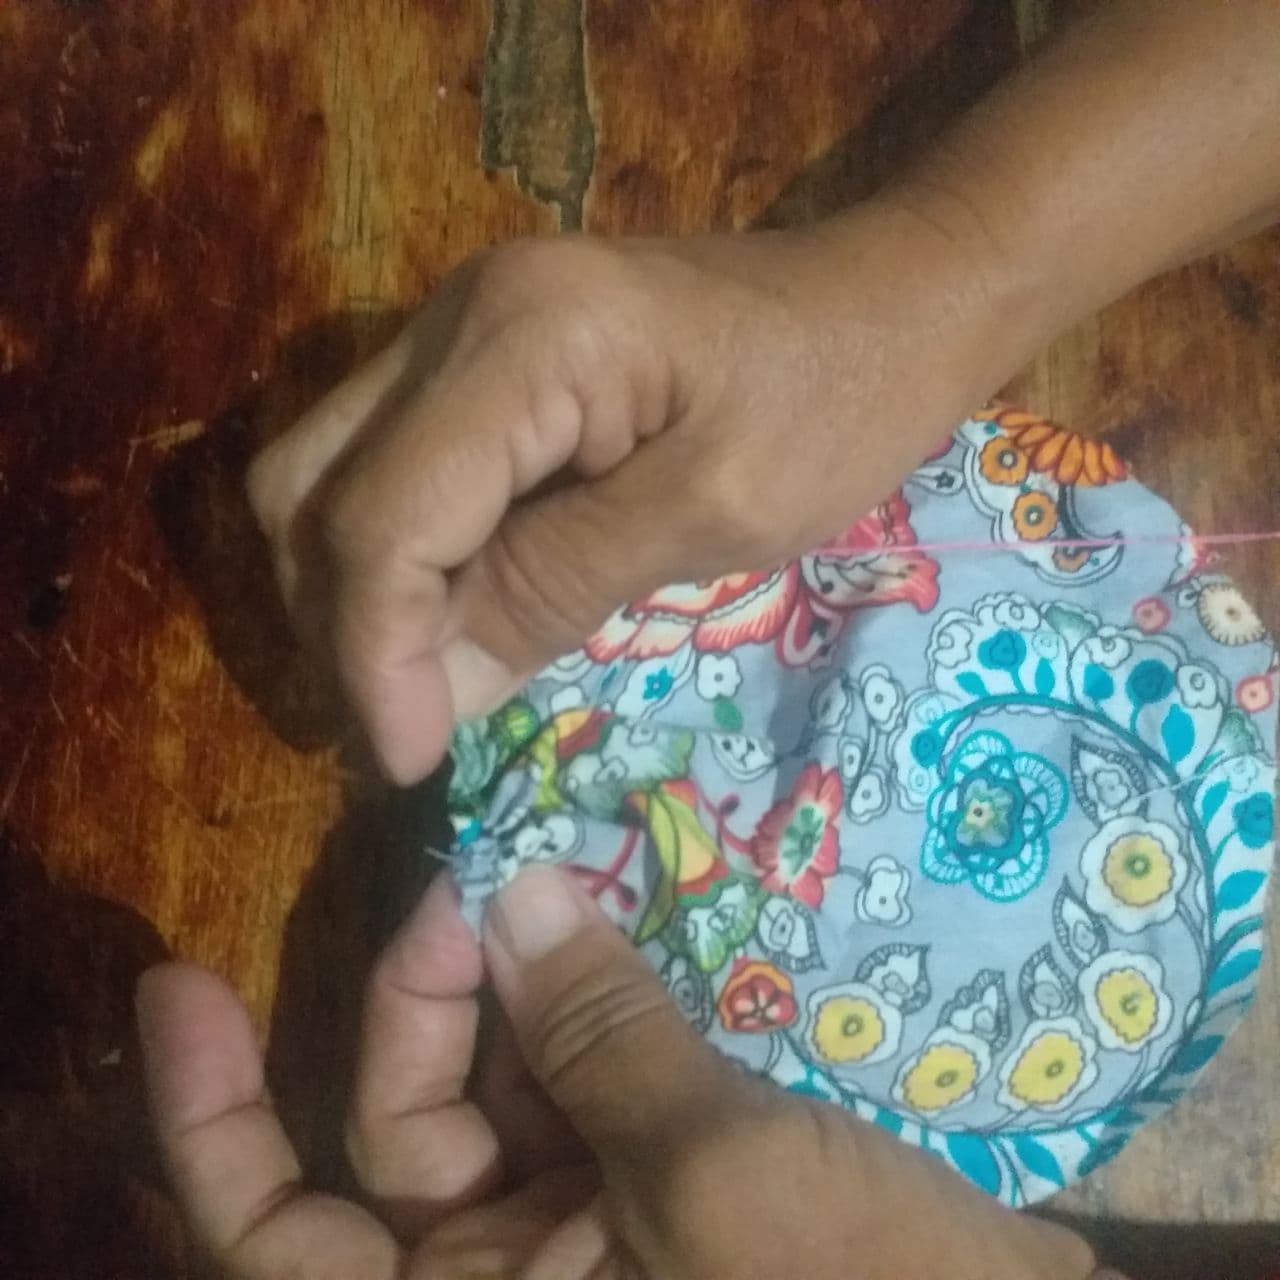
- Cosí la orilla de la tela rosada.
- I stitched the edge of the pink fabric .
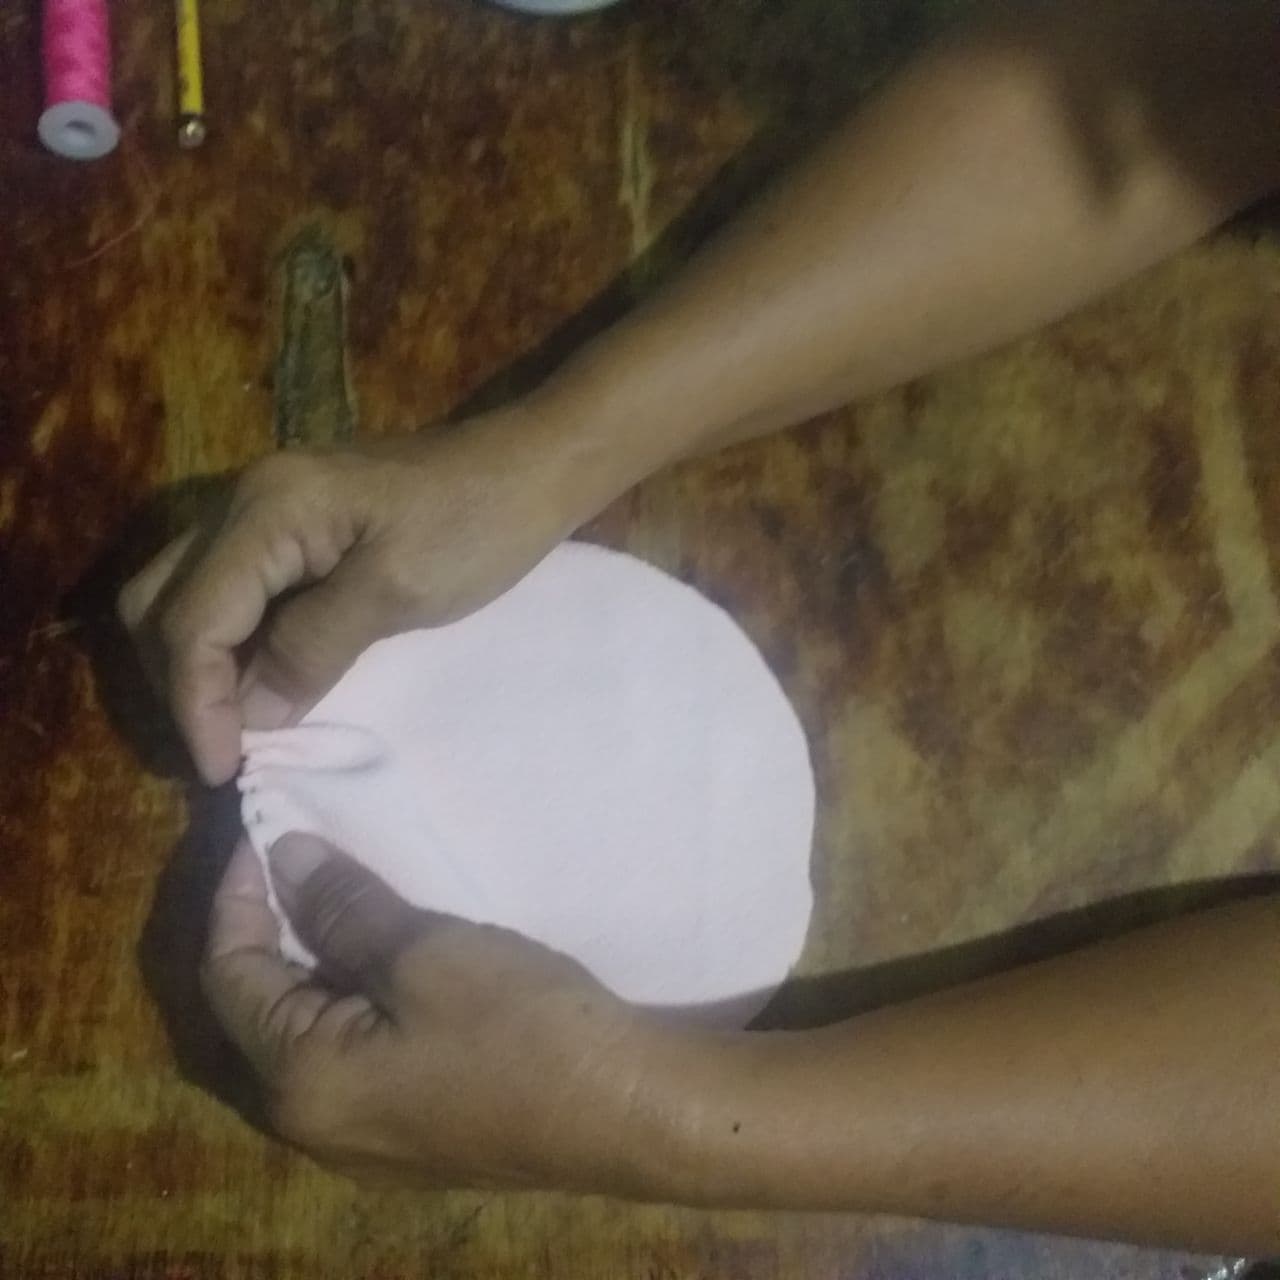
- Arruche la tela poco a poco y introduje el cd hasta cerrarlo.
- I crumpled the cloth a little at a time and inserted the CD until it was closed.

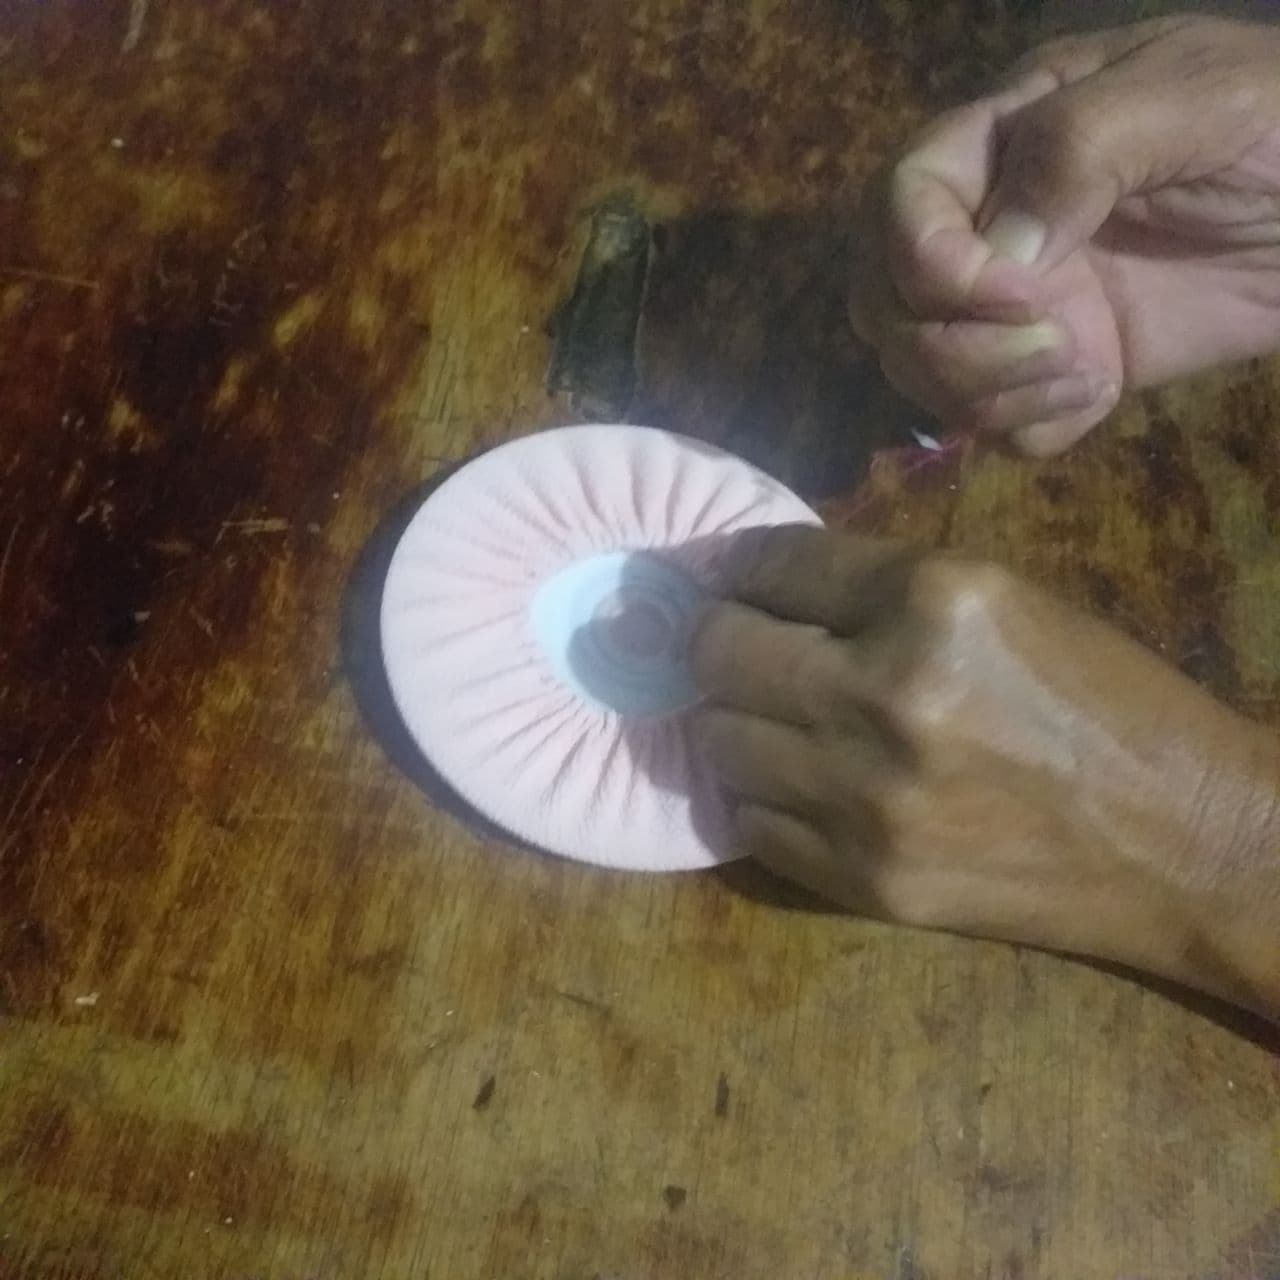
- Luego cosí la orilla de la tela estampada.
- Then I sewed the edge of the printed fabric.
- Coloque el tubo de carton con el relleno.
- Place the cardboard tube with the filler in it.

- Termine de arruchar toda la tela y cerré.
- I finished ruffling all the fabric and closed it.
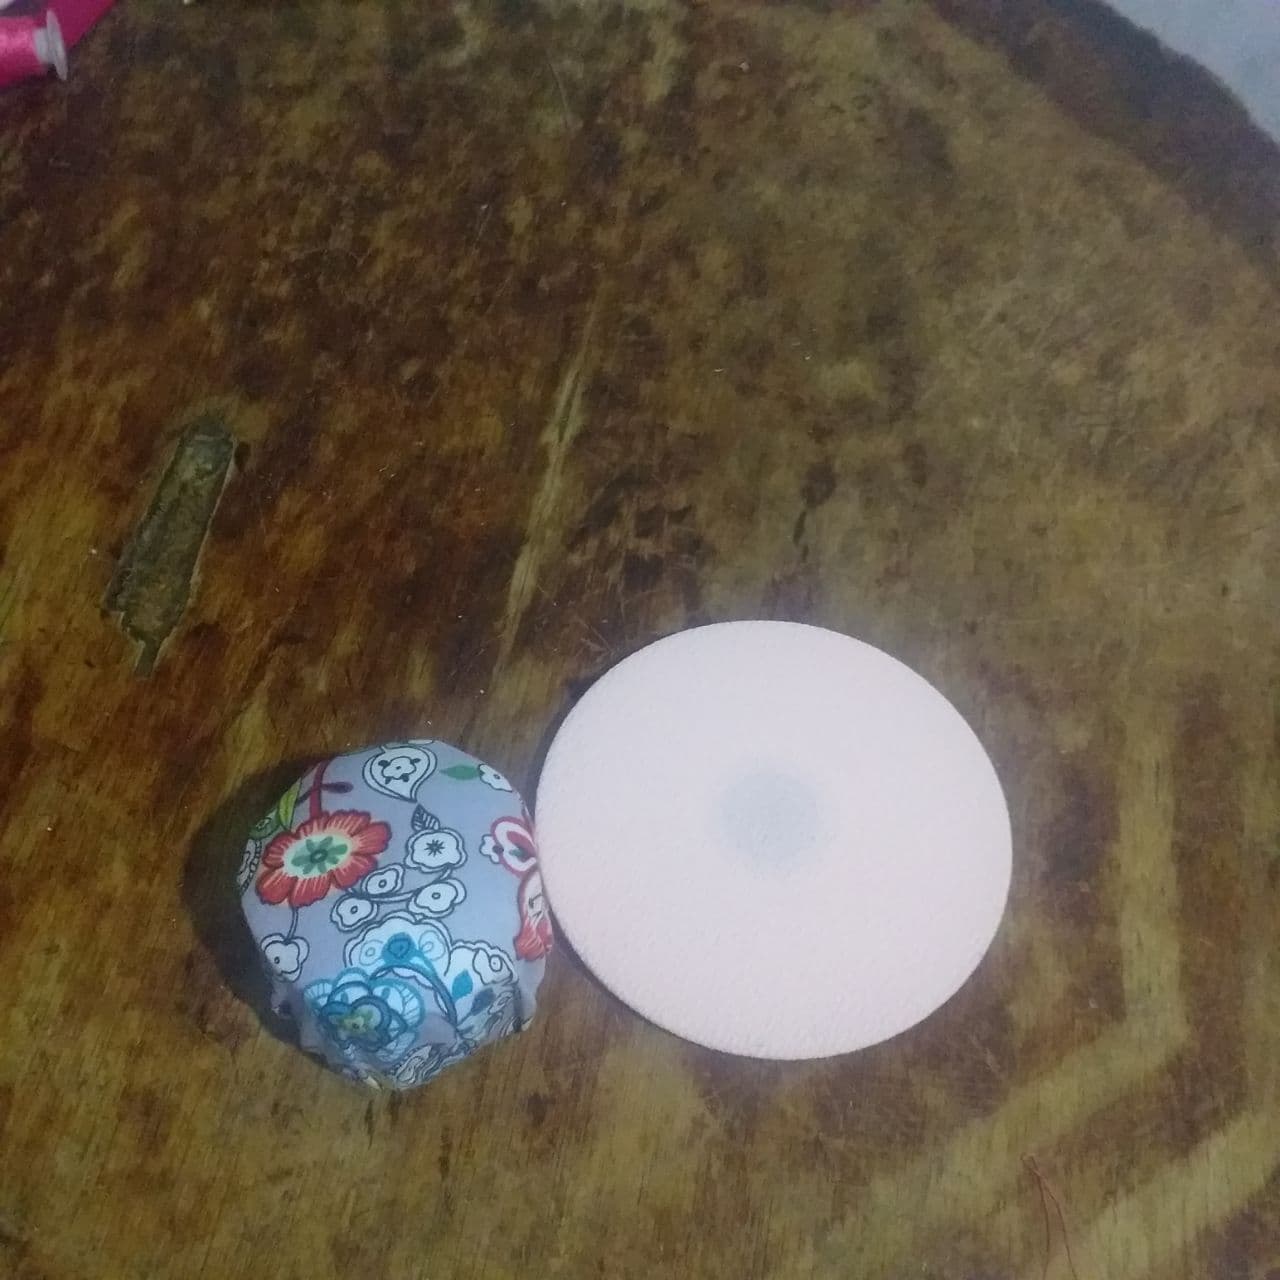
- asi quedarian las dos piezas.
- this is how the two pieces would look like.
- Pegue las dos piezas con silicon frio.
- Glue the two pieces together with cold silicone.
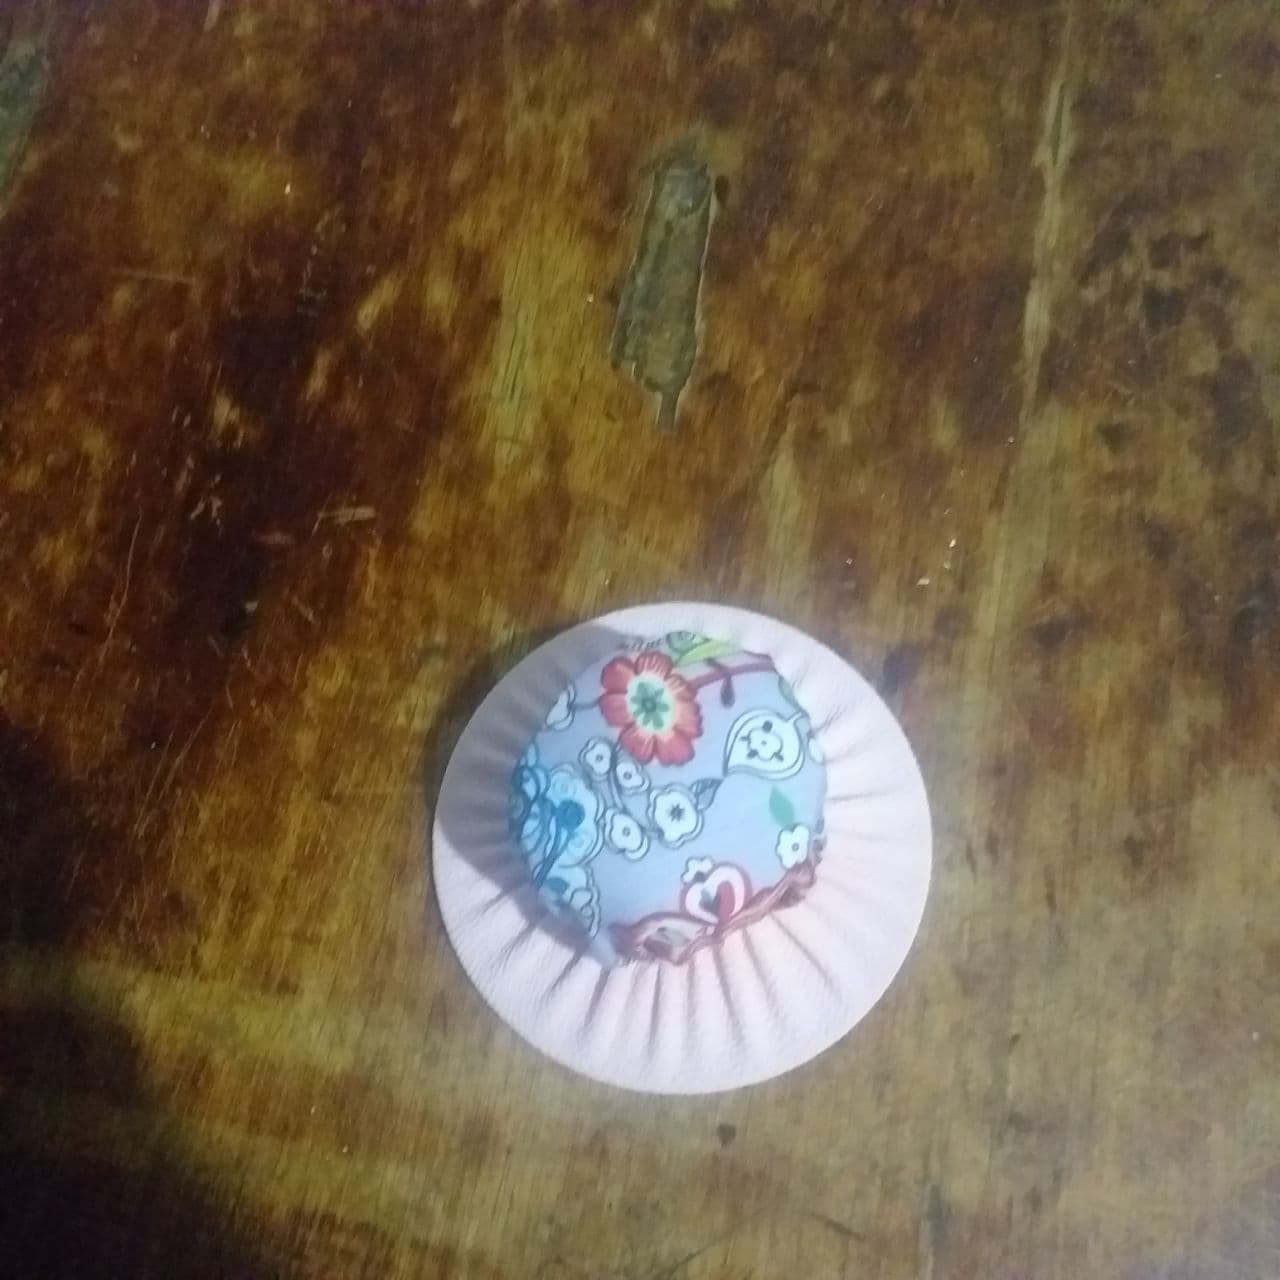
- Coloque el encaje bordado y adorne con lazo.
- Place the embroidered lace and decorate with ribbon.
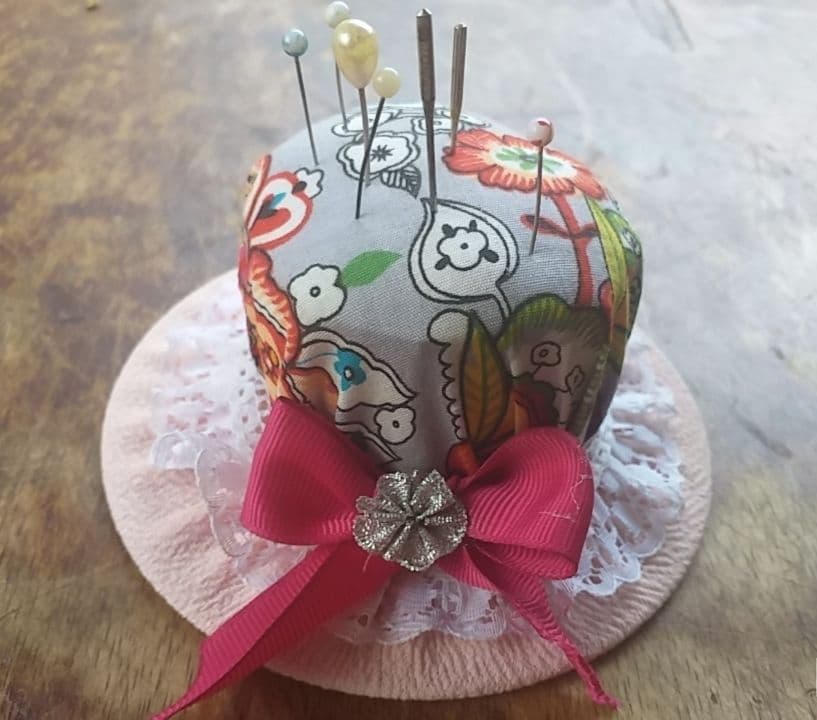
Bueno amigos espero que intenten hacer este alfiletero tan bonito, me encantaría leer sus comentarios y me gustaría que me dejaran su opinión sobre este alfiletero. Los quiero cuídense hasta mañana.
Well friends I hope you try to make this pincushion so pretty, I would love to read your comments and I would like you to leave me your opinion about this pincushion. I love you all take care of yourselves until tomorrow.
Imágenes editadas en photoshop y Canva
Para la traducción usé el traductor: DeepL
Photos and content are my property. Images edited in photoshop and Canva
For the translation I used the translator: DeepL

Congratulations @day348! You have completed the following achievement on the Hive blockchain and have been rewarded with new badge(s) :
Your next target is to reach 500 upvotes.
You can view your badges on your board and compare yourself to others in the Ranking
If you no longer want to receive notifications, reply to this comment with the word
STOPCheck out the last post from @hivebuzz:
Support the HiveBuzz project. Vote for our proposal!